How to: Add Additional Lighting to Your Workshop
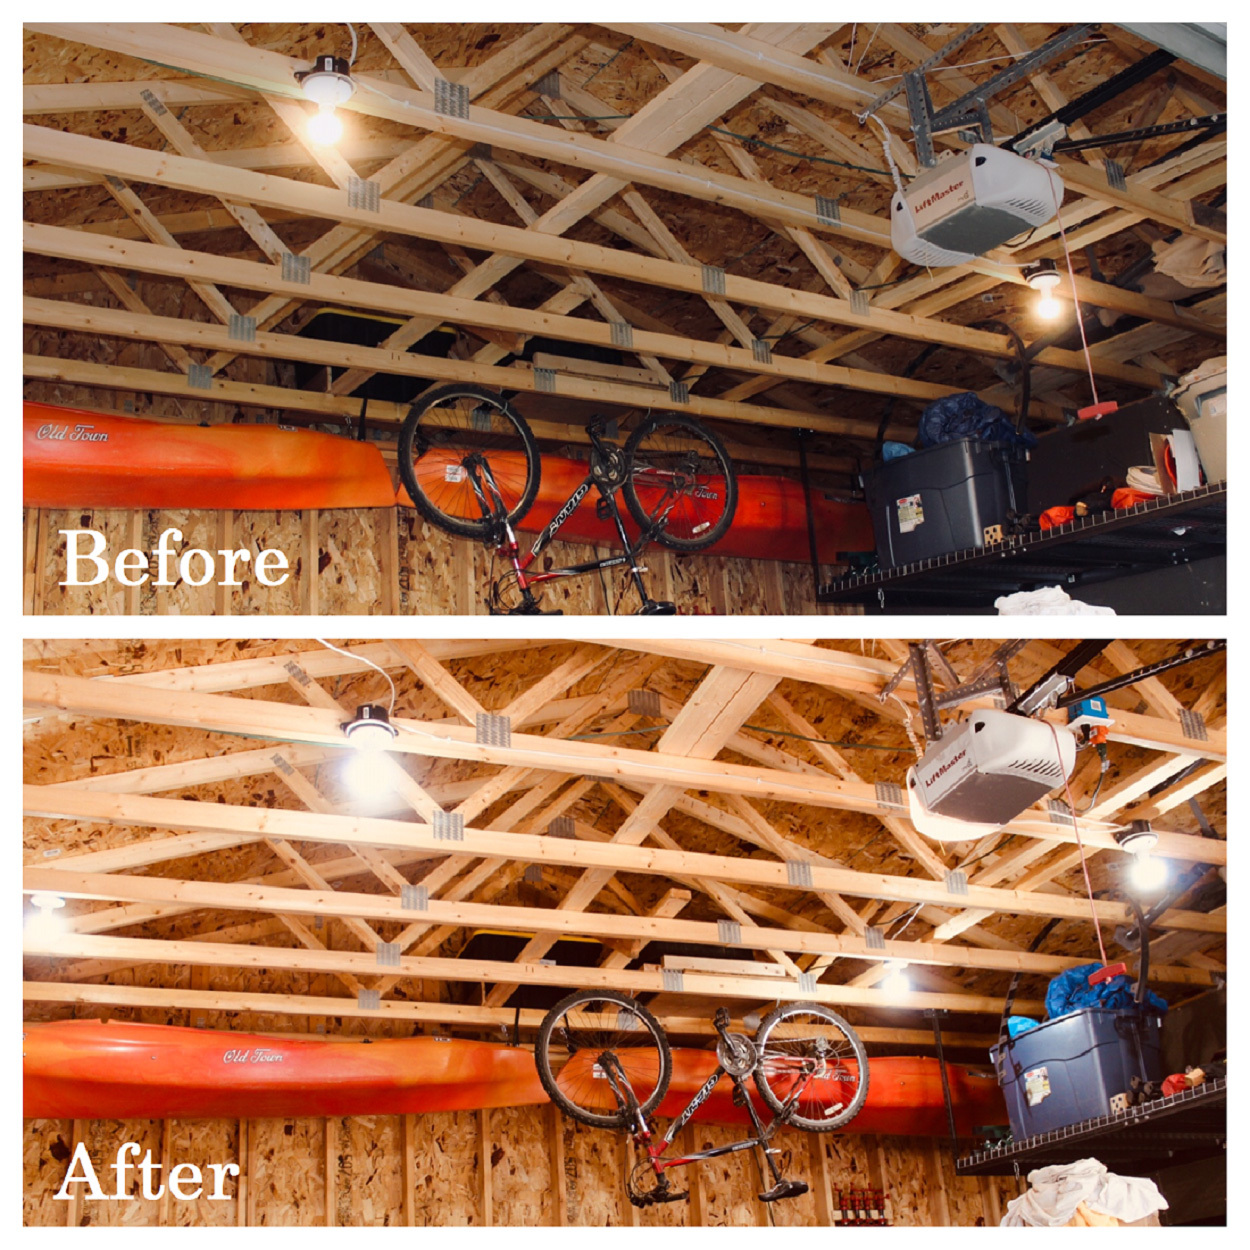
 Have you ever tried to do any woodworking, leather working, metal working or anything else in your shop if it’s dimly lit? It’s hard to see cut lines, find your tools and it can be really unsafe while you’re trying to make any cuts. My garage, which doubles as my workshop, only had two lights in the center of the structure. Those two lights probably would have been adequate if they were directly over my working area, but with them being in the center of the garage I wanted more light. In order to get that extra light, I had two simple options: 1.) get brighter bulbs for the two existing lights and/or 2.) add additional lights.
I tried the first option before I went to the second option. I swapped out the two 60 watt soft light LED bulbs for 100 watt daylight LED bulbs. The 60 watt soft light bulbs were only 800 lumens, whereas the 100 watt daylight bulbs were 1575 lumens. Lumens are the unit of measurement for the brightness of light. Just by changing the two bulbs, I was able to add a tremendous amount of light to the area, but I still wanted more light directly above my designated working area. Now it was time to turn to option number 2 – adding additional lights.
My garage is unfinished, which made this project significantly easier because all the original lights and wiring was easily accessible.
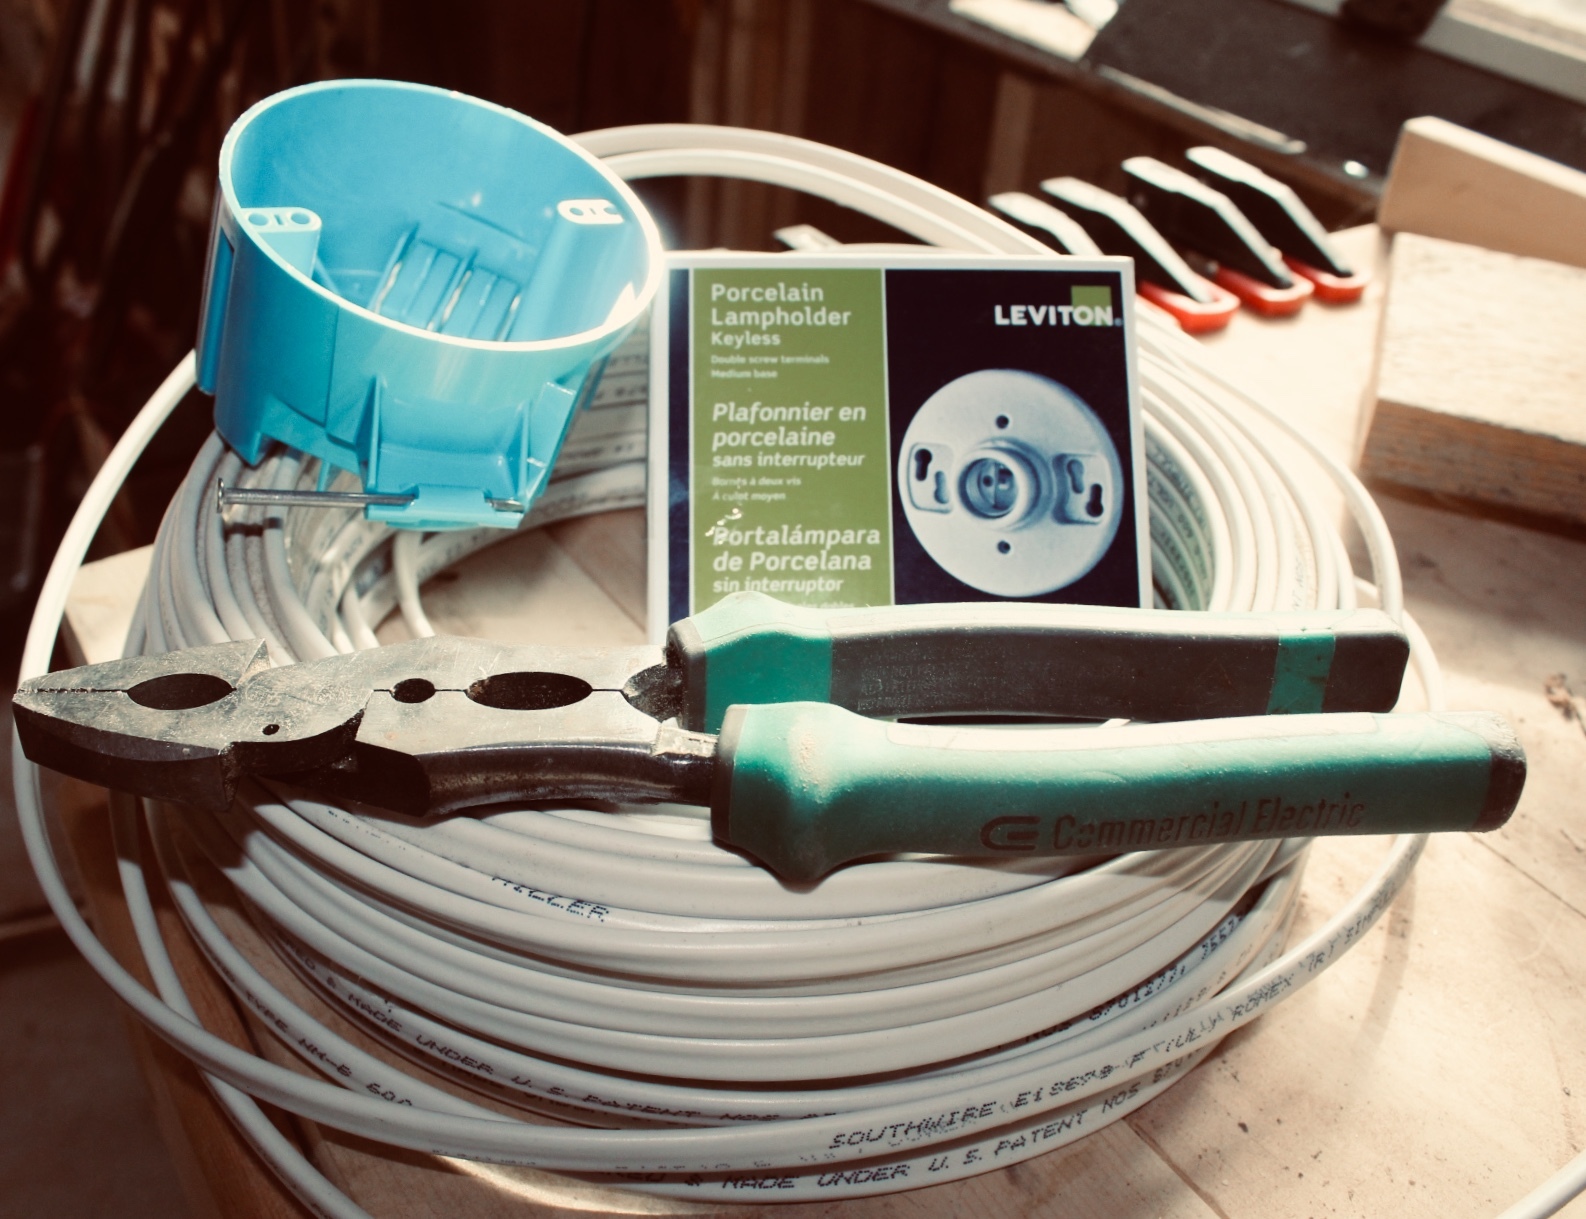
Tools and Materials
- Screwdriver
- Voltage tester
- Lineman's pliers or combination electrician wire strippers
- Properly rated electrical wire (I was connecting to 14/2 gauge wire, so that is what I used)
- Lampholder kit
- Electrical ceiling box
- Properly rated wire nuts
- Electrical tape
All the lights in my garage are controlled by one switch, and I didn’t want to have to add another switch for the lights I was adding. In order to keep the continuity of the circuit from the existing lights, I needed a pigtail connection. Pigtail wiring is used when you have more than just one wire that needs to be connected to a component or continuing electrical circuit. Basically, a wire is used to connect several wires together in order to keep the number of wires down, a clean area, and allow everything to be hooked up efficiently. Essentially, a pigtail connection consists of a piece of electrical wire, rated for the amperage of the circuit being connected, used to connect two or more wires. The pigtail wire should be minimum of six inches in length.
I went with a traditional bulb fixture, but the same approach could be applied to a fluorescent or LED tube lights.
Okay…Let There Be Light!
1. Safety first. Go to your circuit panel and cut the power to the area where you'll be working. I was able to use my voltage tester on one of the outlets to ensure that electricity was complete cut off from the garage.
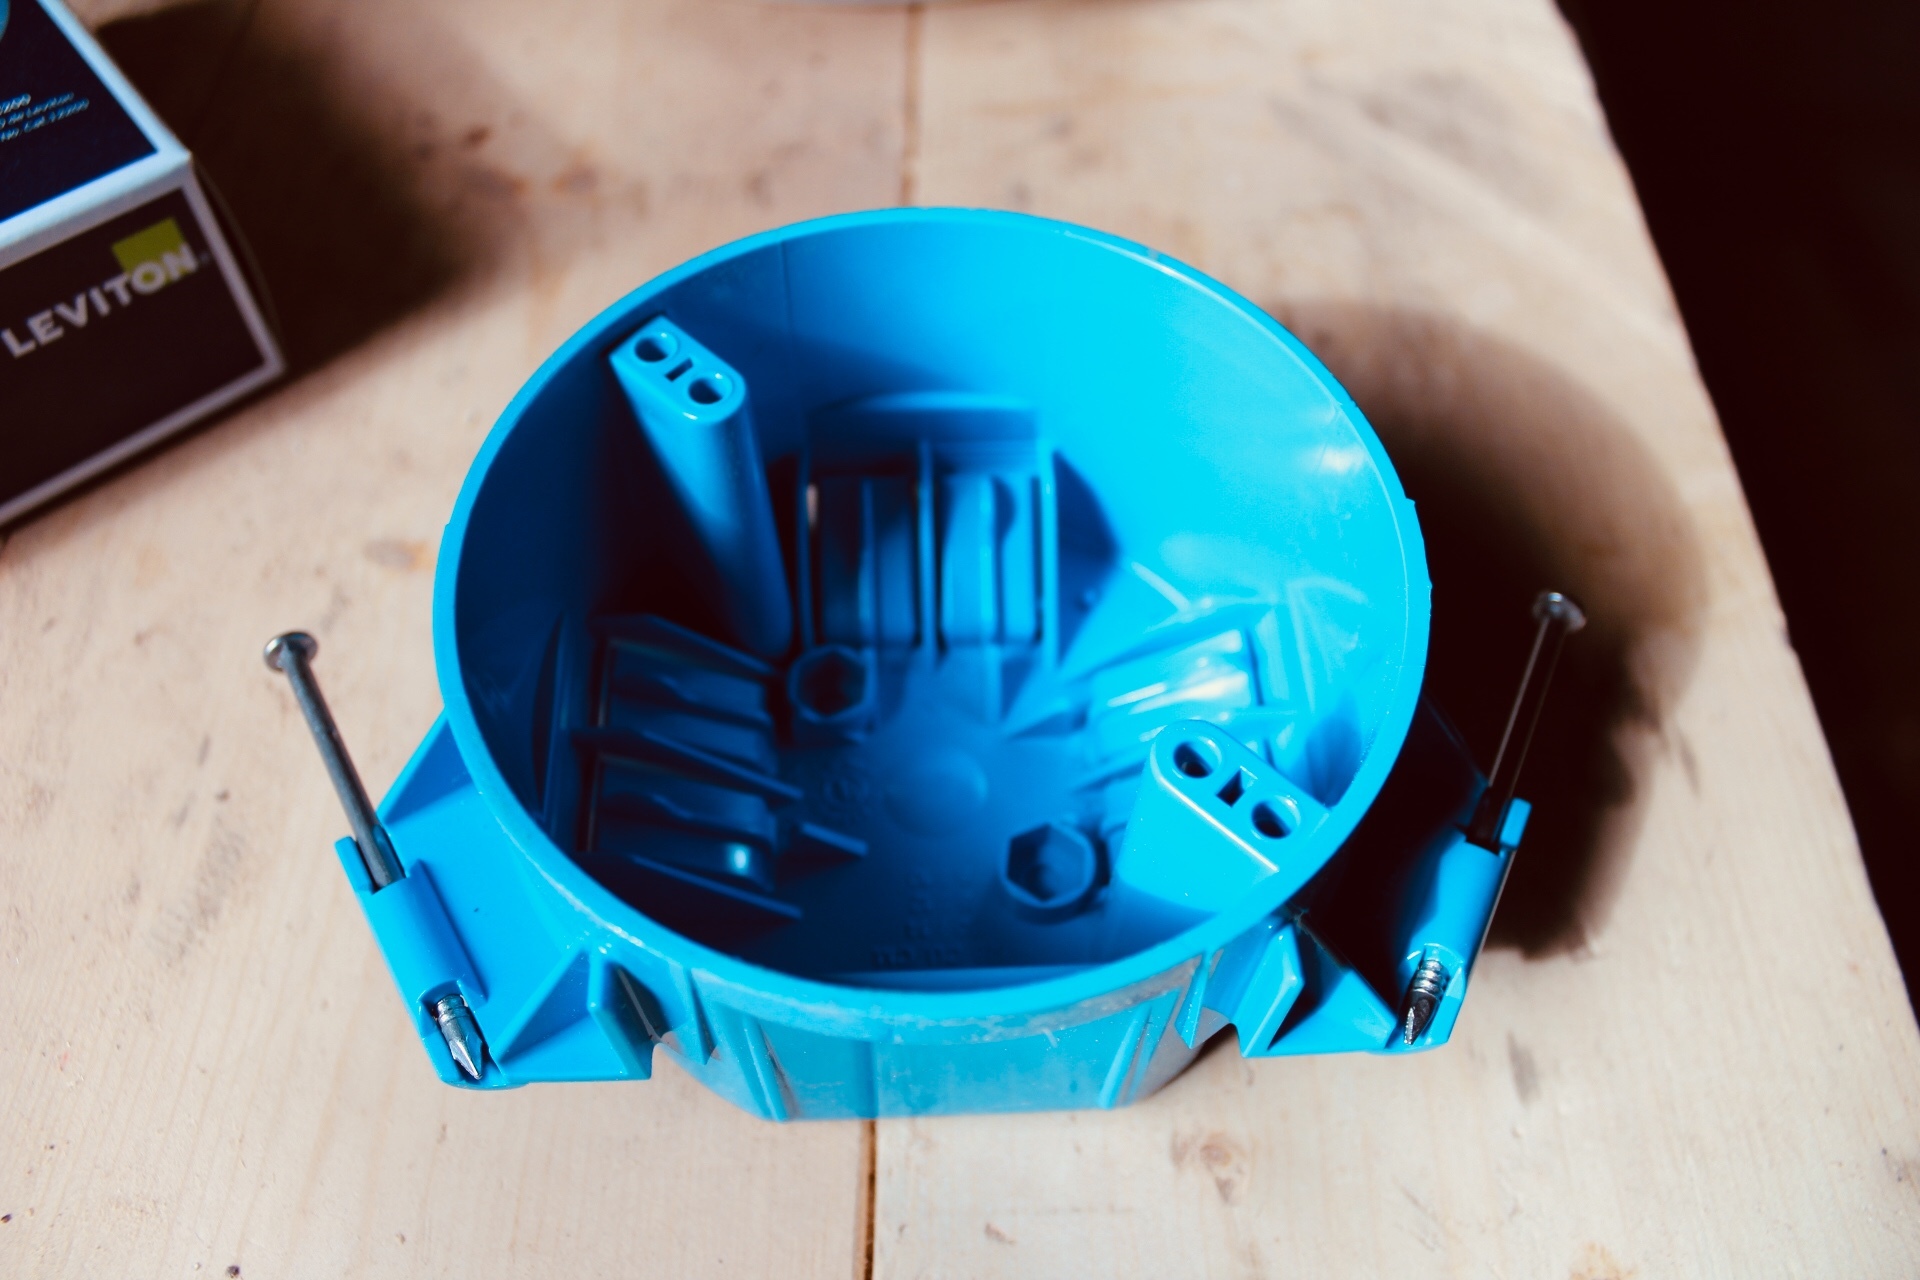
2. Hang your electrical ceiling box in the area where you want to install your light. The ceiling box will come with two nails that should be hammered into a rafter. The nails come pointed in the correct direction so it's easy to grab your hammer and install. I used a heavier duty electrical box, but you can use this handy guide to help you choose the correct electrical box for your project.

3. Setup your pigtail on your lampholder. Take your black and white wires and connect them to the proper screws. The black, or hot wire, is connected to the brass screw. The white, or neutral wire, is connected to the silver screw. You simply strip off about 3/4 of an inch of each end of your pigtail wire, which should be a minimum of 6 inches long. Make a small loop with one end of each wire and wrap it around the applicable screw. Use your screwdriver to tighten the screw so your wire loops are securely fastened to the lampholder.
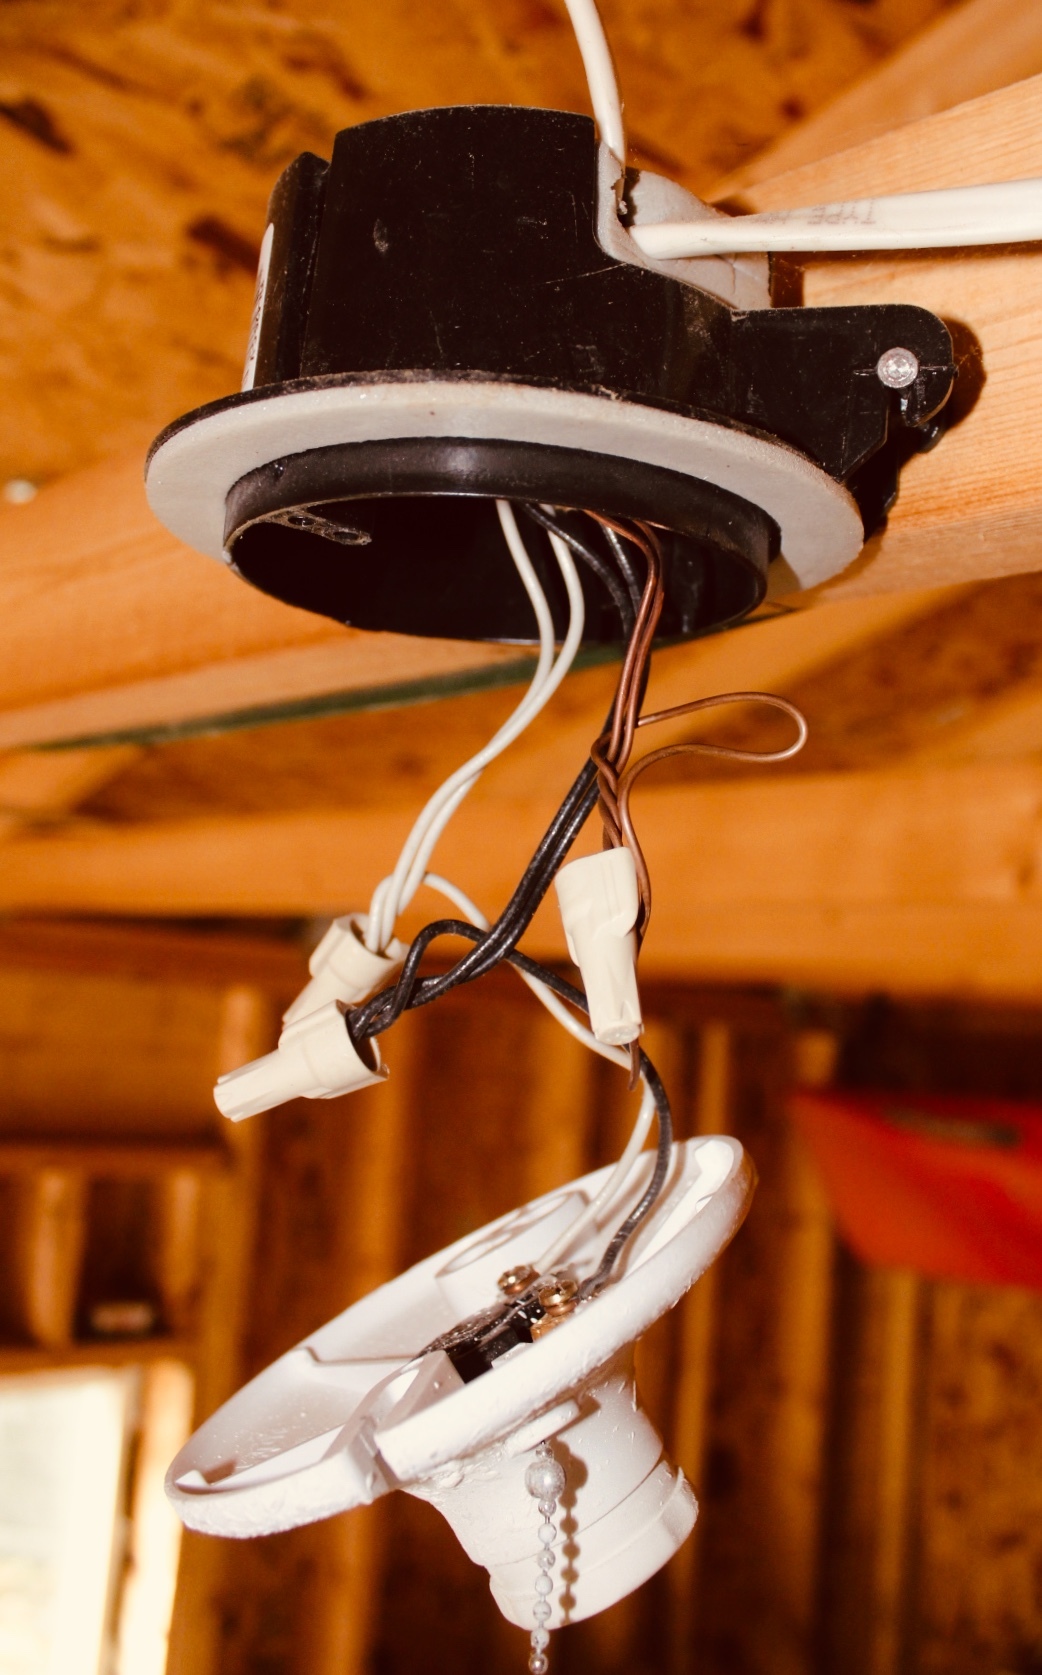
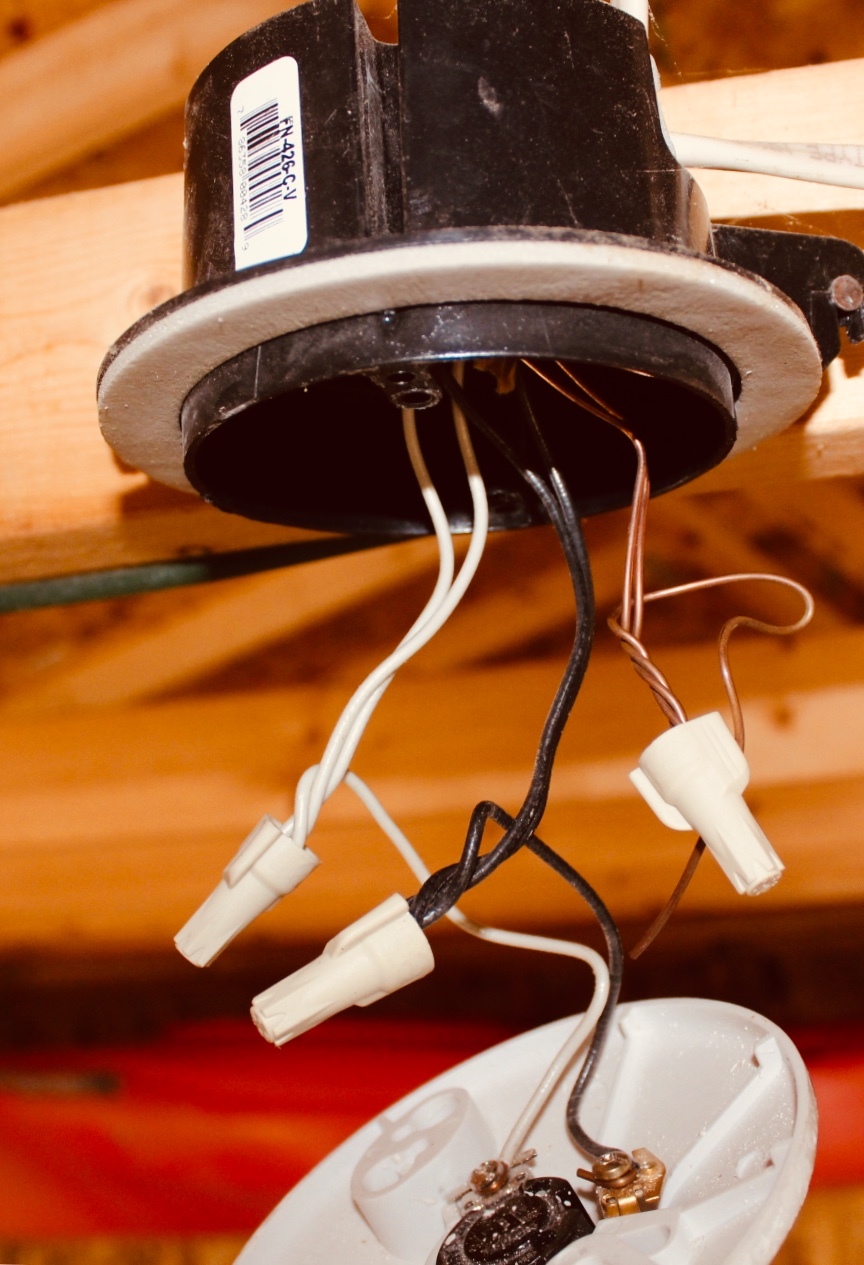
4. Next, you run your wire from the existing light to the new electrical box. As seen in the picture above, there will be two different electrical lines coming into your existing electrical box, both of which are connected to your pigtail wire that was prepared in step 3. You should strip 3/4 of an inch of the insulation away from the end of the wires. All three of the black wires are connected and secured with a wire nut. Then do the same thing with all three of the white wires and the ground wires. The ground wire with the pigtail is not connected to the lampholder. Electrical tape is not required if you are using the proper wire nuts and you had the proper amount of bare wire exposed that was twisted together and connected with the wire nut. If you have any doubt, use electrical tape to wrap around the wire nut and the wire as an additional step to insulate and hold the wires together.
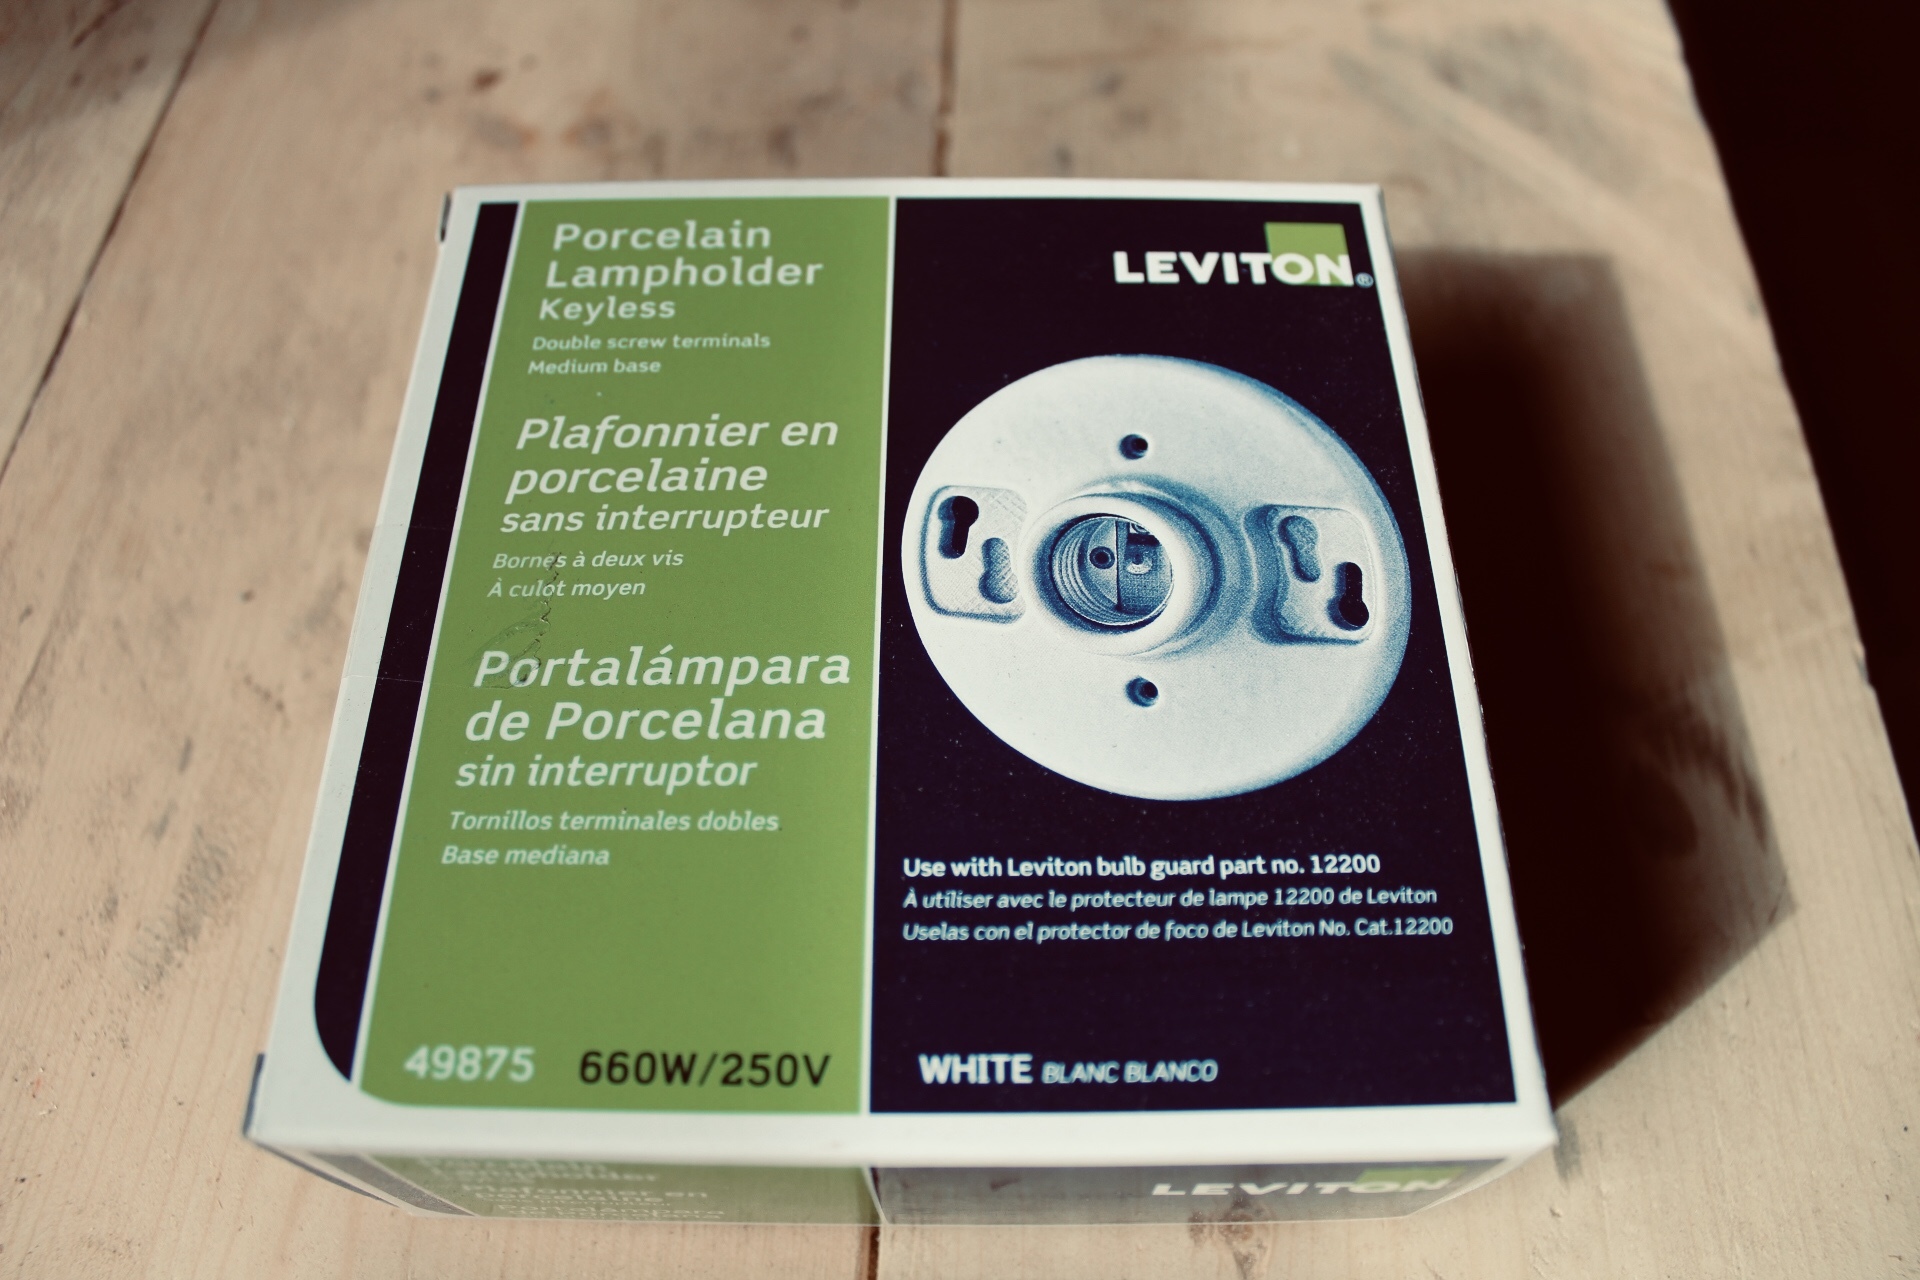
5. Securely fasten your lampholder to your electrical box. The lampholder comes with the proper machine screws to attach your lampholder to your electrical box. You just need to push all the wires so they are inside the electrical box and use the machine screws to fasten the lampholder to the electrical box.
6. Connect the electrical line that you ran from the existing light in step 4 to your new electrical box and lampholder.
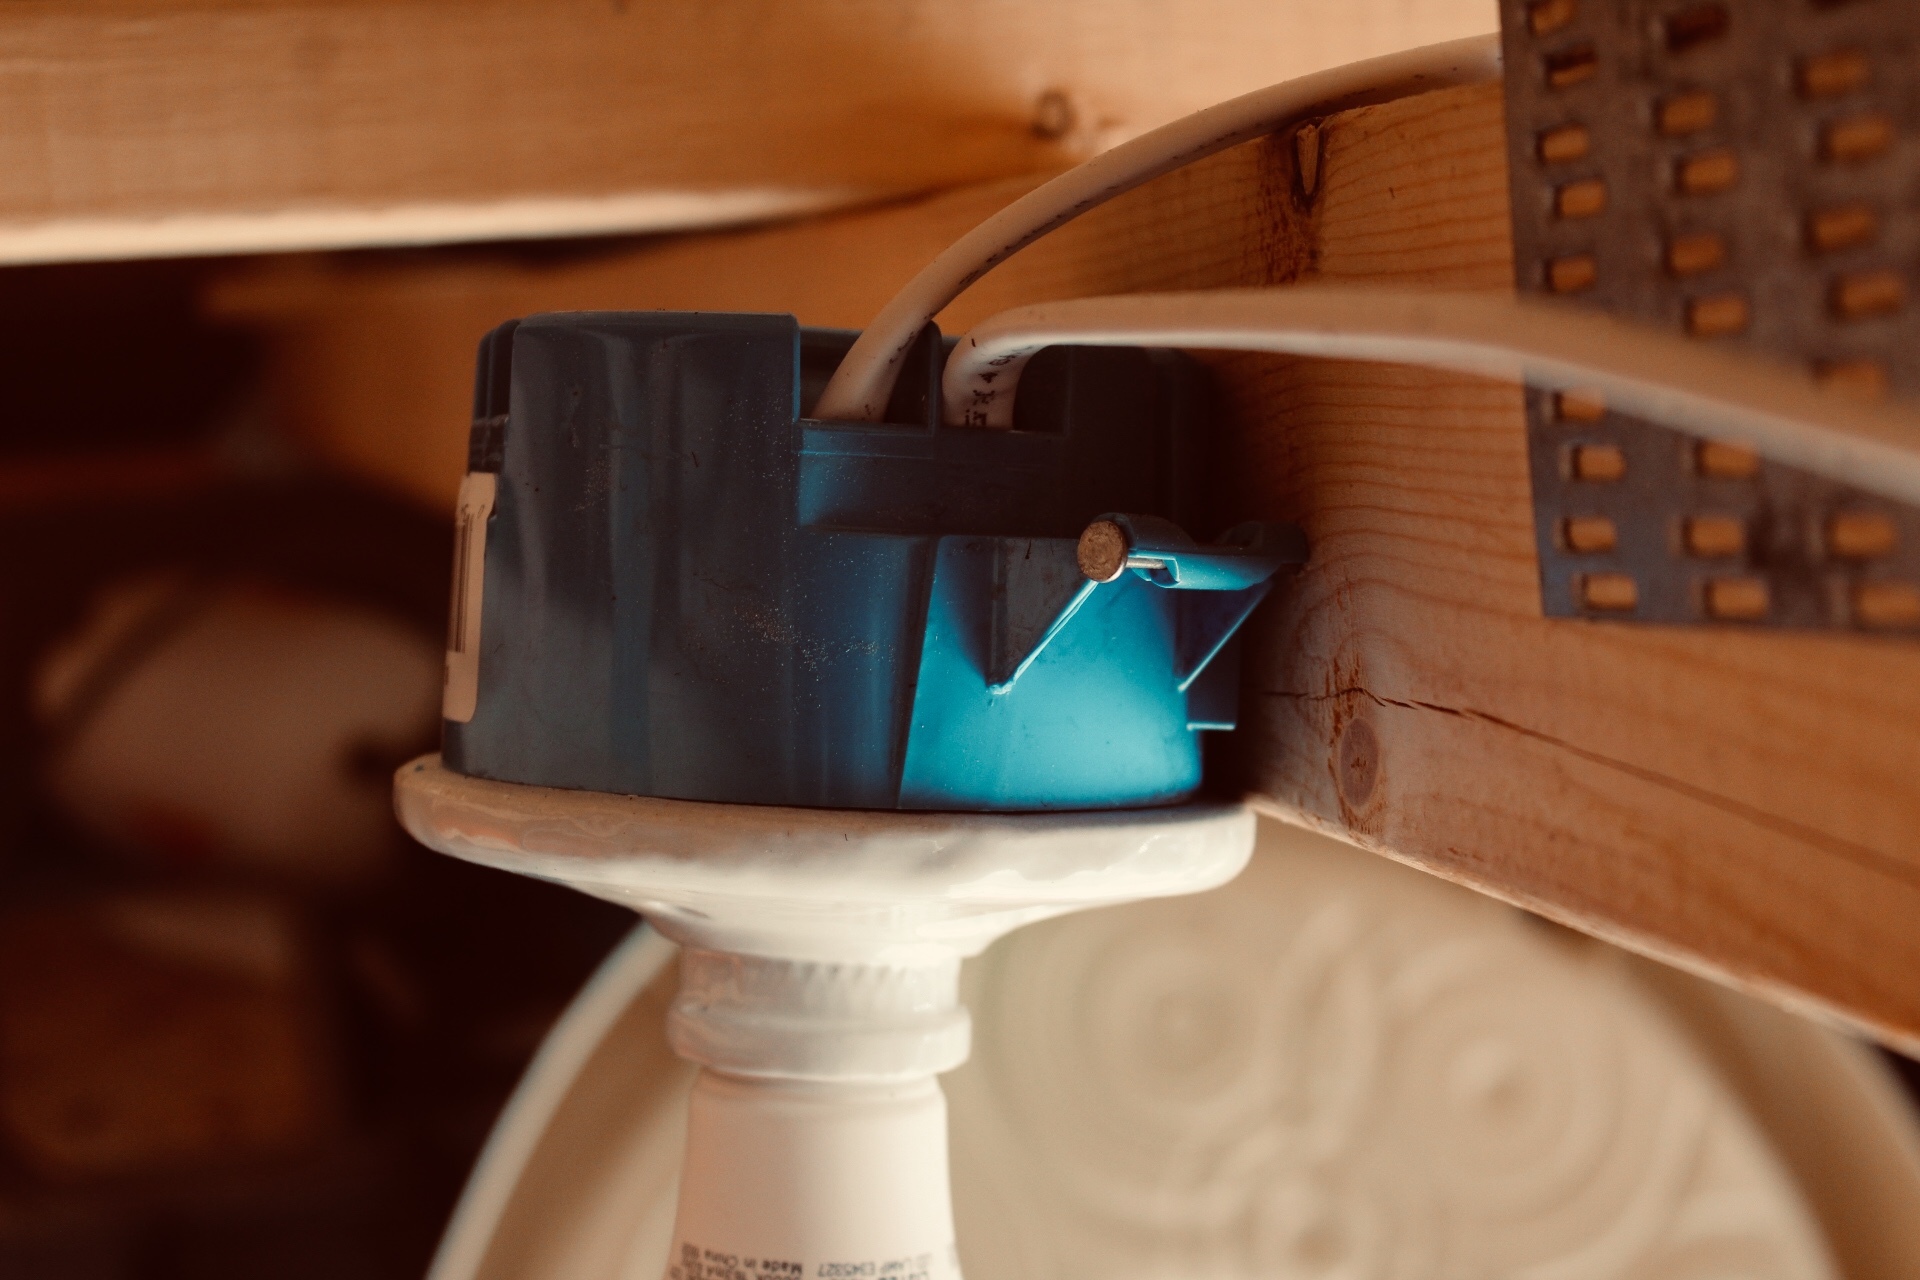
6a. If you are adding multiple lights, this first light would need another pigtail connection, which will be the same as it was in step 4, and then you would run another new line to your next additional light. Continue that process until you get to your final light that will be added and then move to step 6b.
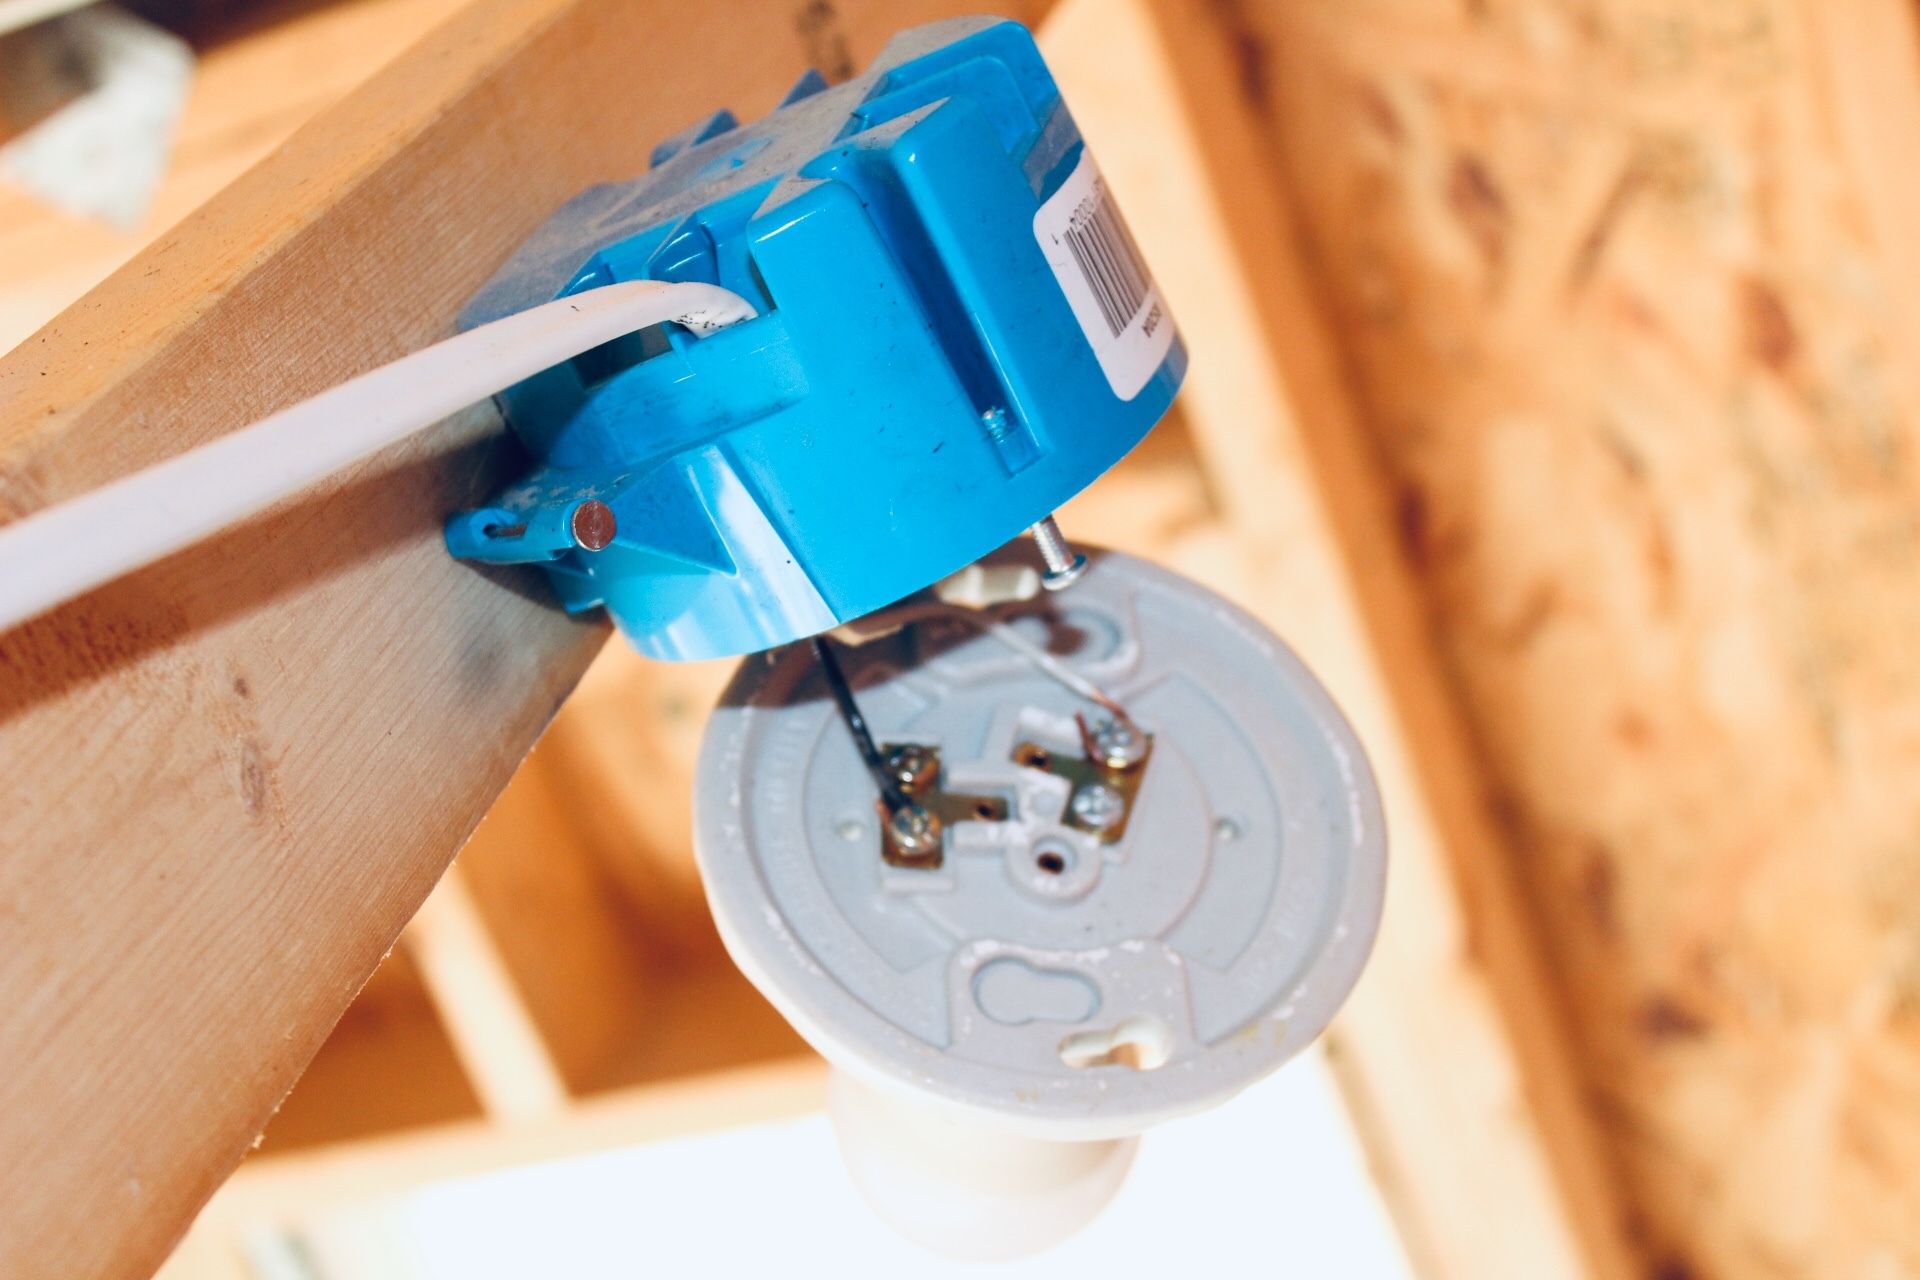
If this is the only light you want to add or your last light in the series of lights that are being added, you will only need the one electrical line running to that new electrical box. You will connect the black wire to the brass screw and the white wire to the silver screw. The ground wire, which can be bare copper or have a green insulated cover, will not be connected to anything in your lampholder. Once all the proper connections have been made, fasten your lampholder to the electrical box and you're all done.
7. Turn the power supply back on from the circuit panel and enjoy your new lights.
By changing the bulbs to the brighter 100 watt daylight bulbs and adding two additional lights, I have added a tremendous amount of light to my garage/shop. This project is not over complicated, but when working on any electrical projects you should always take the proper precautions. If you don't feel safe or comfortable doing this a DIY project, please consult with a professional electrician.
