Get Ready for Summer: How to Calibrate Your Grill Thermometer in Time for Barbecue Season
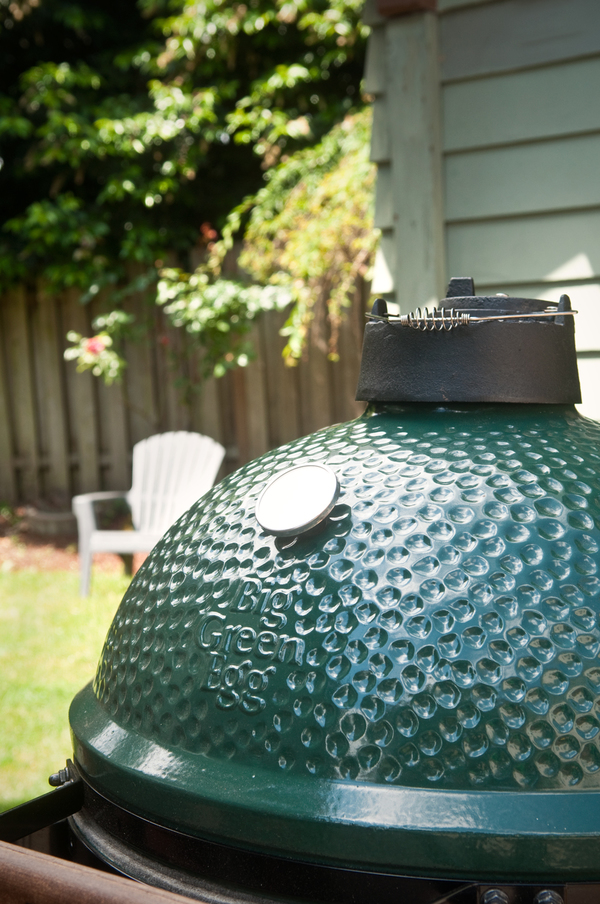
Turning out perfectly grilled foods in your own backyard requires balancing two important variables: time and temperature. Too hot, and the food gets overly blackened and burnt before it’s cooked through. Too short, and the surfaces don’t have enough time to caramelize, brown, and develop that characteristic charred flavor that makes grilling worth the effort in the first place.
A solid grill thermometer can help, but here’s the bad news: standard bi-metal dial thermometers, the kind present in almost all backyard grills and smokers, can be off by as much as 75° F in either direction. Which, if you’re going for low and slow cooked flavors of barbecue, is enough to totally ruin your meal and your day. Here’s how to fix it.
First, a note: obviously, there are a wide variety of thermometer types in a wide variety of grills. All might not be adjustable in the same way, or adjustable at all, but if yours is made by one of the larger manufacturers, it’s likely designed to be calibrated. Give it a shot!
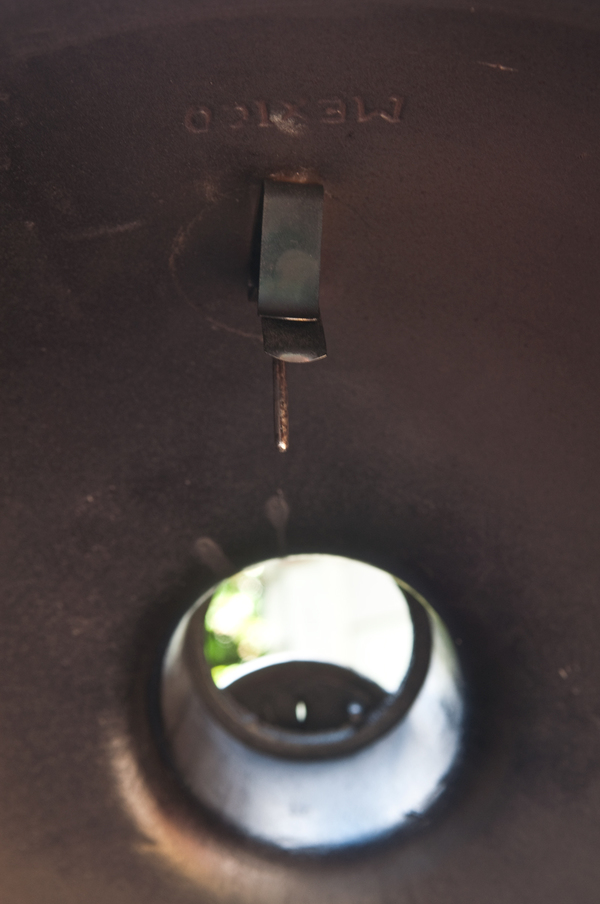
1. Open the lid and remove the thermometer entirely. Yours might be attached with a spring clamp, a threaded rod and nut, or even attached with Phillips-headed bolts.
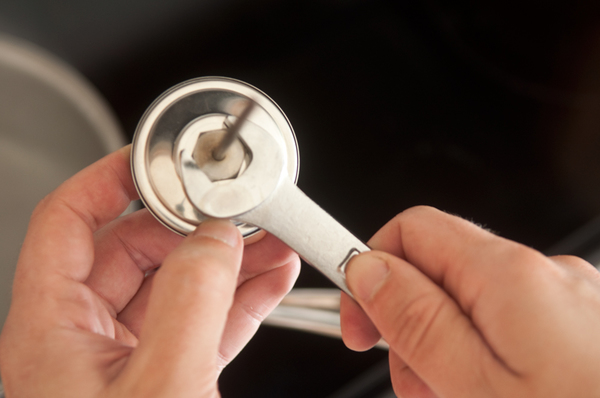
2. Check out your thermometer, and look on the back for a piece of hardware, likely a thin hex nut. Grab a wrench, either adjustable or an open-ended or combination wrench that fits. (Mine happened to be 16mm). And when we say “wrench,” we meant it. Do NOT use pliers, Vise Grips, or Channellocks; they’re too coarse for this work, and you can damage the hardware and possibly ruin your thermometer.
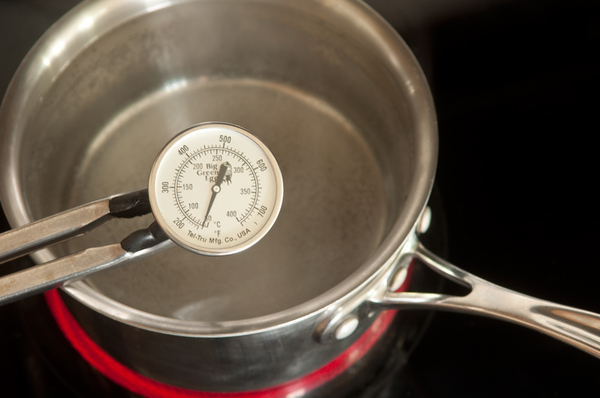
3. Now, we need a consistent source of temperature to gauge the reading. On a smaller, instant-read thermometer (like one designed to temp meats from 0-200°F), you can use a glass full of ice water, stirred well, which will be as close to 32°F/0° C as you can get. Since a grill thermometer has no reason to read that low, we’ll look at the other end of the spectrum: boiling water.
At sea level, water boils at 212°F or 100° C. I’m only at 73 ft above sea level, so that’s good enough for me. Those of you that live at elevation will likely already know how to adjust accordingly, so just be aware.
So, bring the water to a full rolling boil for a couple minutes, and the temp will never climb higher than 212°F. Perfect.
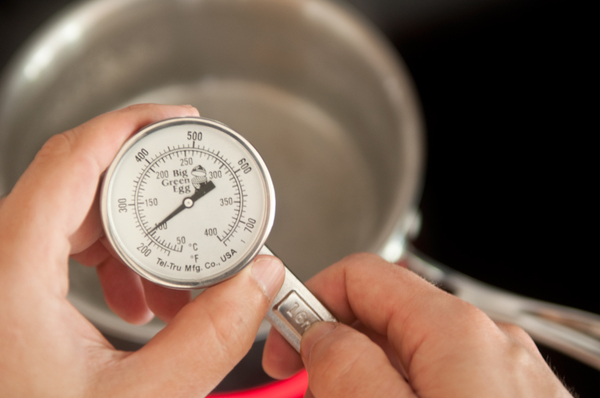
4. Take your initial reading. At first, ours read at 235° F, which means I’ve been regularly been way under my target smoking temperatures, cooking closer 200° rather than my intended 225°. No wonder my food always takes so much longer than recipes suggest to reach the desired internal temperature.
So now, use the wrench to adjust the temperature until it’s as close to 212°F/100°C as possible. Use the Celsius scale if you have one, since the tick mark will be right on 100°. If not, 210° will be close enough for this decidedly non-laboratory setting.
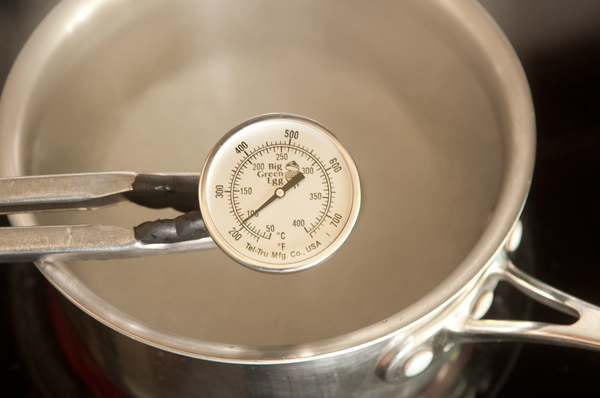
Make little changes, like 1/16th turns at a time. You’re basically adjusting the radial origin point of the needle, so a little movement at the center means a larger change at the outside of the circle.
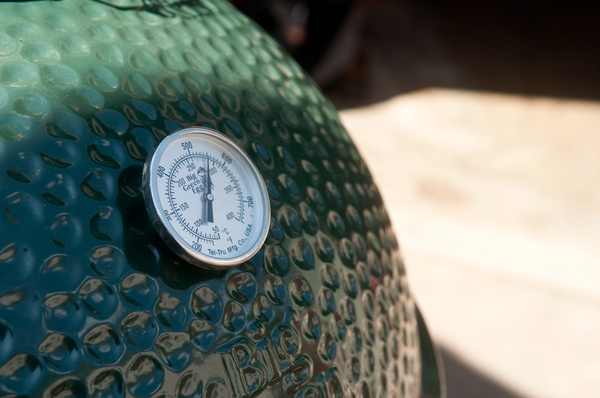
There you go. Mark your calendars to repeat every Memorial Day, or before any big parties or special cooks. Enjoy, and get outside and start grilling!

