How to: The Easy Way to Remove Pencil Marks from Your Woodworking Projects
Saws are exciting, and chisels and hand planes look really great on top of your workbench. But if you ask me, the number one most-important, guaranteed tool I use on every single project is: the No. 2 pencil.
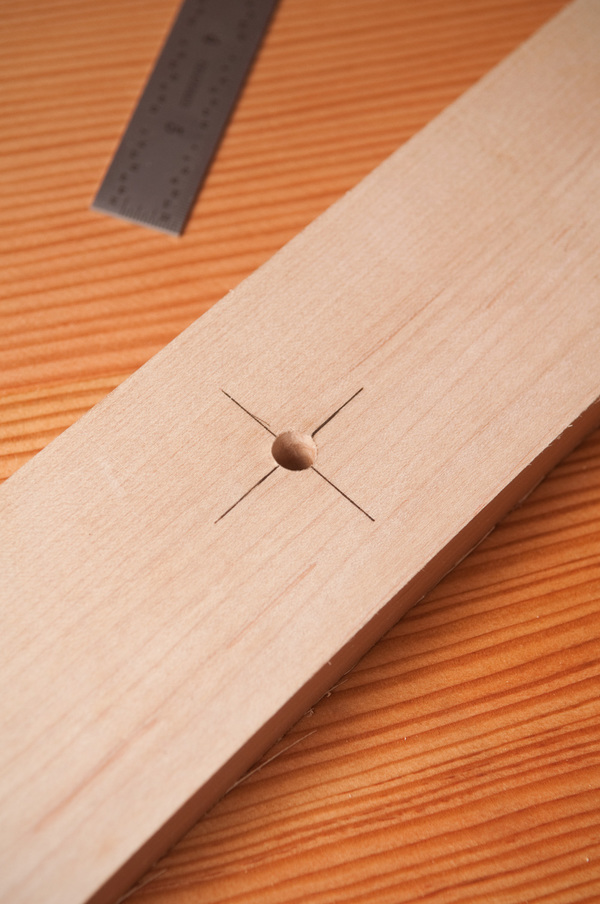
It’s essential for everything from sketching to measuring to layout and marking parts, and its “easy to remove” nature makes it perfect for seeing now, disappearing later. Except, have you ever actually tried to remove pencil from wood before applying a finish?
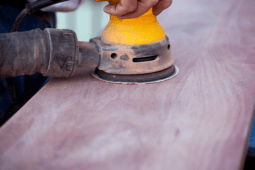
Erasers did not get the memo that they should work on wood. Using sandpaper is time consuming and results in creating dents and valleys, potentially ruining veneer on something like plywood. I’ve heard that nail polish remover (acetone) works, but I’ve never had much success with it. What actually works as a liquid eraser is…
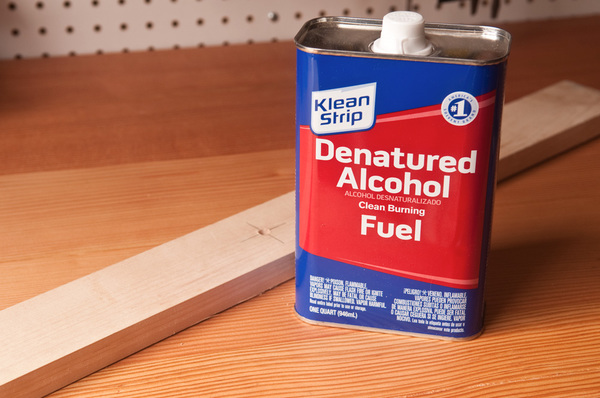
Denatured alcohol. Sold in hardware stores and home centers with the paint and wood stains, it’s only about $6-8 a can. As long as you keep the top on it to prevent it from evaporating, it will last forever.
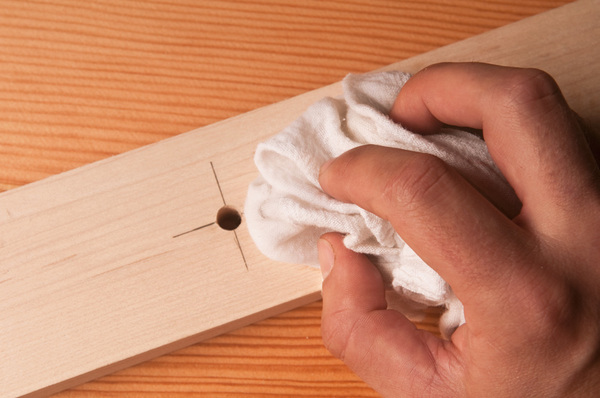
To use it to remove pencil marks, simply place some on clean rag, and apply it to the wood. It’s not a simple wipe-away process; you’ll have to rub a bit and create some friction. So, just concentrate on one small area at a time.
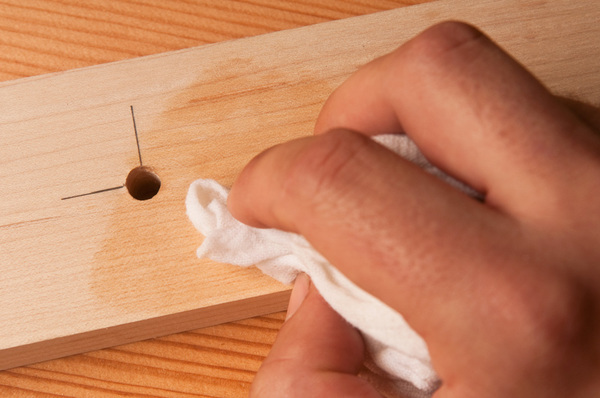
But, in a couple of seconds, the pencil marks will disappear, and after a minute or so, the alcohol will evaporate. If you do have a little ghosting left, then you can take a couple swipes with some 220-grit sandpaper to clean everything up.
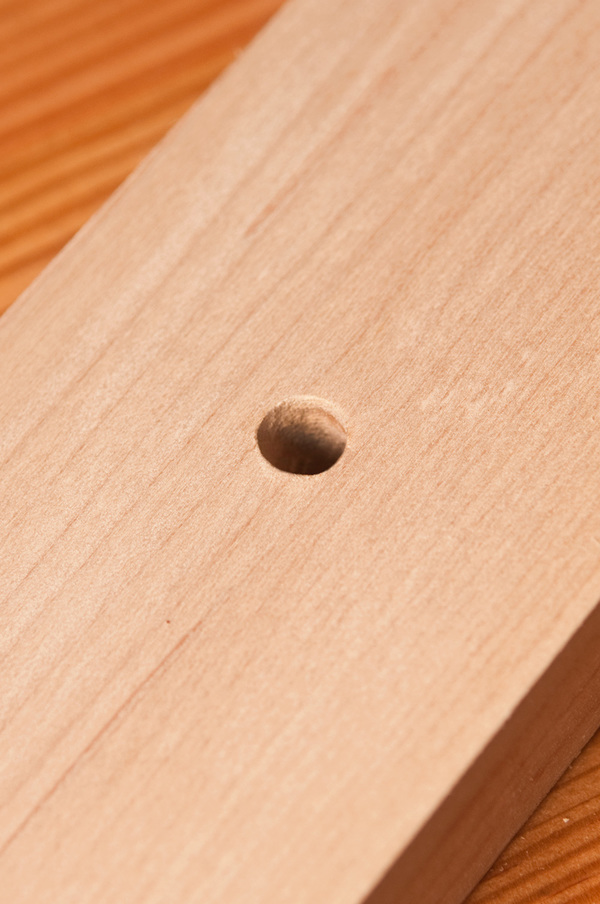
Done. Moving on to the next step in your project…

