I’ve Been Drilling Pilot Holes Wrong My Entire Life. Here’s How I Learned to Correct My Technique.
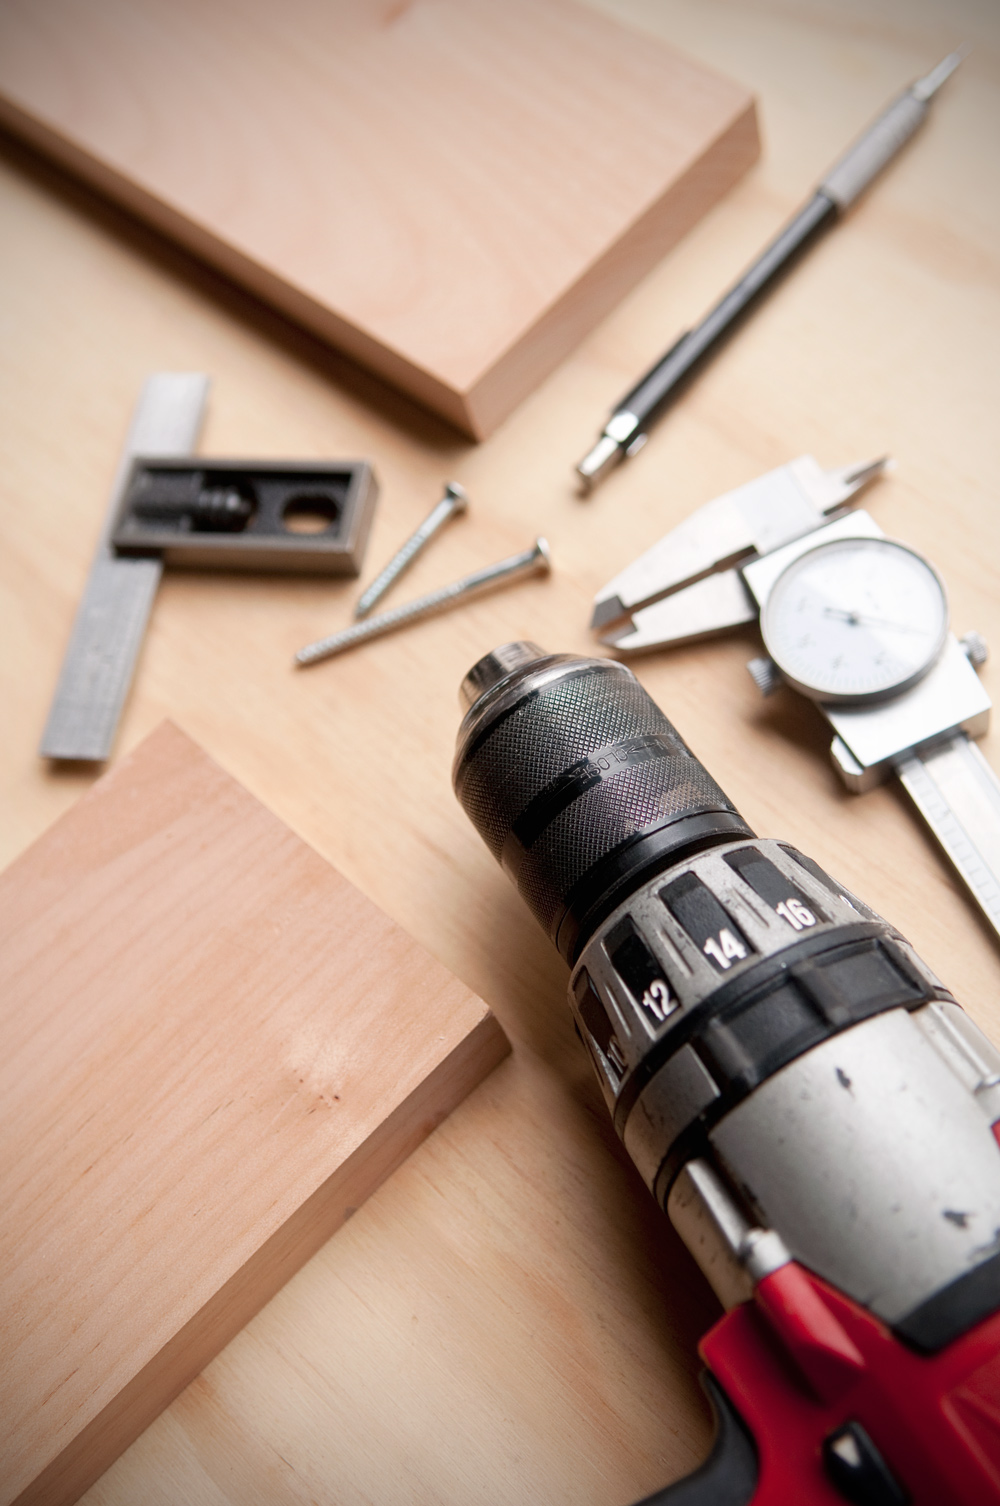
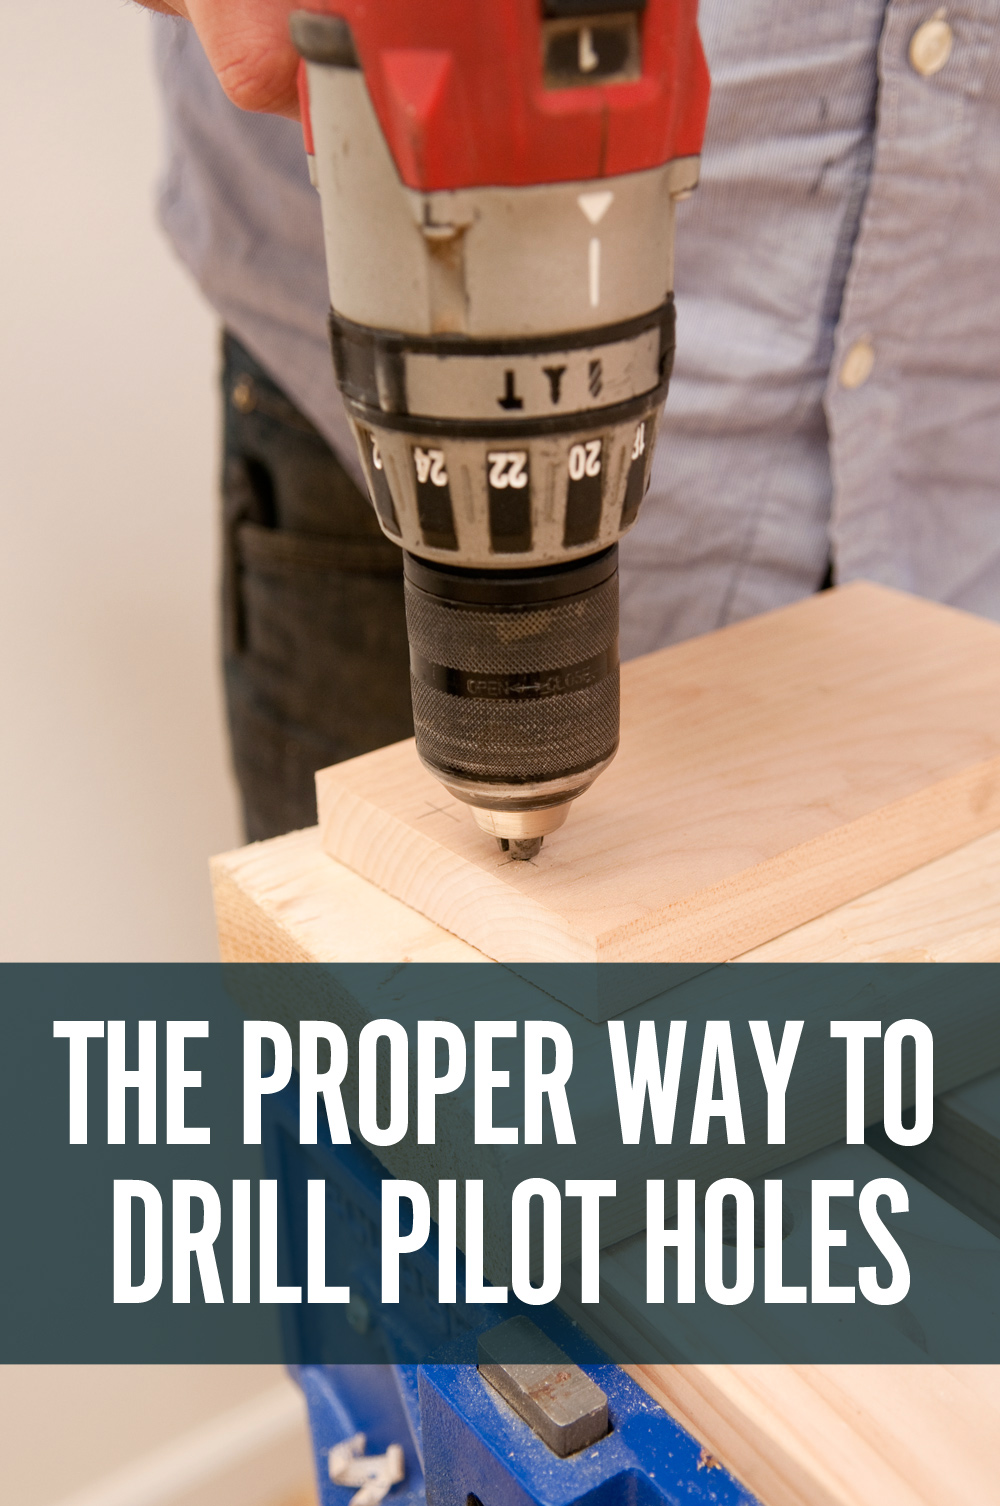
So, ever since I learned to use an electric drill, I’ve followed this rule: when joining two pieces of wood, you drill an appropriately sized pilot hole completely through the top, and down into the second. This guides the screw, and the two pieces are held together when the screw’s threads grab the wood and lock everything into place. The pilot hole’s size is determined by the inner diameter of the screw’s body, minus the threads. Right?
Wrong.
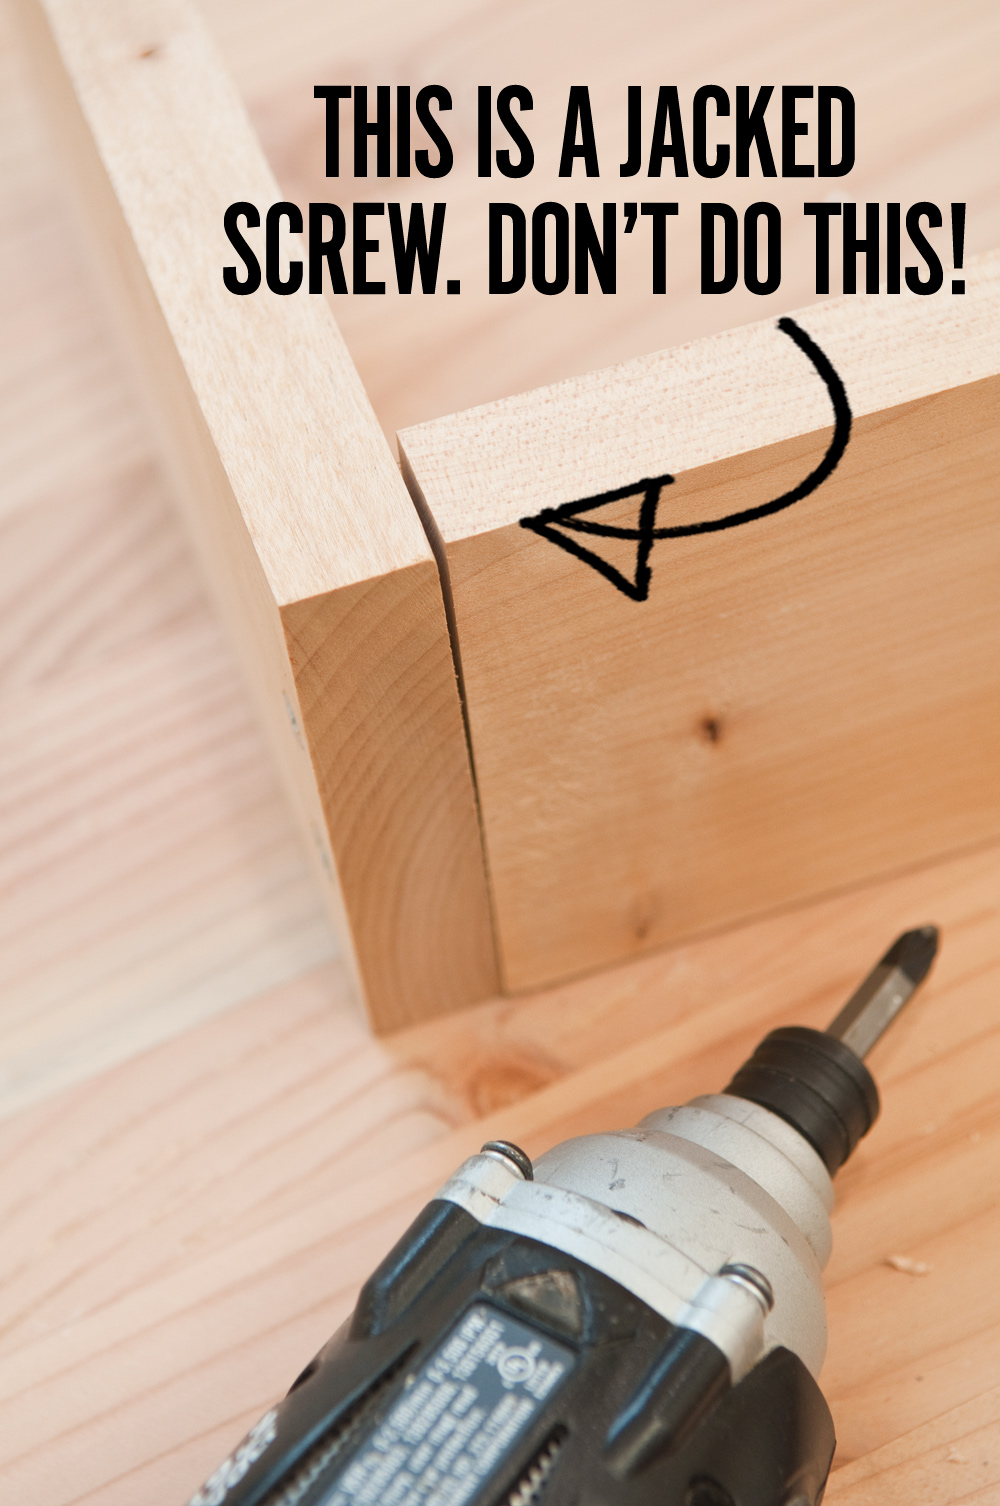
In fact, doing it this way can compromise the strength of the joint. In this approach, the threads insert themselves into the first piece, locking its position in place. Even worse, the screw can hold the two pieces apart from each other, resulting in a “jacked” or “bridged” screw. This not only looks sloppy, but if you’re trying to glue the joint together, there won’t be enough contact and pressure to allow the glue to bond the two pieces.
My problem was a lack of understanding about how a screw joint actually works.
It’s not the threads biting into both pieces that secured everything in place. Rather, the strength of a screw joint comes from the threads pulling the screw through the bottom piece and securing the top from the pressure against the screw’s head. The threads are irrelevant in the top piece; only the head matters. Think of it like a nut and bolt: the bottom piece of wood acts like the nut, drawing whatever is sandwiched between the hardware’s head and the “nut” flush via the threads.
So, in order to permit both pieces to touch fully and allow the head to seat, the threads shouldn’t dig into the wood fibers of the top piece at all.
DID YOU KNOW THIS?!?! Perhaps I’m the only one, but I suspect this is a common misconception. So, how do you drill the appropriately sized screw holes in both pieces with one drill bit?
You don’t.
You use two drill bits. Well, you could use a stepped drill bit, with two diameters, or a tapered bit, but neither really gets you exactly where you need to be for truly strong joinery. If this is old news to you, then you are a better woodworker than I. If not, here’s how you properly drill a pilot hole.
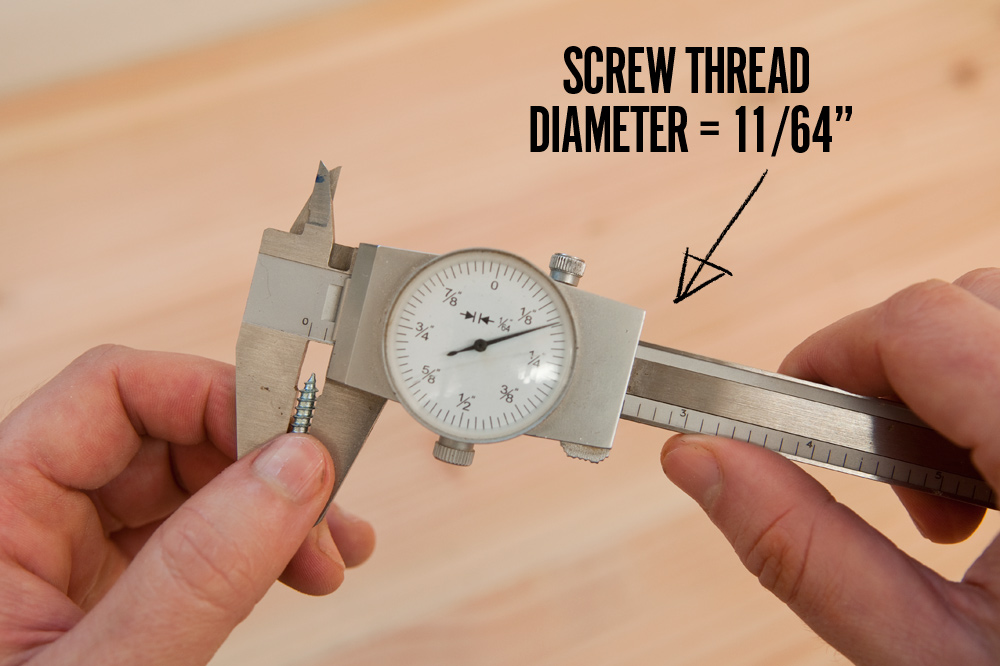
Begin by understanding this: the hole drilled through the top piece of wood isn’t a pilot hole at all — it’s a clearance hole. This hole completely clears the material, allowing the screw to pass through, without cutting into the wood.
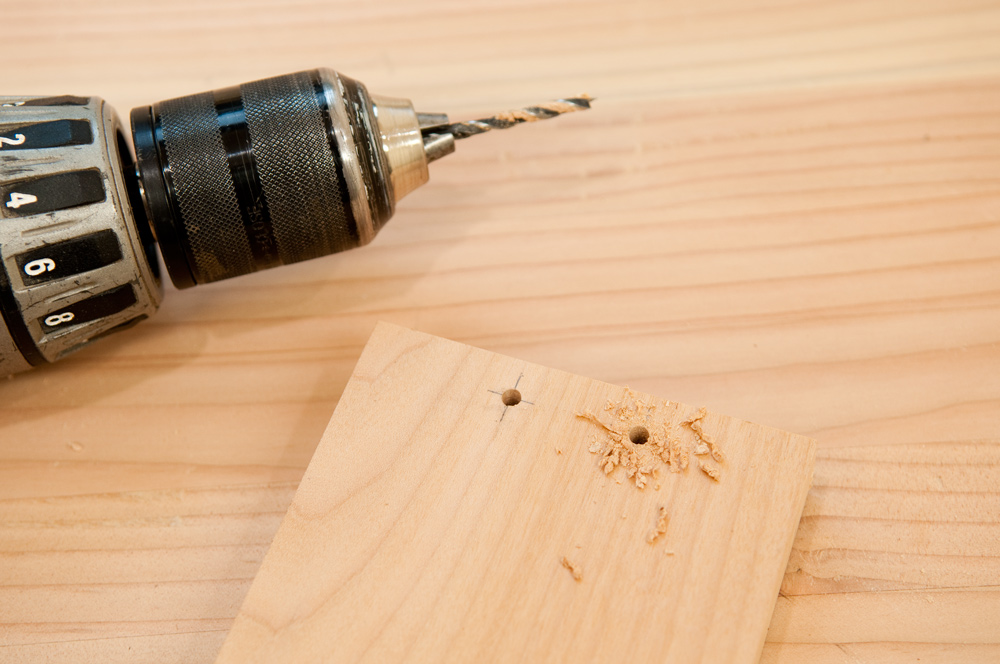
In order to do this, you first drill a hole with a bit that matches the outer diameter of the screw’s threads, countersinking or counterboring where appropriate.
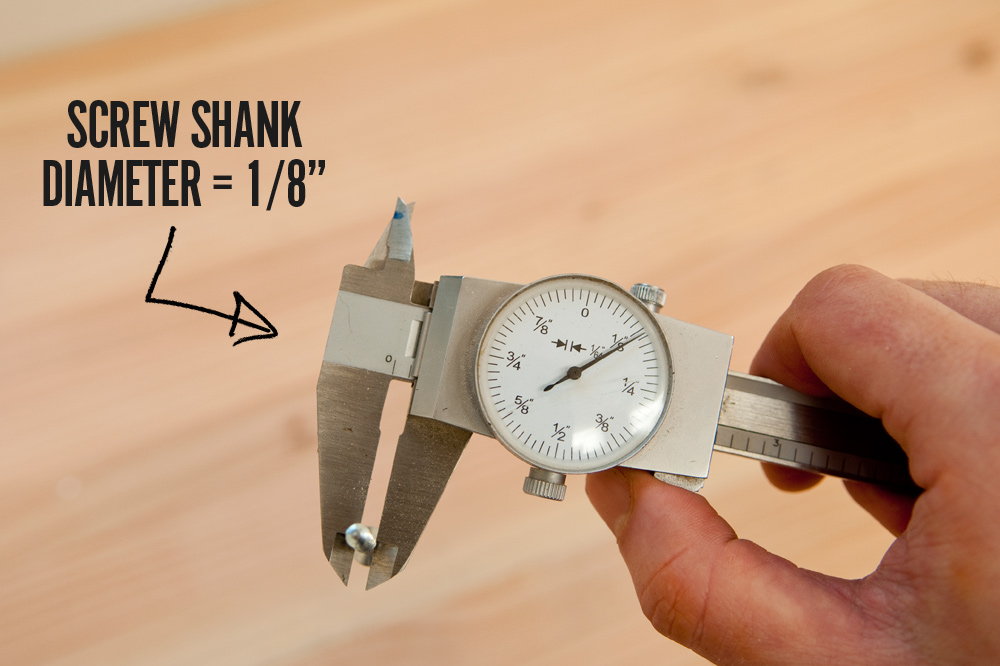
Then, drill a pilot hole in the bottom piece to accept the screw’s threads. This bit should match the inside shank of the screw (not including the threads). Since the bit is smaller, you can drill it right through the clearance hole in the top.
Alternatively, you can begin by drilling the pilot hole through both pieces, then ream out just the clearance hole in the top piece only with the larger bit. This is a great method if everything is super secure and clamped so your parts don’t become misaligned.
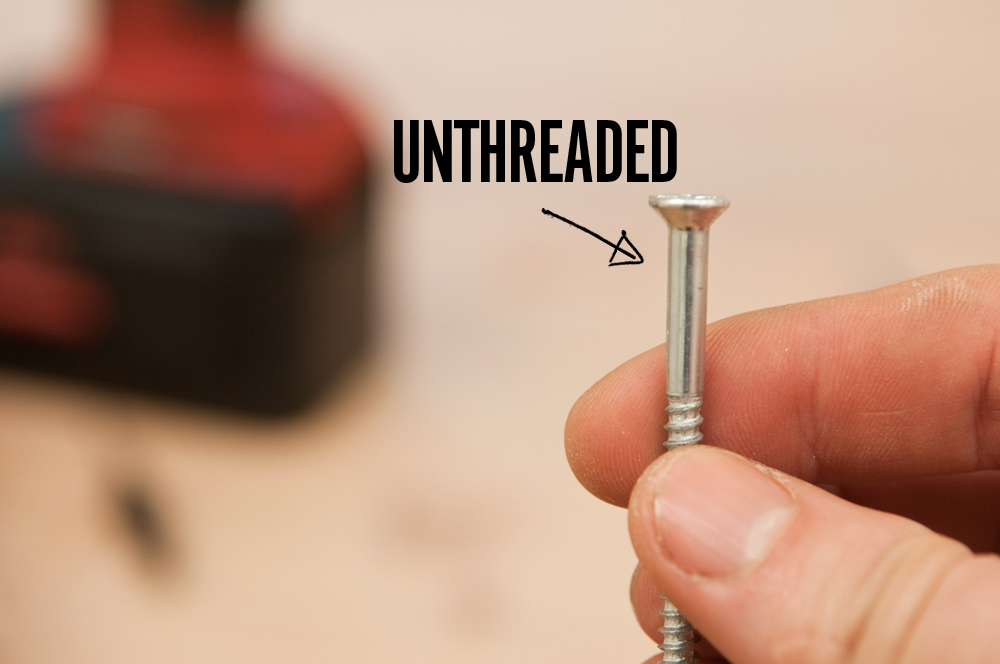
In fact, screw manufacturers know you probably won’t do this each time. It’s why they leave that initial bit of screw unthreaded at the top of the screw under the head.
Is it an extra step? Yes. Is it necessary when doing rough construction or banging something together in your garage? No, of course not. But when you’re working on a fine project you’re proud of, and especially if you’re using glue, it’s worth the extra couple of minutes to make the strongest joinery possible and keep everything flush and clean. In fact, the clearance hole is more important than the pilot hole, so if you’re only going to drill one hole and you’re sure the wood won’t split, you can save time and alignment hassle by skipping the pilot hole altogether.
Now that I get how this works, I feel kinda silly for not having done this on the thousands of pilot holes I’ve drill over the past twenty years. But, at least I know now.
Do you like simple woodworking and DIY tips like this? Let us know by sharing this image on Pinterest:
