(How I Totally Screwed Up) Trimming Out My Final Shop Window
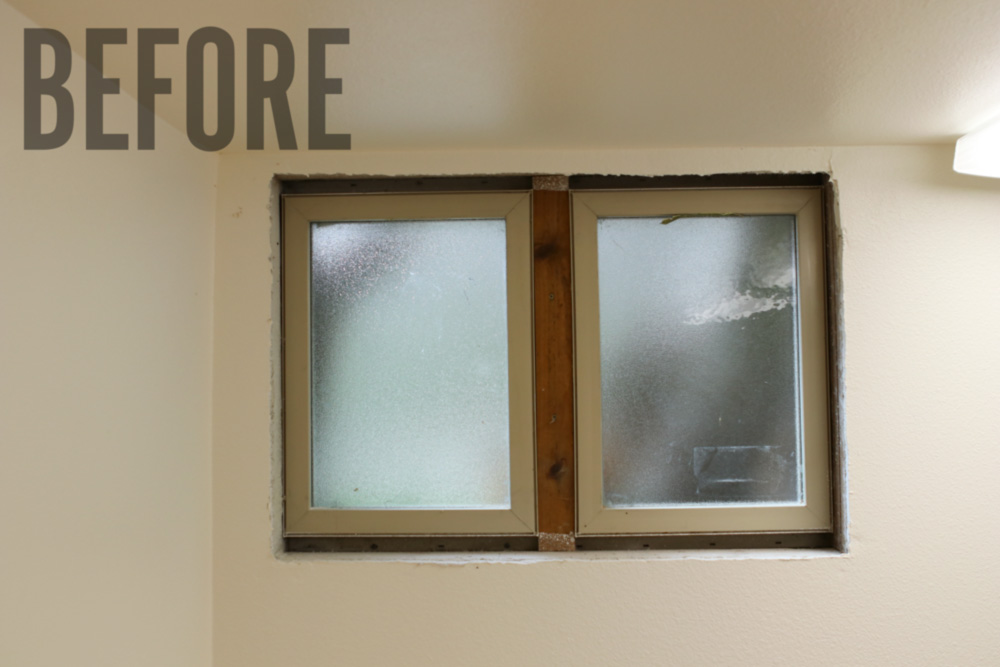
When I built out my basement shop space last fall/winter, there remained a couple of unfinished spots that I knew I'd need to deal with. Case in point: this obscure glass window. (This half of the shop was intended to be a bathroom, and this would have sat right over the tub.)
Last week, I got a new, very large, very heavy stationary woodworking machine (more on that soon), which I'd planned to store right along this wall. So, I figured if I didn't trim it out now, I'd never do it, and it'd look exactly the same in twenty years.
So, I got to work. And it was kind of a disaster.
Now, before we begin, I can admit: I'm a detail-oriented person. I like to do this once and do them well. You might call me a perfectionist. I don't, but you may and it won't hurt my feelings.
But I'm aware that this point of view often makes things take a long time. And I'm working on ways to bring more “good enough” approaches into my life, so I can be more productive. Like this window – it's a workshop, after all, and I'm probably going to put lumber racks on this wall and cover part of it. No one but me and my closest friends will ever even go in this room.
Great, I said. I'll just cover up the raw parts, keep it simple, paint it and move on.
And that was my mistake.
The truth is: I have no idea what the original installer intended for this window. Whether he meant to wrap the corners in drywall, or build out sashes and sills. None of the blocking and dimensions really make any sense for standard materials.
So, I began by taking measurements and going to the home improvement store. I'm not great at drywall, but I'm a pretty good woodworker, and I have the tools to trim it out in wood, then paint it. I planned to fill the top and bottom with construction lumber, cover the sides in one-by stock, caulk, paint, and done.
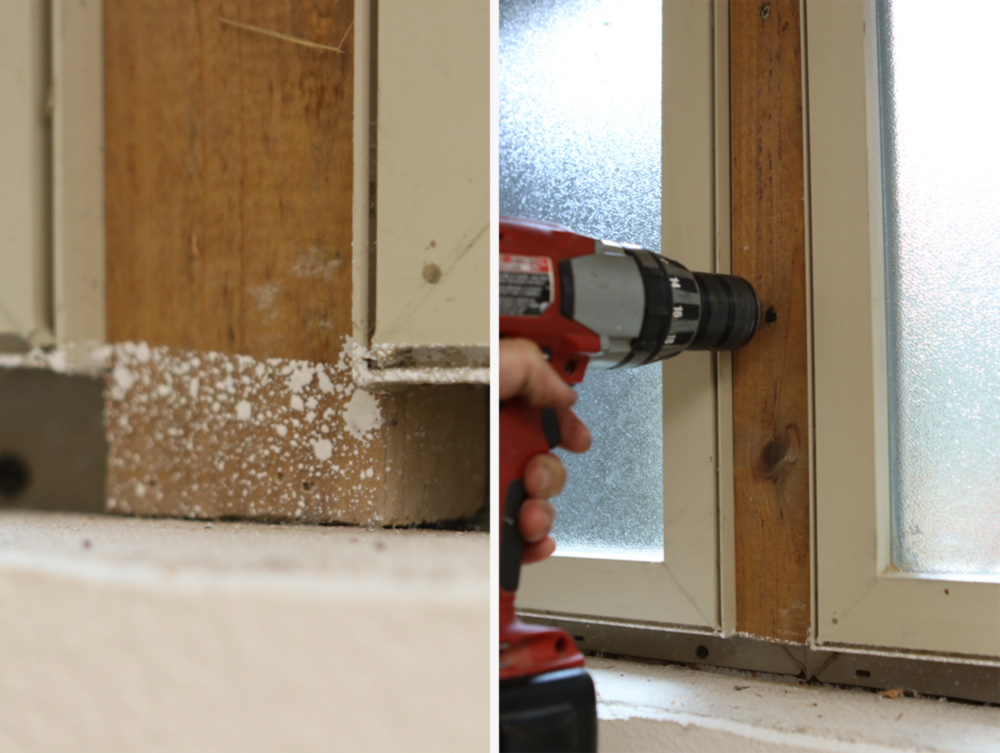
First, there was this filler piece between the two windows, that I knew I'd have make notches for in the top and bottom. That sounded complicated, so I just removed it, cut it flush with the tops and bottoms, and screwed it back in.
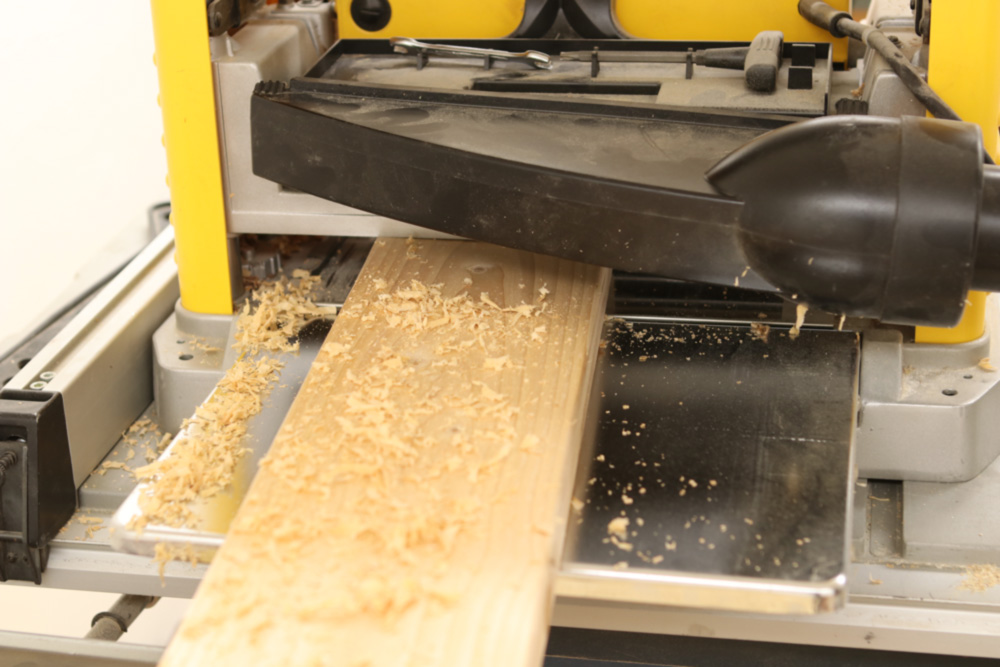 The gap between the top and bottom was just under 1″. Of course, they don't really sell 1″ thick wood – it's all 1 1/2″ or 3/4″ So I bough a 2×6 and planed it down to the appropriate thickness.
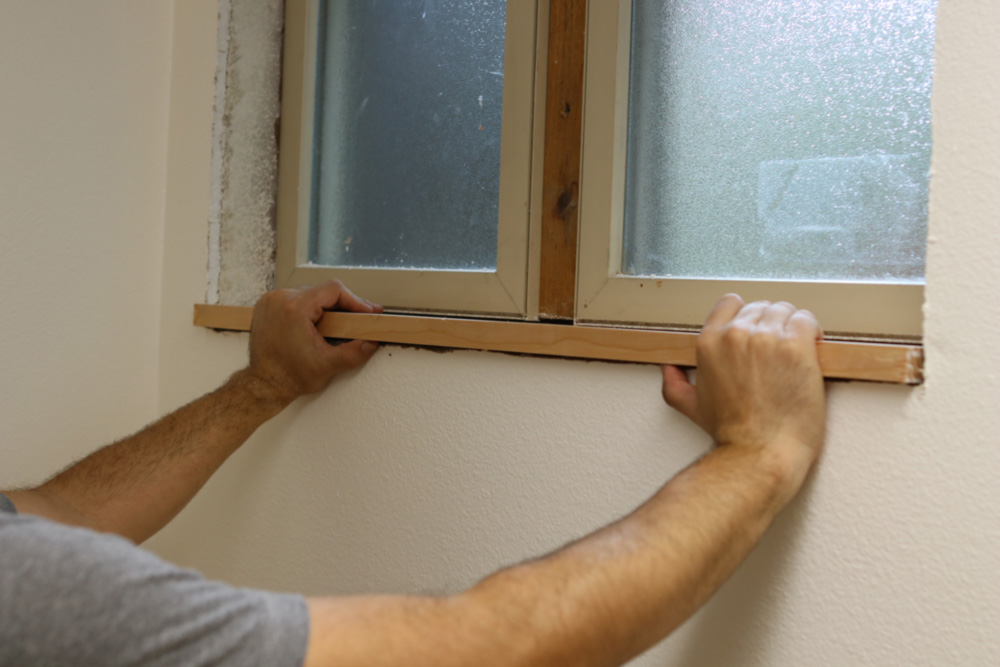
Then I trimmed it to length and width, and put it in place…
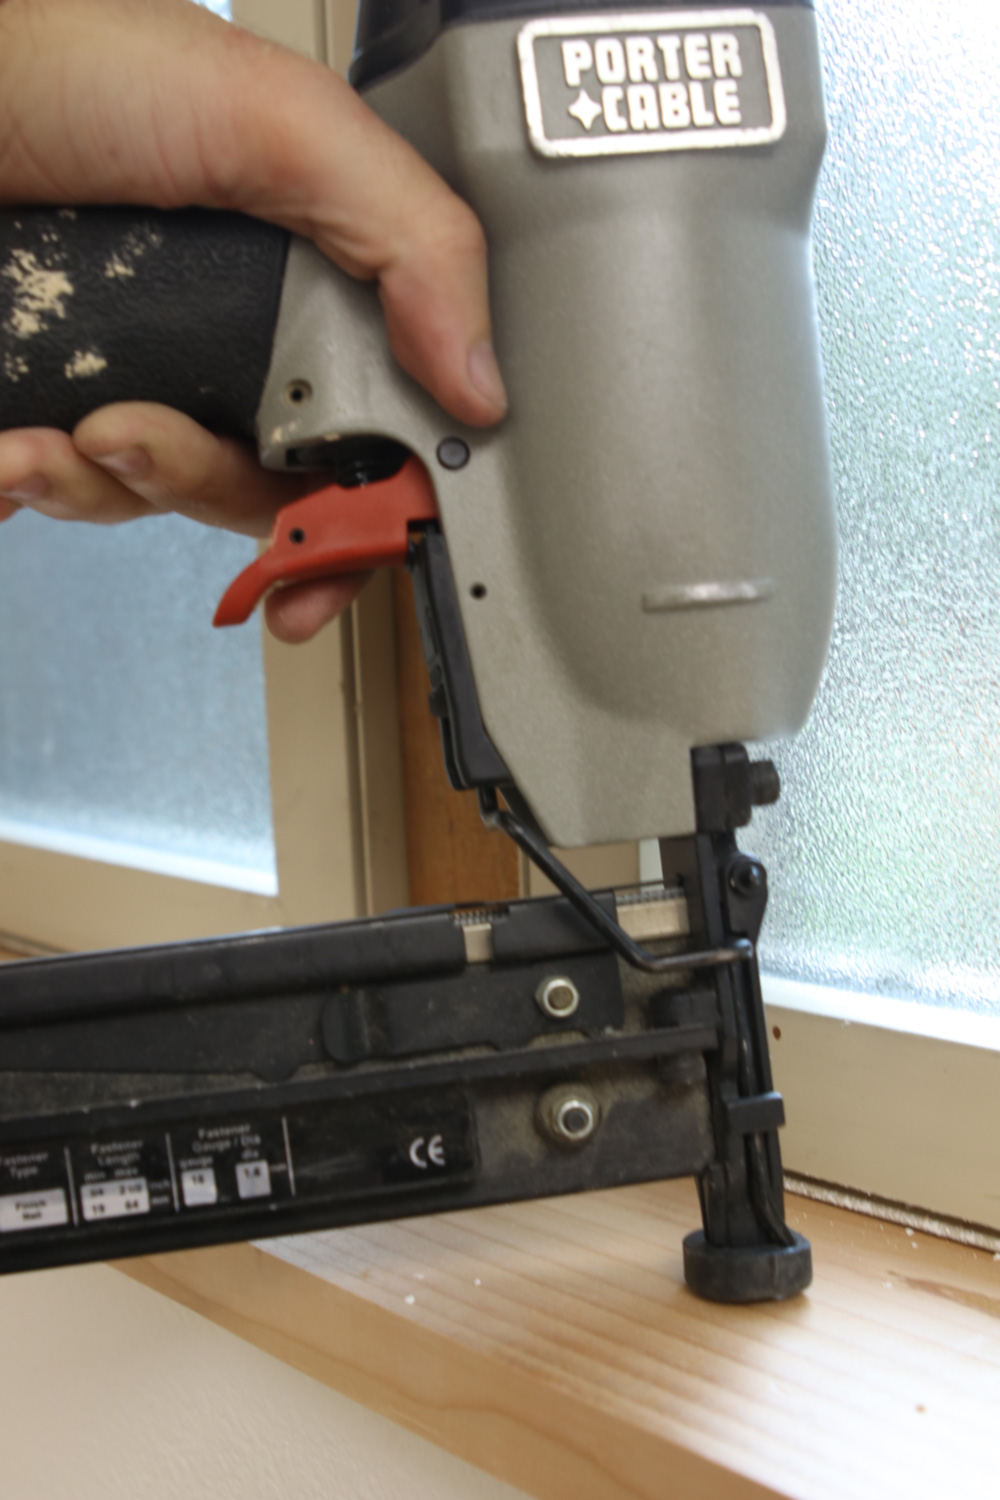 …using construction adhesive and 16-gauge finish nails to keep things in place.
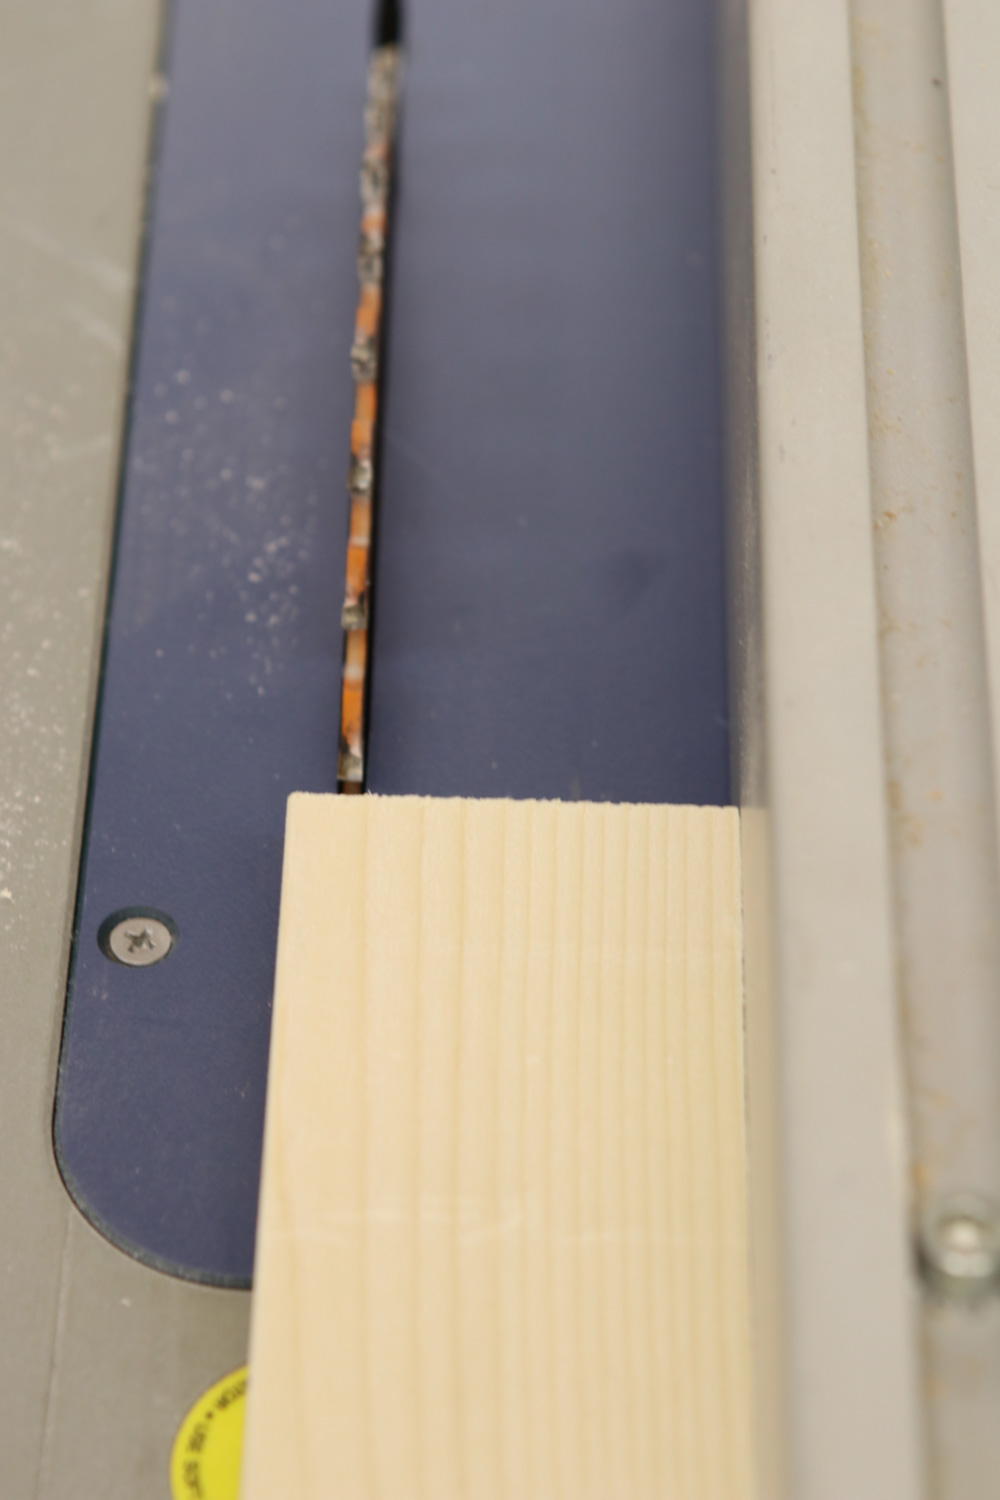
For the sides, I trimmed some 1x3s on the table saw to match the depth of the inset.
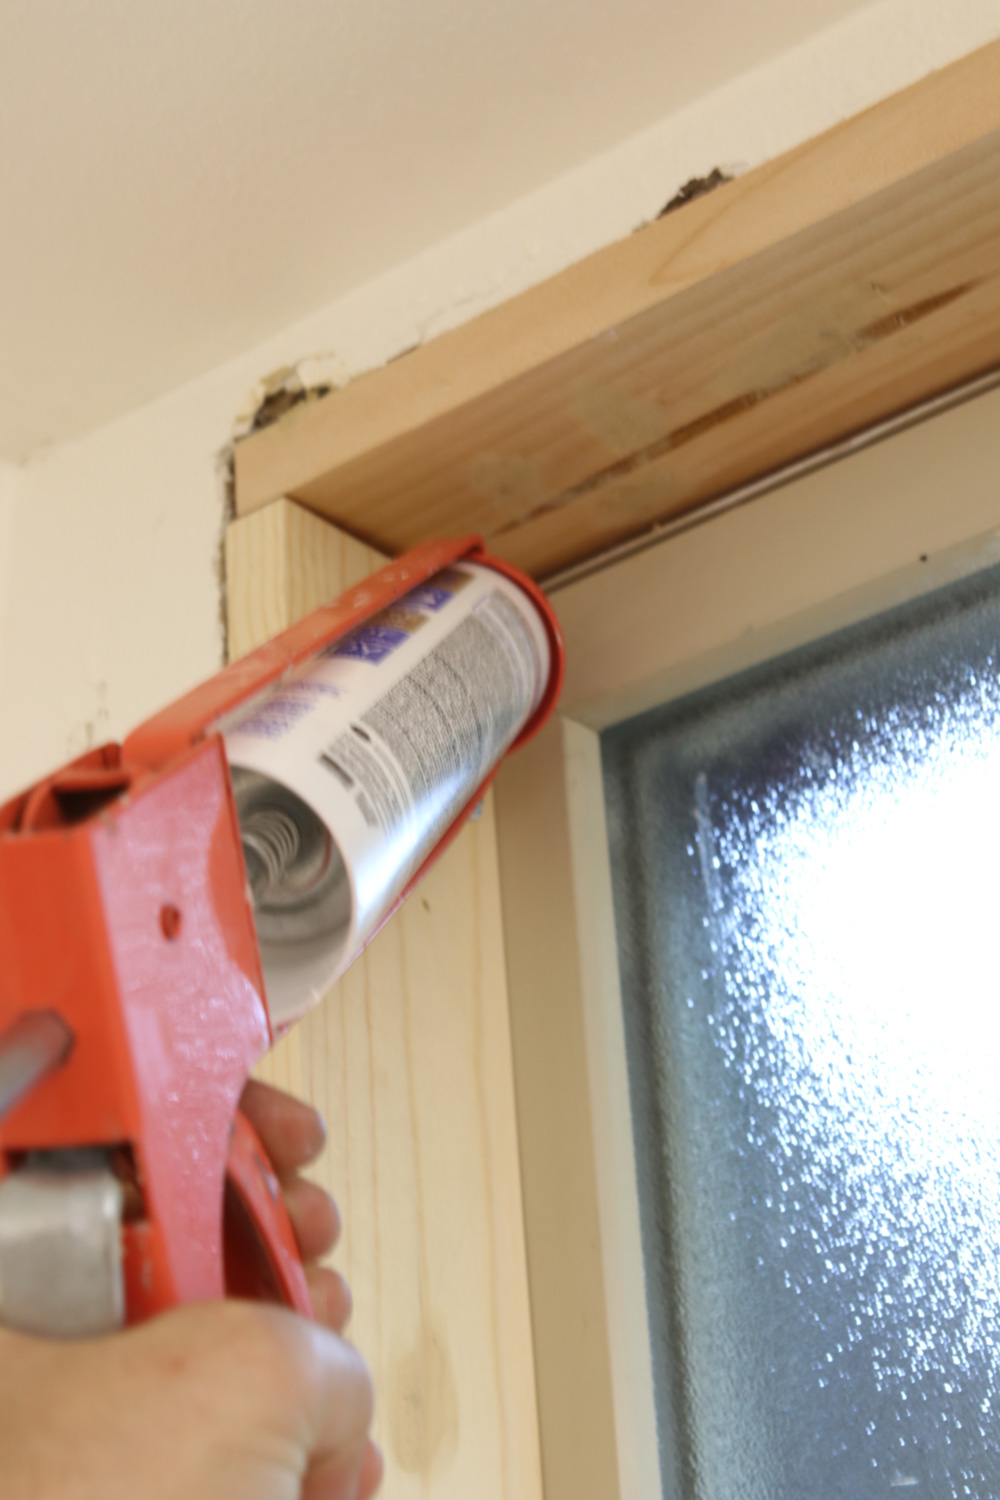
I caulked all the gaps with waterproof basement caulk. And here, things started to go wrong. I forgot to buy the paintable stuff, and clear silicone caulk not only doesn't like to be painted, it repels the paint like it's covered in holy water. In fact, if I ever need a resist and don't want to get paint on something, I might employ silicone caulk, because it's that good at it.
So, I used the caulk and wall patcher and a bit of sandable wood filler to try to flush things up as best as possible, and got painting.
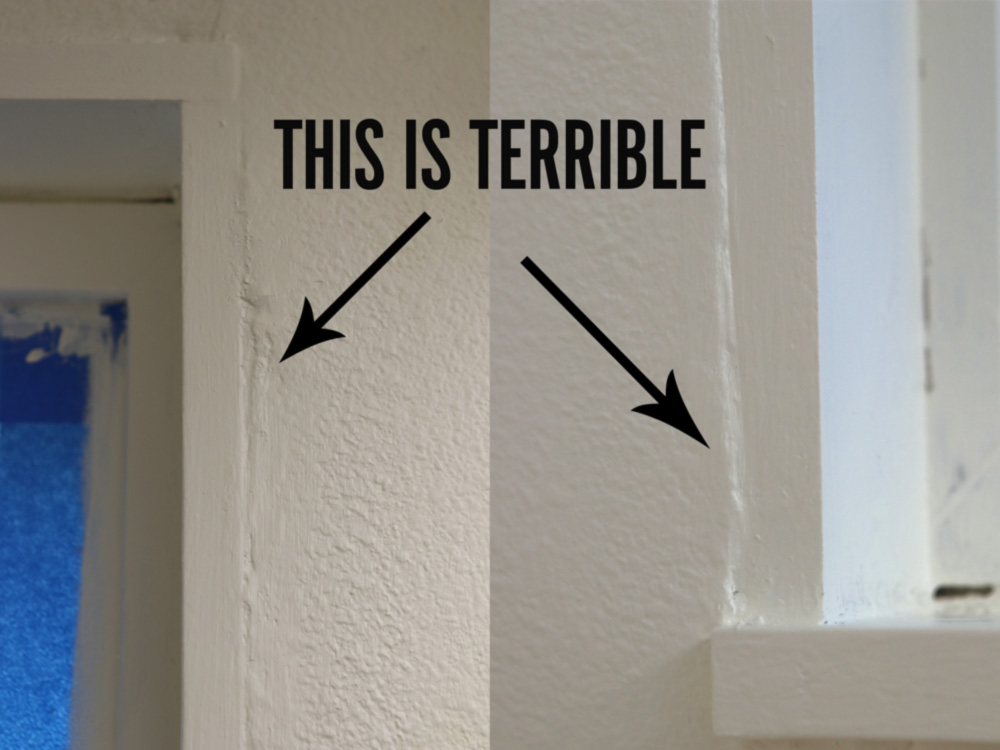
And it looked horrible. I didn't think it'd be seamless, but I wasn't expecting it to be this bad. I mean…THIS IS WHY THEY INVENTED TRIM AND MOLDING. The entire western tradition exists to cover up these transition points. I'd avoided trim because I wanted the walls to be flat as possible so I could add lumber racks and have everything flush against the long wall. Plus, it's so close to the ceiling and the corner, I knew the standard widths wouldn't fit.
But, seriously, this is terrible, and not just for a perfectionist. Plus, with the silicone caulk repelling paint left and right, it wasn't going to work, and so it was time to fix it.
So, I went back to Home Depot for a third time, and bought some simple Shaker trim that matches the doors in the room and the Craftsman bungalow vibe in the rest of our house. Of course, this requires a window sill that protrudes out from the trim, which I hadn't built into the first design. So the best I could do was surround the window with a rectangle of trim, and just pretend it had a sill.
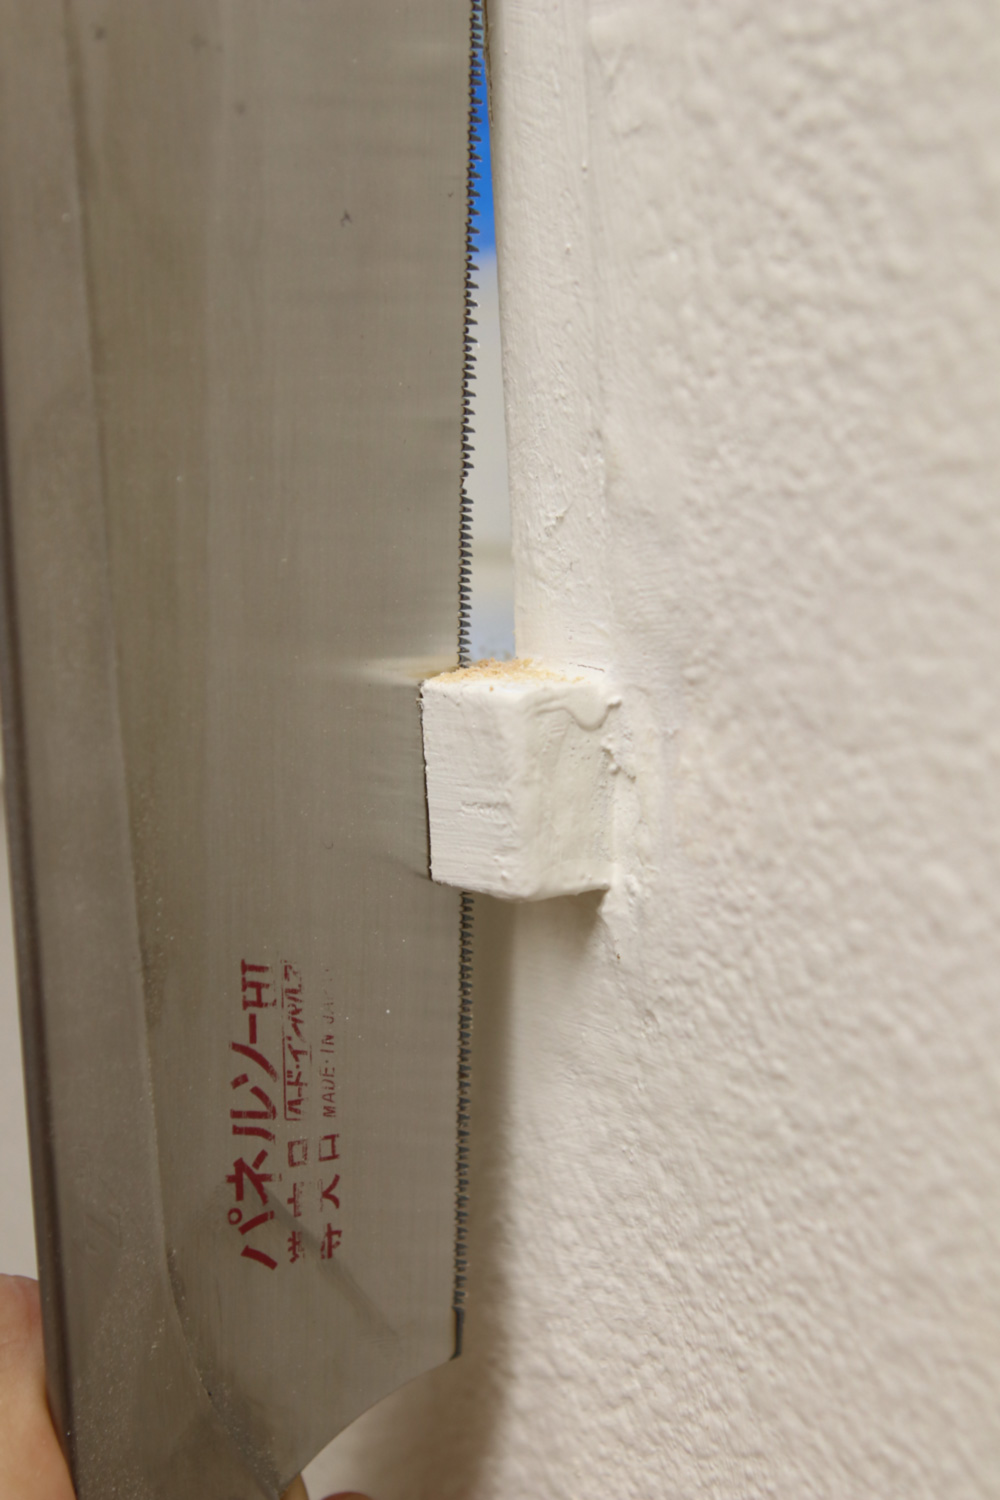
To make it fit, I needed to cut off the tiny protruding pieces from the lowest blocking. A pull saw made it quite simple, and allowed me to avoid cutting into the drywall.
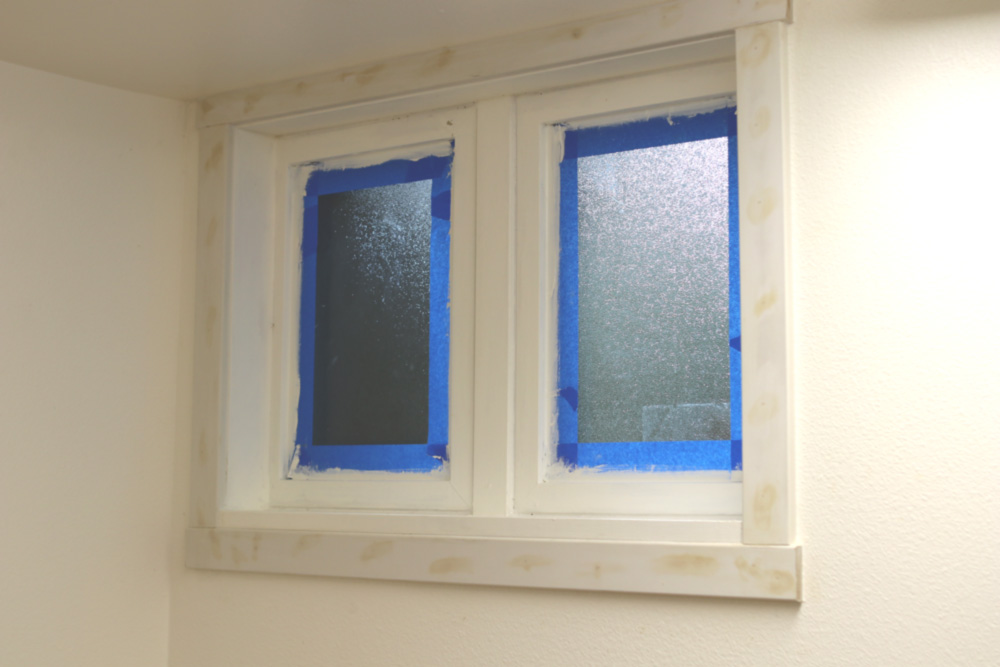
Then, I placed the trim around the window, cutting the top piece narrower at the table saw. I glued and nailed it in, and filled all the holes.
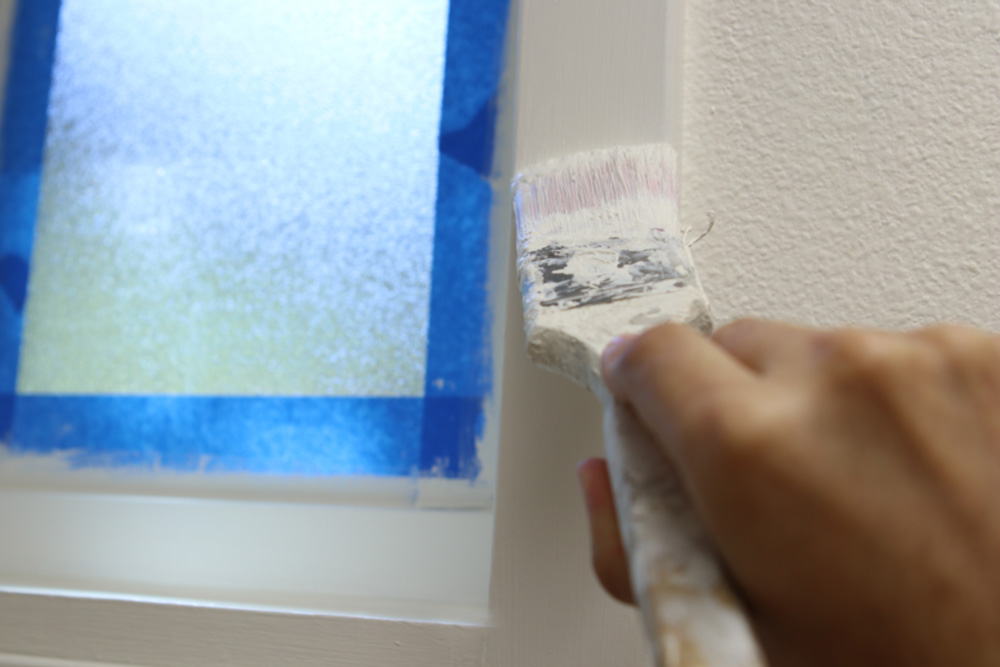
Then, I used PAINTABLE caulk to fill the gaps and got brushing. Thankfully, everything in the shop is the same white color, so I didn't have to be super careful.
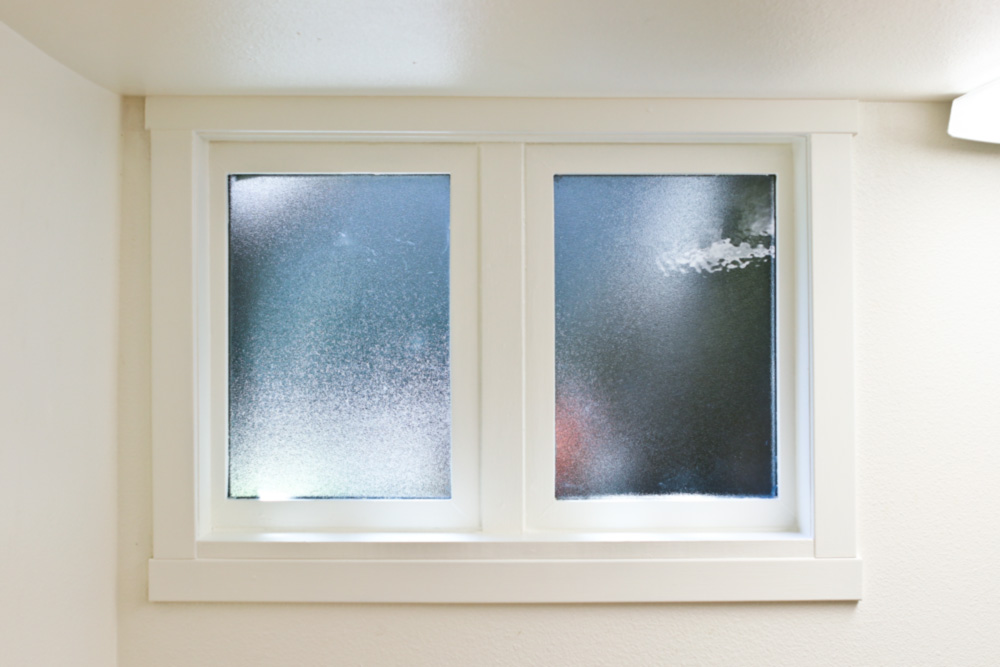
And here's the after. It's not the standard way of doing this, and the paint got pretty gloppy with all those edges and coats, but…it looks way better than it did a week ago.
So, I'm trying not to take this as a lesson learned towards not honoring my perfectionism. But, in this case, “good enough” wasn't, and — why do something at all if you're not going to be happy with it? I'll keep working on my expectations, but I know myself well enough that I will see it everyday, and I need to feel good about it. Cause, it's not really about what others think, but whether or not I'm inspired to create in this workspace. And, apparently, proper window trim is part of that.
Have a great weekend.


