How to Restore a Vintage Chisel
Unless you're a millionaire, I always recommend going with used hand tools when getting started in woodworking. (Though, full disclosure, no millionaires have yet to ask my advice.) Vintage tools are plentiful, much less expensive, and depending on their age, usually a better, longer-lasting tool than you can buy at your local big box store. And the best part? Antique tools are more likely to be made in the USA or Europe, where they've been crafted from higher quality steels than modern tools from the home improvement center.
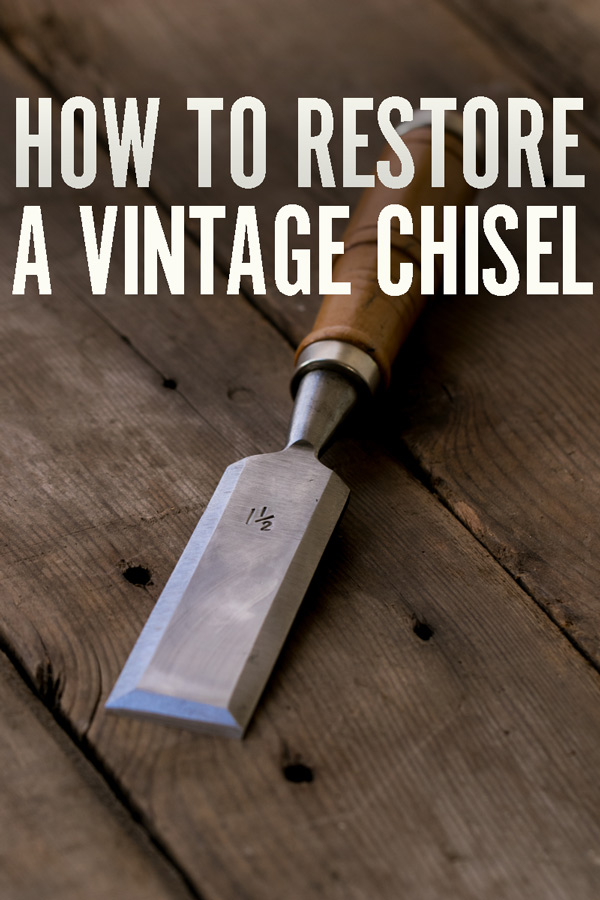
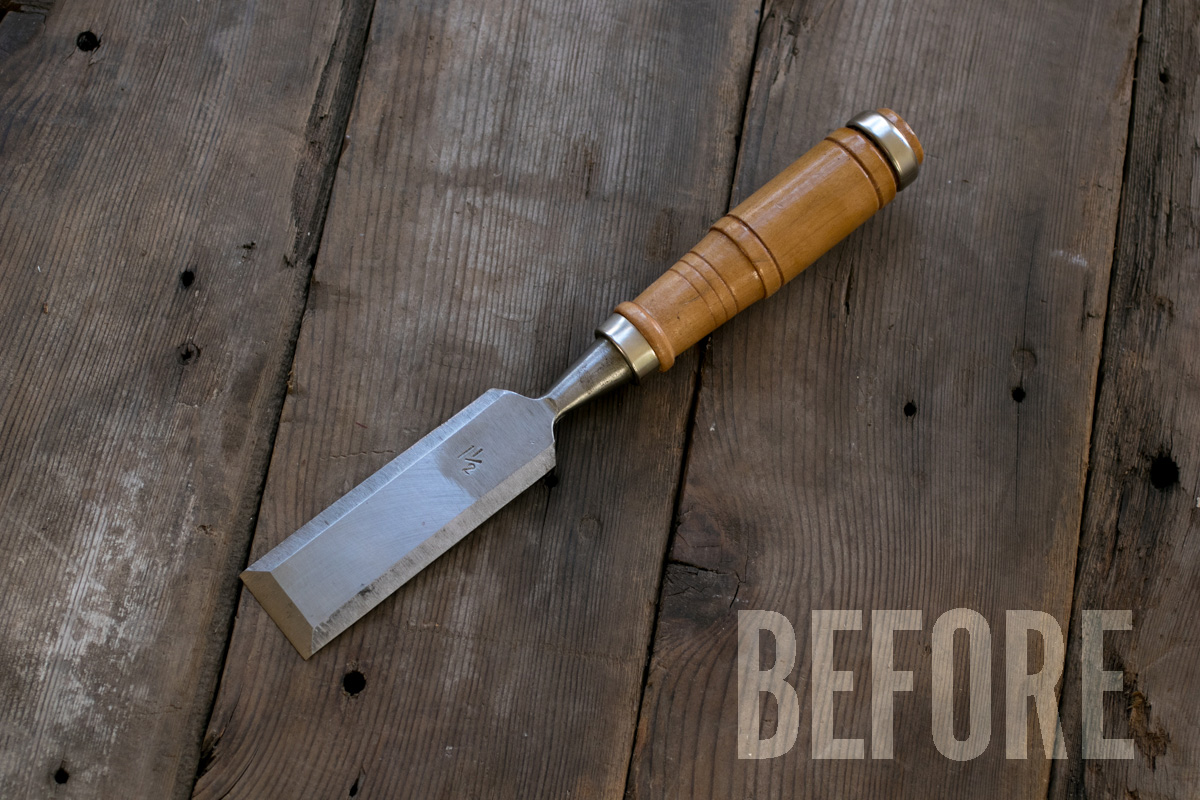
Over the weekend, I found this nice, broad 1 1/2″ chisel at a favorite antique mall, with a mere $7.50 on the price tag hanging from the handle. It was in mostly great condition. The top and back had been coarsely ground a few times, and the bevel wasn't square to the sides, but the steel was in beautiful shape and the handle looks like it's never been pounded on.
Of course, I bought it, and I took it through the usual regimen to get it tuned up and sharp. Ready to learn more about chisel sharpening? Here's how to it.
Here's the “before”. This might look scary, but it's 10000% safe, because…
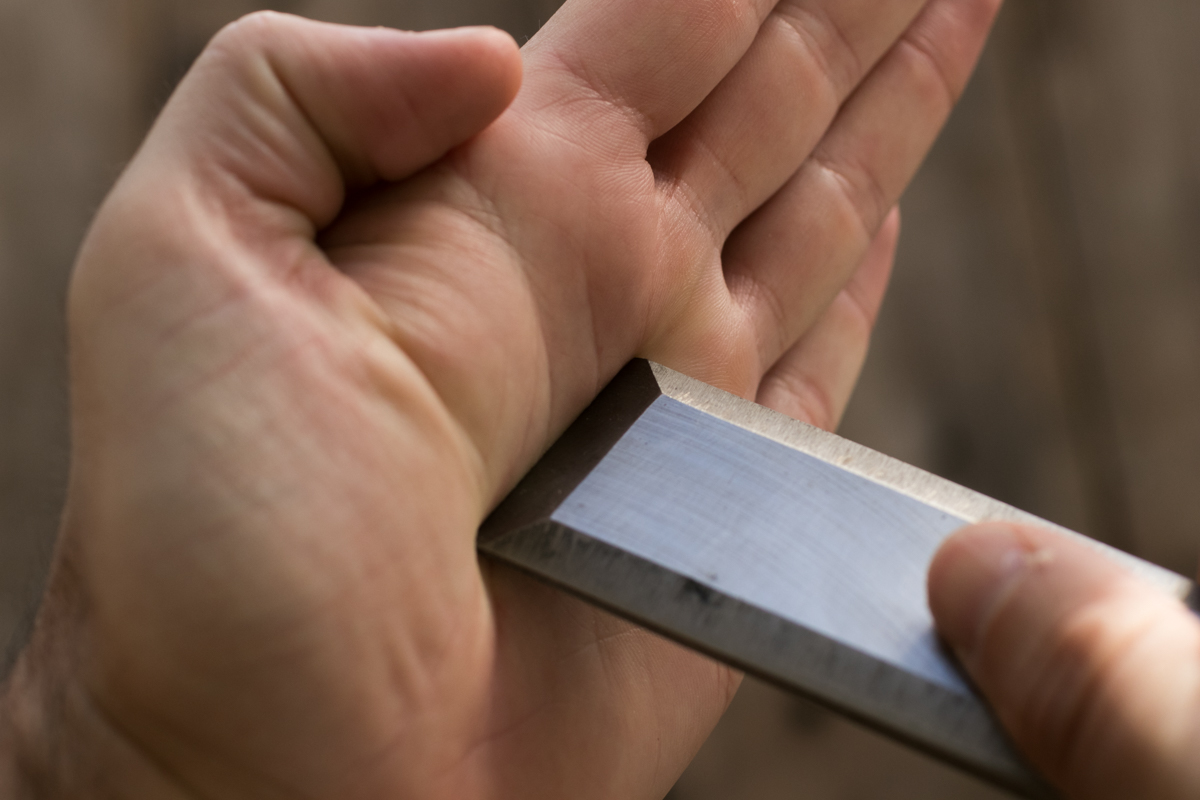
This chisel was as dull as a soup spoon.
In fact, were I in a street fight, I'd probably opt for a spoon over this thing just so I could at least get some good jabbing and digging action.
There are four steps to a getting a chisel into good working order: cleaning the steel, flattening the back, grinding the bevel, and honing the cutting edge. If your handle is banged up beyond repair, you certainly can also make a new one, but that's beyond the scope of this guide. (Also, if you have the tools and knowhow to make a new chisel handle, you probably don't need me to walk you through the process.) The last three steps are also necessary for a new chisel as well, so once you master the process, you're set for your whole woodworking life.
Chisel Sharpening: Cleaning the Steel
Here's the best news about restoring older tools: the appearance does not affect performance. In fact, the built-in patina is the coolest part about using vintage steel. But if the tool has any rust, it can eat away at the metal and leave pitting, so you'll want to remove it as best you can.
The most straightforward option is WD-40. Spray on a little, let it work its magic, and likely, it'll clean things up perfectly. If you need a little abrasion, some #0000 steel wool works great, or 600 grit wet-dry sandpaper.
If you have large spots of black rust, we highly recommend the Sandflex Rust Erasers for any and all removal needs. (Seriously, dude. I love those things.)
Chisel Sharpening: Flattening the Back
The back of a chisel should be polished and flat. This is both essential to creating a sharp cutting edge, and for doing accurate work, as the back of a chisel is used as a reference surface for chopping and paring.
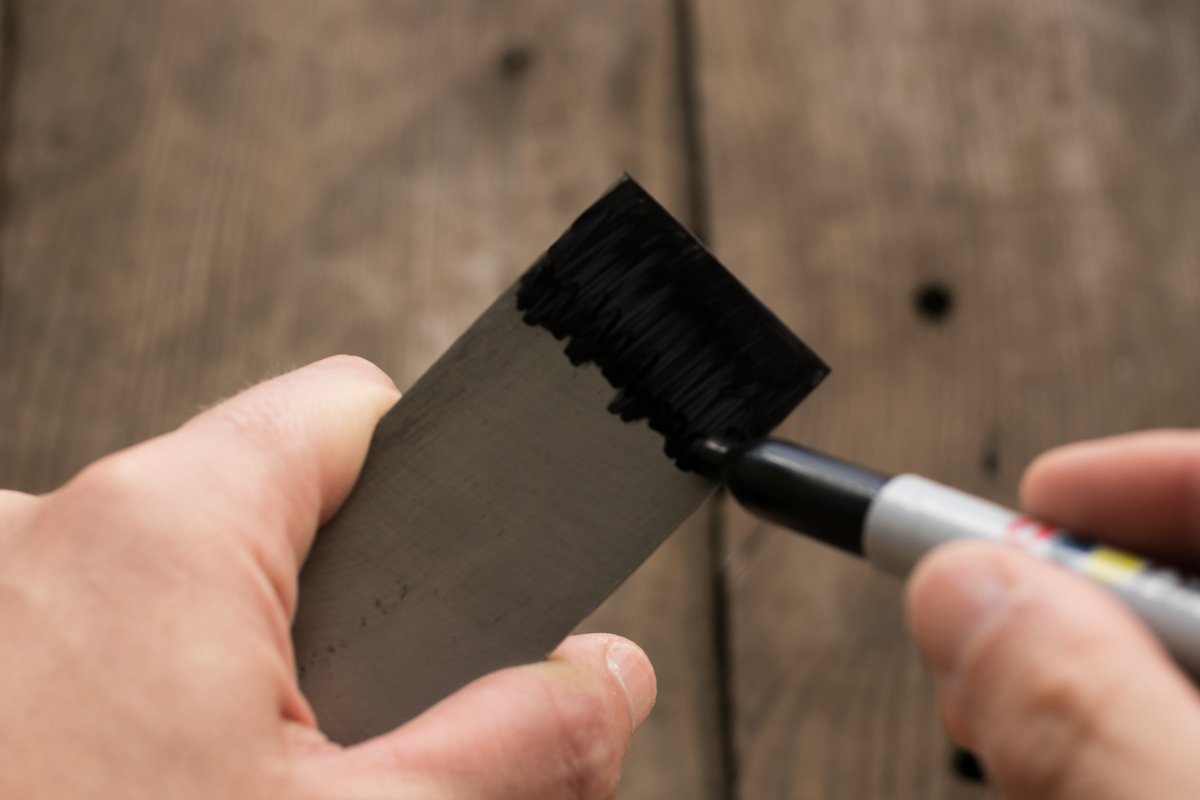
Begin by using a marker to color in top two inches or so of the back of the blade (above). This will help you monitor your chisel sharpening progress – when the ink is completely gone, you'll know you've removed material across the entire back.
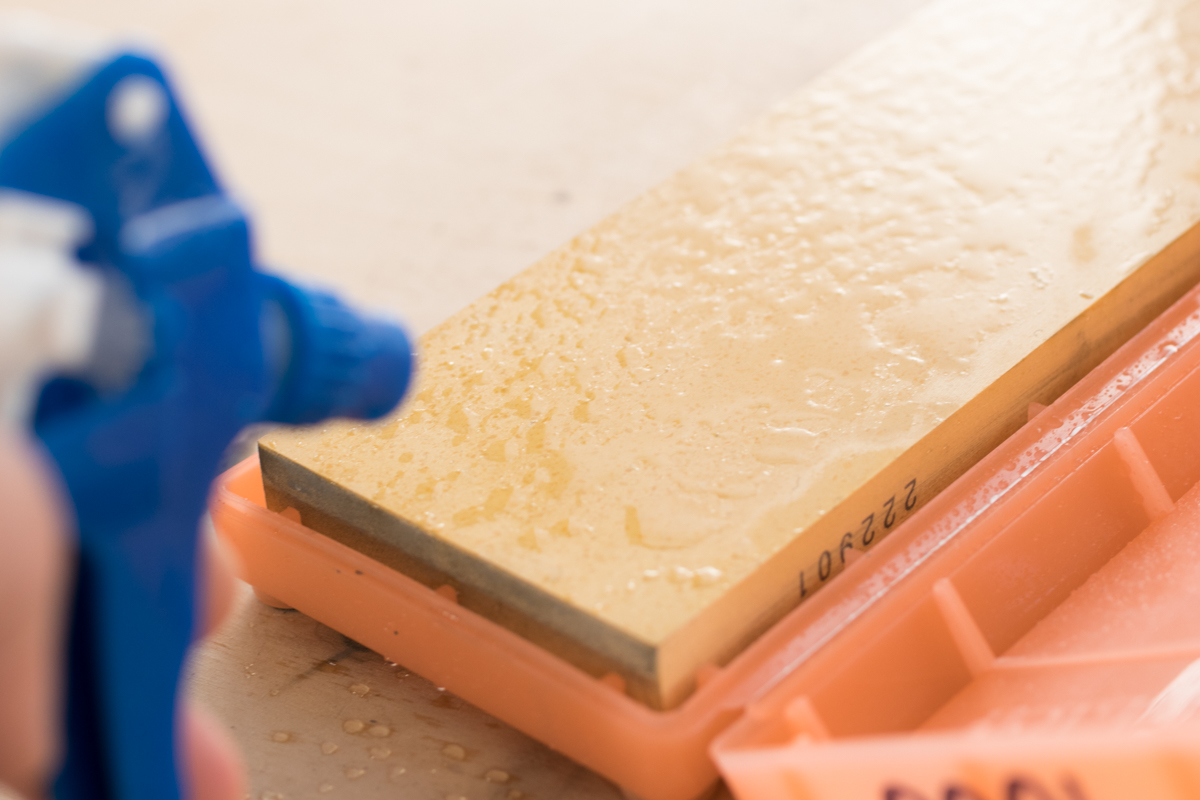
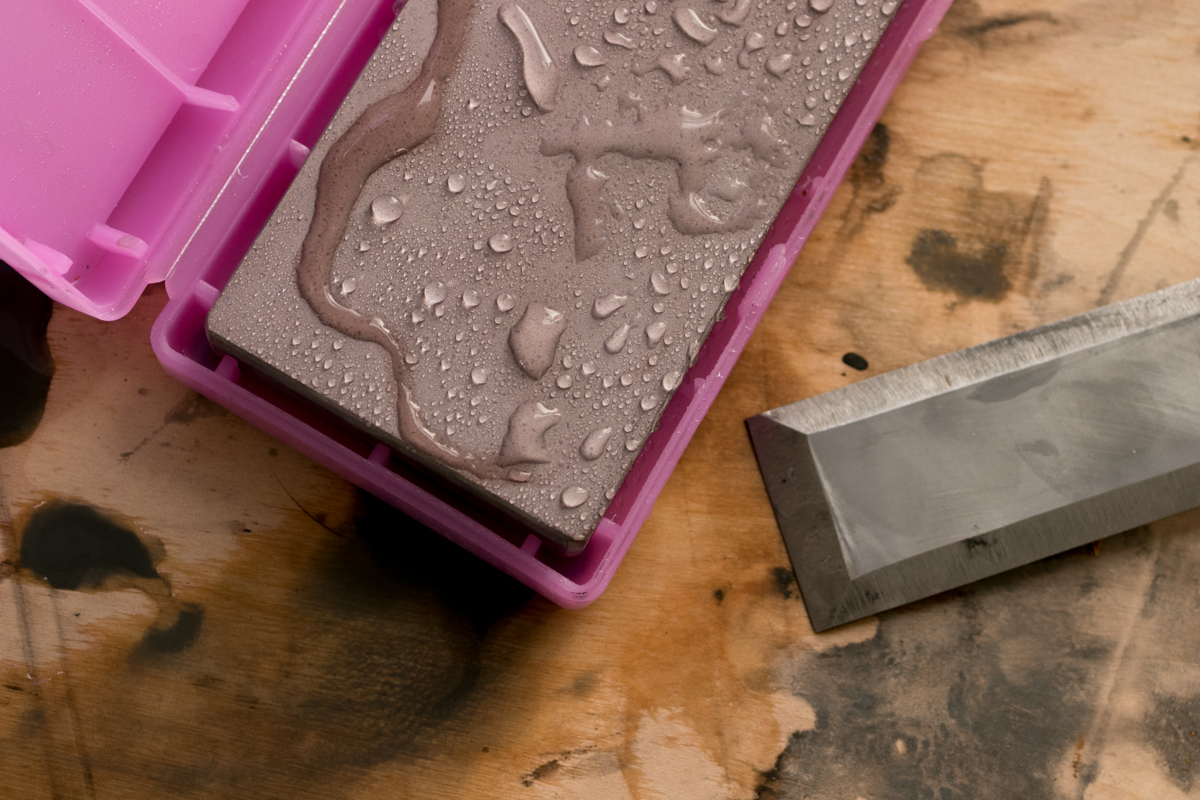
Next, add the necessary lubrication to your stone, either water or oil depending on which you're using. For this, and basically any sharpening task, you'll want a coarse (1000 grit), medium (4000 grit) and fine stone (8000 grit). If you're just getting started, a 1000/8000 combination water stone is a great way to save a bit of money.
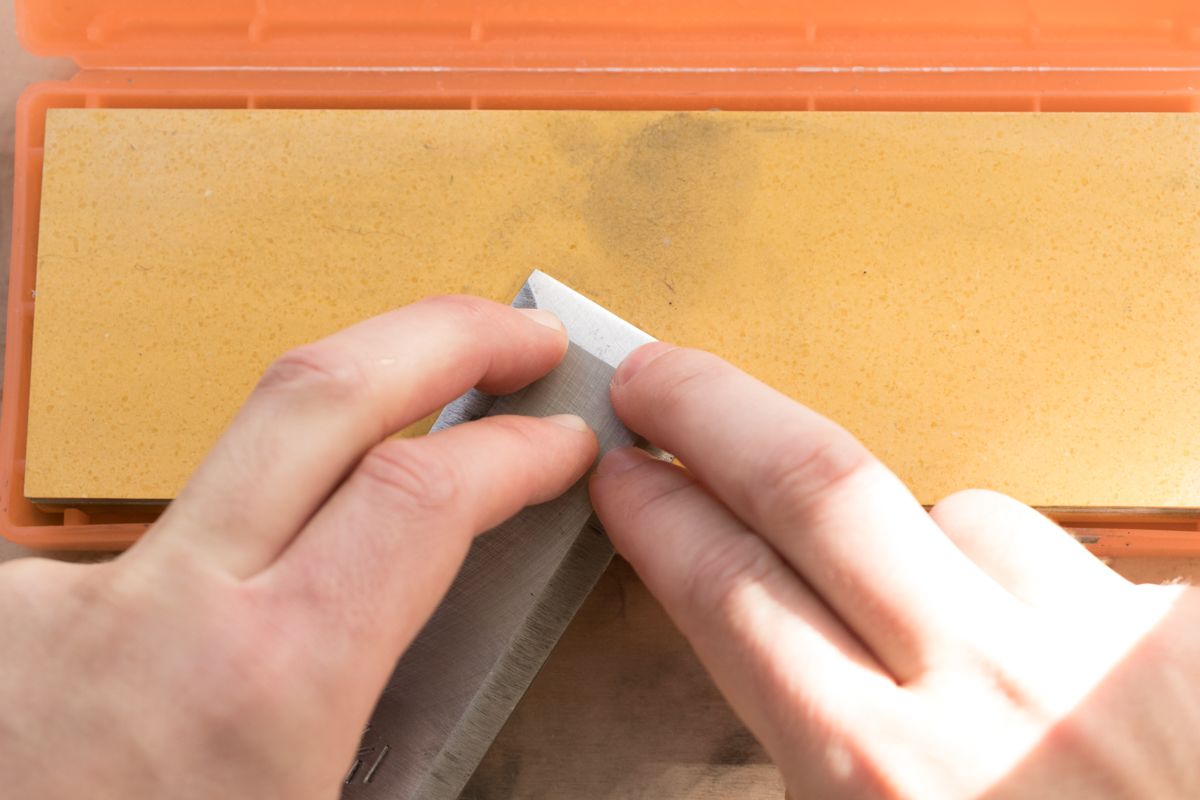
Press down on the front of the blade, using as many fingers as will fit to provide firm, even pressure. Allowing the far end of the blade to hang off the edge, work your way back and forth across the stone.
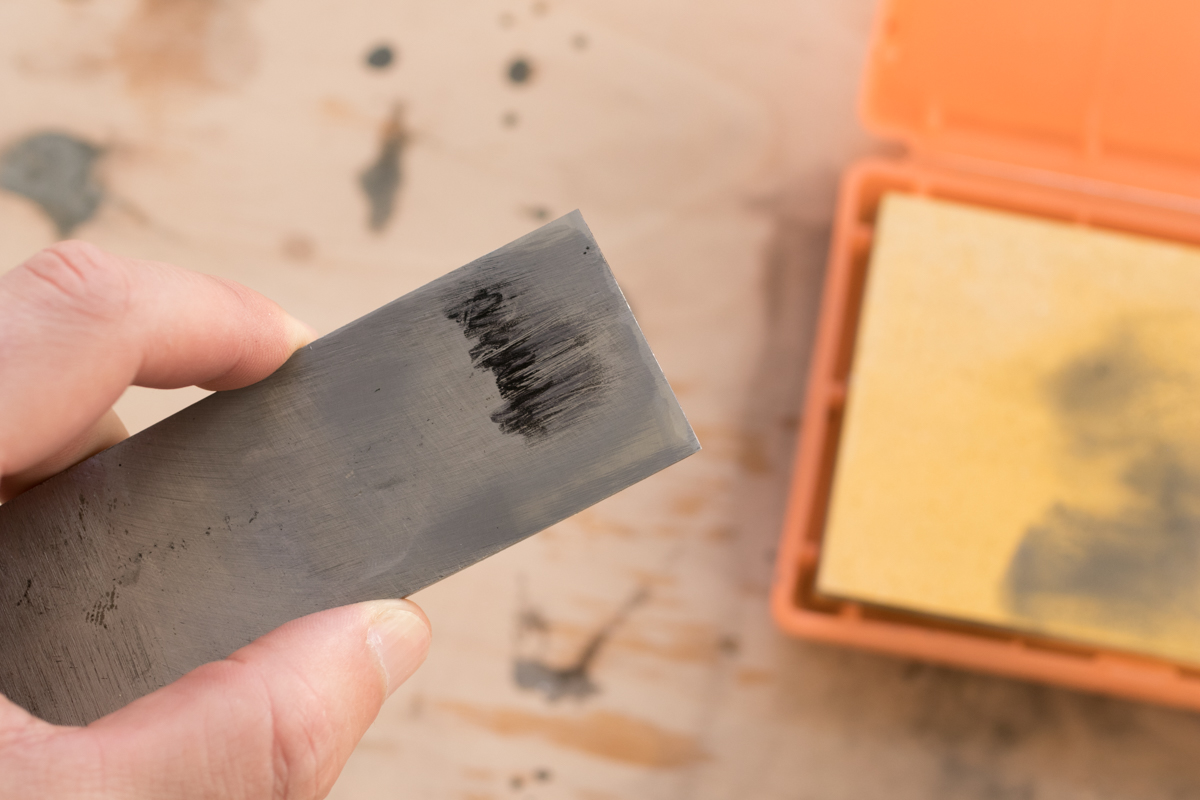
Periodically check your progress to see how much material you've removed. Move your fingers accordingly on any remaining inked spots to work evenly.
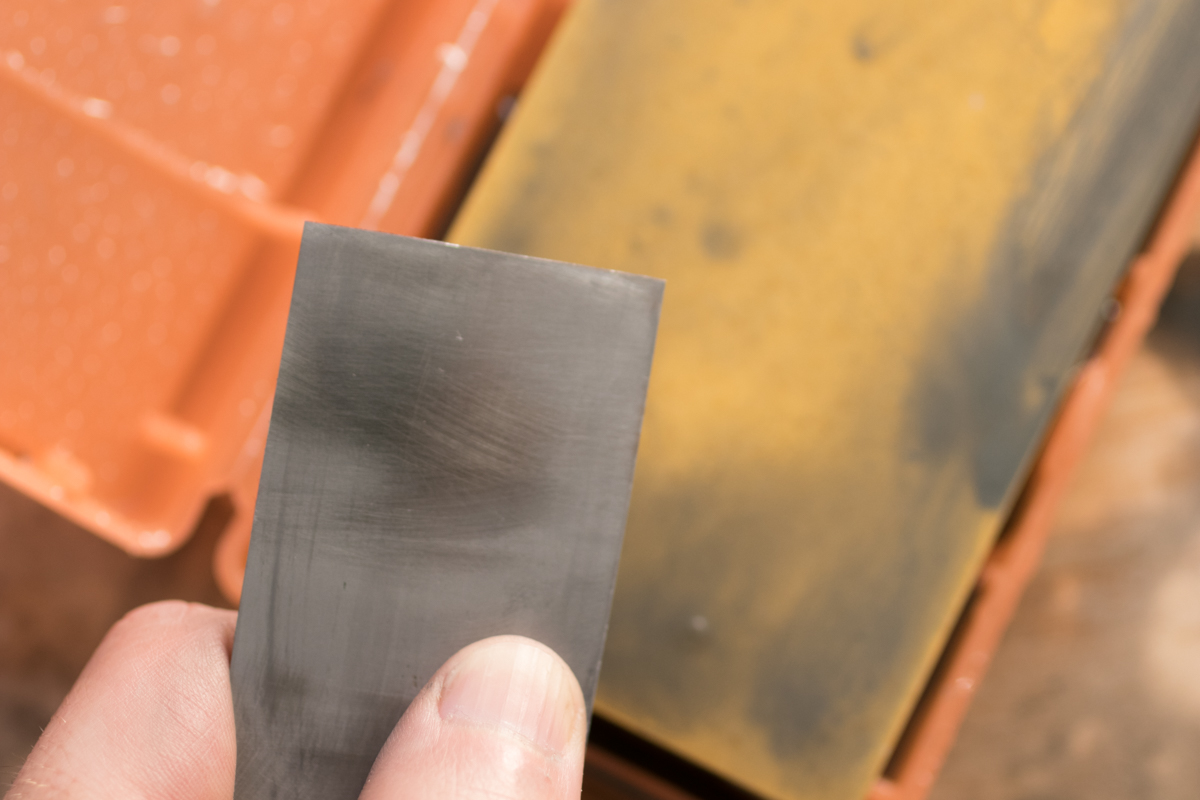
Keep going until you see a consistent scratch pattern all the way across the back of the chisel, and all the ink has disappeared.
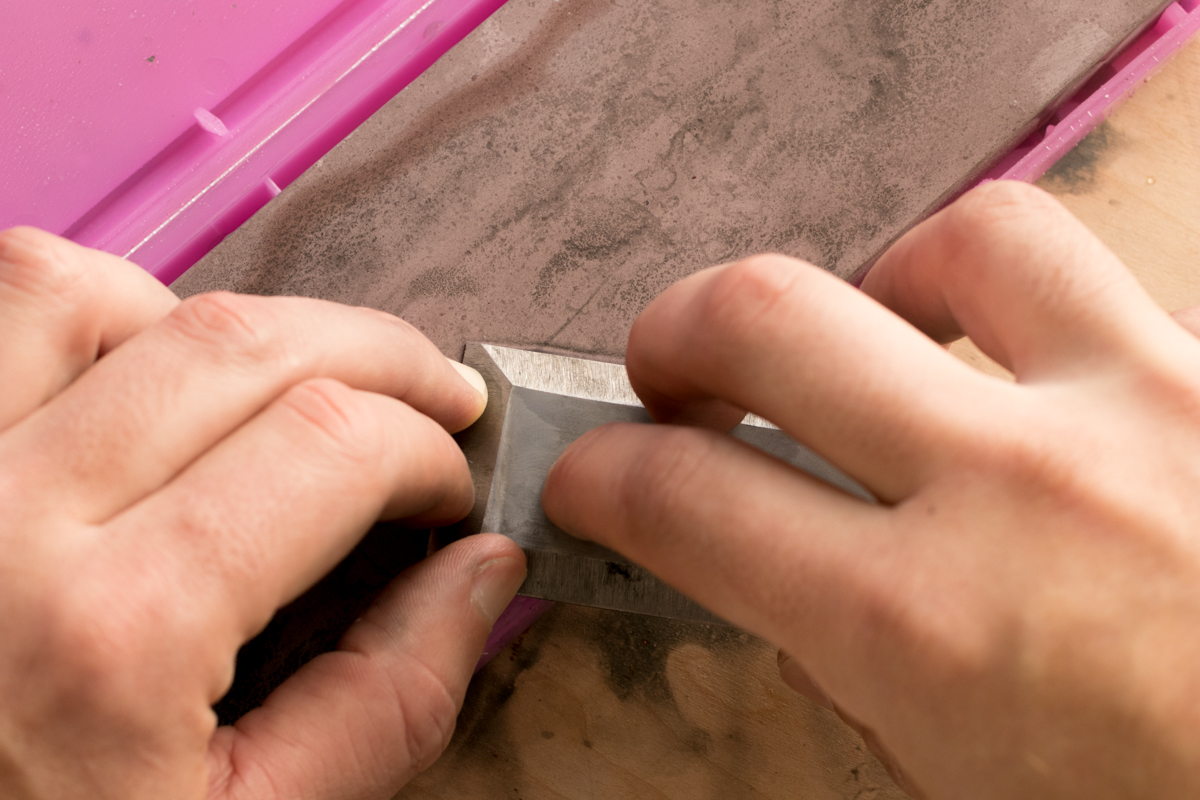
Then, repeat the process on your medium and fine stones.
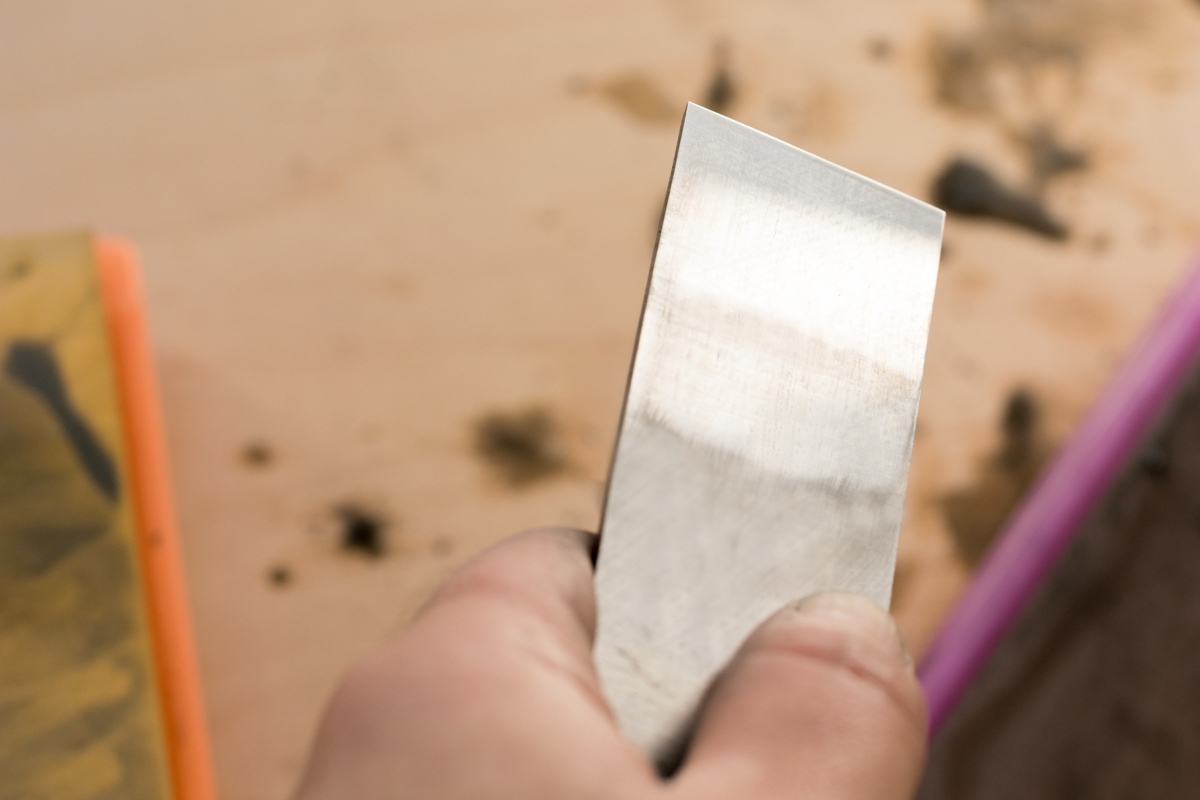
When you're done, you should have a mirror-like surface in the back. Wave to yourself!
Chisel Sharpening: Grinding the Bevel
Next, you'll want to do the coarse work to create the bevel on the front of the tool. This can be done with a bench grinder or specialty sharpening tool, but can also be accomplished more simply, and less expensively, with a flat surface, some sandpaper, and a honing guide.
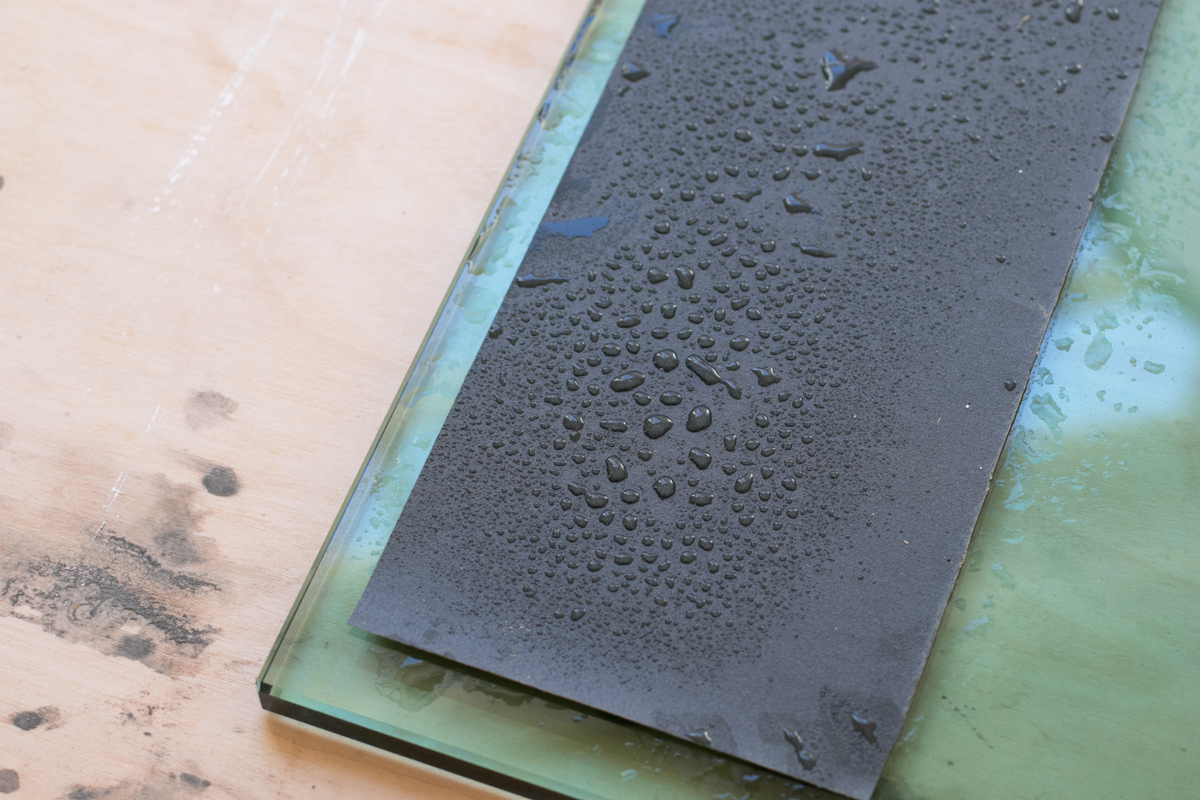
The easiest method is 220 grit wet/dry sandpaper stuck to a flat surface, such as a jointer bed, a slab of granite, or a thick piece of plate glass.
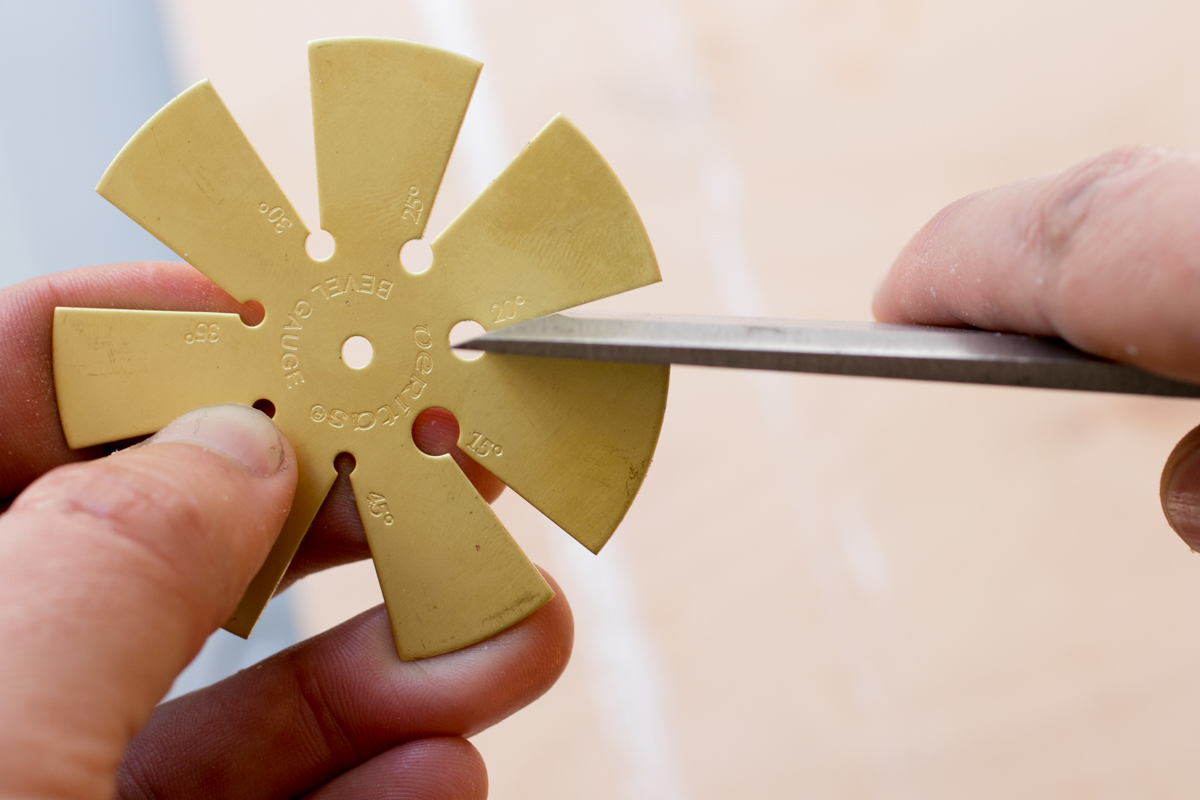
Next, determine the angle to which you want to sharpen. I have this helpful little bevel gauge, but you could use a protractor or a print out from the internet to figure out the existing angle. Most tools factory-ground at 25°, but it's not universal. In the photo, you can see mine was at 20°, which is too low for me. (I like to grind at 30° and hone at 35°.)
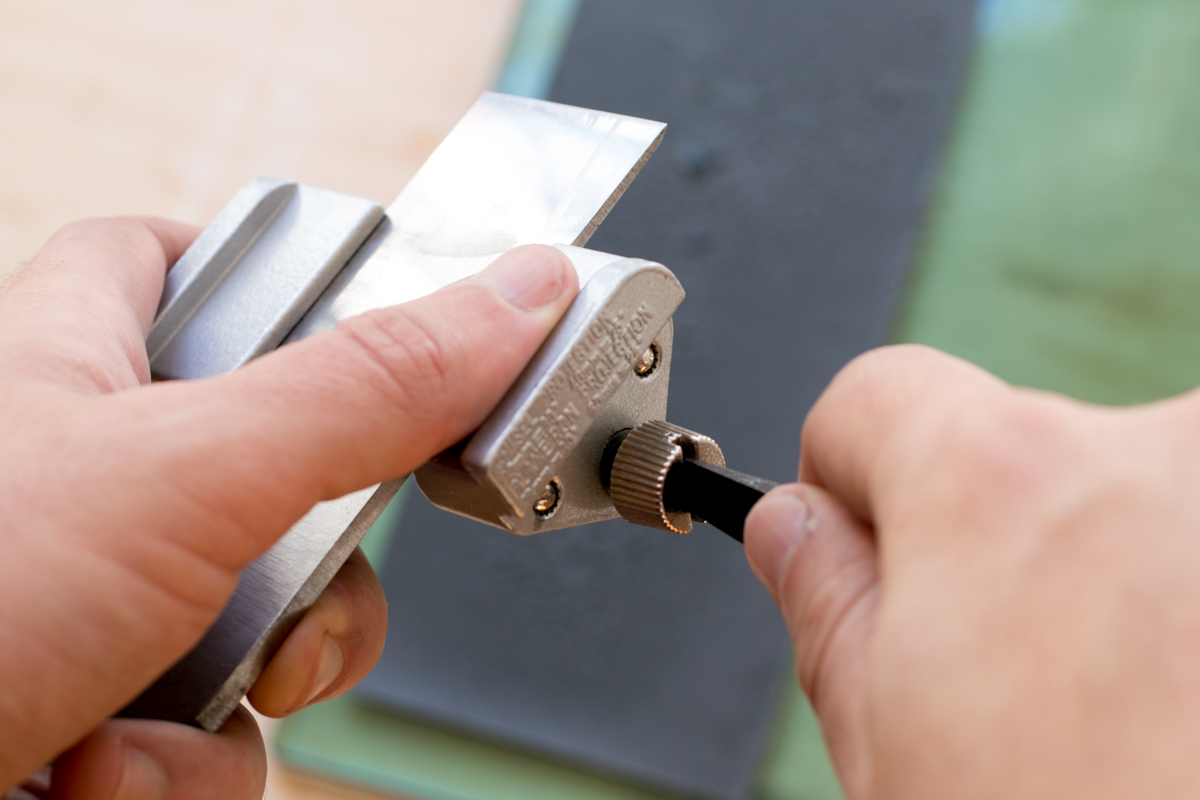
You can find these simple “Eclipse”-style honing guides at any woodworking shop, or online. They're not perfect, but they're inexpensive and get the job done for chisel sharpening.
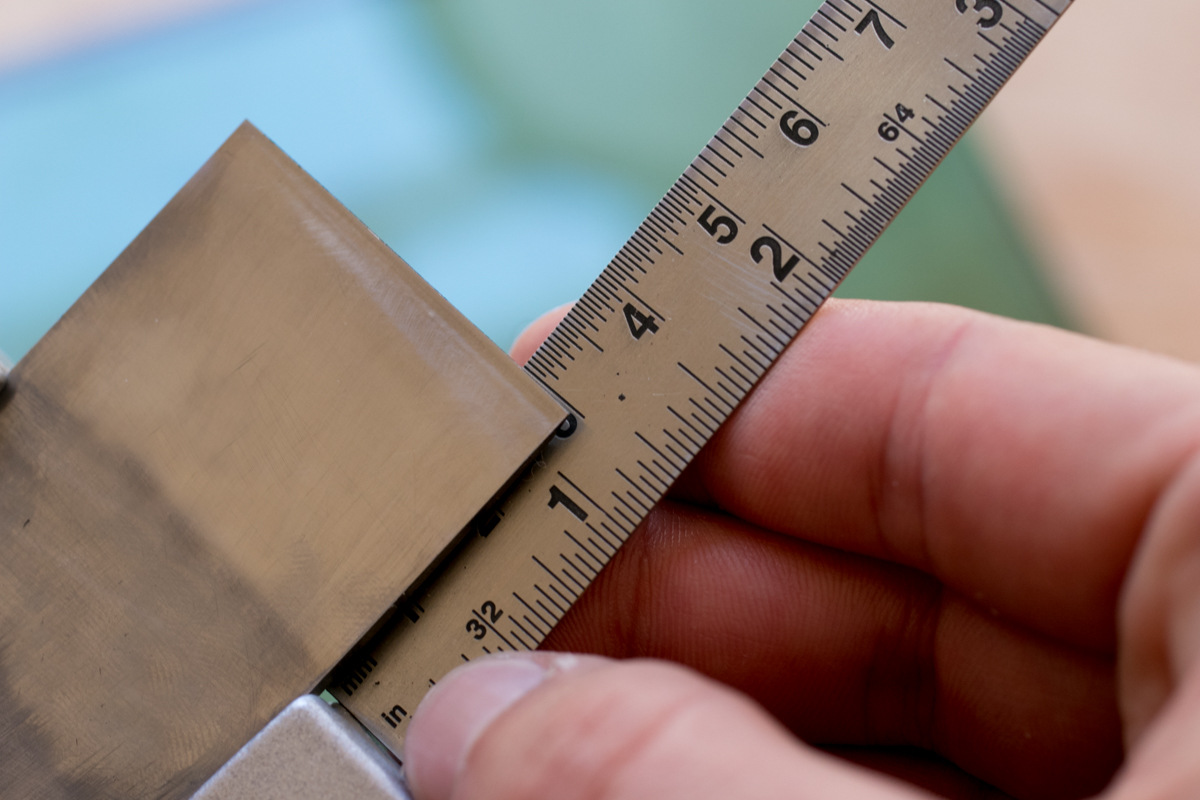
The angle is determined by how far the blade protrudes from the guide. Your guide will come with details, and there's also this helpful list at Lie-Nielsen's website. I'm going for 30°, so I set mine to 30mm, or 1 5/32″.
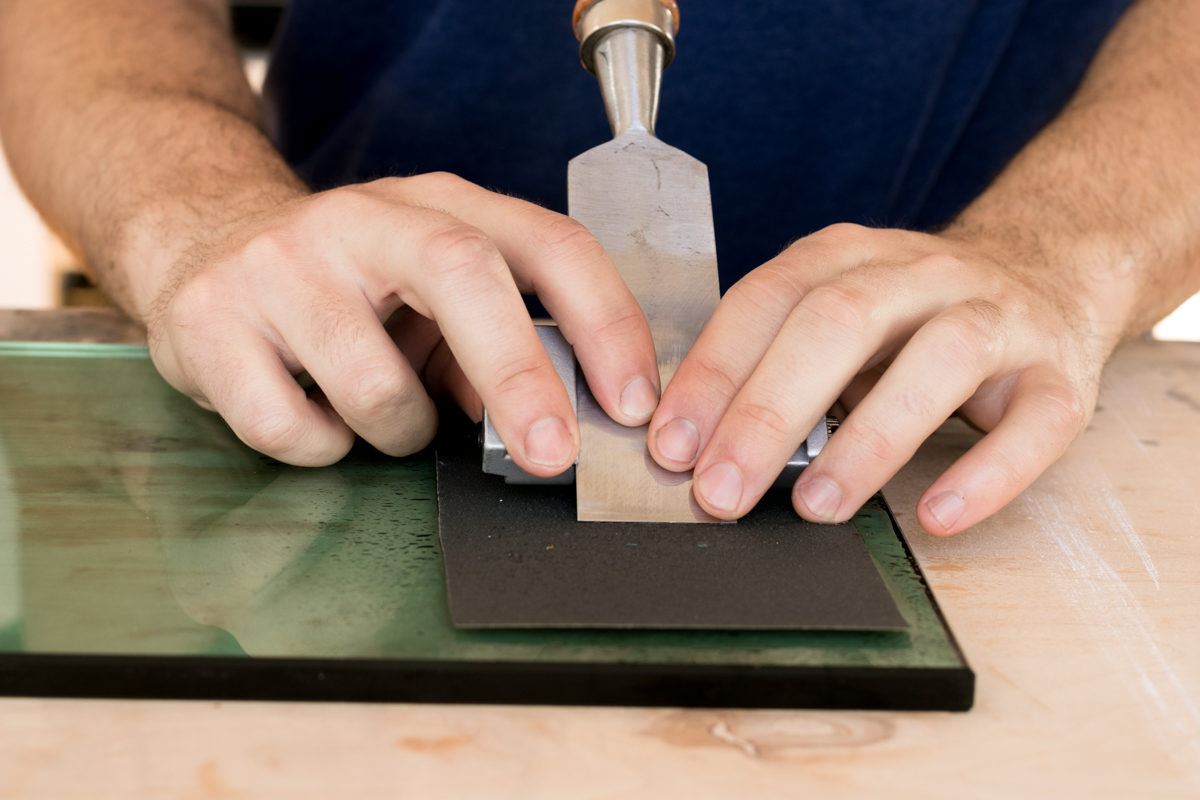
Then, place the whole apparatus on the sandpaper, and start to grind. You want to keep even finger pressure on the tip of the blade. (Note: I am not doing this in the photos, because I'm an idiot and totally forgot when taking this picture.)
You might want to begin with pull strokes only, then switch to a back-and-forth motion once you get the hang of it.
Keep working until you can see the bevel change, noting how the tip reflects light. You don't need to grind the whole length of the bevel to get sharp, just the business end.
Chisel Sharpening: Honing the Edge
Grinding produces the shape of the bevel. Honing makes it sharp. The remainder of the process is straightforward. Keep the chisel in the honing guide, as with grinding, (you can adjust the position by 5° to create a micro bevel) and use the marker to color the tip. Start working on your coarsest stone until you've removed the ink and you can feel a raised burr all along the back.
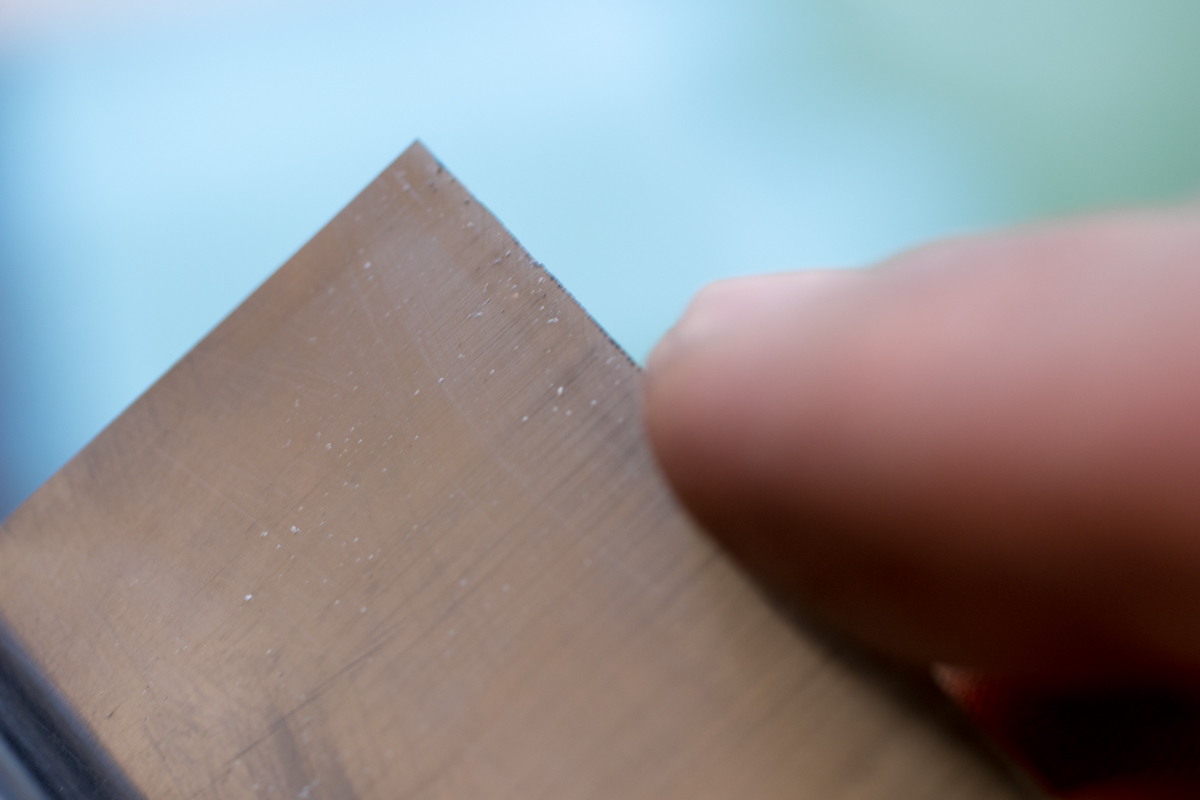
Then, Work your way through the medium and fine stones, using the marker trick each time to track your progress. Once the finest stone has removed it gone, you're sharp. Lastly, use the finest stone to remove the burr.
And with that, you're done. Good as (not) new.
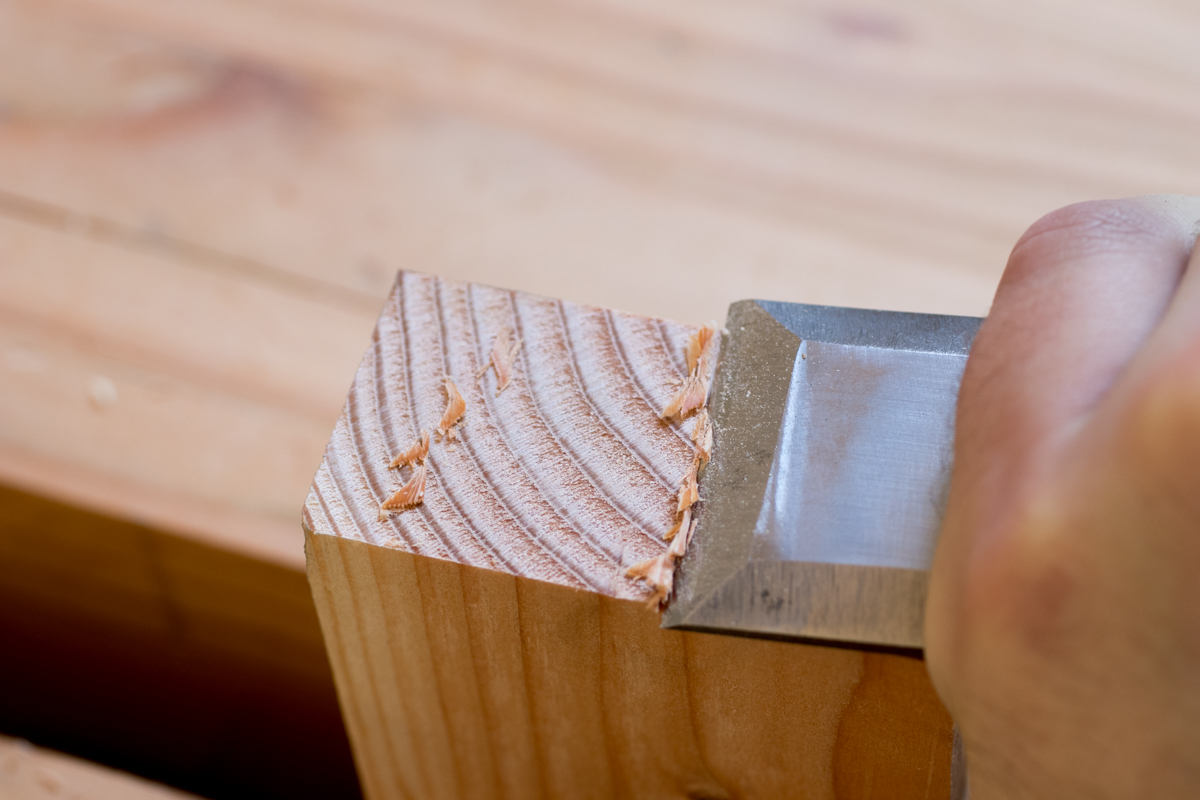
A sharp chisel should be able to cut the end grain of a soft wood, so find a scrap of pine or fir and give it a go.
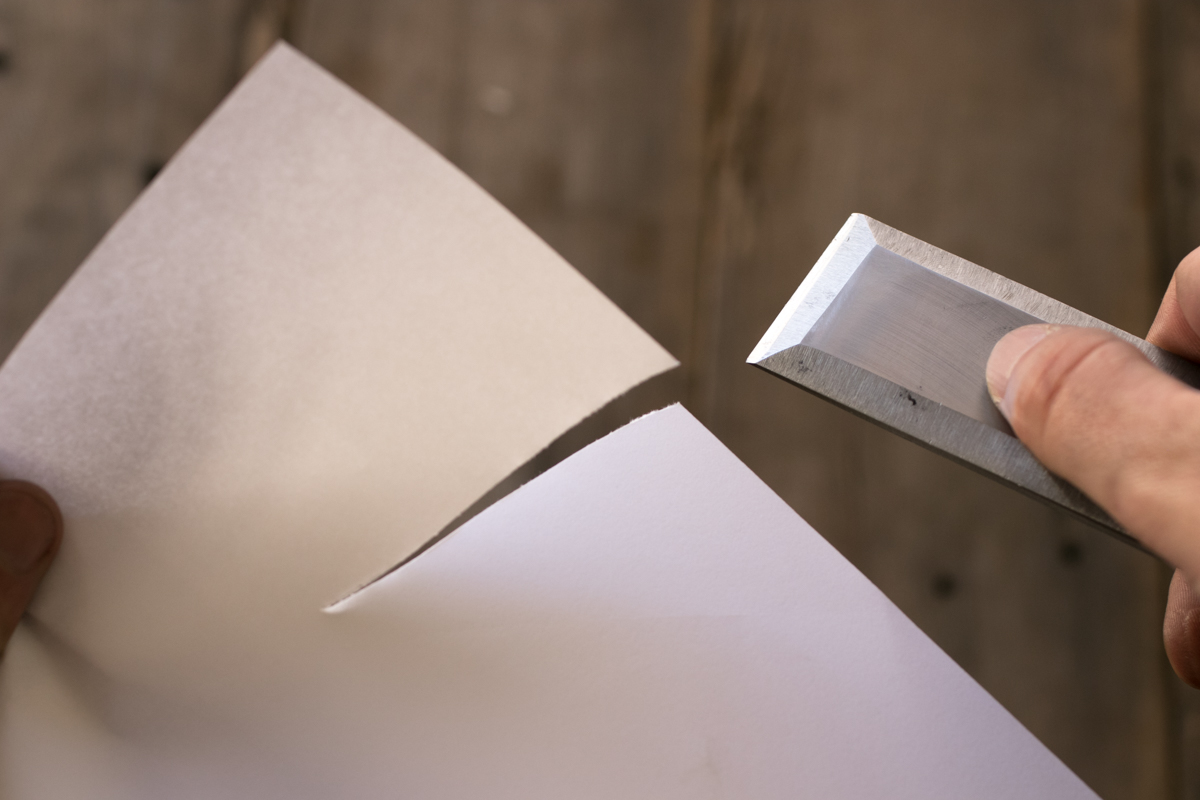 And – because why not – try out the classic sheet of paper test.
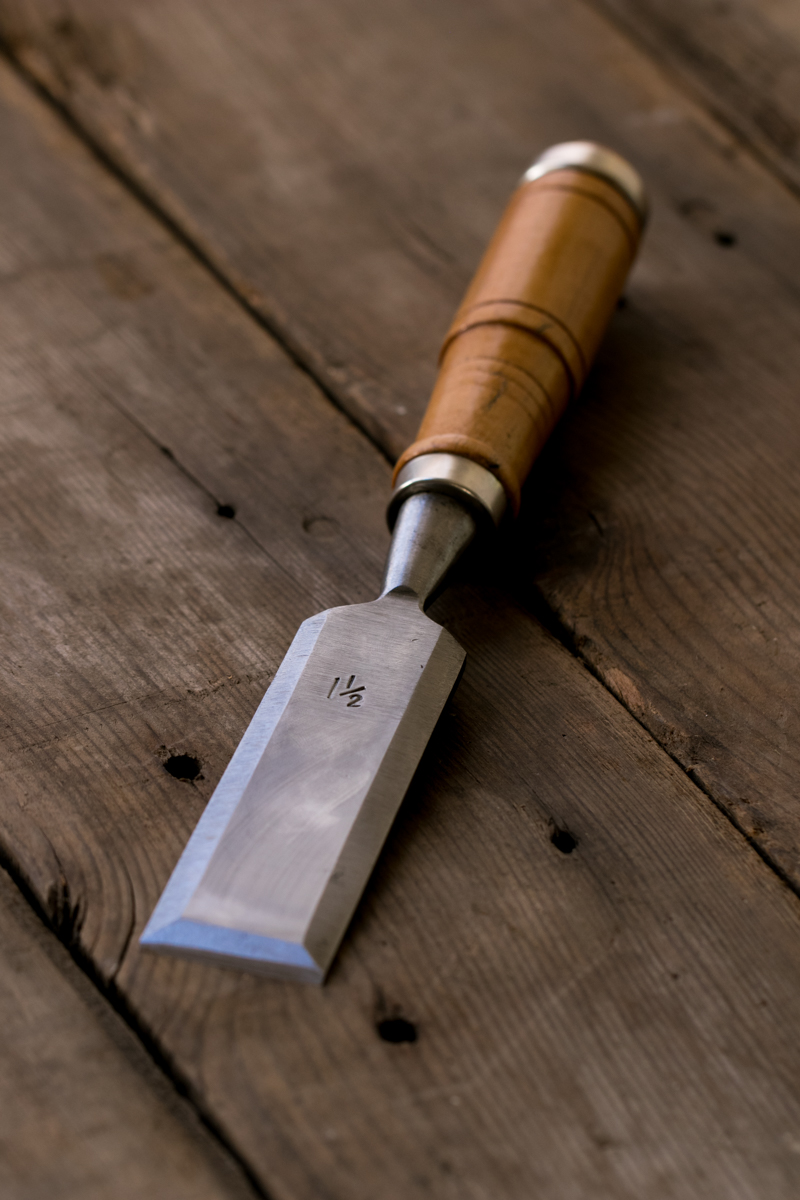
When you're done sharpening, be sure to dry the steel thoroughly to remove any remaining water, and apply your preferred rust-prevention measurements ASAP.
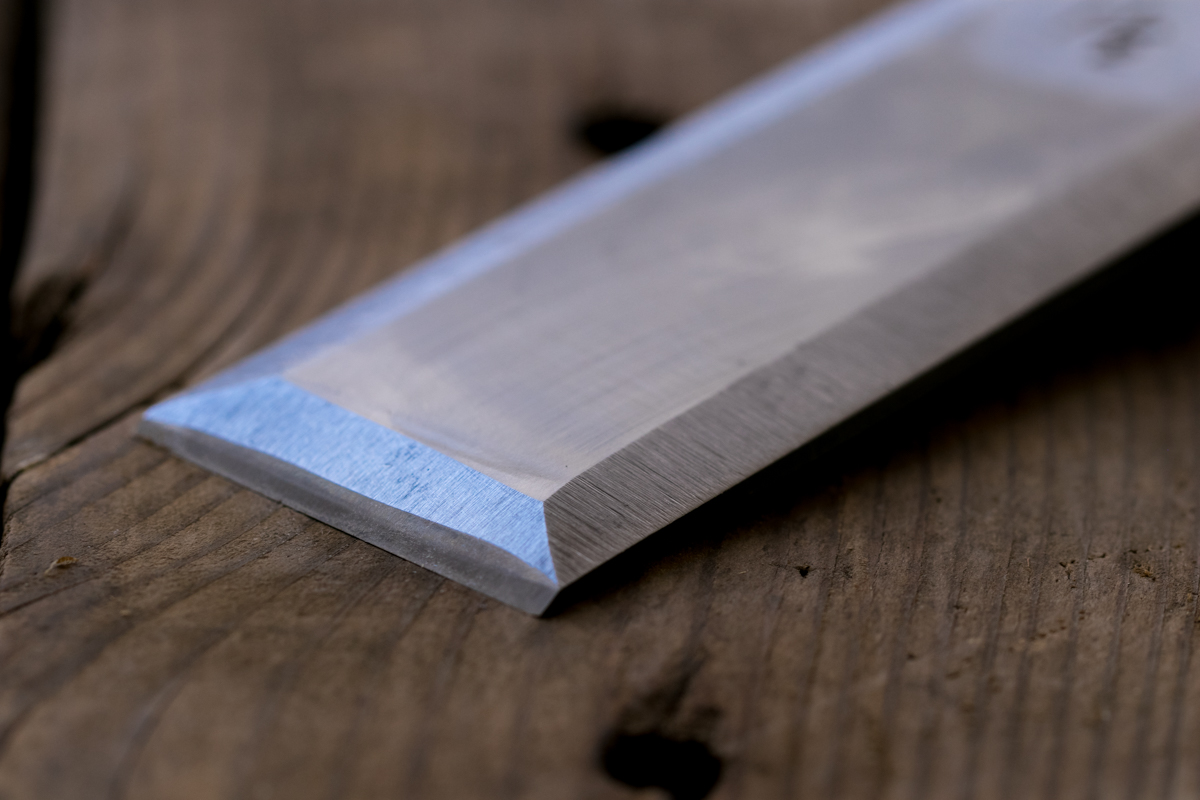
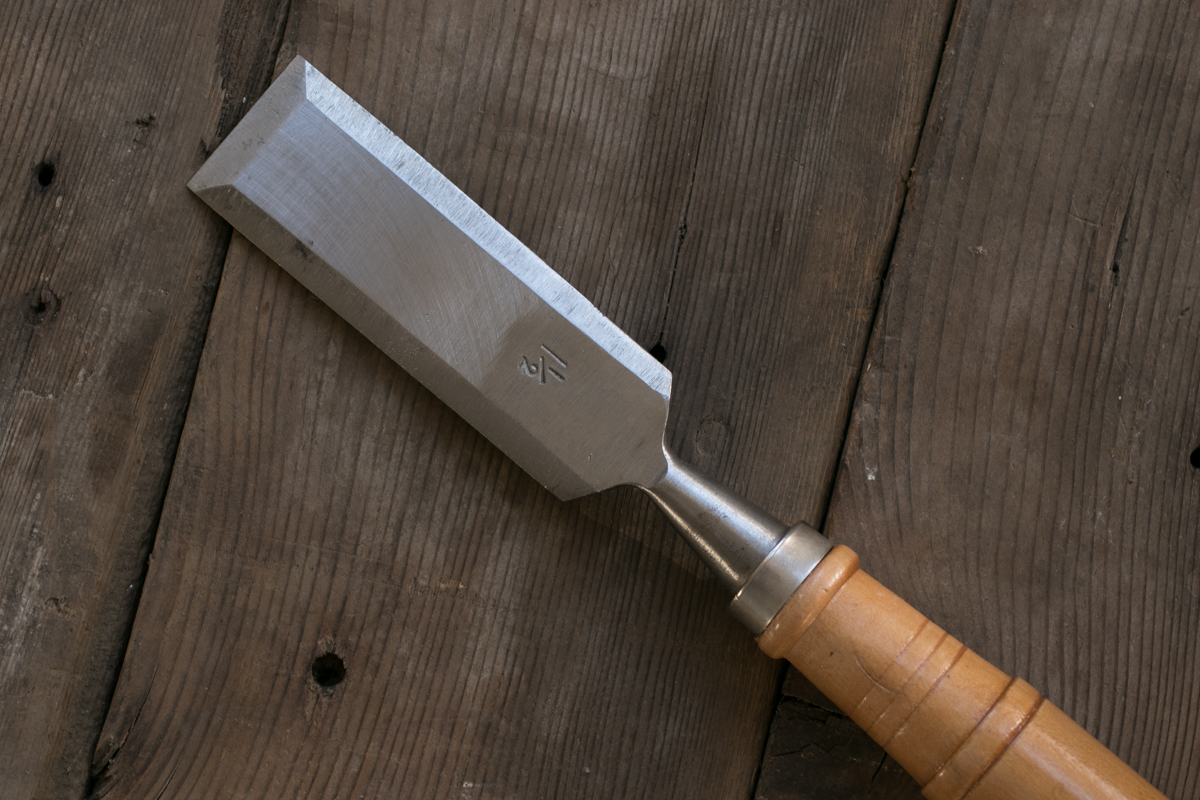
You can see how the original bevel was not square to the sides by the slight angle of the new one.
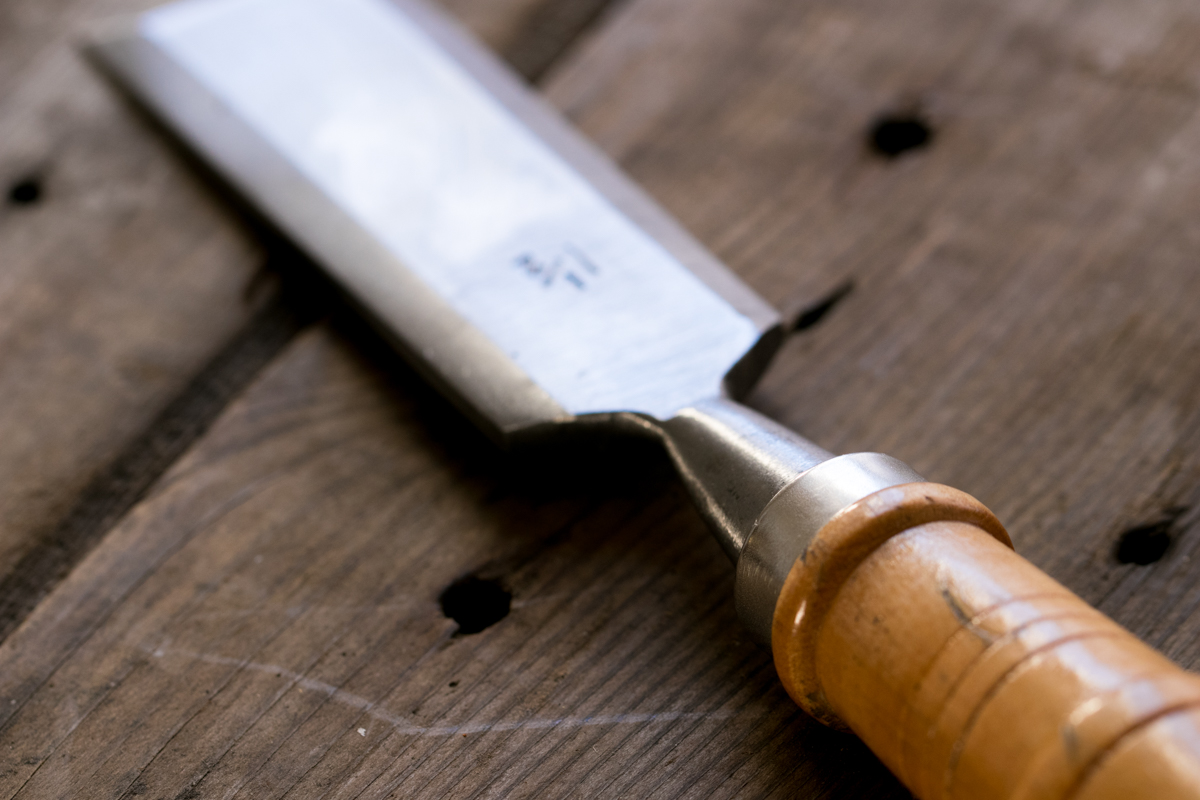
Your chisel is ready to work. Please let me know if you have any questions or thoughts in the comments below.
