How To: Repair Rubber Boots
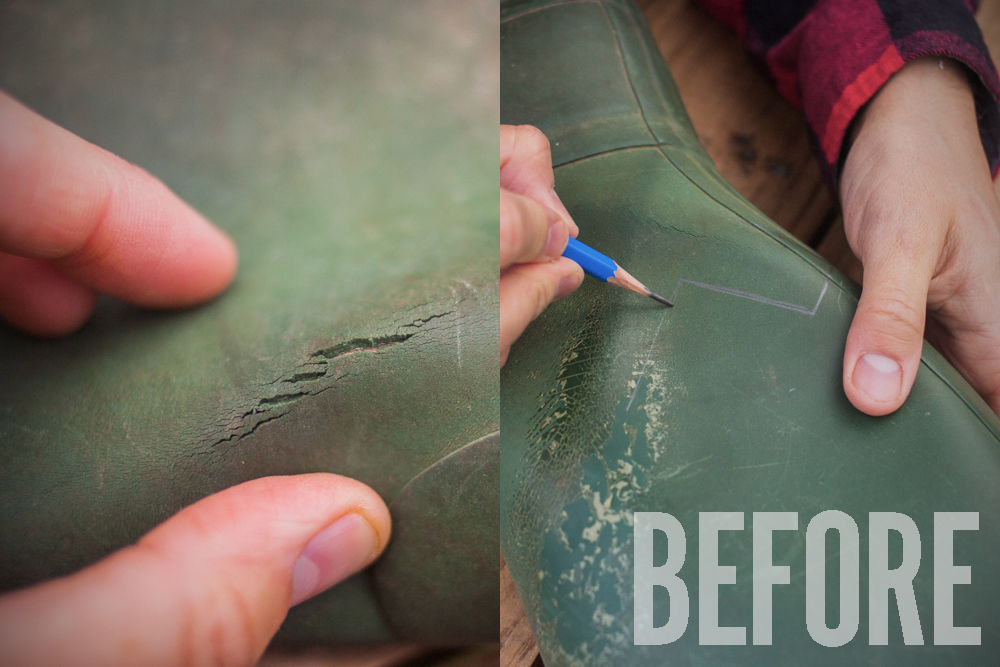
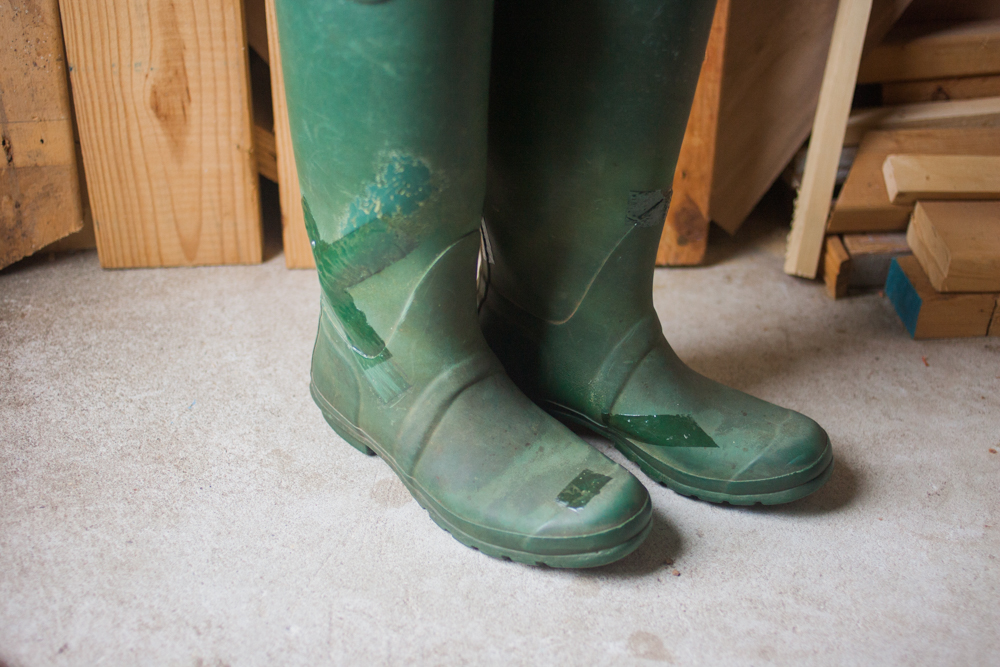
Second only to my shovel, I count my big rainboots as my most essential yard work possession. Ever since I got them as a gift in 2010, they've kept my feet dry as I've tromped through muddy backyard gardens, turned compost piles, and cleared some seriously weedy rows of peppers on a local farm. (They made a cameo appearance on our article about digging a garden patch using only a shovel.)
Constant use has taken its toll on the natural rubber, though, so it was time to put into practice one of my favorite Depression-era maxims on frugality: “Use it up, wear it out, make it do, or do without.”
Let's take a look at how I patched up my leaky wellies.
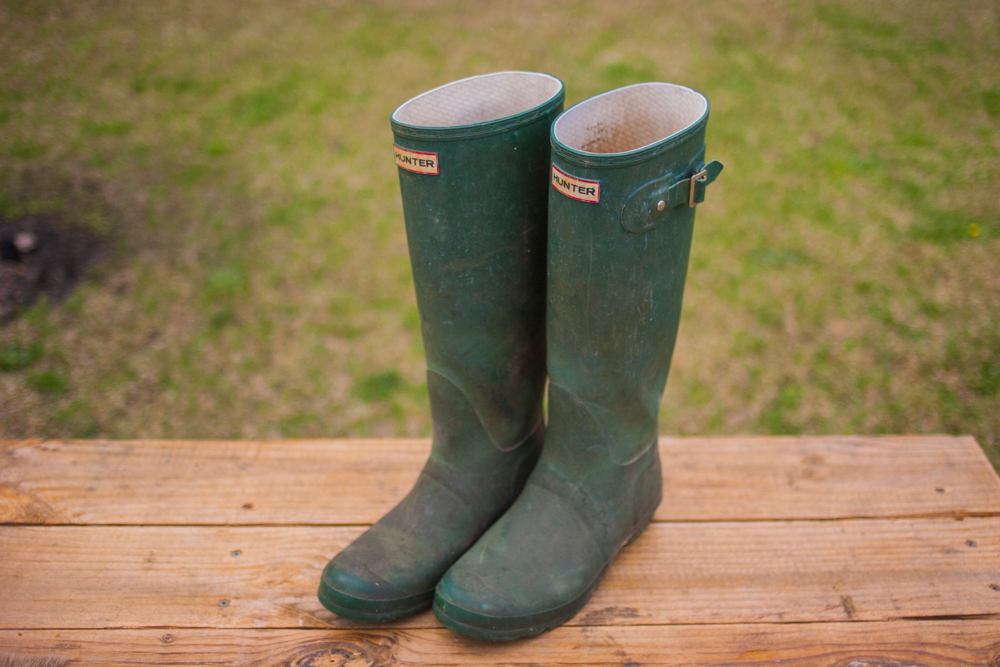
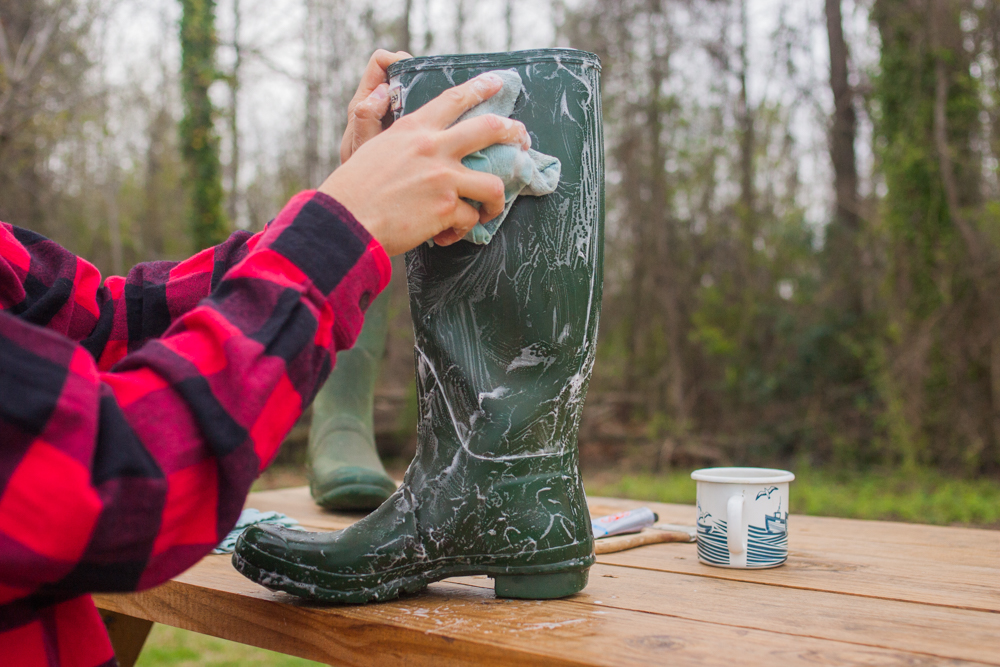
First, you need a nice, clean surface. A quick wipe-down with some hot, soapy water did the trick.
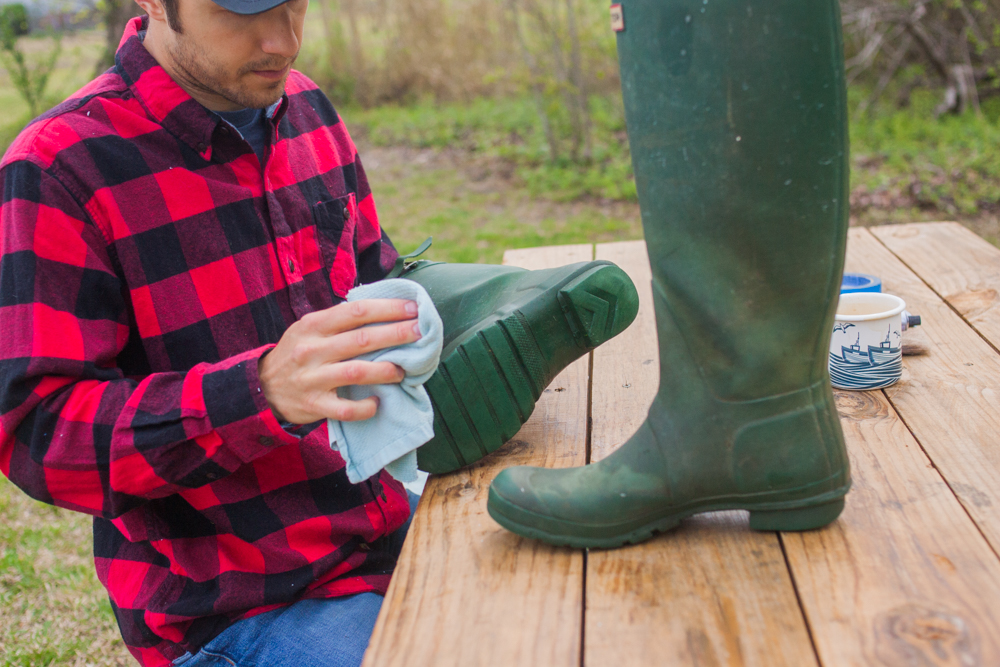
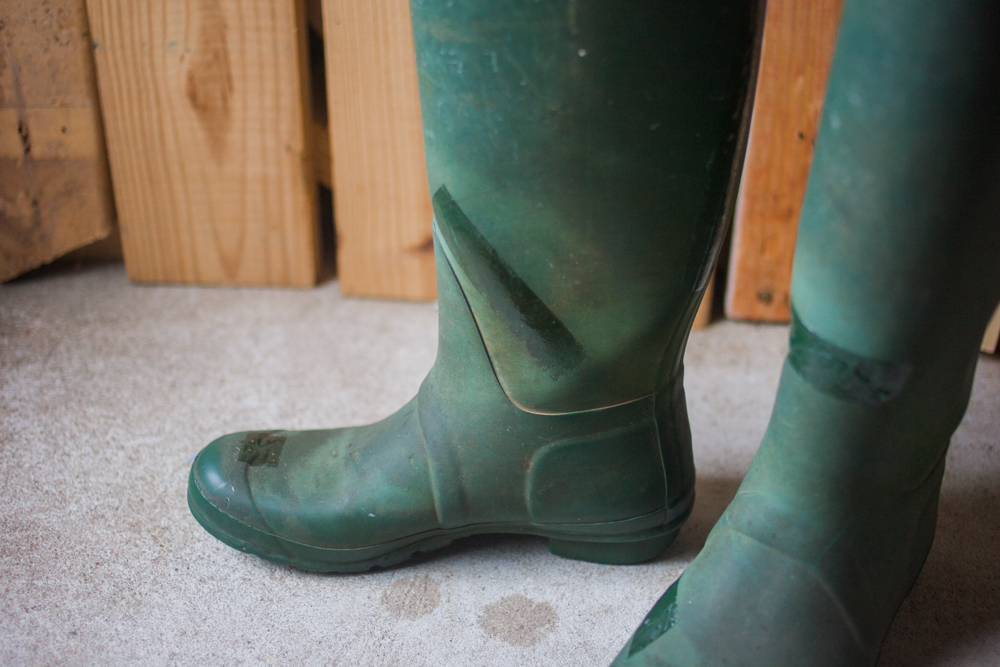
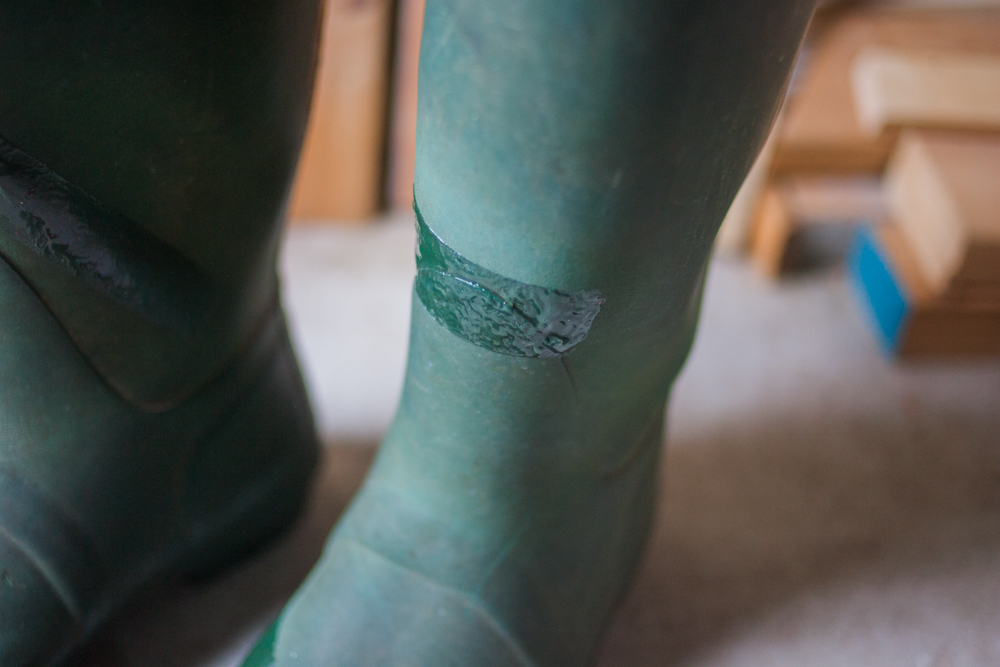
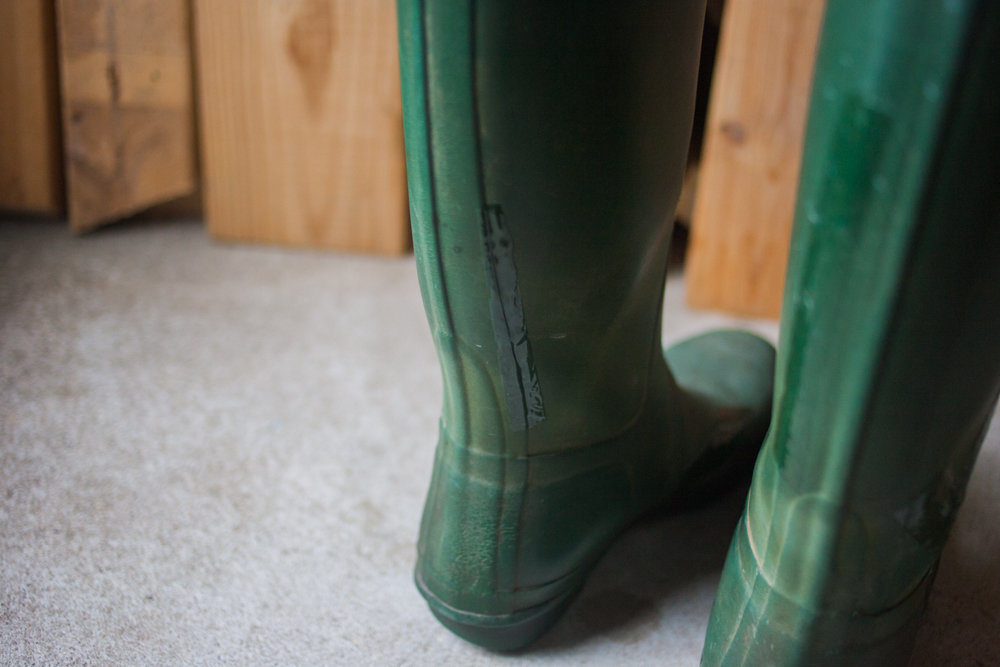
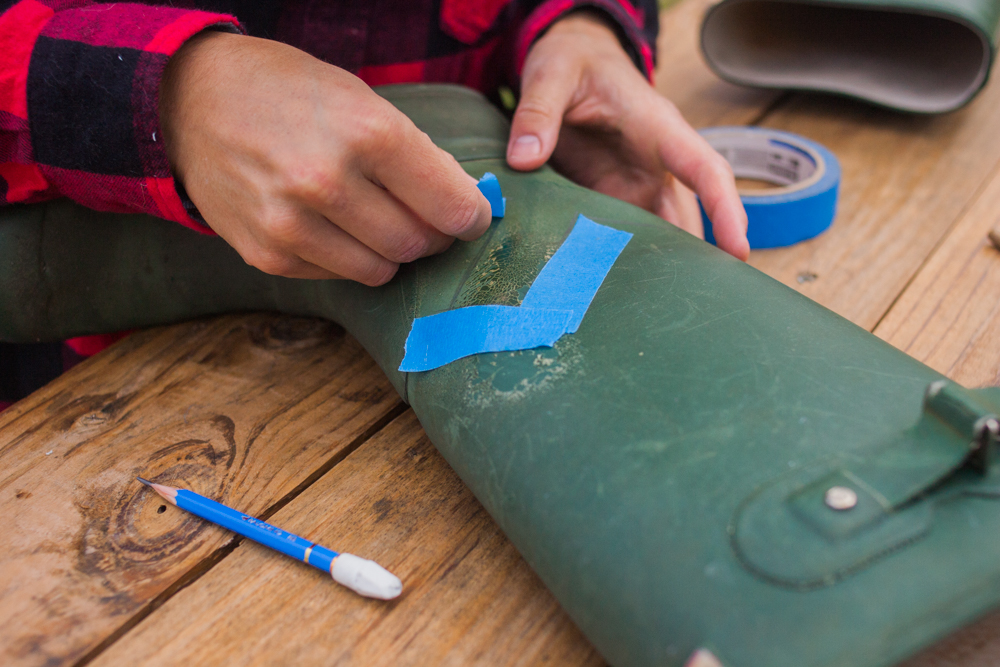
Next, I identified the spots that needed patching. I focused mostly on the areas where regular stress had cracked the rubber, that is, the places where the boot material bends the most.
(I also had to patch up a part of the toe that I accidentally stabbed with a pitchfork.)
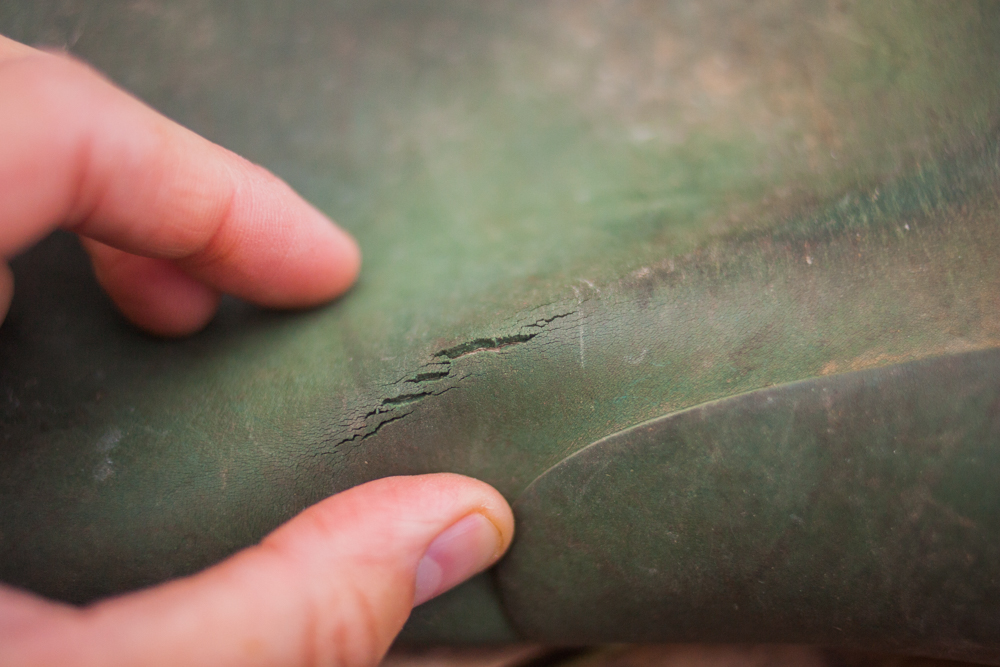
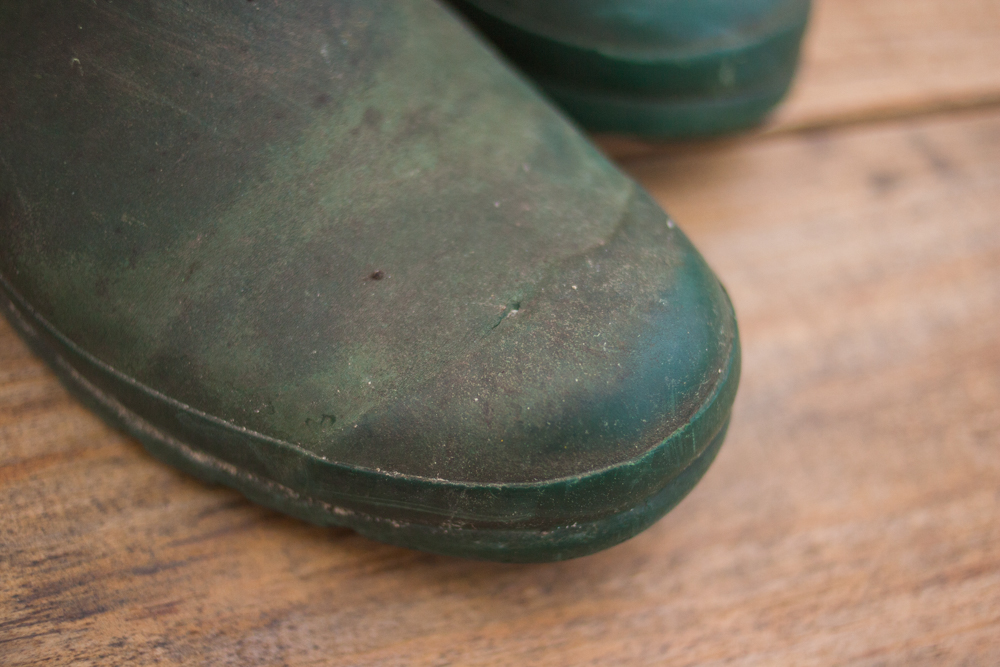
I marked those areas with a pencil.
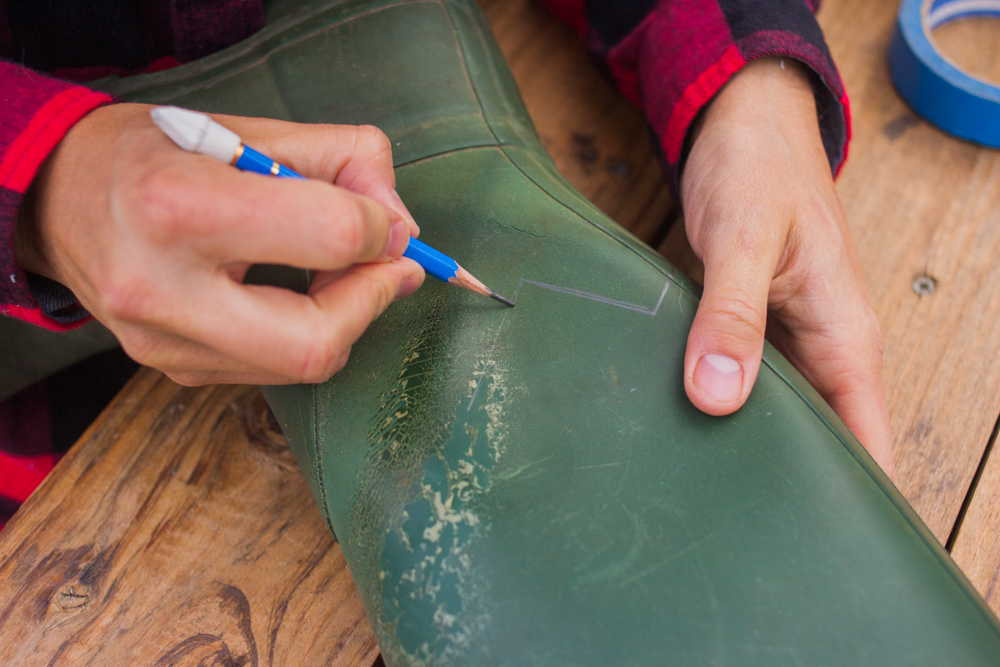
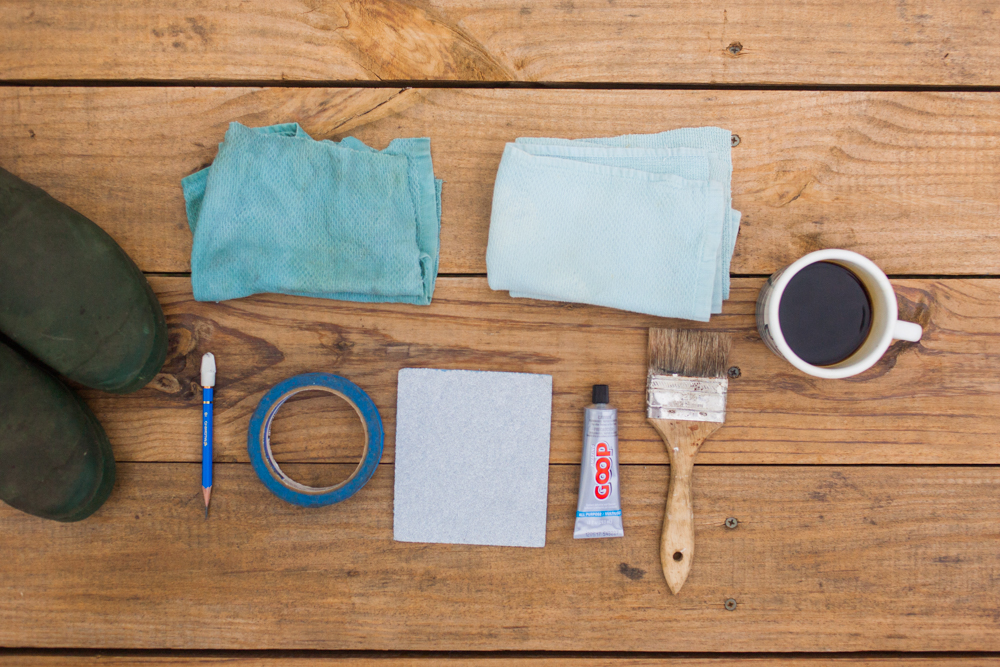
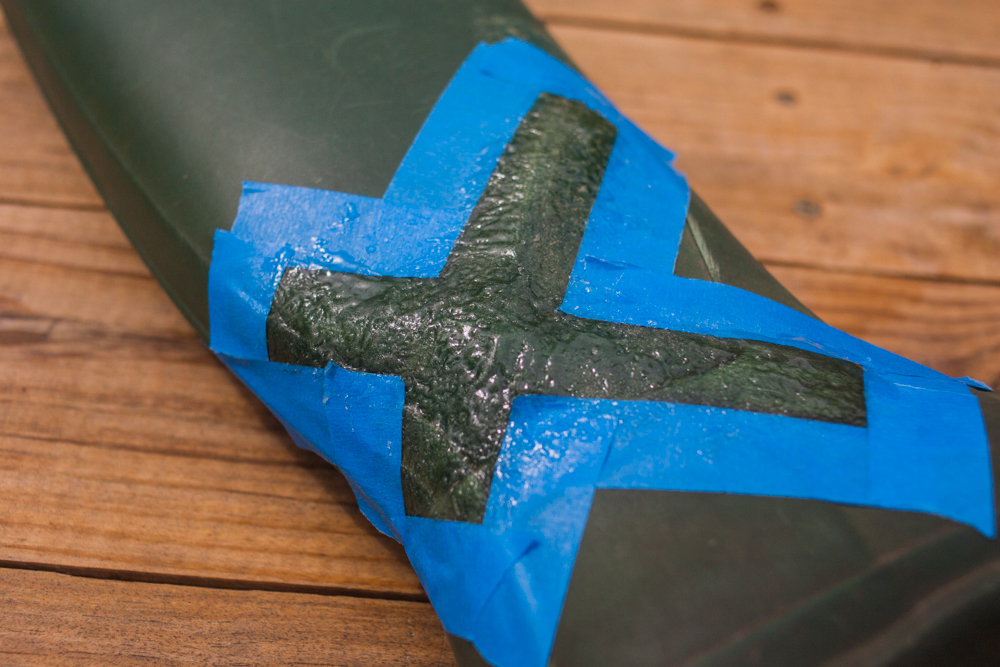
Next, I taped up the areas with painter's tape.
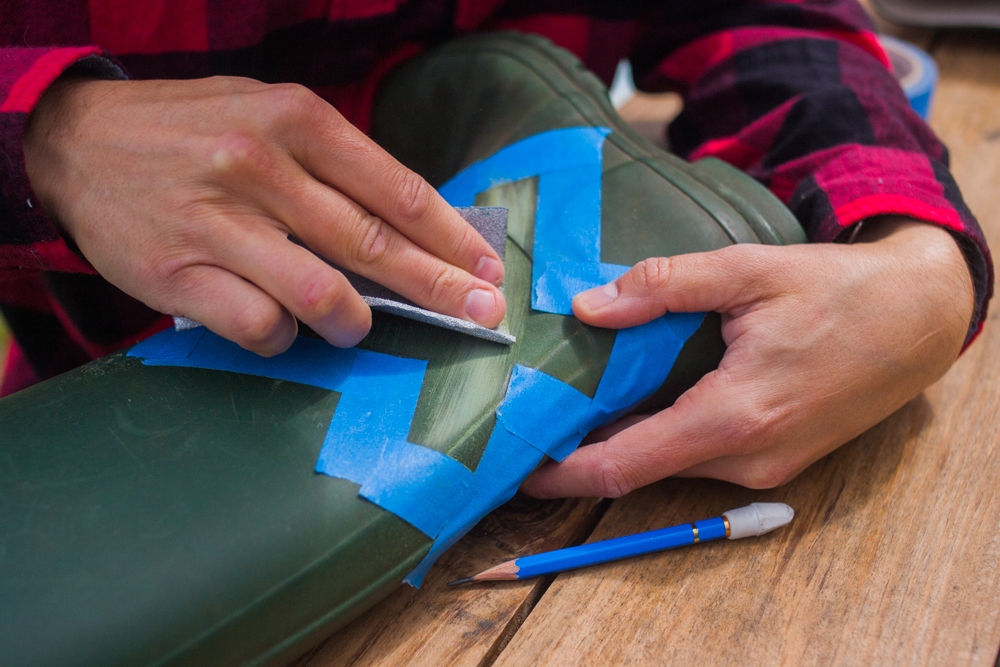
Optional step: sanding down the area within the tape to give more texture for the sealant to adhere to.
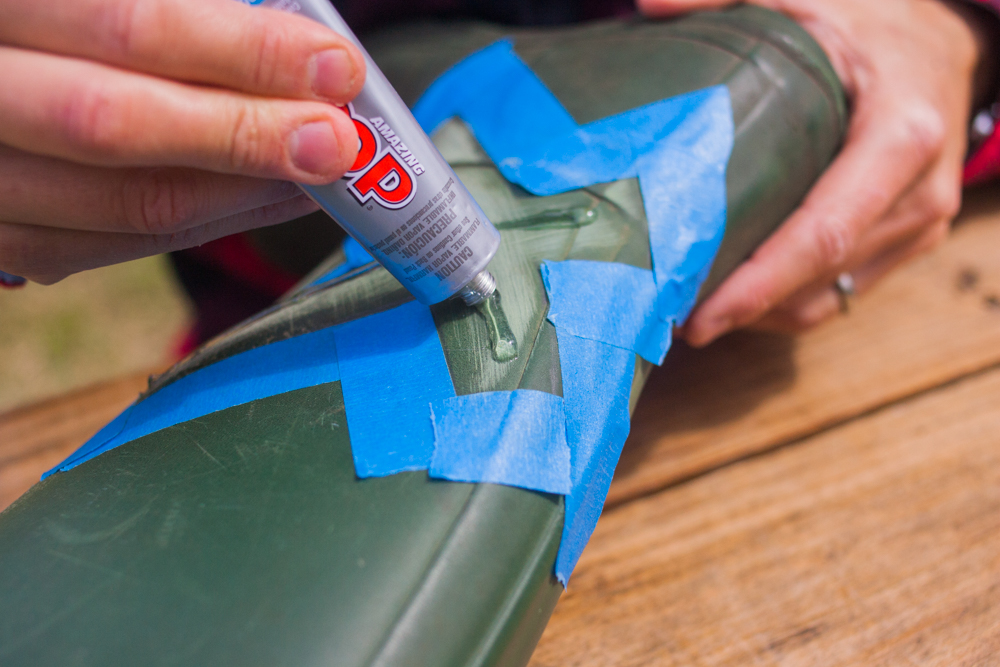
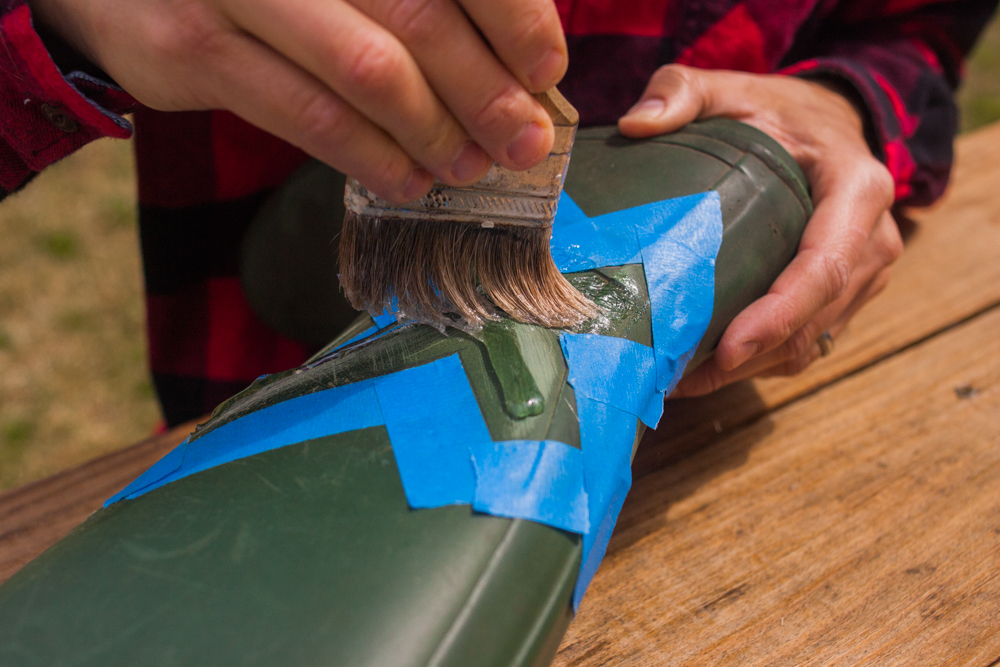
Then it was time to patch with my sealant. I used All-Purpose Amazing Goop, which is a good general synthetic polymer I chose for its flexibility. I squirted a line within the taped area and painted a thick layer on with an old paintbrush. (Note: though you should use this stuff outside, I wouldn't recommend it on a breezy day in the 50's, because it dries pretty quickly. Also, be sure to use an old/disposable brush, because it will most likely dry in the bristles before you're done.)
Immediately remove the tape. (The Goop directions said to let it set for 30 minutes, but it ended up pulling up some of the edges of the sealant. In the end I had to peel it all off and start over.)
Let the goop cure for at least 24 hours before heavy use. Now you're back in business!
