Weekday Project: Make a Cedar Bench in Less Than 2 Hours
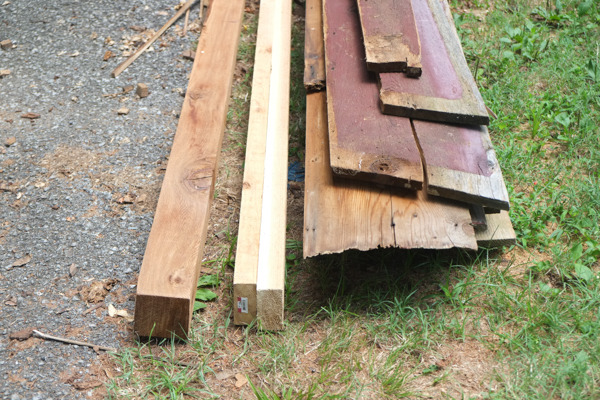
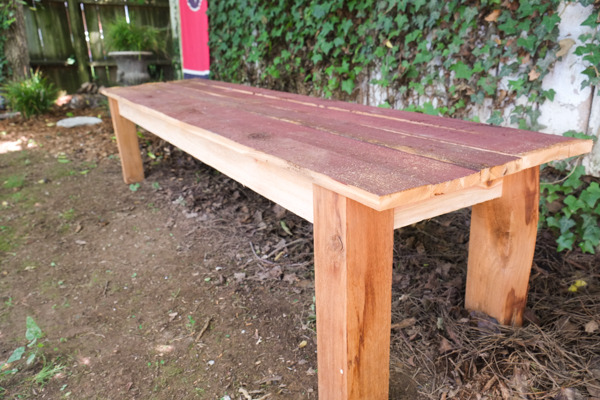
I recently lost a beloved church pew to several years of rot and water damage. Totally my fault, I didn’t seal it properly. But, that’s ok! It gives me a reason to build something new! On top of that, I thought I’d challenge myself. I had a small get-together happening later that evening, so I needed to make a bench fast. This bench was made, start to finish in less than 2 hours. That’s enough time to knock out after dinner on a weekday!
We’ll be building this out of cedar, it’s weather resistant and much more attractive than pressure treated lumber, in my opinion.
Here’s what you’ll need:
- One cedar 4×4, 8′ long
- Two cedar 2x4s, 8′ long
- 2 1/2″ Deck Screws
- Five 1/2×4 cedar fence boards or reclaimed boards, 8′ long
- Circular saw
- Speed Square and tape measure
Total Cost: About $50
Cut List
- Two 60″ 2x4s
- Two 1′ 2x4s
- Three 14″ 2x4s
- Four 18″ 4x4s
- Five seat planks – 4″x 1/2″ x 6 1/2′
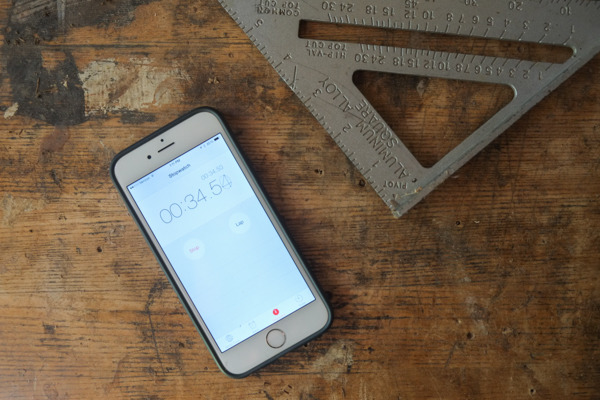
Ready, set, start your clocks!
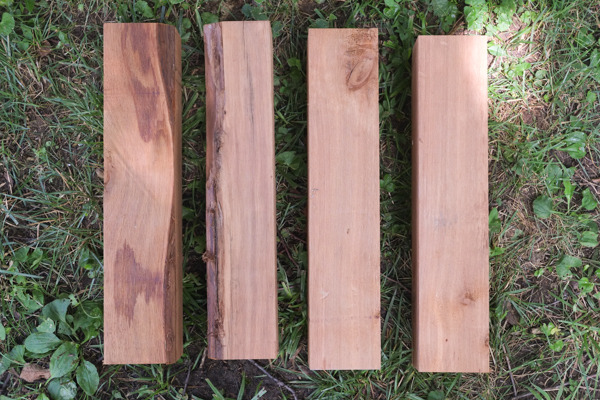
Let’s start by chopping up all your boards. Cut your post into four 18″ legs.
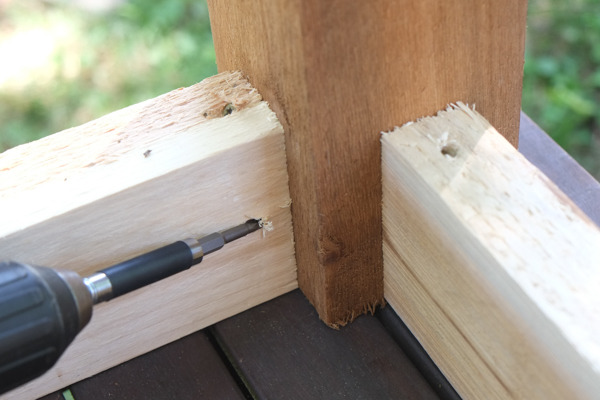
Next, chop your two long supports (60″), two shorter supports (12″) and three inside studs (14″). 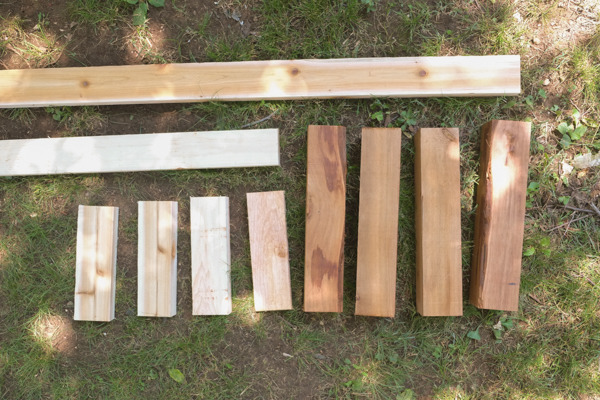 Now that everything is cut, it’s time to assemble. Grab your box of screws and drill and join together two legs and one shorter stud. What makes building this bench so fast is the softness of the cedar and the self-tapping screws. Fastening each joint of this bench doesn’t require any pocket holes, pre-drilling or countersinking. Just angle each screw into each joint and drive it just below the surface.
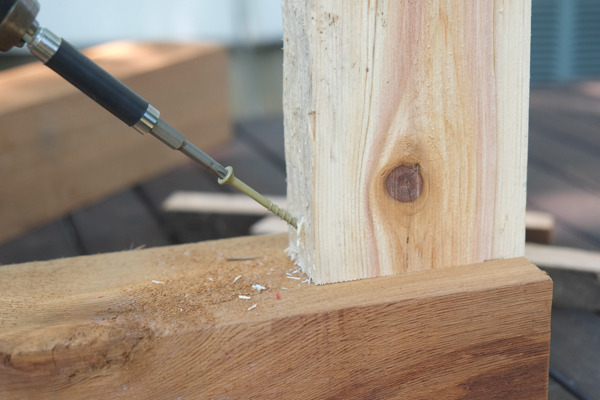
Before you fasten your joints, center the 2×4 in the middle of the 4×4 flush the top of the 2×4 and the 4×4 as well. Drive screws in on three side of the 2×4. Leave the outward facing side of the wood empty.
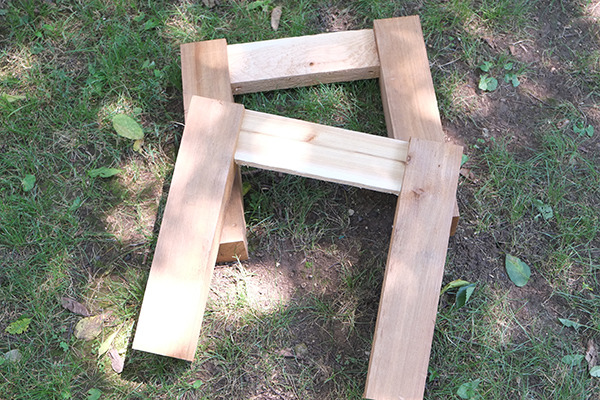
Once you have you two sides assembled, fasten your longer supports in the same way.
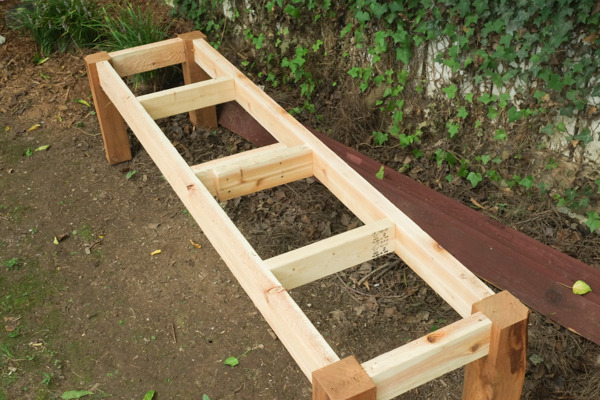
Next, fasten your center joists in the same way you did your outer supports. I will note here, in typical me-fashion, I cut some studs too short (See the center joist in the picture), so I screwed the two short ones together and compensated for my mess-ups with some scrap 2x4s I had.
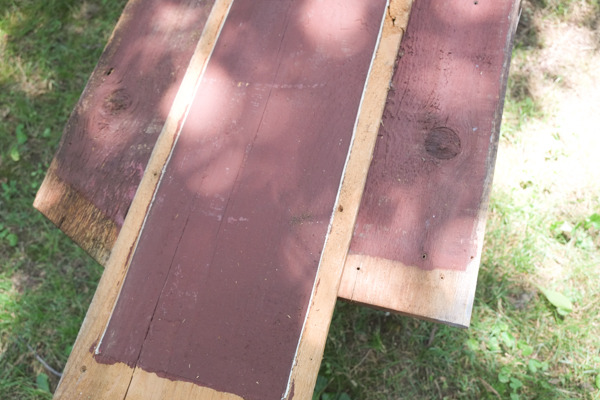
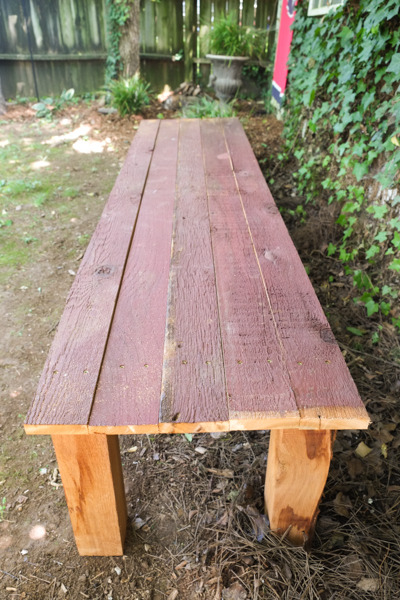
Now I’ll rip my reclaimed painted boards for the benchtop. I ripped these three large pieces into 4″ wide planks for my top. Once you’ve ripped your boards place them evenly on top of your bench. Leave a small gap between each board to allow drainage and prevent rot damage.
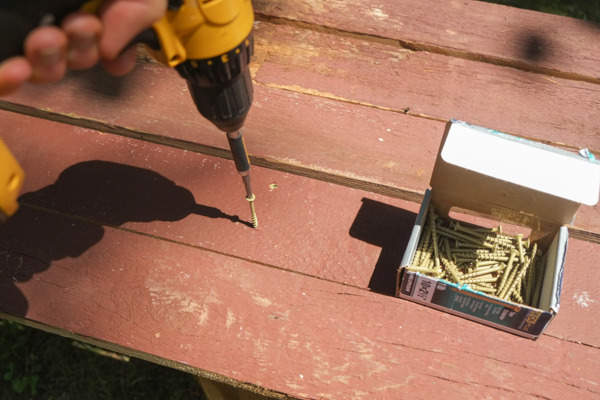
Fasten each plank along each vertical stud of your bench. I used 2 screws per board, per stud.
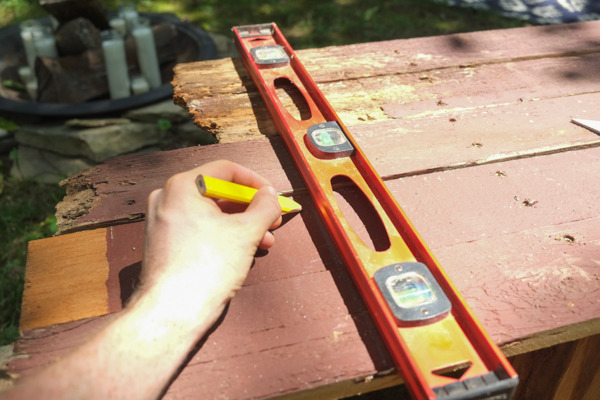
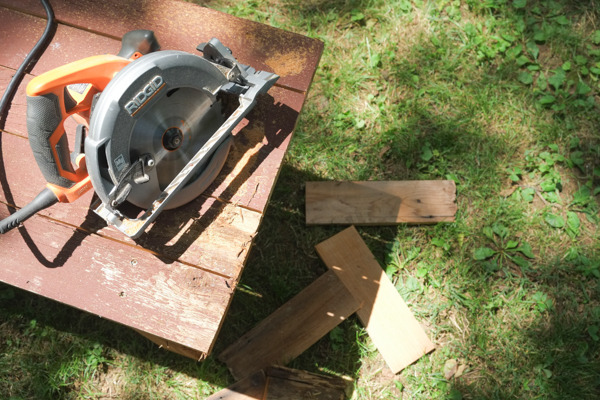
Because I used reclaimed boards, the boards varied in length and quality (some had rotten ends). Once I got the boards lined up the way I liked it, I drew a cut line and cross-cut the varied lengths into a nice straight end with my circular saw.
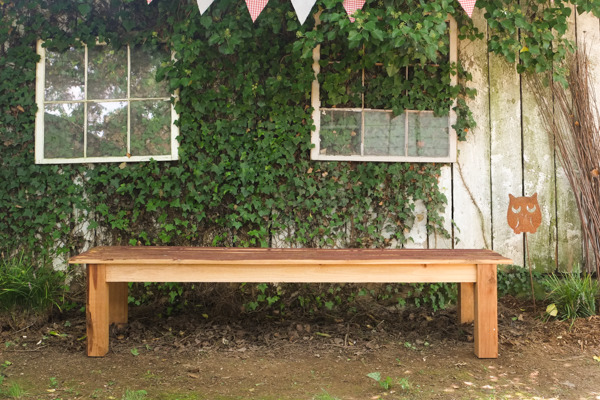
And you’re done! Finish off everything with a decent amount of sanding to dull the sharp edges and give everything a softer appearance. Oh, and don’t forget to stop your clock! Did you clock in under two hours? Let me know!
