Home Gym DIY: How to Rehab Your Rusty Weights
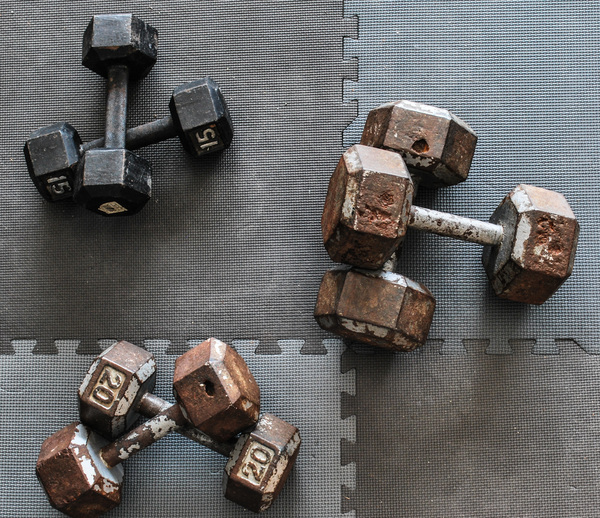 Looking to stock up that home gym with some used weights? Here are a few tips to rehab a set of rusty, used dumbbells into something that fits right into that garage workout space. I picked up a few pairs of weight off my local Craigslist page a few week ago. If you’ve ever bought dumbbells, you know how insanely fast it becomes way too expensive. So when a rusty, pitted set came up, I checked them out and got them cheap thanks to their relatively poor condition. But a bit of epoxy and some spray paint made them look and feel new enough to find a permanent spot in the home gym. Here’s what I did:
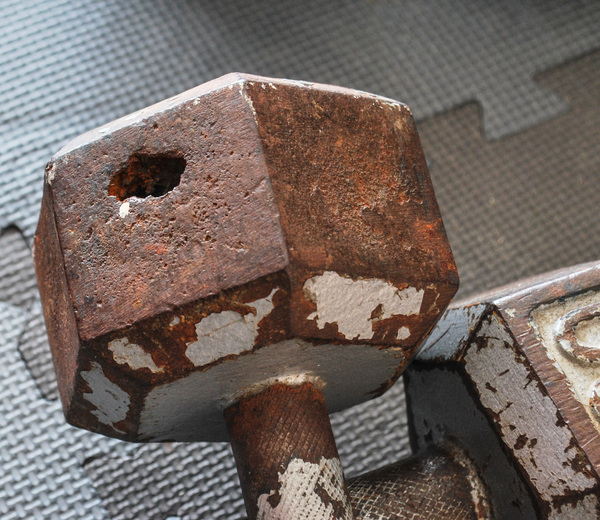
1. Assess the damage. Most weights are built to last, but years and moisture can wreak havoc on their appearance. Look hard for cracks in the welds or weights that will compromise the integrity. If you find these issues, move along; they’re not worth dropping on your head during a workout. Minor pitting and even rust holes can be repaired, and I’m going to show you how.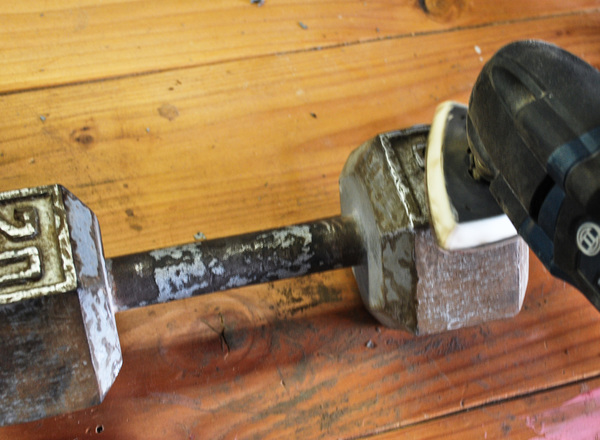
2. Clean them up. A wire brush and some sandpaper cleans the surface enough to make paint adhere. I scraped off all flaking paint, and sanded the sides with 80 grit paper on my multi-tool. I then used a wire brush to get off stubborn rust pitting and dug any dirt out of the holes. A quick wipe down with water got them ready to repair.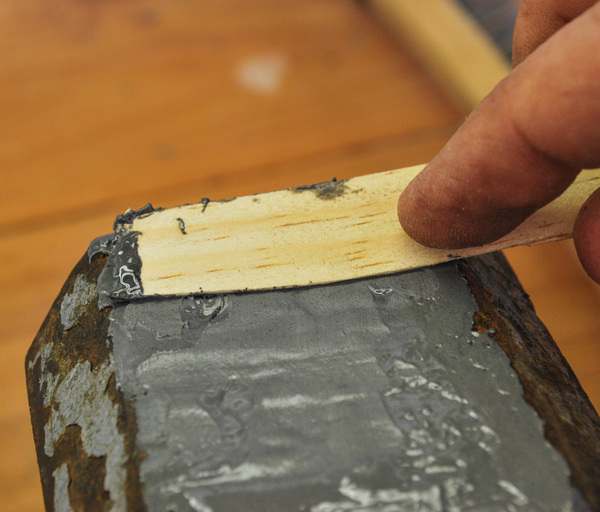
3. Fill the holes. I mixed up 2 part 5 minute epoxy to fill the holes on one weight, and used J.B. Weld 2 part epoxy for the others. This was to see what mix was most effective. The 5 minute was much faster setting, and filled the holes nicely without shrinking. The JB Weld took longer to cure and shrunk a bit leaving a divot I had to fill with more material. Note: both were used only as a filler material, not an adhesive to hold anything together. Please don’t JB Weld a structural part of the weight.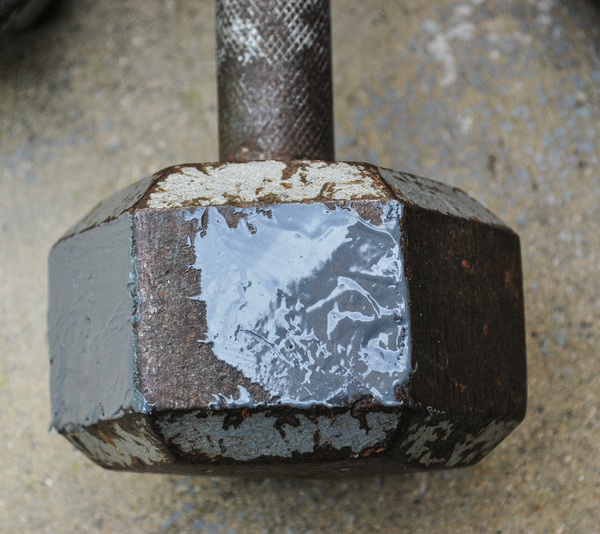
4. Lightly sand and paint. I lightly sanded the epoxy surfaces to make them a bit rough, then sprayed them with Rustoleum spray paint. The key is to spray a few light coats to layer it well for coverage and durability.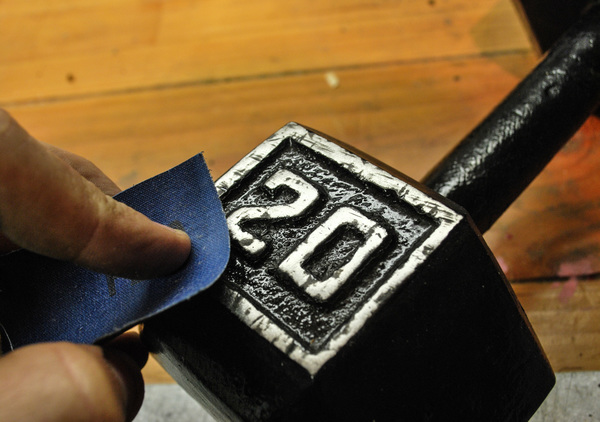
5. Finishing touches. I sanded the numbers down to contrast and make them easy to see, then sanded the center grips to get the grip back so sweaty hands can still hold them tight.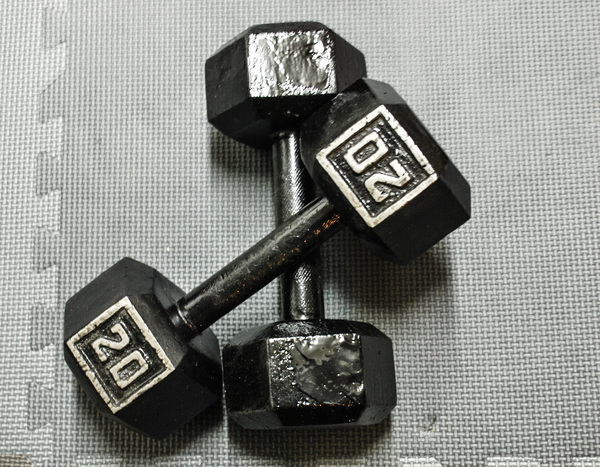
Overall, it was a fast and easy way to pick up some beat up weights that look good in the home gym. Necessary? Probably not, but I was getting tired of looking at the beat up rusty weights every morning so it was a simple fix to keep my sanity intact just a bit longer.
Next step is building a rack to get my growing collection of fitness gear off the floor with some reinforced wood shelves.

