How to: Make a Live Edge Walnut Bench
I love a full-on, hardcore woodworking project: milling the wood from rough lumber to glass-smooth surfaces, careful design and proportions, and sturdy, hand-cut joinery to keep everything in place for many decades to come.
But that’s a big commitment, requires a lot of knowhow and tools, and a can take several weeks of nights and weekends to finish. So, I’m equally a fan of any project that produces great results with solid materials but uses some more “woodworking light” techniques.
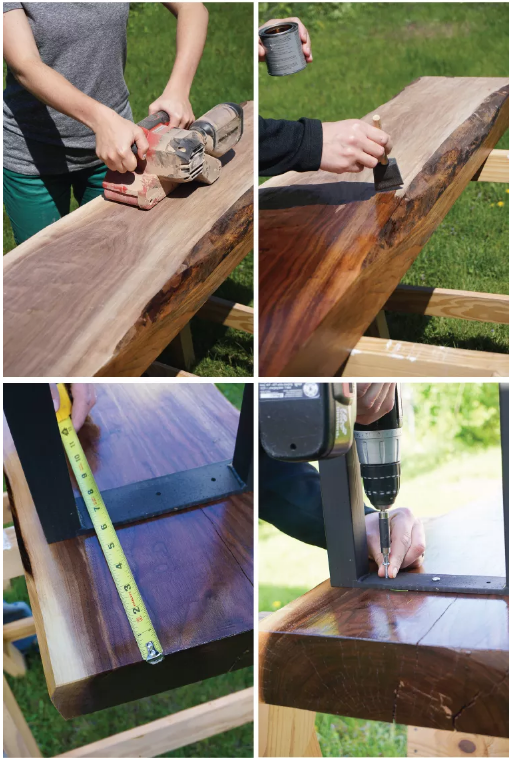
This live edge bench from Francois et Moi definitely hits the mark. The top is made from a single slab of walnut, so the only work required is some sanding to remove the milling marks and get everything nice and smooth. The legs are purchased easily on Etsy, so you simply need to attach them to the top, and give it a simple finish.
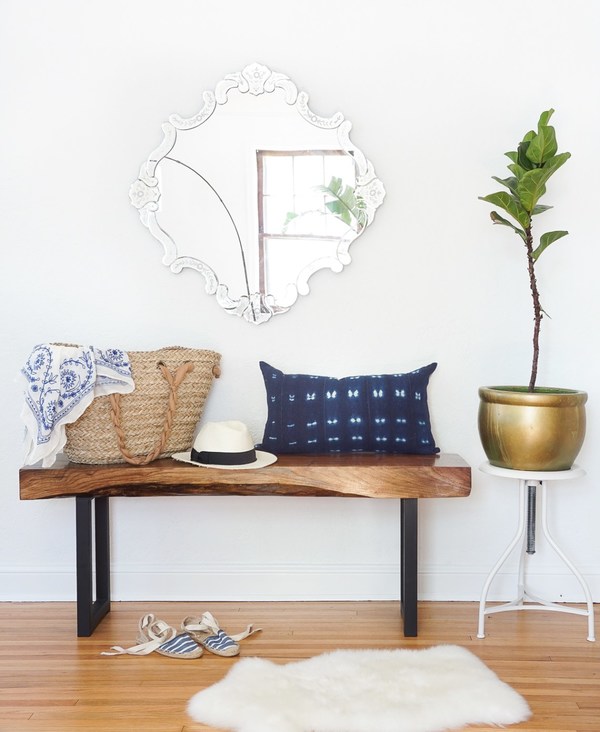
The materials here are pretty high-quality, so it’s not an inexpensive piece. The legs are $90ish, and I’m sure the 3″ thick top cost at least $200, and perhaps more. But! If you found a similar piece in your local, cool-guy woodworking/design shop, this piece would go for at least $700-800. So, this is a seriously good way to save.
Just a few notes on the how-to: the tutorial suggests belt-sanding up to 120. On a piece this nice, we’d suggest finishing by hand sanding up to 220 grit to remove any scratches from the belt sander and coarser paper (120 is really only a medium). And we’d also suggest a hand-rubbed oil finish applied with 320-grit paper to fill in walnut’s relatively coarse grain and really bring out the figure. You could then apply an oil-based clear coat to that if needed (though I probably wouldn’t).
Check out the full tutorial from Erin at francoisetmoi.com: How to Make a Live Edge Walnut Bench


