Desktop Inspiration: How to Build Your Own Wooden Quote Holder
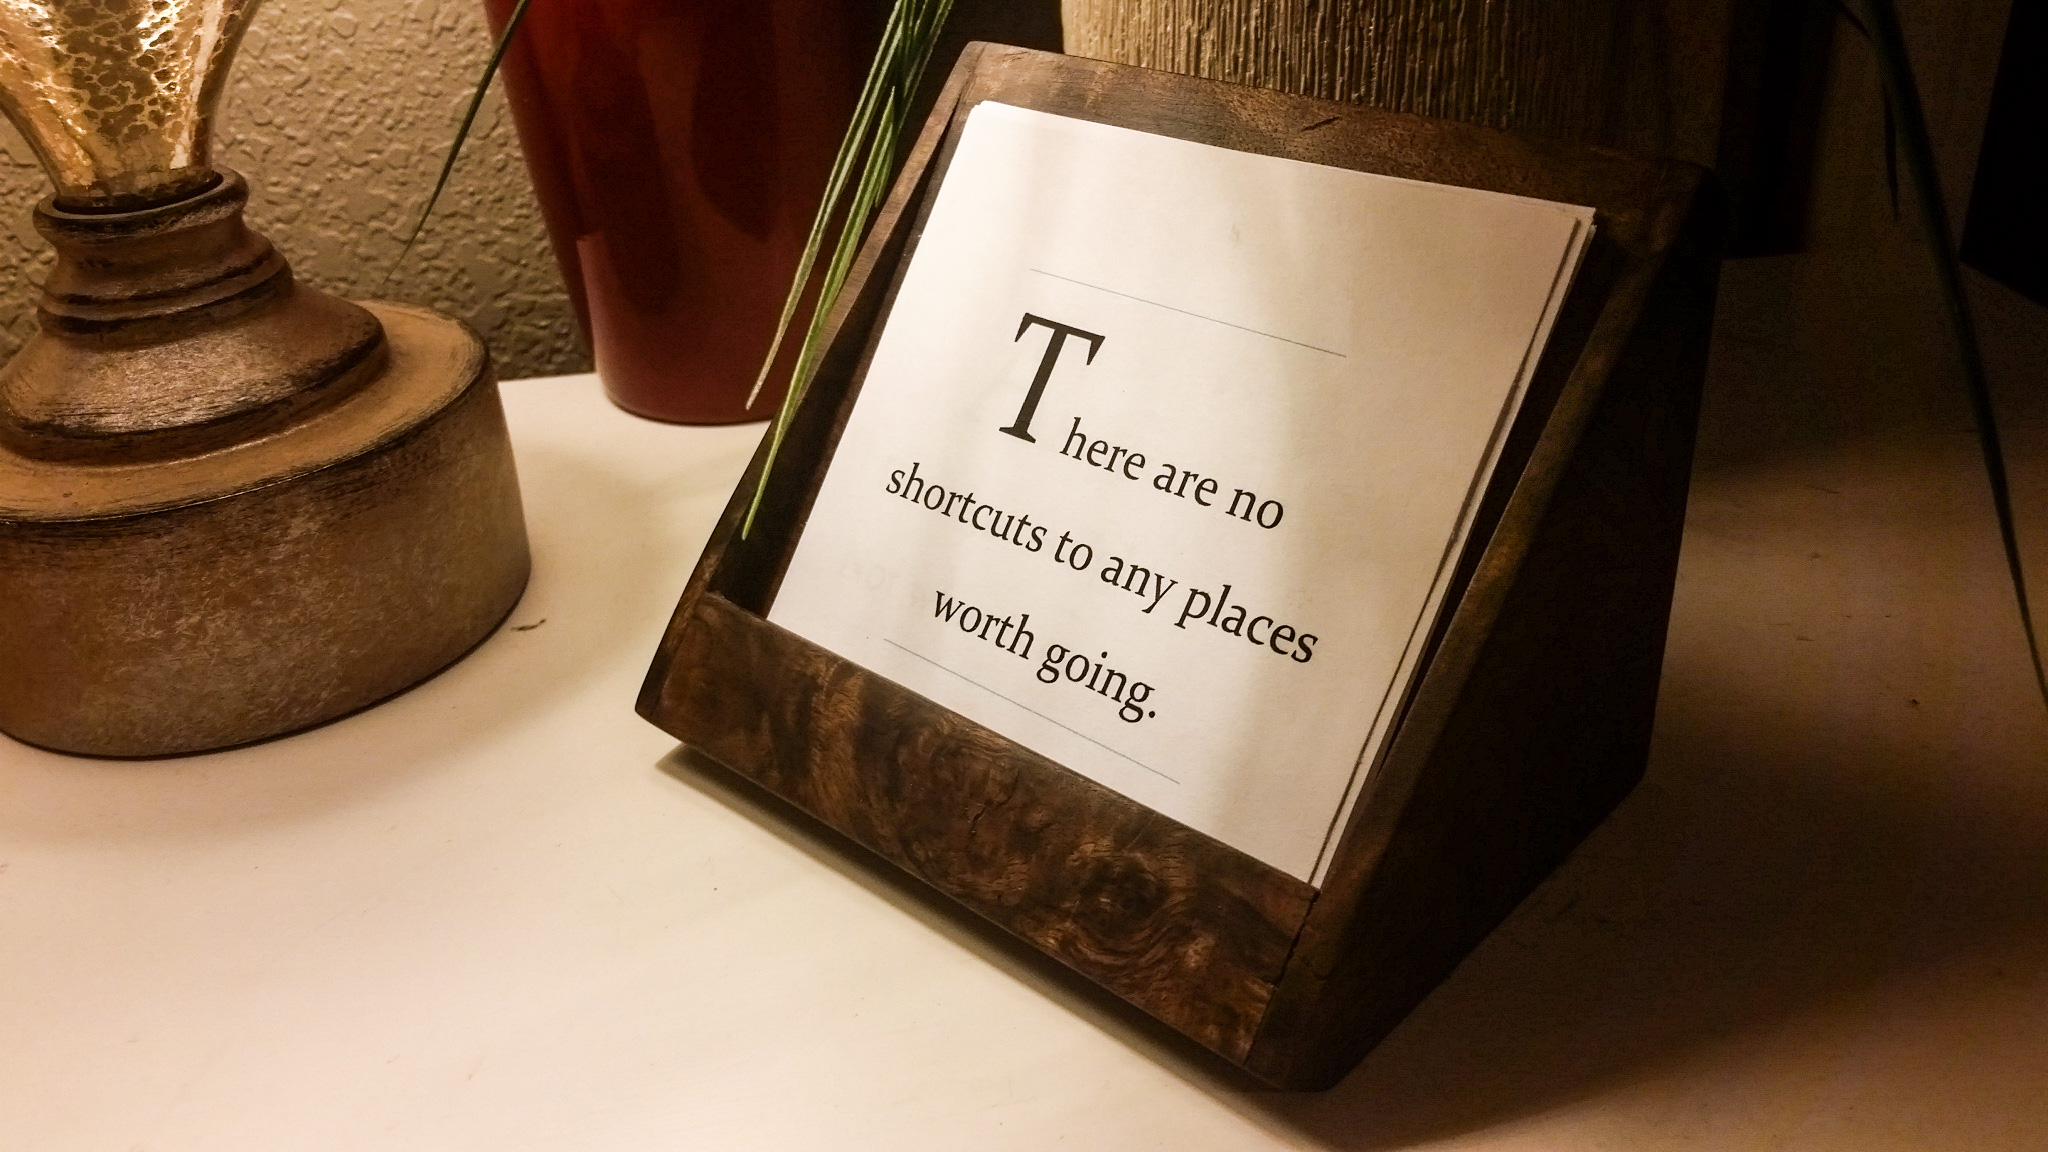
It's well known that what you focus on grows. That's why it's so important to keep the things that inspire us most close at hand. I have a few favorite words that I scatter throughout my office, journals, and walls, but this centralized space is perfect to keep that daily inspiration right where you need it.
I started with some black walnut for this project, small pieces of scrap that I was able to cut down to size. You can use anything in the scrap bin as the parts are pretty small. I also decided to try out CA glue (super glue) to keep the curing time down and minimize the use of clamps on such small pieces. This project was fully completed on the table saw, with a bit of finish work with a sander. A bandsaw or jigsaw would also work great.
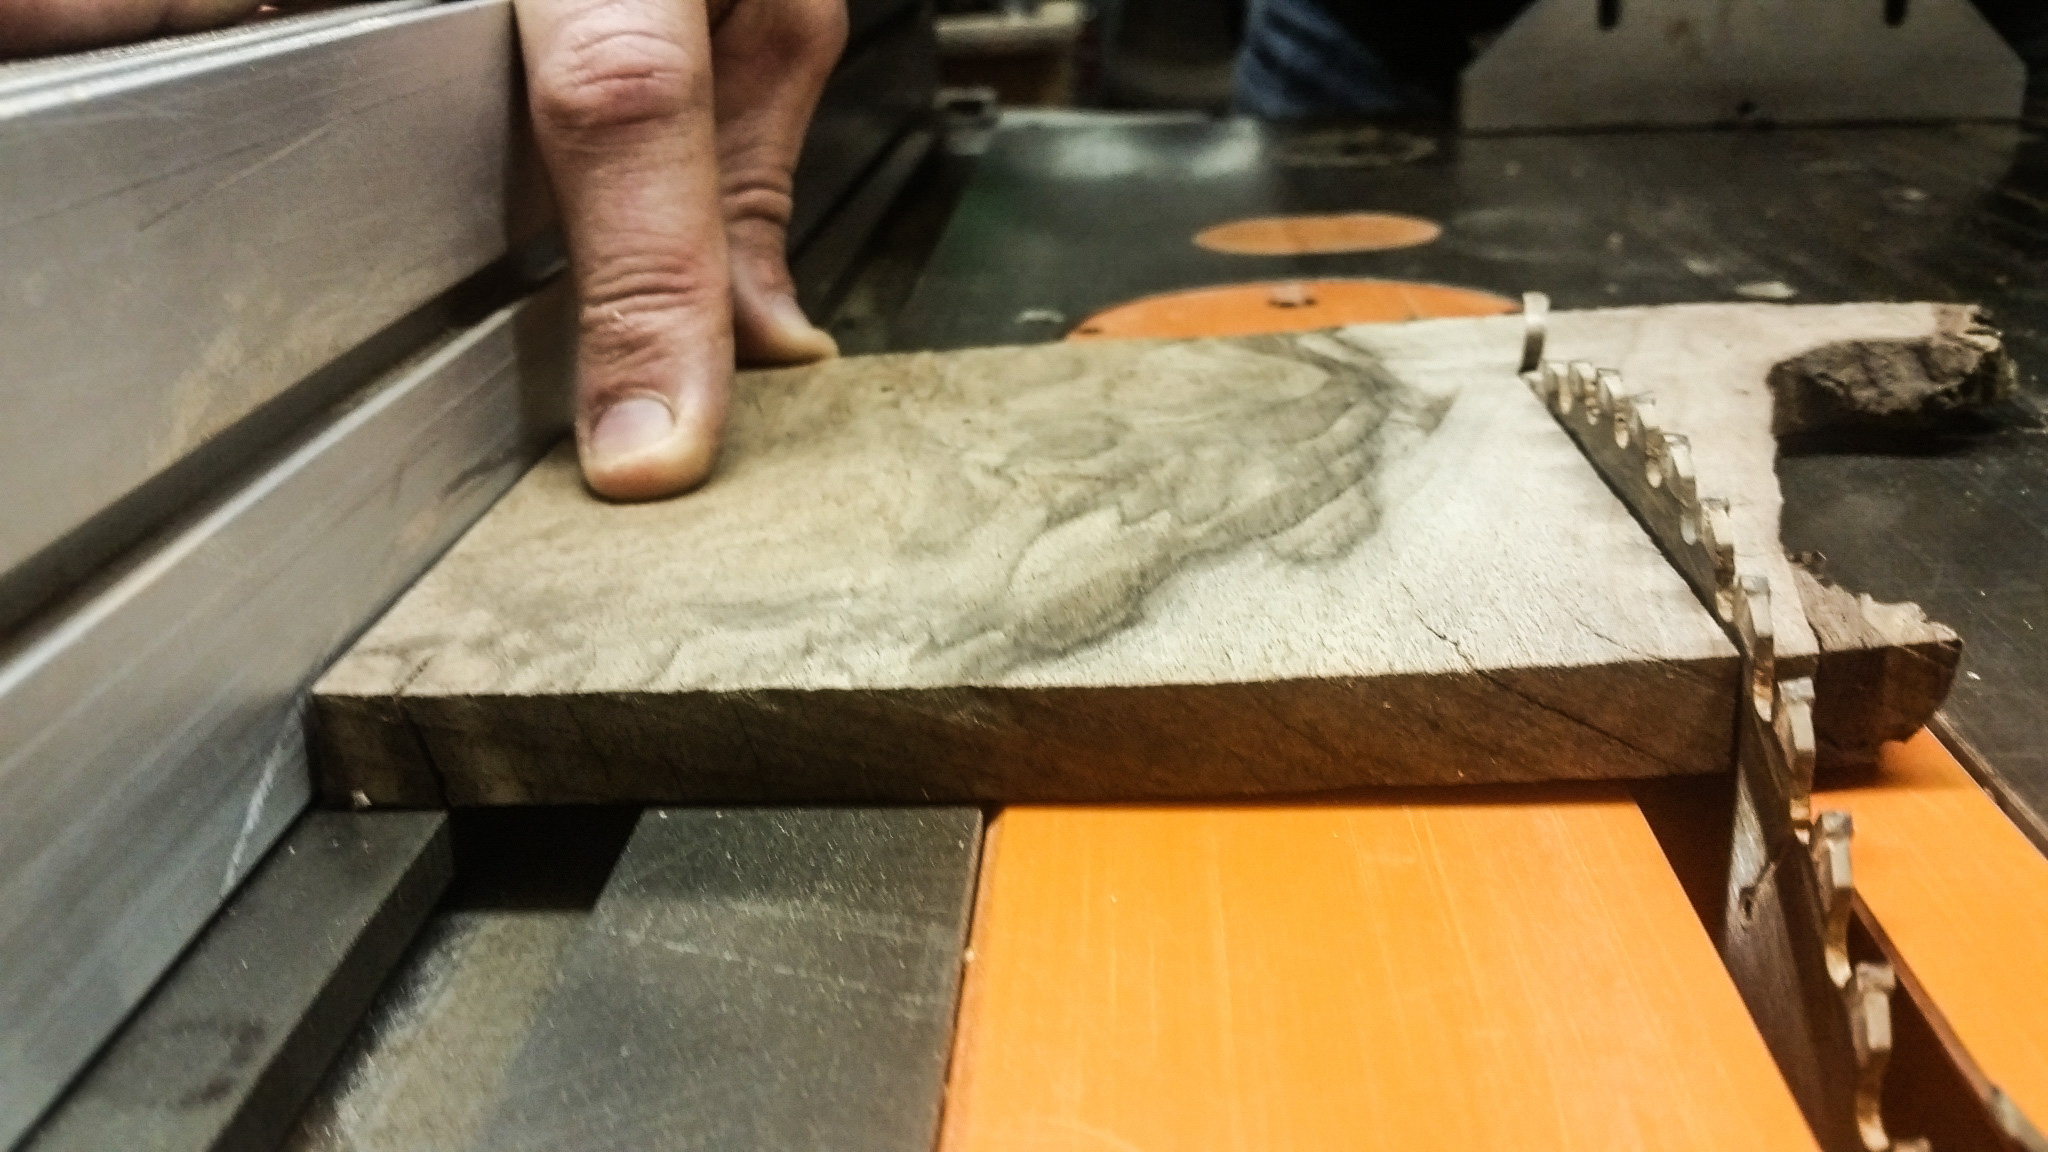
Here are the steps I took to make it:
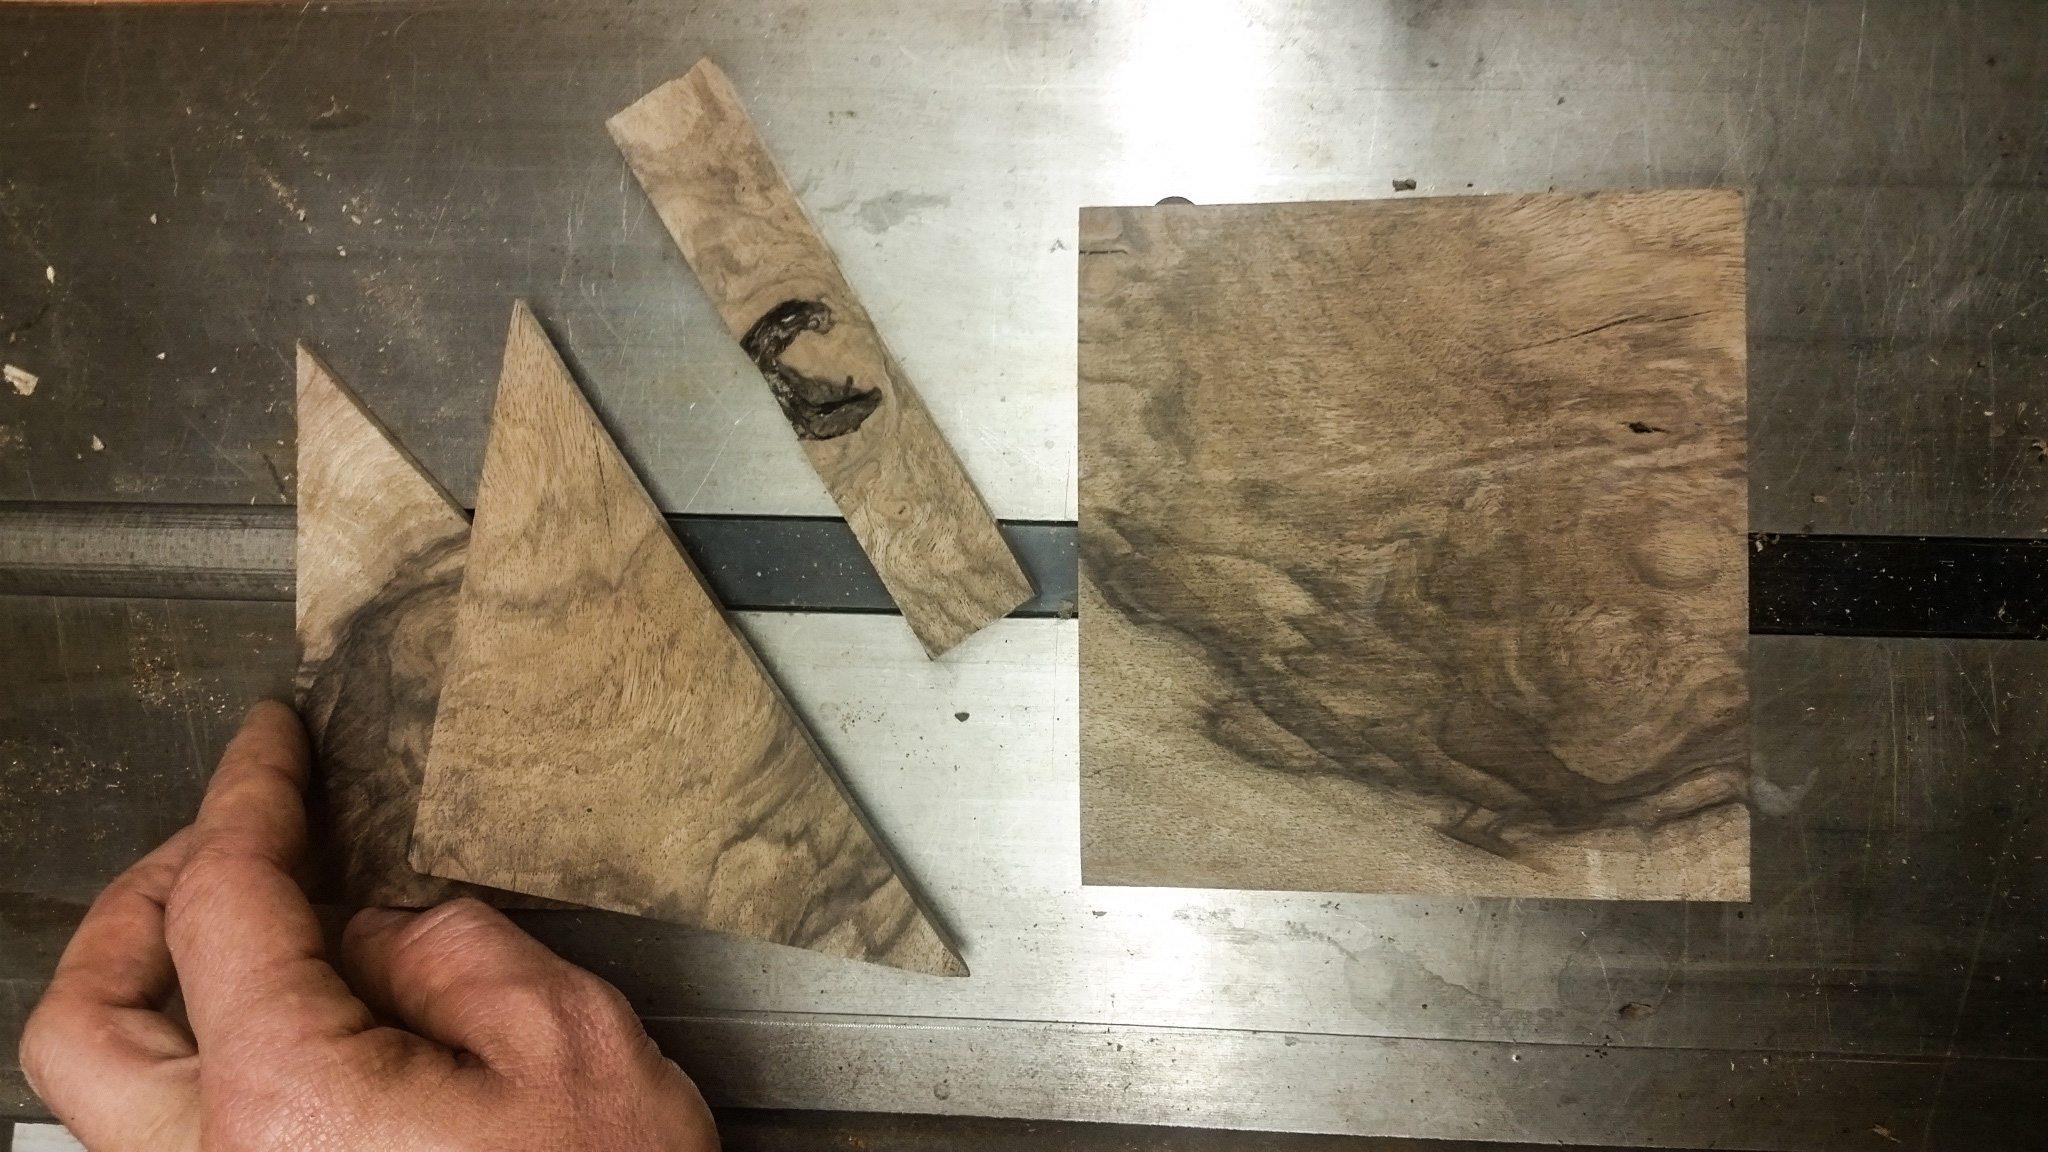
1. Cut The Pieces To Shape – The main square is simple to cut, with the triangle portions being cut at 45 degrees and a bit more complicated. Use a miter gauge to keep the wood supported properly.
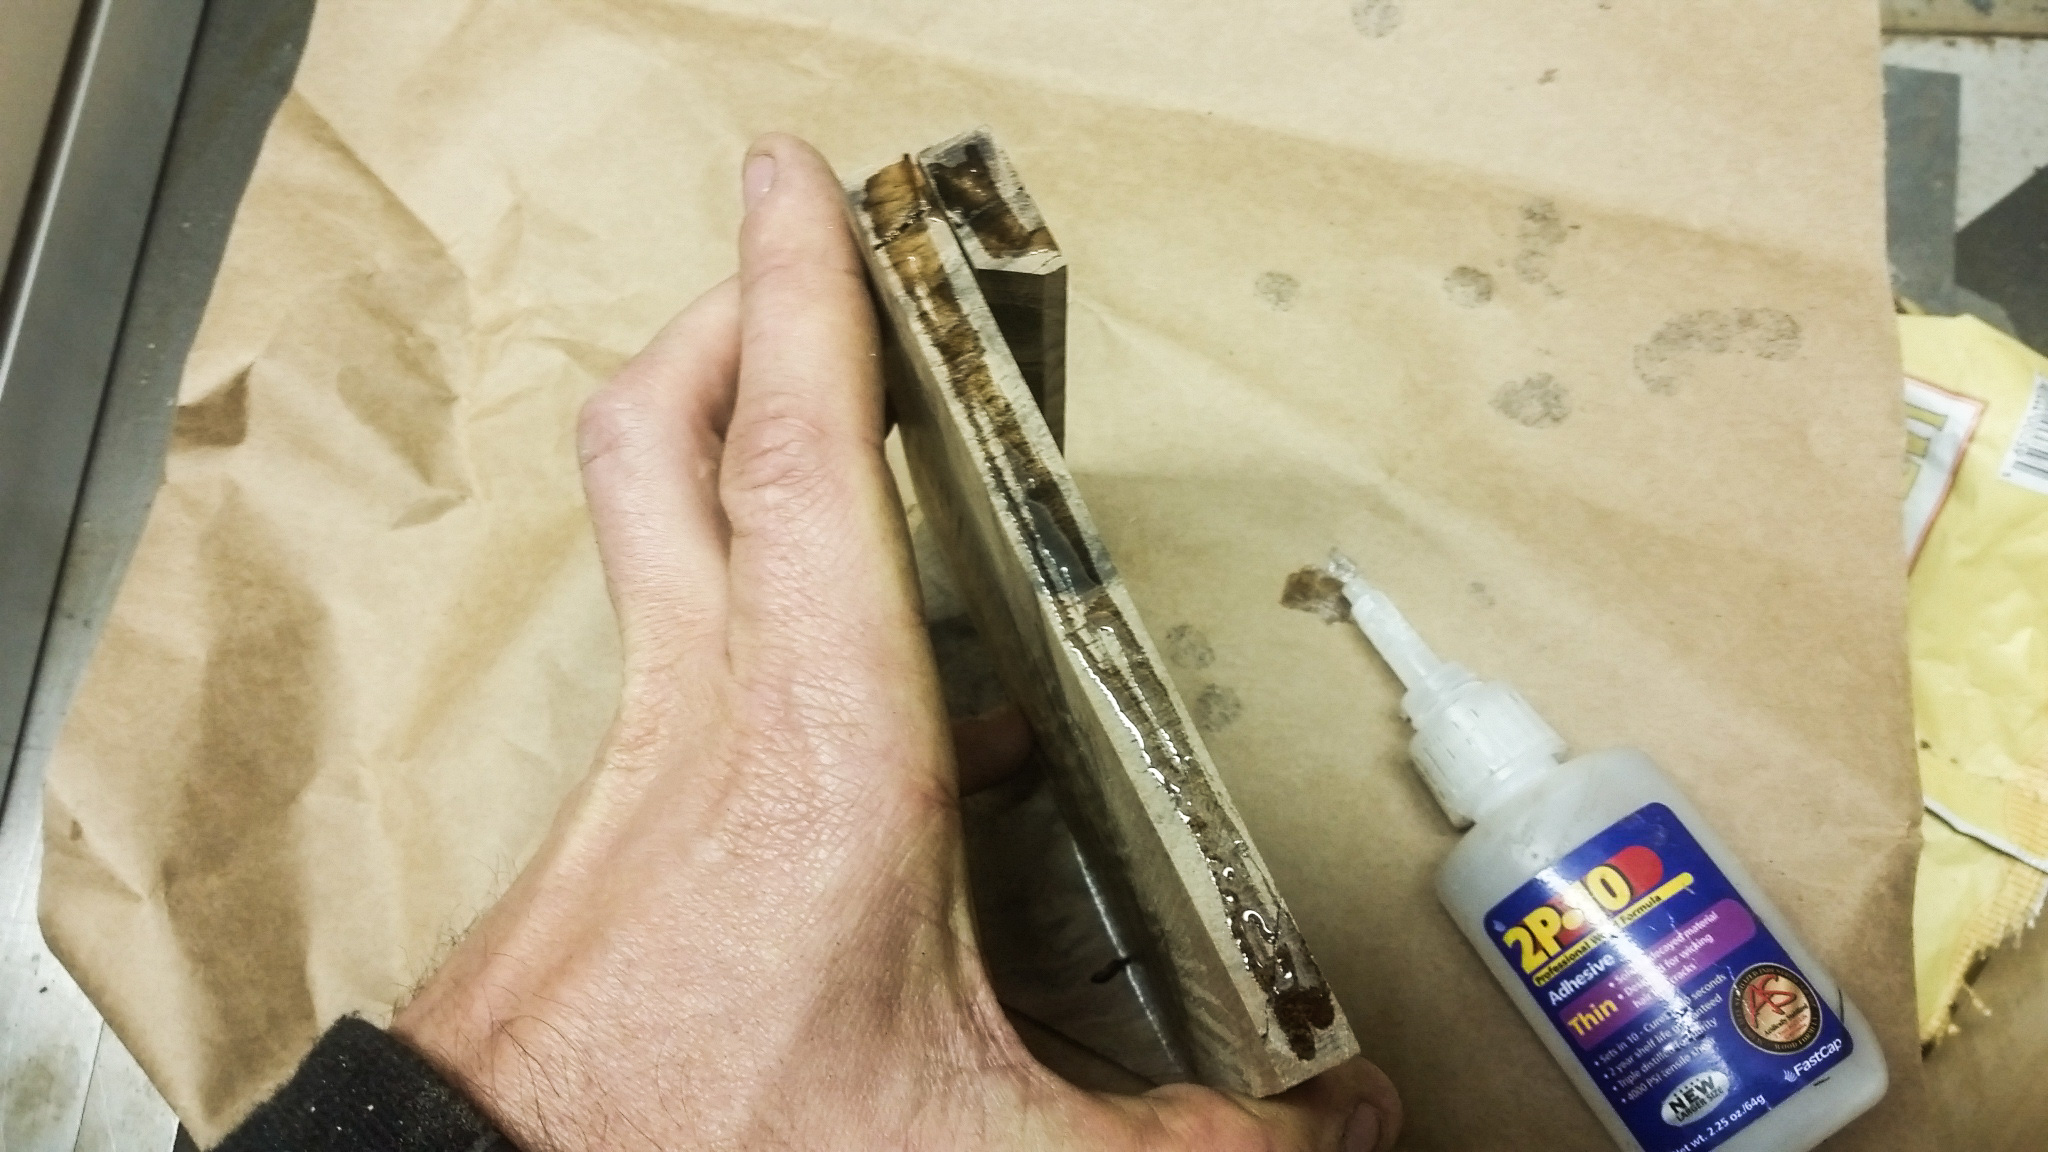
2. Glue Up The Pieces – I used thin CA glue (super glue) to attach the pieces together. I have been wanting to try it on a small piece to see longevity and durability, and this was a perfect project for it. The glue held fast and secure enough to work within only a few minutes.
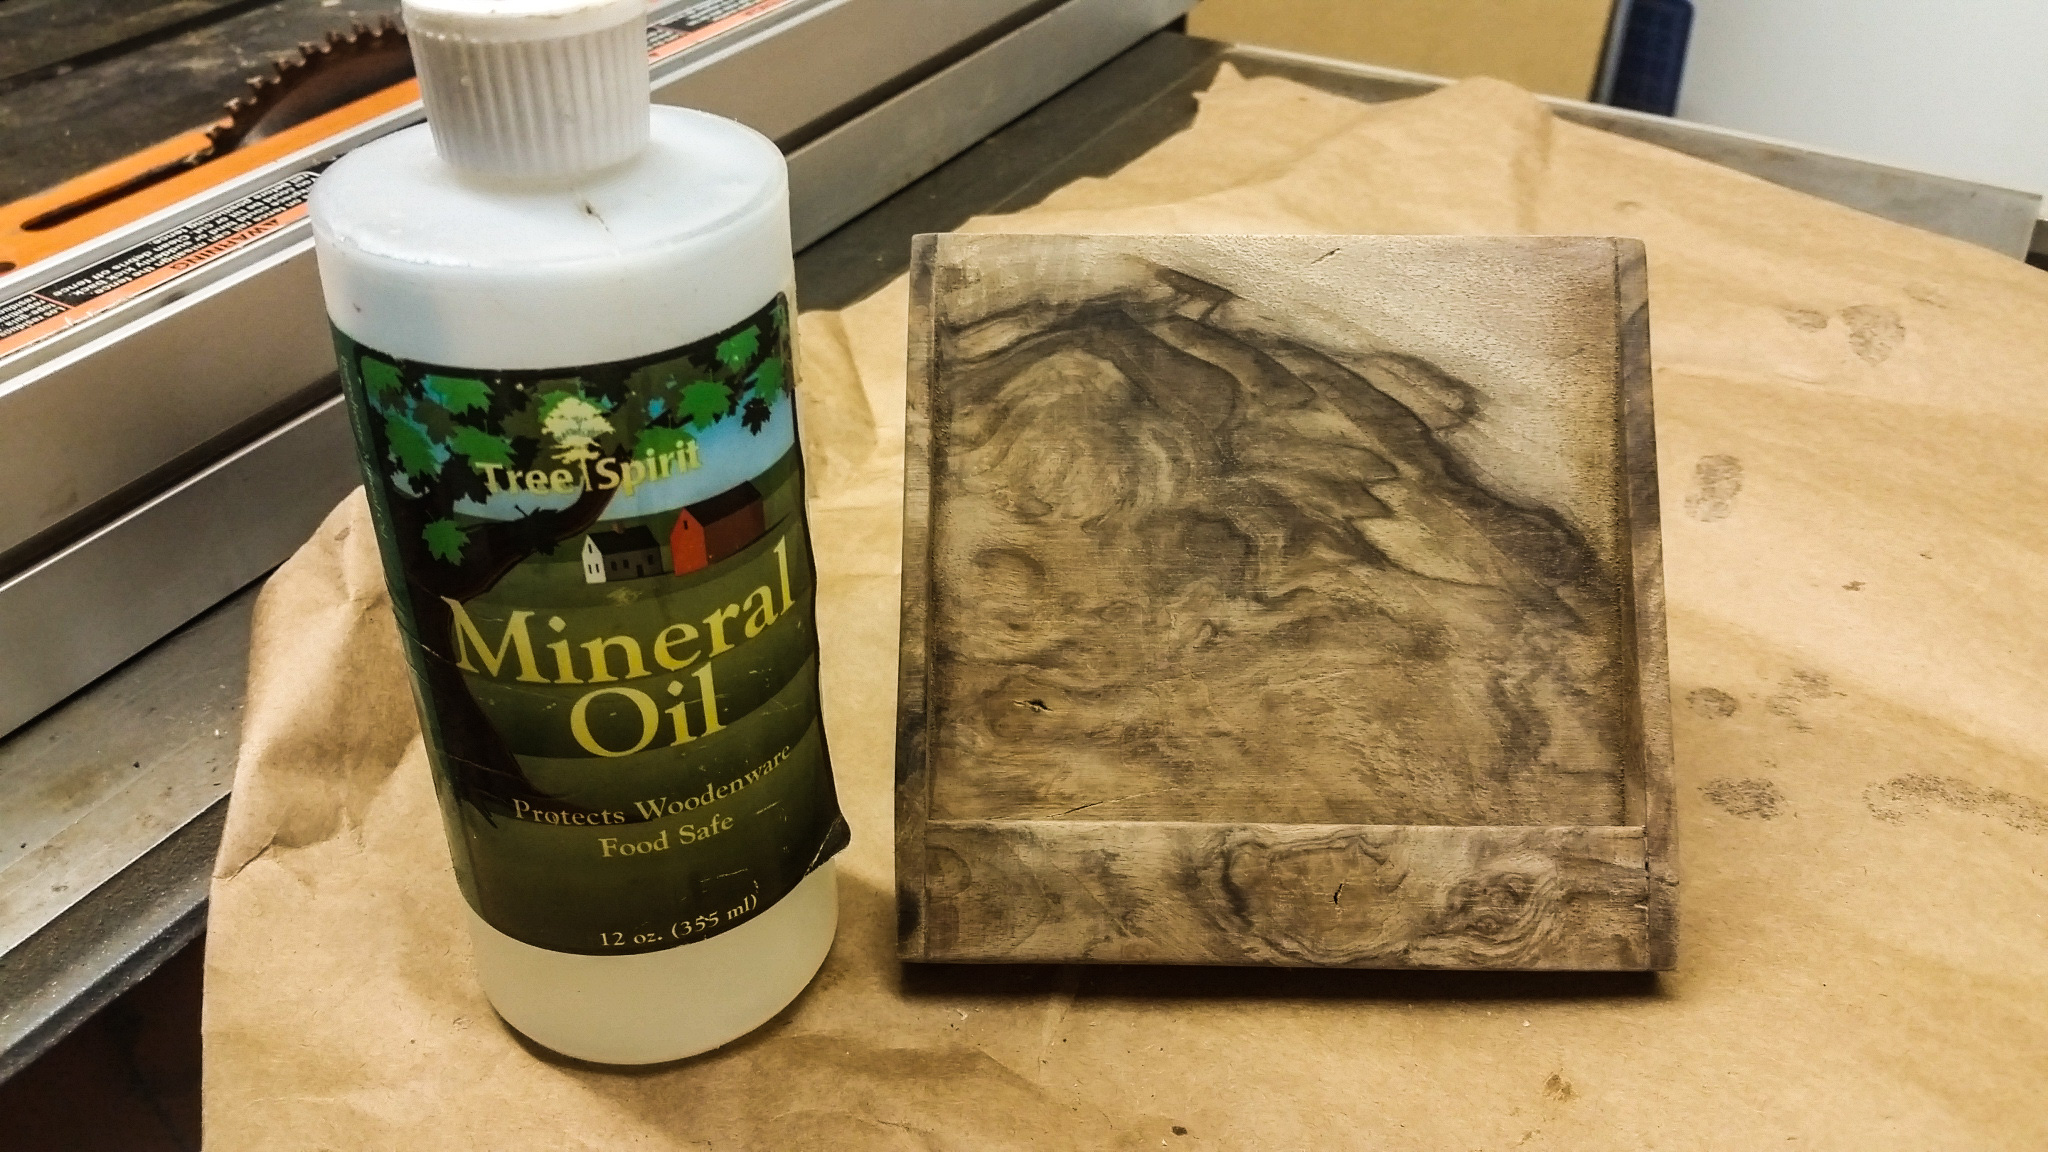
3. Sand and Finish – I sanded the rough joints smooth, then worked through from 120 grit to 400, cleaning with denatured alcohol between grits. Sanding and finish work will depend on the wood and desired finish. I finished it off with mineral oil and a coat of wax to bring out the amazing grain pattern on the walnut.
4. Quotes – I printed out 3×5 card sized papers with a collection of my favorite quotes, they're here if you're interested. But handwritten or printed cards are a perfect size to switch out if you need to switch up the inspiration.
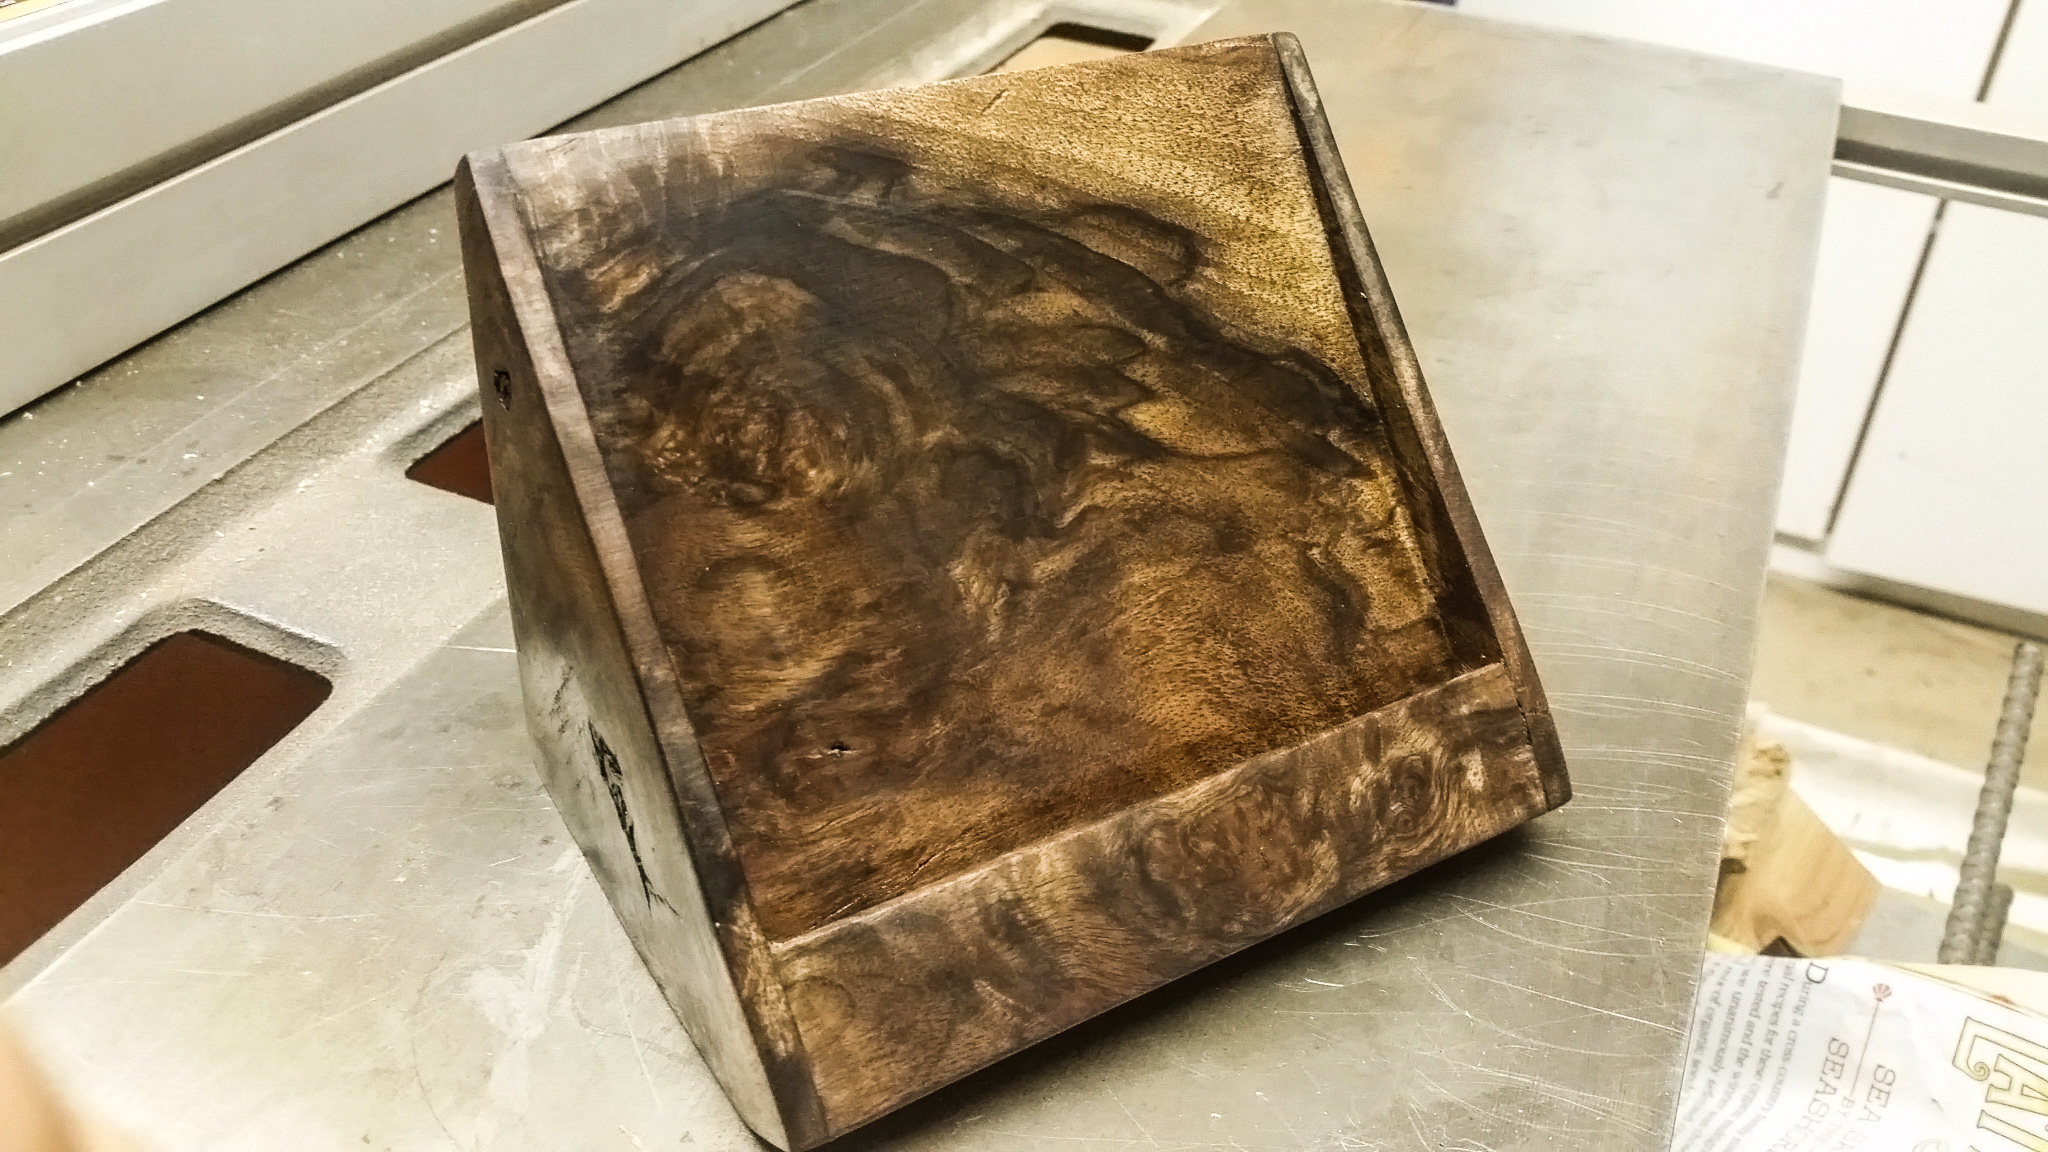
Once I built this, I noticed how well it worked as a cell phone or tablet stand as well, so I might be building a few more of this simple design with a few more pieces of my scrap project wood, putting a simple wire port along the bottom edge to accommodate a charging cable.


