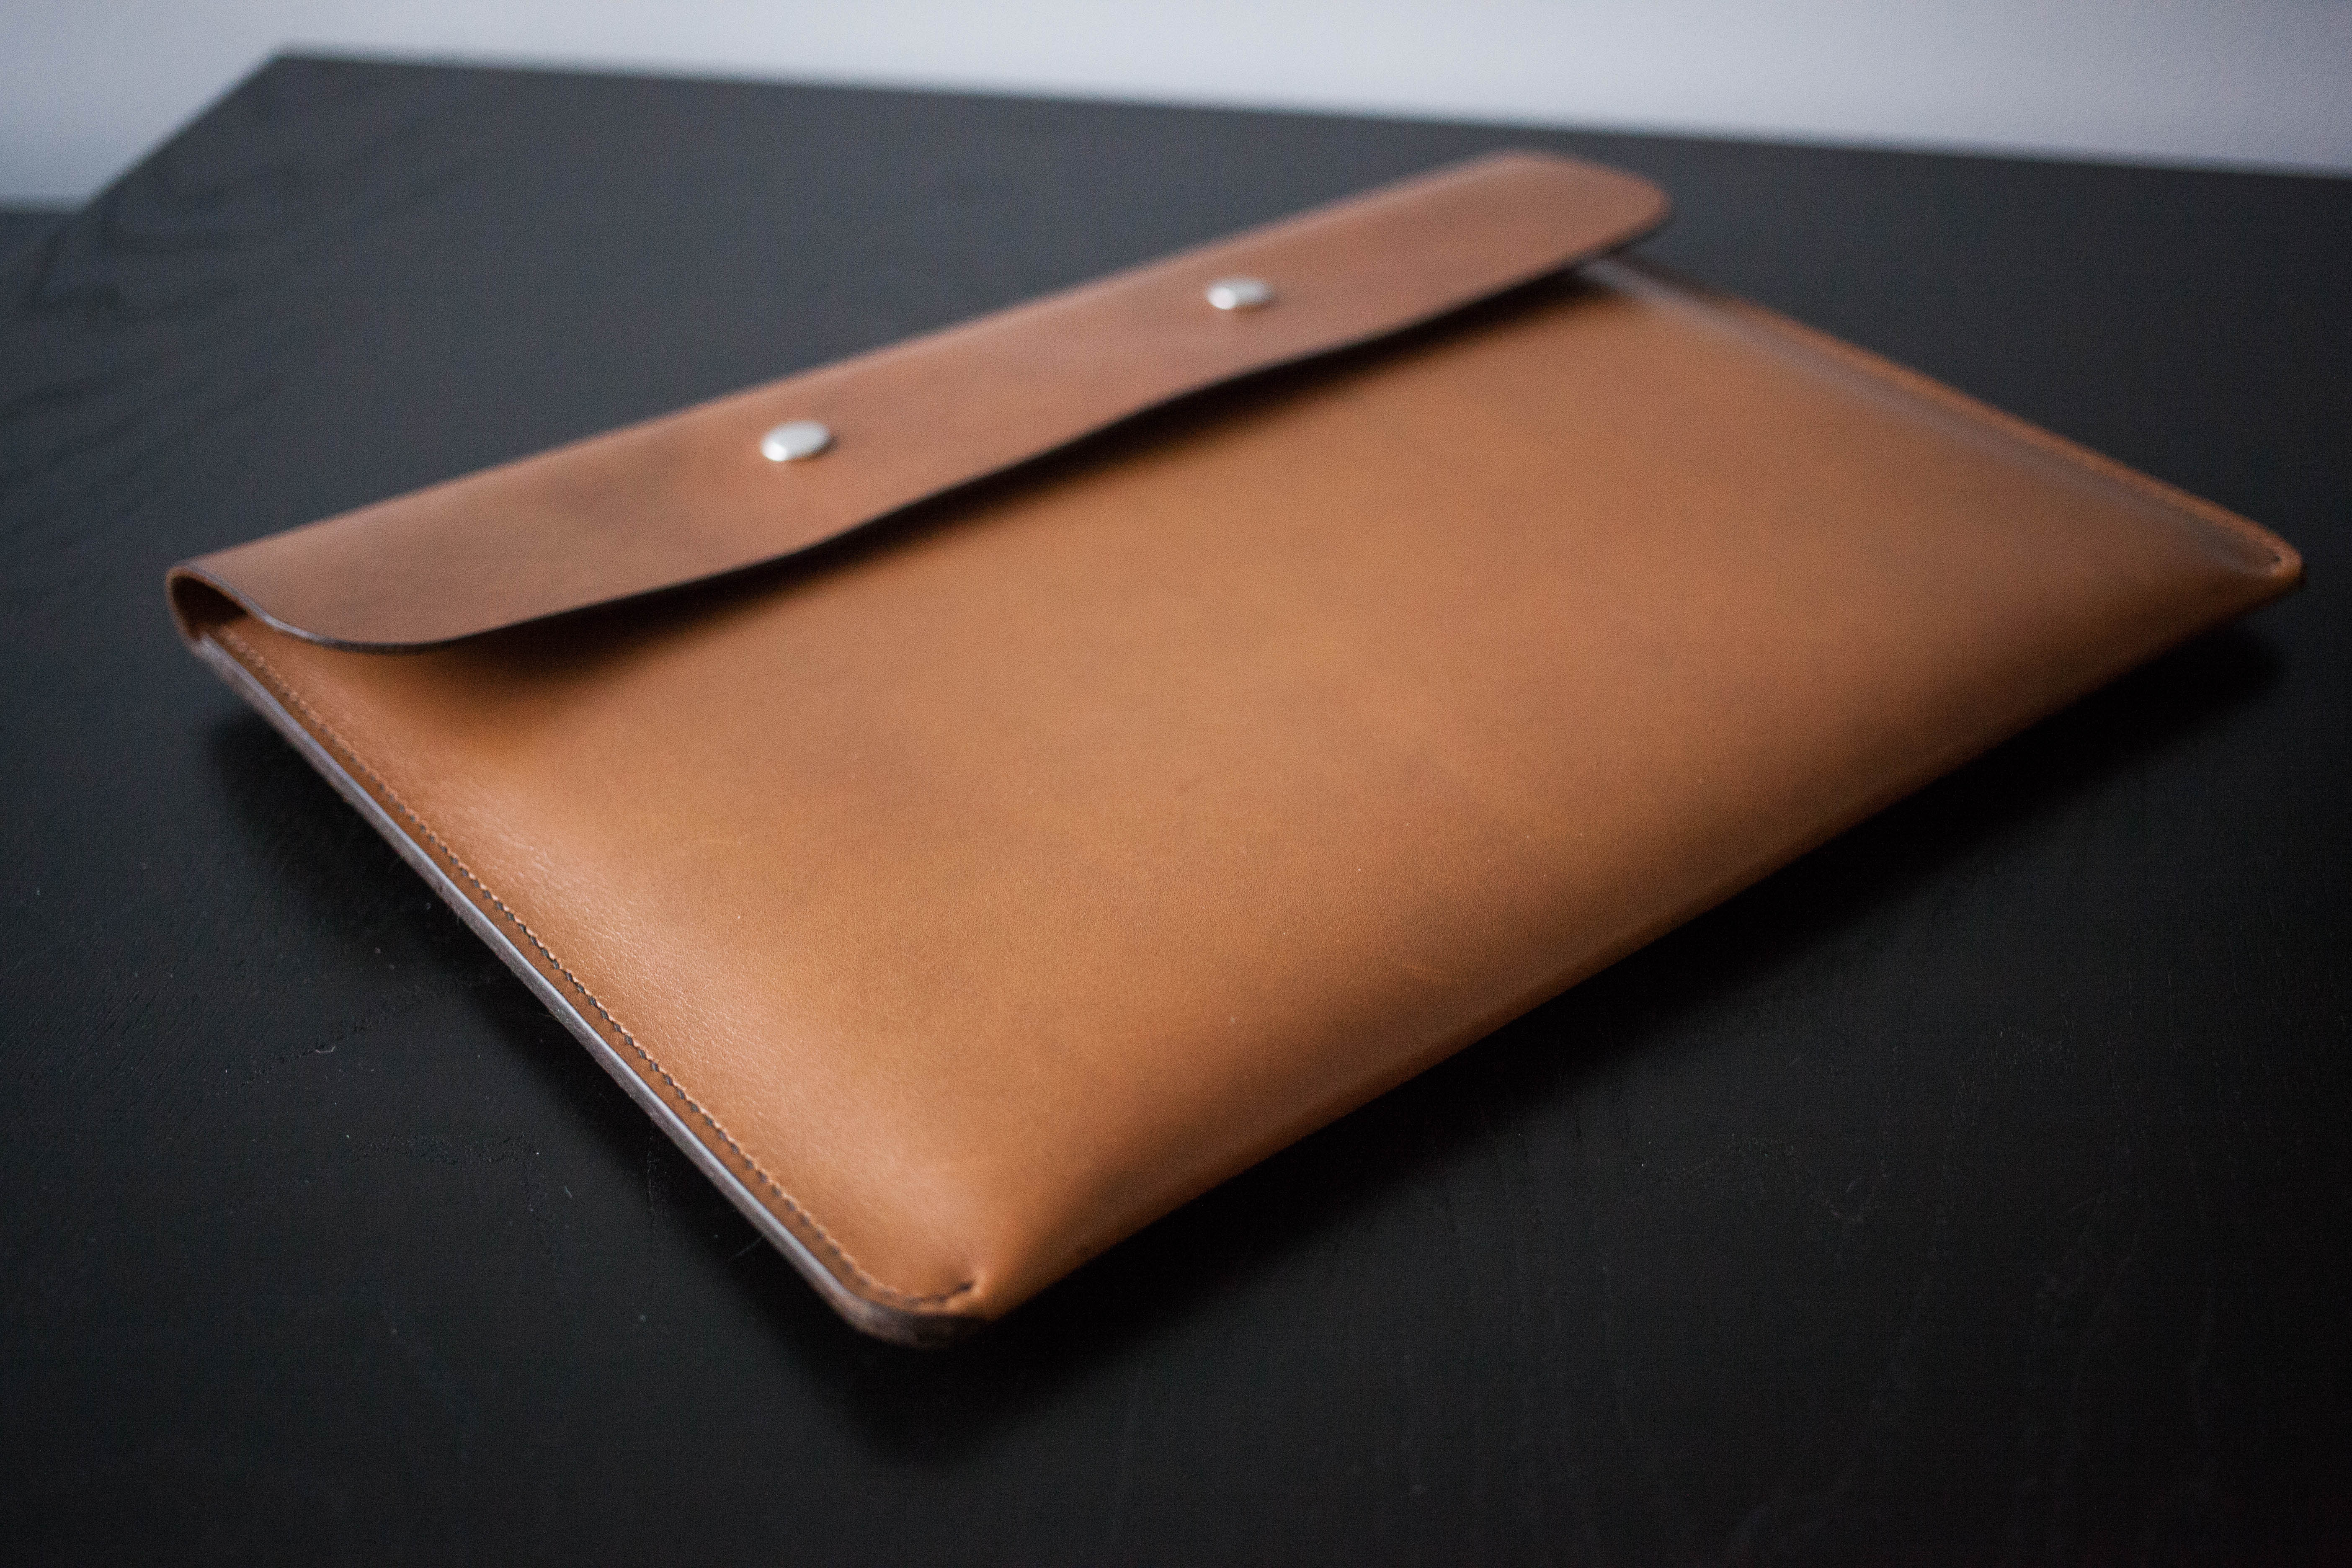
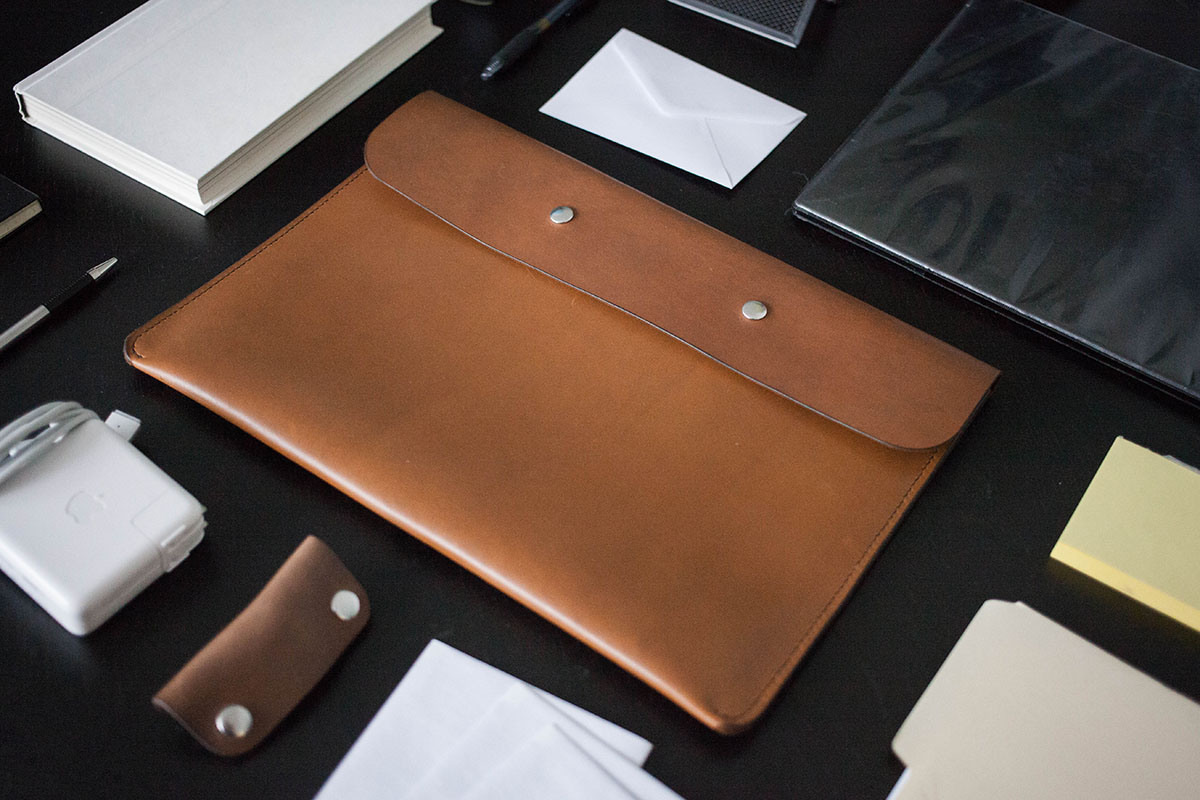
Make This: Protect Your Computer with an Easy DIY Leather Laptop Sleeve
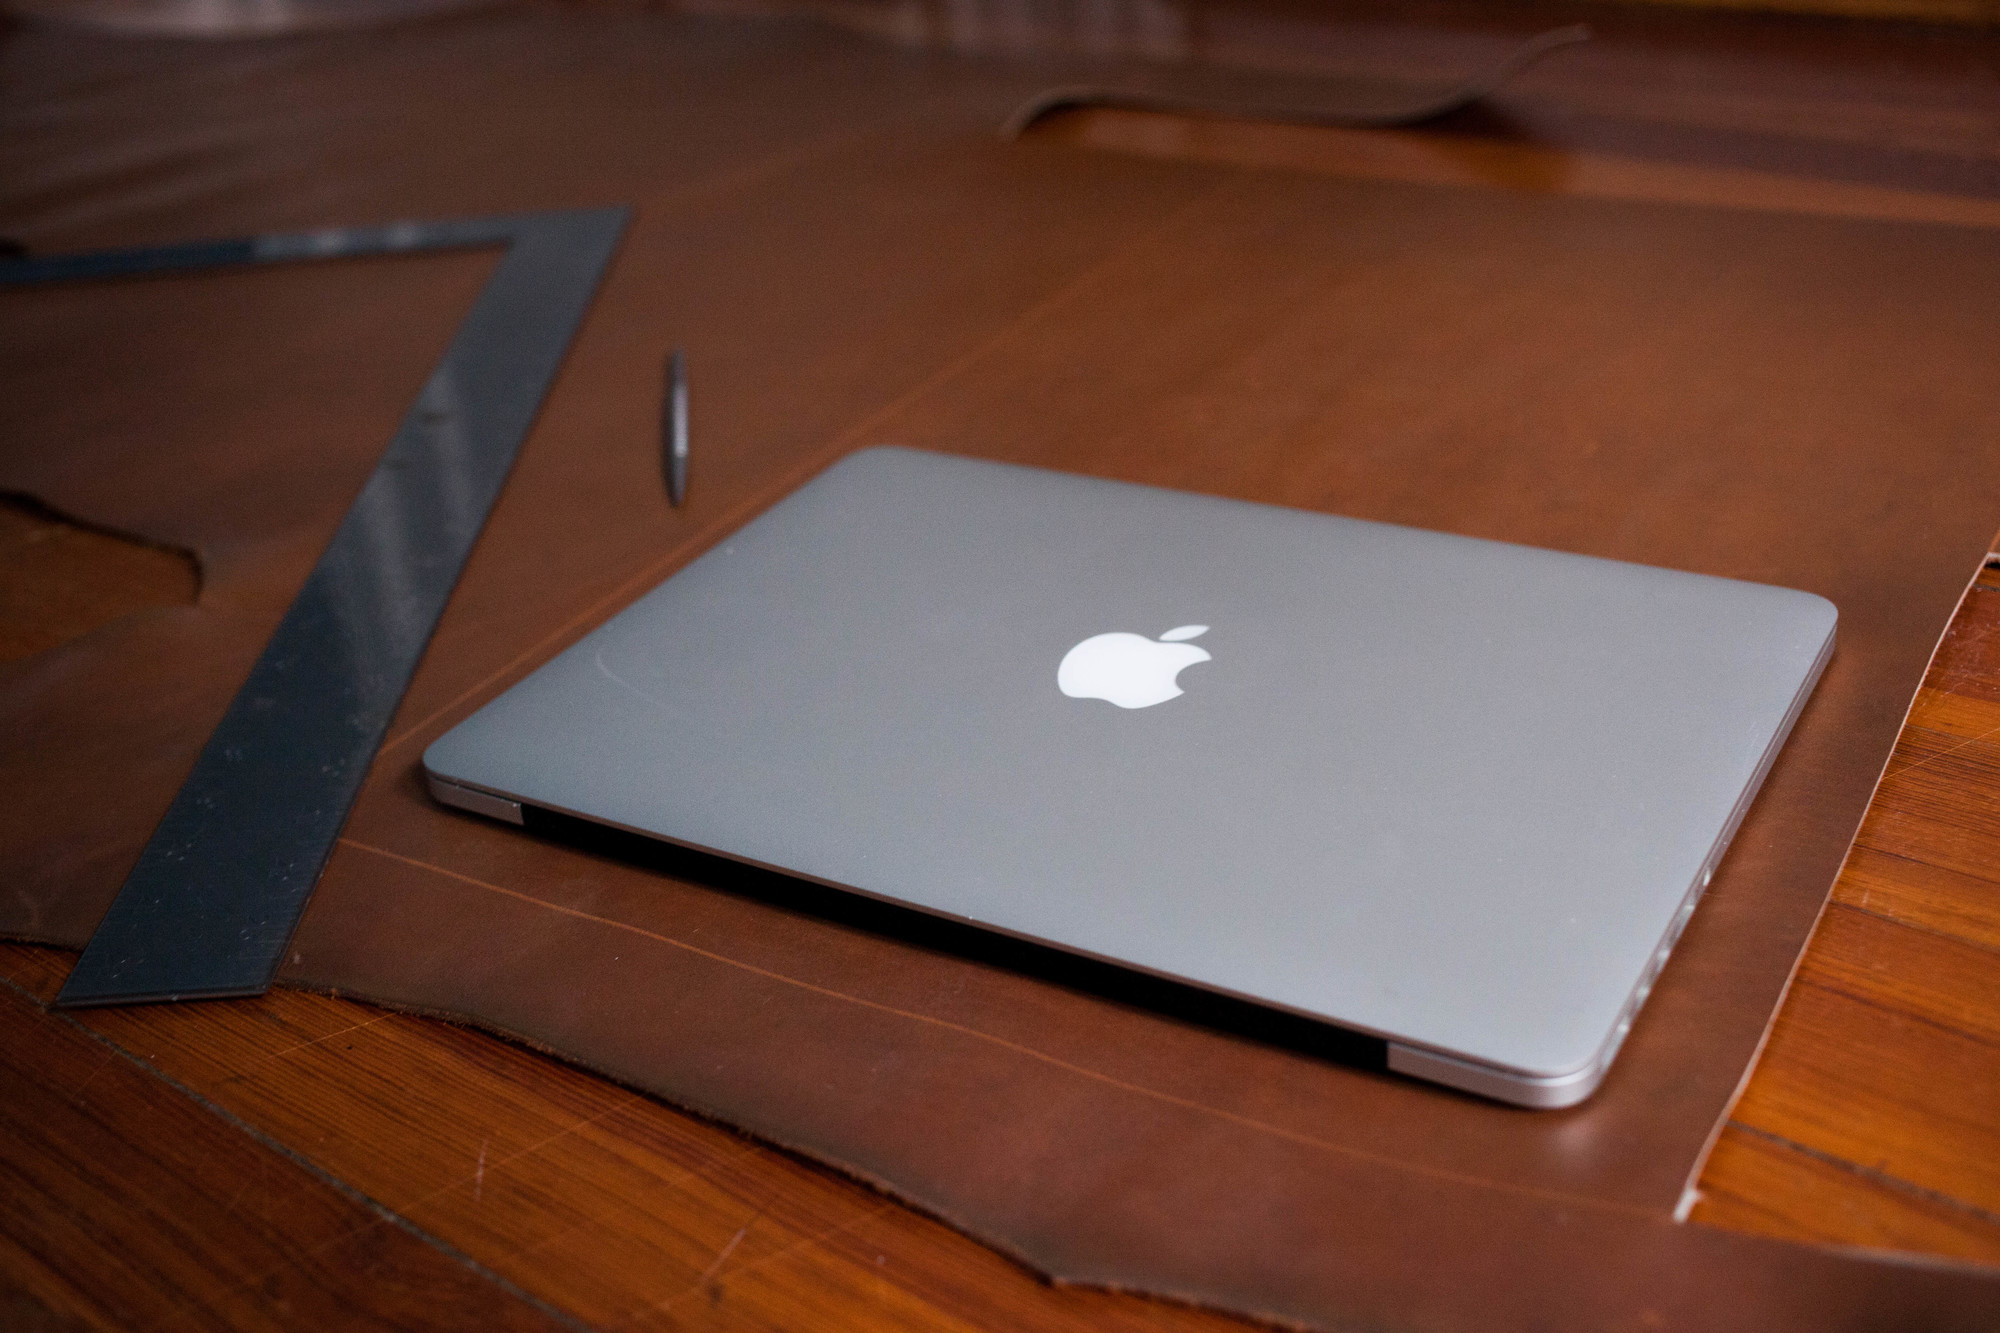
If you getting a ton of use out of the cord taco you made with the last blog post, my guess is that your probably going to get even more use out of this DIY leatherworking project.
As always, if you don't feel skilled enough to pull off any of the steps below, you can check out this beginners guide to get you going.
Story Time:
I — admittedly — was in the habit of just grabbing my computer and carrying it around. Its home was wherever I left it…unprotected. Stupid, I know. I’m pretty careful with my stuff, especially when it costs as much as a laptop, but even if you can control you're behavior, you can’t always predict what other people are going to do.
Enter my co-worker. We had just started working together and my wife and I had him over for dinner to get to know him a little better. At some point during the night he somehow managed to spill his entire glass of water on my laptop, which I thought I had placed enough out of the way. Don’t worry, we are now good friends. All that to say, a leather laptop sleeve would’ve more than likely saved the day, my computer, and my files that weren’t backed up (again, a bit stupid, I know…).
And since I have the know how, and you should too, I decided it was time to break my non-sleeve habits and make a leather laptop sleeve. I also back up my files now.
What you need:
- 5oz leather (preferably waterproof, but many leathers are at least water resistant).
- 2oz leather scrap
- Leathercraft glue
- Snaps and setter, hammer
- General leatherworking tools, such as:
- needle and thread
- ruler
- diamond chisels or punch
- leather knife and/or rotary cutter
- scratch awl
- sandpaper (220 grits and 400-600 grit)
- beeswax
- dividers
Step
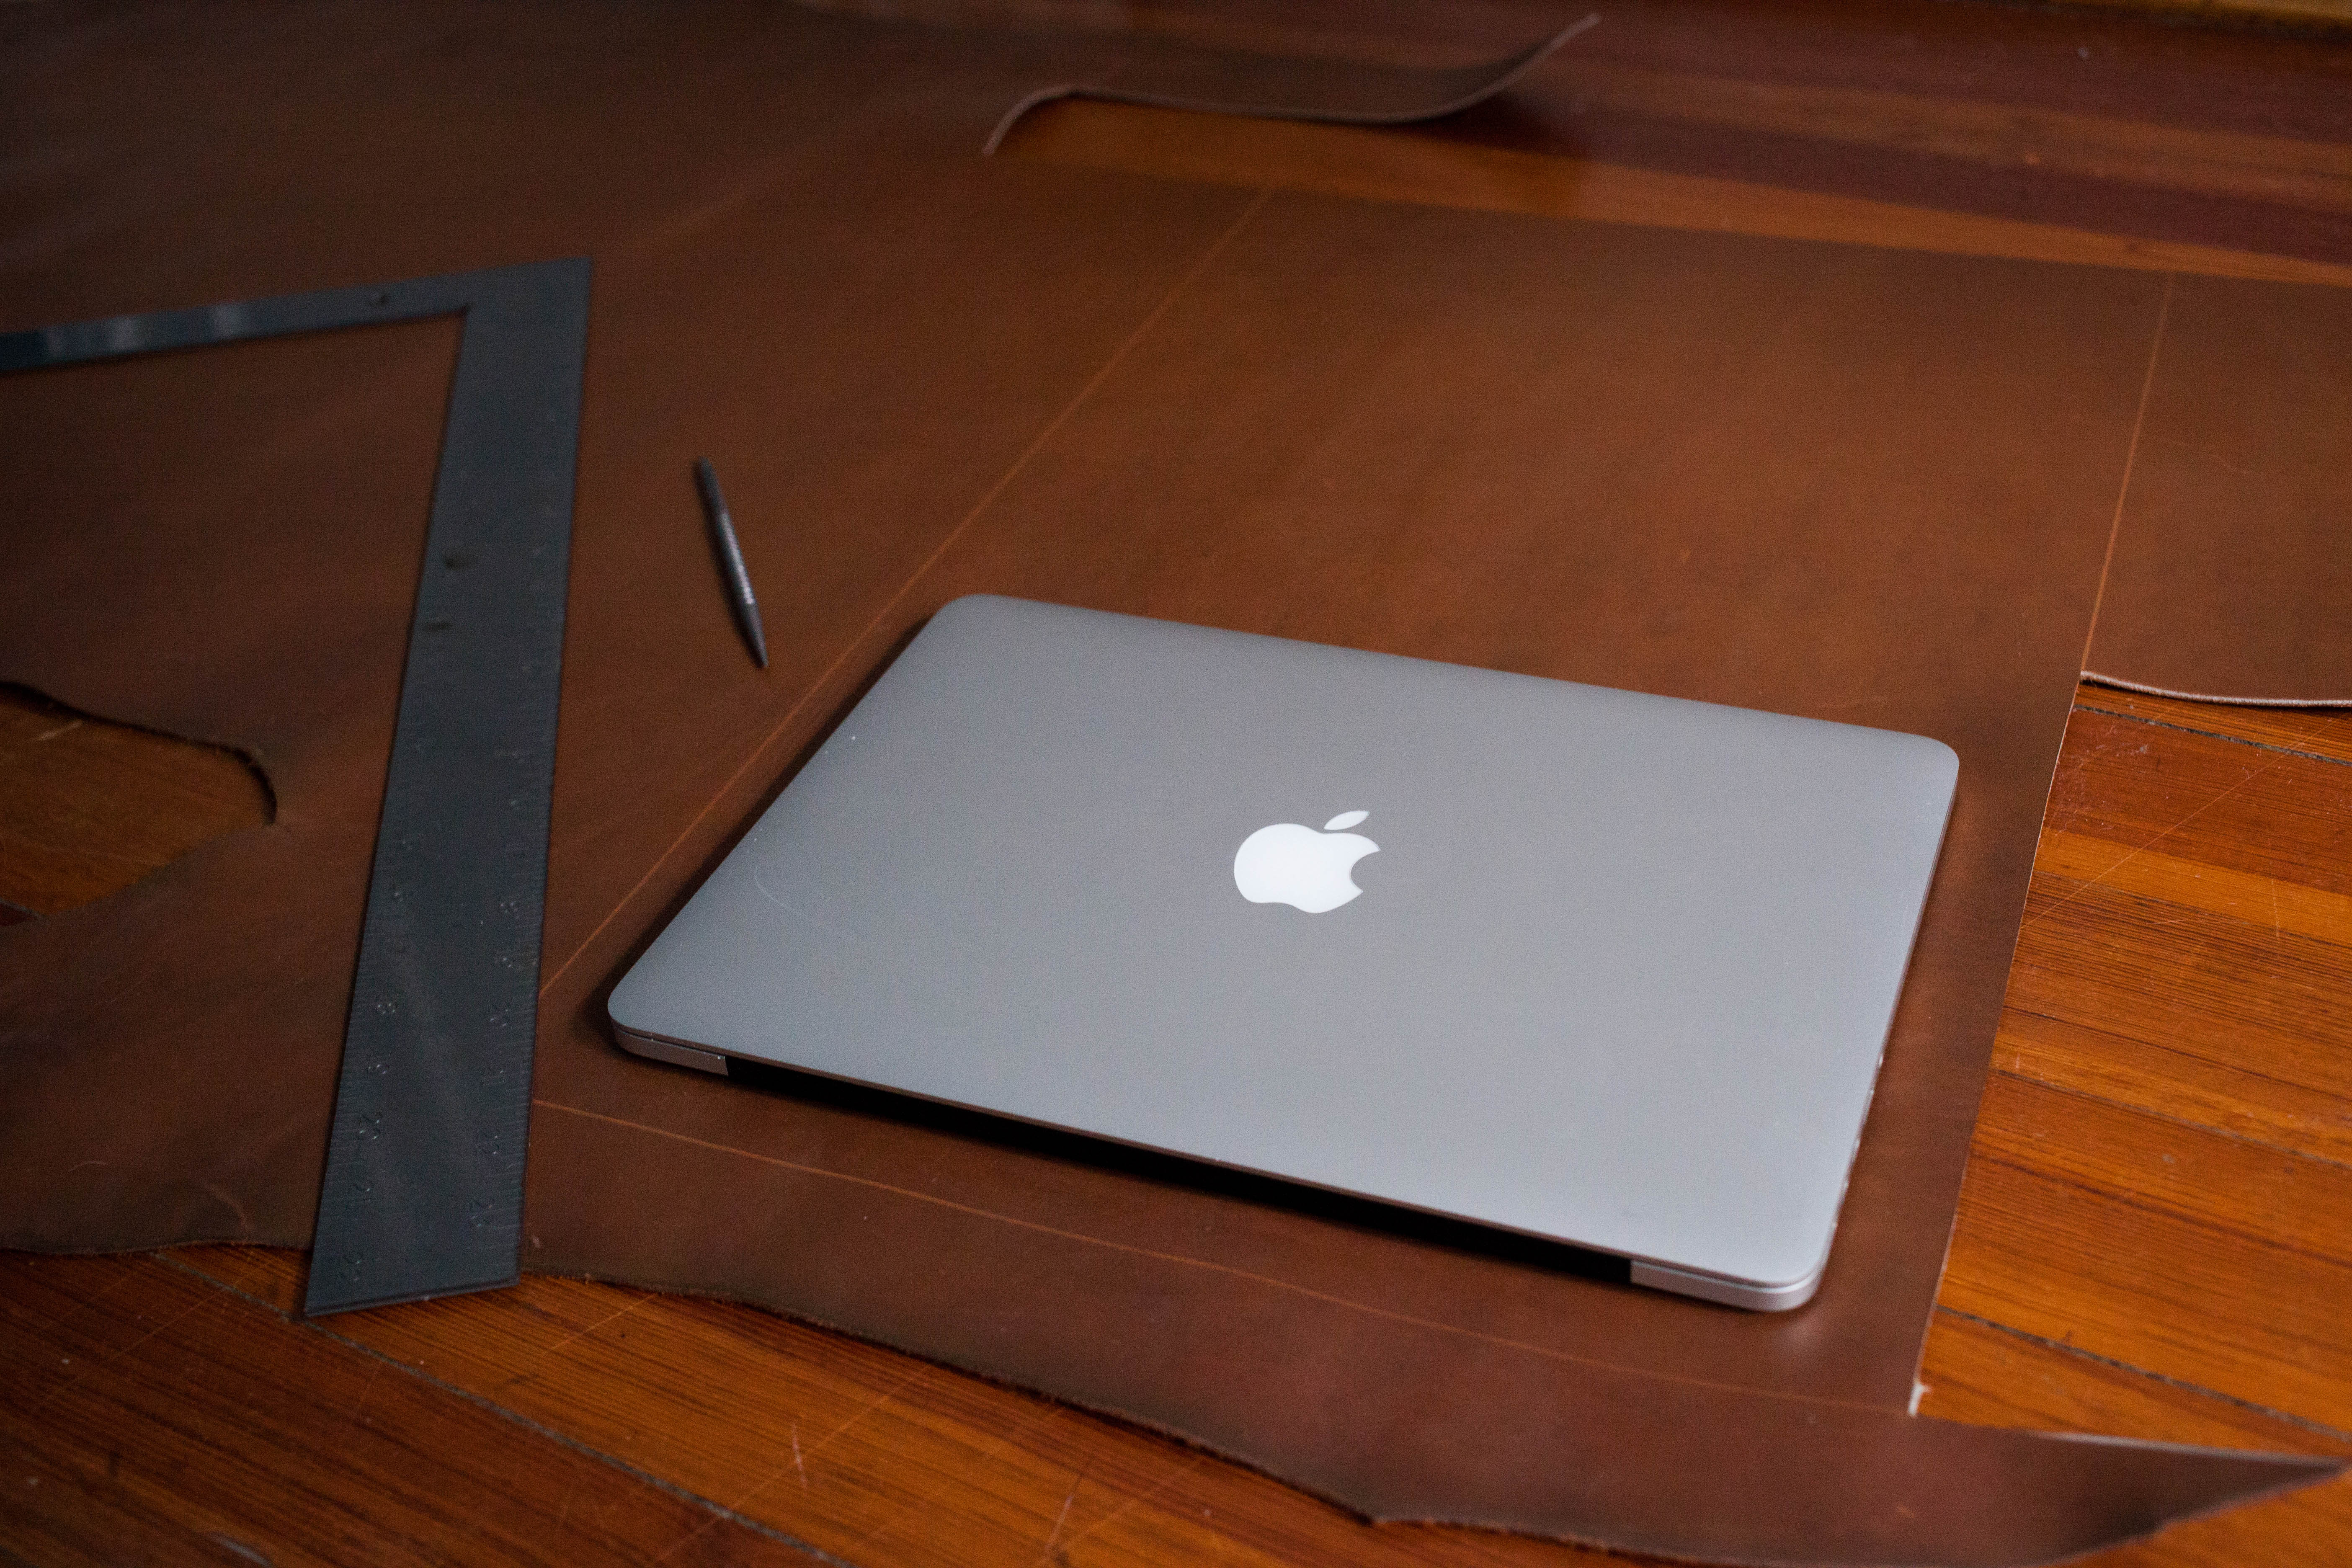
First, let's figure out the correct measurements so that your laptop case fits your laptop.
I made mine for a 13’ Mac Book Pro (which measure roughly: 12.25 x 8.5 x .5 when closed) and I will list my dimensions below, but if you’re not using the exact same lap top as I am, best bet is to measure and come up with your own dimensions.
Length: length of your laptop + height of your laptop + 1/2″ (for stitching) + 1″ (for wiggle room)
Width: 2.333″ x width of your laptop + 2 x height of your laptop + 1/4″ (for stitching)
So for my laptop I cut out a square measuring, 14.25 x 22.125 (I rounded this up just a tad for easy marking).
**If you are using an unfinished piece of leather, you will need to dye and finish that leather before the next step. You can find a guide for that here.**
Step
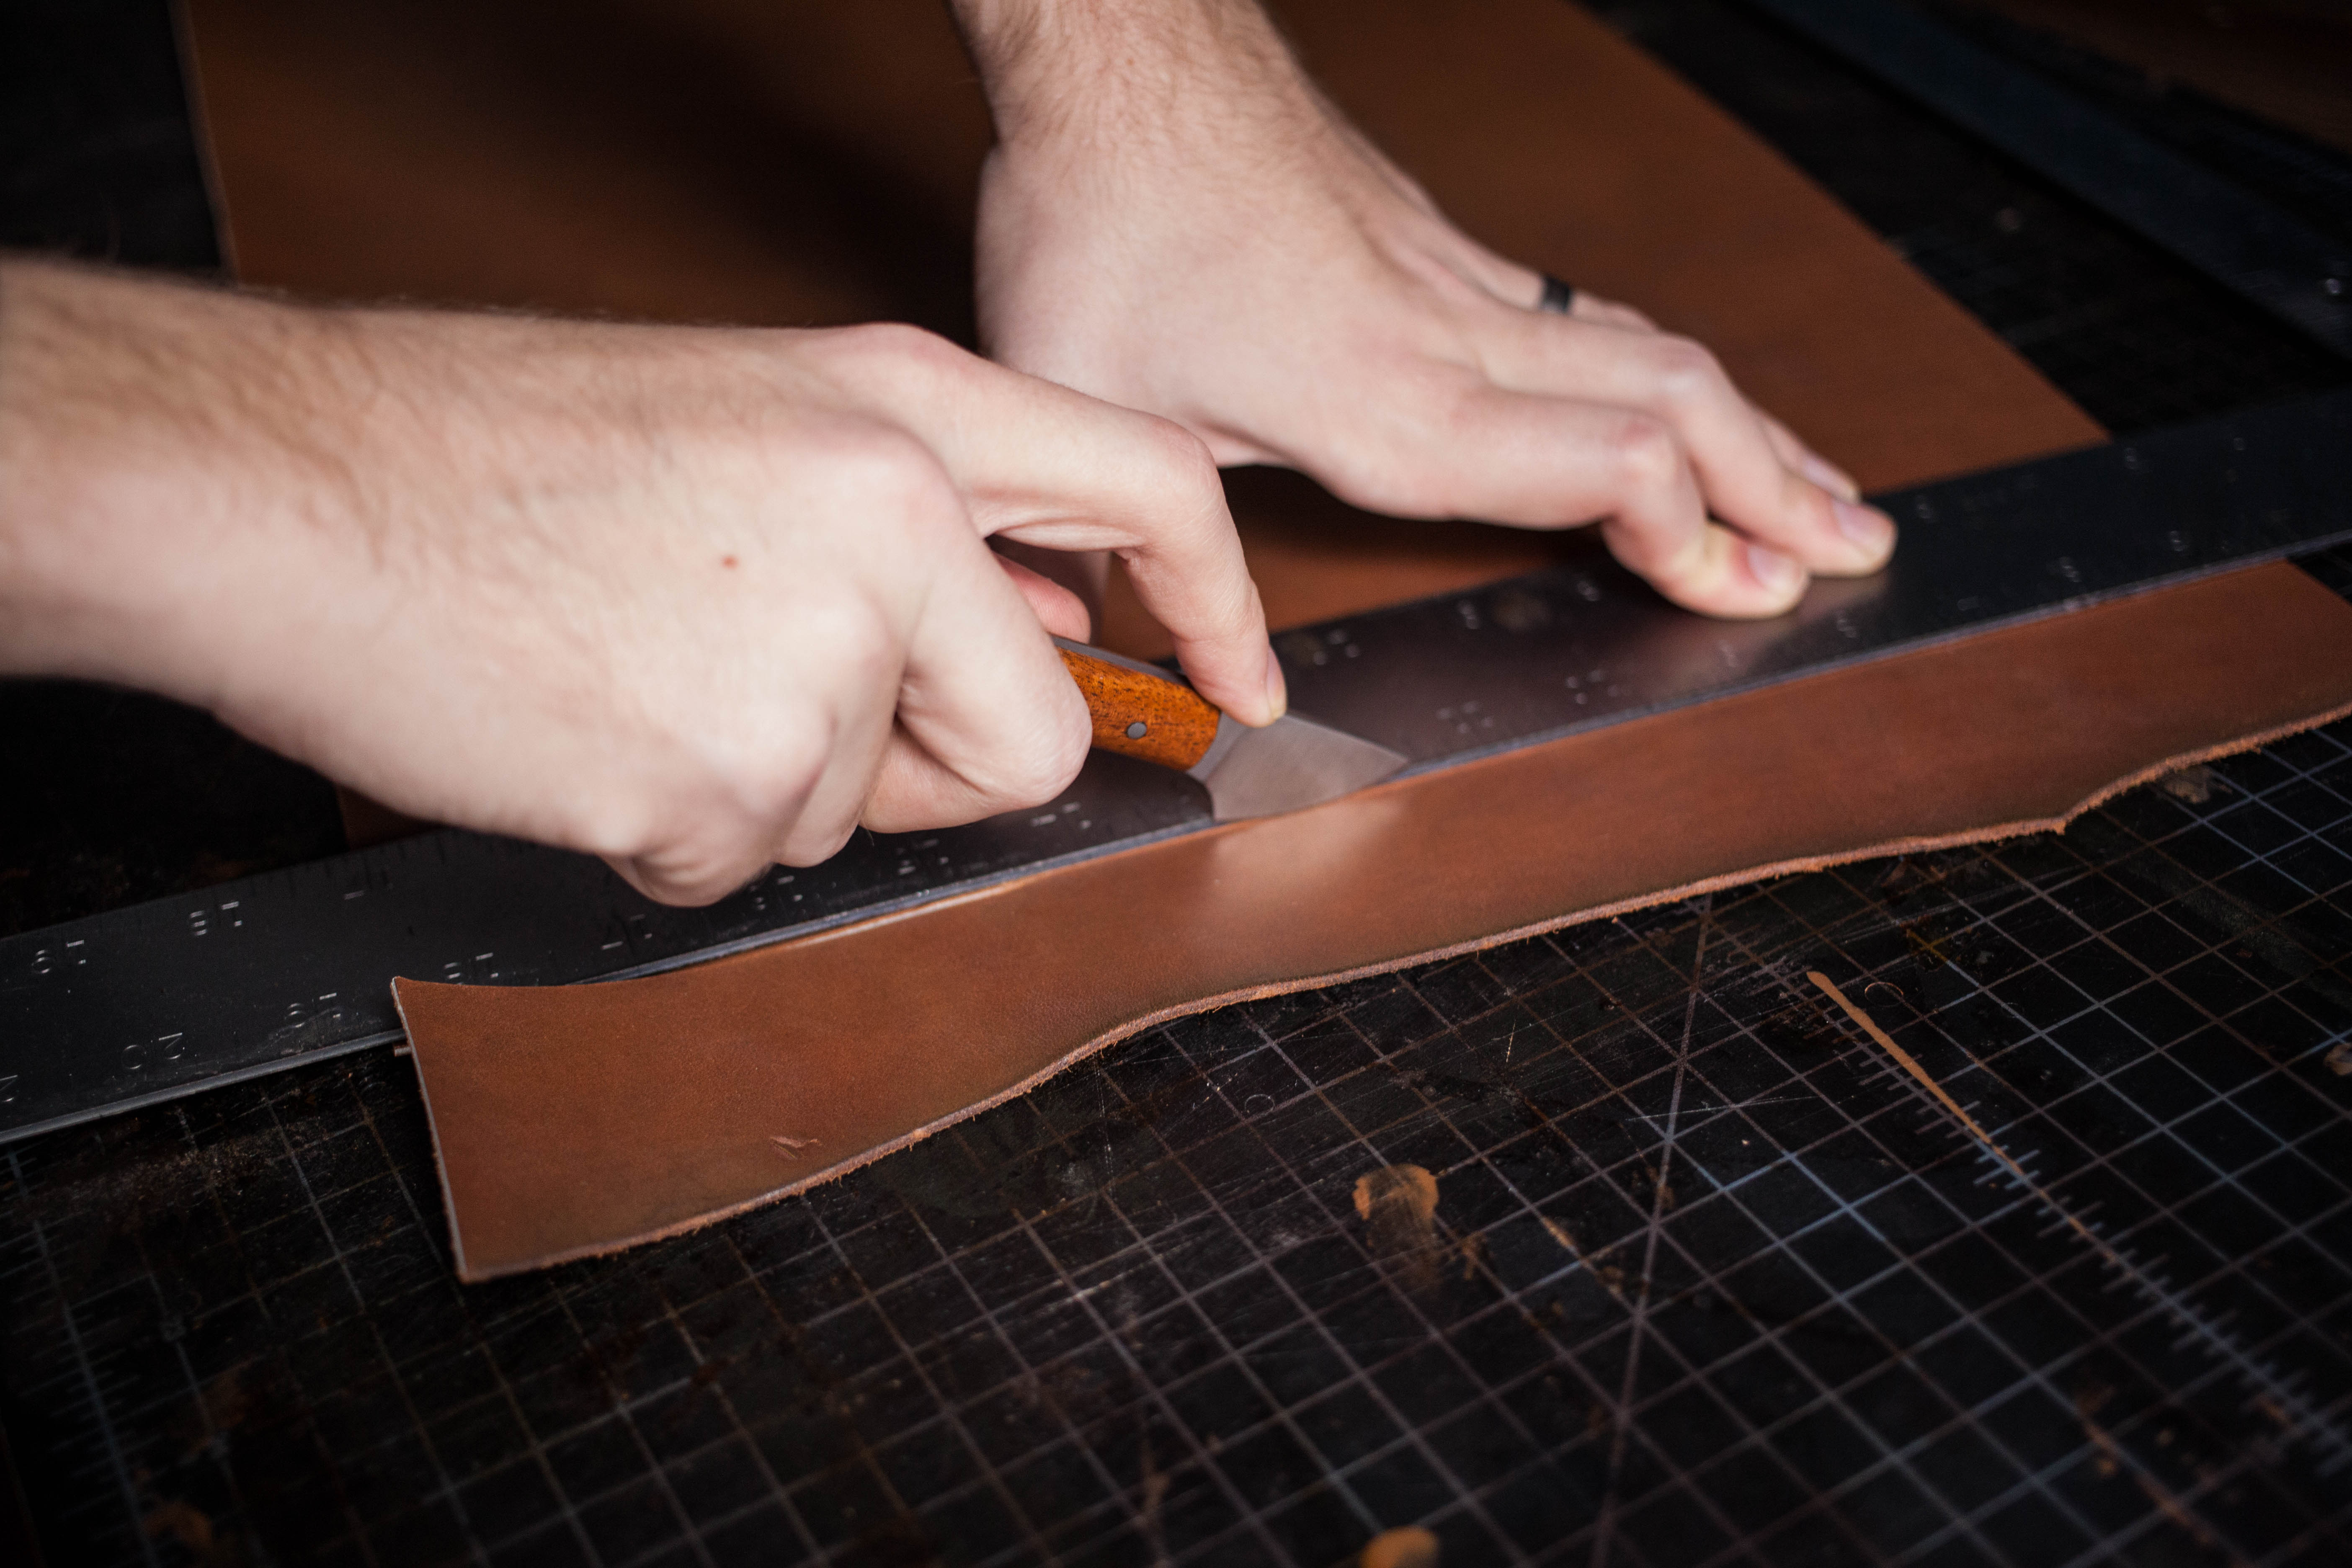
Now it's time to cut out the leather. This step may not seem like a difficult step, after all, you're just cutting out a square. But don't be fooled. Mistakes made at this point will haunt you for the rest of your project. Make sure to get clean cuts made with precise measurements.
To make sure your measurements are on point, I always suggest tracing your project onto the leather with a scratch awl and ruler.
After you've traced out your square, come back with a ruler and leatherworking knife to cut it out. It pays to have a nice solid ruler that isn't going to slide around when you cut. Also make sure your knife is sharpened and ready to go. Sharp knives mean less drag and less drag means easier and cleaner cuts.
Step
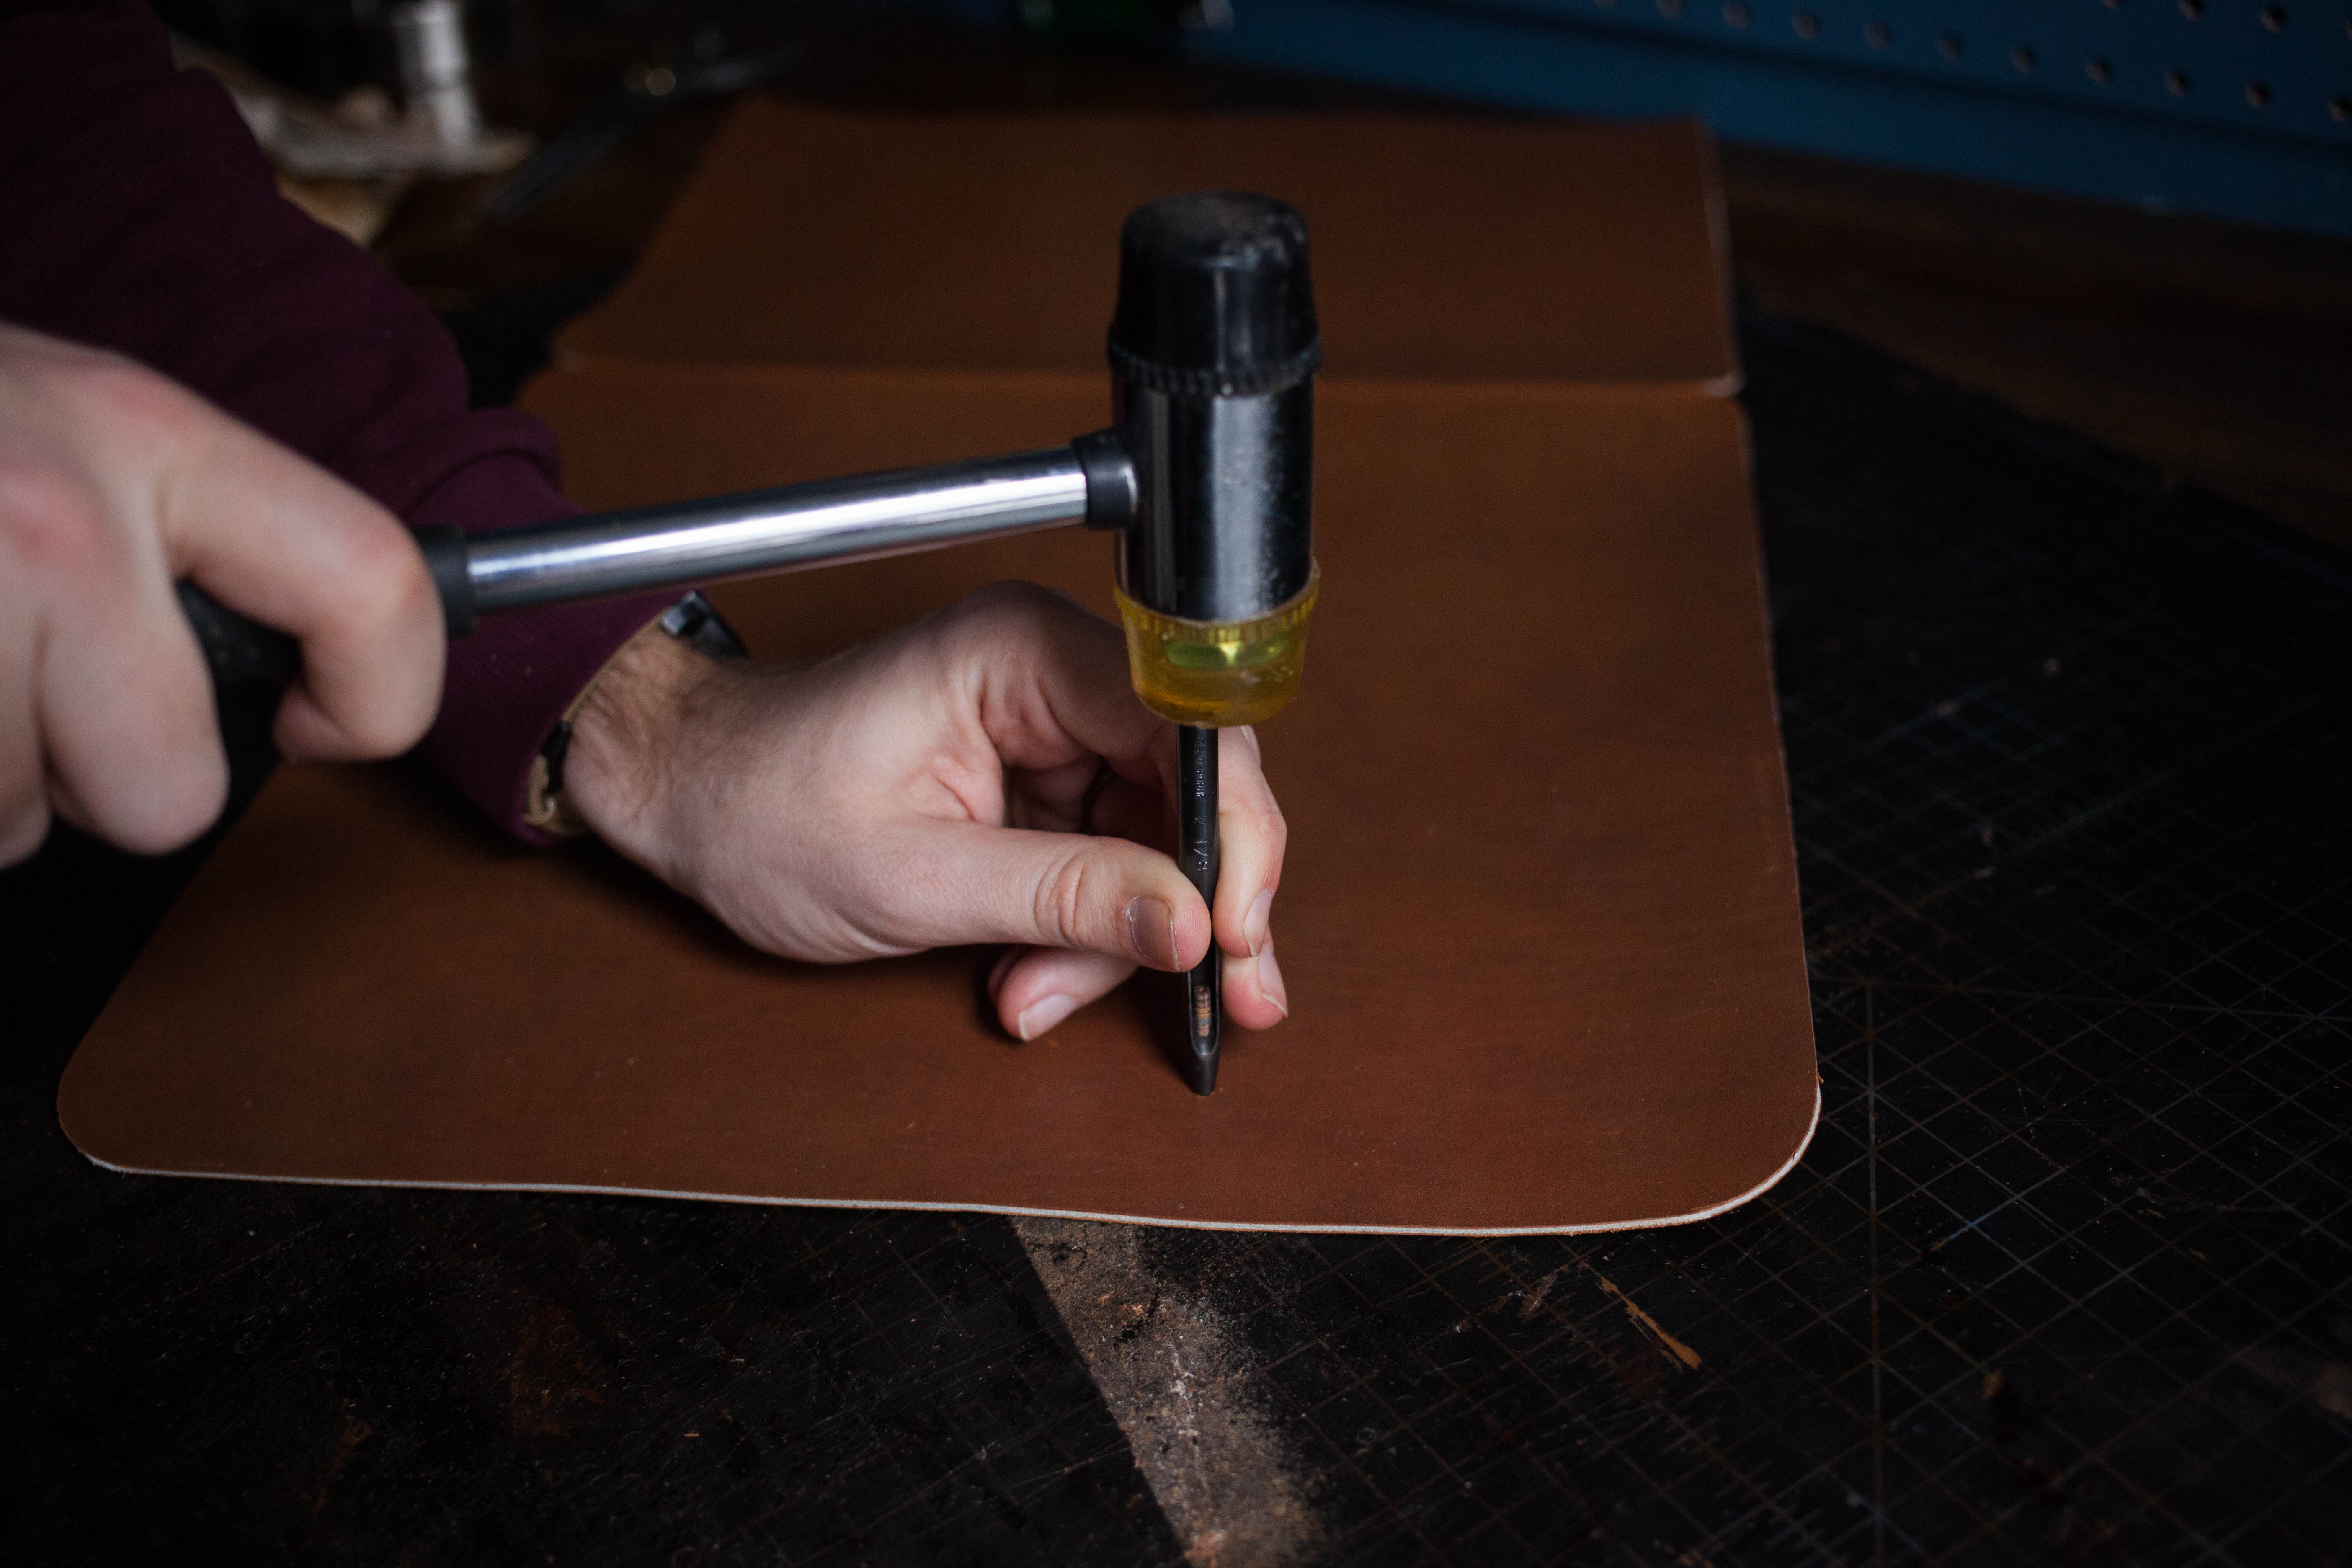
Before gluing the project together, it's important to attach the hardware. To the attach the hardware, start by punching out the holes for it. You'll need to punch out four different holes. Two on the flaps for the female part of the two snaps. Then two holes on the front side of the sleeve for the male sides of the two snaps.
Start by punching the holes for the flap. To do this, measure 4.5″ in from either side and then 2″ down from the top of the flap. This is where the two holes will need to go.
Then flip the project around. This other end of the project is where the holes for the male pieces will need to go. For this holes measure 4.5″ in from either side and then and 1.5″ down from the bottom edge.
Once you've marked these holes with an awl, punch them out with a leather hole punch and hammer.
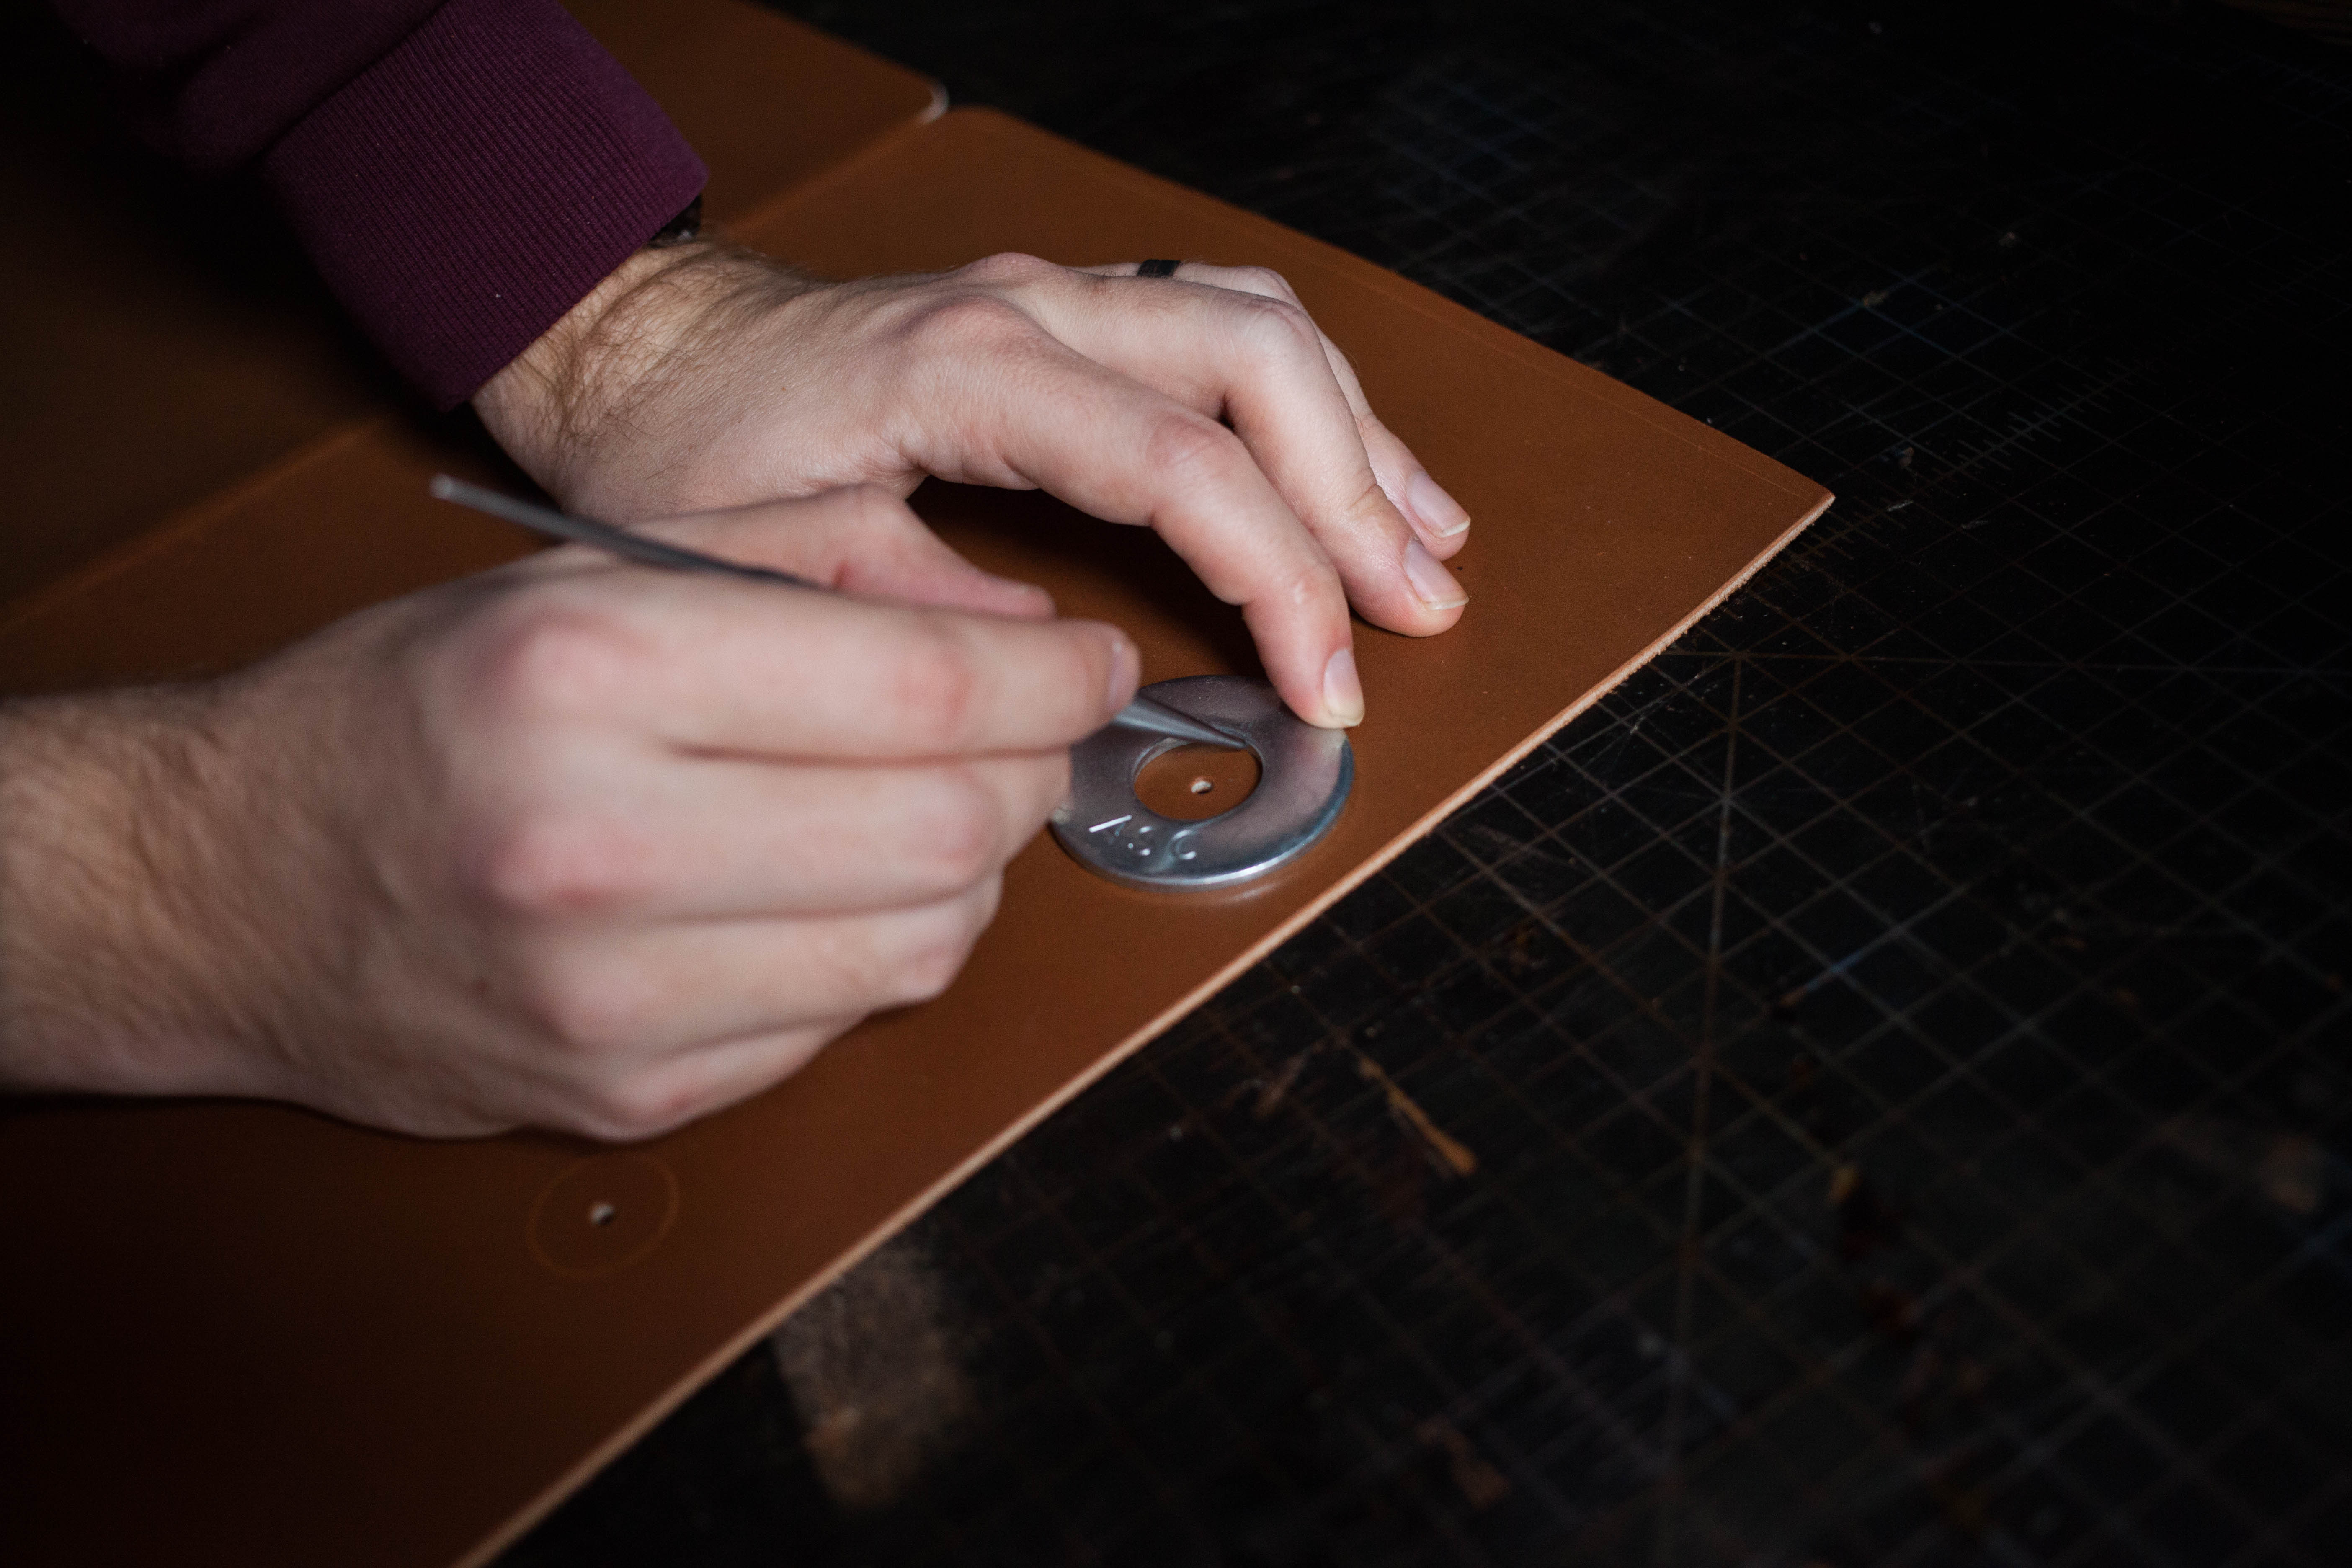
Once these holes are punched, I went back to trace a circle around the holes on the sleeve itself, not the holes on the flap. I used a washer to do this. This circle will later serve as a stitching guide, when you'll need to stitch a thin piece of leather on the backside of the sleeve to prevent the hardware from scratching your laptop.
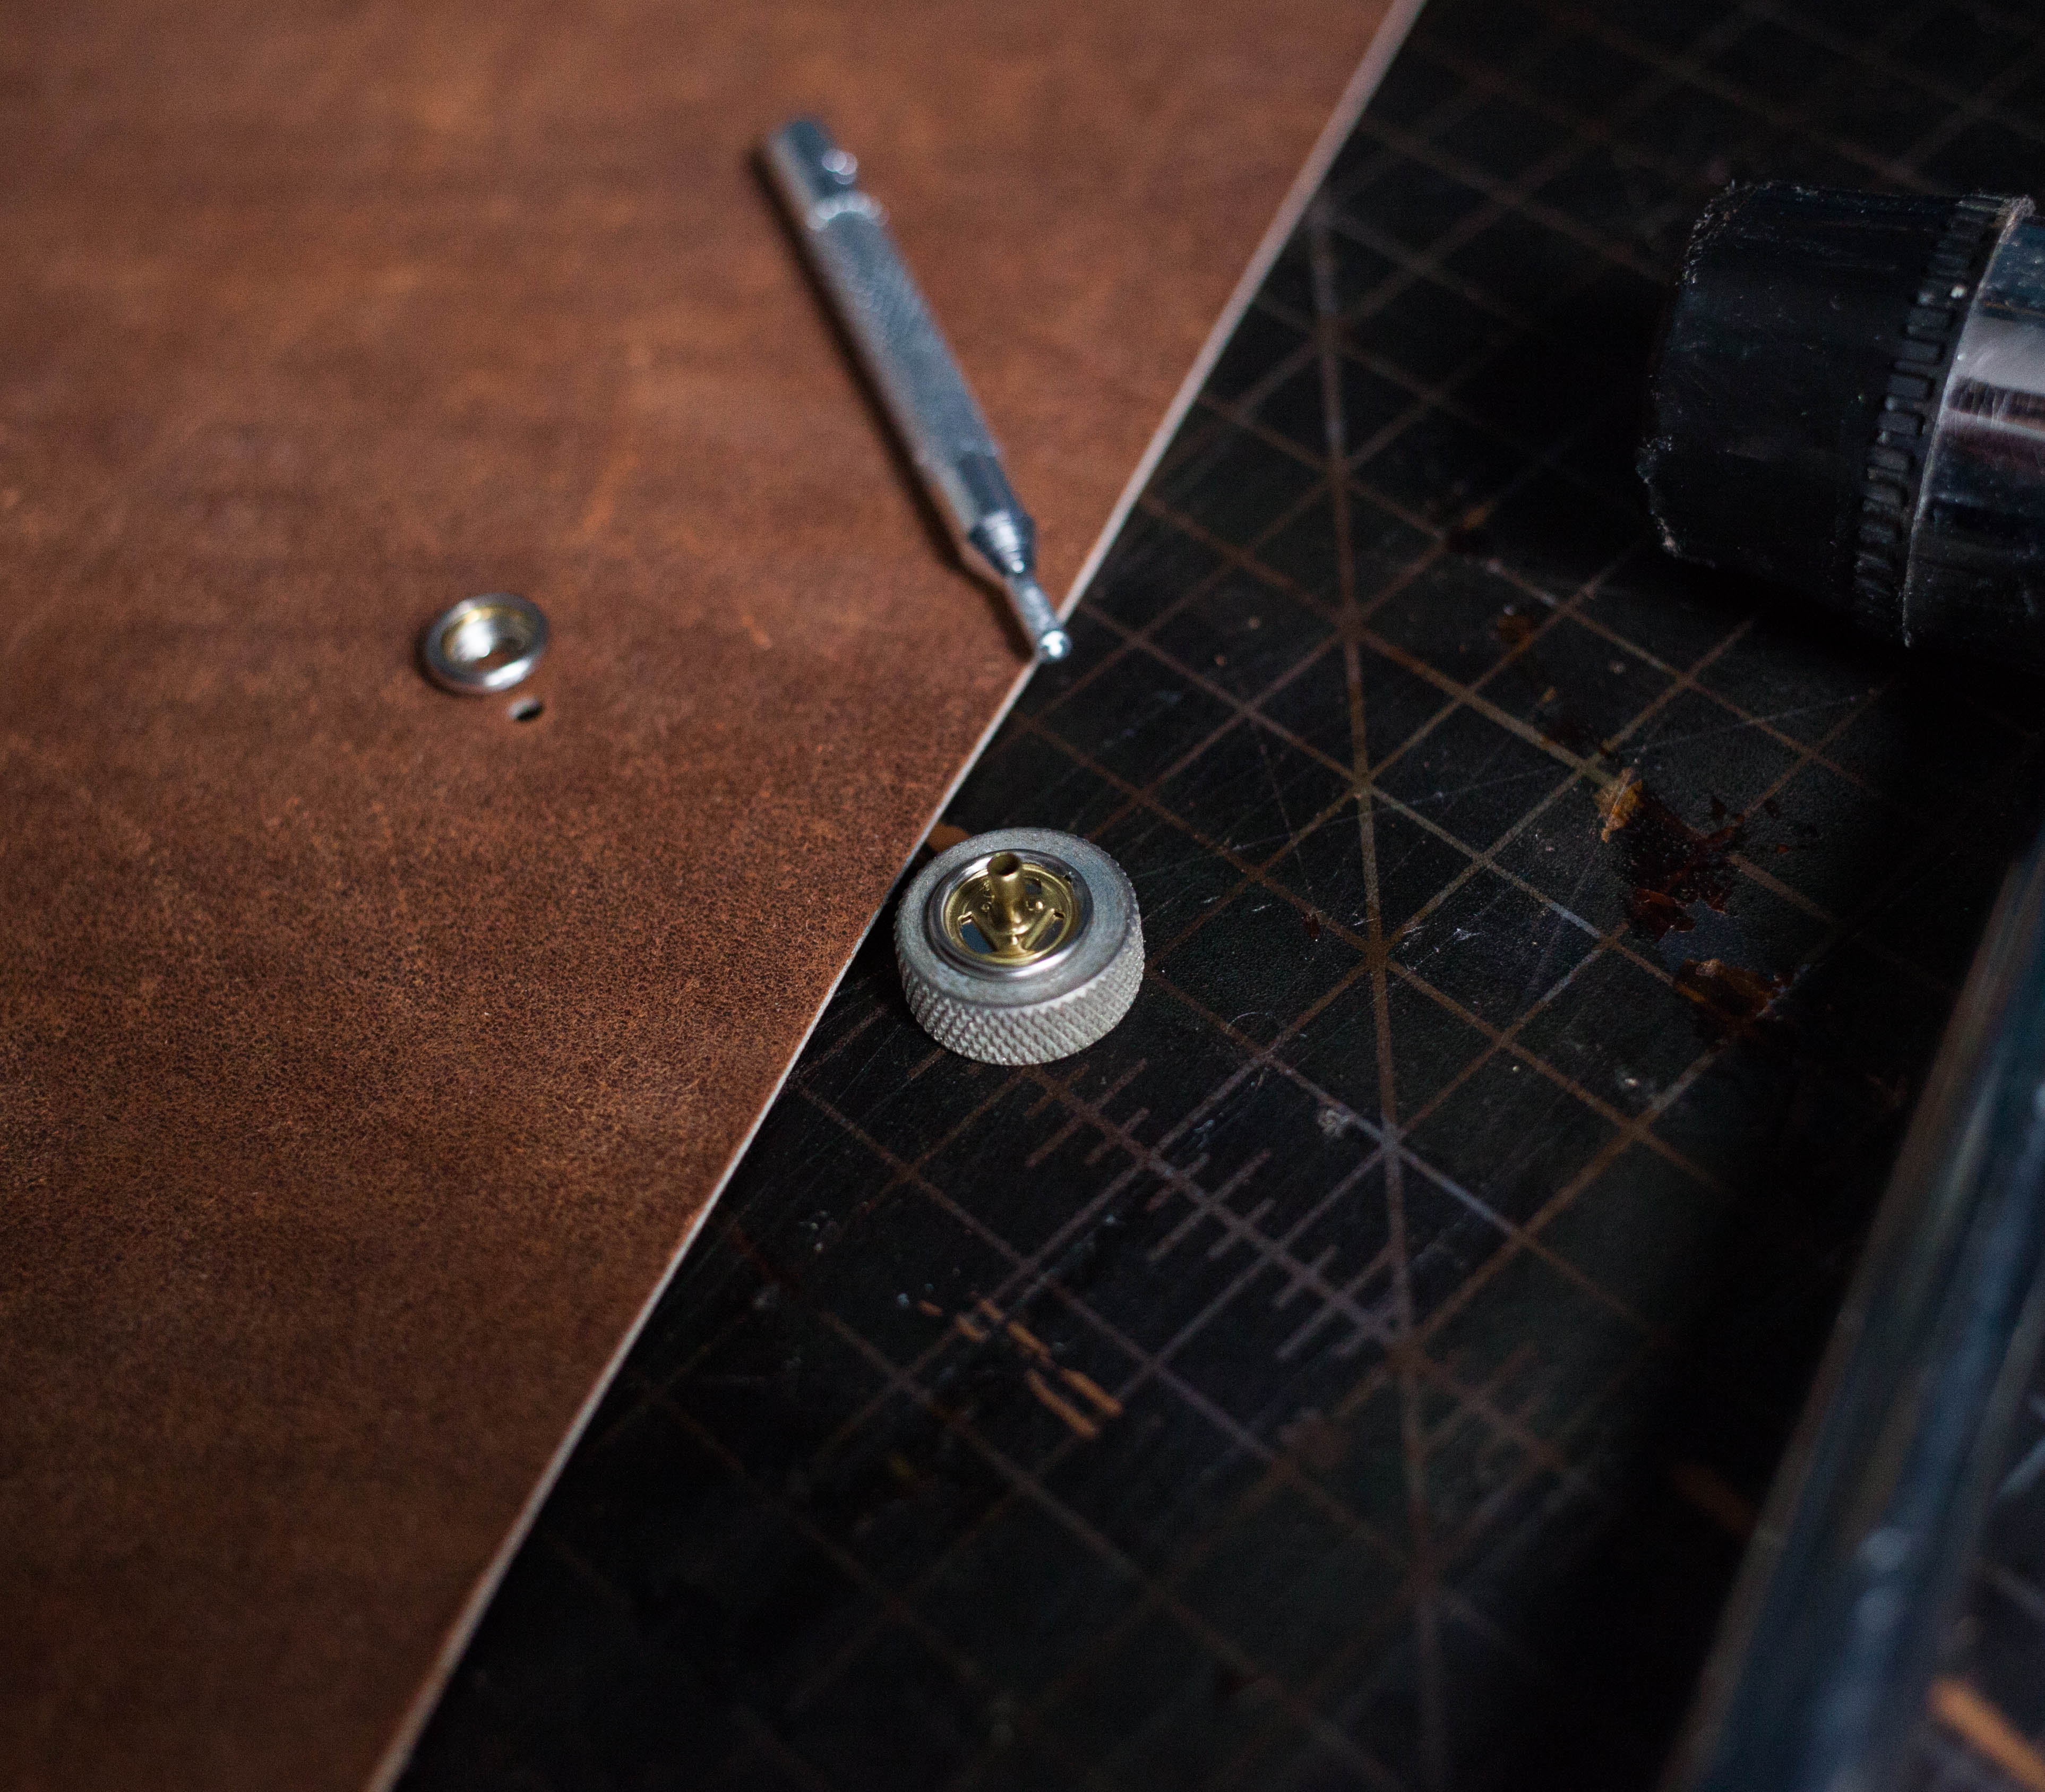
Now it's time to install the snaps. As mentioned previously, each snap has four different pieces. A front and backside for the male piece and a front and back side for the female piece. First install the snaps on the flap. These pieces will be female piece and the domed cap. The domed cap will need to be on the front side of the leather and the female piece on the backside of the leather. Set the domed cap into the domed anvil. After place the hole in the leather over the dome and then set the female piece on top. With the rivet setter and hammer, hammer the snap together.
Once you've riveted both holes on the flap this way, it's time to attach the male pieces to the sleeve. Place the post piece through the hole and then set the male piece on this post on the other side of the leather. The male piece should be sitting on the top side of the leather. With the two pieces set on top of each other with the leather in between, rivet them into place using a rivet setter and hammer.
Step
Your snaps are ready to go, but now you need to make sure they aren't scratching your laptop. To do this, you'll need to stitch a thin piece of leather to the backside of the sleeve.
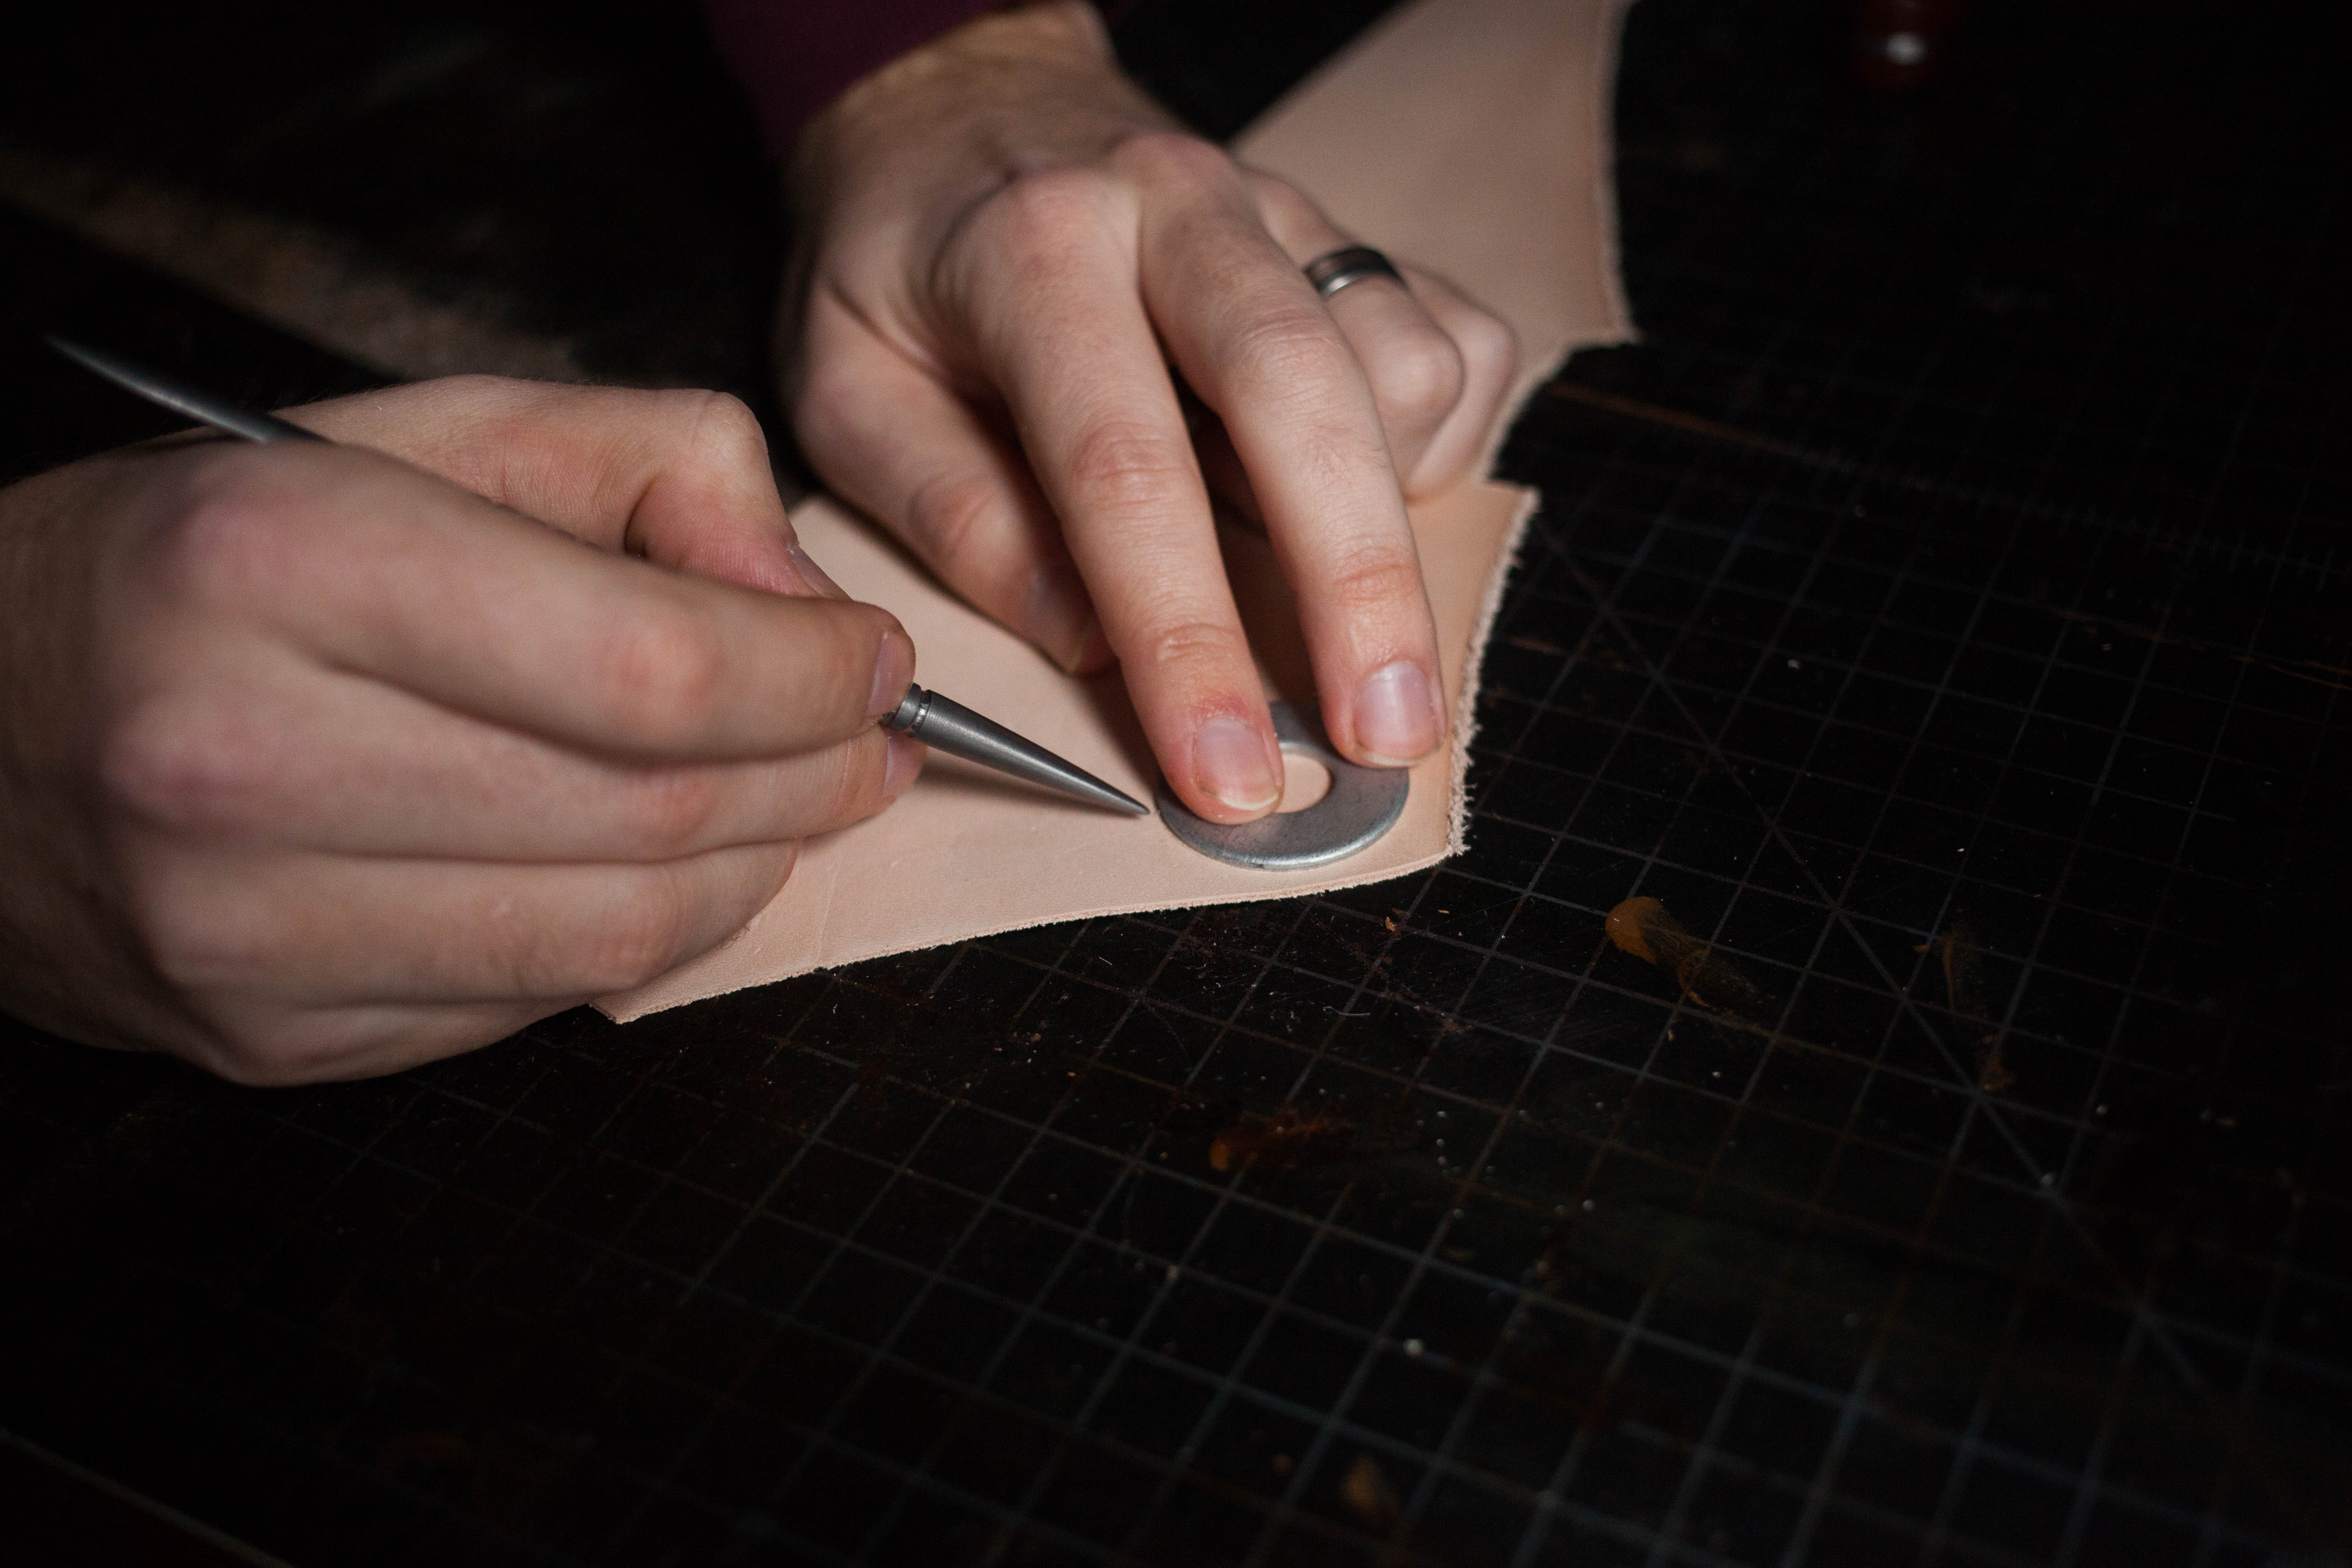
Using a slightly larger washer than the washer you used to trace the stitching line in step 3, trace 2 circles onto a piece of 2oz leather scrap.
Cutting out a circle can be tricky, so use this guide to make sure that you're able to cut a nice rounded out circle. After cutting two circles out, glue them to the back of your snap. This will be back side of the male piece of the rivet.
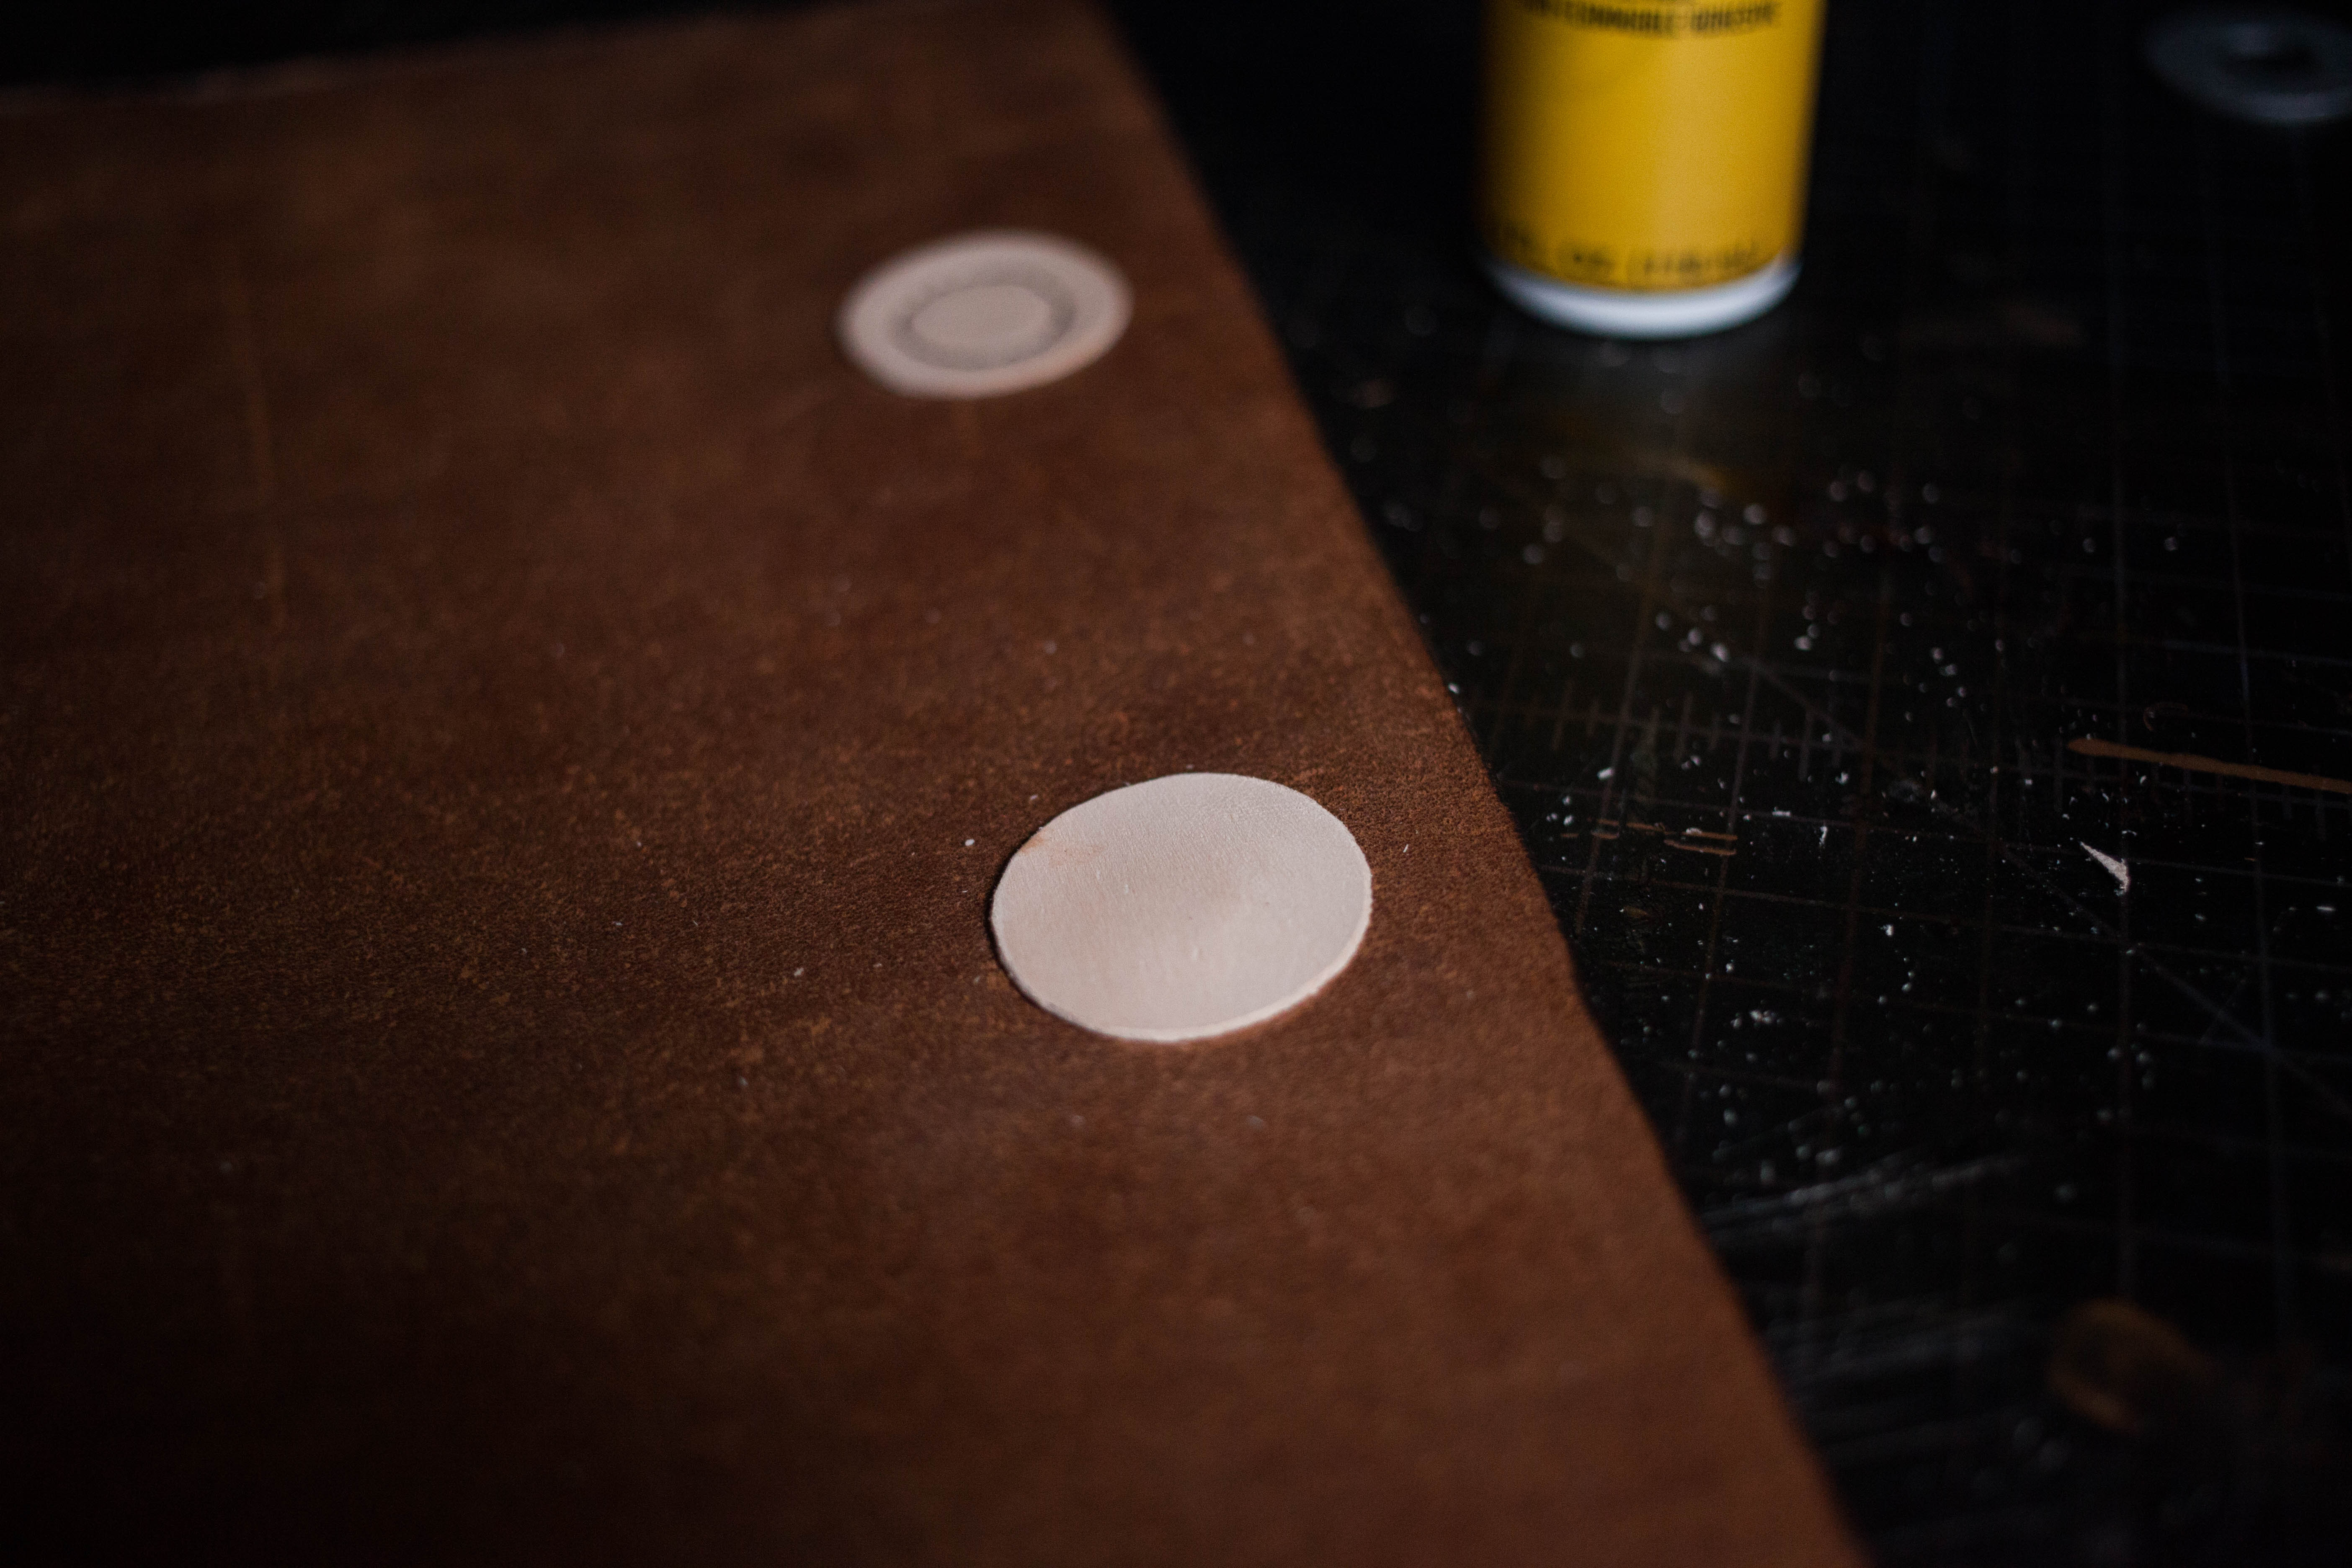
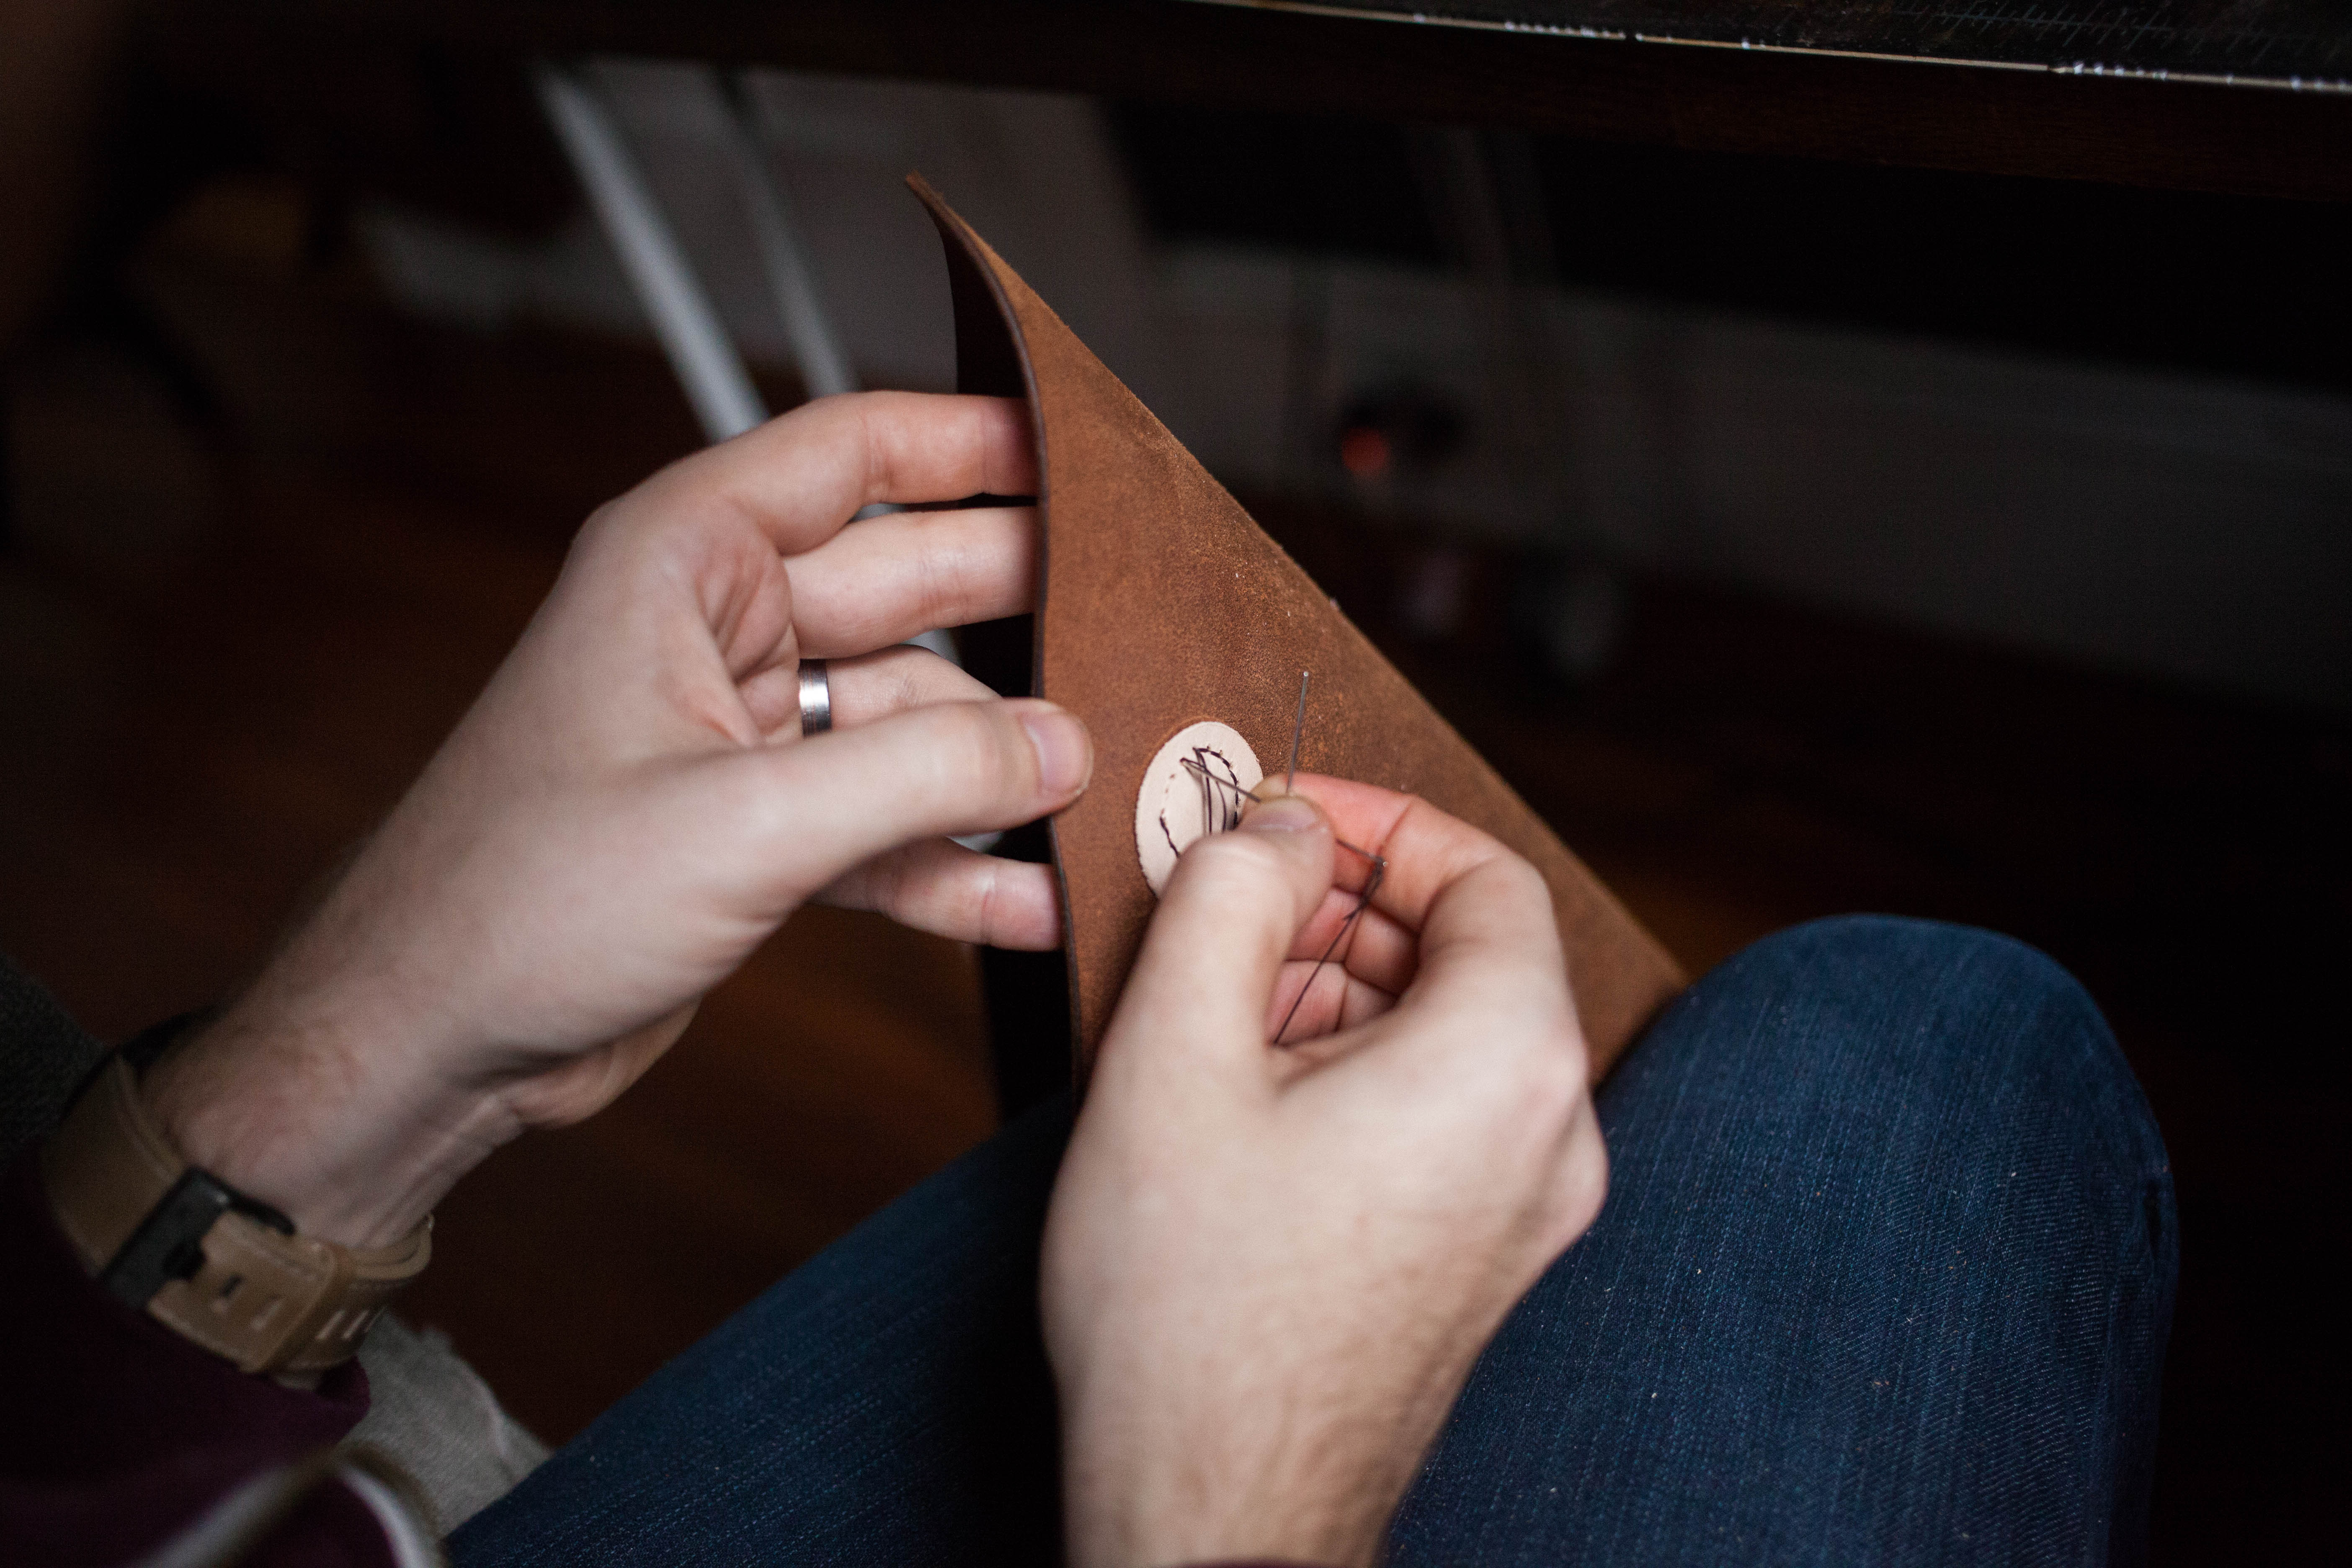
After the glue has dried, flip the project back over and find the circle stitching lines you created earlier. Now, using a two pronged chisel and a hammer, create stitching holes around both marked circles.
Now it's time to stitch those circles into place to ensure they don't go anywhere. Stitching itself is a little tricky to teach through text. So check out this video to learn how to saddle stitch leather.
Once you've finished the stitching line, be sure to backstitch. To backstitch, simply stitch in the opposite direction once you've got the the end of your stitching line, for two or three holes. Then, trim the thread, burn the end, and tuck that lose end into the stitching hole.
Step
It's time to glue the project together. Gluing is something you'll want to give a good amount of attention to as well. It will make burnishing much easier later on.
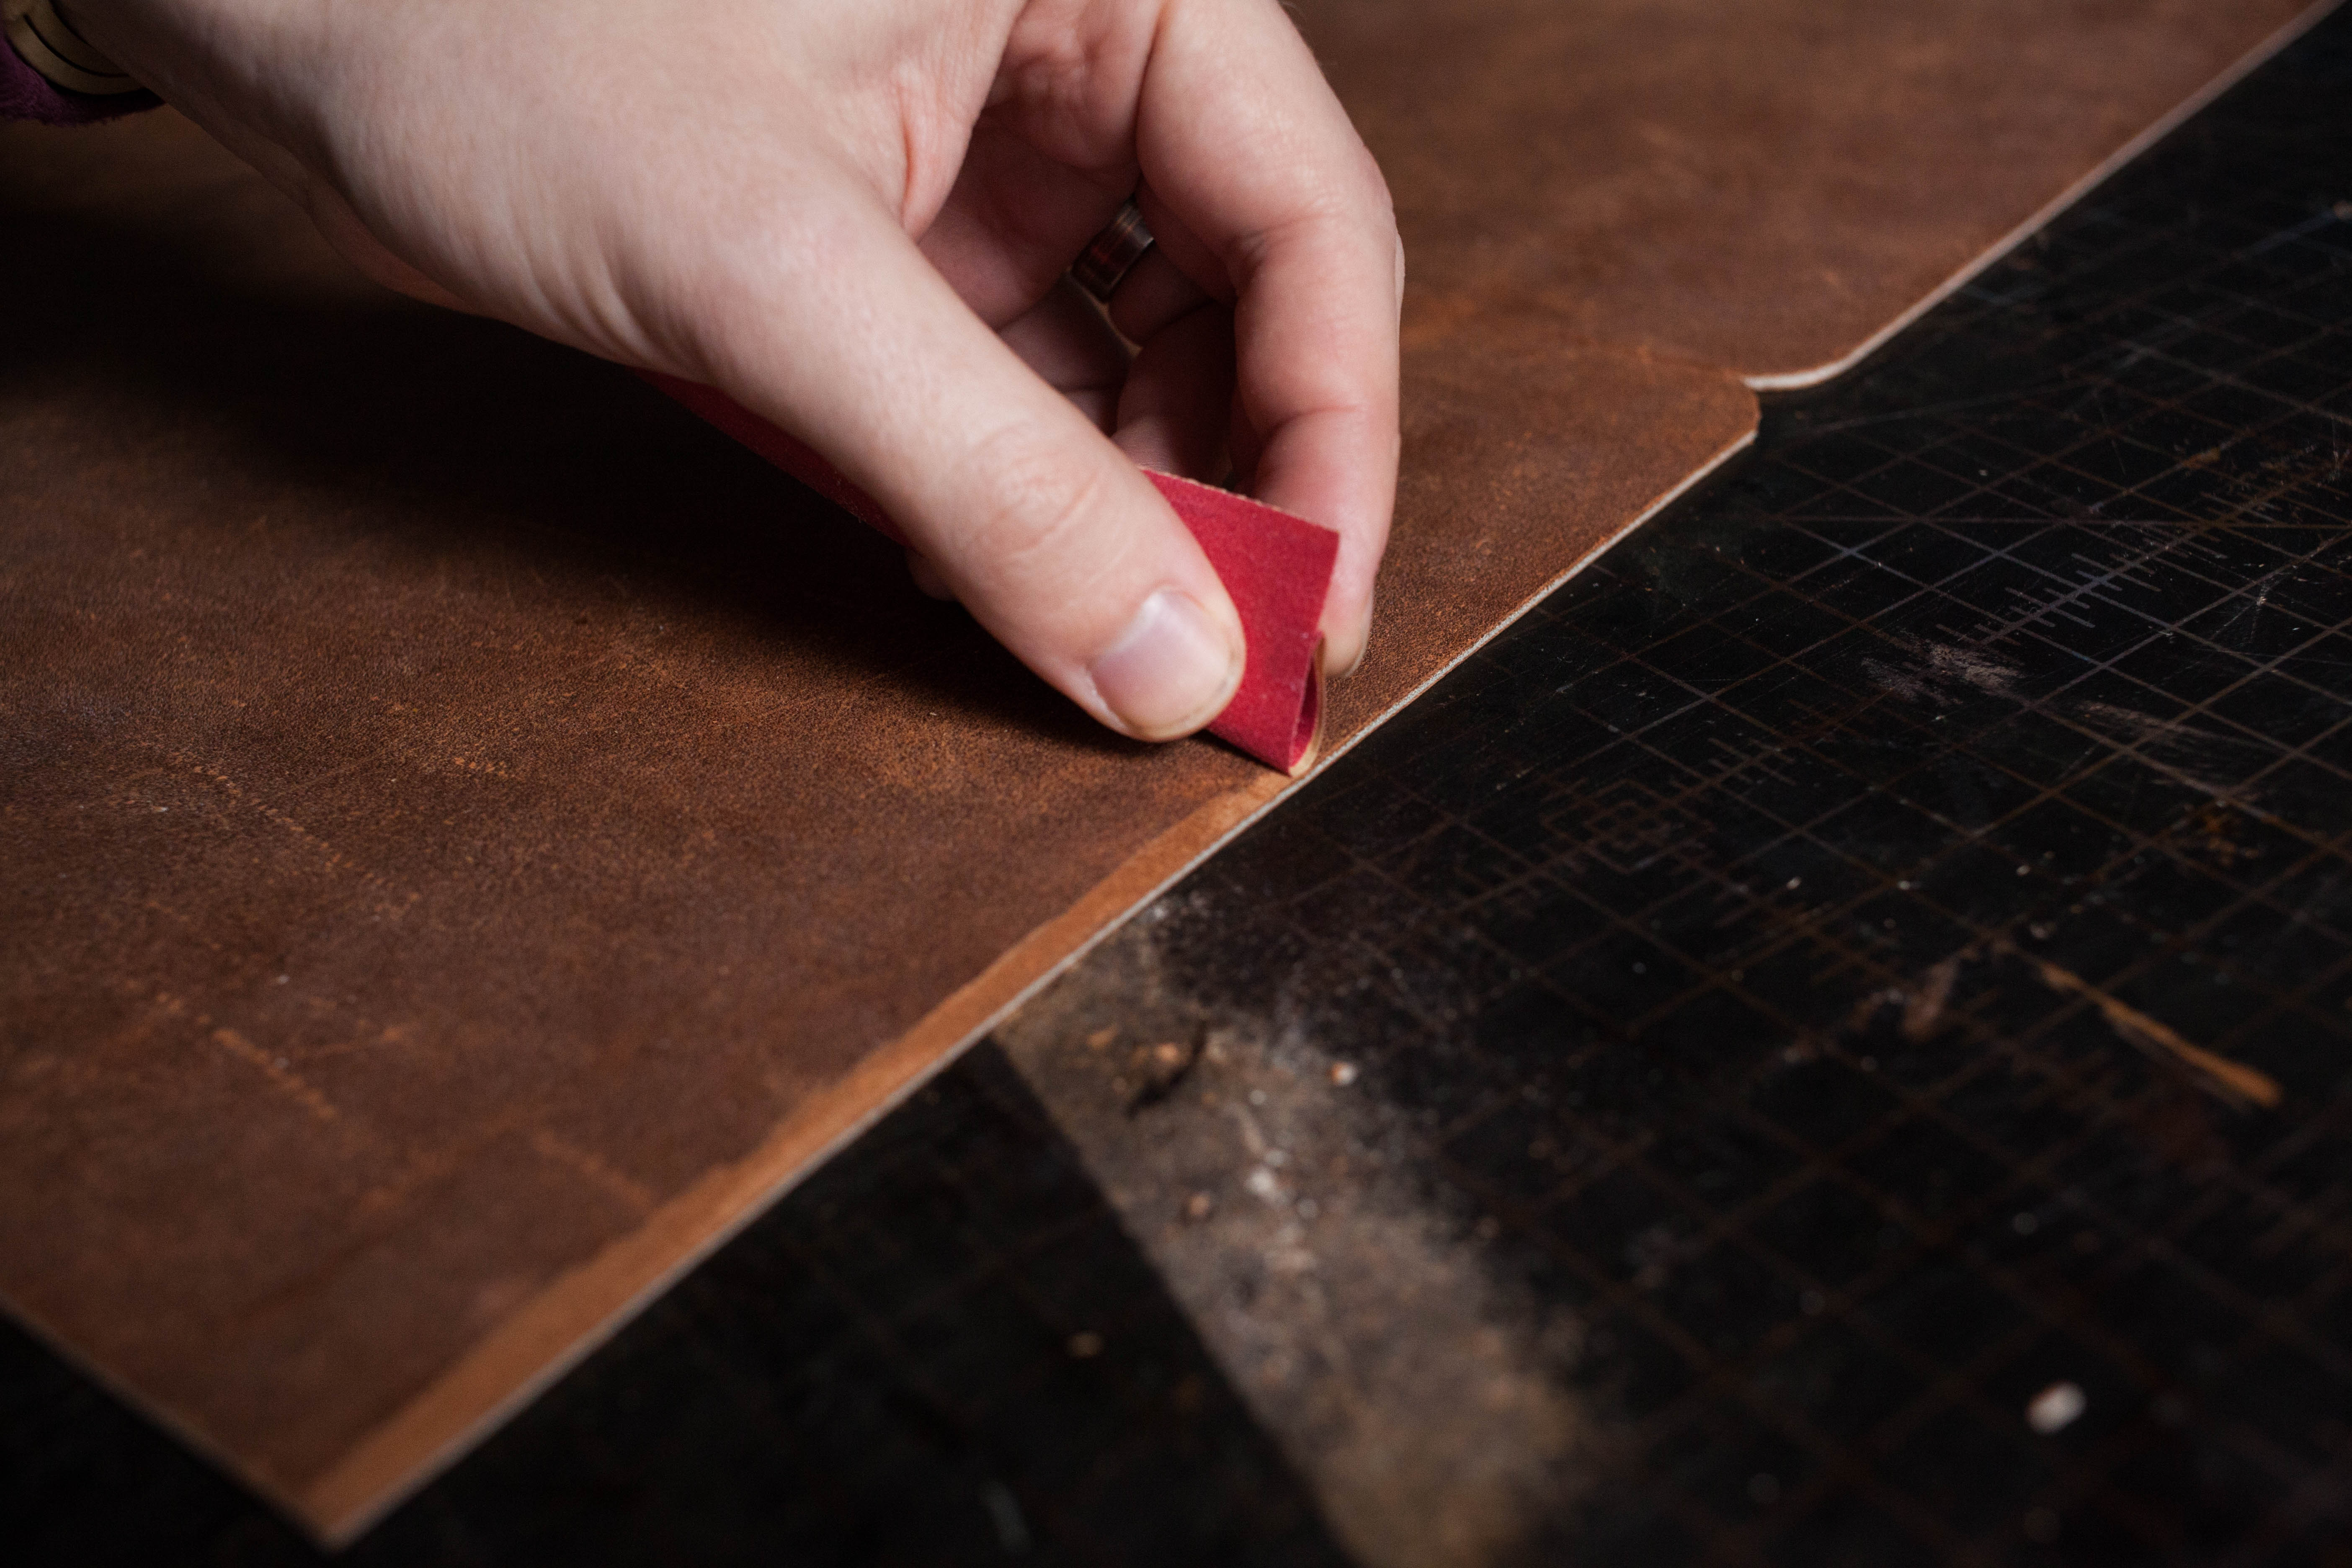
You'll be putting the glue along the edges where your stitching will go. Start by sanding those areas lightly with the 220 grit sandpaper. This step is especially important if you're working with a waxier leather that will prevent the glue from adhering.
When sanding make sure to only sand where the glue will go. This will be on the underside of the leather from the edge to where your stitching lines will go (1/4in from the edge).
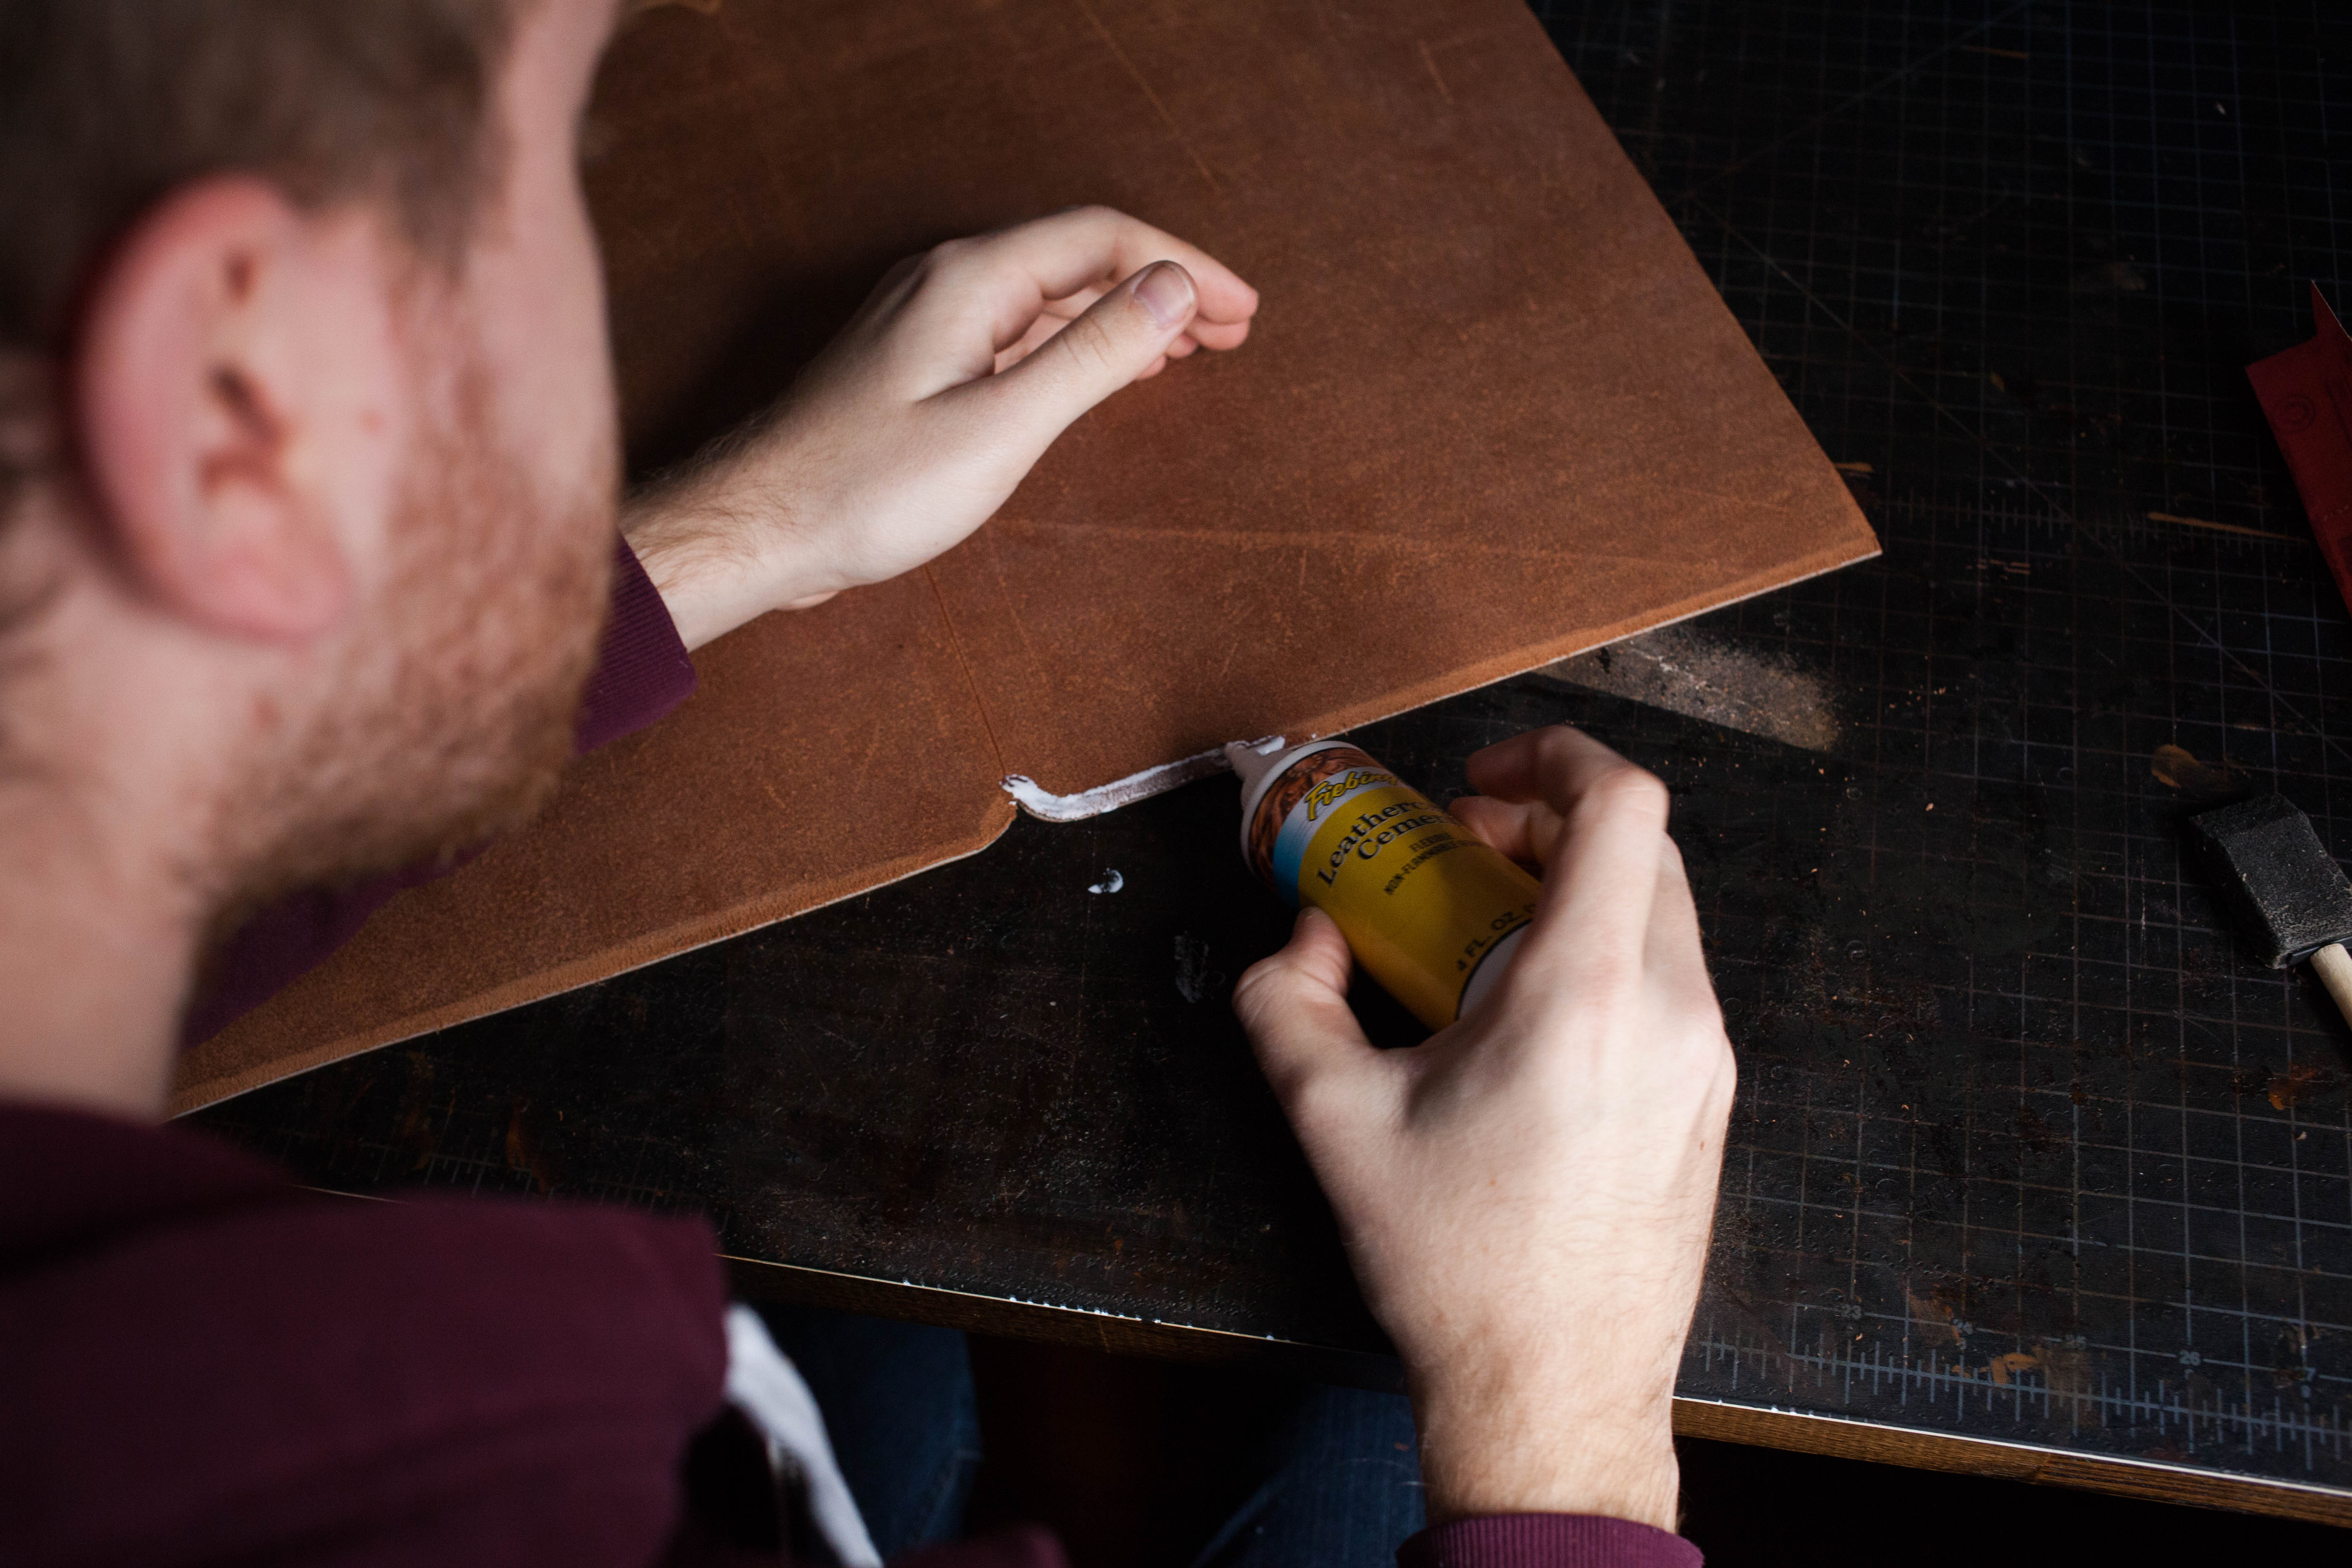
 Once you've abraded those areas, apply a small amount of glue with a paint brush (or whatever you have on hand). Seriously though, don't add too much. Over doing the glue here will create a mess.
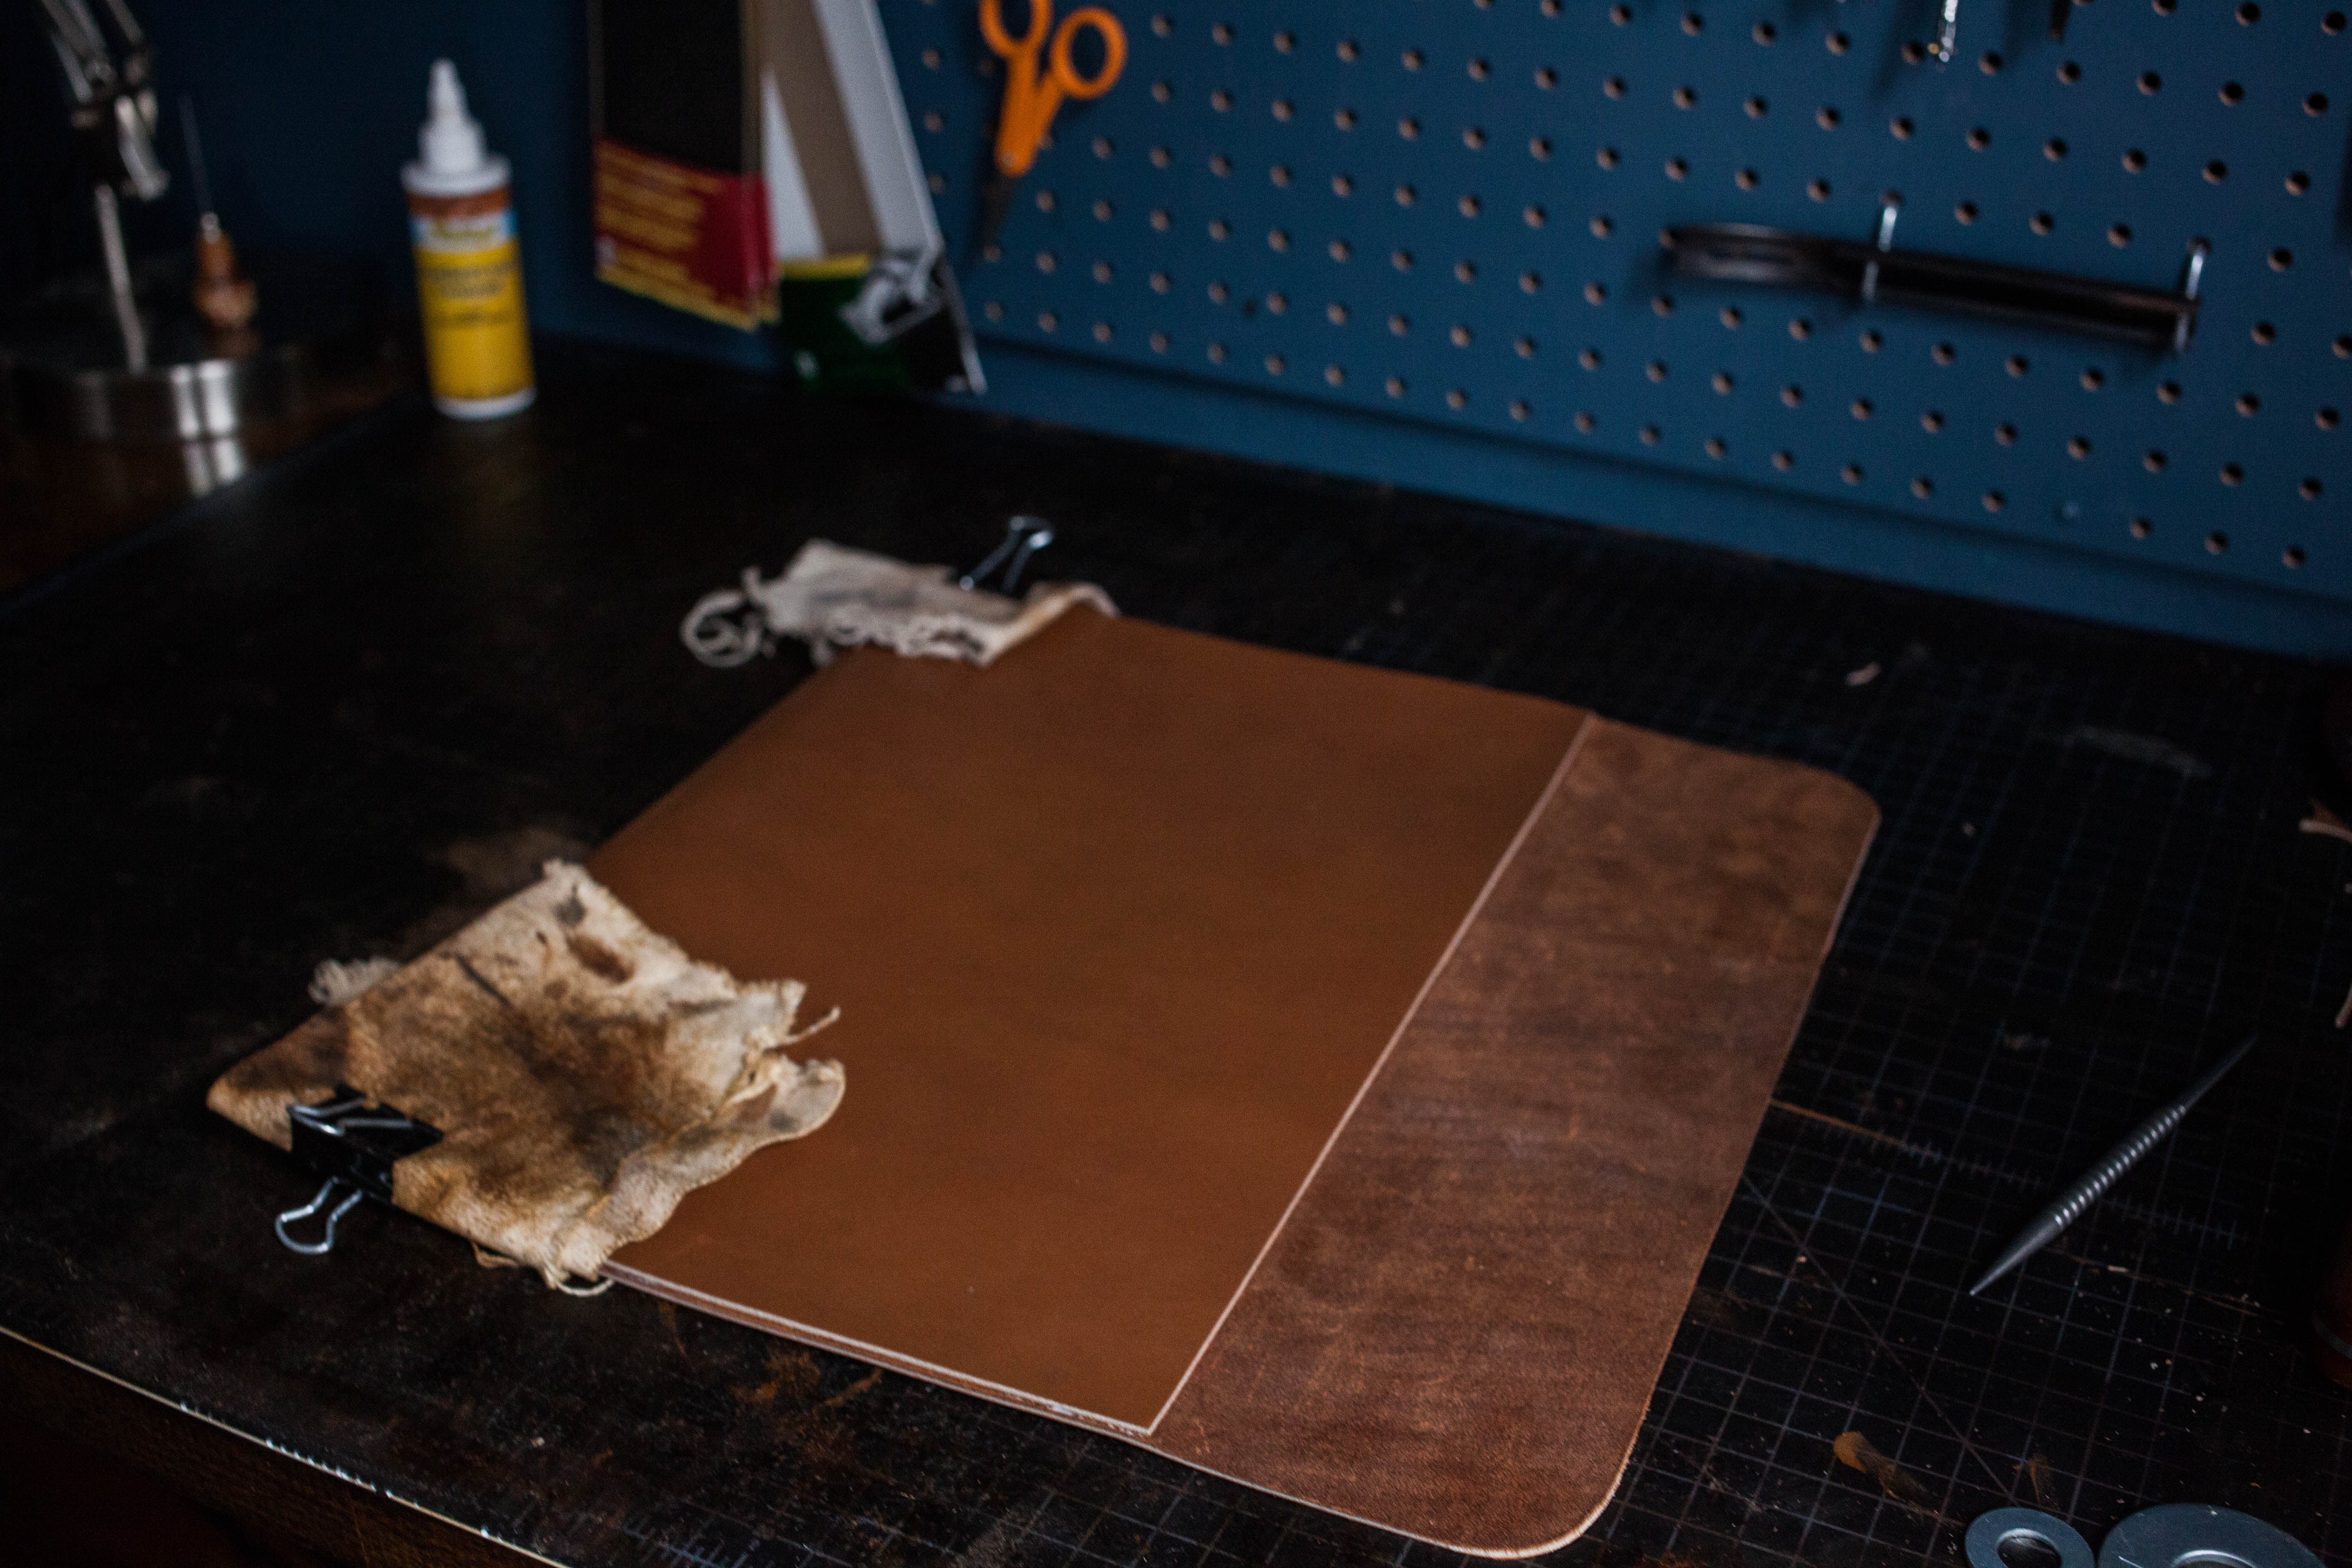
After gluing both sides, fold the leather over and line up the edges. Once it's lined up perfectly, you need to apply a lot of pressure while the glue dries. There's a number of ways to accomplish this, but the best way I've found is to use binder clips. And, depending on how firm your leather is, these can actually damage the surface of the leather, so make sure to put some sort of padding between the binder clips and the leather. An old rag or t-shirt will work.
As you attach the binder clips, if any glue squeezes out, make sure to wipe it off so you don't have to sand it off later.
Step
Unless you want a very square looking laptop case (no judgement here) you'll want to round out the corners at this point. I tend to side with rounded corners, simply because they wear better.
Using a washer as a guide, trace out the rounded corners with an awl. You can use any size washer on the flap corners, but make sure to use a smaller washer on the bottom of the case (I.e. 1″ diameter). If you make too big if a curve it will make it so your laptop doesn't fit.
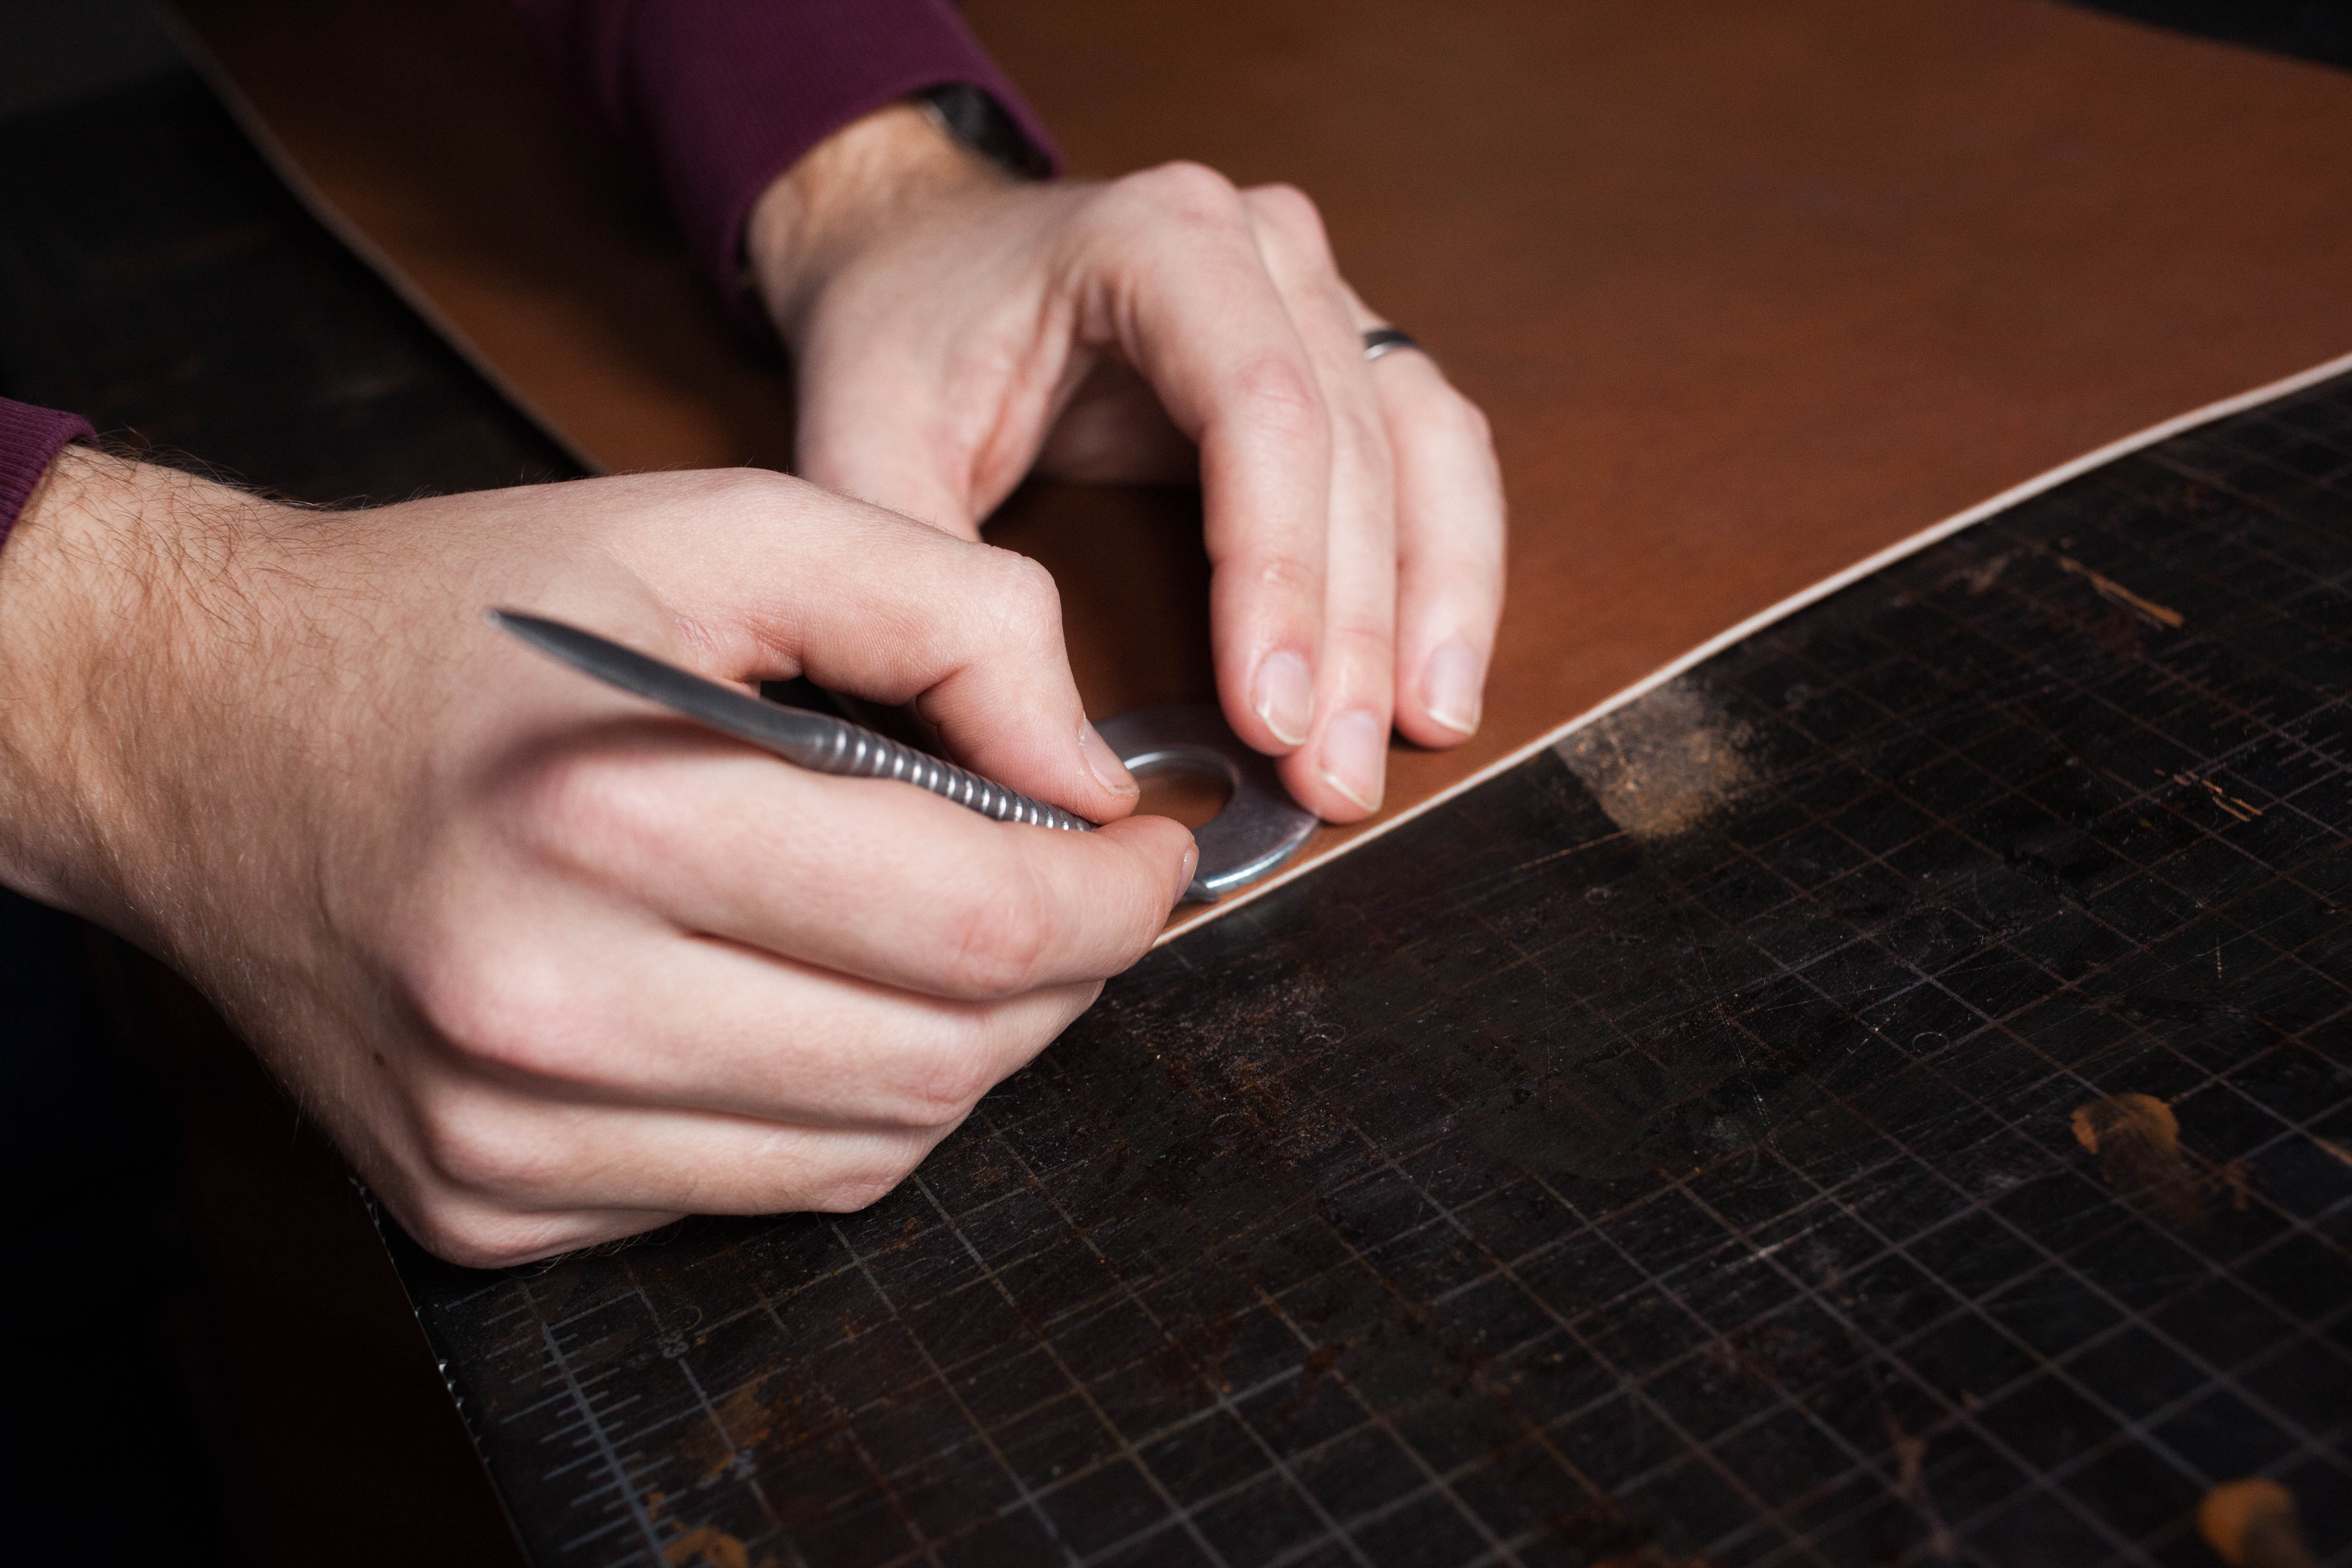
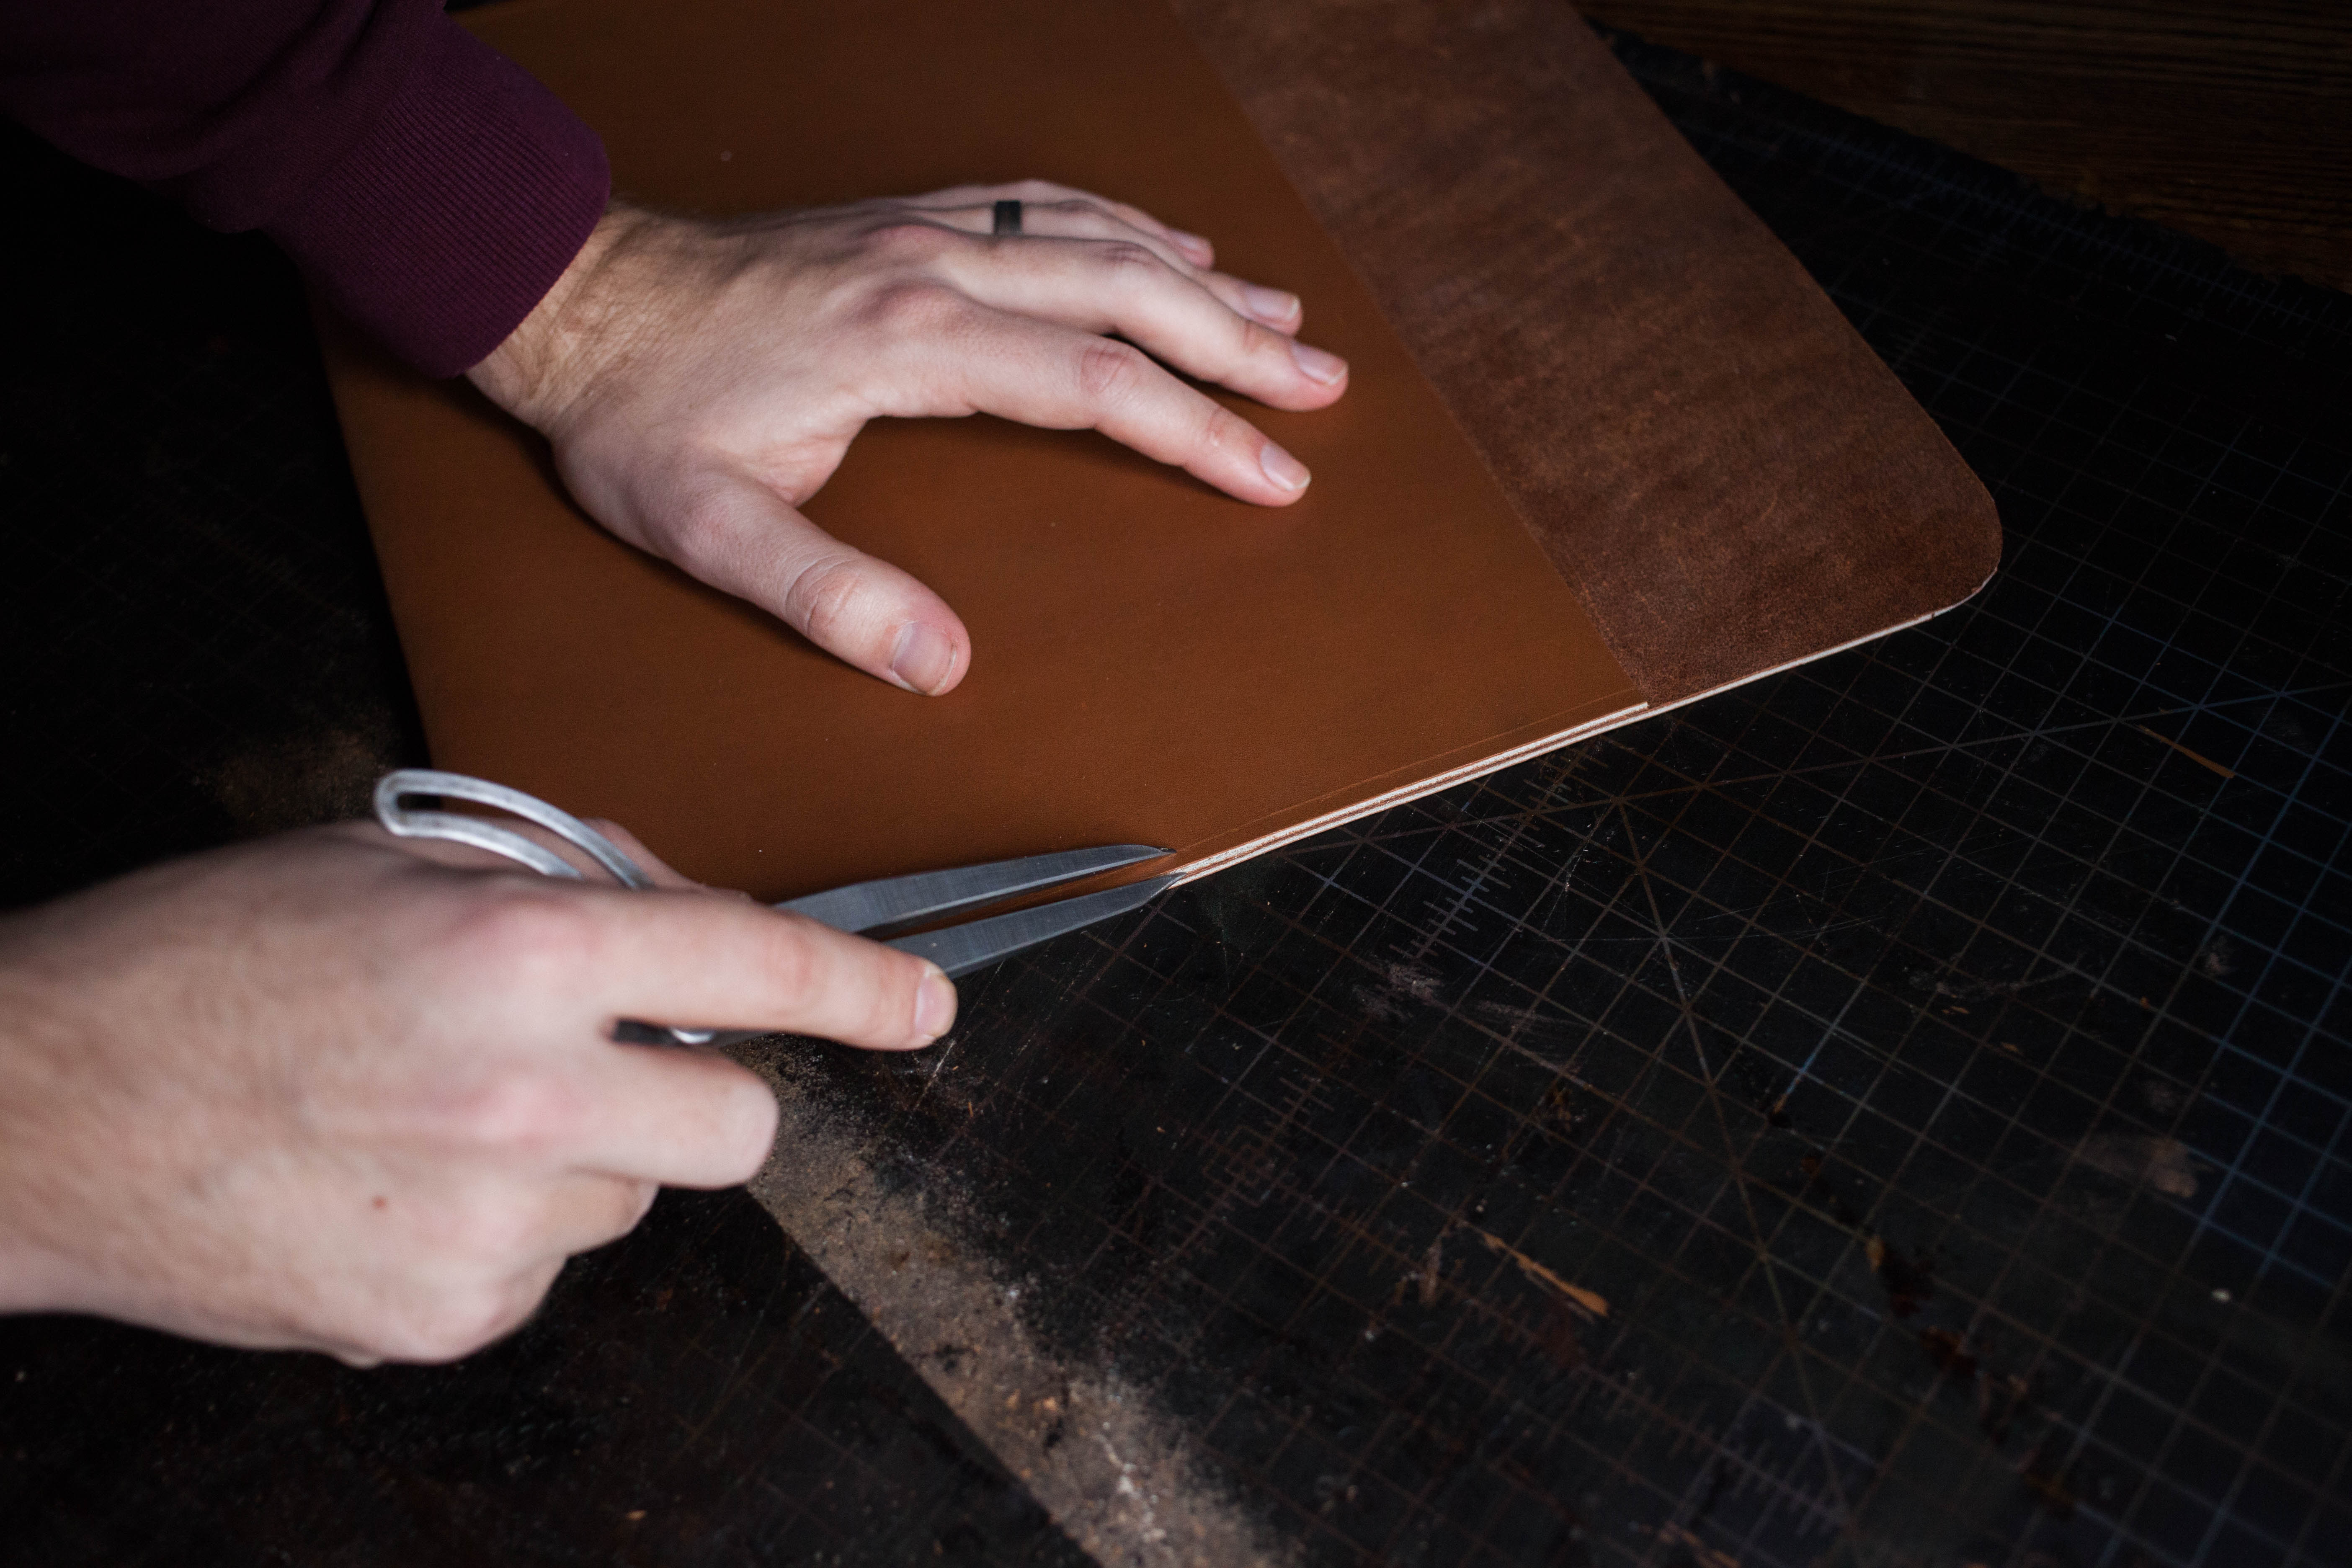
Once traced, it's time to cut it out. There's a few ways to cut out a rounded corners well. One requires a lot of skill, but is quick. The other takes a little bit of effort (and sanding) but is much easier to pull off. You can check out the methods here. Whichever method you use, make sure the leather on the bottom corners are perfectly flat when you go to cut them out.
After you cut the bottom corners you may notice the edges start to separate. Apply a little glue and clamp them down before you move on to stitching.
Step
To create your stitching holes, take out your divider and set the distance to 1/4in. I'm using 5oz leather but if you chose to use something a bit thicker, you may need to set your stitching in a little bit further. Then trace along the edges that you glued on the front side of the project. This will make a line from the start of the curve at the bottom of the sleeve to where the flap begins on both sides of the sleeve.
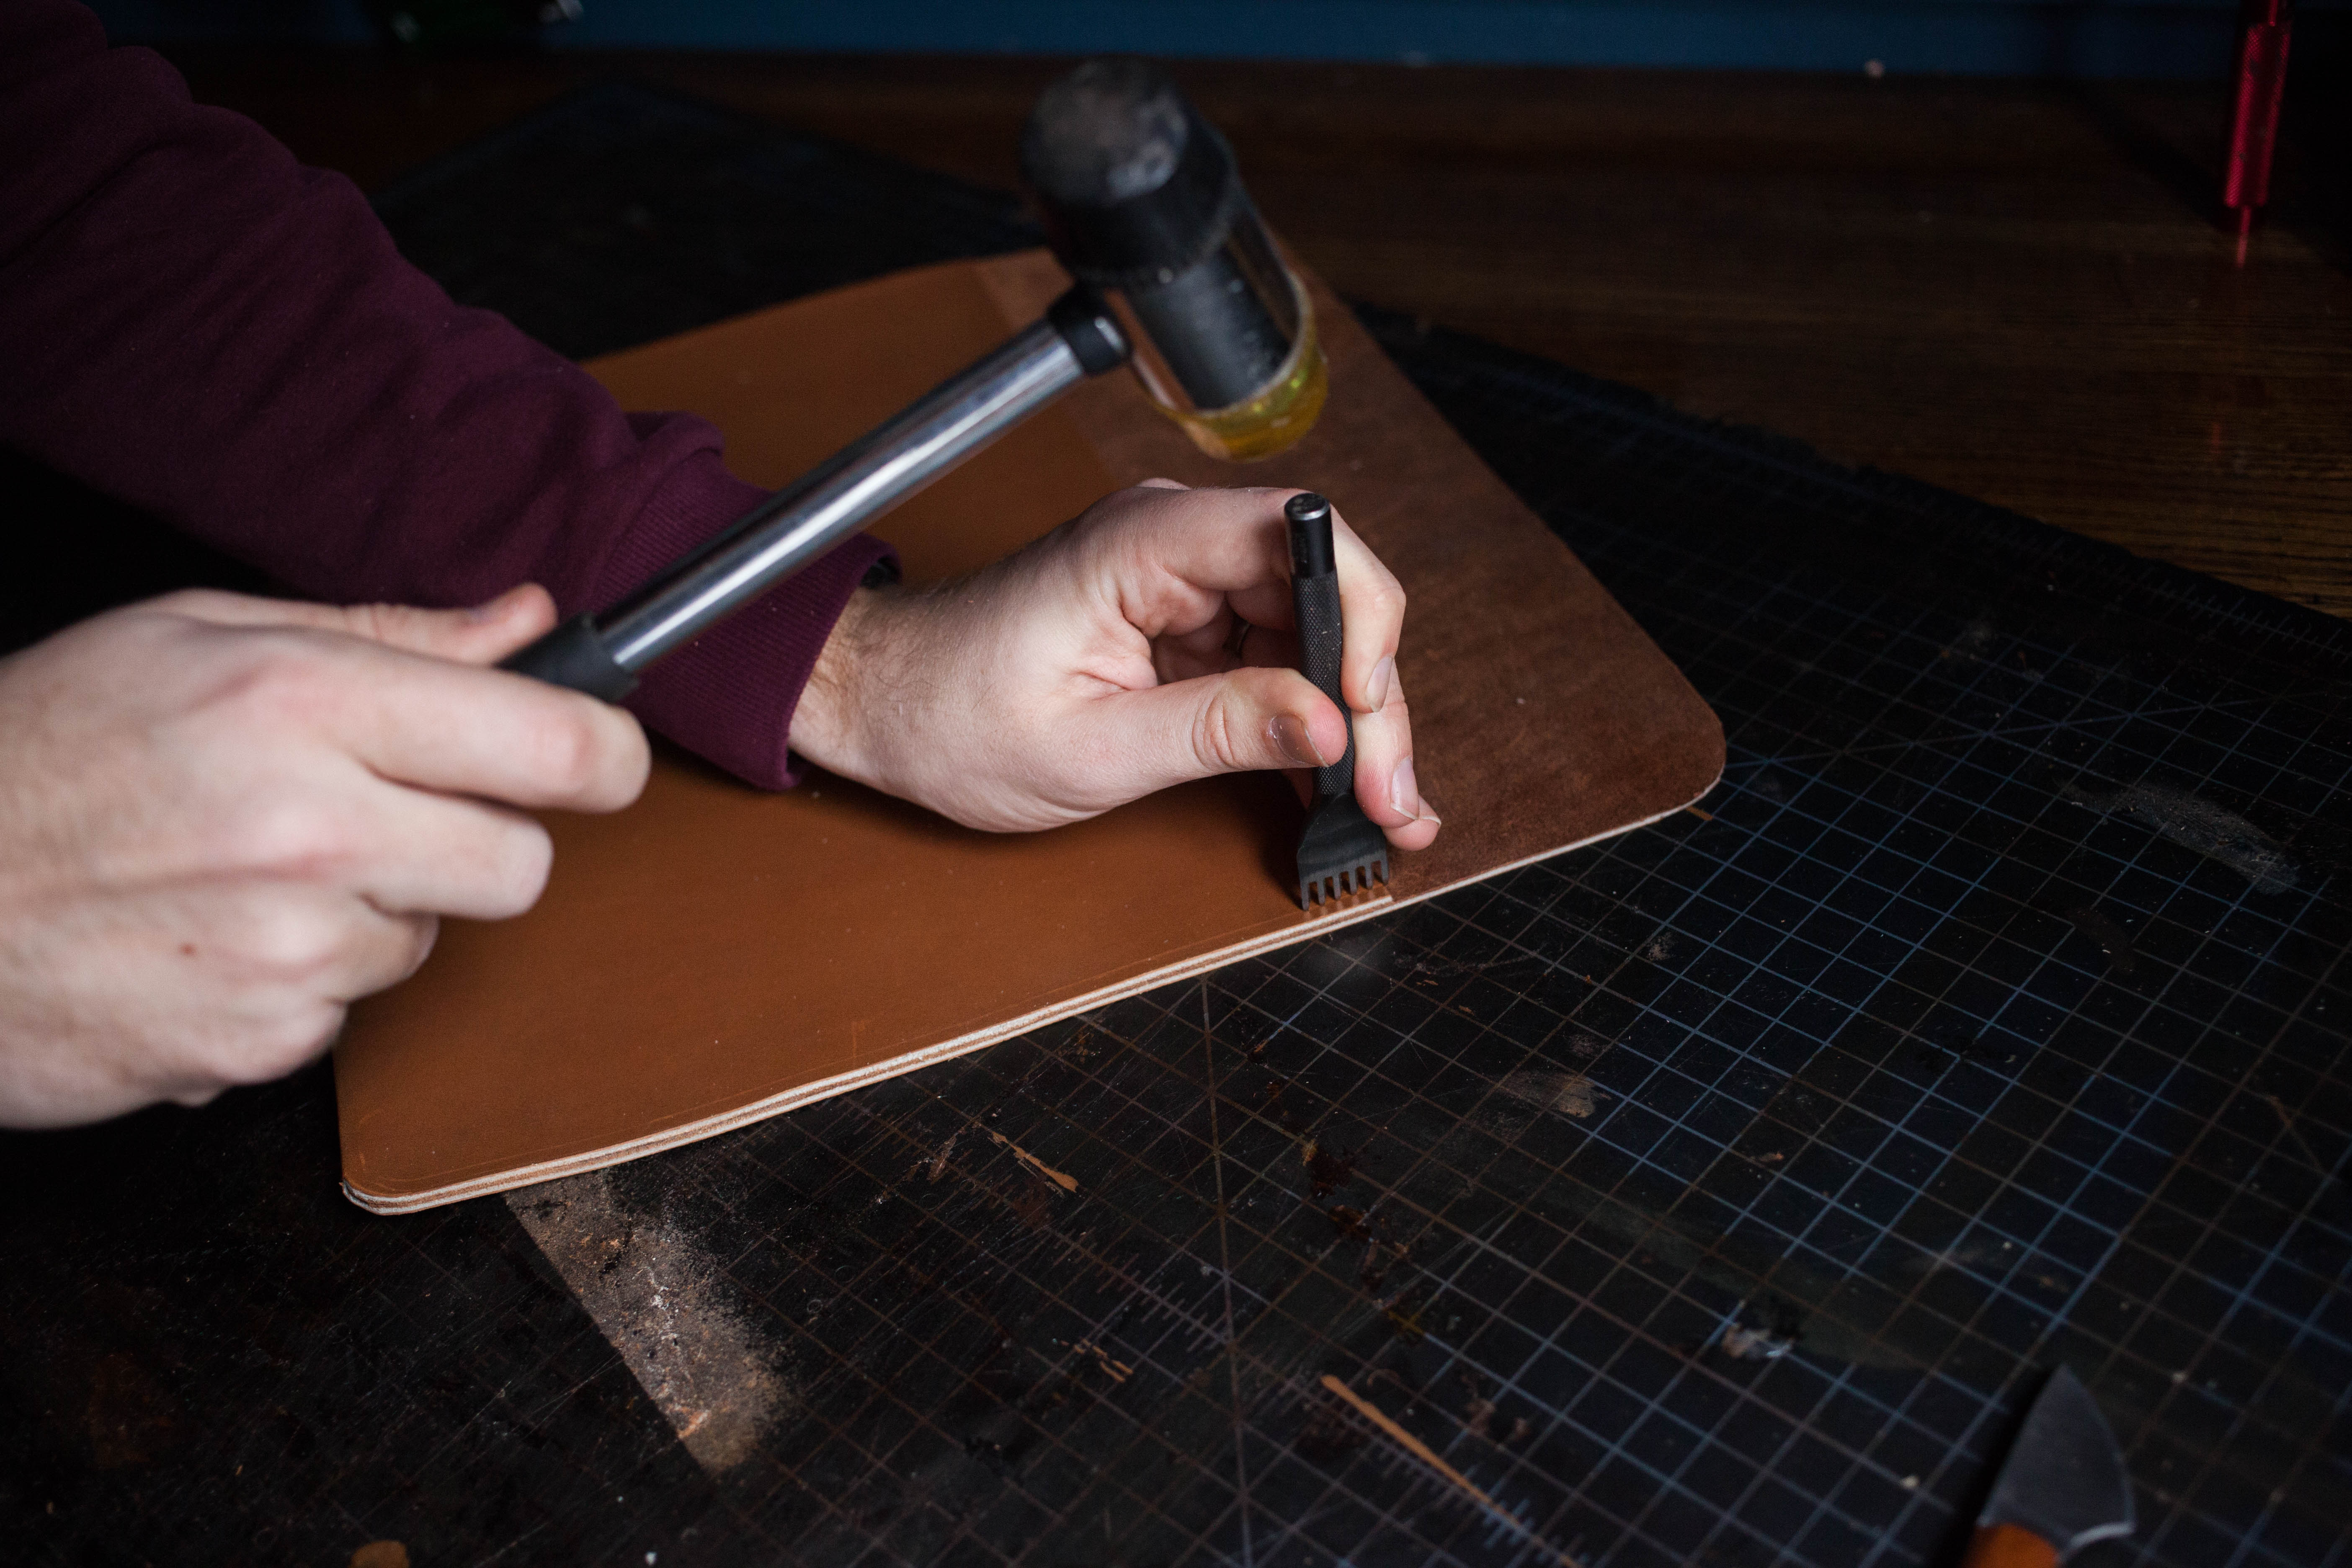
Once these lines have been marked, use the diamond chisels to make the stitching holes. When punching out the holes, make sure that the chisel is perfectly perpendicular to the leather. If it is not kept at 90° the stitching on the back side of the project will turn out ugly.
Finally, when you get to the curves, work your way around them with a two pronged chisel.
Step
Now it's time to stitch. It's better to start your stitching at the top instead of the bottom near the curve. The most pull from use will be at the top corners and it's always best to finish stitching lines where there will be little to no pull.
Stitching itself is a little tricky to teach through text. So check out this video to learn how to saddle stitch leather.
Once you've finished the stitching line, be sure to backstitch. To backstitch, simply stitch in the opposite direction once you've got the the end of your stitching line, for two or three holes. Then, trim the thread, burn the end, and tuck that lose end into the stitching hole.

Step
All you need to do now is burnish the edges.
Edges need to be sanded prior to burnishing. It smooths out the edges and also removes a lot of the lose fibers, which will give your edges a better finished look once you've completed the burnishing process.
To do this, hit the edges with 220 grit sand paper. This grit is really just for smoothing out rough areas, like the corners. Once your edges start to look even, you can stop. After that, hit it with 600 grit sand paper. This grit is less about shaping the edges and more about eliminating loose fibers. Stop once your edges feel smooth to the touch.
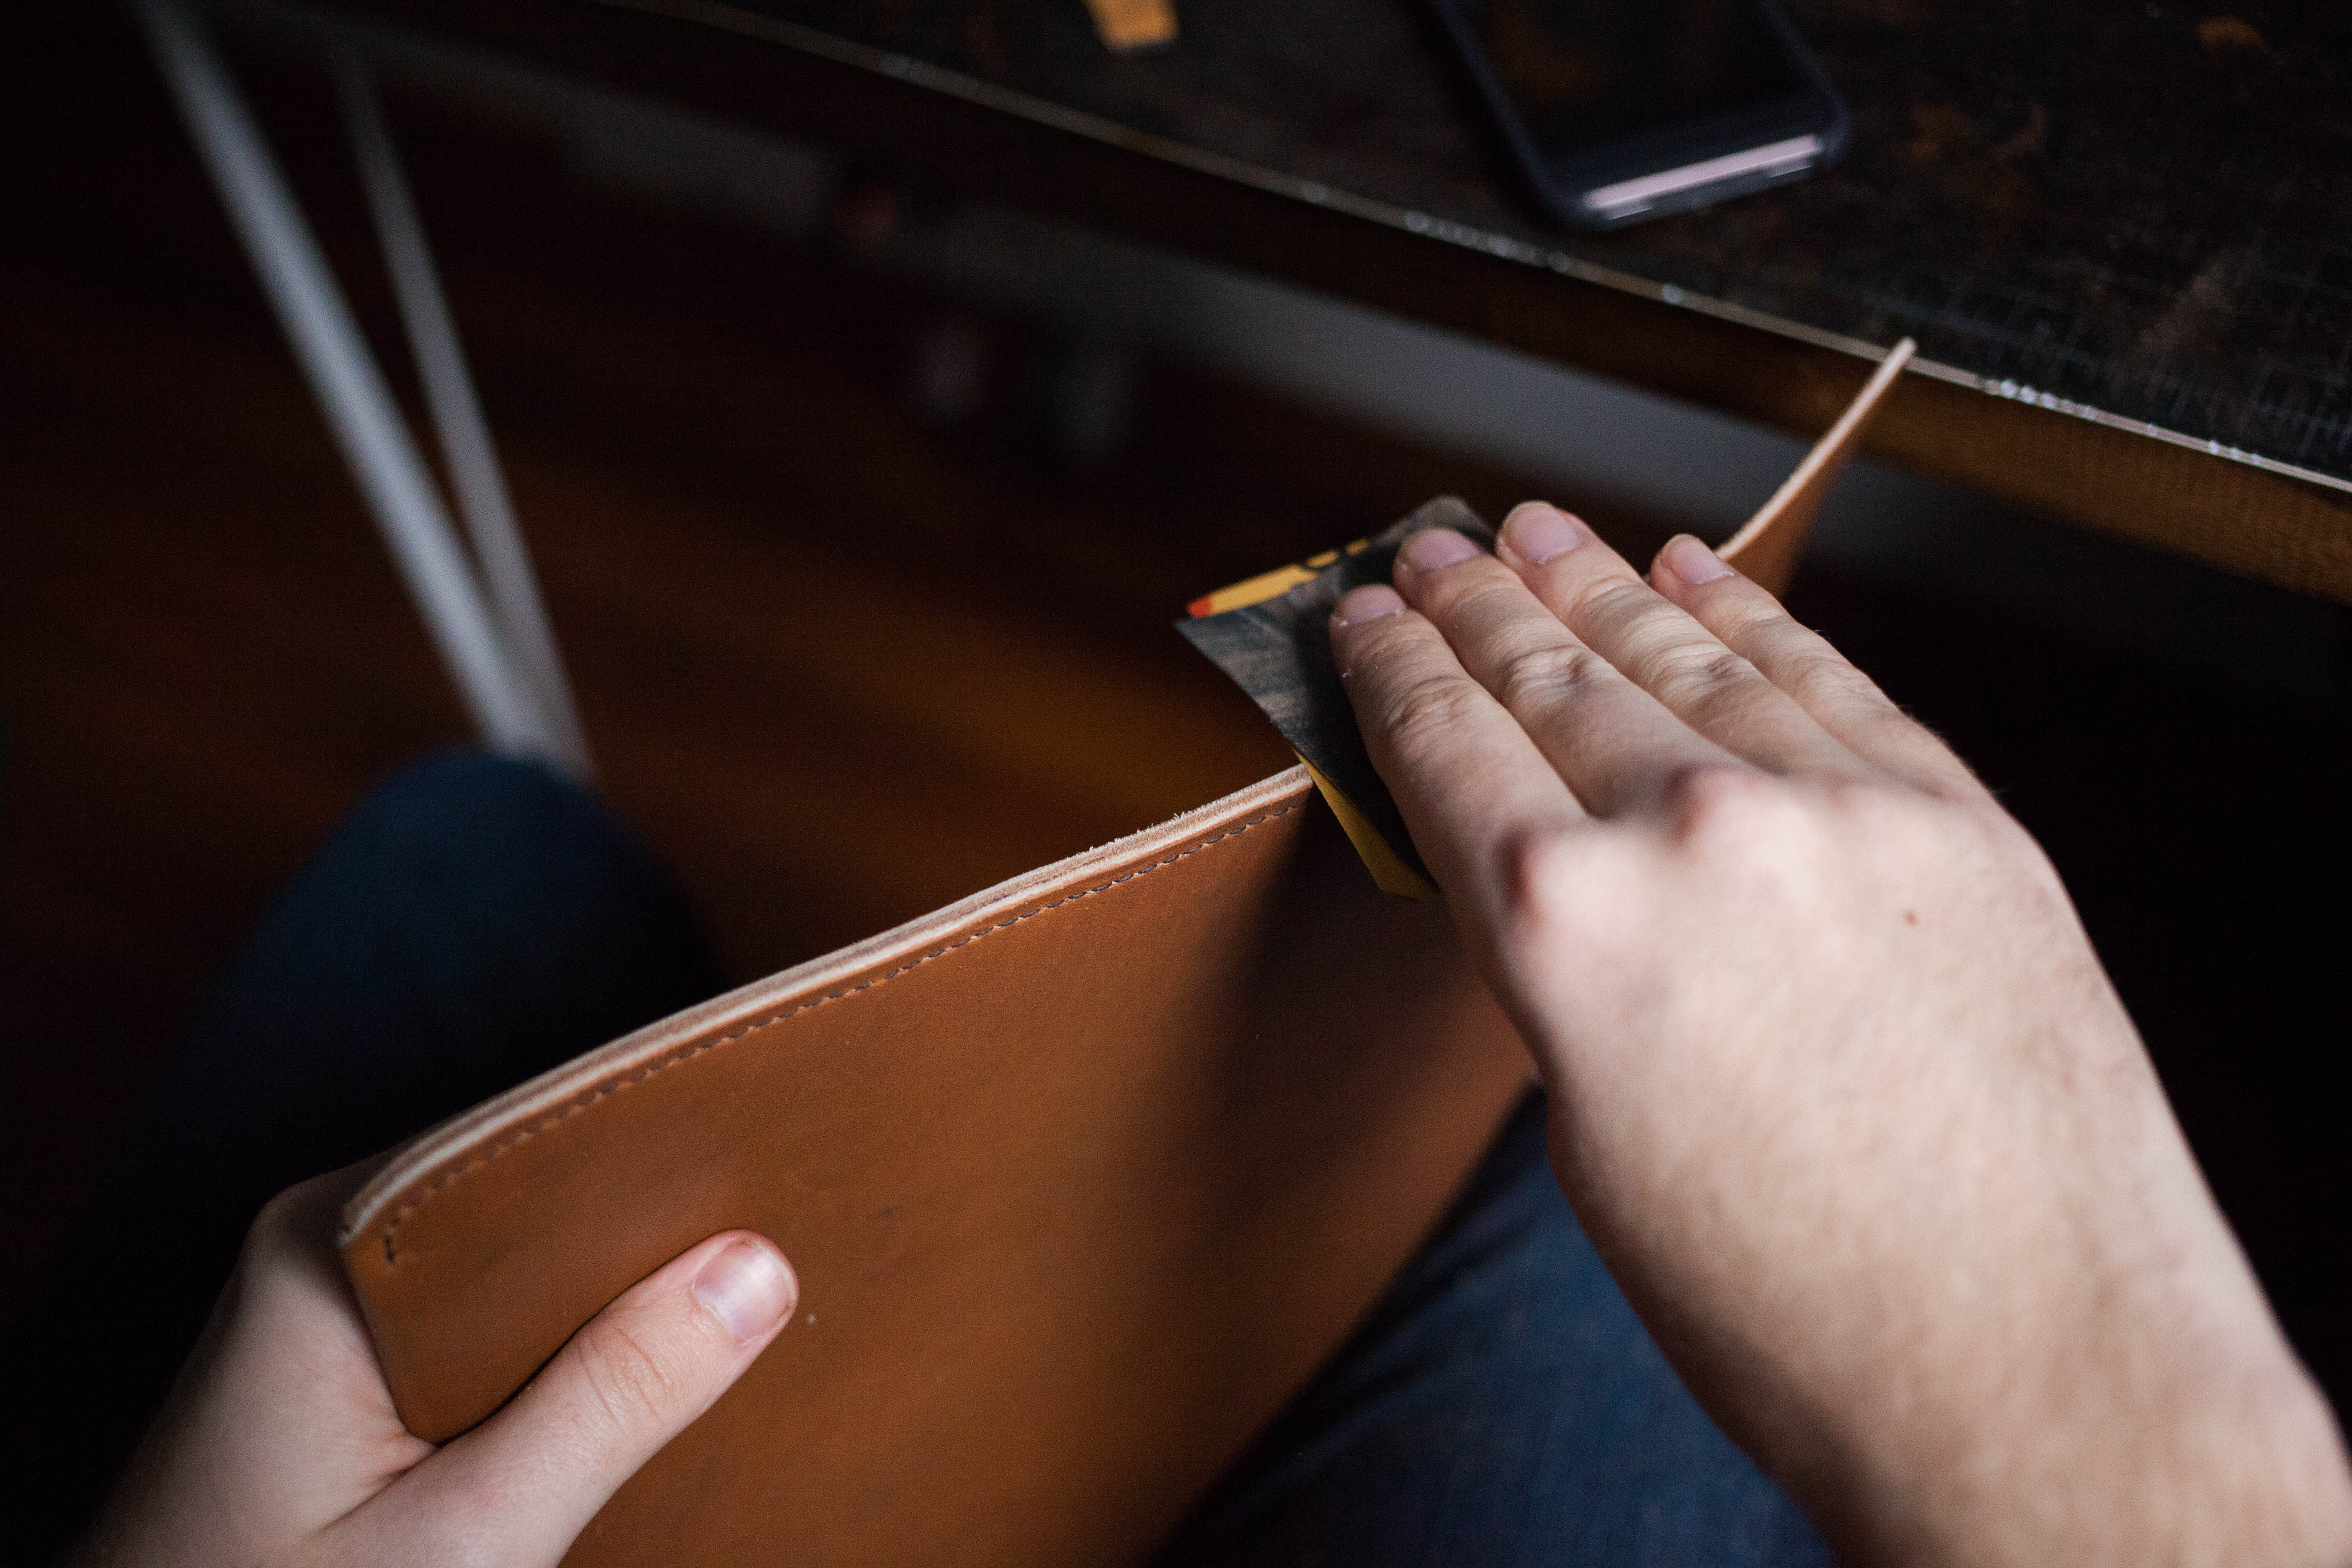
After sanding, you can start the burnishing process. Most leather workers have their own take on the burnishing process, and I've written a basic one here.
To start, lightly wet one edge with water. Then, using a canvas cloth, briskly rub the edge. You'll know you're done when the edge darkens, has a shiny surface, and starts to make a tacky sound. With one edge done, finish the other three remembering to lightly wet each edge before hitting with the canvas cloth. Finally, apply a small amount of beeswax to all the edges and work it with the canvas cloth.
And now you're all done. Rest easy knowing you can store and transport your laptop in style. And that malicious co-workers won't ruin it… at least not from a water spill.
