The Easiest Way to Get Perfectly Spaced Marks for Your DIY and Woodworking Projects
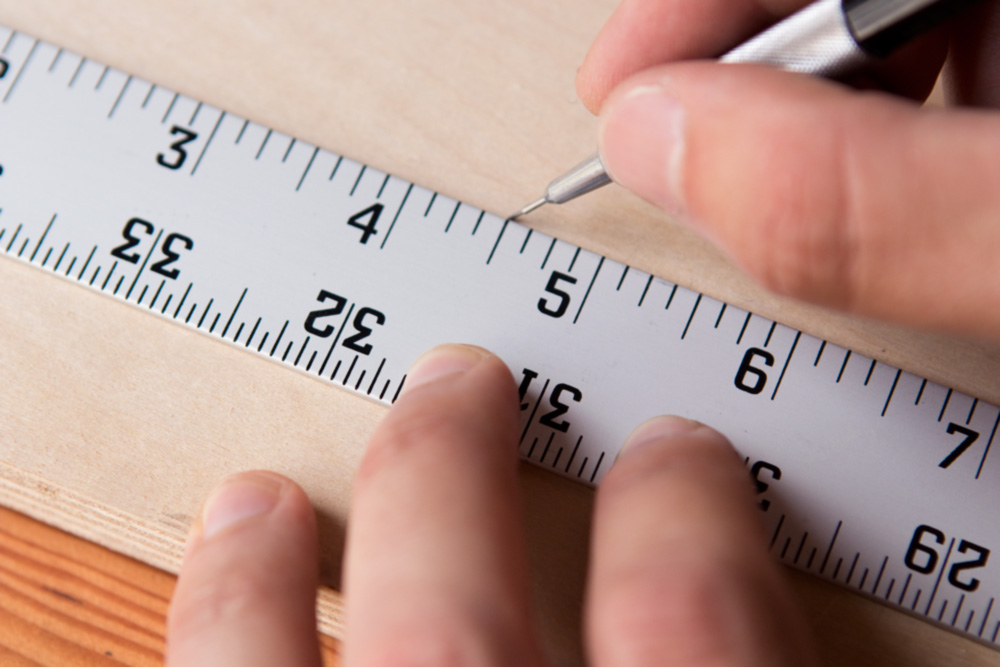
Proper and accurate measuring and layout are key to a great looking project. When you're dealing in whole numbers, that's easy enough. But the smaller you divide those inches or millimeters, math becomes more complicated, and the likelihood of making a mistake increases. While we can't always avoid finding common denominators and doing sophisticated shop calculations, when you're trying to lay out evenly spaced marks, you actually don't need math at all.
Let's say you're drilling a row of twelve evenly spaced holes. You want those 1 1/8″ apart from each other. Of course, counting in your head works for a simple number like 1/8″, but can become difficult when those holes become 11/16″ or 25/32″ apart. You could grab a tape measure and start working your way up: 1 1/8″, 2 1/4″, 3 3/8, but by the time you're on the tenth or eleventh one, things get a little murky.
So, don't use math. Use your eyes instead, and two rulers, instead.
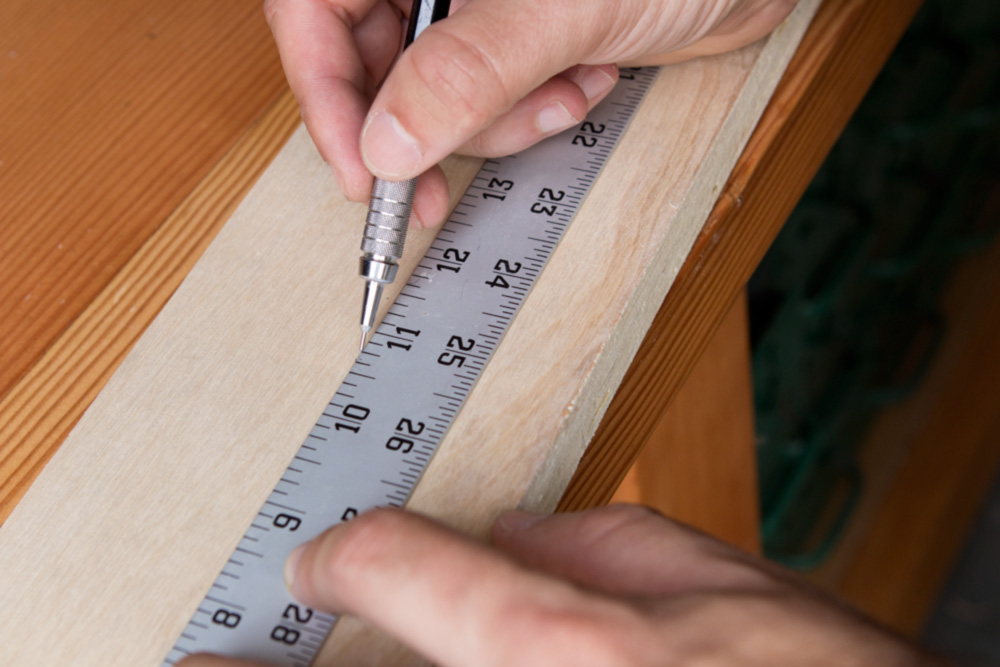
Begin by drawing a long line to determine your placement along the wood's length or width.
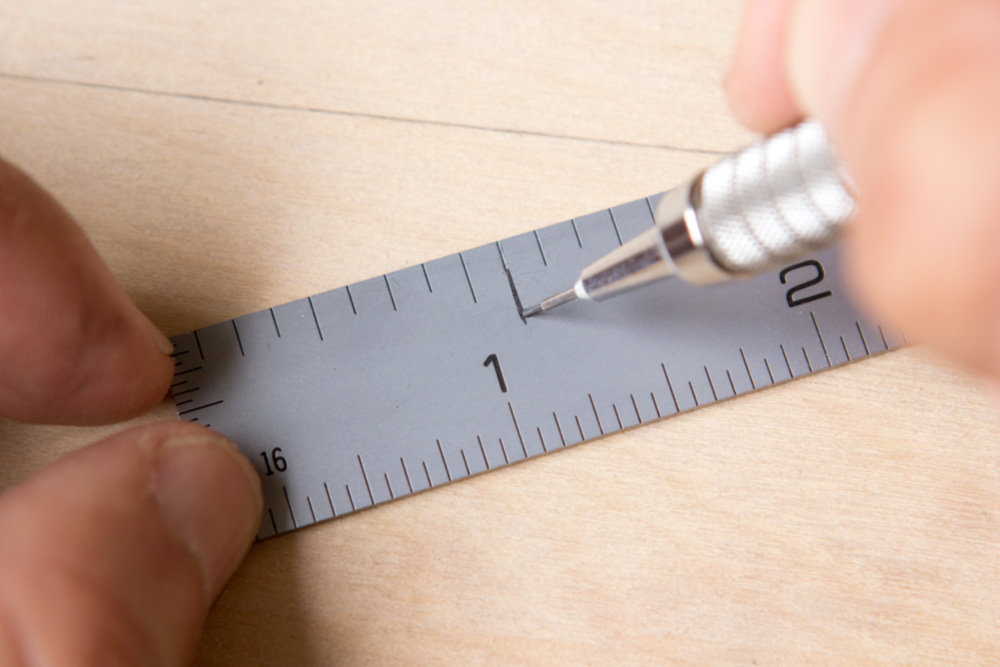
Then, grab a ruler that's the larger than your dimension. A 6″ steel rule is nice, but you could use the blade from your 12″ combo square, or a 2' aluminum ruler for particularly large projects. Mark your spacing right on the ruler with a fine pencil, highlighting the gradient mark and making it easy to distinguish.
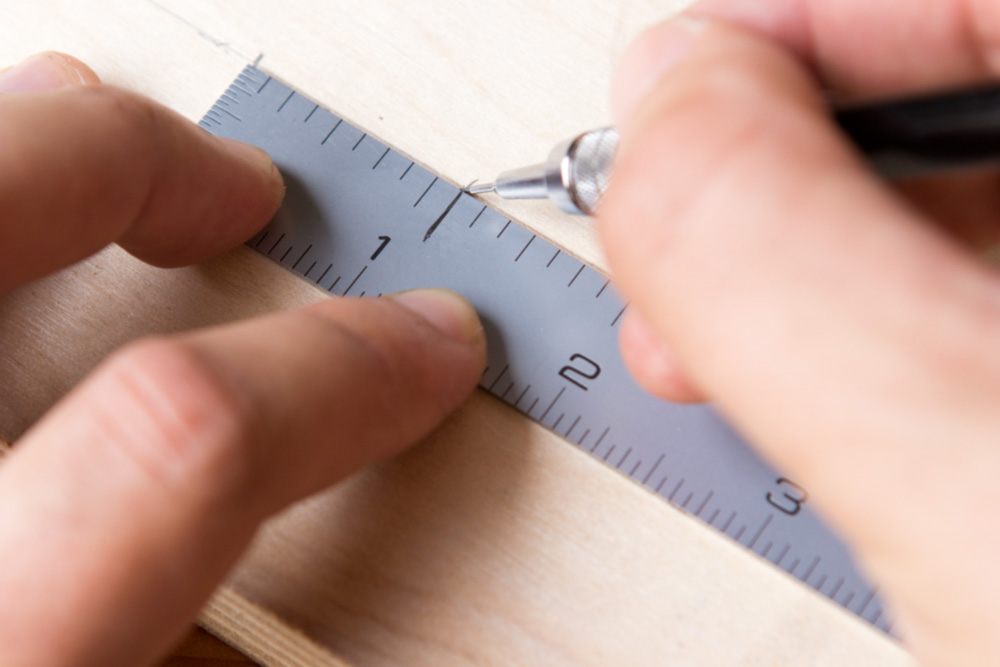
Then, place your ruler on your baseline and transfer your mark to the work piece. Be sure you use the original machined line, not your pencil highlight, for the most accuracy.
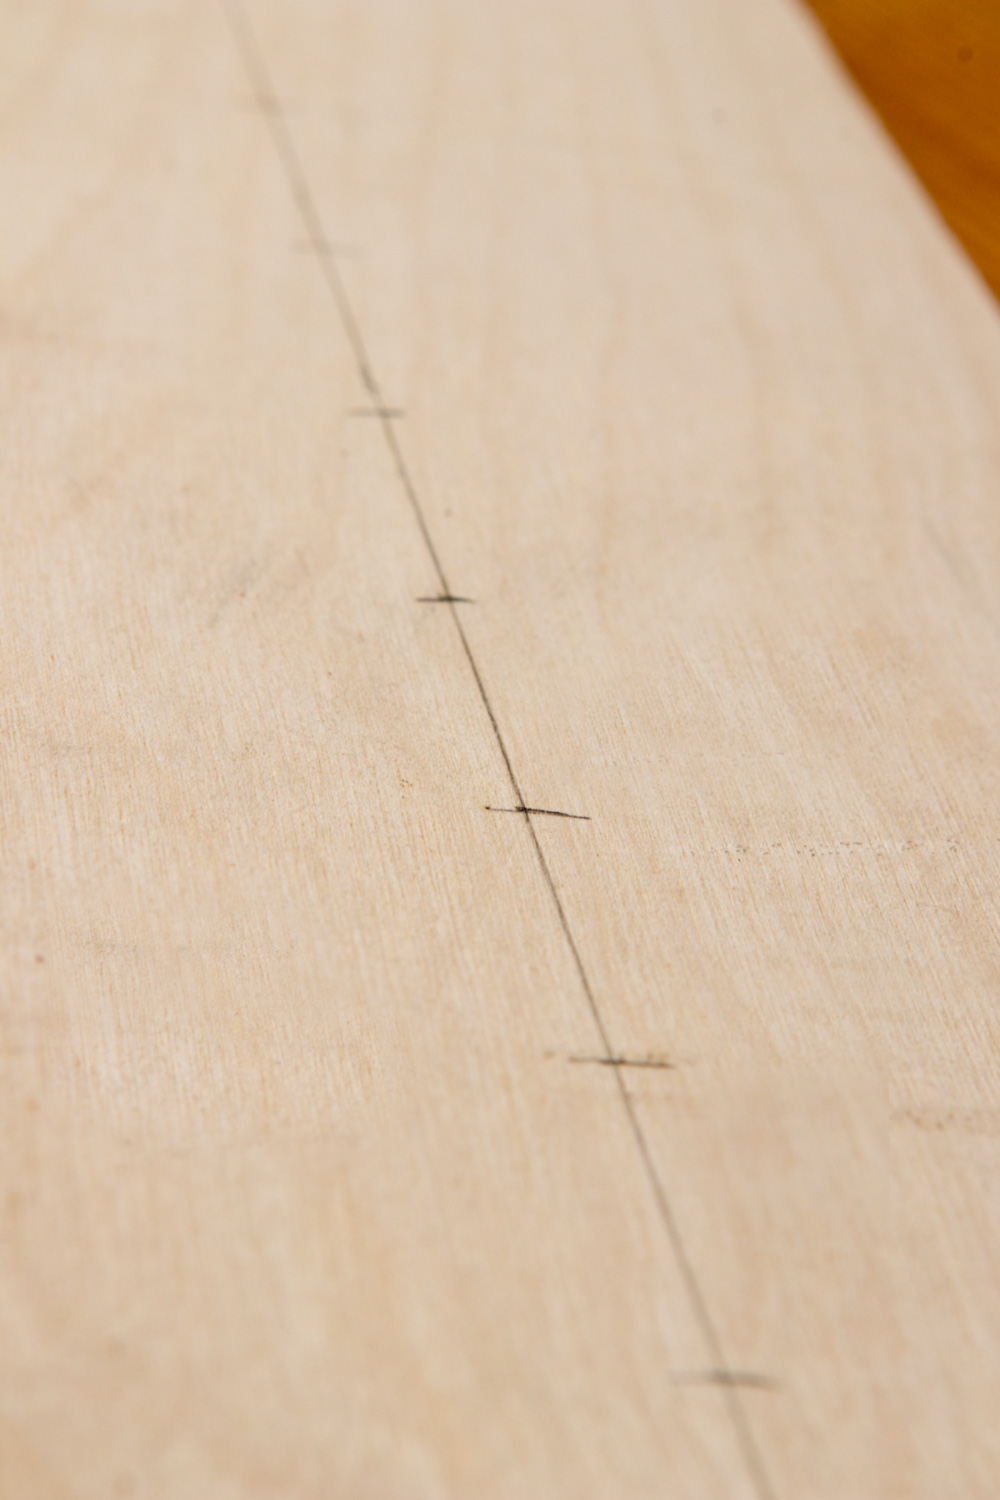
Then, move the ruler down the line and repeat the process until you're done. This row of twelve marks took me less than ten seconds to complete, and I barely had to use my brain.
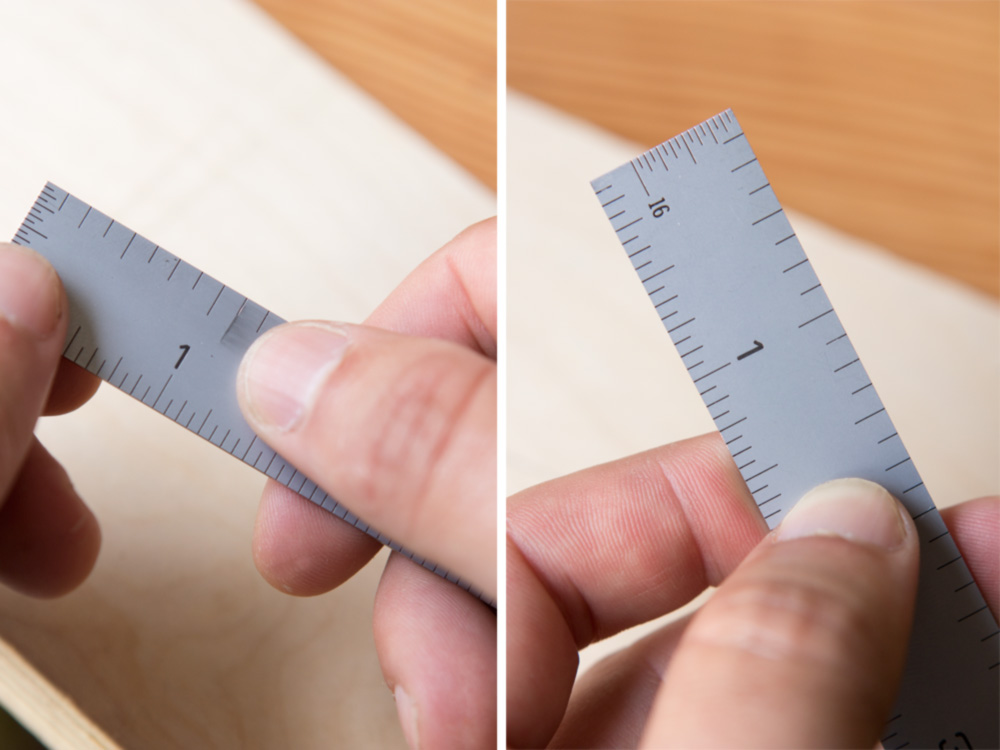
When you're done, just wipe the graphite off with your thumb or a rag. It's ready for next time.
Math is great. But sometimes, it just makes things more complicated than they need to be. Keep the head scratching to a minimum whenever you can.


