How to Make a Stylish Standing Desk Riser
This post is sponsored by the DIYZ® app.
When my friend Bruno hurt his back a few years ago, he started preaching about the value of standing while you’re at work. Having made a bicycle-mounted laptop stand way back in 2010!, I’m not new to this game, but the more I tried it, the more I liked it. Not only is standing good for your posture (and thus your back), but for certain kinds of tasks, I find it really increases my productivity.
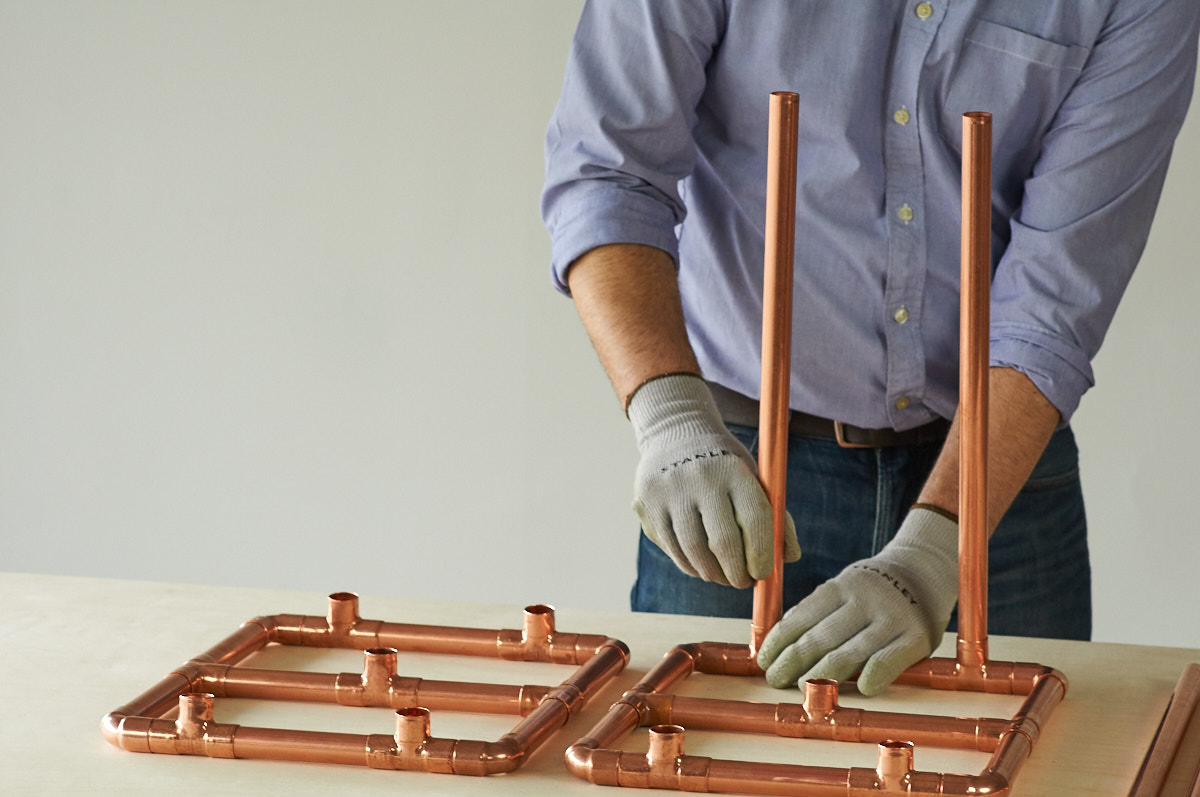
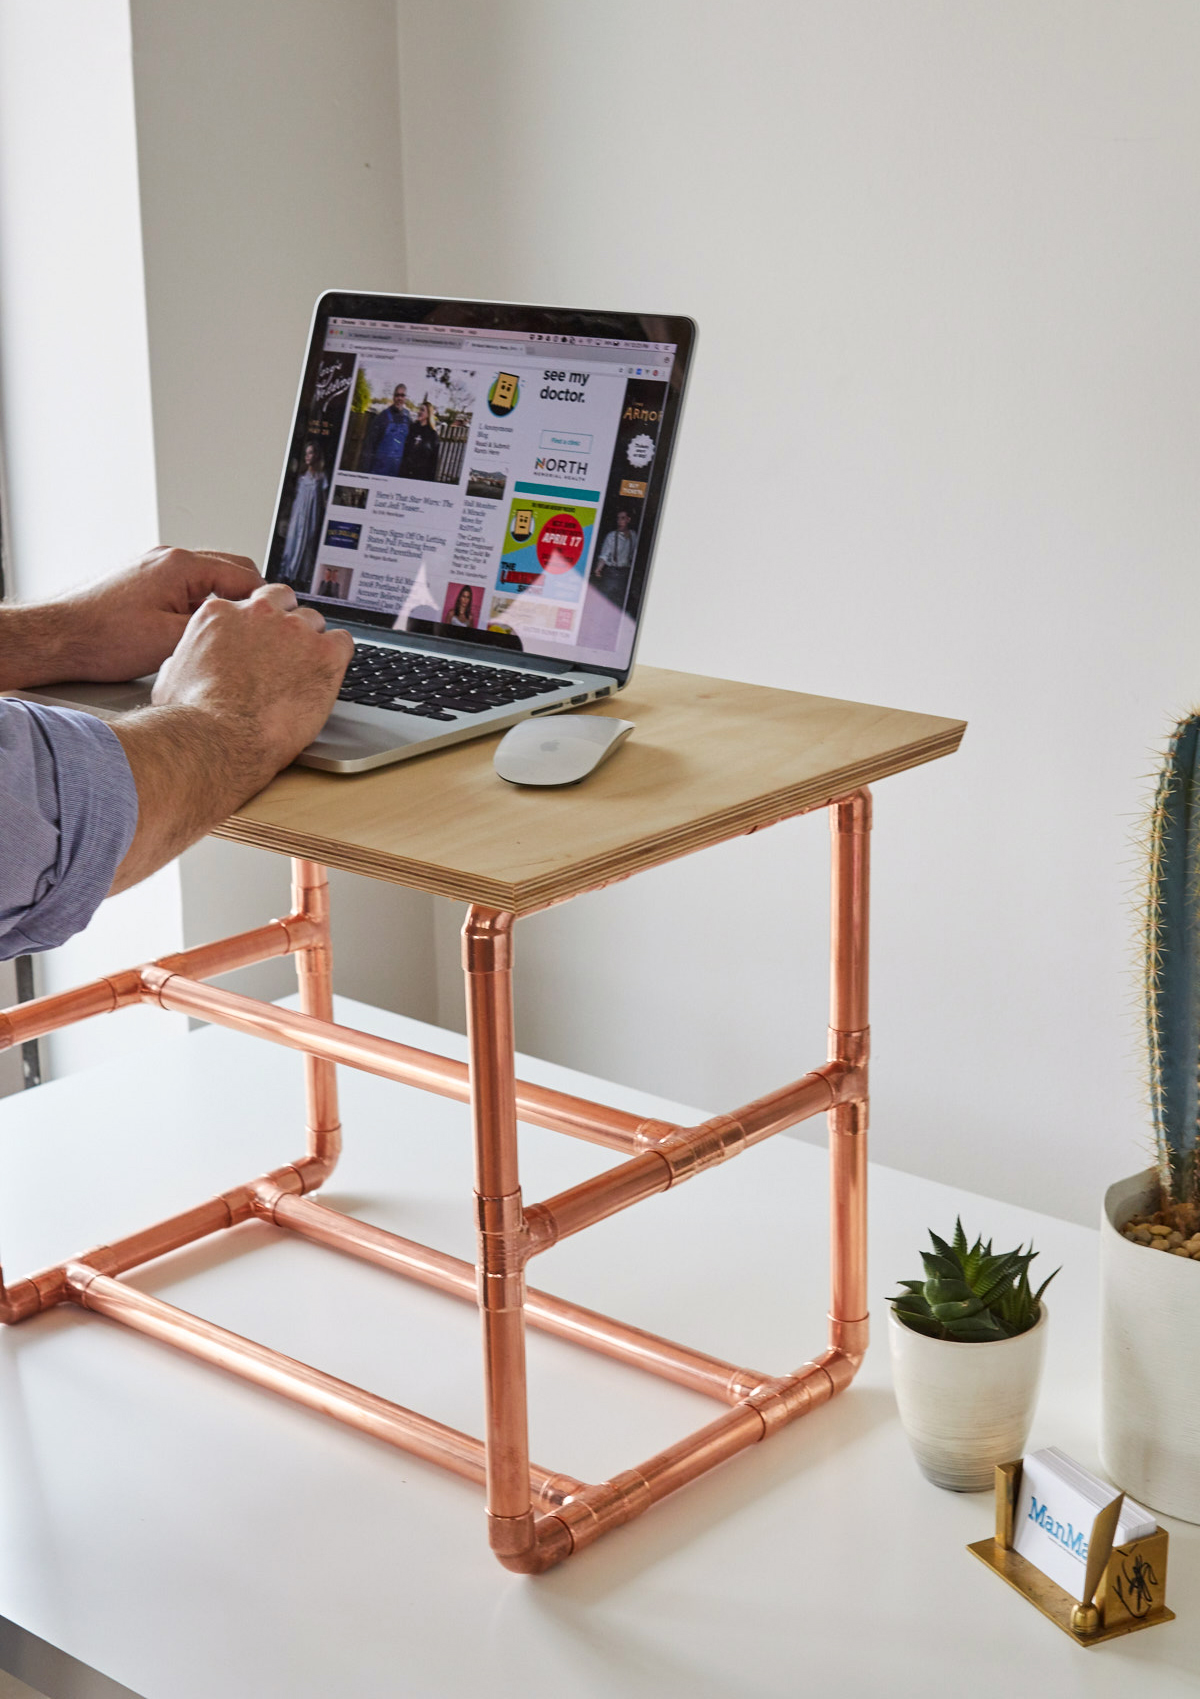
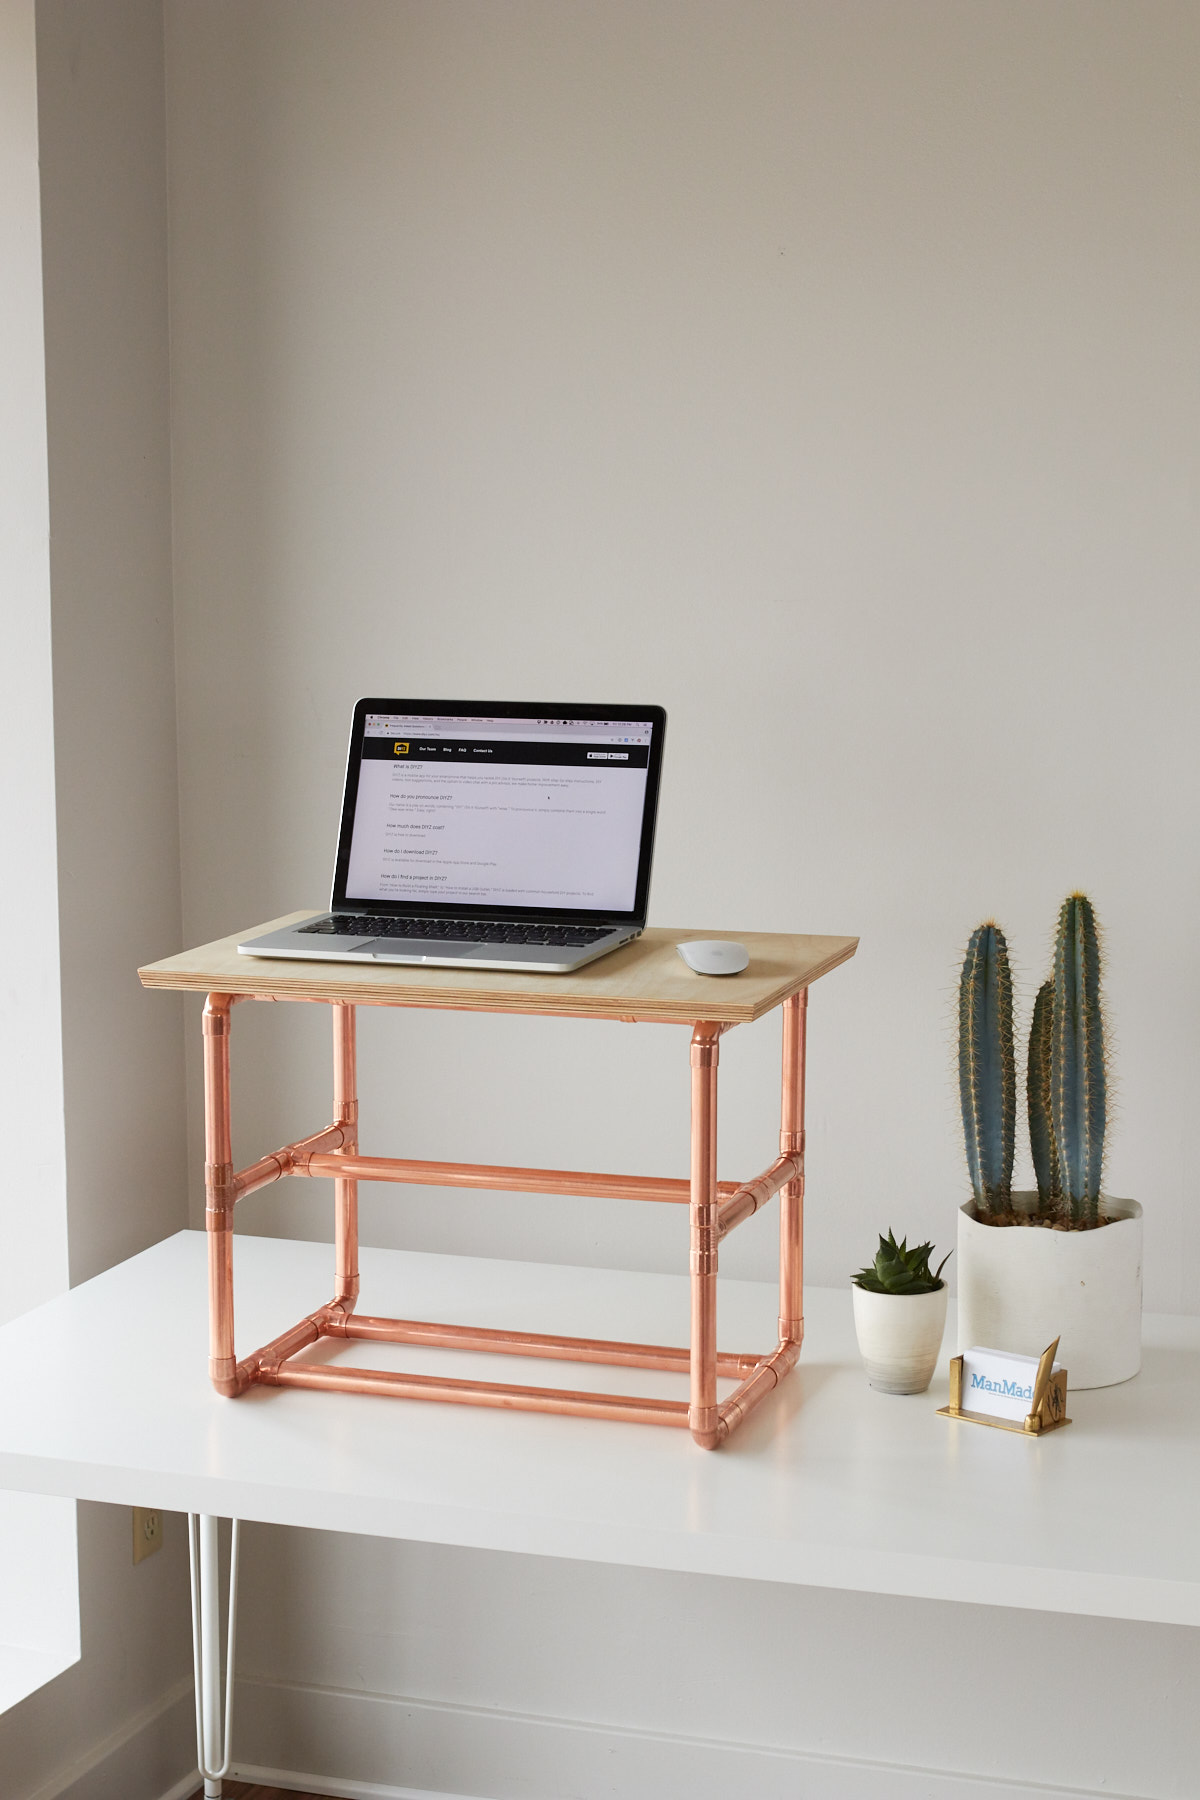
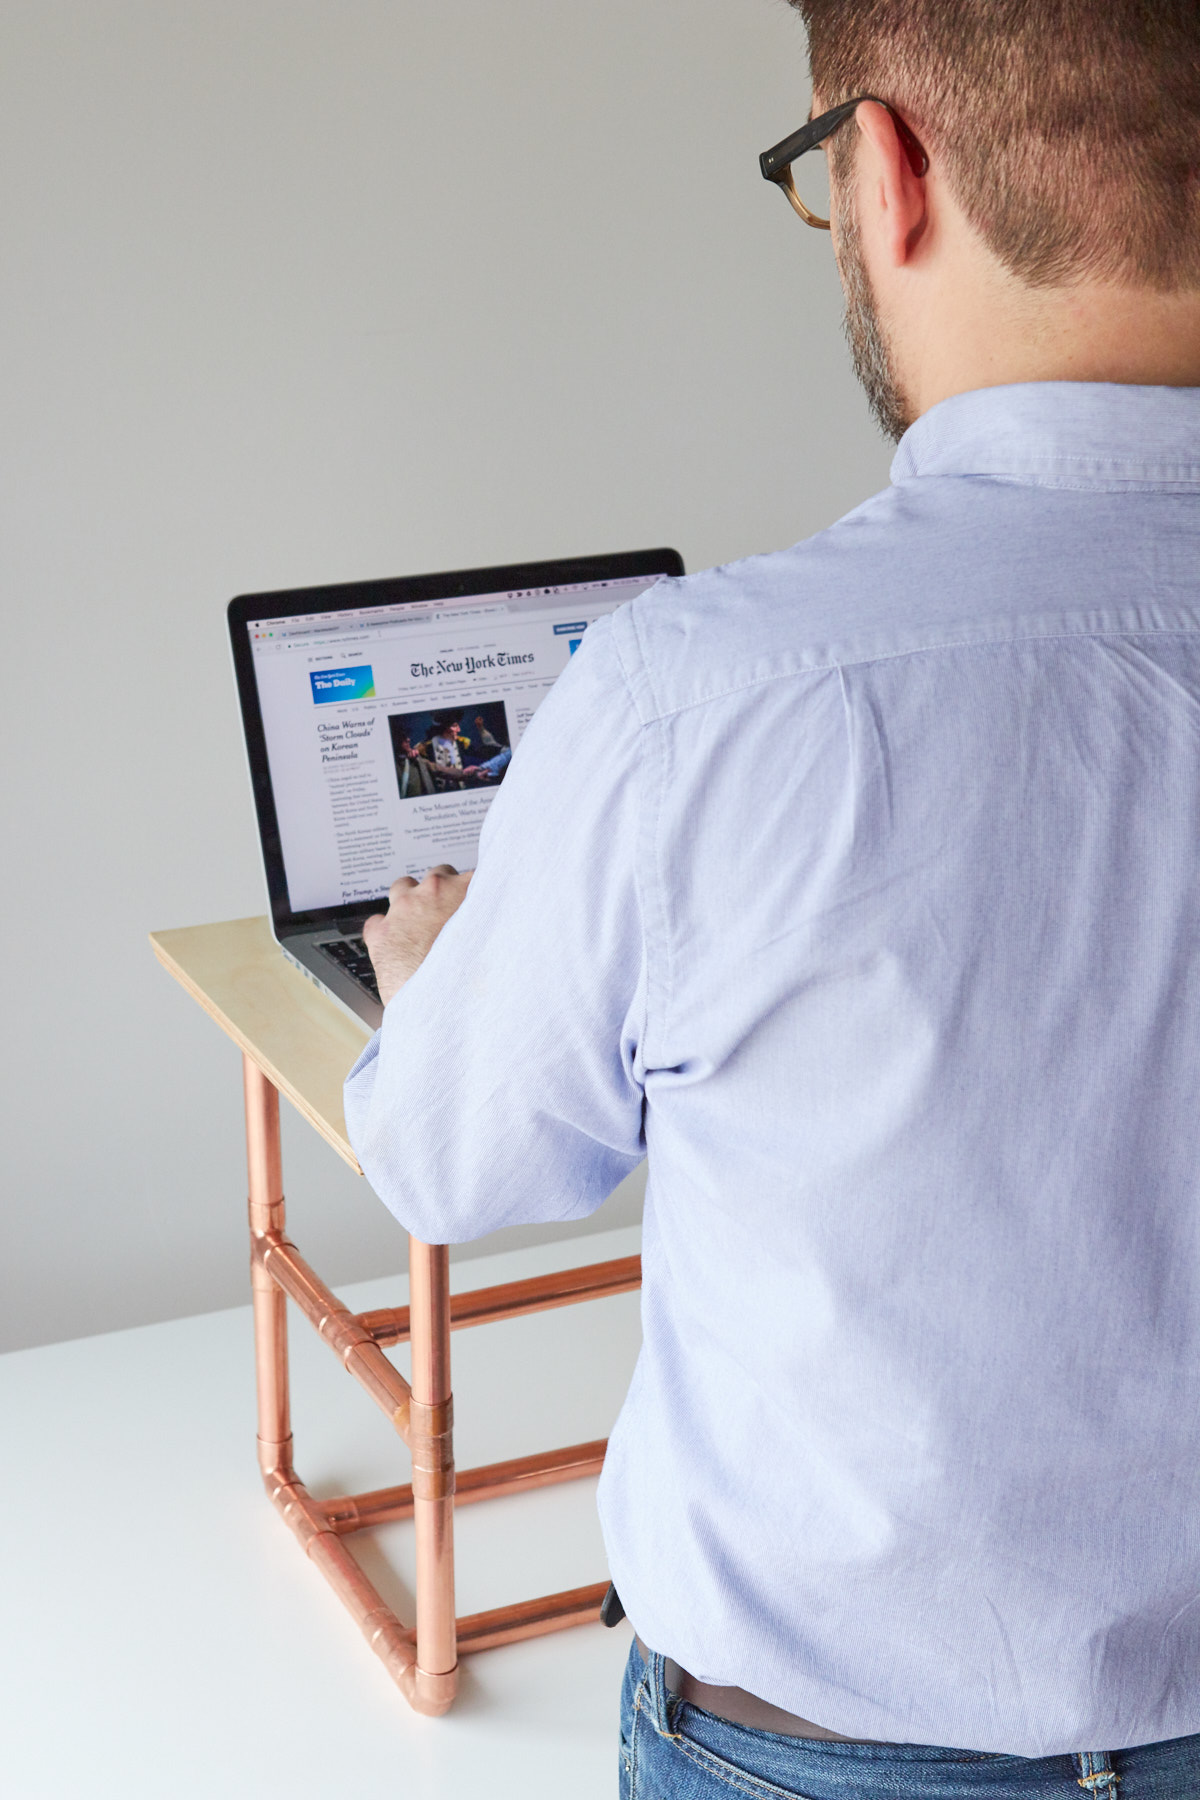
Here’s how to make a simple desk riser so you can stand and work on your laptop at just about any desk. It’s built out of copper pipe and plywood, two of the easiest materials around to work with. Nothing fancy here just clean materials put together in a way that makes sense, works well and looks nice.
To learn more about how DIYZ can help you get your home improvement projects done with minimal screw-ups, download the app, check out their web site, or follow them on Facebook or Instagram.
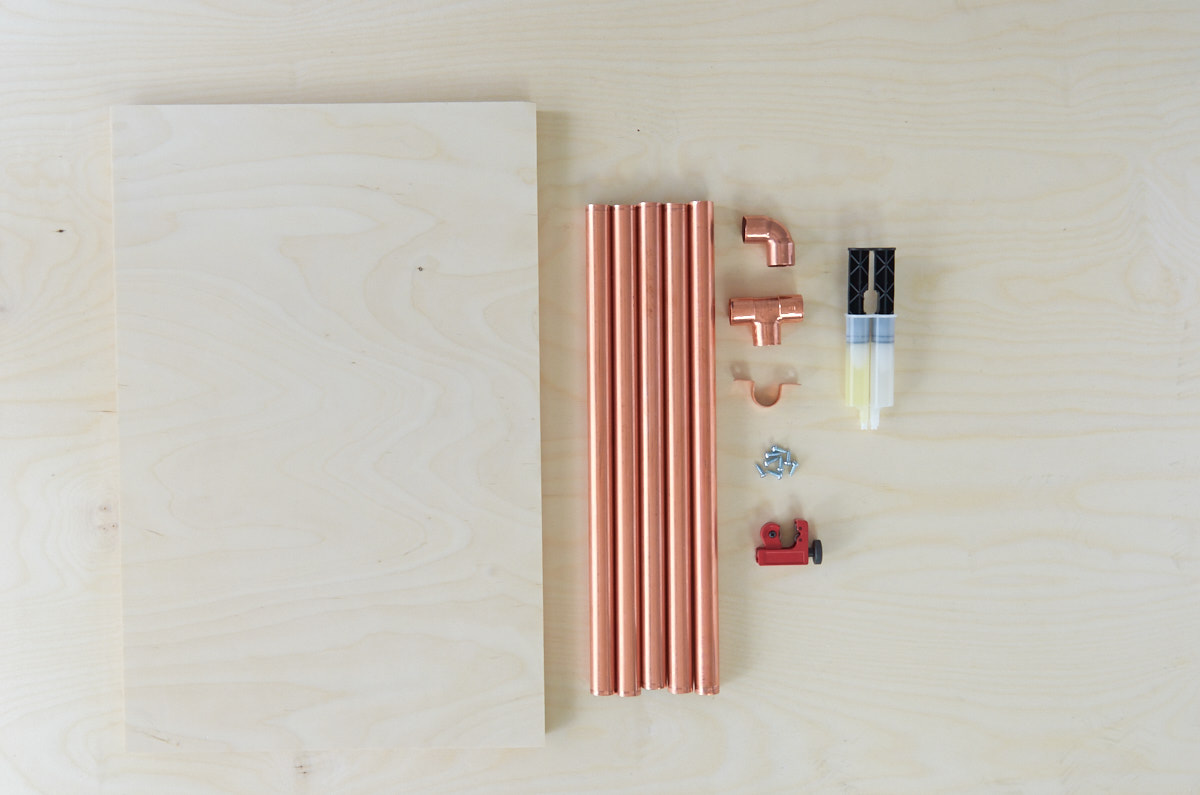
Tools and Materials
- Copper pipe cutter and reamer tool
- Cordless drill or screwdriver
- ¾” copper pipe in the following lengths (three 8’ lengths):
- ¾” 90° copper elbow joints (8)
- ¾” copper T-joints (14)
- ¾” copper pipe straps (6)
- Combination square.
- Two-part epoxy adhesive
- ½” panhead wood screws (12)
- ¾” baltic plywood, MDF, or other material (22”x15”, or your desired size)
- 100 and 200 grit sandpaper
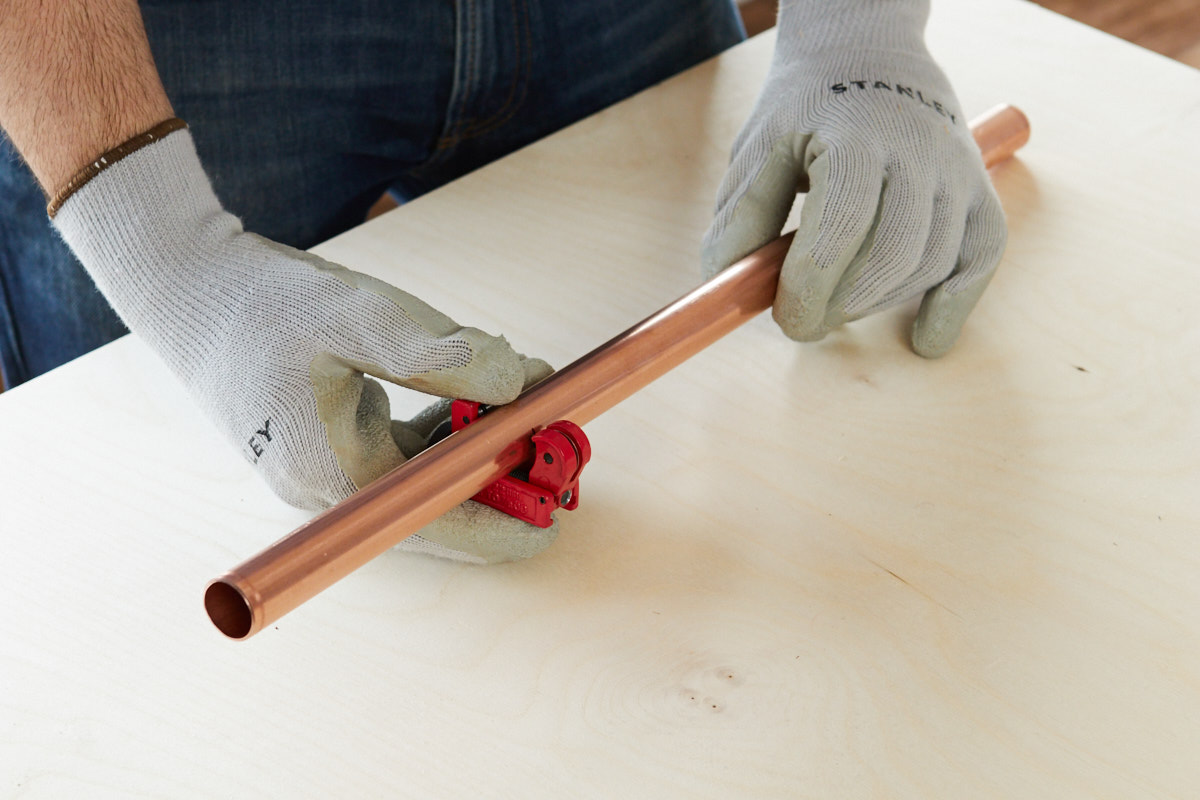
Step 1: Cut the copper pipe
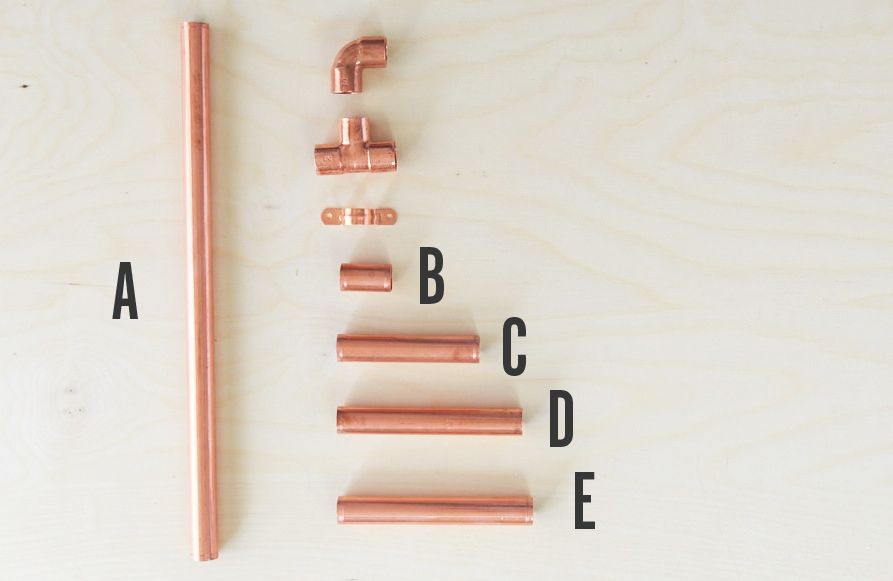
Begin by using your pipe cutter to cut your pieces to the following lengths:
- 5 pieces at 16 1/2” (A)
- 8 pieces at 1 1/2” (B)
- 4 pieces at 4 ⅜” (C)
- 4 pieces at 5 1/4” (D) for the horizontals
- 8 pieces at 6” (E) for the verticals
Step 2: Prepare the surface for adhering
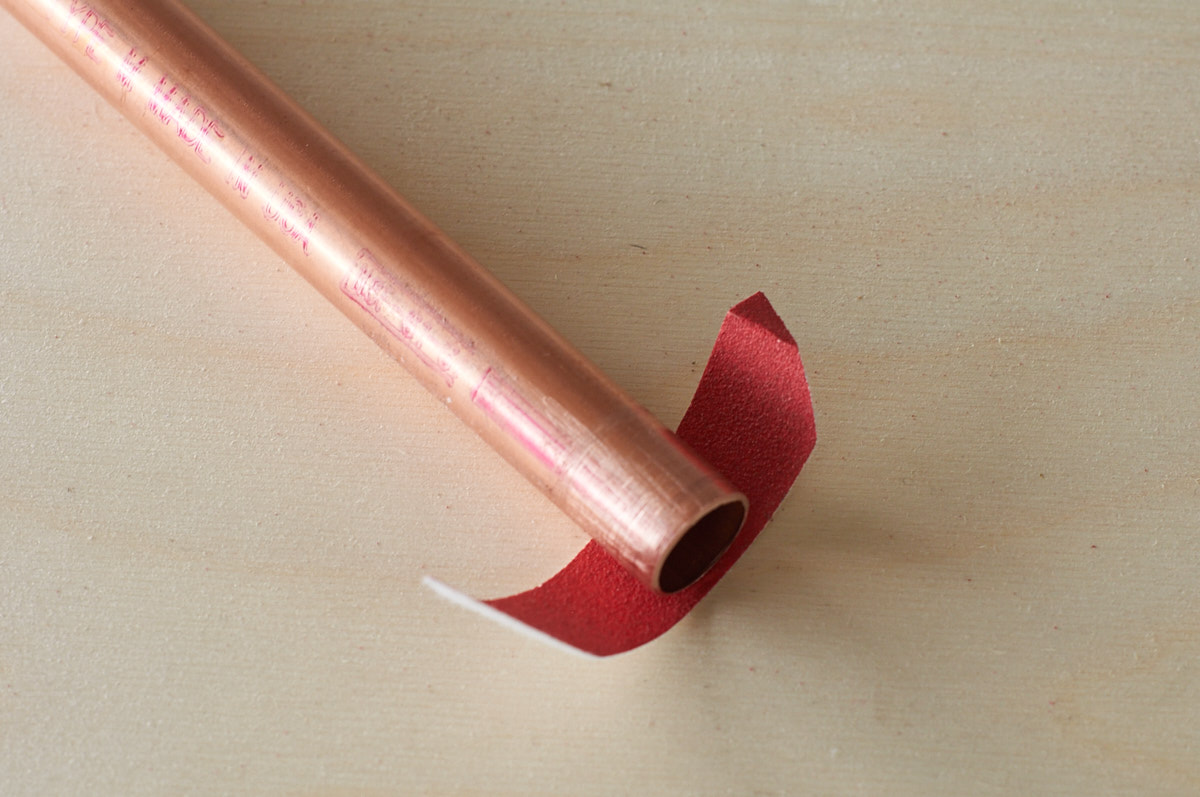
In order to give the epoxy something to grip onto, use 100-grit sandpaper to scuff 1/2″ or so on both ends of each pipe length. Make sure you wear safety glasses and gloves, and wipe away any metal filings or dust before proceeding.
Step 3: Dry fit each side
Next, test everything by assembling for a dry fit. Begin with one of the bottom pieces, and place a T-joint on each end.
Put a 1 1/2″ connector onto each side of the T-joint, then a 90° elbow, and repeat for the other side. Add an 8″ (B) vertical piece, a T-joint, and another vertical piece to each 90º elbow.
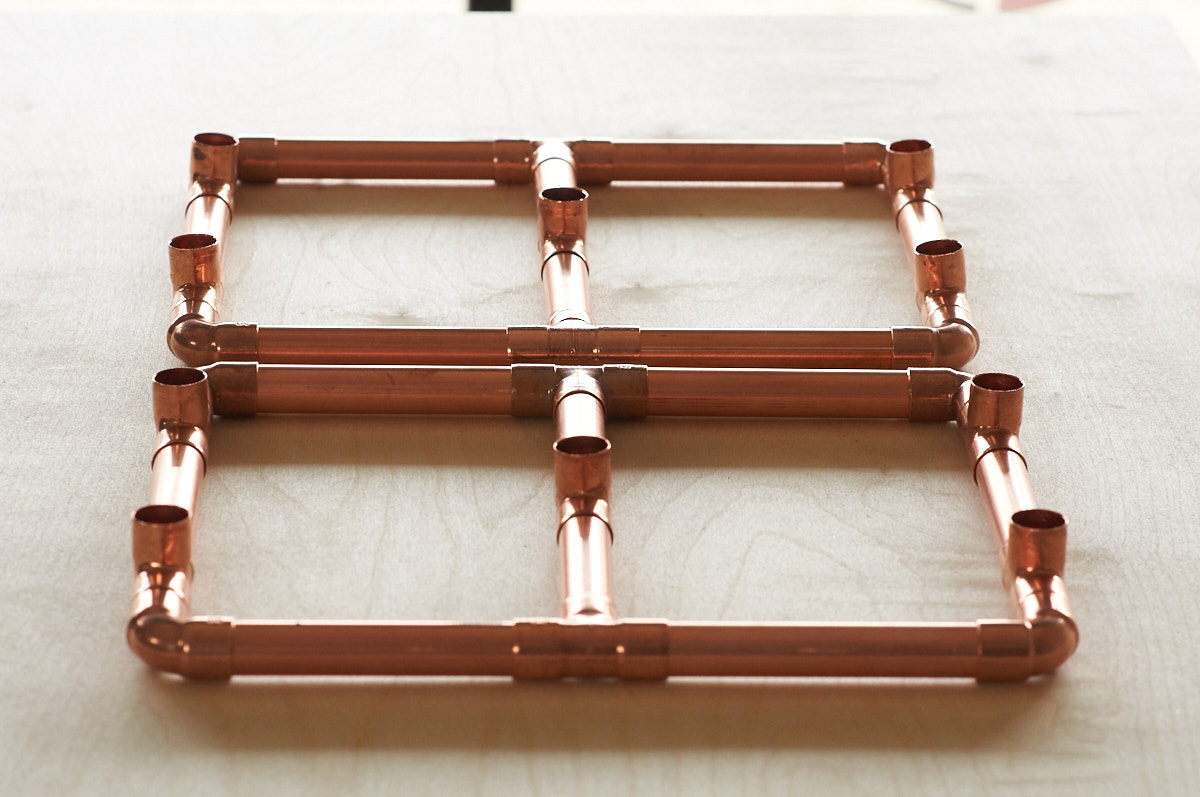
Do the same process to complete the other side.

Step 4: Connect the sides
Now, use the 16 1/2″ crossbars to connect the two sides.
Step 5: Epoxy the joints
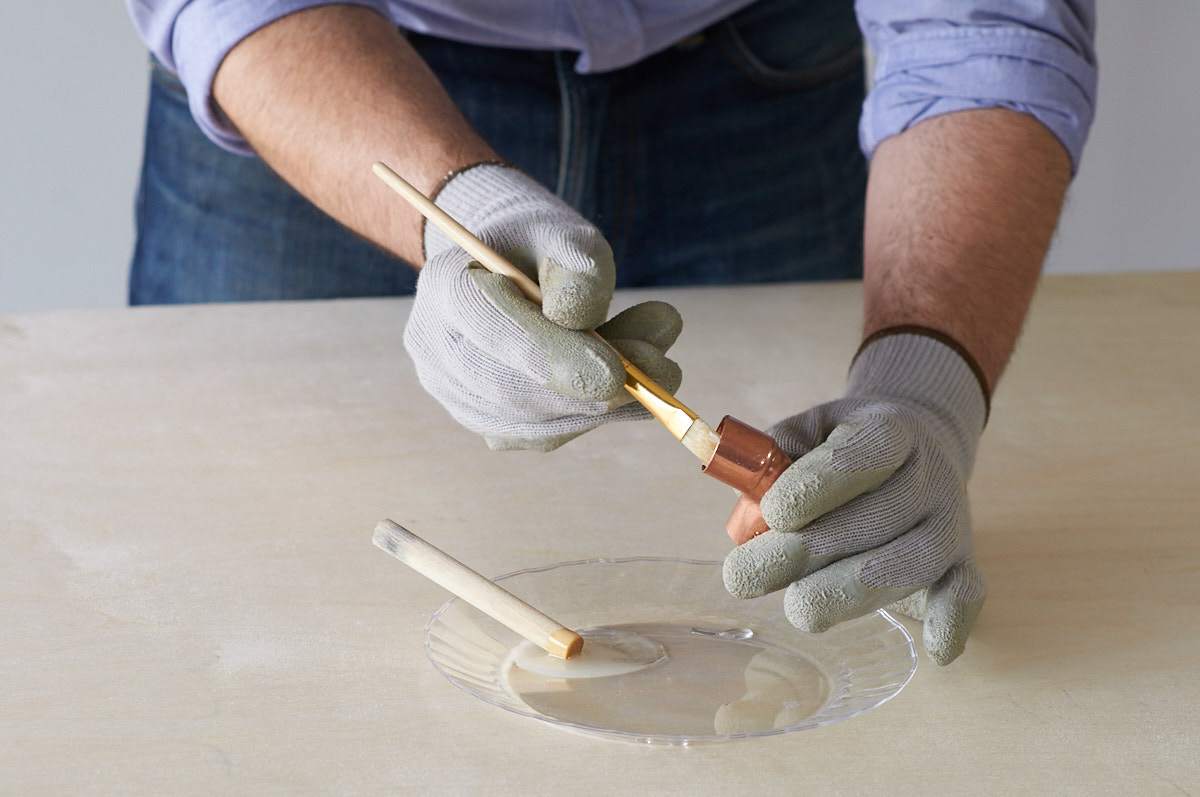
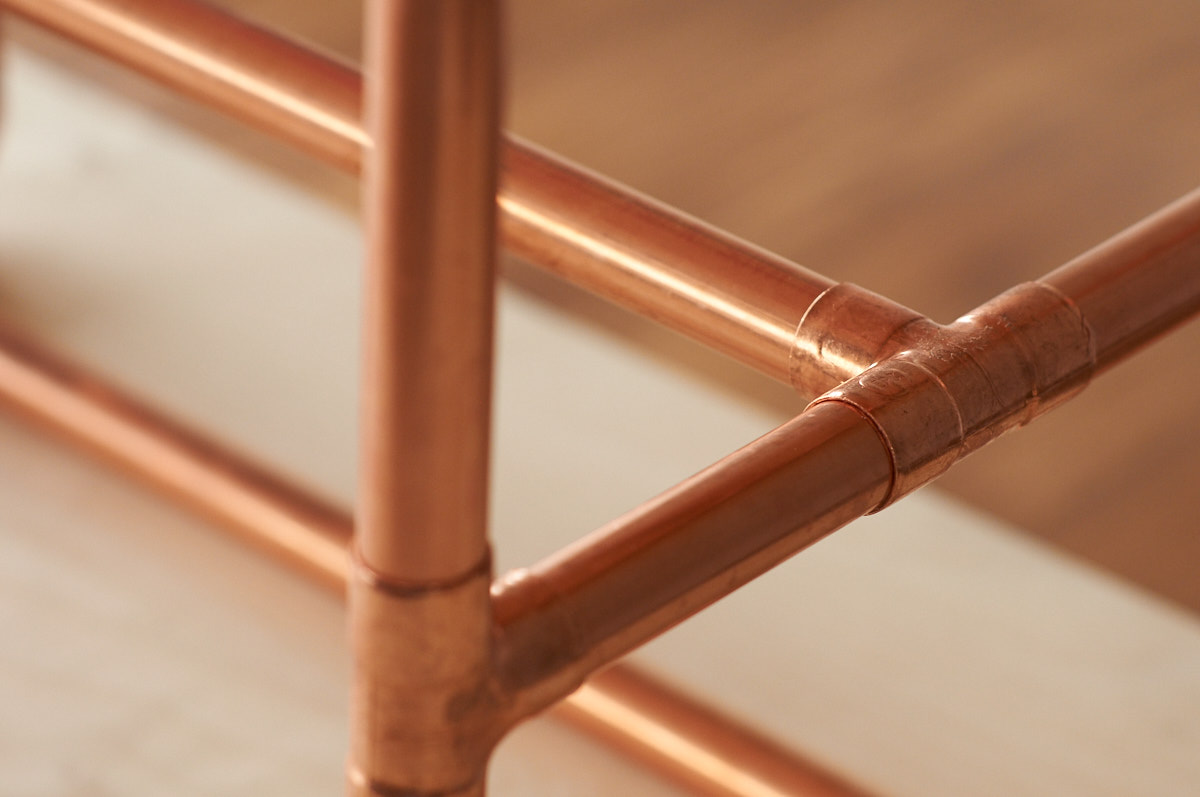
If you’re happy with your design, mix up the two-part epoxy and begin to secure each joint. The epoxy will set rather fast, so only combine a little at a time. We used four batches for the entire project. Use a combination square to ensure the right fit at each joint.
Step 6: Prep the desktop
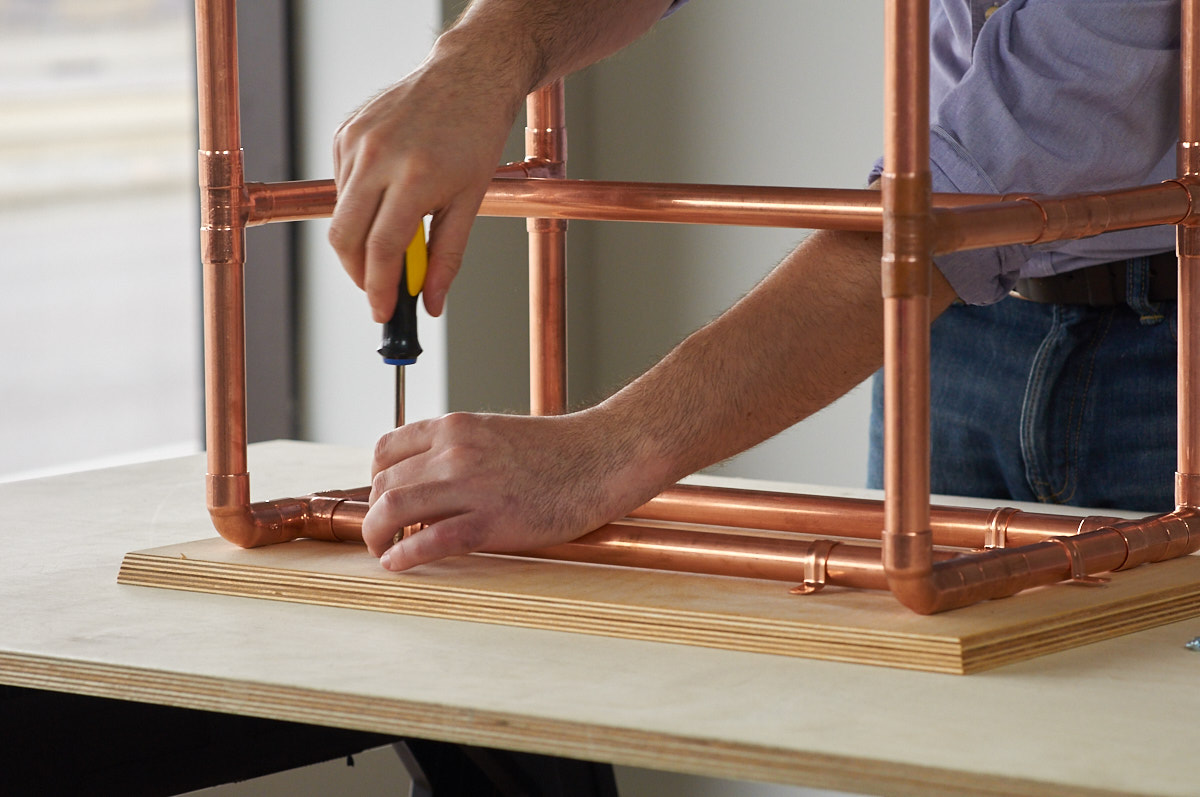
While the epoxy cures, prep your desktop by sanding with 220 grit paper and adding a coat of Danish Oil. Once everything is dry, lay the top right side down on a flat surface, and place the copper base on top. With everything properly centered, secure it with 3/4″ pipe straps, spaced evenly with the top rails. Drill a pilot hole into the top, using the strap holes as a guide, then secure with 1/2″ long panhead screws.
Turn it over, place atop your desk, and get to work!
Thanks to DIYZ for sponsoring this content. All opinions are mine alone. Our partnerships with brands like DIYZ make possible all the free content we provide here on ManMade, so thanks for reading!

