A Foolproof Cast Iron Skillet Maintenance Routine
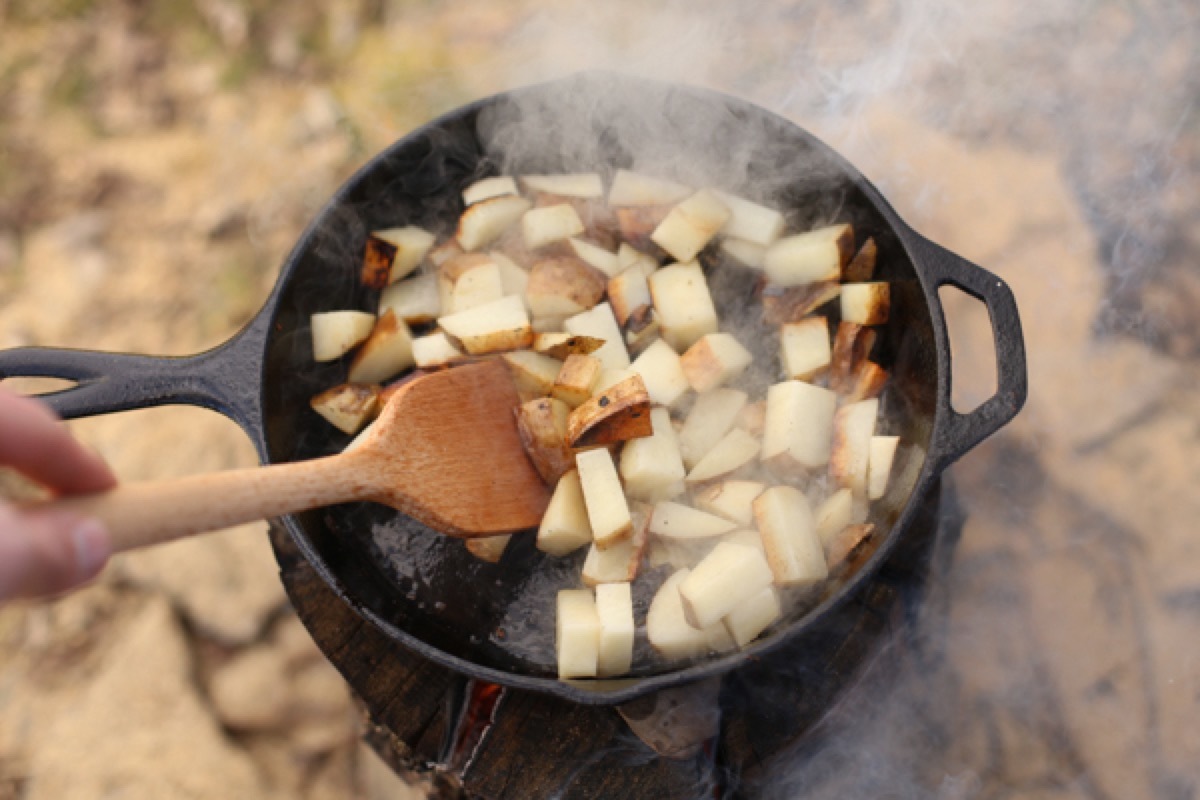
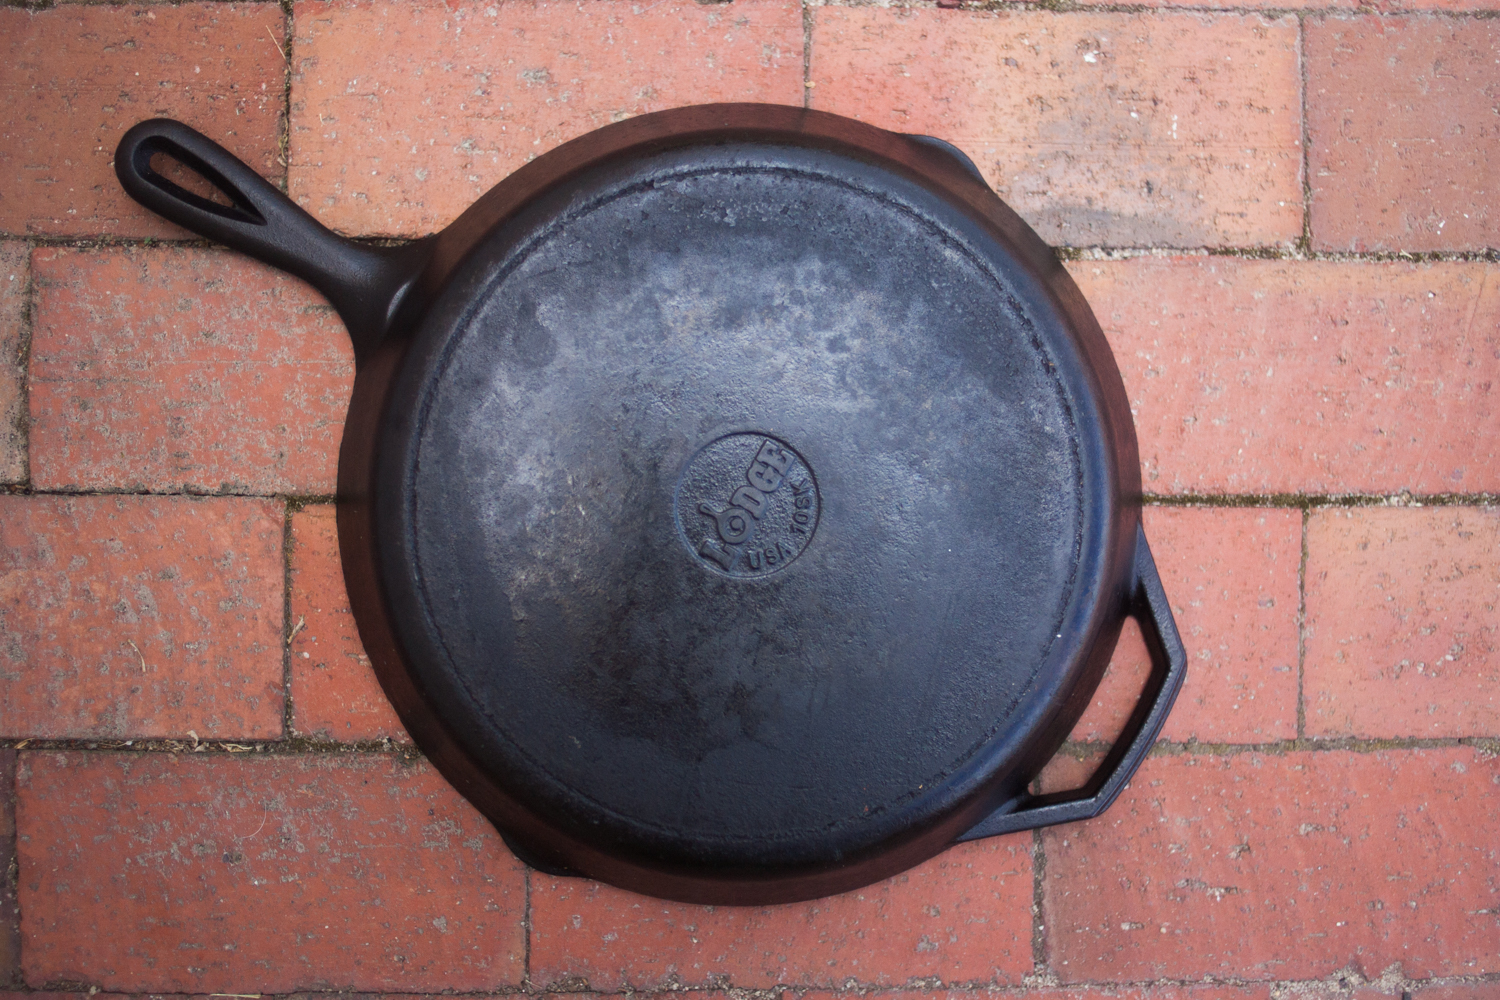
This October marks my wife's and my 10th wedding anniversary, which means I've managed to keep our cast iron skillets in good working condition for an entire decade (I'm a recovering flake, so our trio of pans definitely had some rough times due to the slow-drip brutality of negligence). Through much trial and error, I've developed a solid method of caring for cast iron that will keep these babies cooking for generations to come.
Read on!
A brief interlude on design
If you'll indulge me for a moment, I'd like to wax on the awesomeness of cast iron skillets.
In the kitchen territory of the industrial design world, time shapes the terrain — the popularity of materials shifts as history steers industry; attitudes about aesthetics morph as edges sharpen and flatten and sharpen again, handles flare and shrink, shapes echo mathematically certain squares and circles and then release their grip into amorphous silhouettes; color schemes wend through the spectrum as flamboyant decades crank up the saturation and vibrancy, then reserved decades turn the dial back down into neutral grays and tans.
However, every once in a while, an evergreen design emerges when form and function perfectly sync and make further revision unnecessary.
My favorite examples of timeless classics are Egmont Arens' sublime streamline-era Kitchen-Aid mixer (1937), Alfonso Bialetti's iconic modernist Moka Express stovetop espresso percolator (1933), and George Stephen's exquisite parabolic dome-shaped Weber kettle grill (1950).
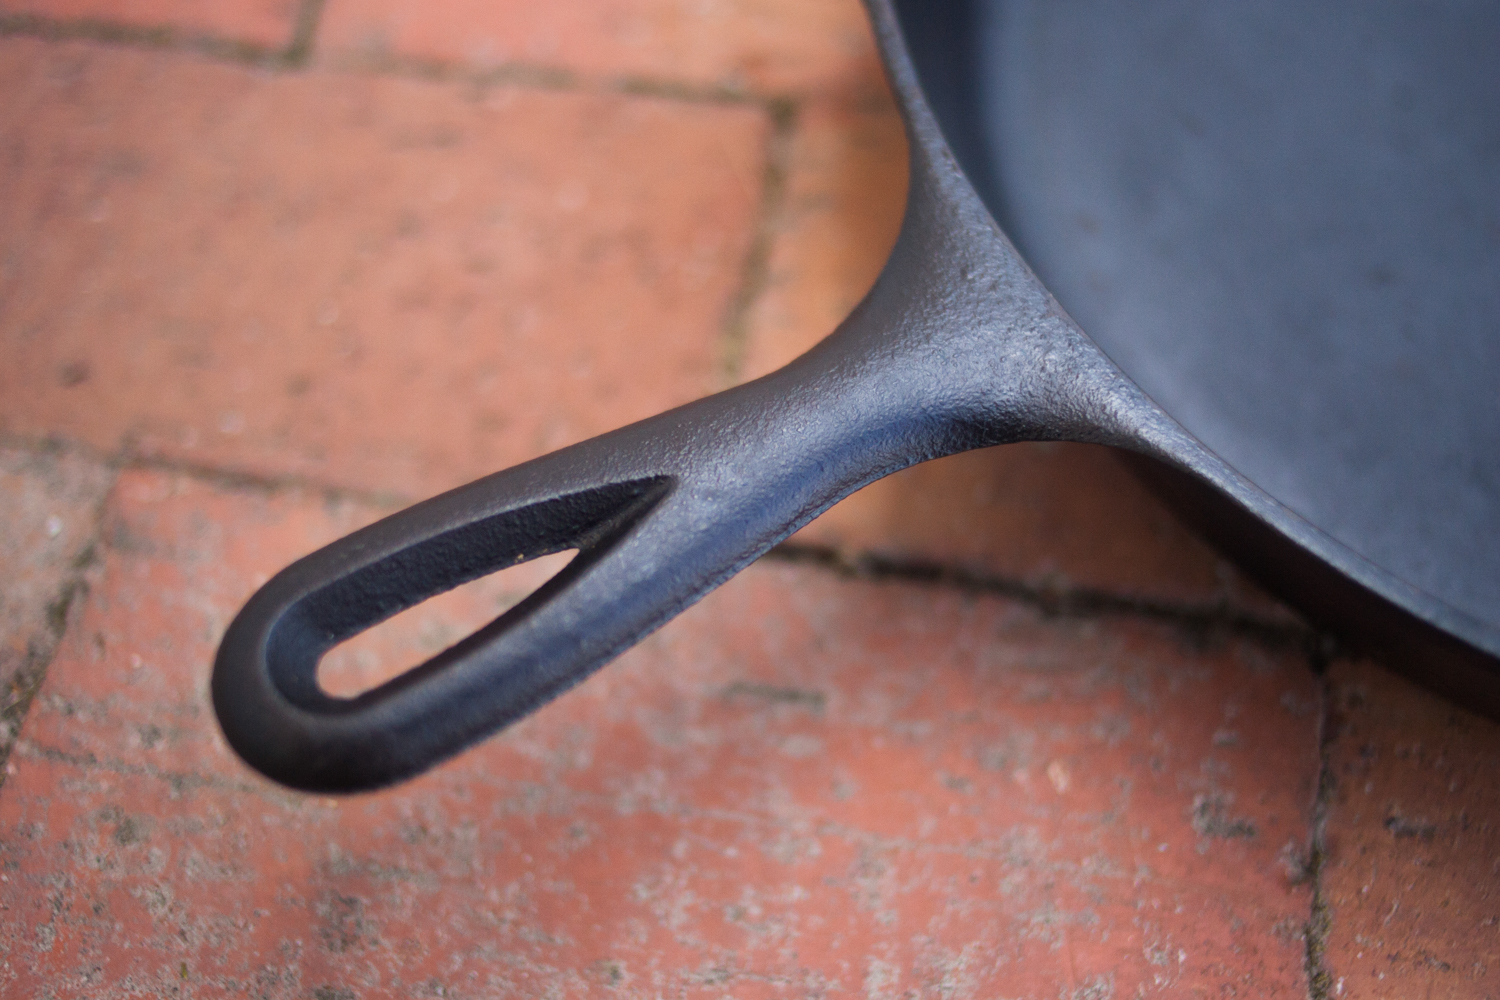
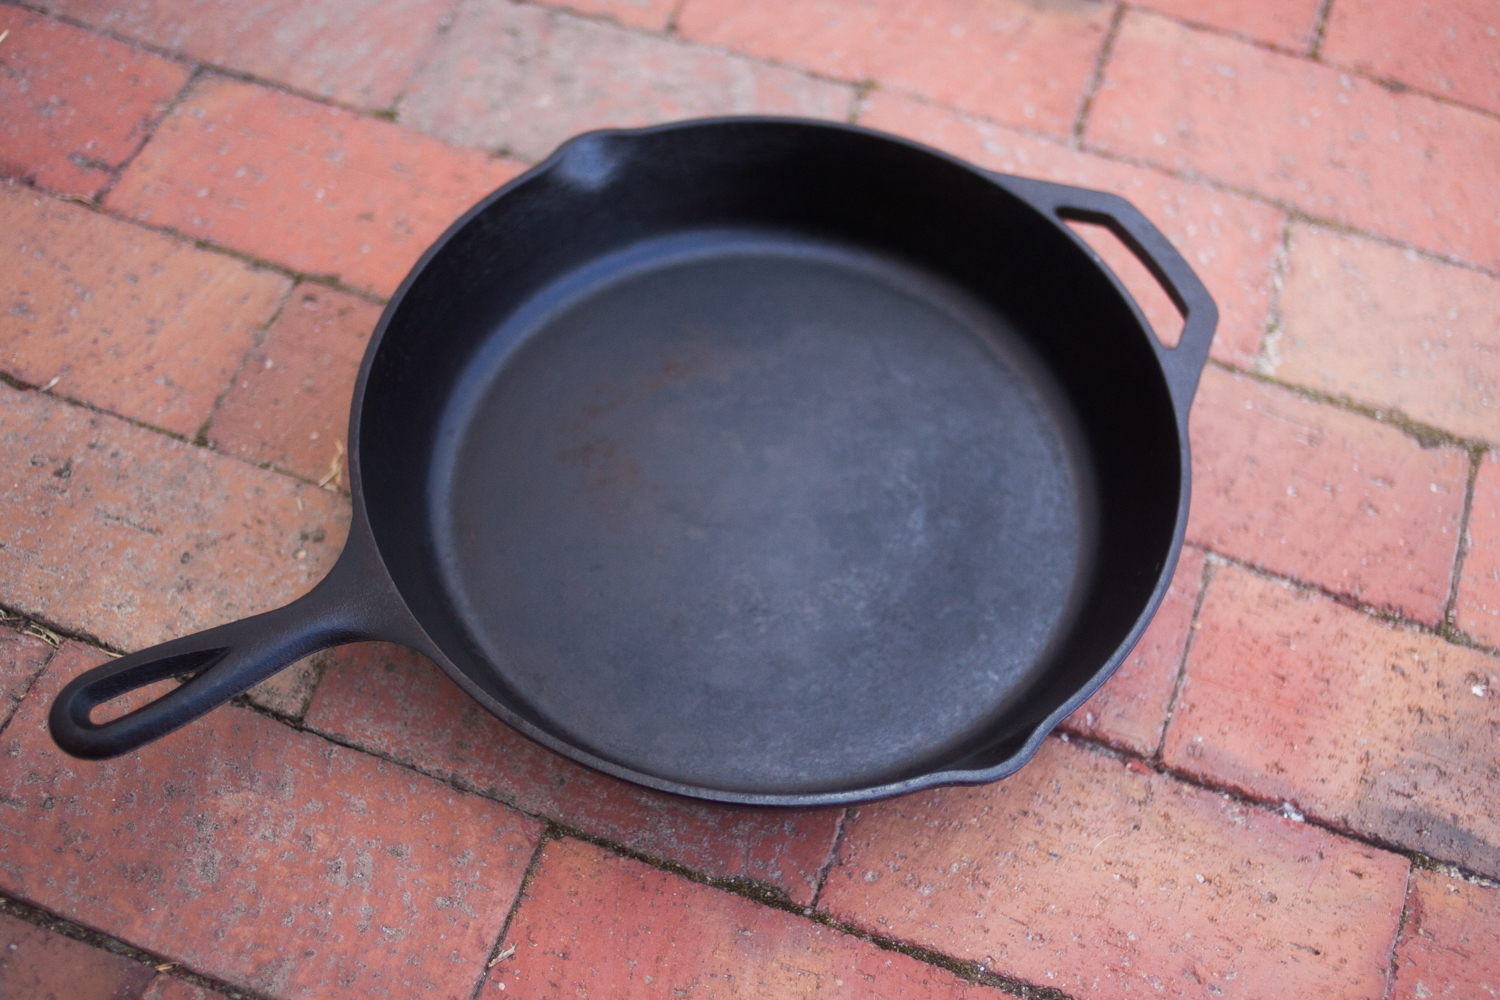
Then there's the cast iron skillet, which predates modernism by at least 40 years (the design of the frying pan itself originated in the first millennium BC in the Fertile Crescent. Talk about staying power!). No matter what brand of skillet you're buying, you're generally going to get a combination of the following elements: elongated teardrop-shaped handle, one or more pour spouts on either side, and some measure of sloped walls. Can you think of any improvements to any of this? Me neither.
The easy cast iron maintenance routine
1. Season
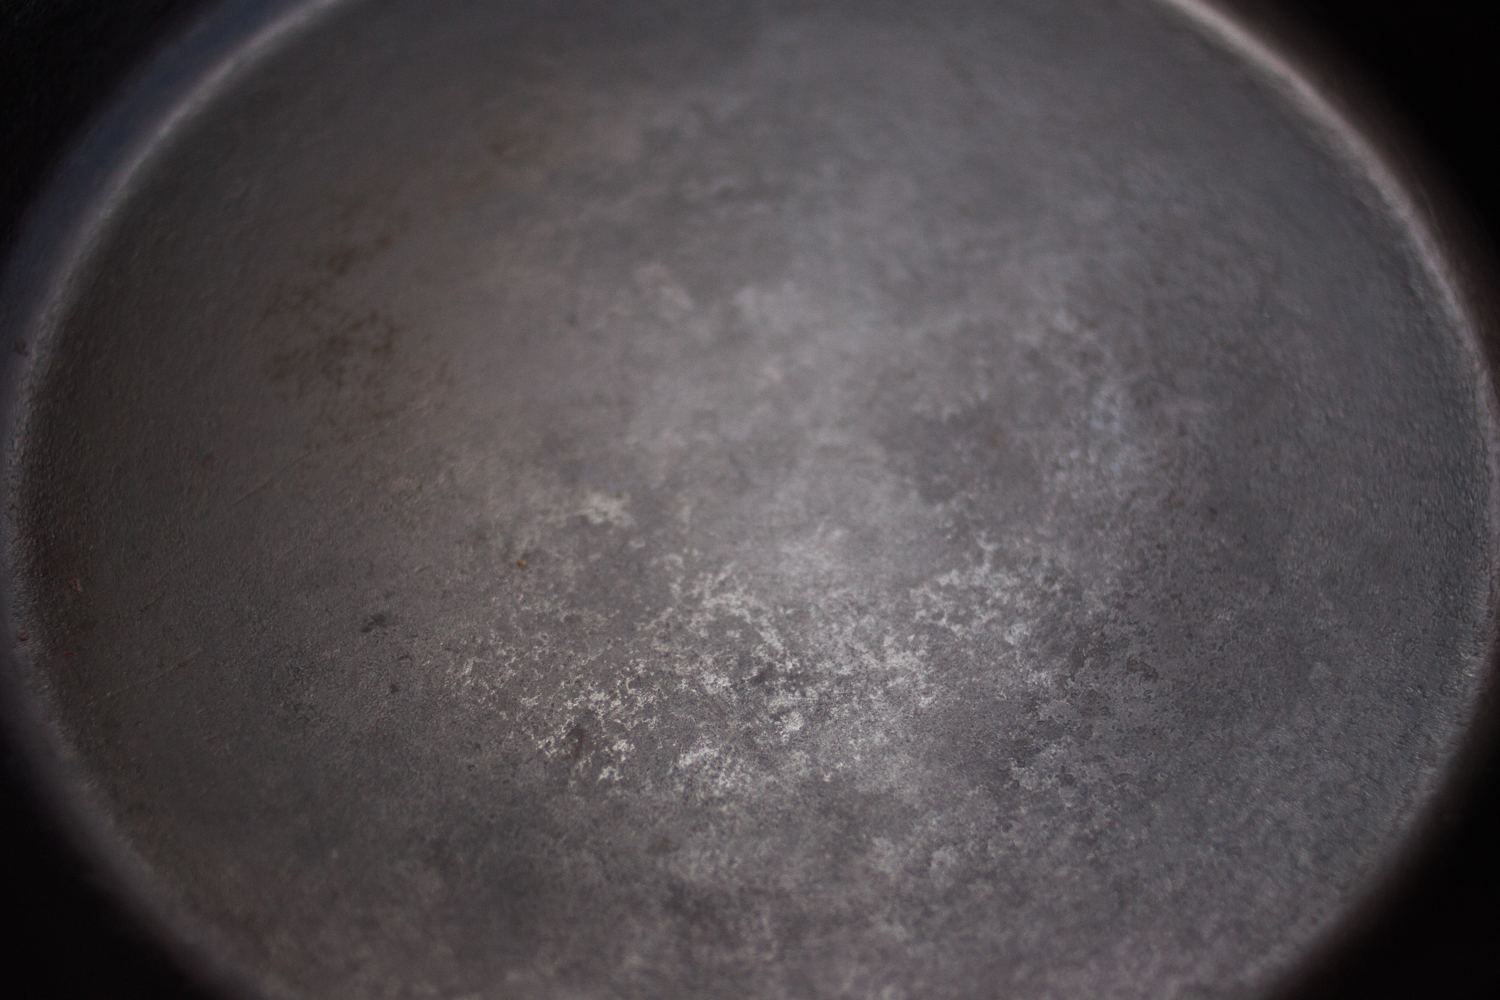
Cast iron pans aren't black when they come out of the forge, rather more of a satin finish gray. The blackening comes from the formation of the iron ore magnetite as the metal heats repeatedly. This layer of magnetite, also known as black rust, sticks to fats as they heat up and form long chains of molecules. This layer of polymerized fat basically acts like a plastic, leaving your surface slicker than snot on a doorknob.
The key to nailing that nonstick surface is wiping it down with a very thin layer of oil and baking it at over 400° F for a half hour, repeating at least 3 or 4 times. If you temp it too low or add too much oil, you'll end up with a sticky sheen that won't harden all the way or bond with the magnetite, so it will inevitably go down the undesirable route of flaking off and going rancid. Gross!
2. Soak
So, you've got your sweet seasoned cast iron skillet. The bad news is that you may still occasionally get food stuck, especially if you haven't properly balanced your heat and frying time because you were reading Harry Potter while cooking. (Not that I've ever done that before.) Chances are good you're going to want to dig into your lovely golden brown Wienerschnitzel immediately, but don't let that stuck food cool—it's a pain in the butt to scrape away later. Instead, pour a half inch or so of water into the skillet to sit until cleanup time. Just don't leave it soaking overnight, or you'll risk damaging your seasoning.
3. Scrub
This is a debated part of cast iron ownership, but I'm going on the record to say, yes, you can use dish soap. If your plasticized fats have properly bonded to the layer of oxidized iron, no amount of suds is going to remove it. (Don't put it in the dishwasher, though, since those suckers are a lot more abrasive than handwashing.) I use a combination of a simple plastic dish scrubber and hot water with dish soap.
We also have a ManMade post on a chainmail scrubber for cast iron, which I'd like to upgrade to eventually.
4. Store
After my pans have air dried, I store them in the stove so they can keep seasoning, only taking them out when I'm doing any kind of temperature-sensitive baking. Occasionally I build up my seasoning layer by repeating step 1.
