Asphalt Driveway Cracks – DIY Repair and Maintenance Guide
Asphalt driveways are a popular choice for many homeowners due to their durability and attractive appearance. However, over time, even the best-maintained asphalt driveways can develop cracks. Addressing these cracks early on is crucial to prevent them from expanding and causing more significant damage. Not only do cracks detract from the aesthetic appeal of your driveway, but they can also lead to more expensive repairs down the line. In this guide, we’ll walk you through the process of repairing asphalt driveway cracks, ensuring your driveway remains in top condition.
Understanding the Different Types of Asphalt Driveway Cracks – From Hairline to Alligator Cracks
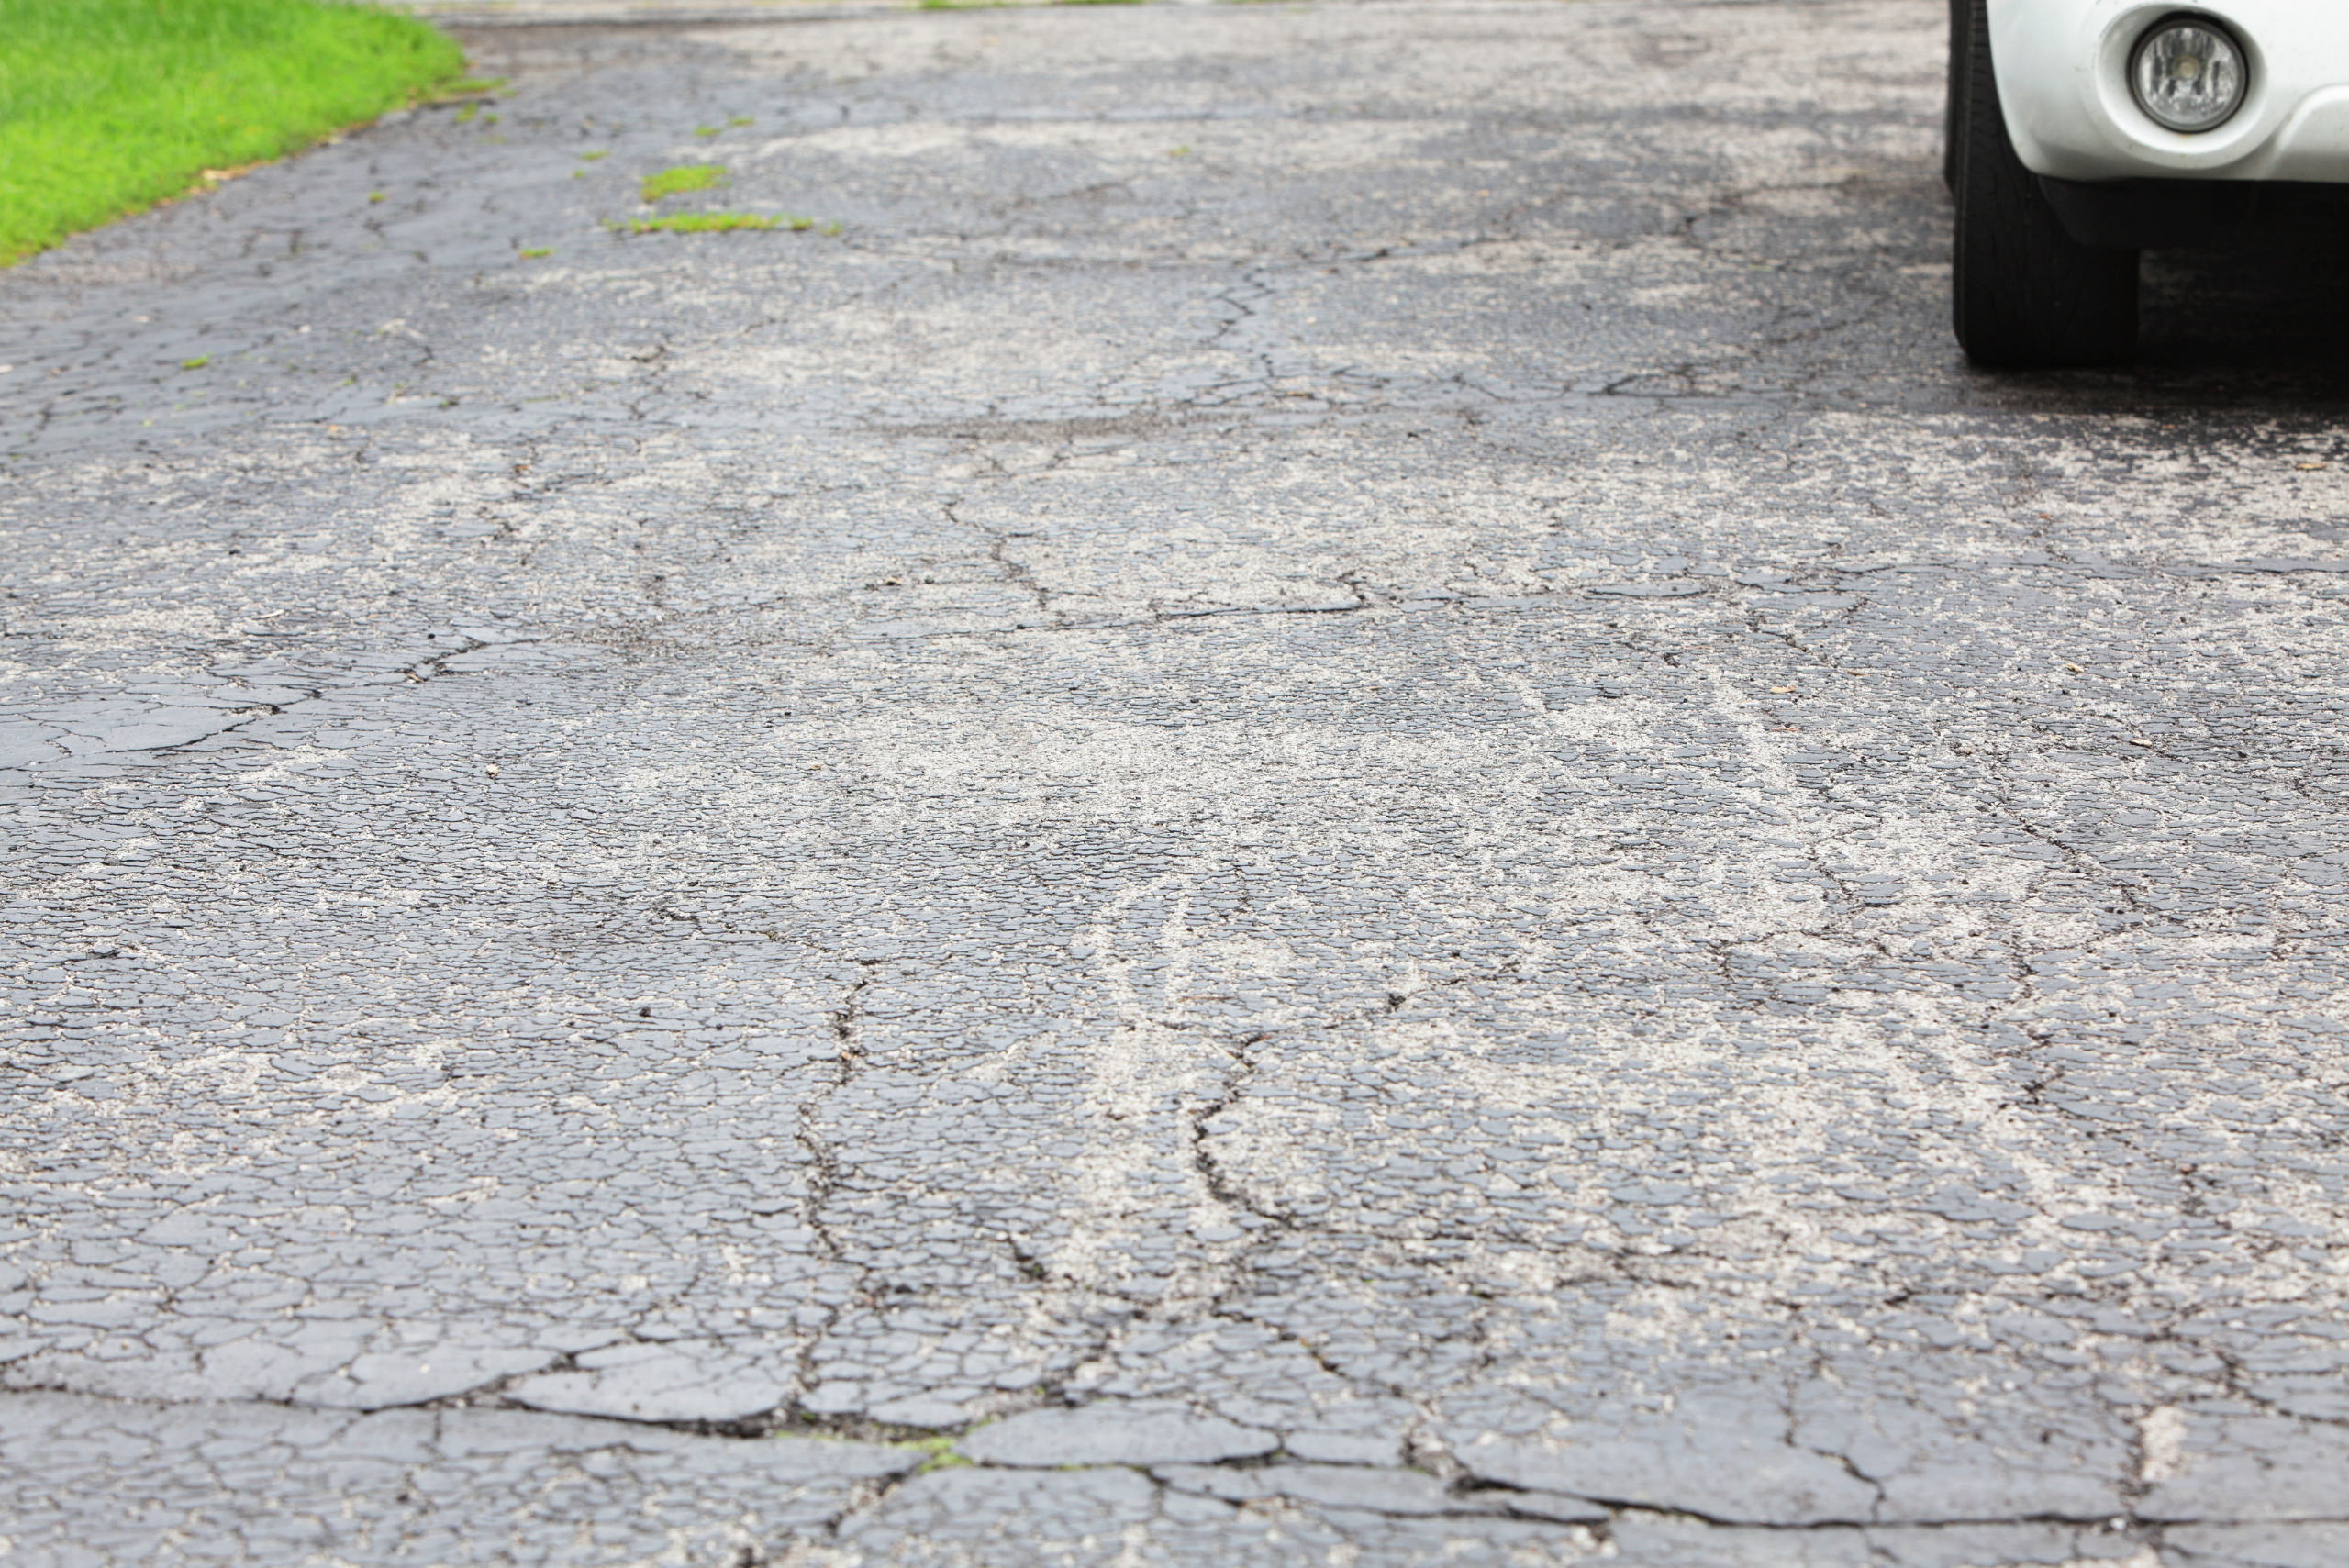
Before starting the repair process, it’s essential to understand the different types of asphalt driveway cracks. Hairline cracks are the smallest and often appear due to minor surface stress. They can usually be repaired quite easily.
On the other end of the spectrum, alligator cracks resemble the skin of an alligator and indicate more severe underlying issues. These cracks often require more extensive repairs and sometimes even a complete resurfacing of the driveway. Identifying the type of crack you’re dealing with will help you choose the appropriate repair method.
Gathering the Necessary Tools and Materials to Repair Asphalt Driveway Cracks
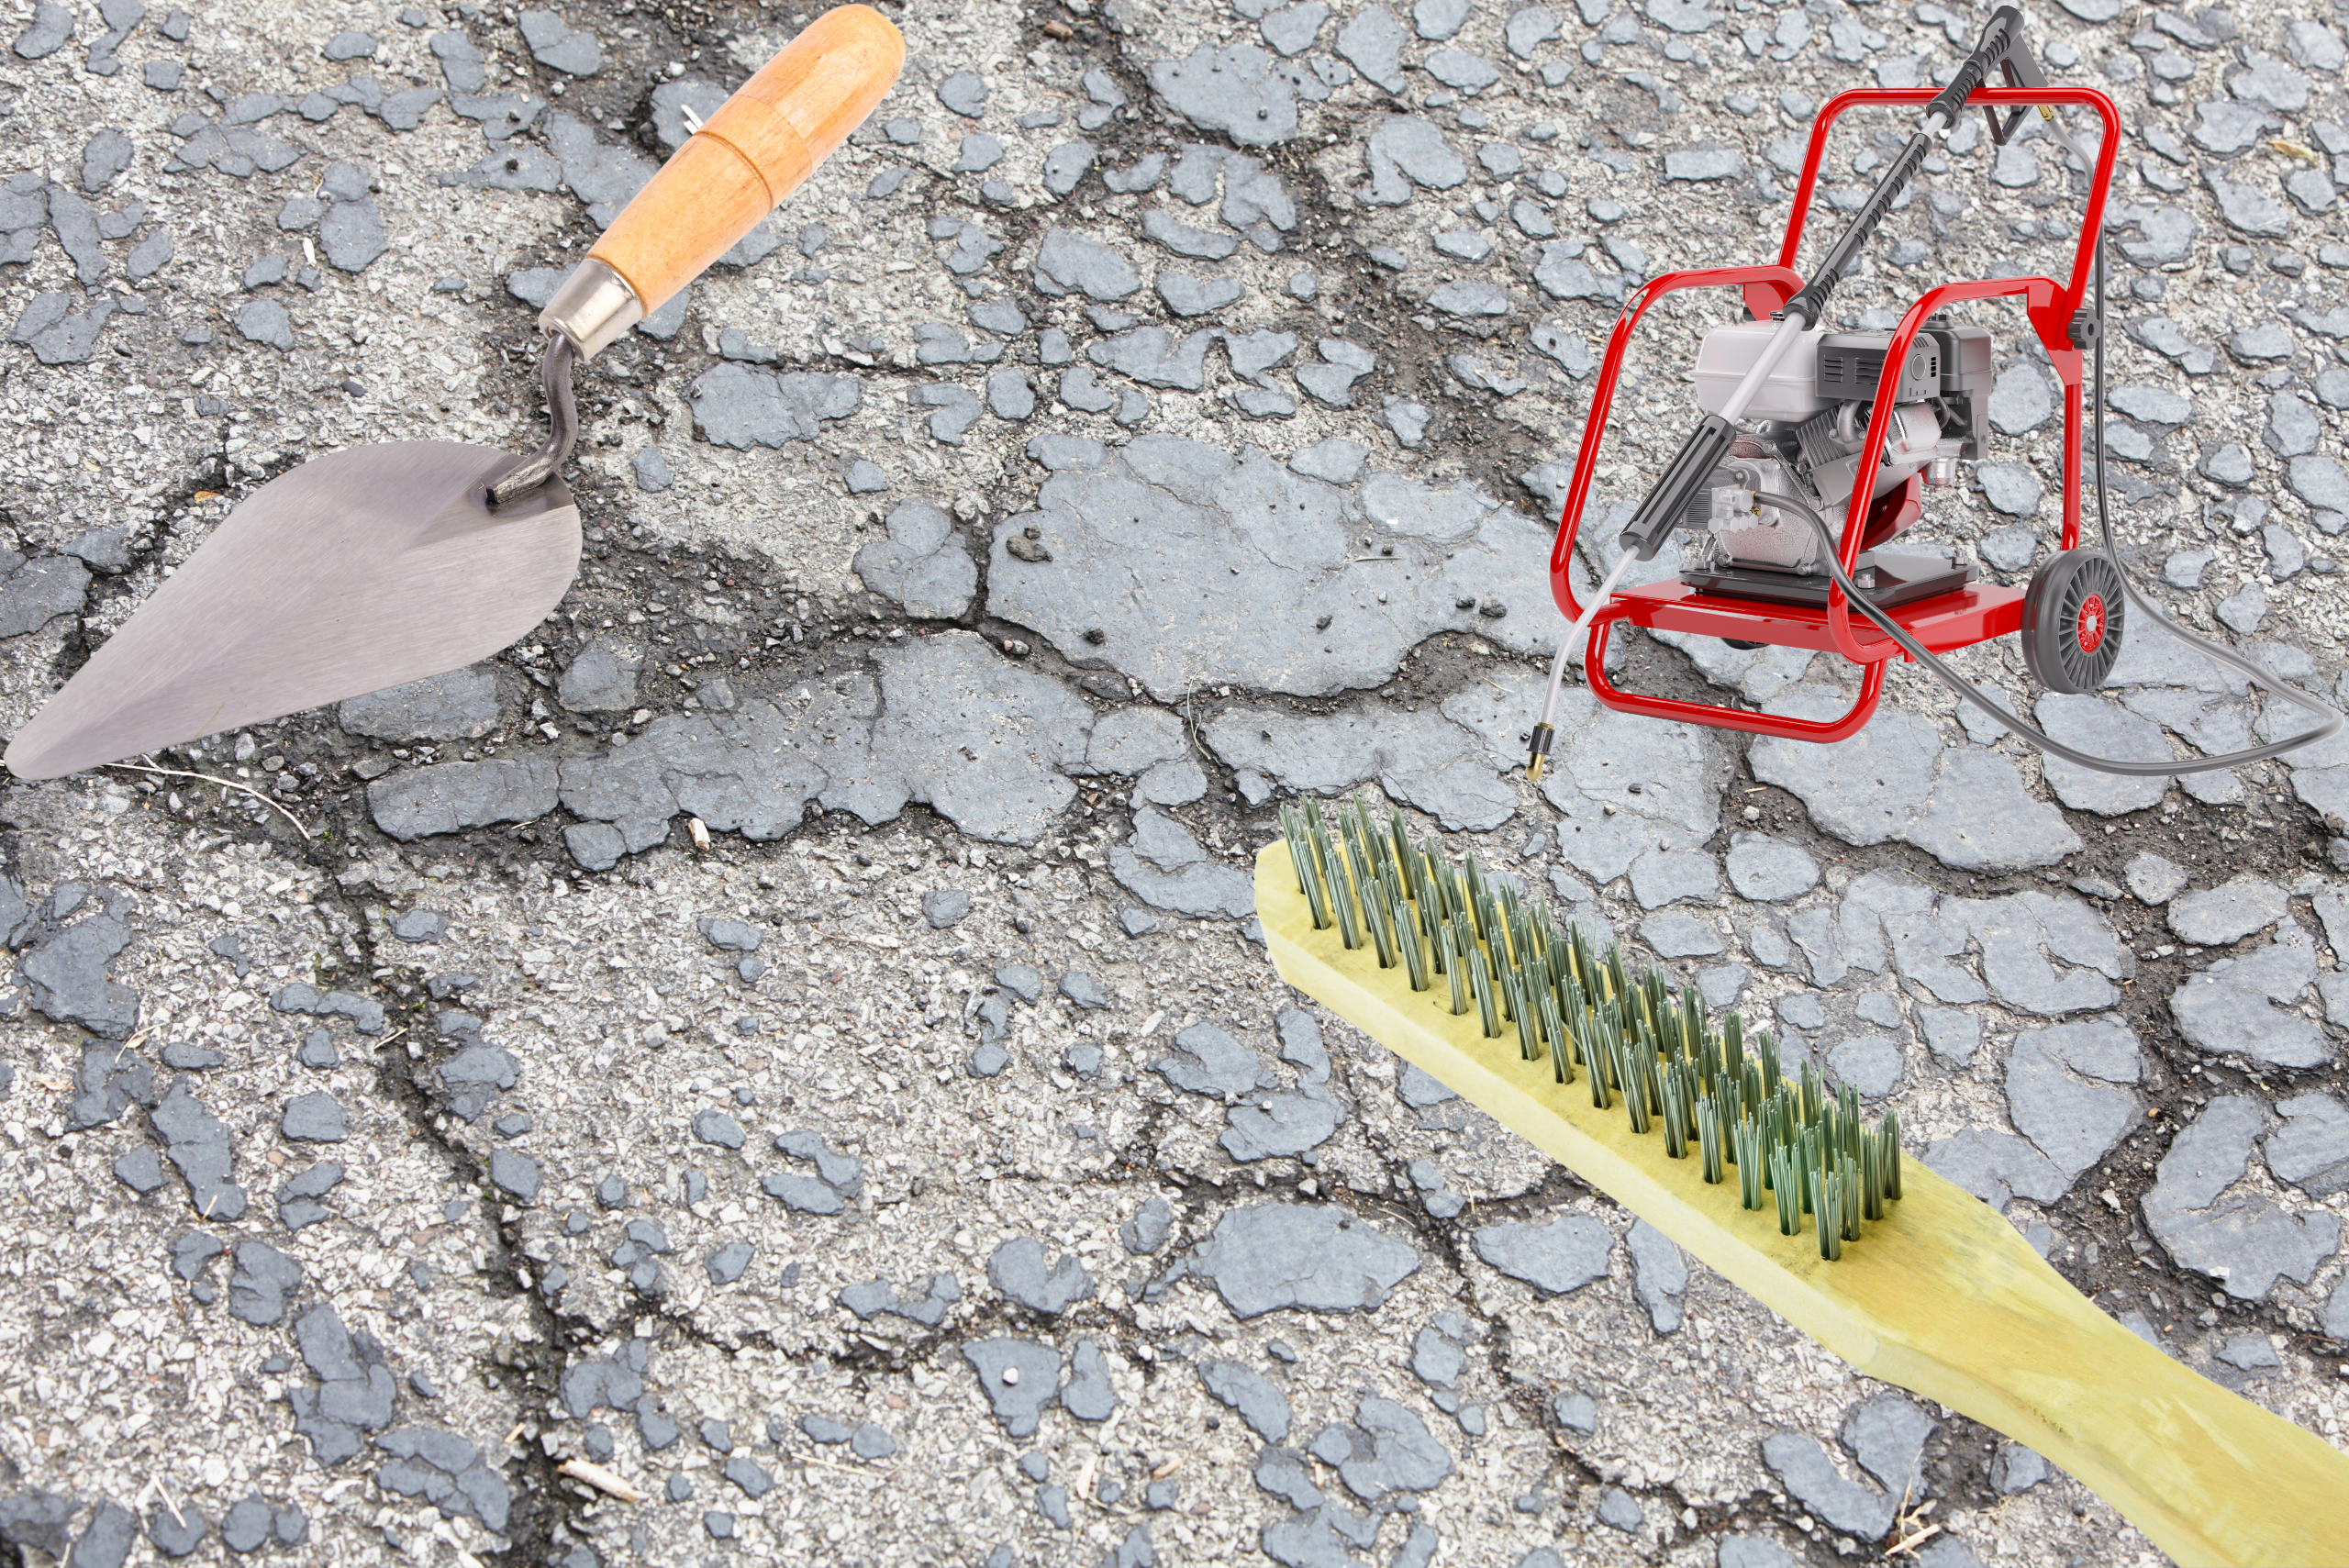
Once you’ve identified the type of cracks in your asphalt driveway, the next step is to gather the necessary tools and materials for the repair. For most crack repairs, you’ll need a wire brush, a high-pressure hose or power washer, a trowel, a crack filler or asphalt patch, and a sealant.
It’s also a good idea to wear protective gloves and safety glasses during the repair process. Having everything ready before you start will make the process smoother and more efficient.
Cleaning and Prepping Before Repairing Asphalt Driveway Cracks
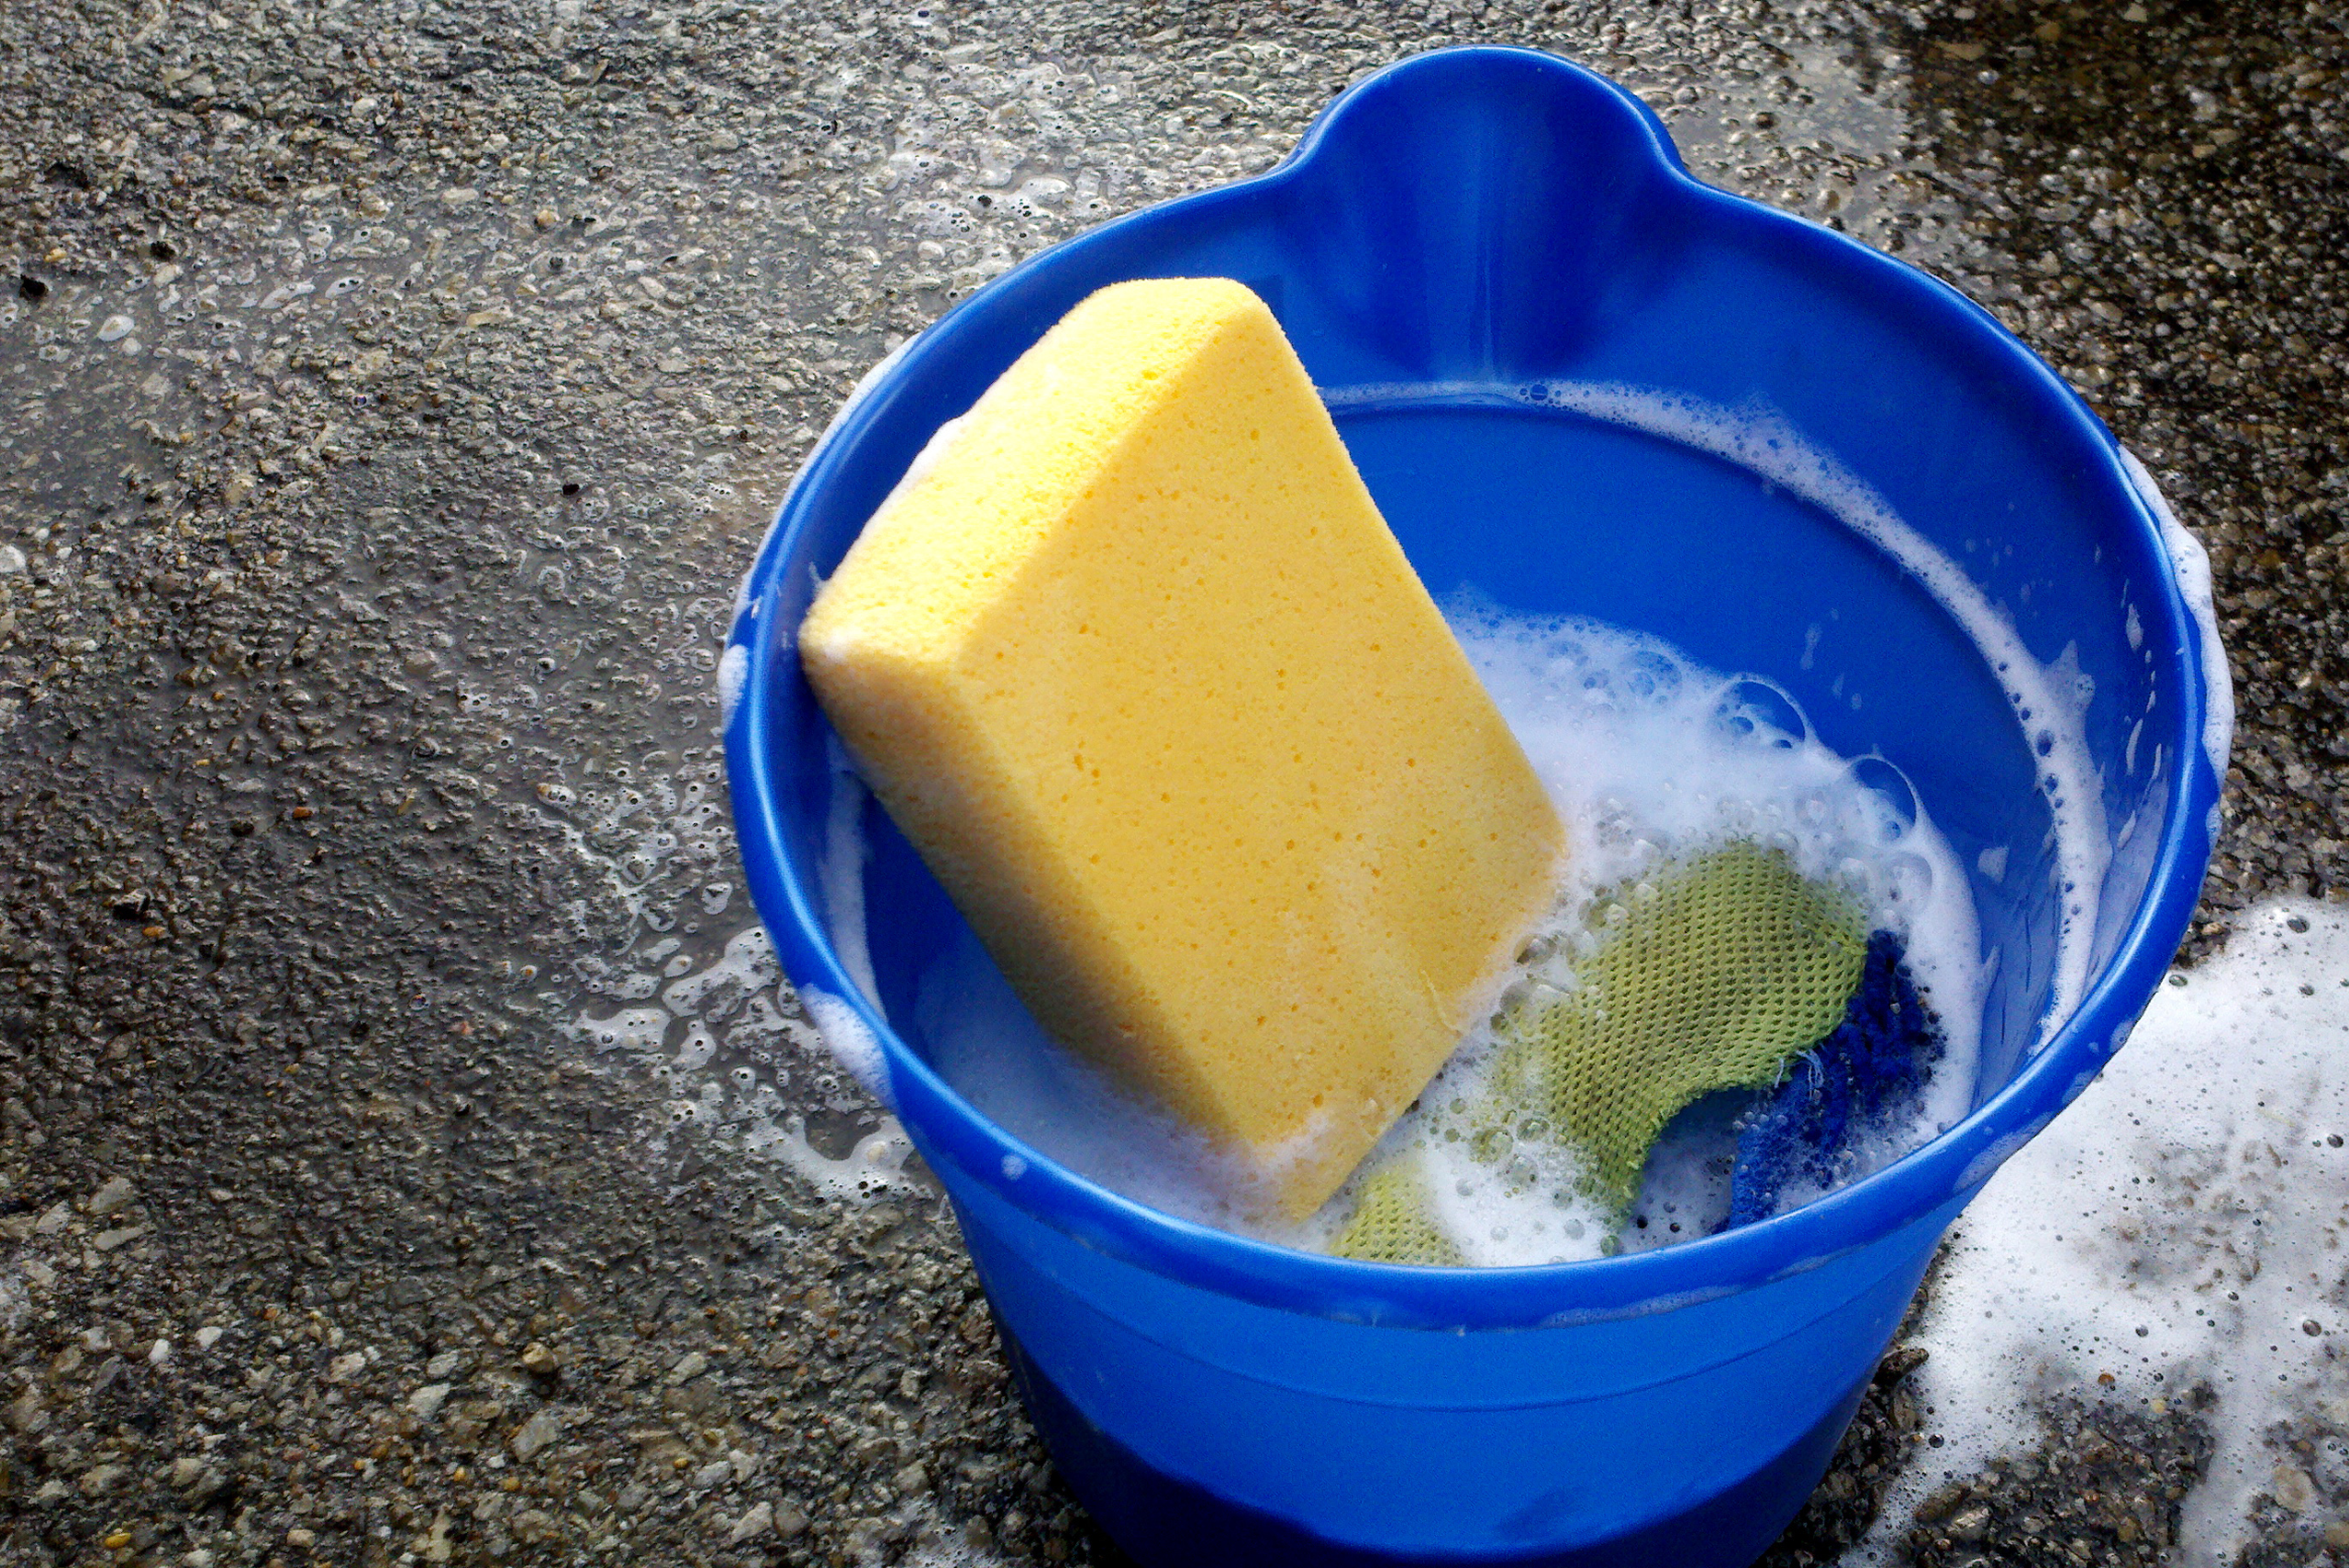
Preparation is key to a successful asphalt driveway crack repair. Start by removing any loose debris from the cracks using a wire brush. Next, use a high-pressure hose or power washer to clean the area thoroughly.
This step ensures that the crack filler or asphalt patch adheres properly to the surface. Allow the driveway to dry completely before proceeding with the repair. Proper preparation will ensure a long-lasting repair and prevent the cracks from reappearing.
Steps for Filling the Cracks in Your Asphalt Driveway
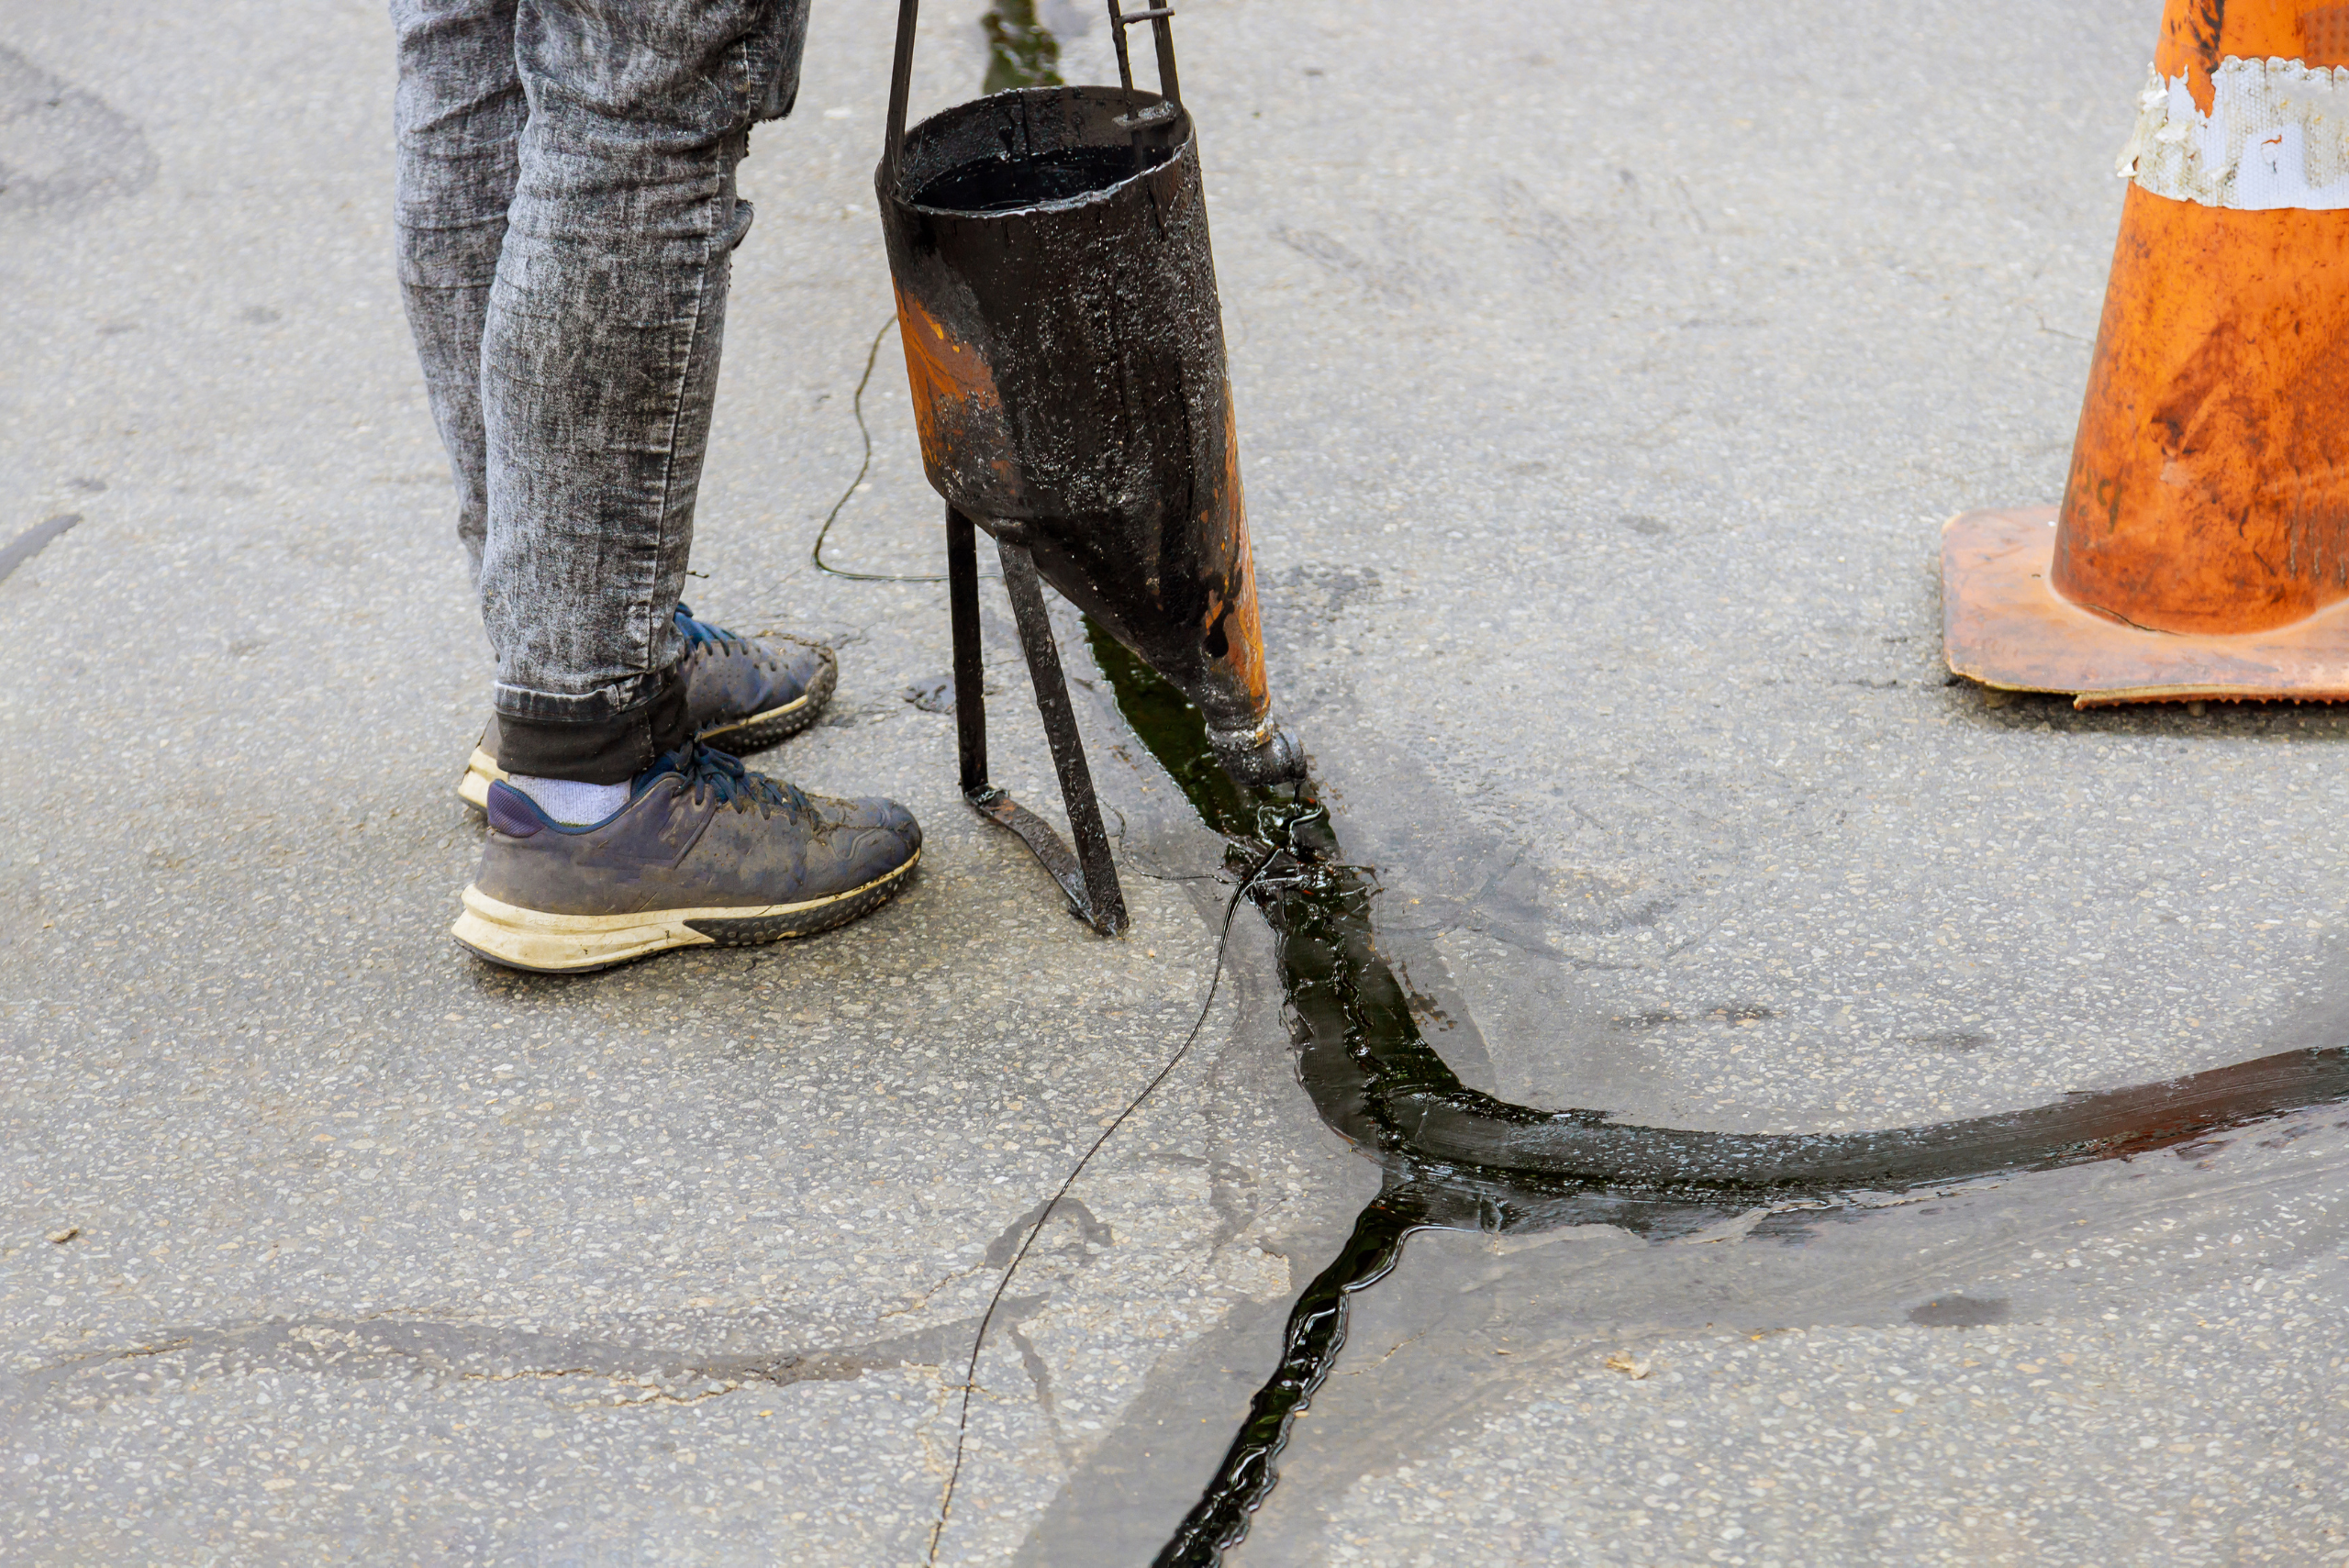
Now that the surface is clean and dry, it’s time to fill the cracks. A liquid crack filler is usually sufficient for hairline cracks. Pour the filler into the crack, ensuring it completely fills the gap. Use a trowel to smooth the surface and remove any excess filler.
For larger cracks, you’ll need an asphalt patch. Apply the patch to the crack and press it down firmly with the trowel. Smooth the surface and allow the patch to dry according to the manufacturer’s instructions. Filling the cracks properly will prevent water from seeping in and causing further damage.
Sealing the Driveway to Protect Your Asphalt Driveway After Repairing Cracks
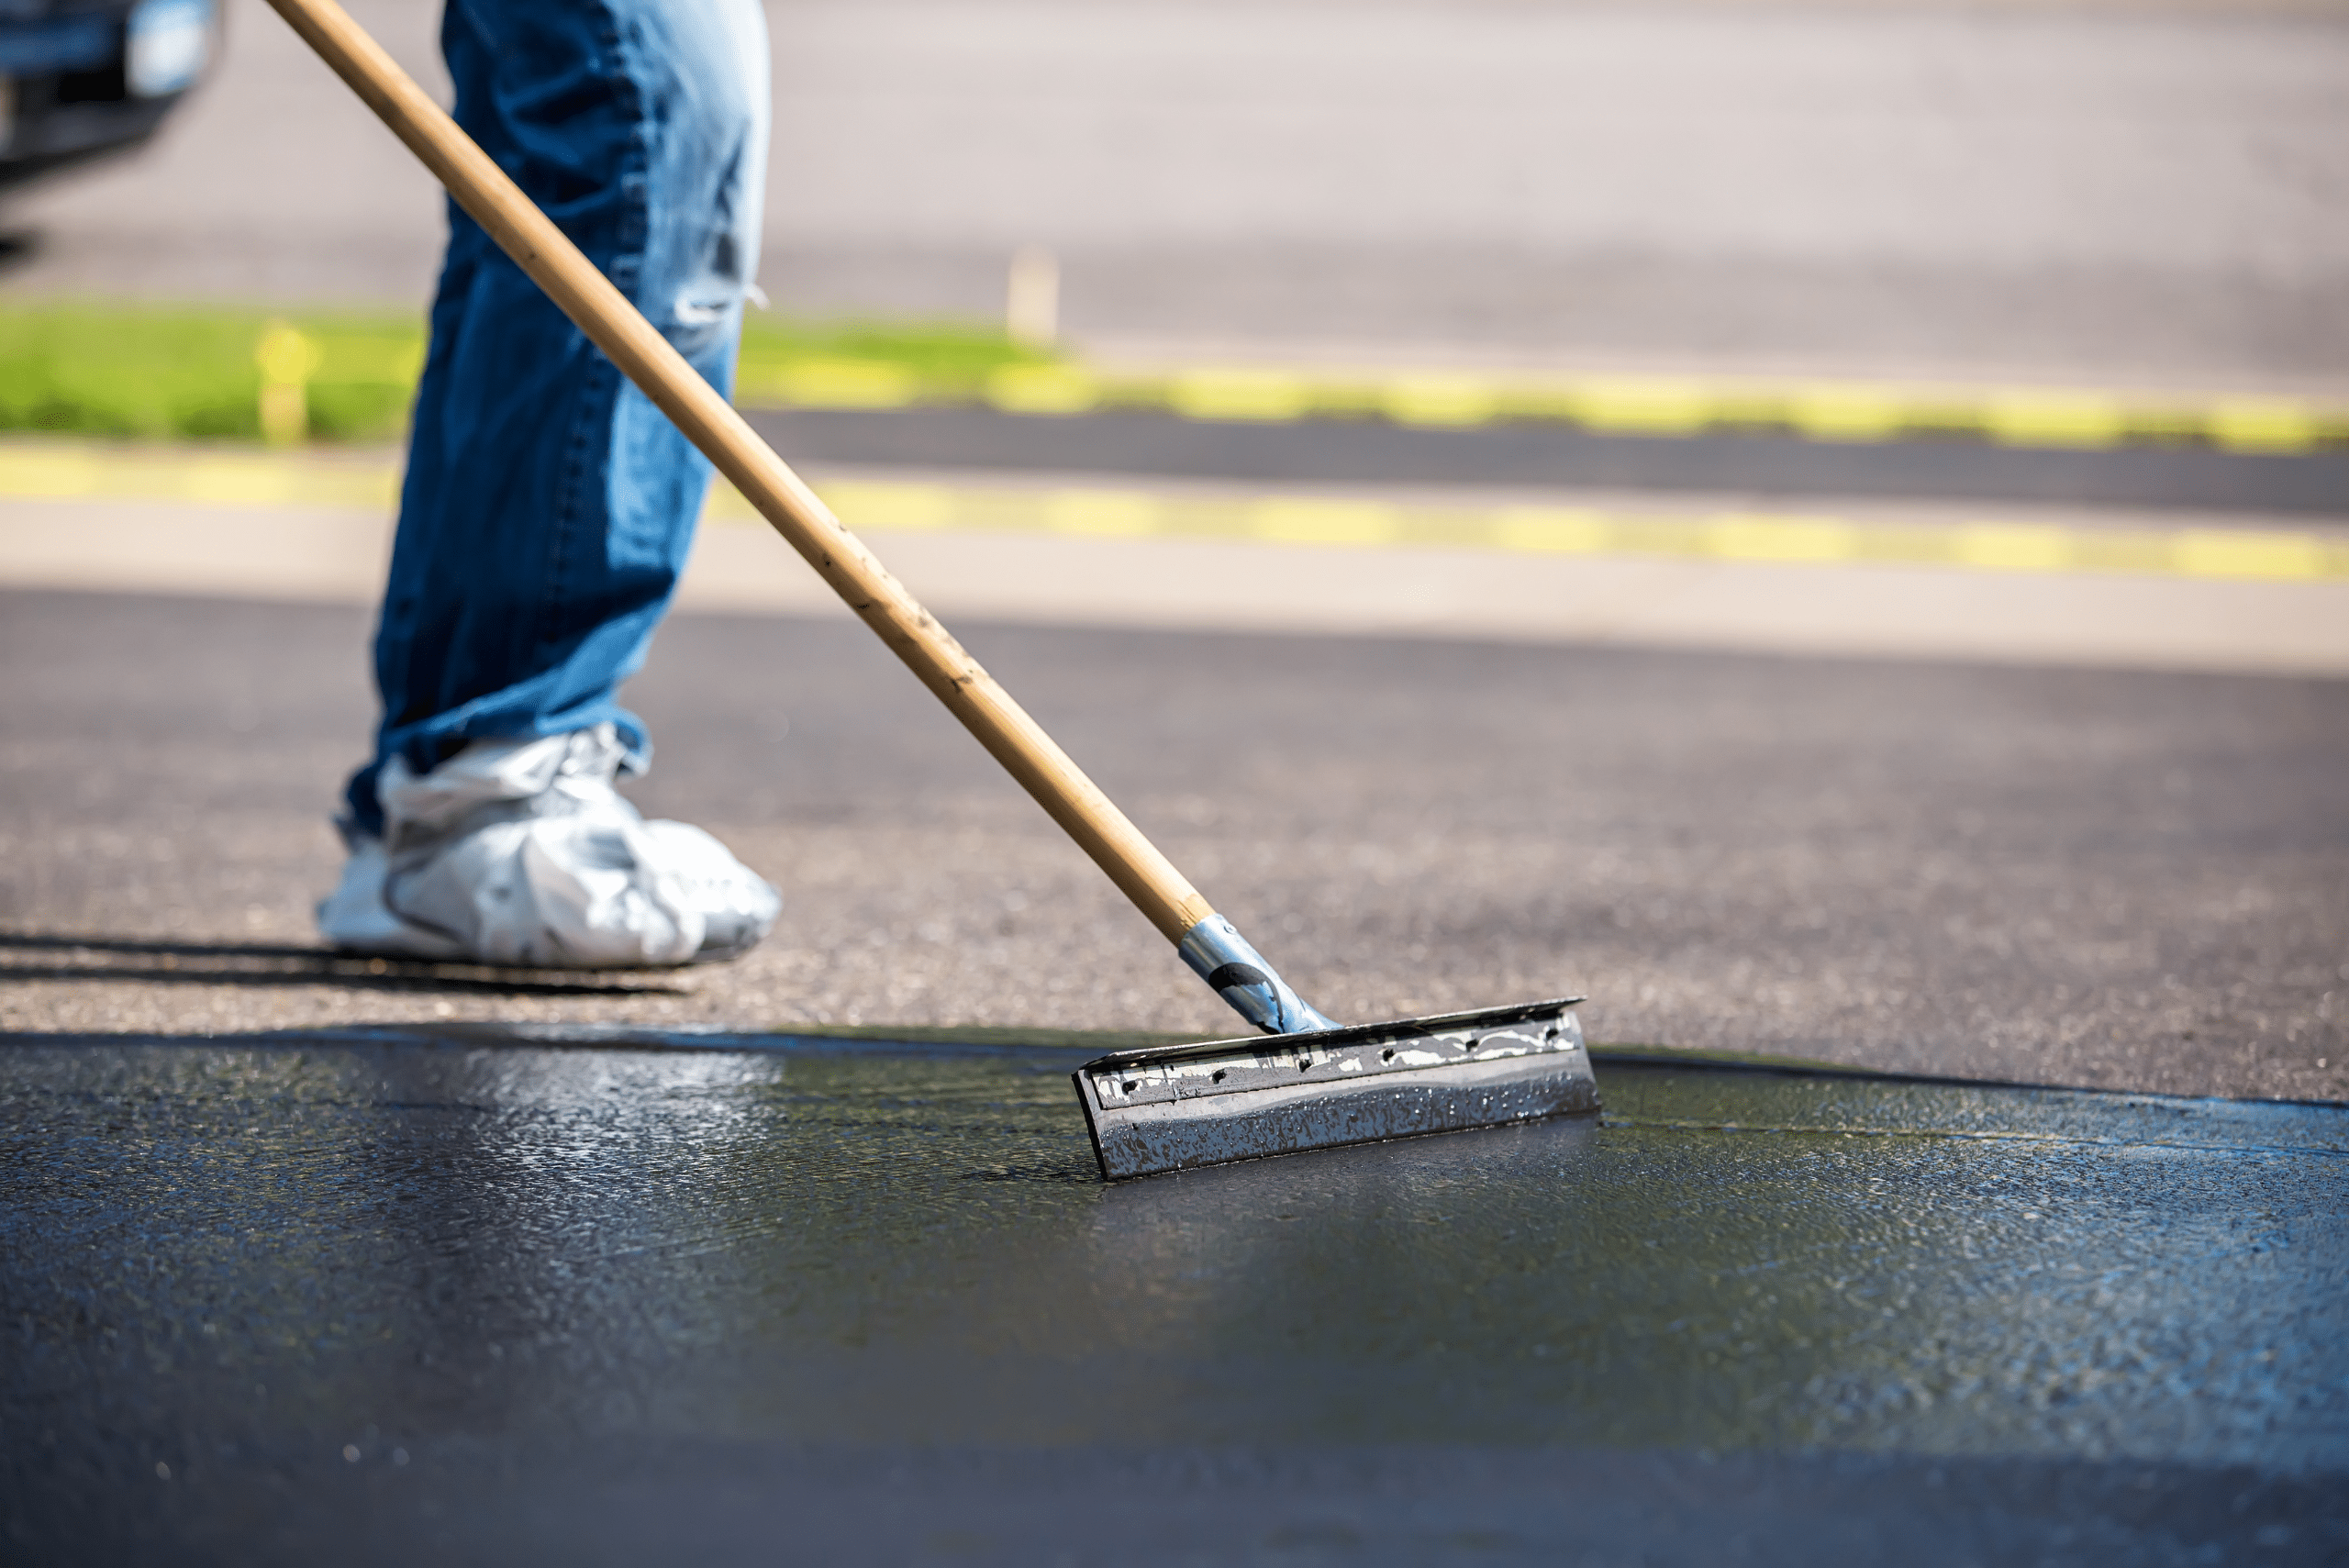
After repairing the cracks, it’s essential to seal the entire driveway to protect it from future damage. Sealing the driveway creates a barrier against water, oil, and other contaminants.
Apply the sealant using a squeegee or brush, starting from one end of the driveway and working your way to the other. Follow the manufacturer’s instructions for drying times and application techniques. Sealing your driveway regularly every few years will prolong its lifespan and keep it looking great.
Related Articles
- How To Lay Asphalt—A Step-By-Step Guide
- A Guide For How to Fix Concrete Cracks Ensuring Durable Repairs
- How to Build a Crushed Asphalt Driveway
Repairing asphalt driveway cracks is a crucial part of maintaining your driveway and ensuring its longevity. By addressing cracks early on, you can prevent more extensive damage and costly repairs. Regular maintenance, including cleaning and sealing, will keep your driveway in top condition and enhance your home’s curb appeal.
With the right tools and techniques, repairing asphalt driveway cracks is a manageable DIY project that can save you money and extend the life of your driveway. Don’t wait for small cracks to turn into big problems – take action today and enjoy a smooth, well-maintained driveway for years to come.
Ready to start your next project? Join our DIY community to receive tool tips, how-to guides, and exclusive creative insights. Subscribe to the ManMadeDIY newsletter now! Click here to unlock a world of hands-on inspiration.


