Say Goodbye to Basement Leaks with These 10 Effective DIY Solutions
A leaky basement can be a homeowner’s nightmare, causing not only structural damage but also health issues due to mold and mildew. But don’t worry; with a bit of elbow grease and some practical steps, you can fix those leaks yourself. Here are 10 tips to help you keep your basement dry and your home safe.
Start your next woodworking adventure with TedsWoodworking! Dive into 16,000+ projects and bring your ideas to life. Build unique furniture and master new skills with Ted’s detailed, step-by-step plans guiding you every step of the way.
1. Determine Where the Water Is Coming From
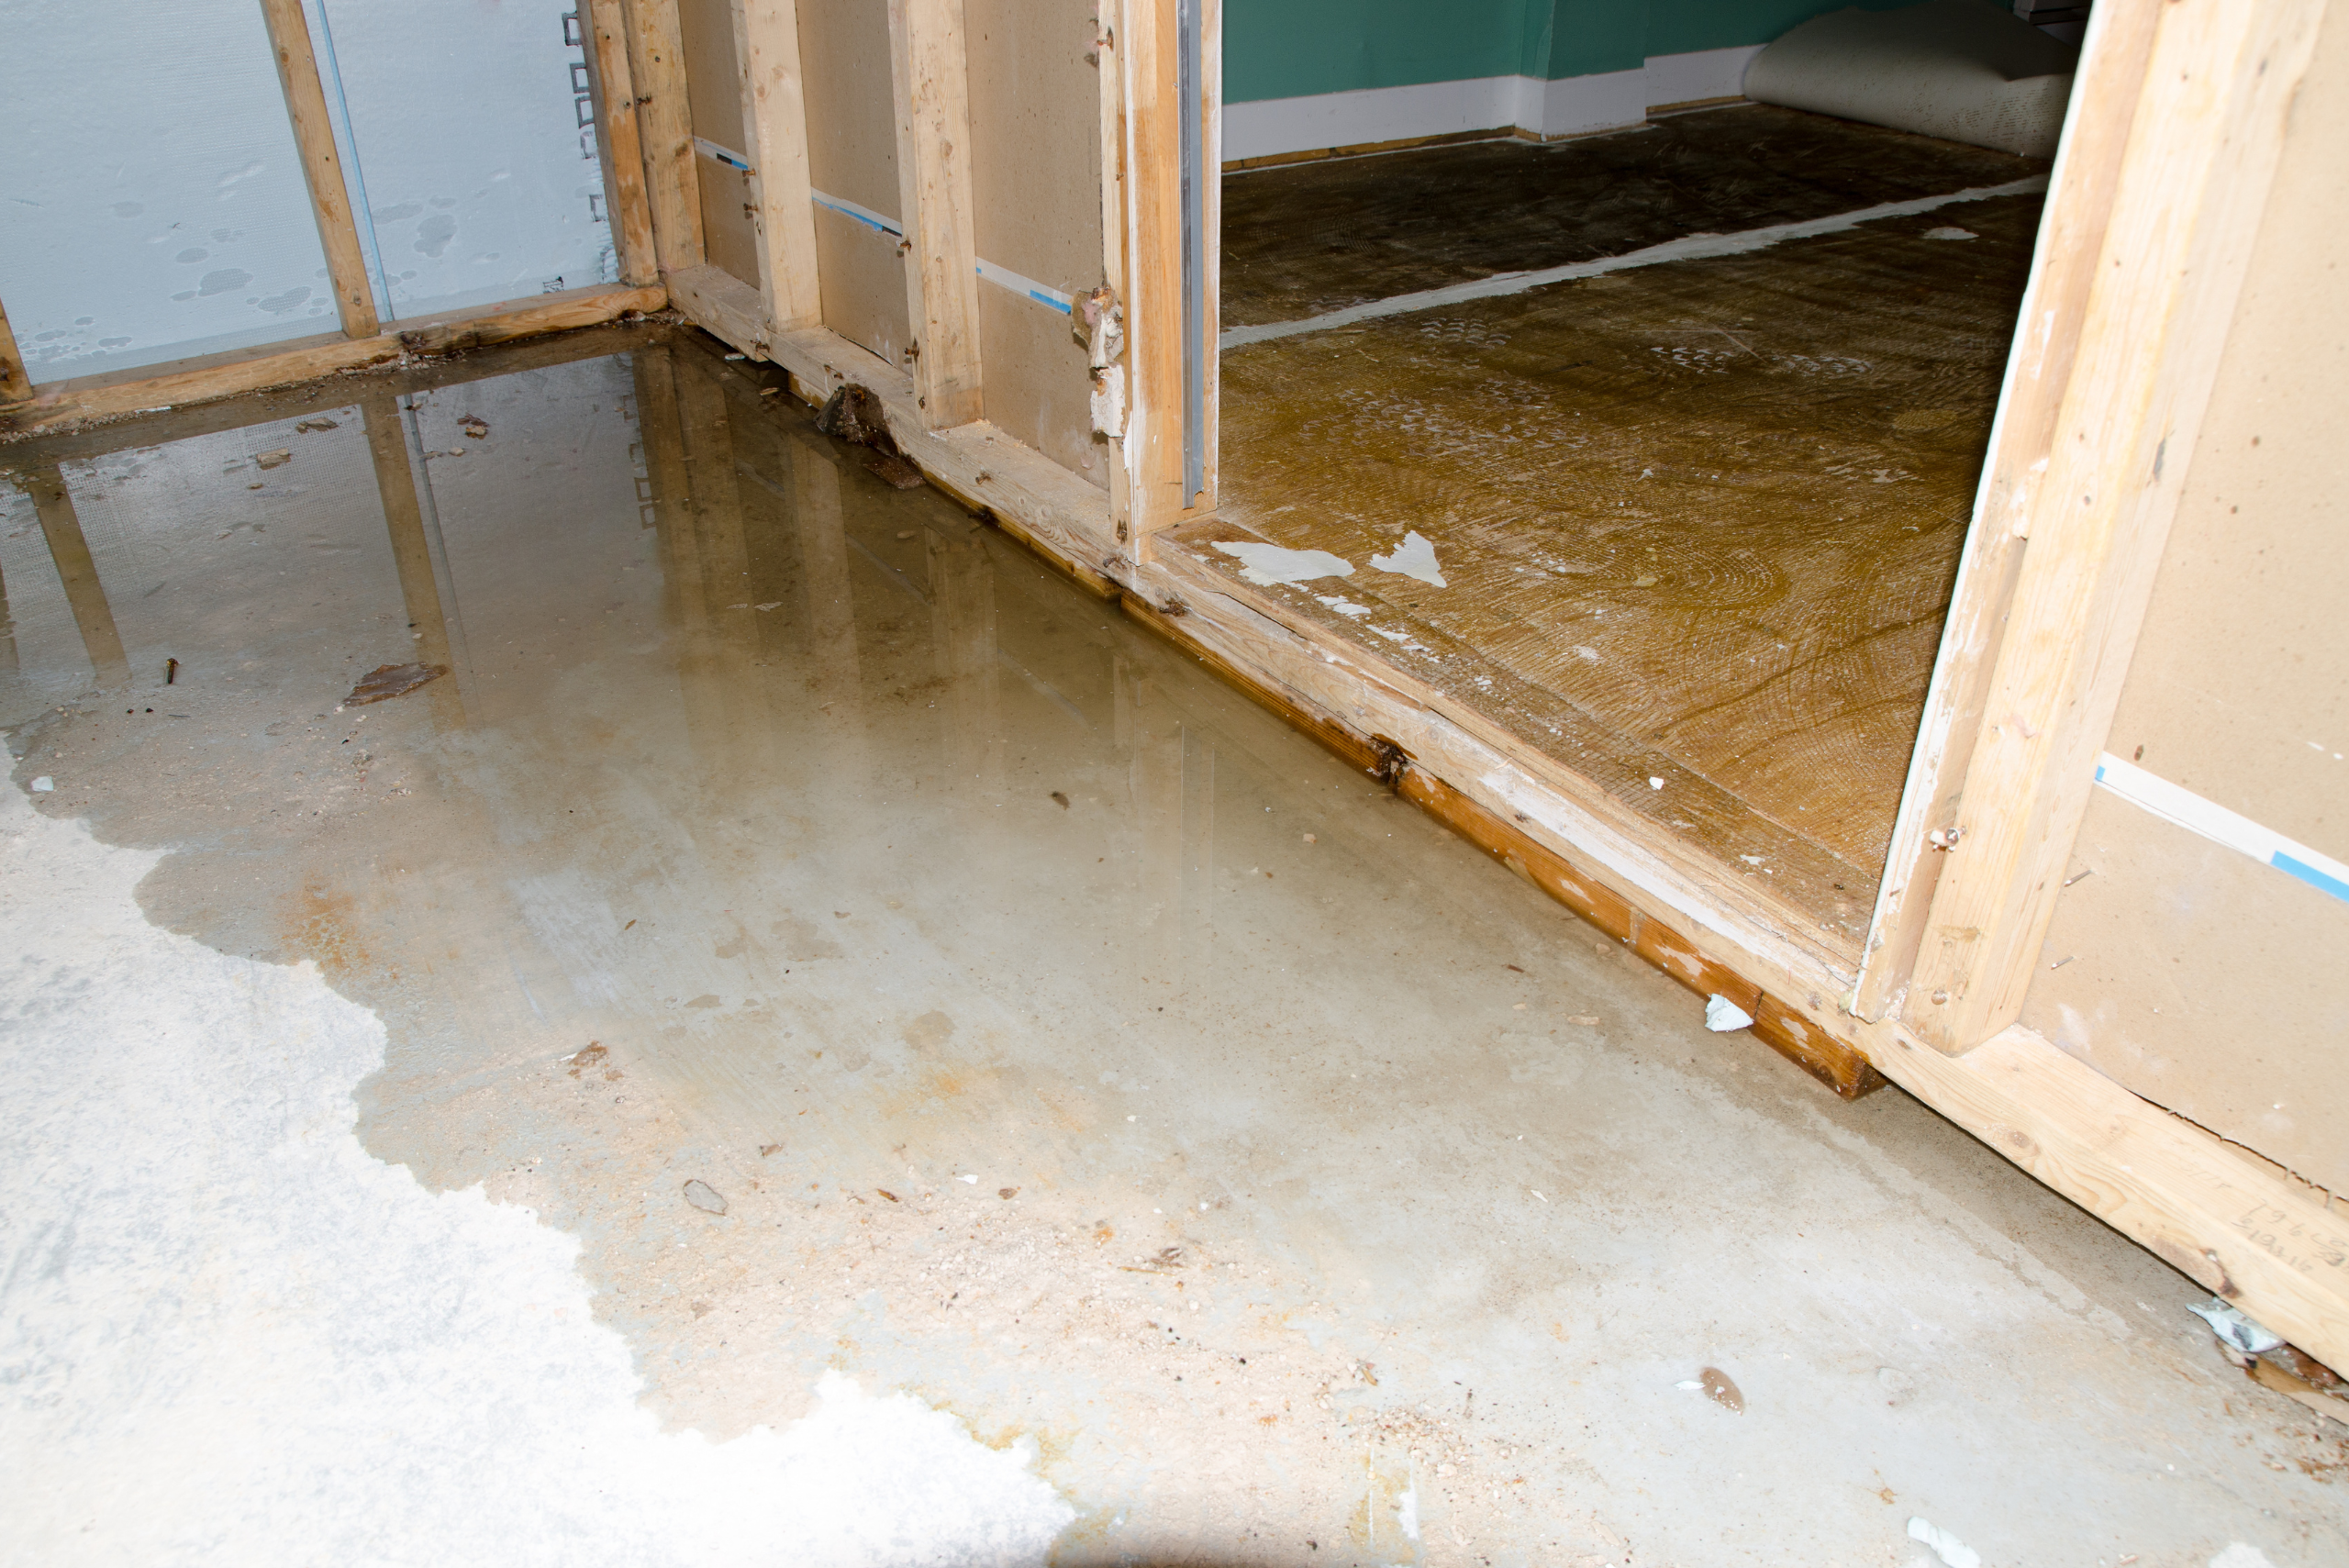
Before you can fix the leak, you need to know where the water is coming from. It can either be from indoor humidity or external sources like rainwater or groundwater. To diagnose, tape aluminum foil to the basement wall and check it after a few days. Moisture on the outside of the foil indicates high indoor humidity, while moisture behind the foil means water is seeping through the walls.
2. Get Rid of Excess Humidity
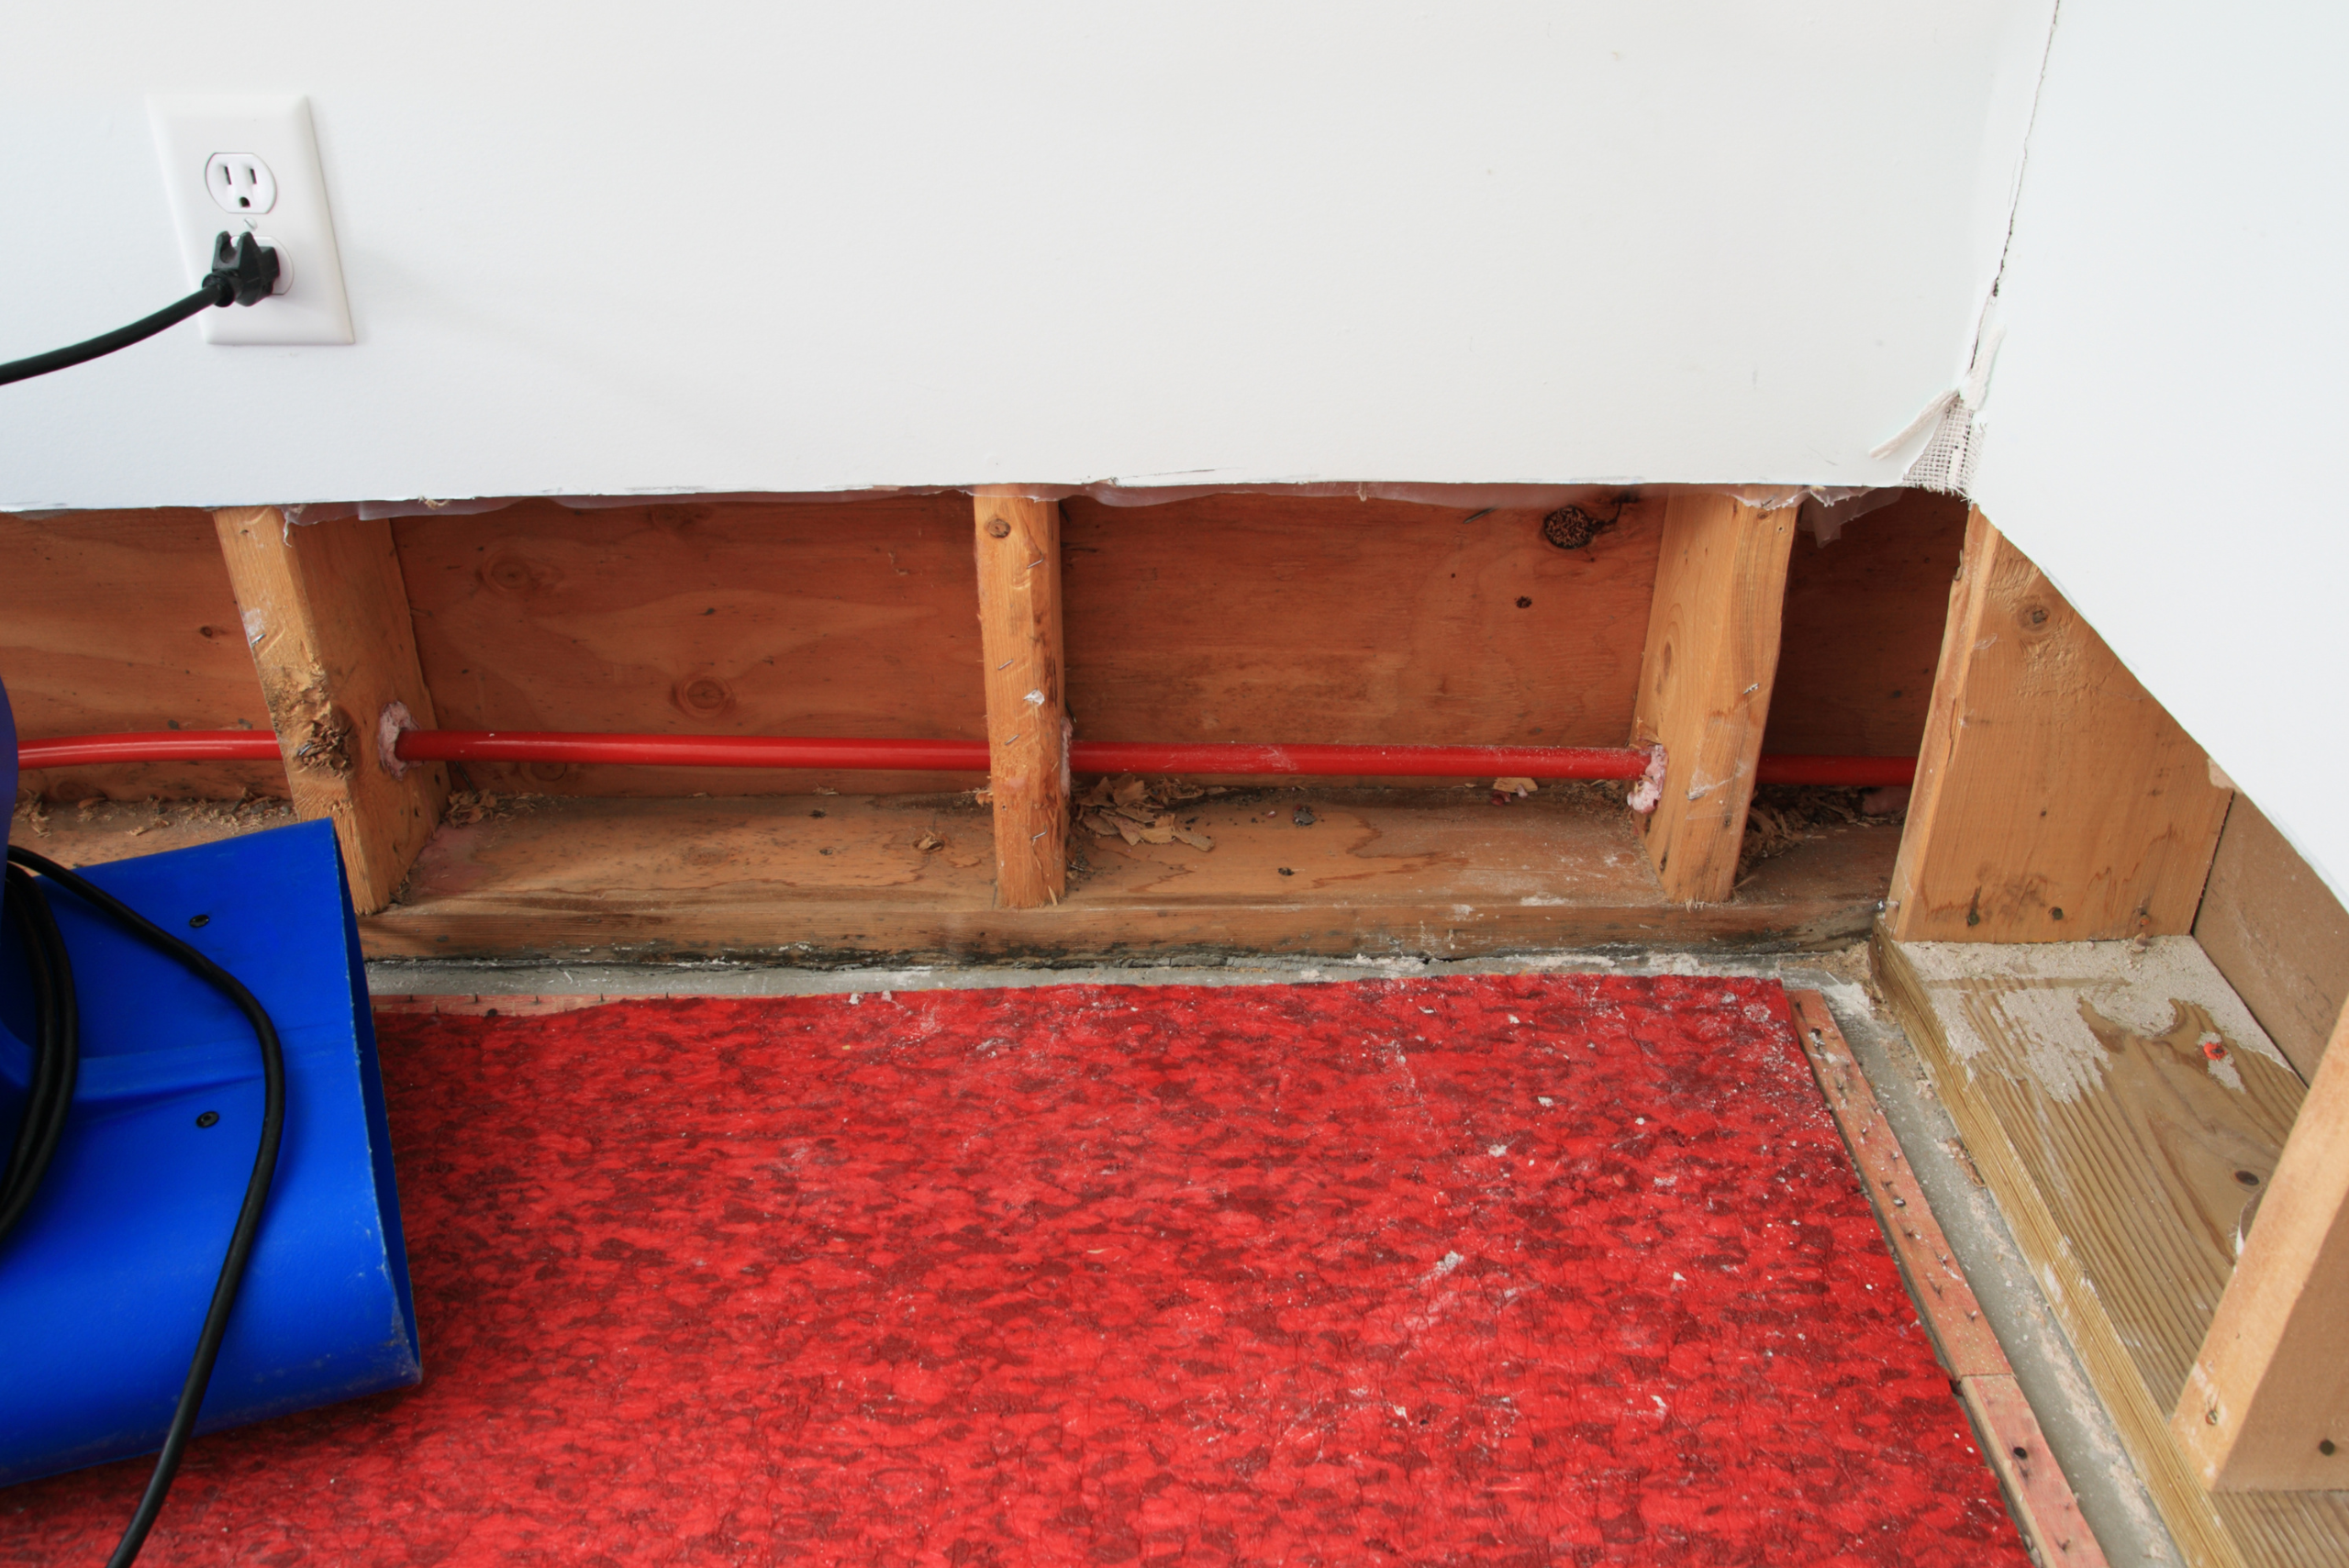
High indoor humidity can contribute to basement leaks. Seal leaky dryer vents with foil tape and ensure your basement bathroom has an exhaust fan. Keep windows closed during humid weather, and consider running a dehumidifier to maintain optimal humidity levels. This will help reduce condensation on cool surfaces and prevent moisture buildup.
3. Insulate Pipes
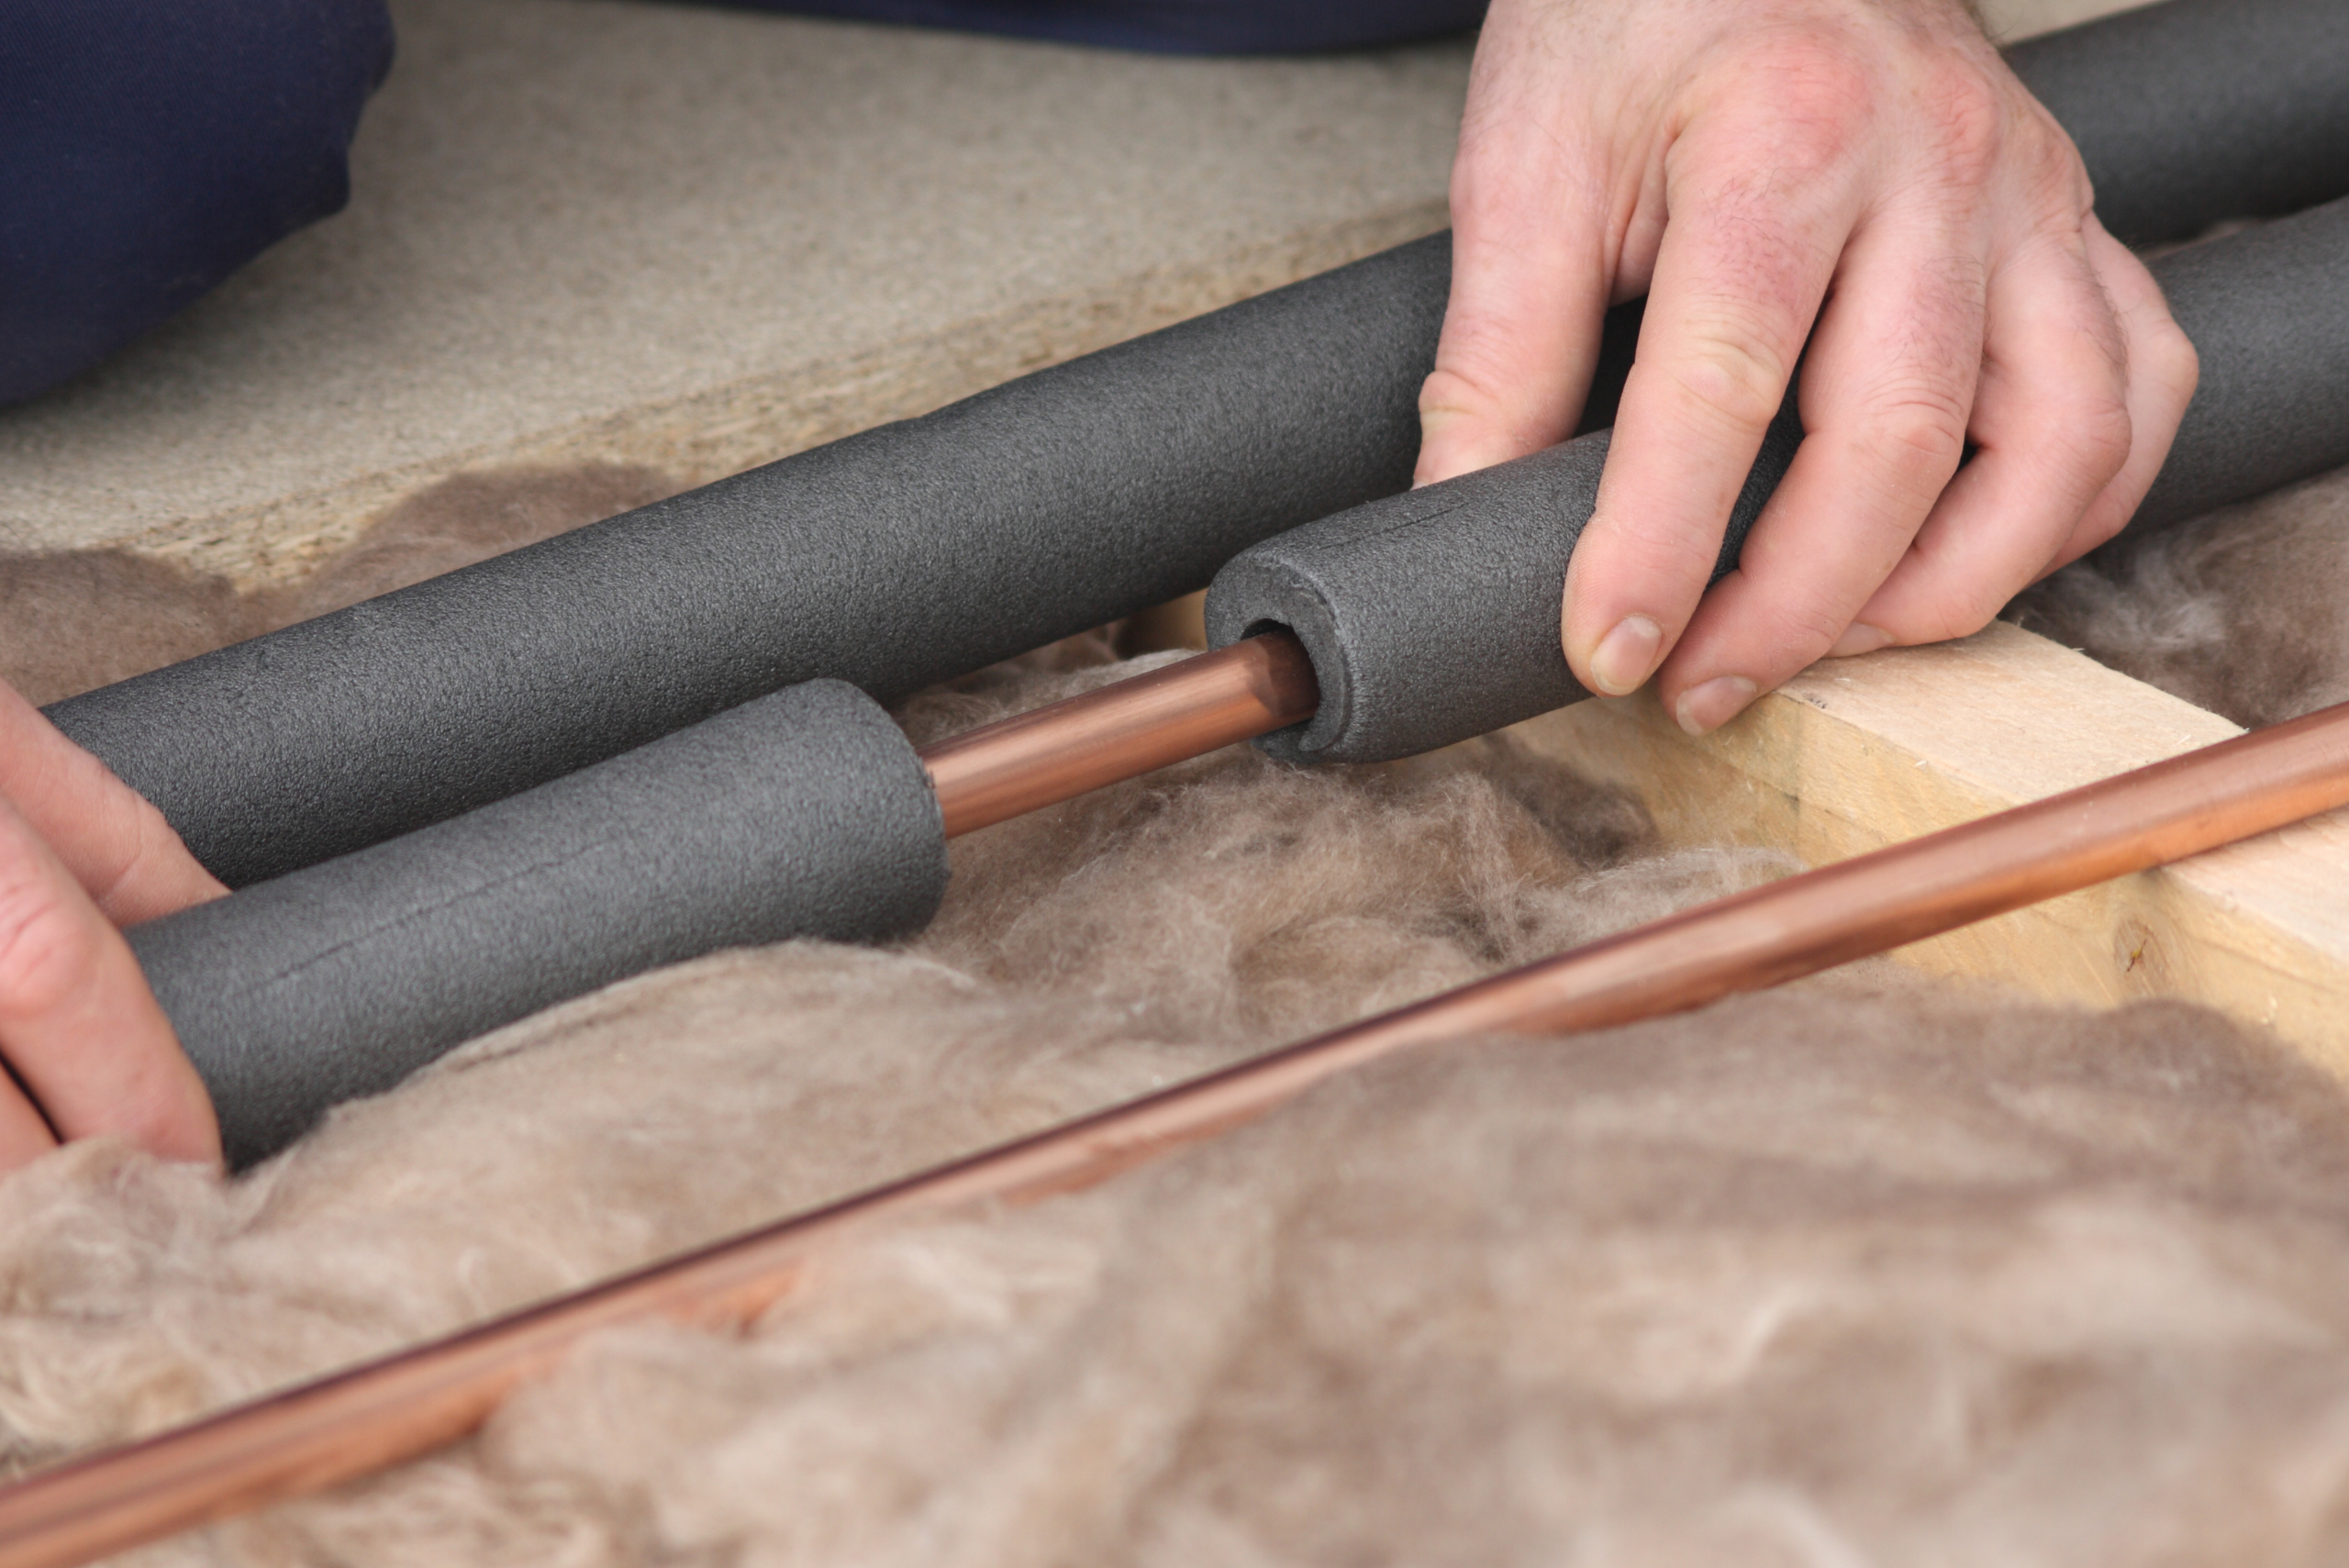
Condensation on cold pipes can drip and add to your basement’s moisture problem. Covering these pipes with foam insulation is an easy and cost-effective solution. This not only prevents condensation but also helps protect the pipes from freezing in winter, which could lead to serious flooding issues.
4. Insulate Basement Walls
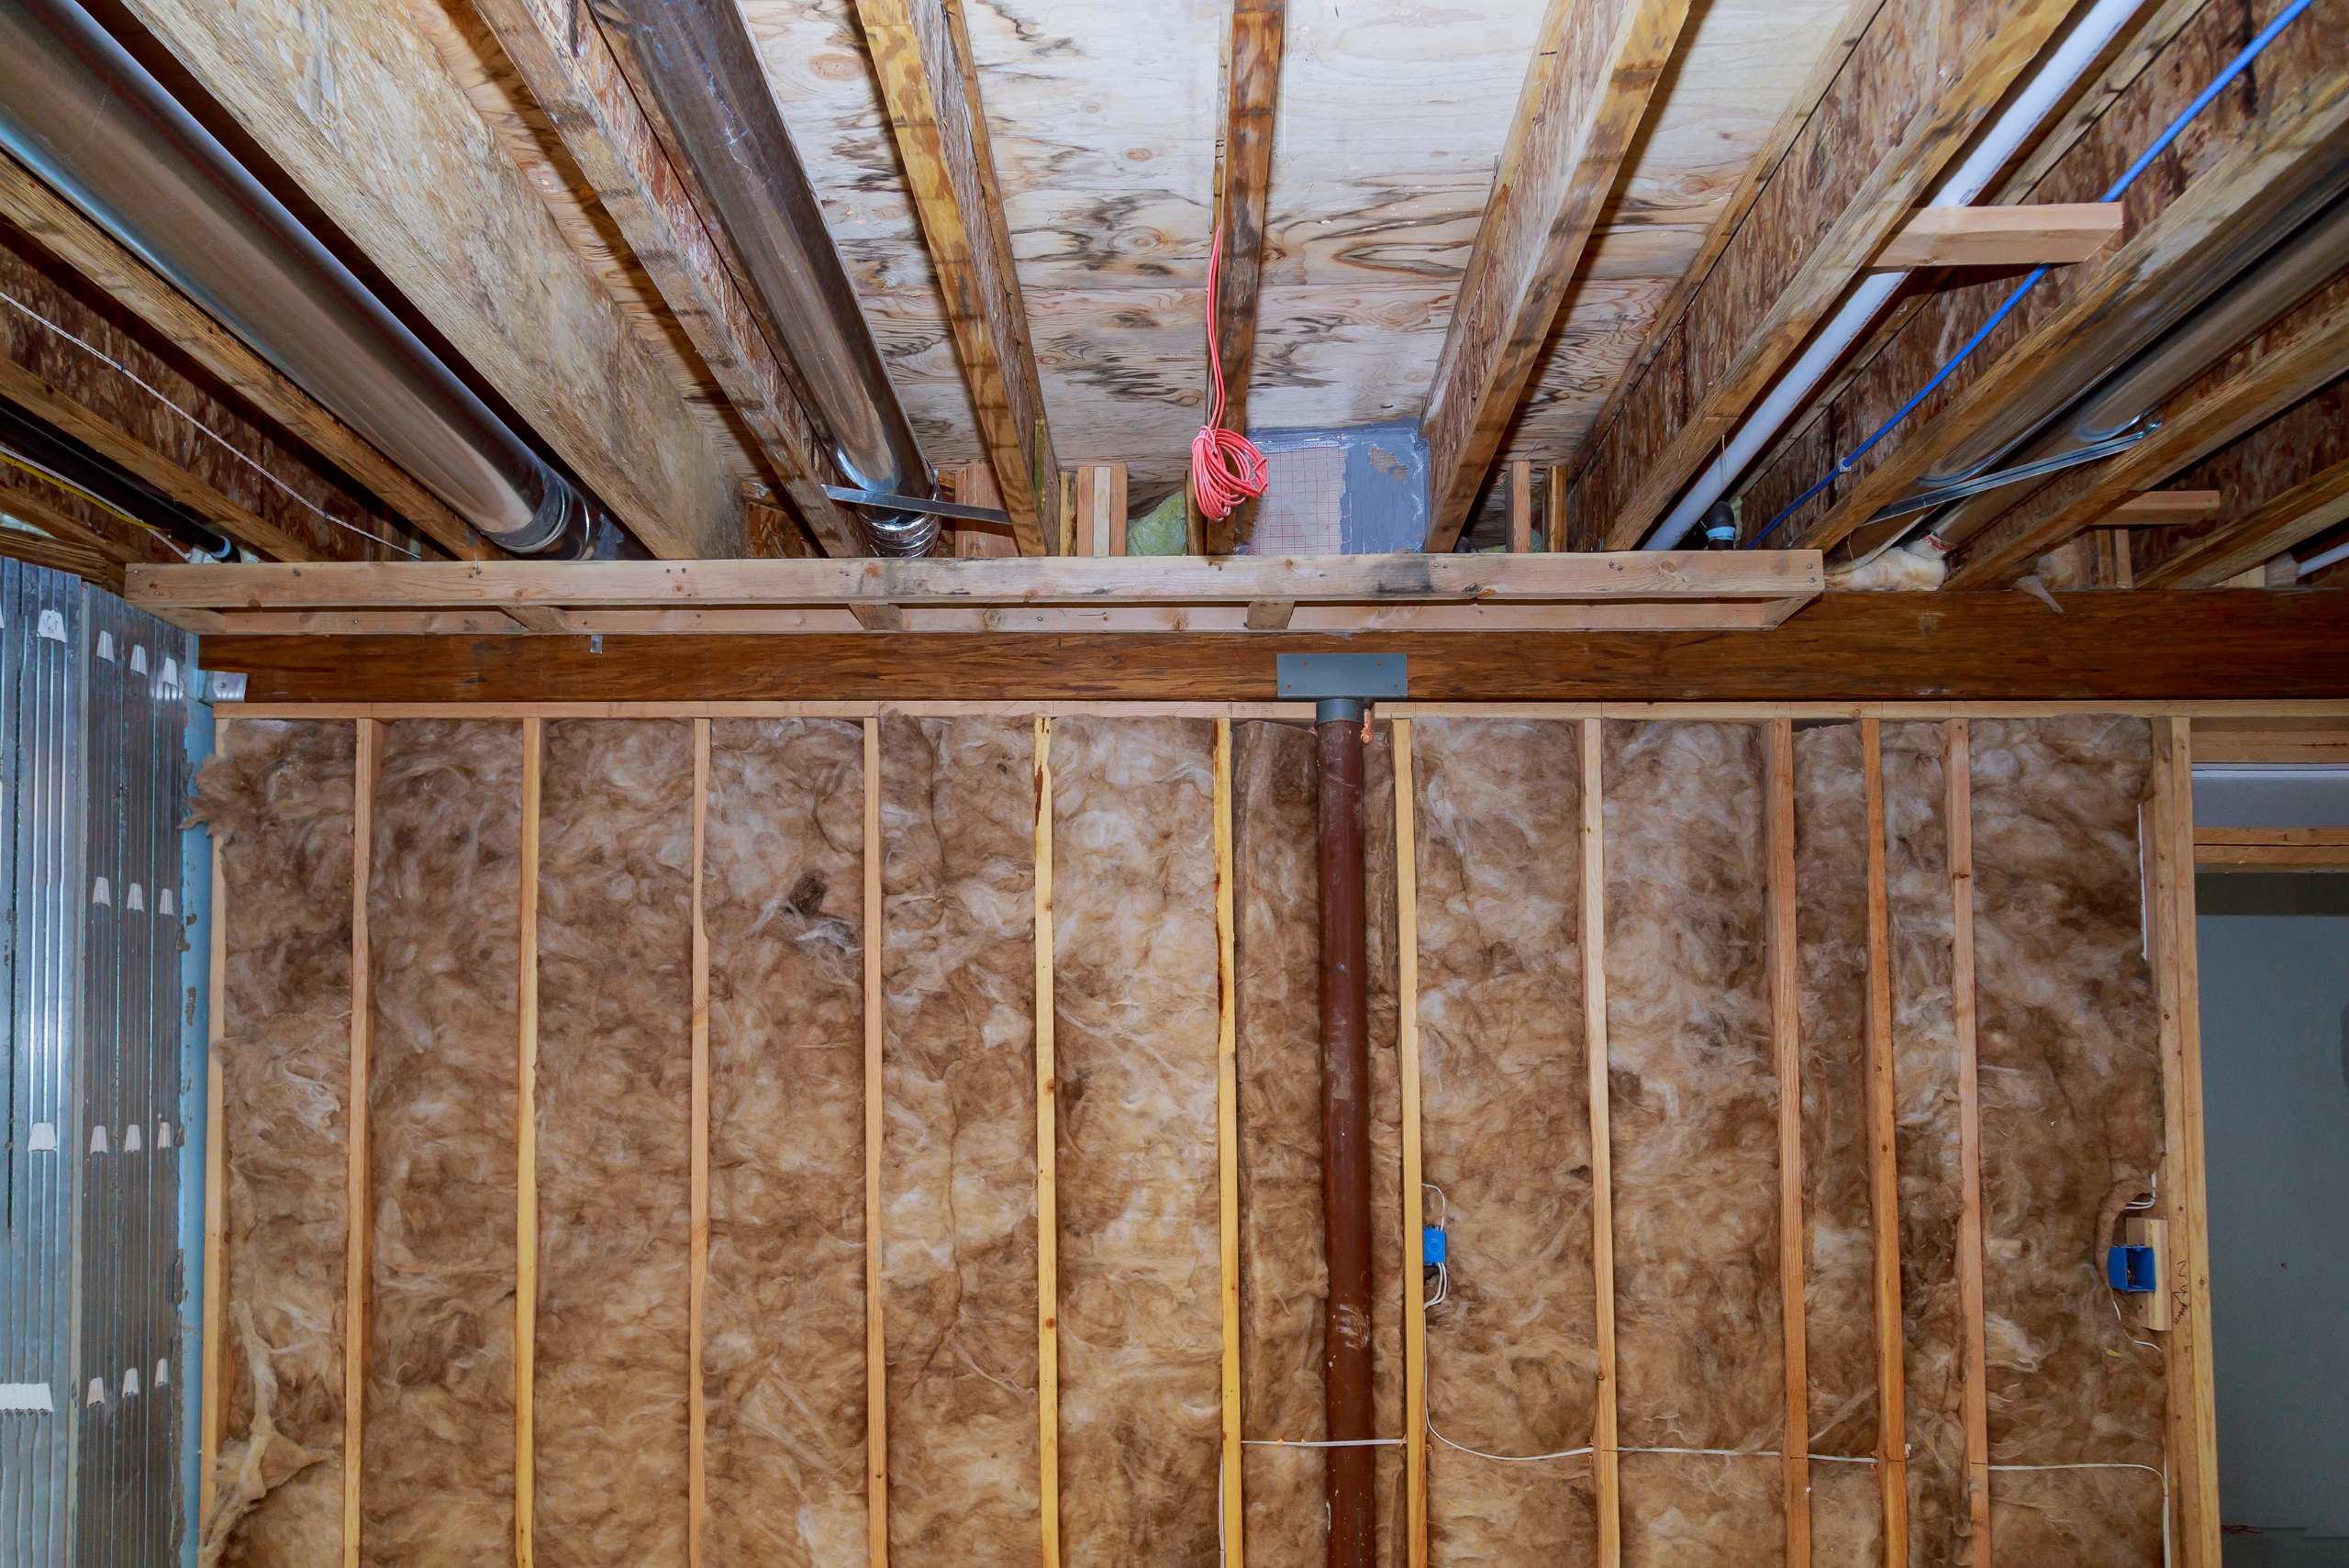
Insulating exterior basement walls can prevent condensation and save on energy costs. However, never insulate walls that are already leaking, as this could lead to mold growth. Proper insulation helps maintain a stable temperature, reducing the chances of condensation and keeping your basement dry.
5. Plug Holes and Cracks in the Foundation
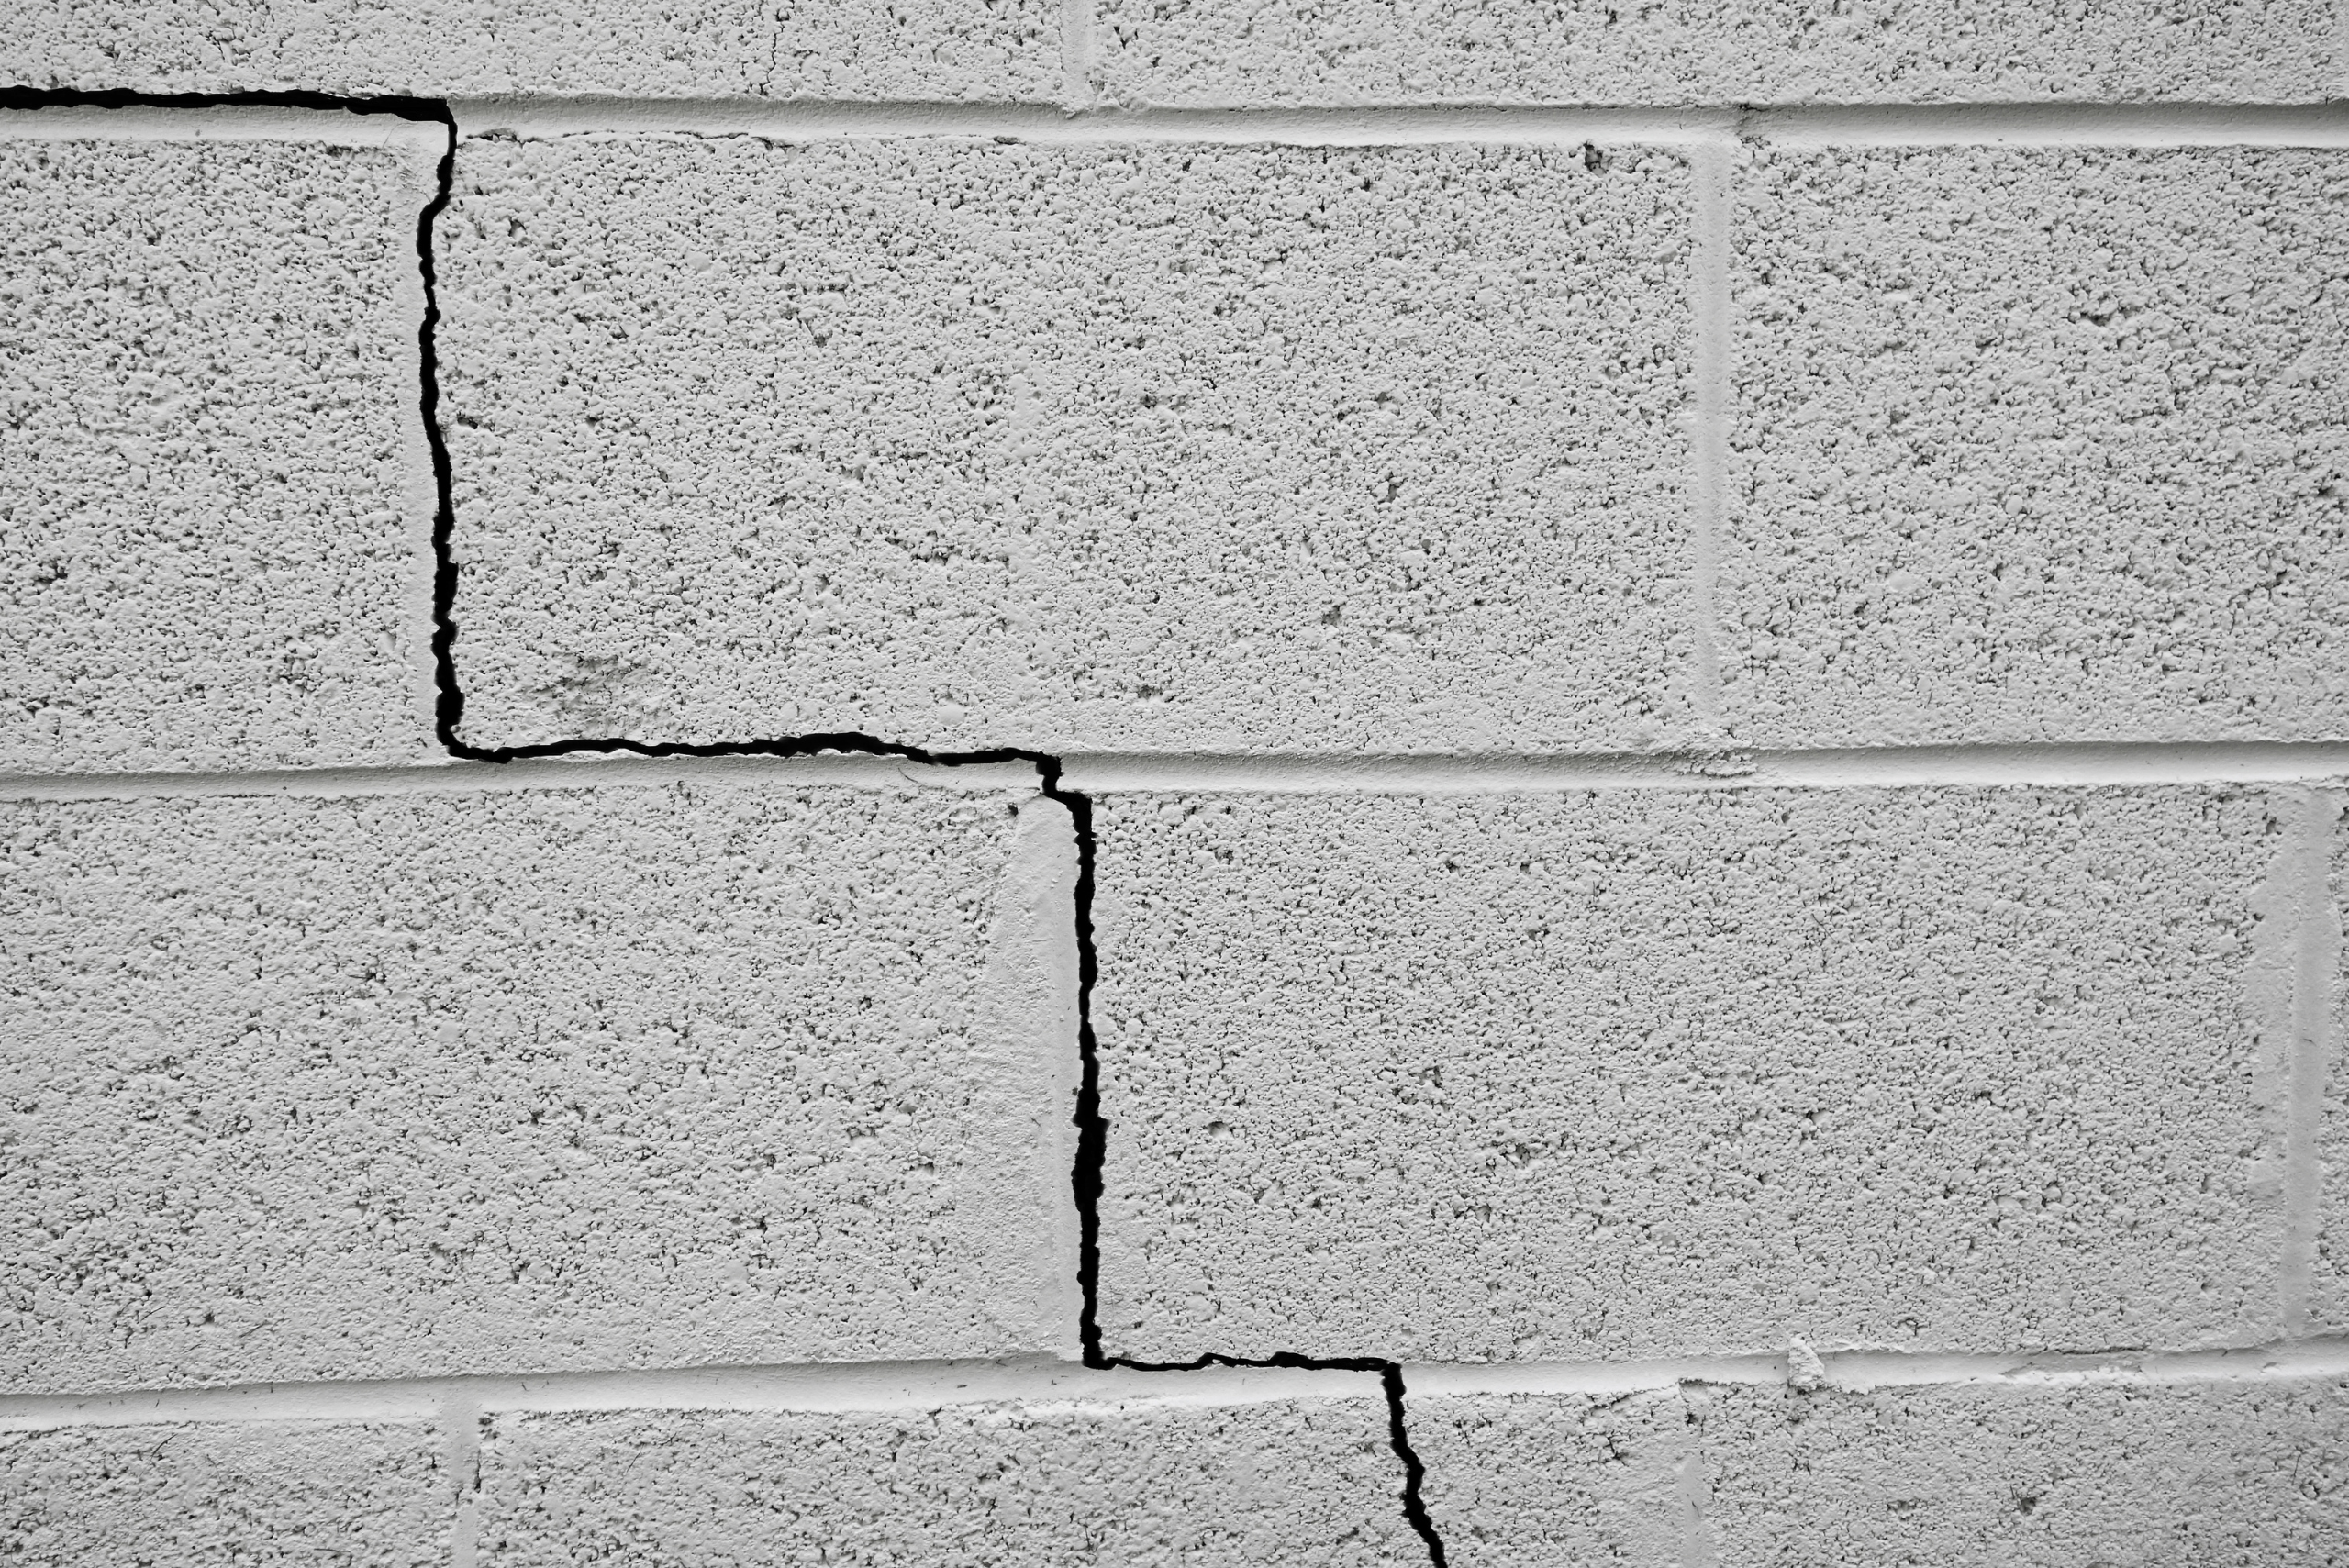
Not all foundation cracks are equal, but even small ones can lead to leaks. Use hydraulic cement to patch holes and cracks. This material expands as it sets, ensuring a tight seal. Enlarge the crack into an inverted “V” shape before applying the cement for a more secure fix.
6. Waterproof Basement Walls
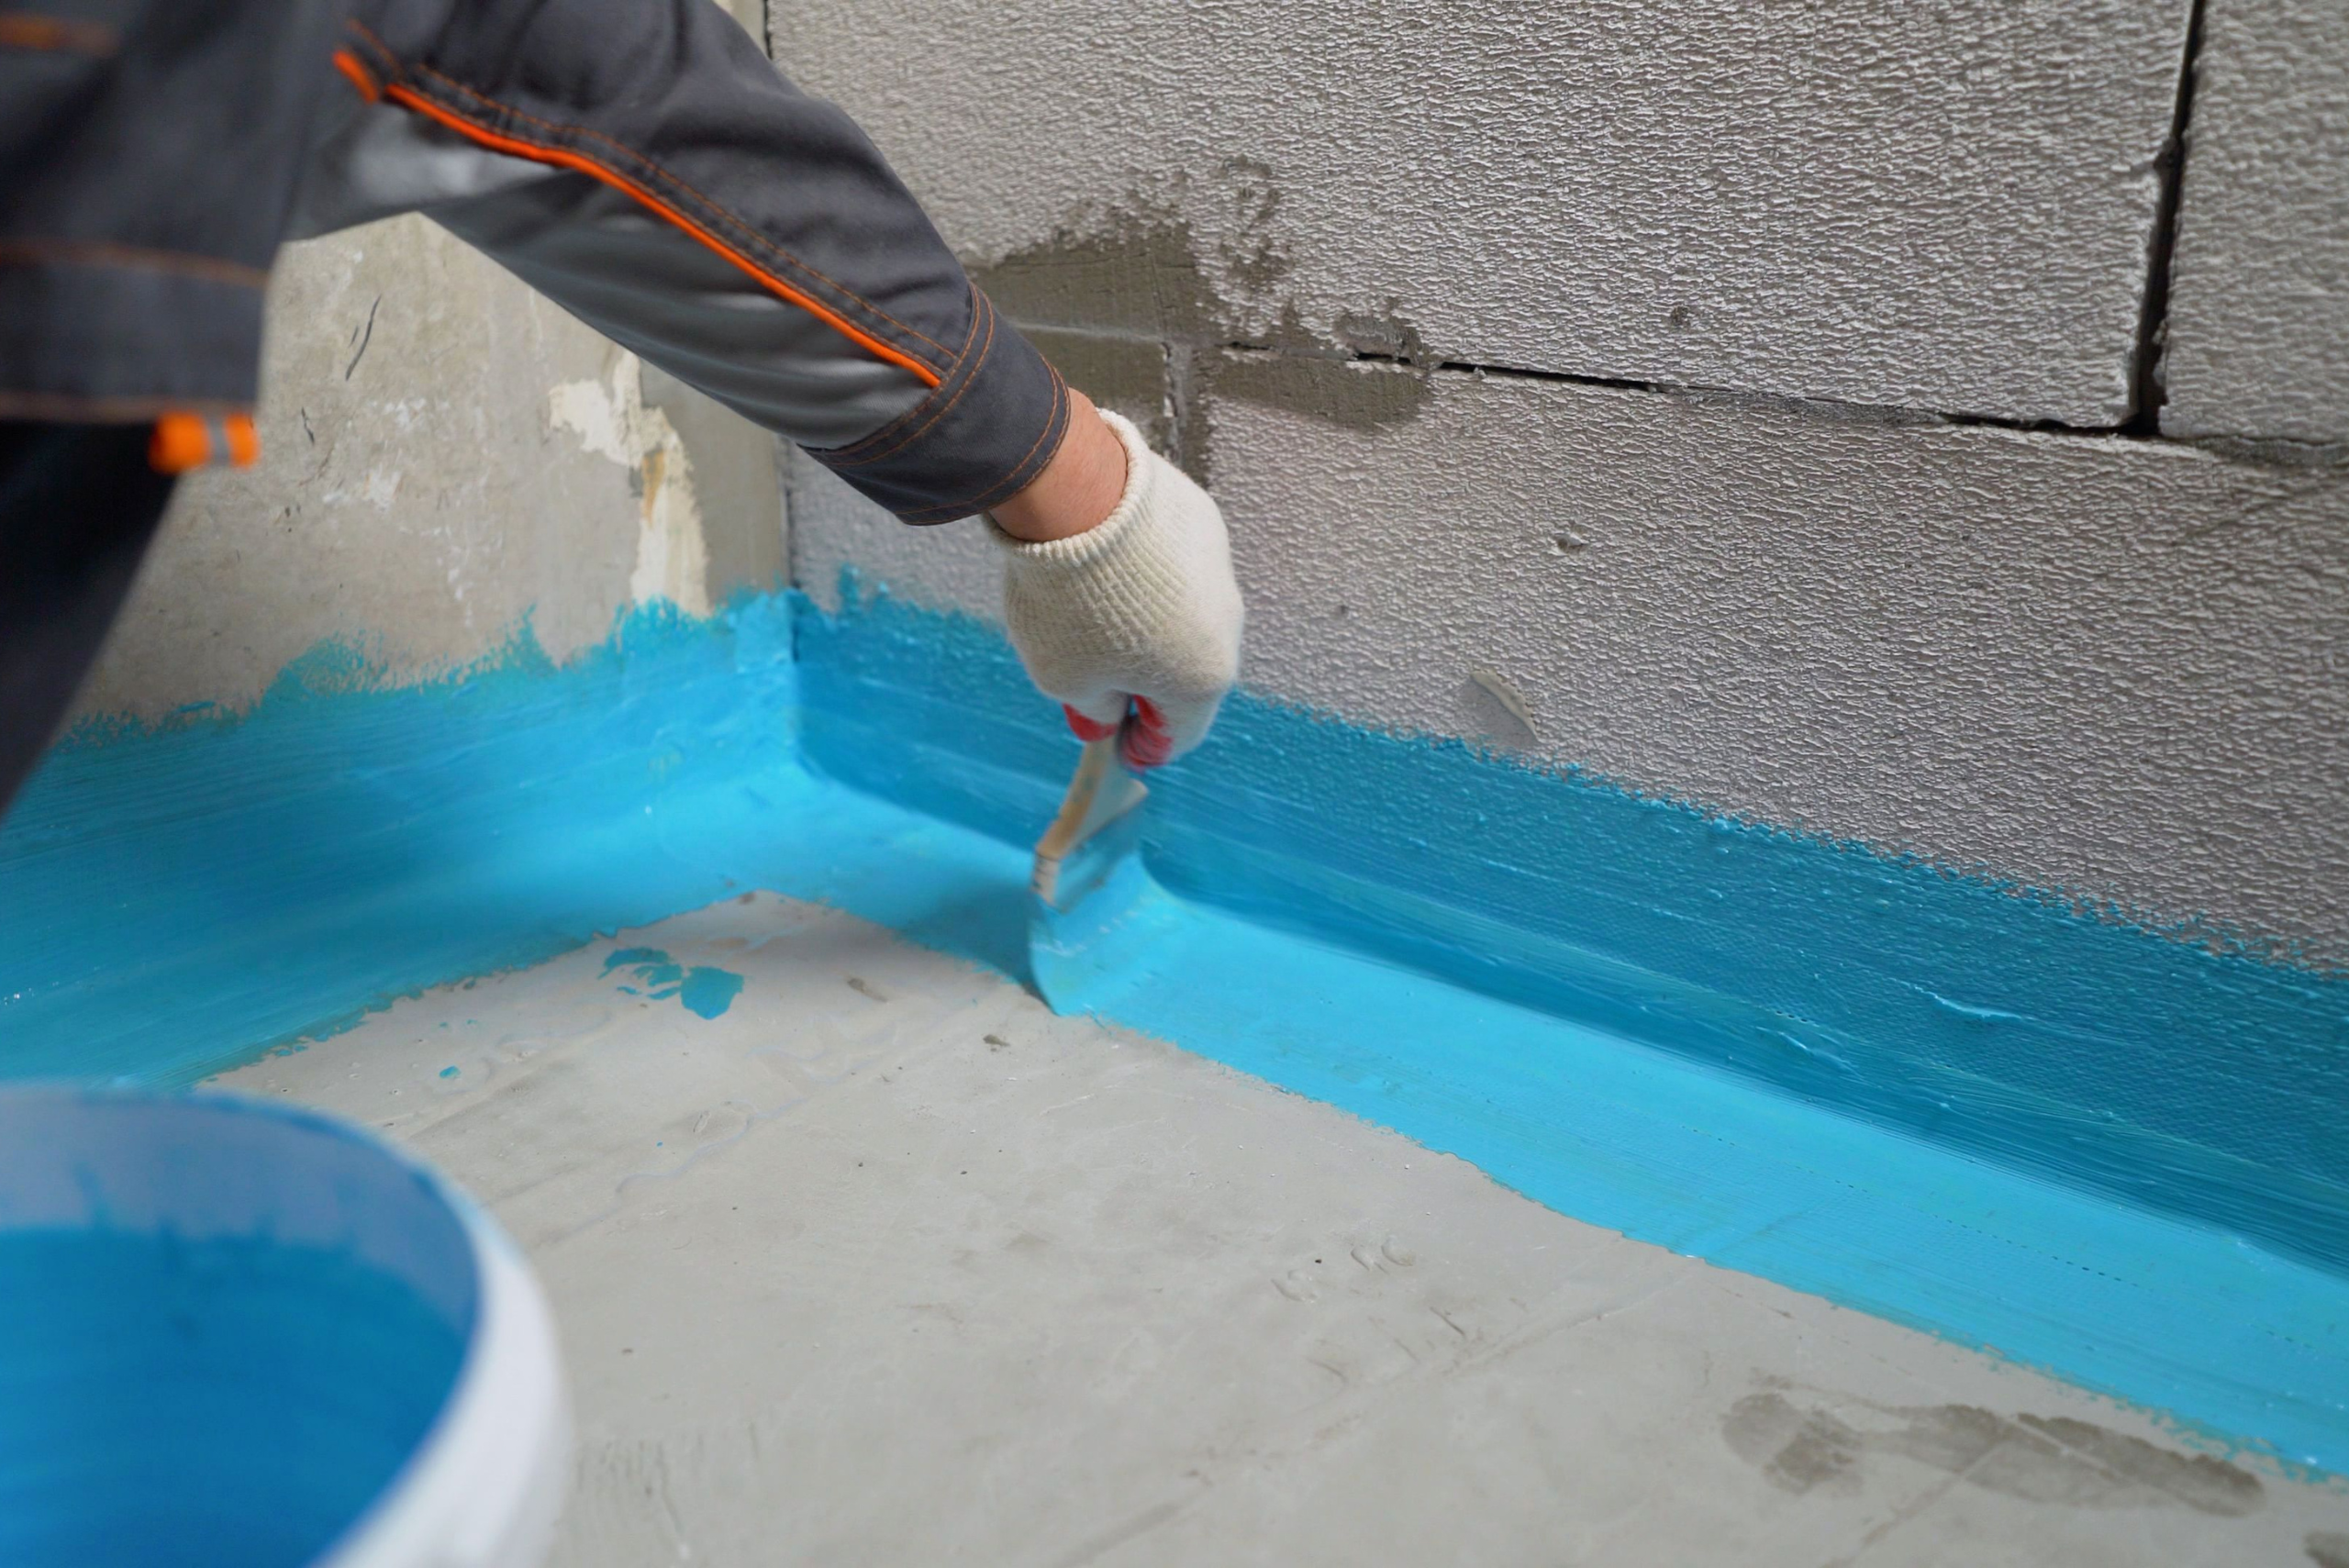
Applying a waterproof coating to your basement walls can prevent water from seeping through. Start by cleaning the walls thoroughly, removing any loose material and efflorescence. Apply the coating generously to fill all pores and pinholes, ensuring a continuous waterproof membrane. Follow up with a second coat for added protection.
7. Install a Drainage System
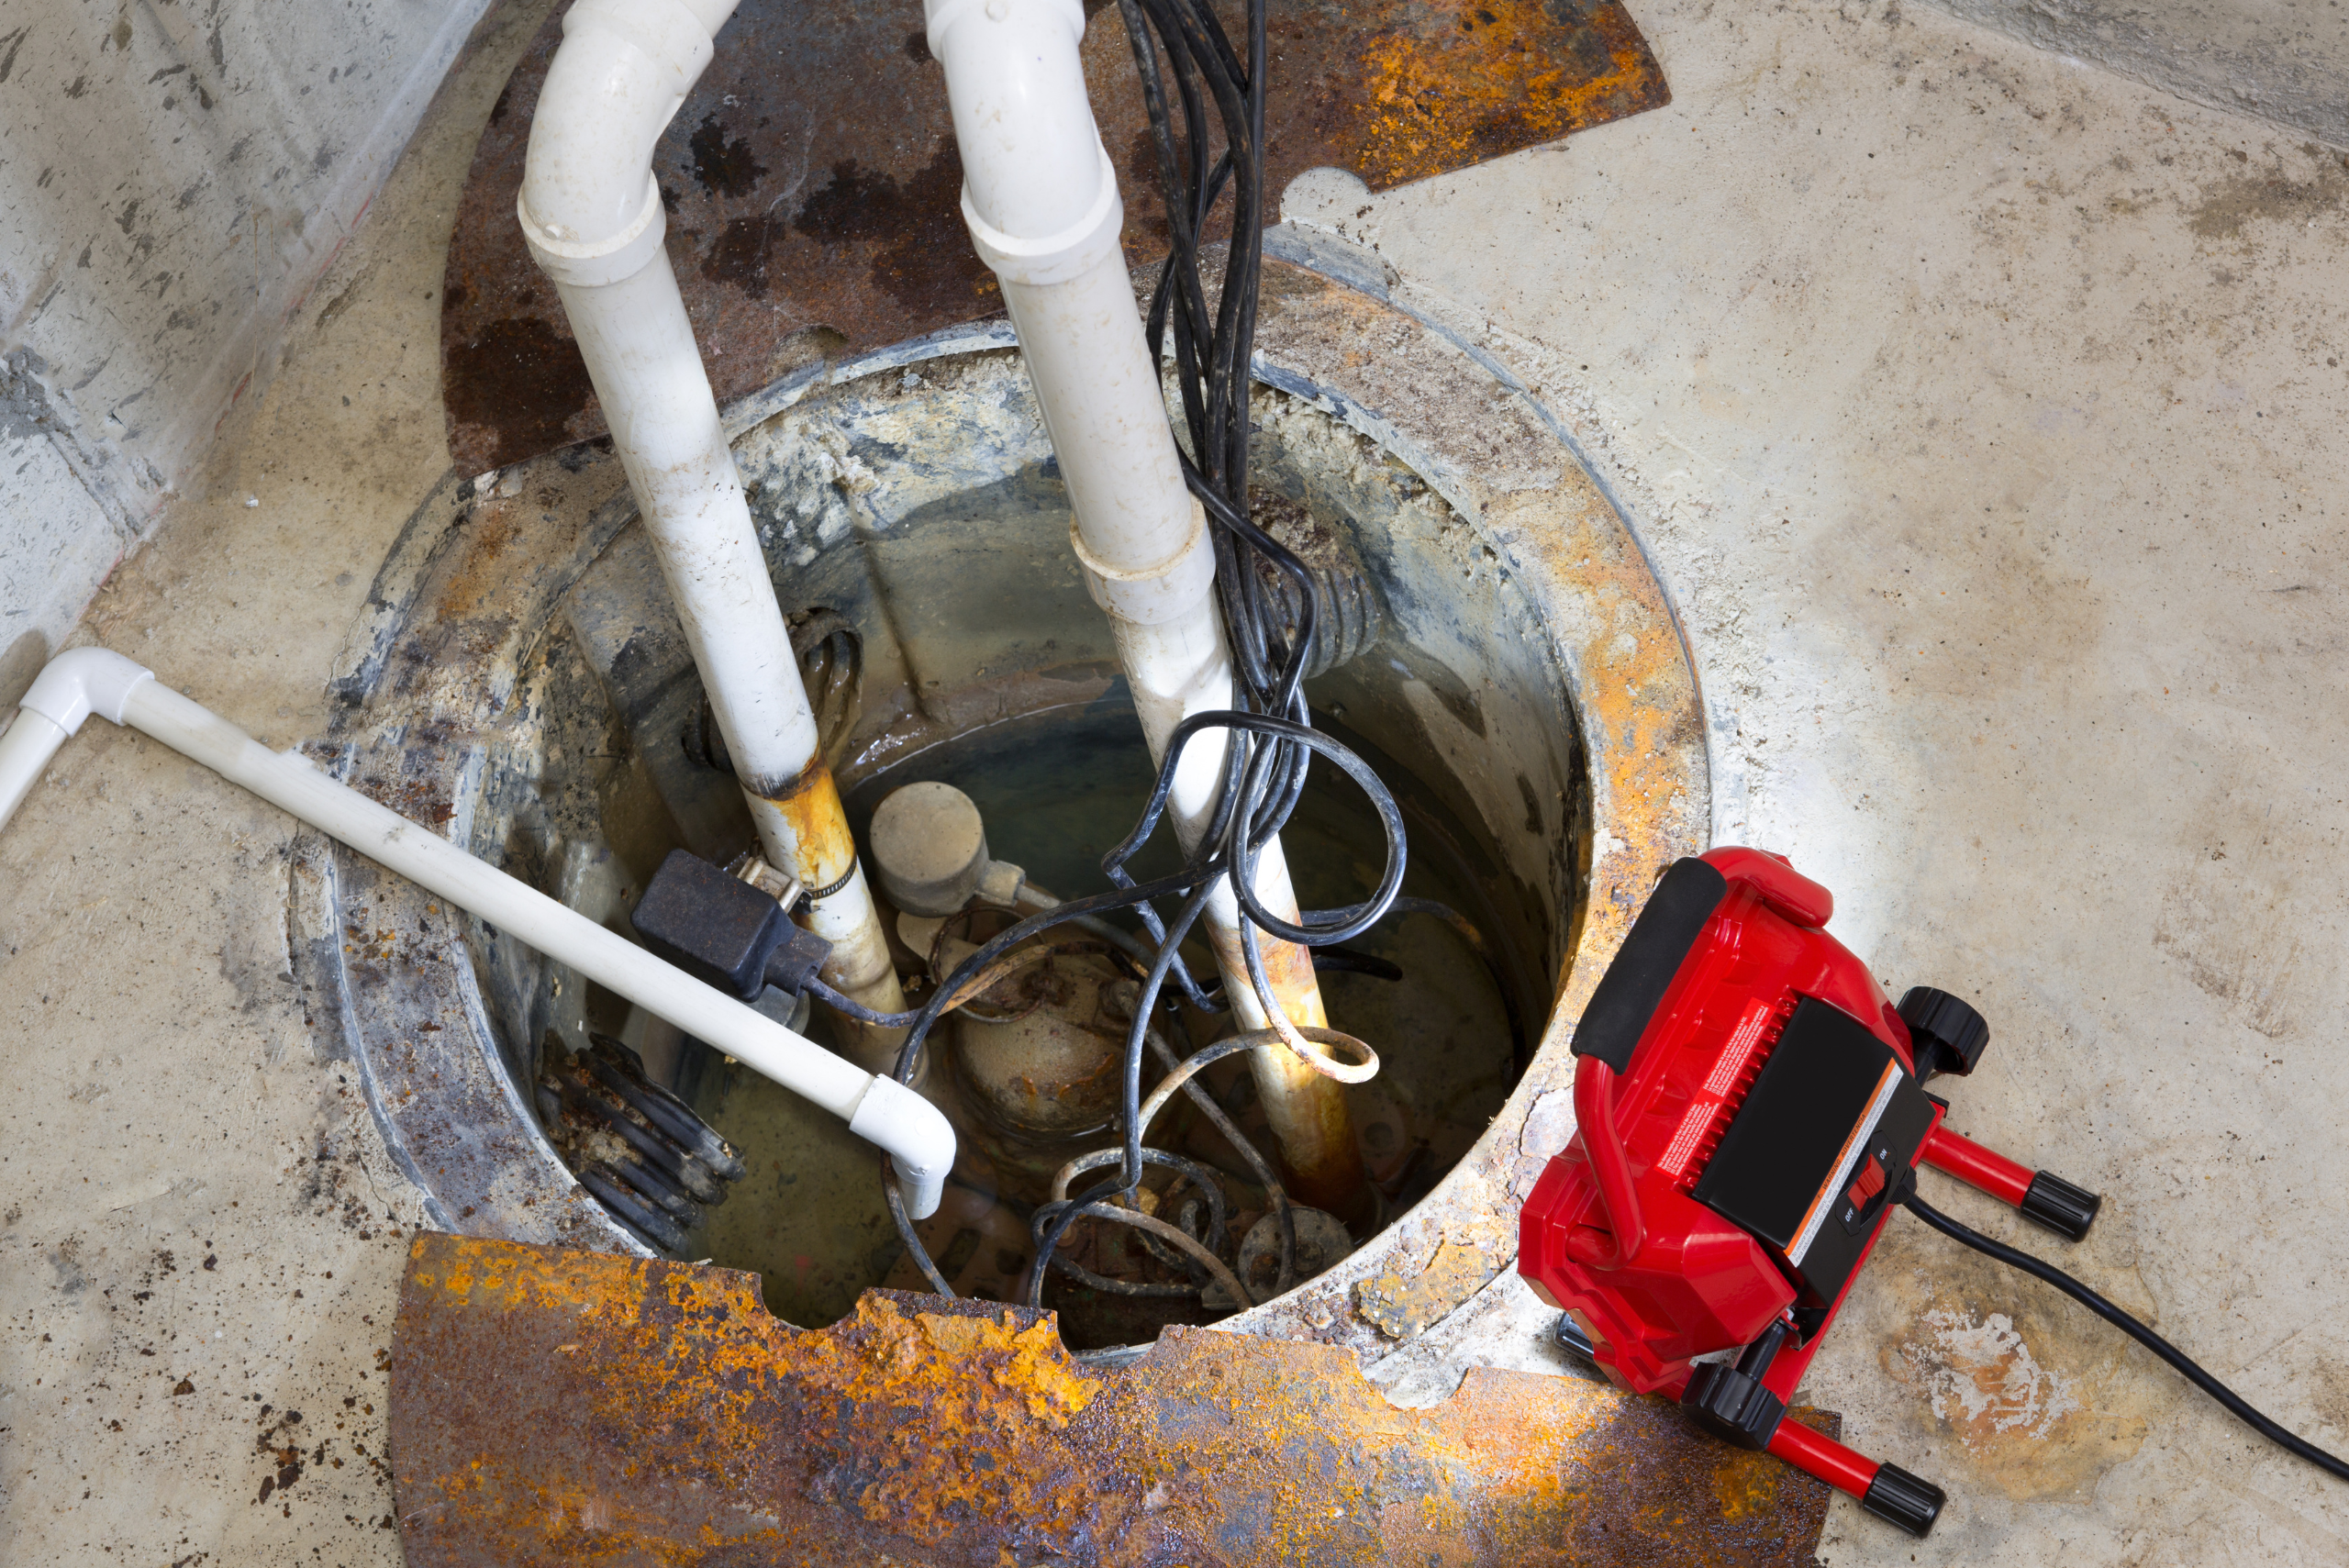
For chronic leaks, installing a drainage system under the basement floor can be a permanent solution. This involves laying drainage tubing connected to a sump pump. While it’s a labor-intensive job, it effectively diverts water away from your basement, keeping it dry.
8. Install Drainage Mats for a Warmer, Drier Floor
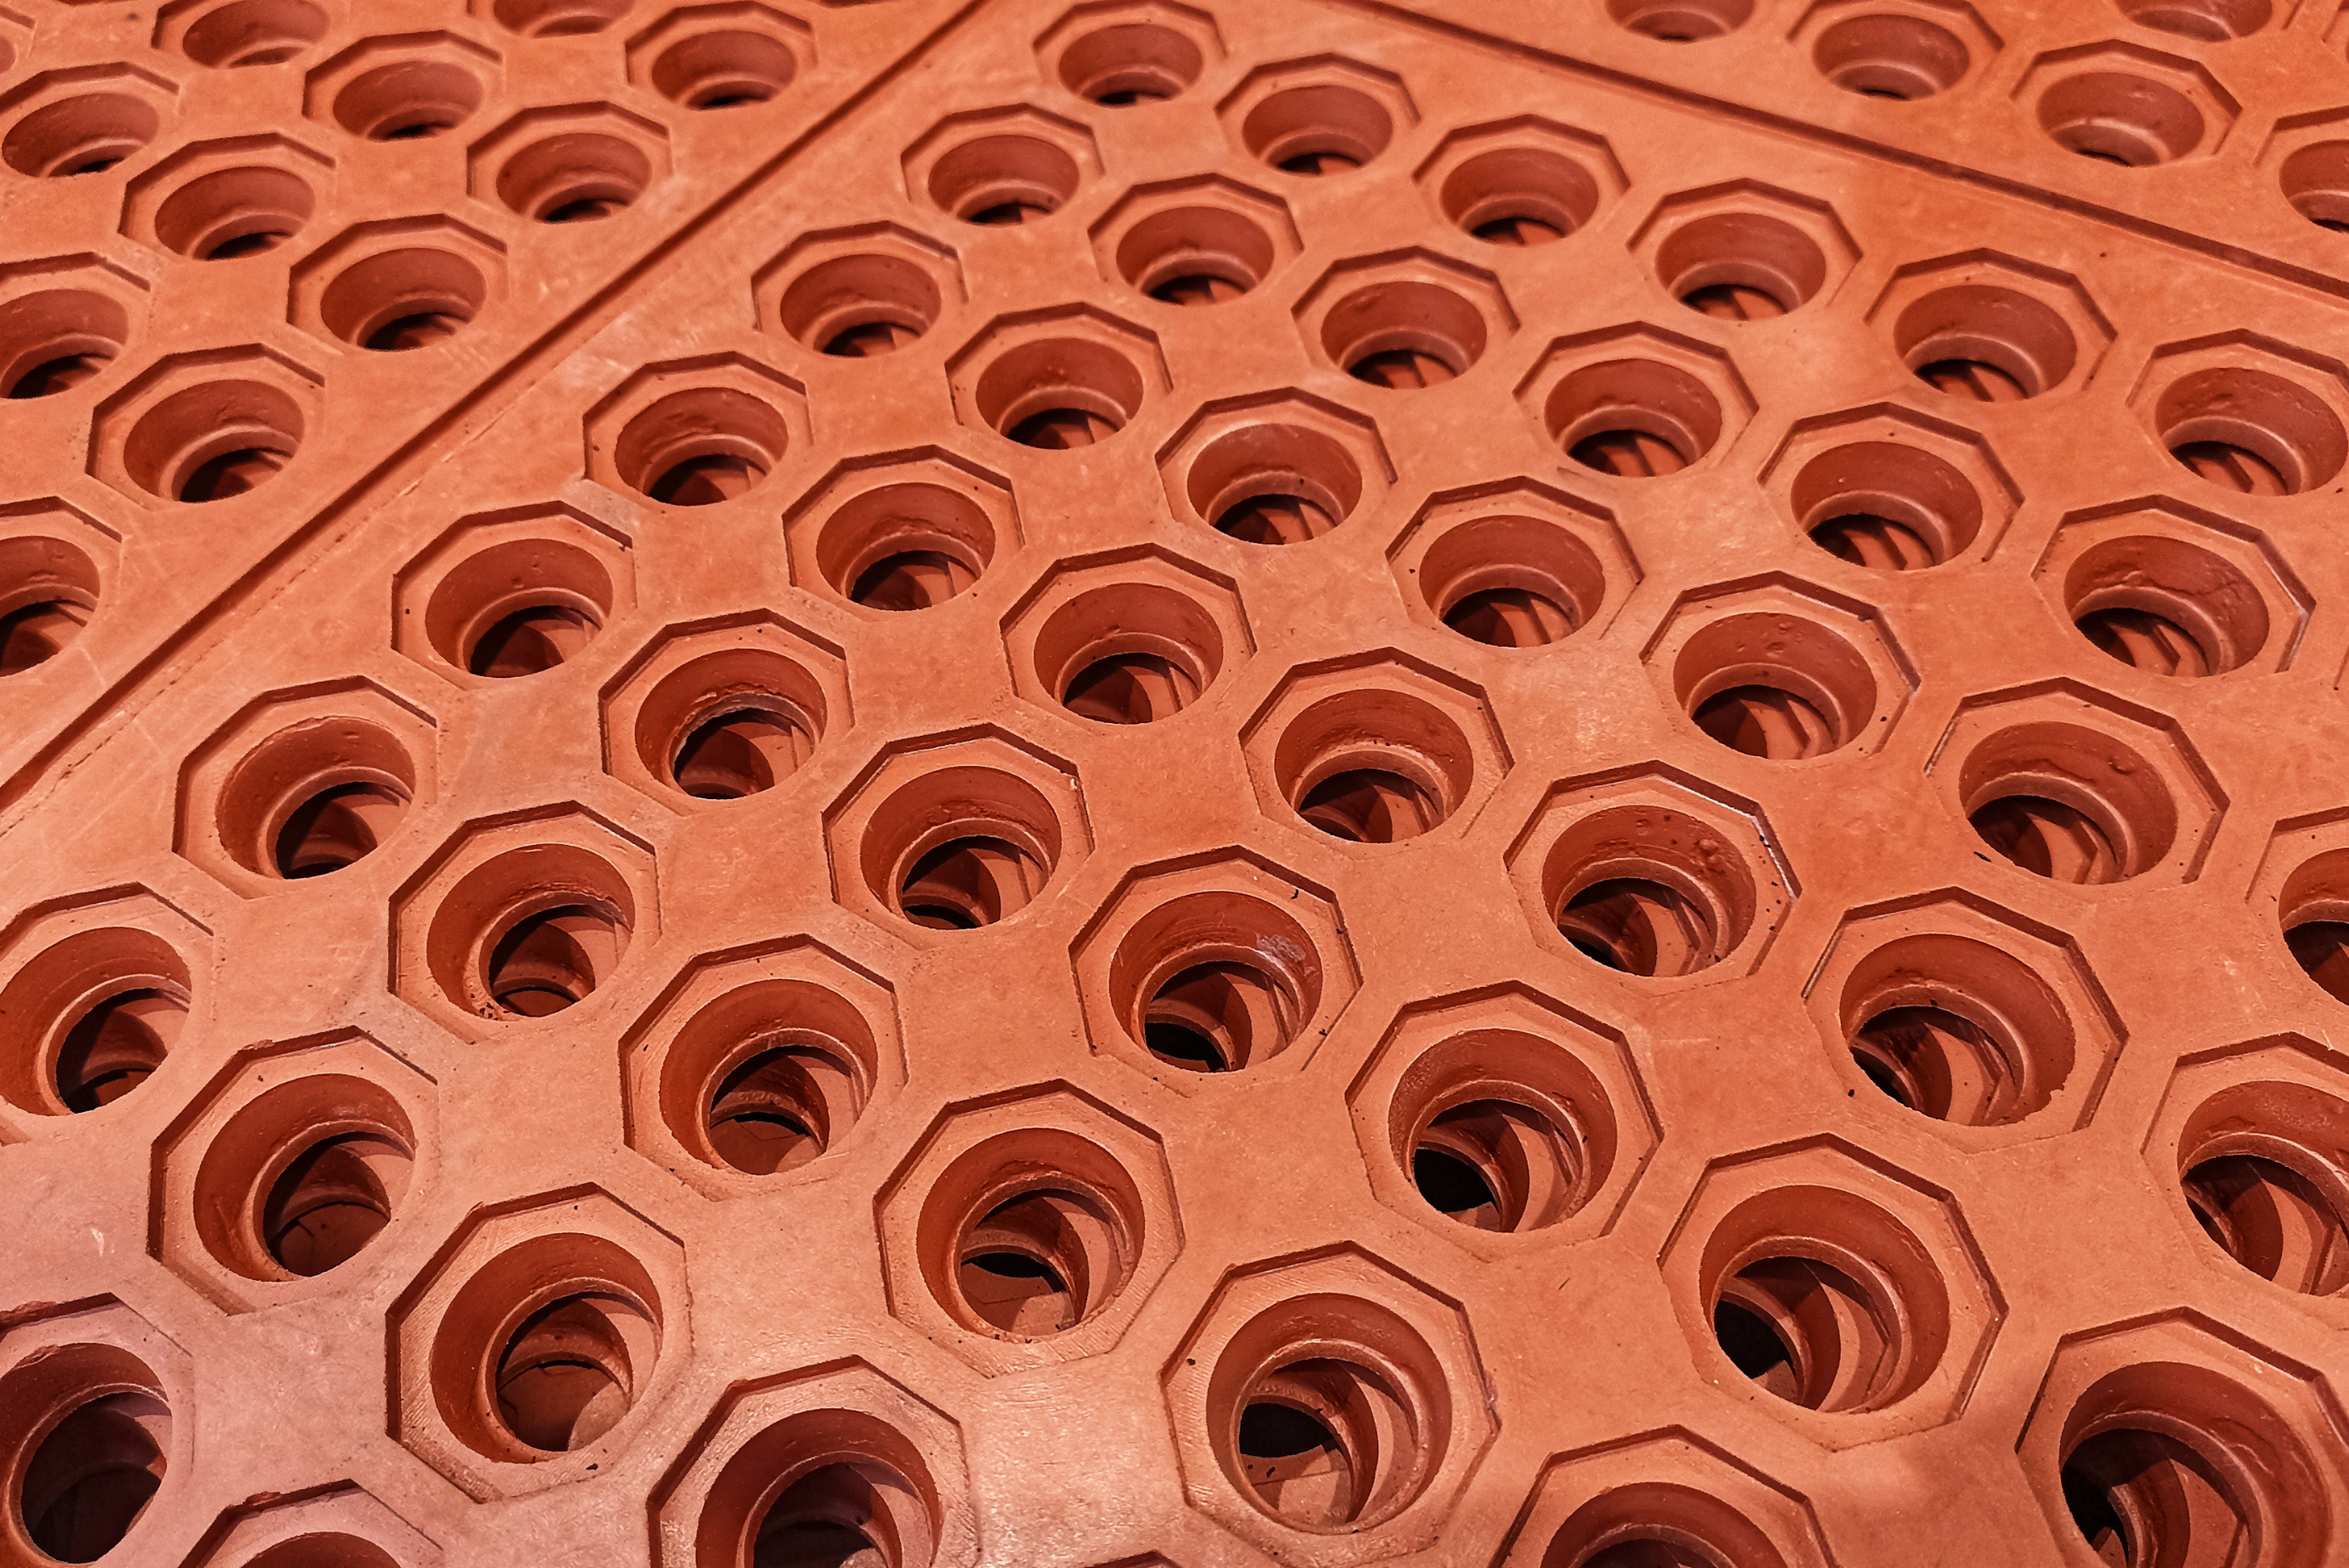
Plastic drainage mats, also known as dimple mats, allow air to circulate under the flooring, providing a moisture barrier. These mats create an insulating layer that reduces the risk of moisture damage from condensation or water vapor migrating through the concrete.
9. Install a Sump Pump
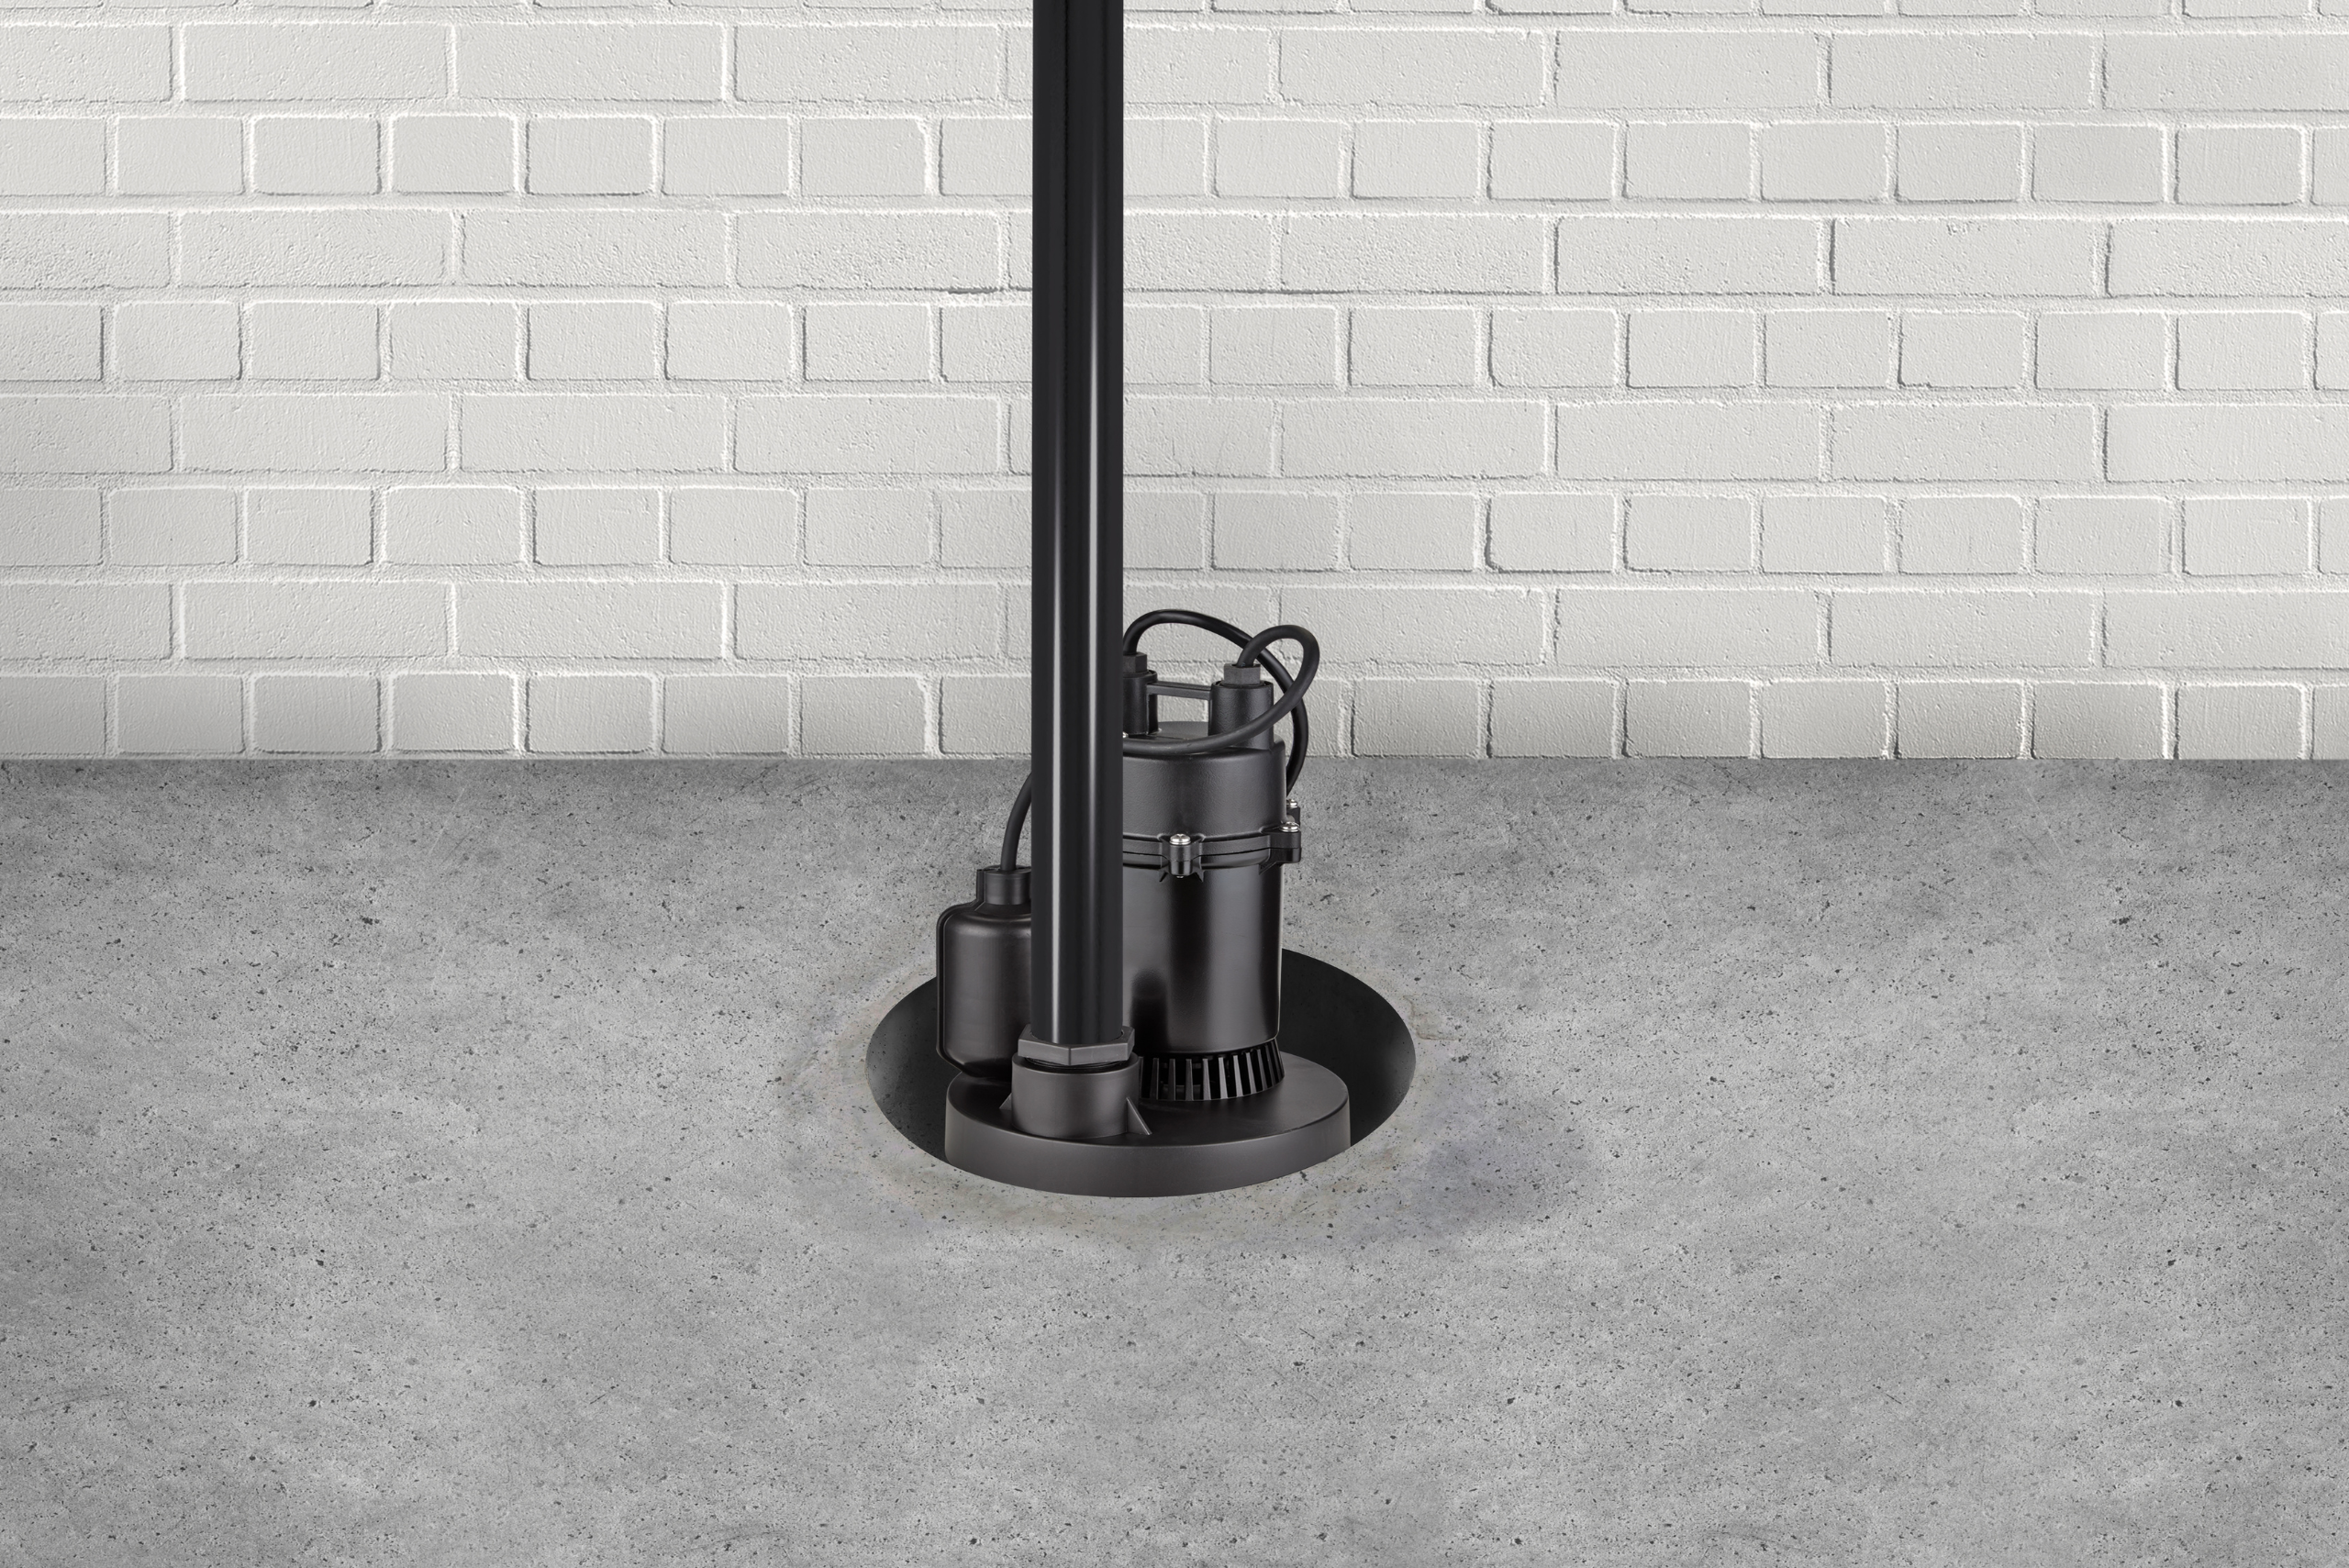
A sump pump can be a lifesaver for a flooded basement. It collects water and pumps it away from your home. Install the pump at the lowest point of your basement floor, preferably in a pit lined with a plastic basin. Choose between a submersible pump or a pedestal pump based on your basement’s water table.
10. Inspect Your Foundation and Take Notes
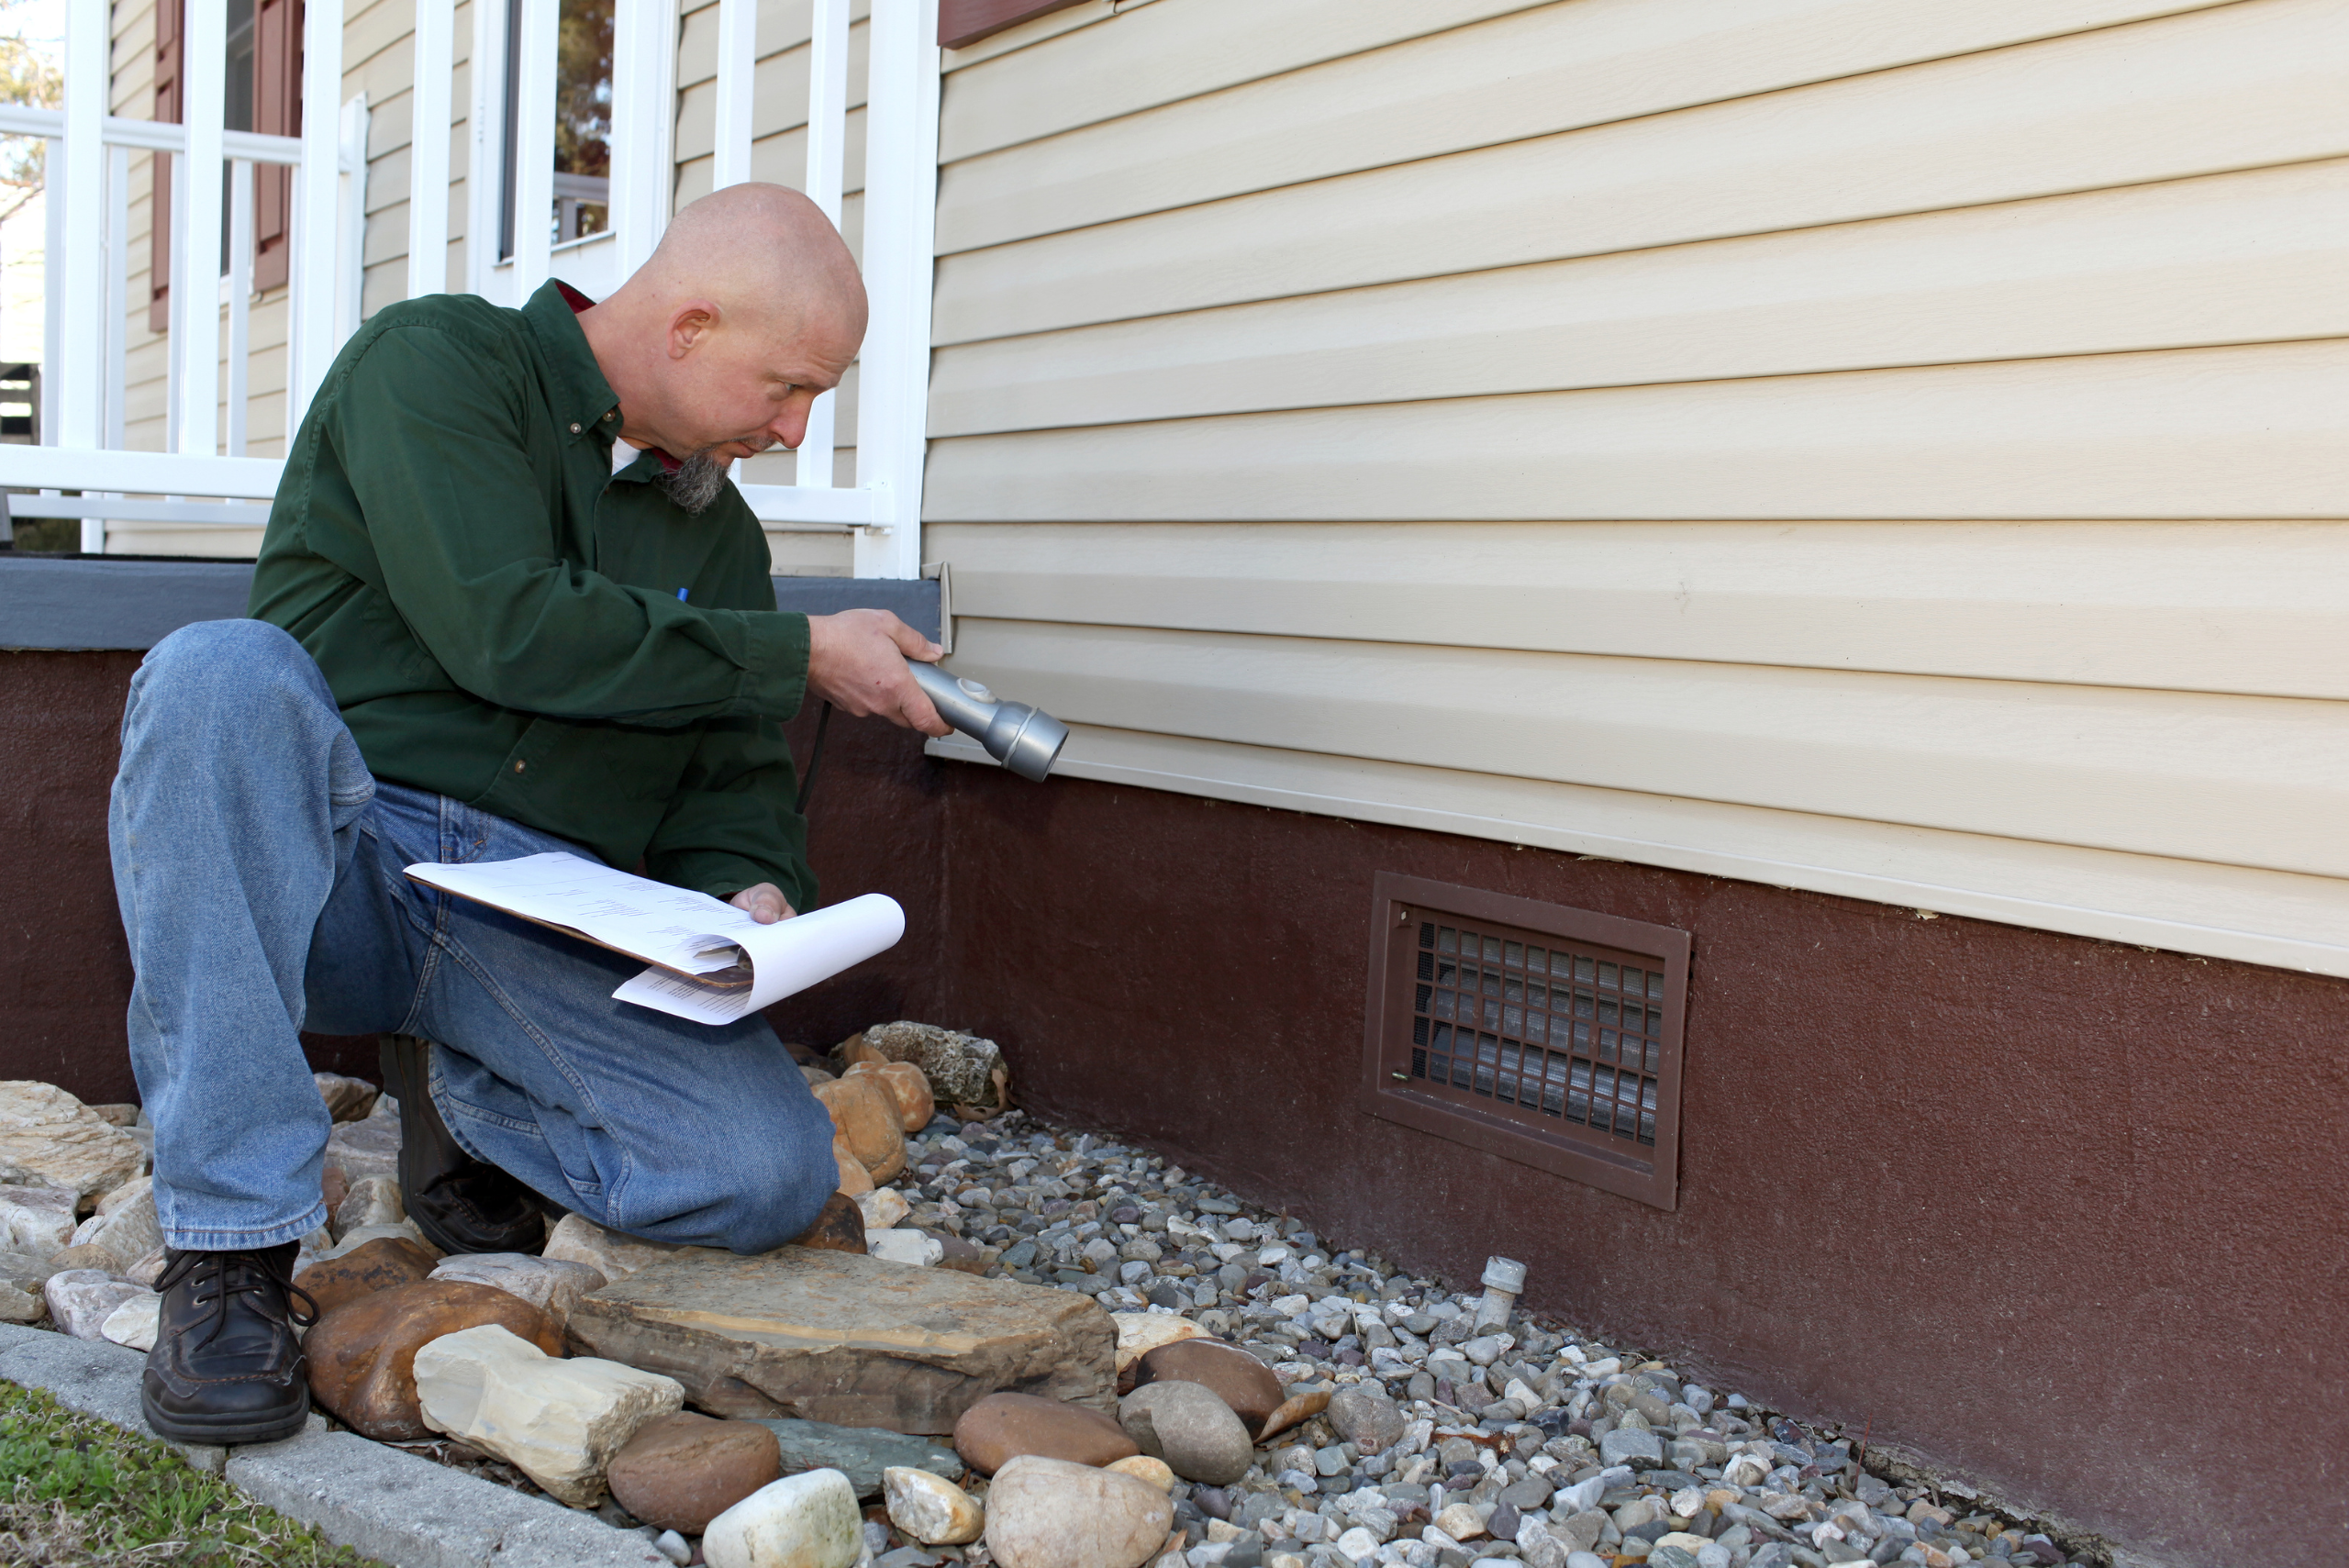
Regularly inspect the ground around your foundation for any signs of settling or improper grading. Use a four-foot level and tape measure to check the slope. Make a sketch of your house and yard, noting areas where the ground slopes towards the foundation. This will help you plan for regrading and other corrective measures.


