ManMade’s Submit A Project Series: Board and Batten Basement
This post is part of our Submit a Project Series, where our MMDIYers and renovation experts (or amateurs) get the recognition they deserve. Have a project you’re particularly proud of? We at ManMadeDIY want to see it! Click HERE or use the ‘Submit Your Project’ button on our home page to share your latest creations or renovations with us.
For today we have a submission from Michael W., who shared the board and batten feature wall they used for their complete basement renovation.
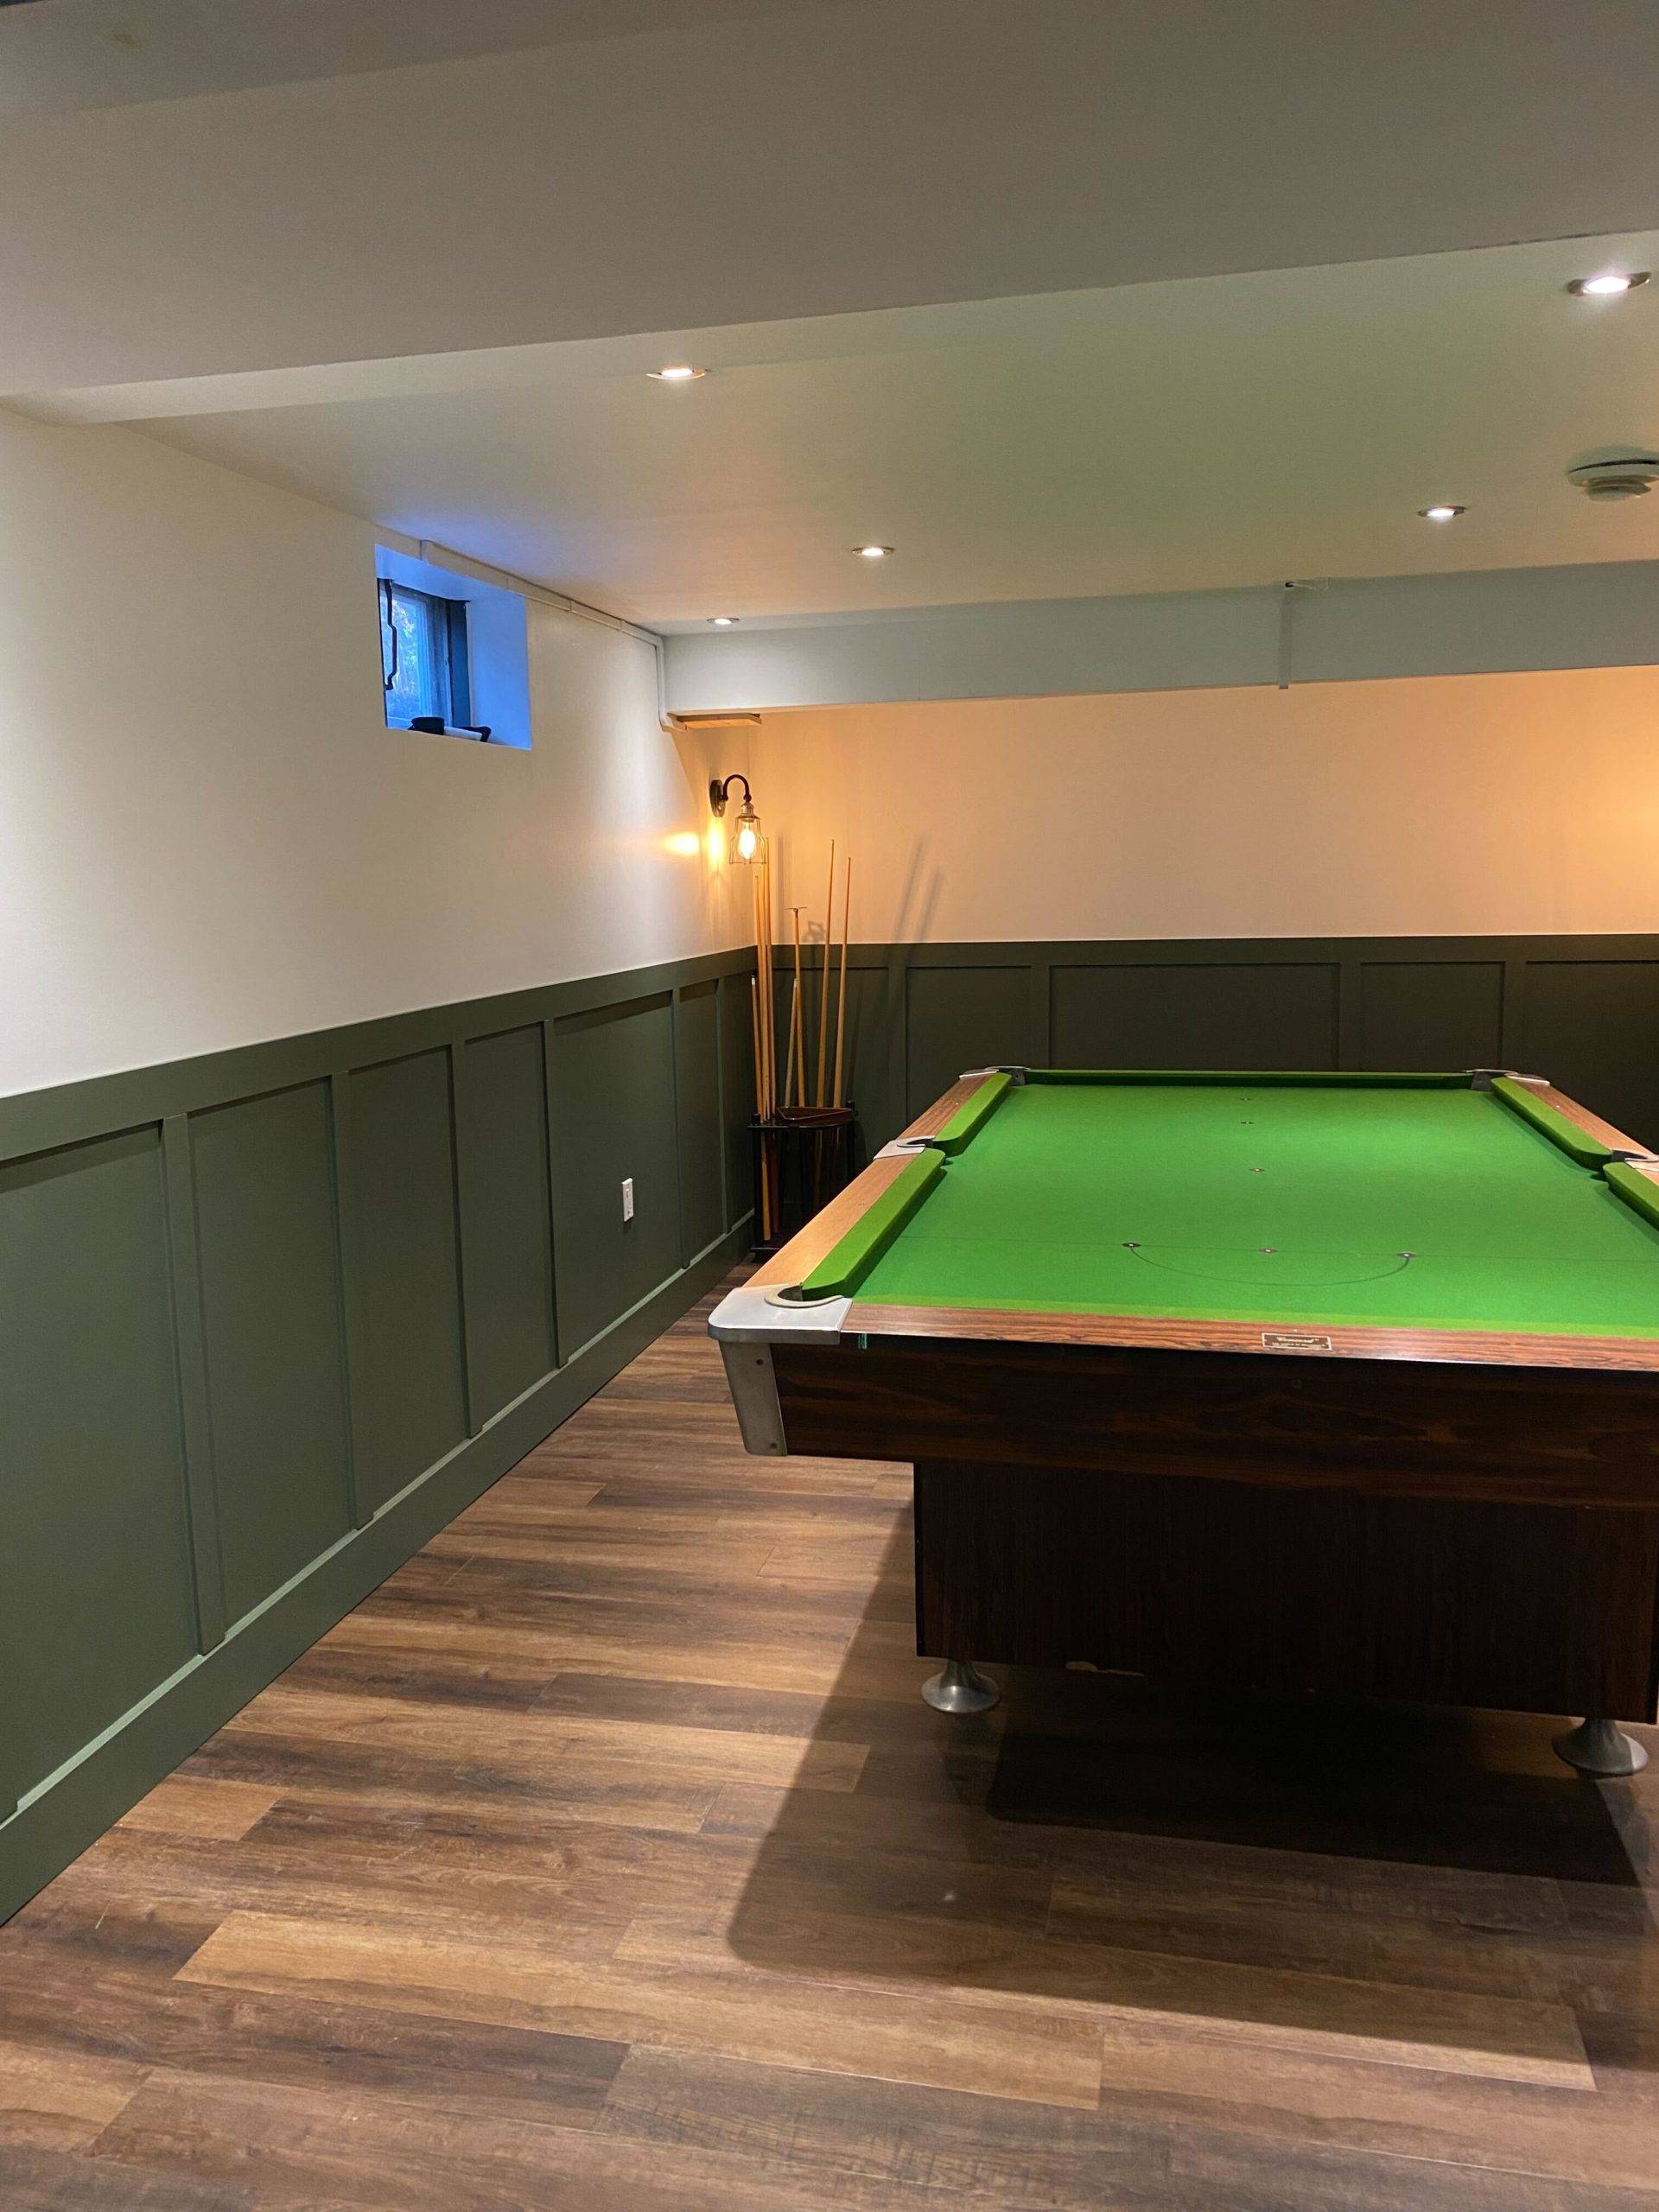
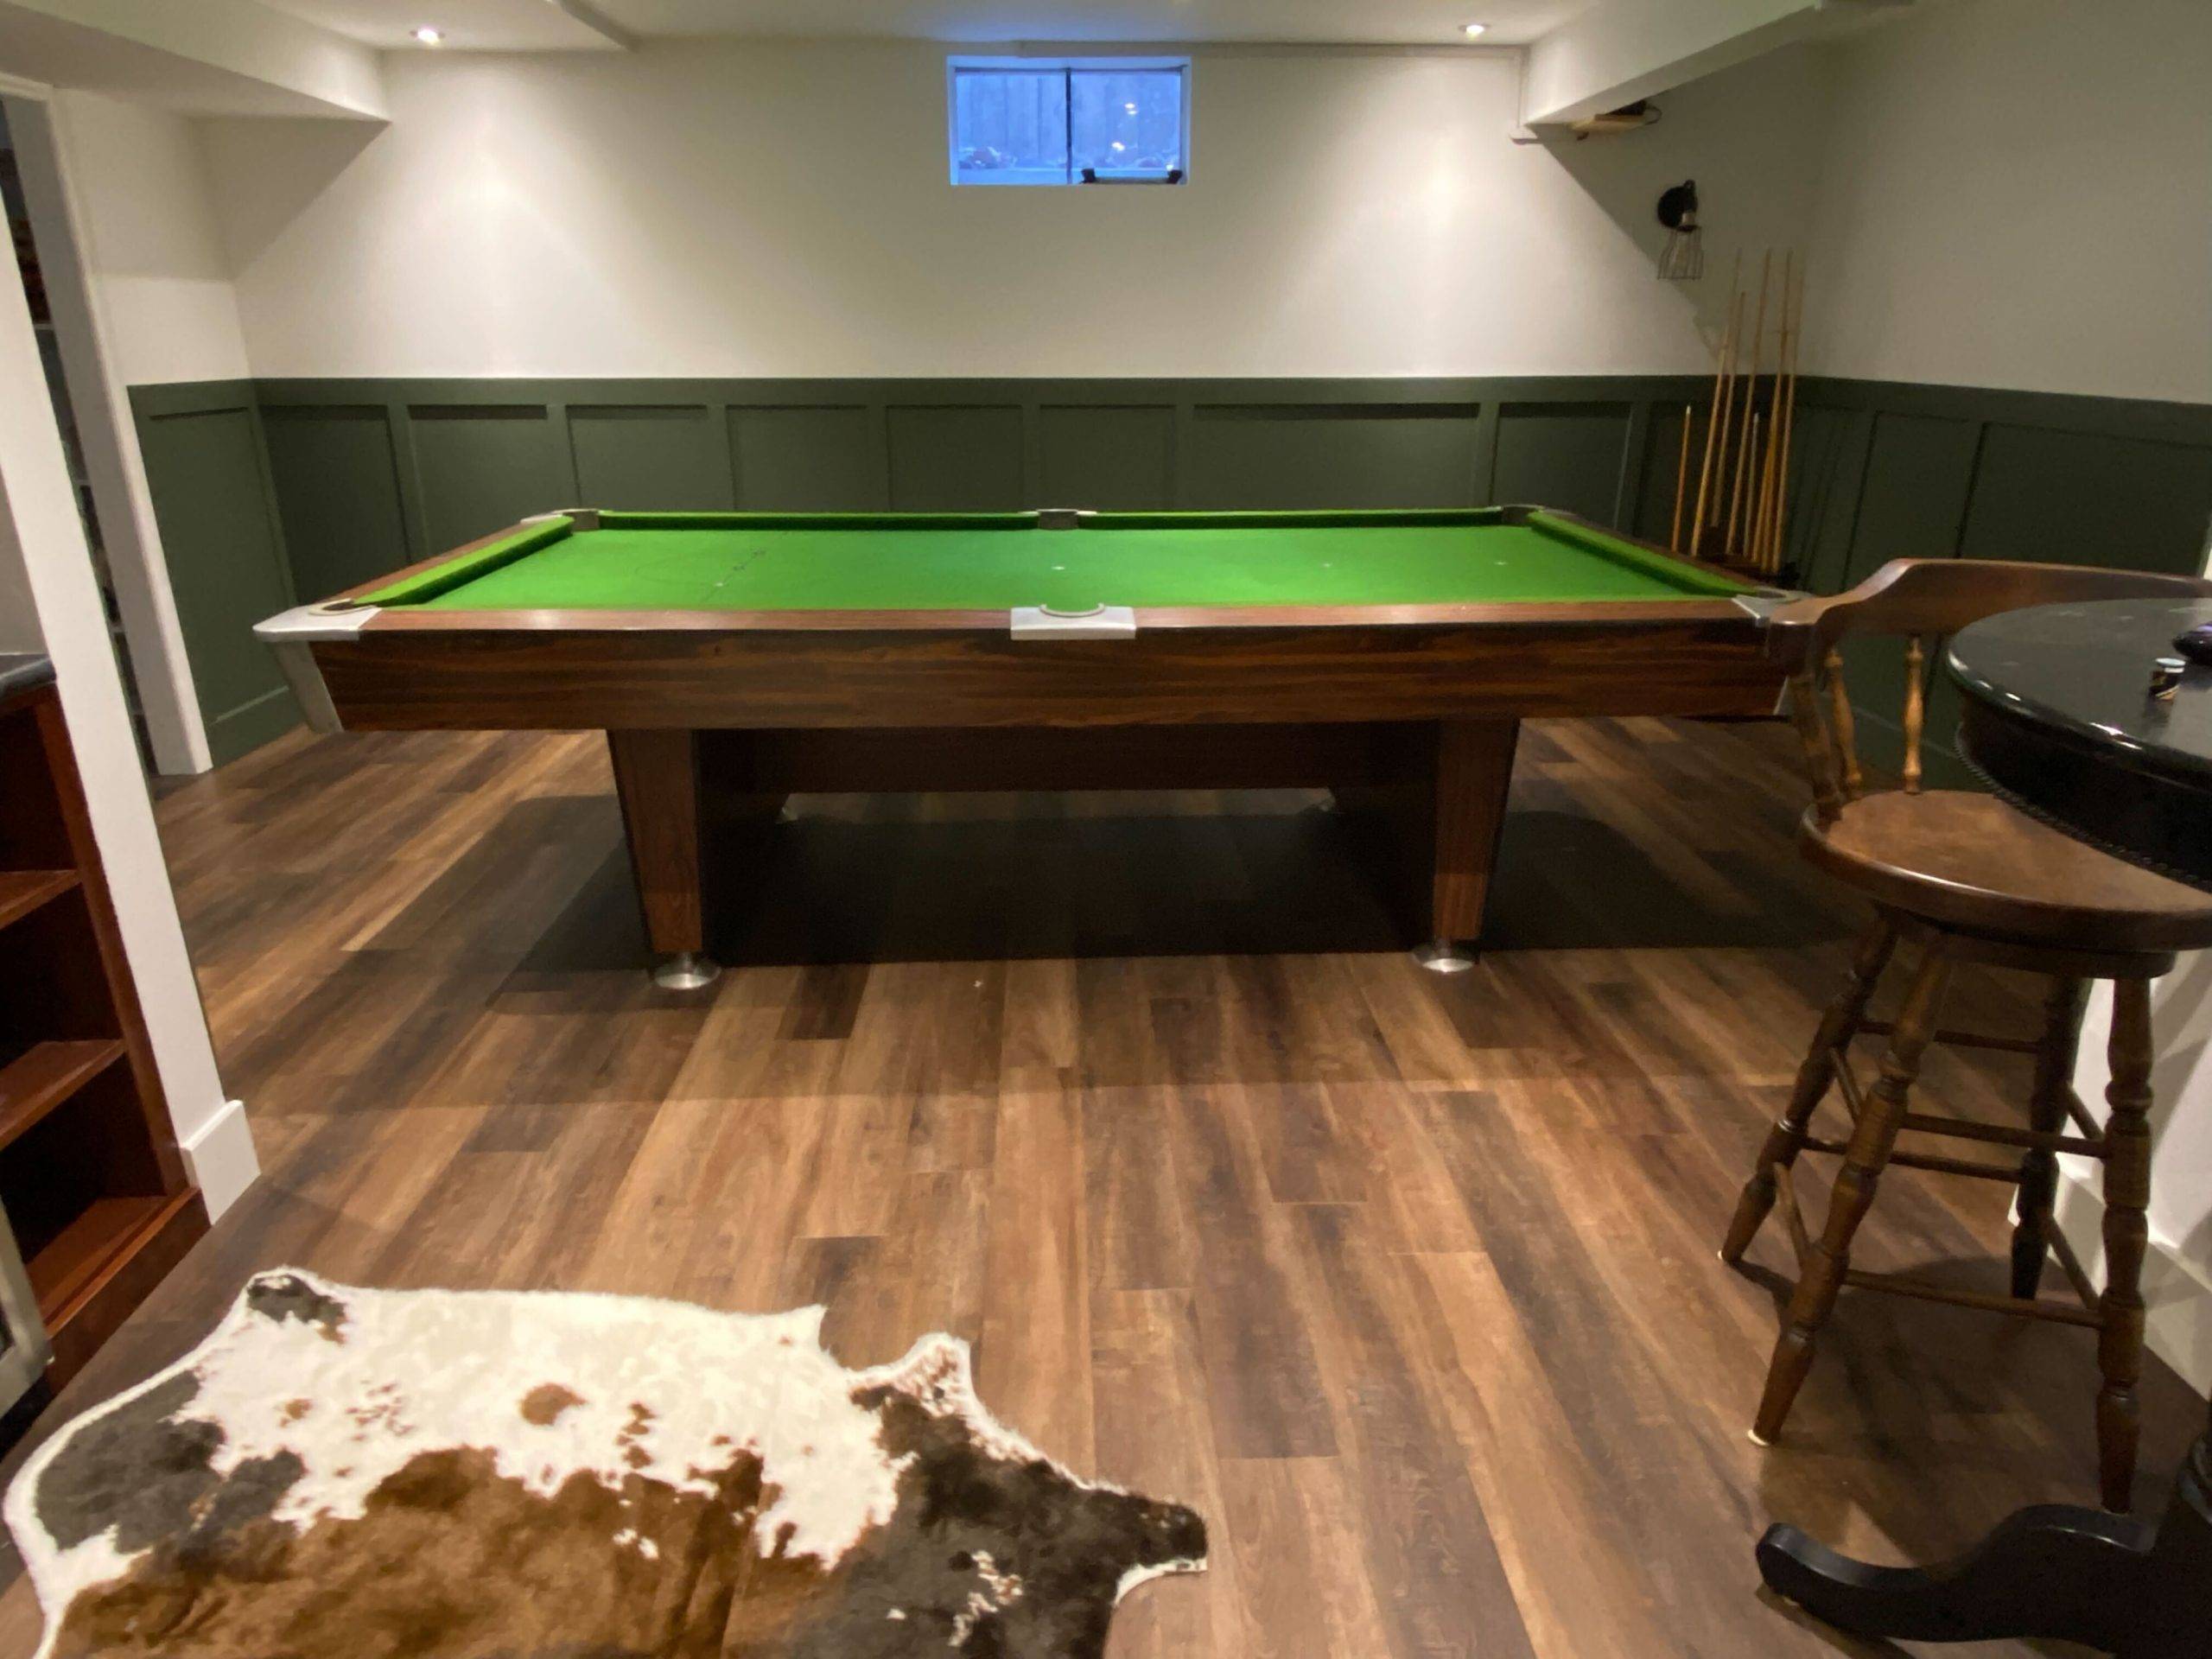
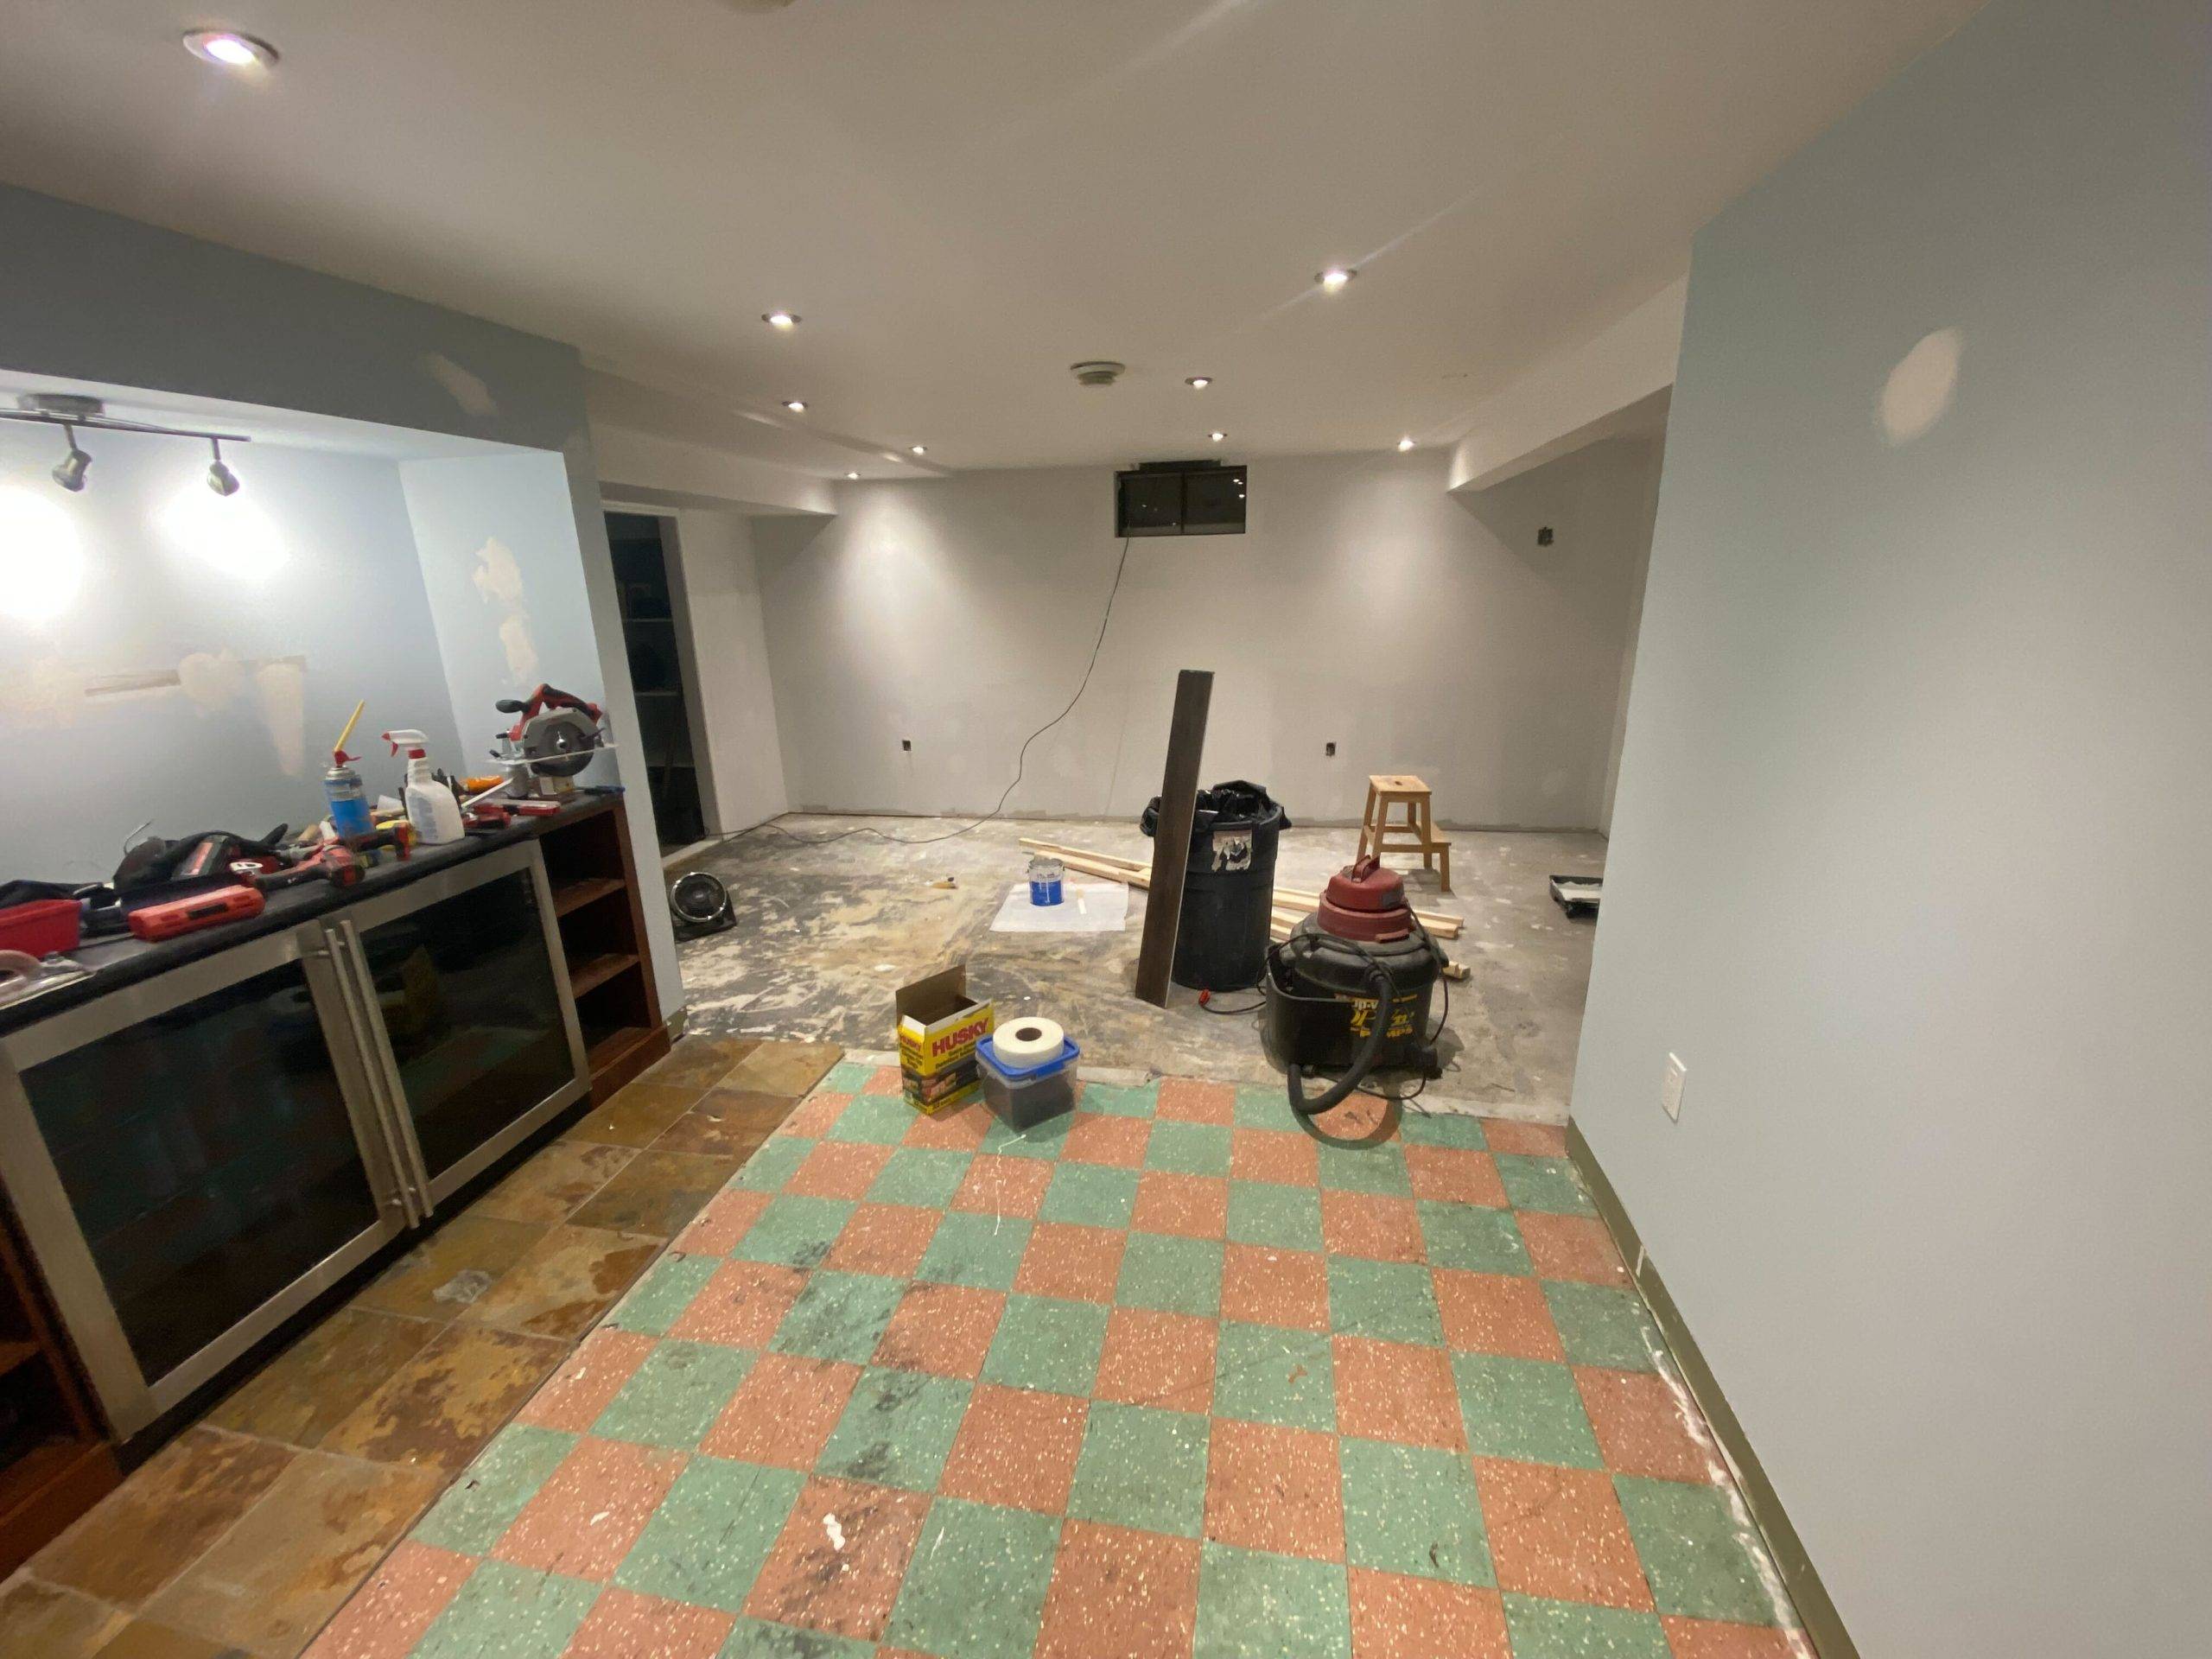
“We moved into a new home and decided to gut half the basement. The previous owners had a raised platform and projector for a movie room but we wanted to use the space for a pool table. We decided to do board and batten around the pool table to create a modern-pub style.”
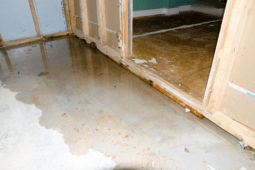
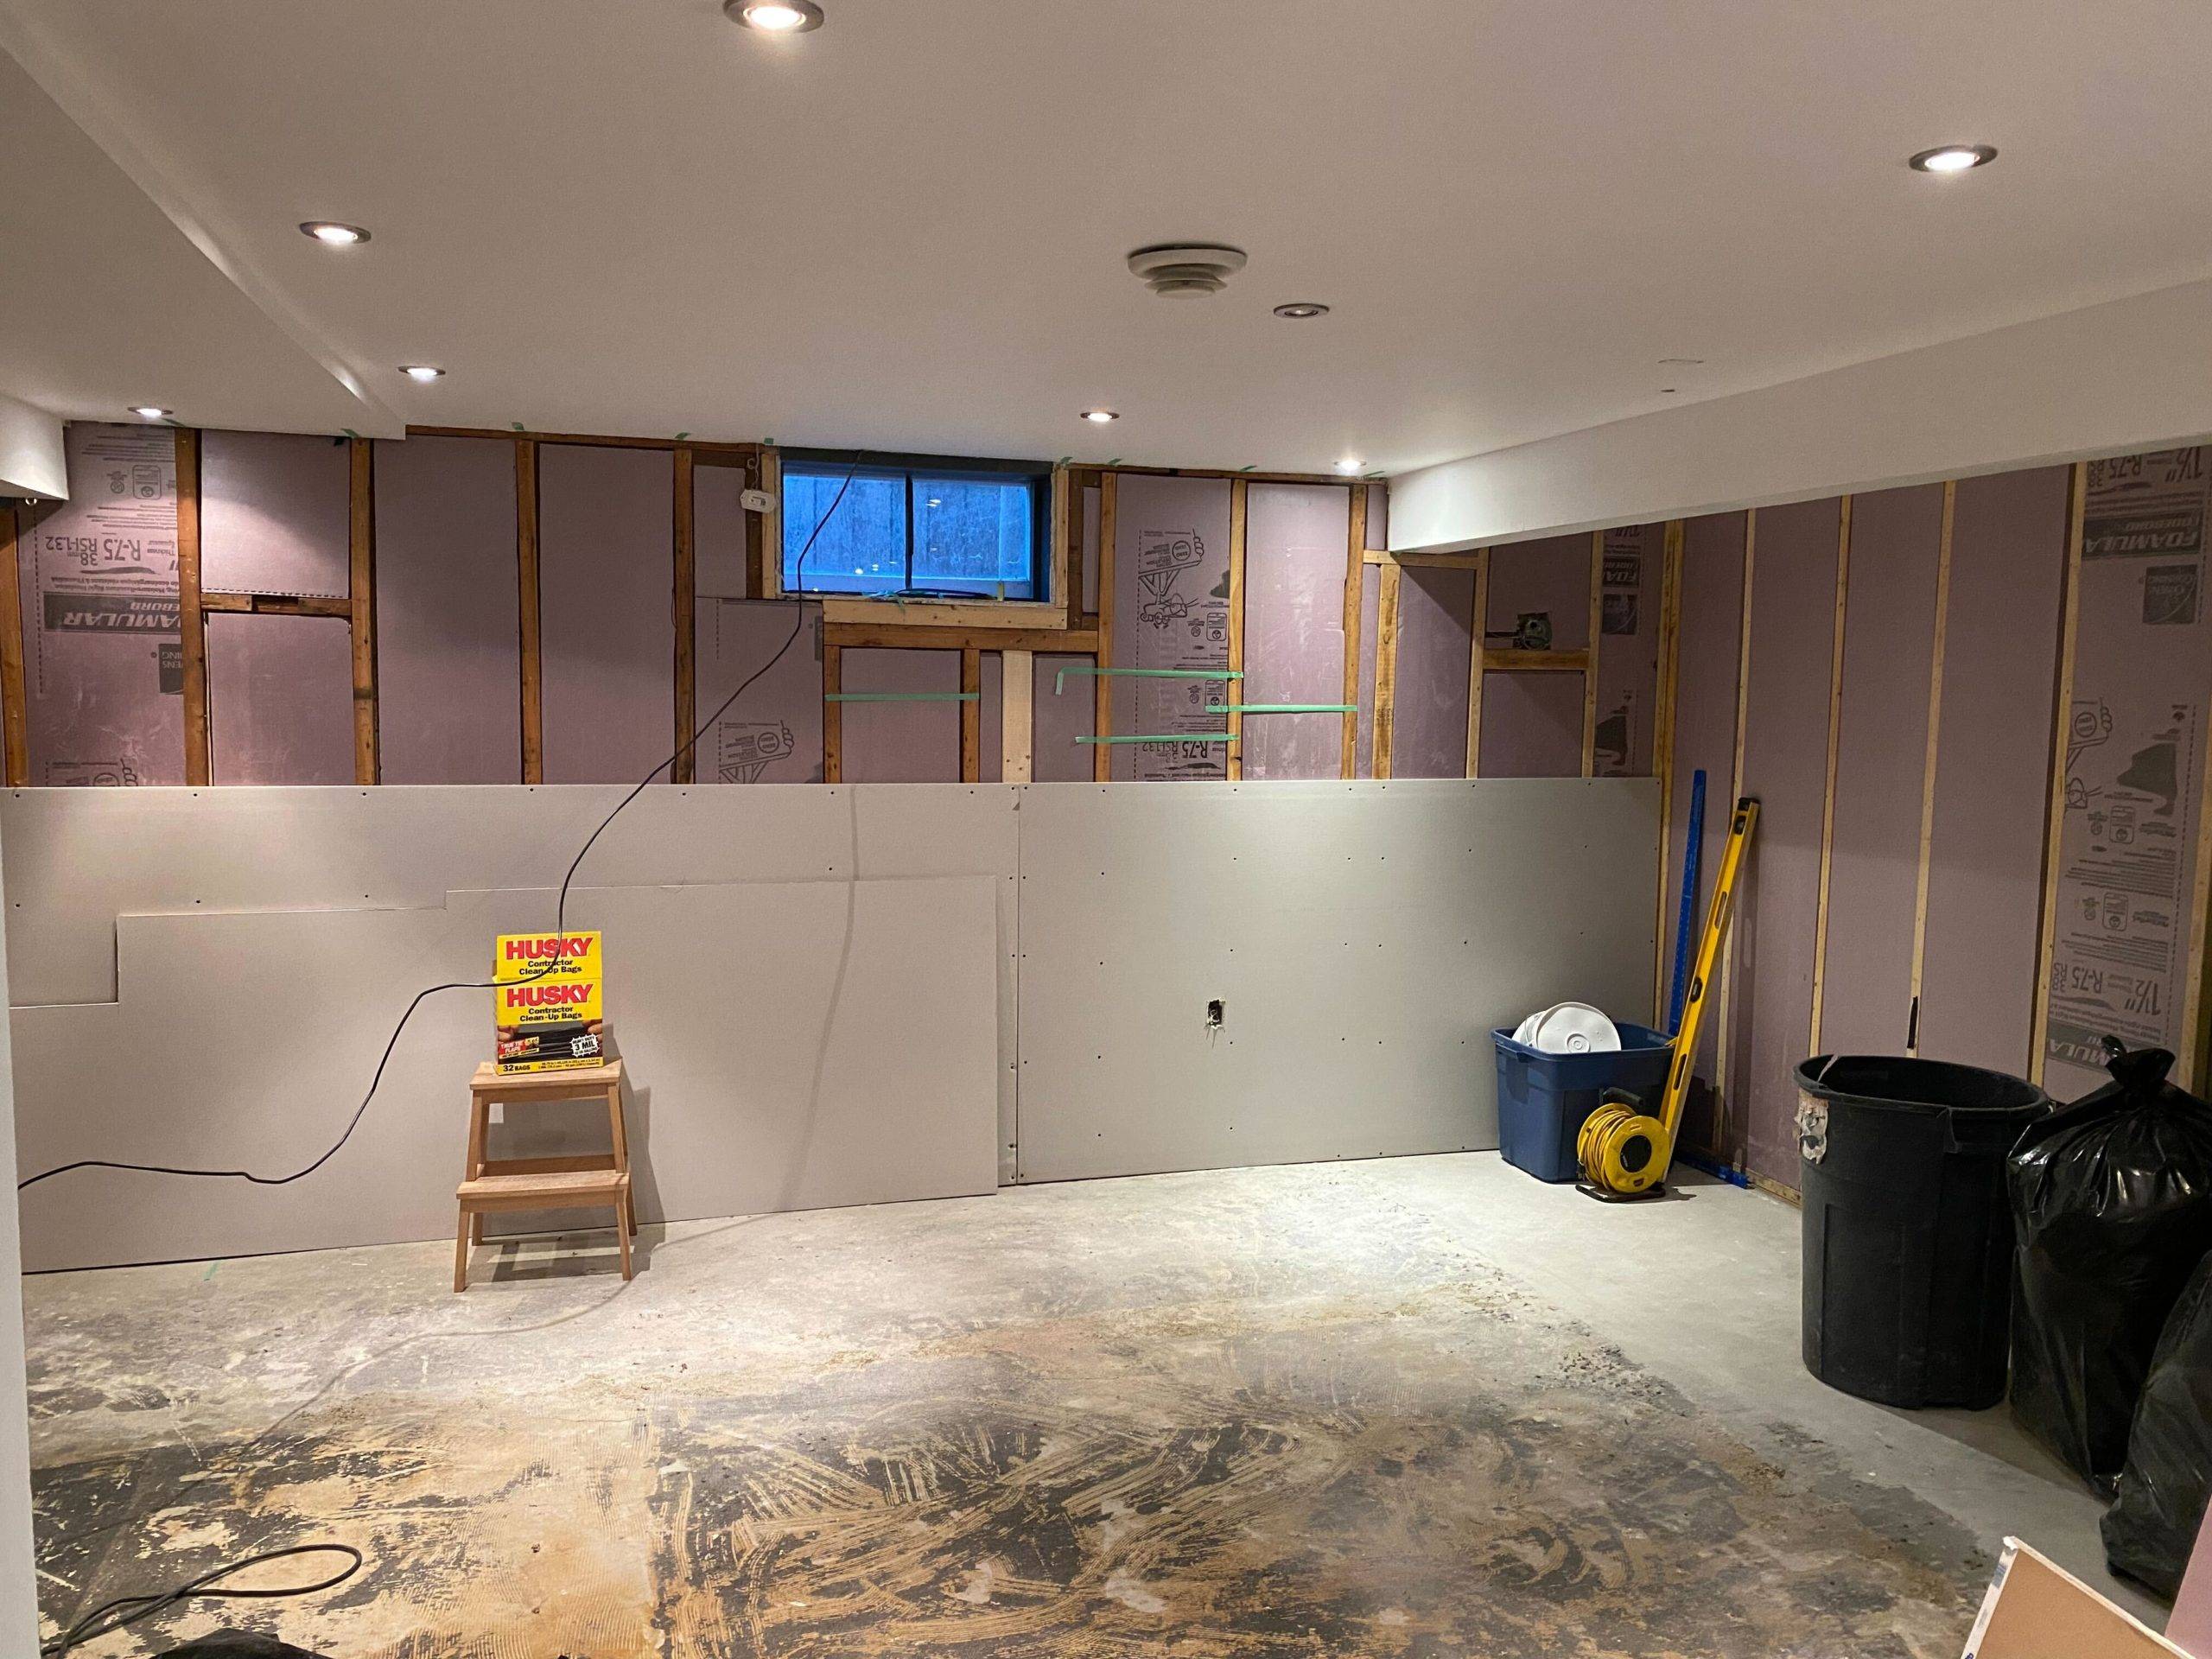
Step 1: Gutting and Preparing The Basement Walls
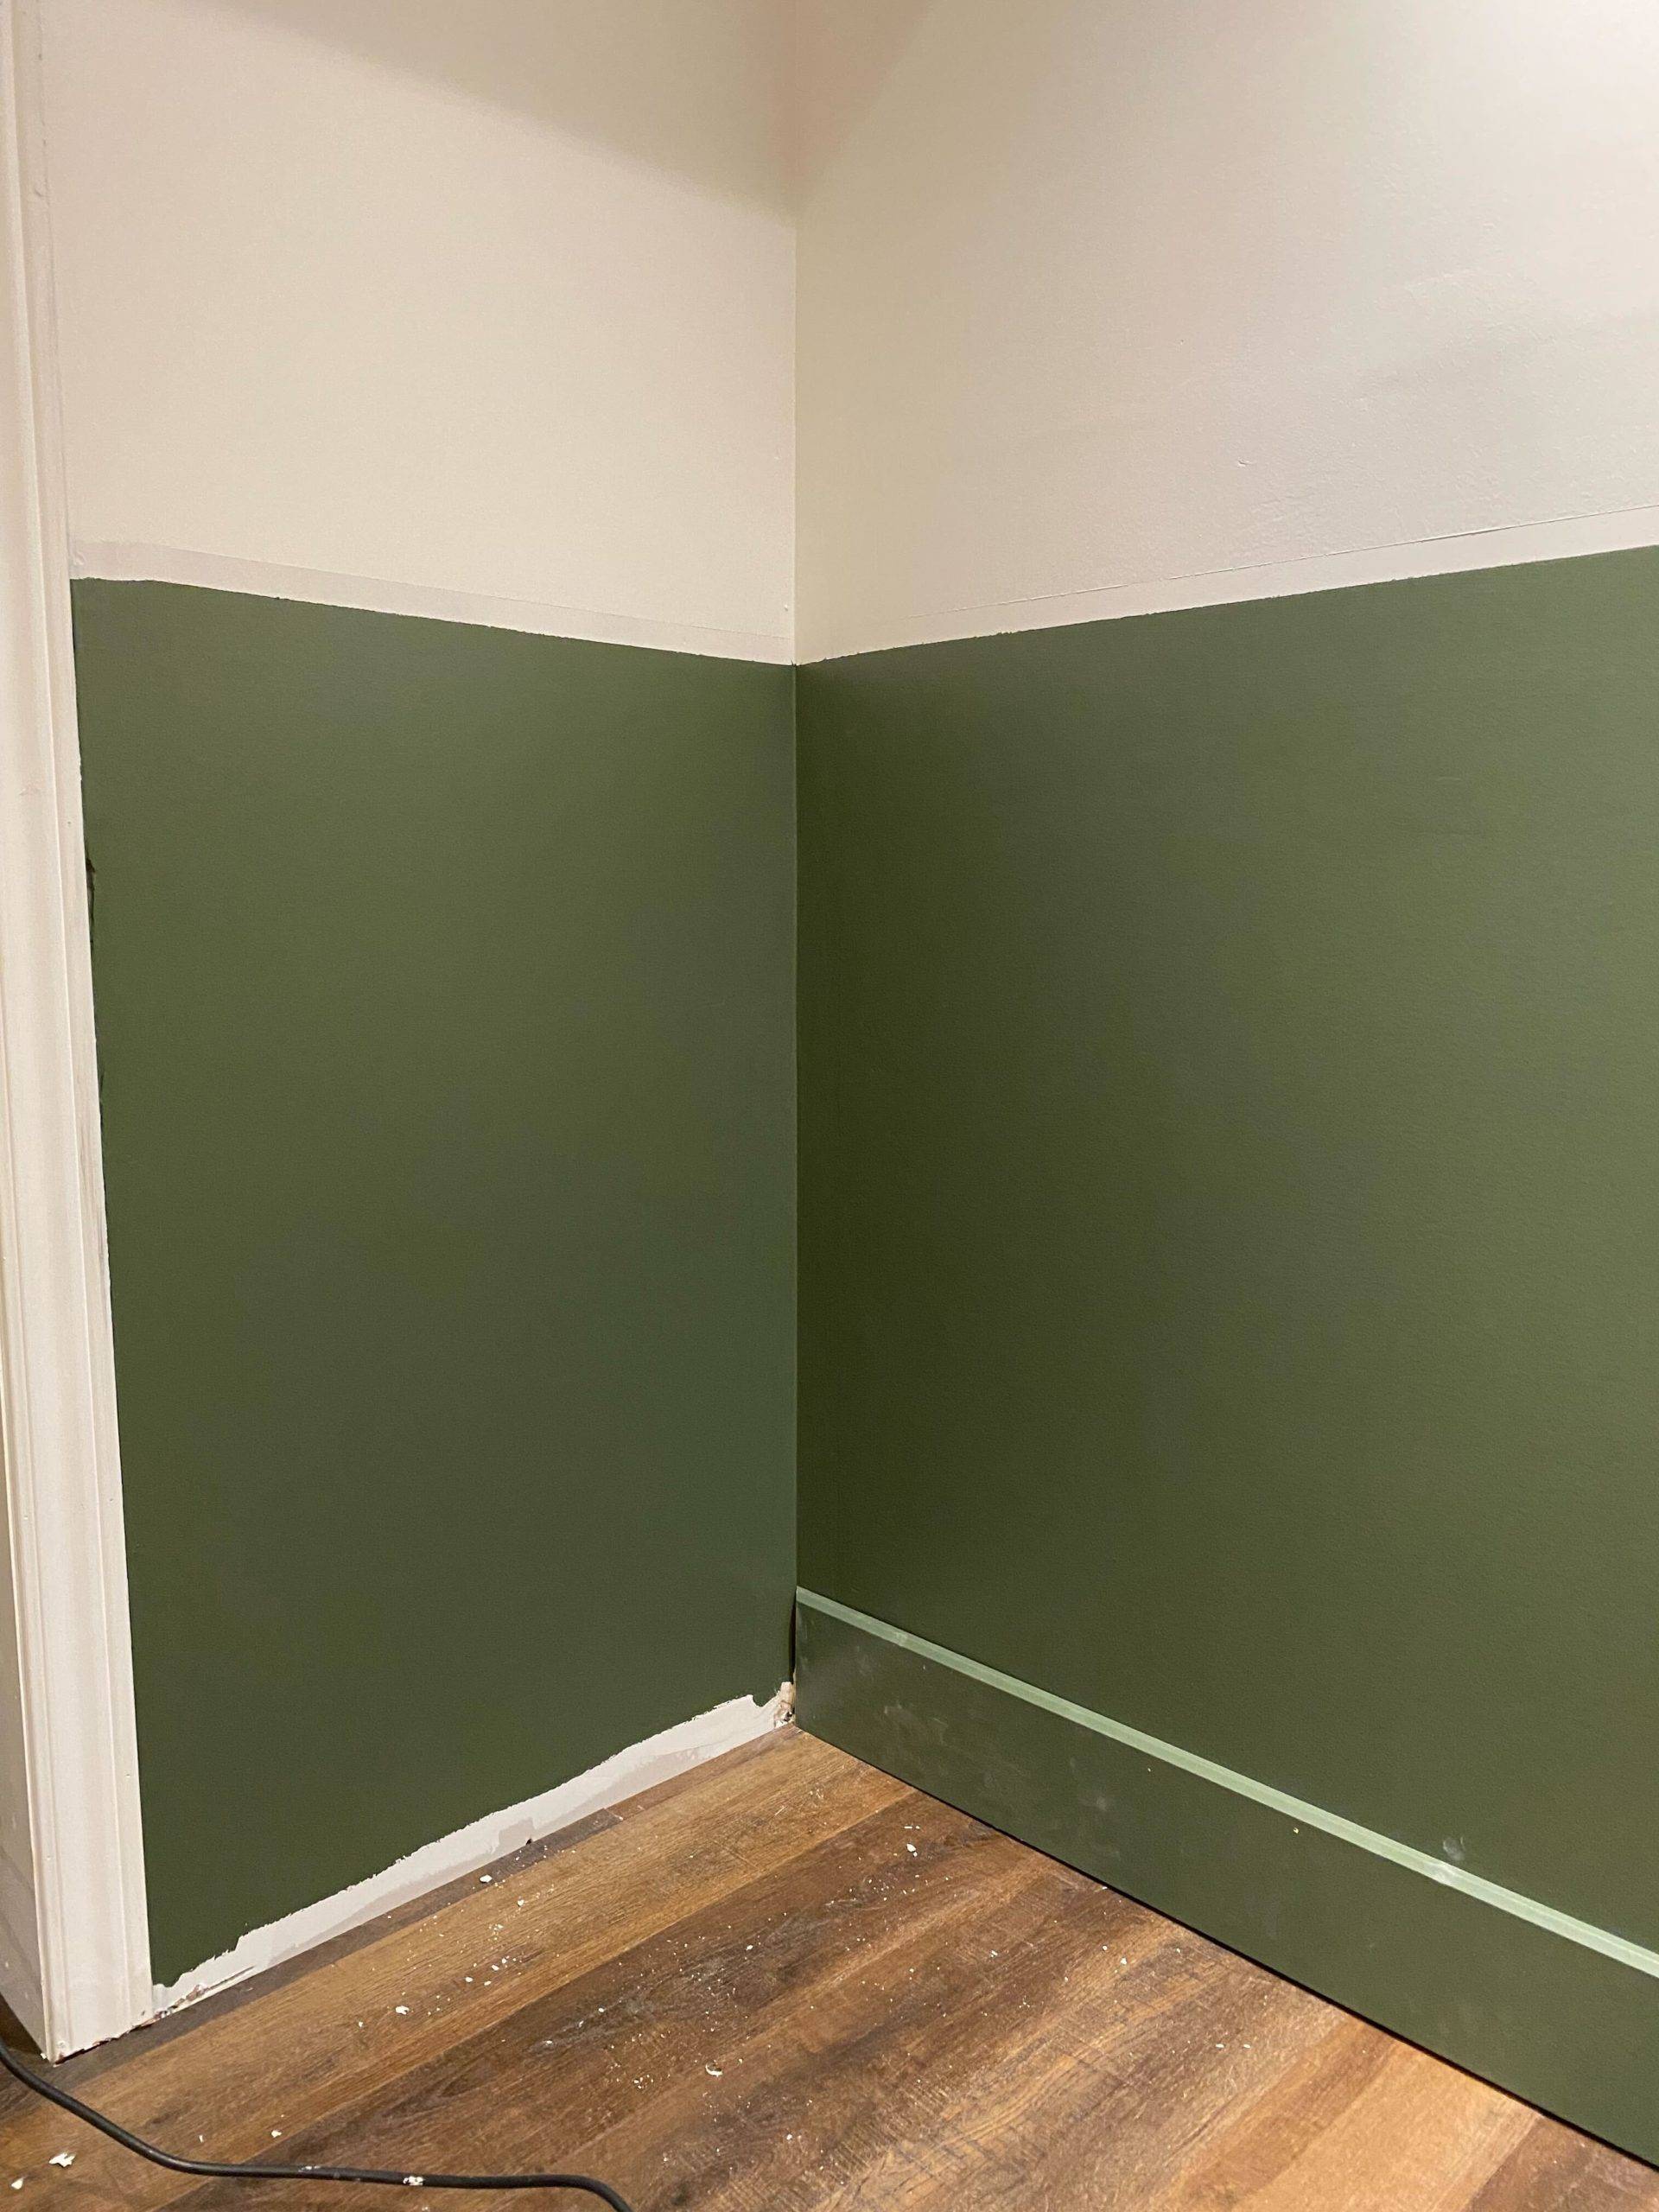
The board and batten was relatively simple since we started with a blank canvas and new drywall. We started by painting the walls half white, and half the dark green color for the board and batten. The color we chose for the board and batten is called Benjamin Moore Backwoods.
Step 2: Prepare The Trim and Boards
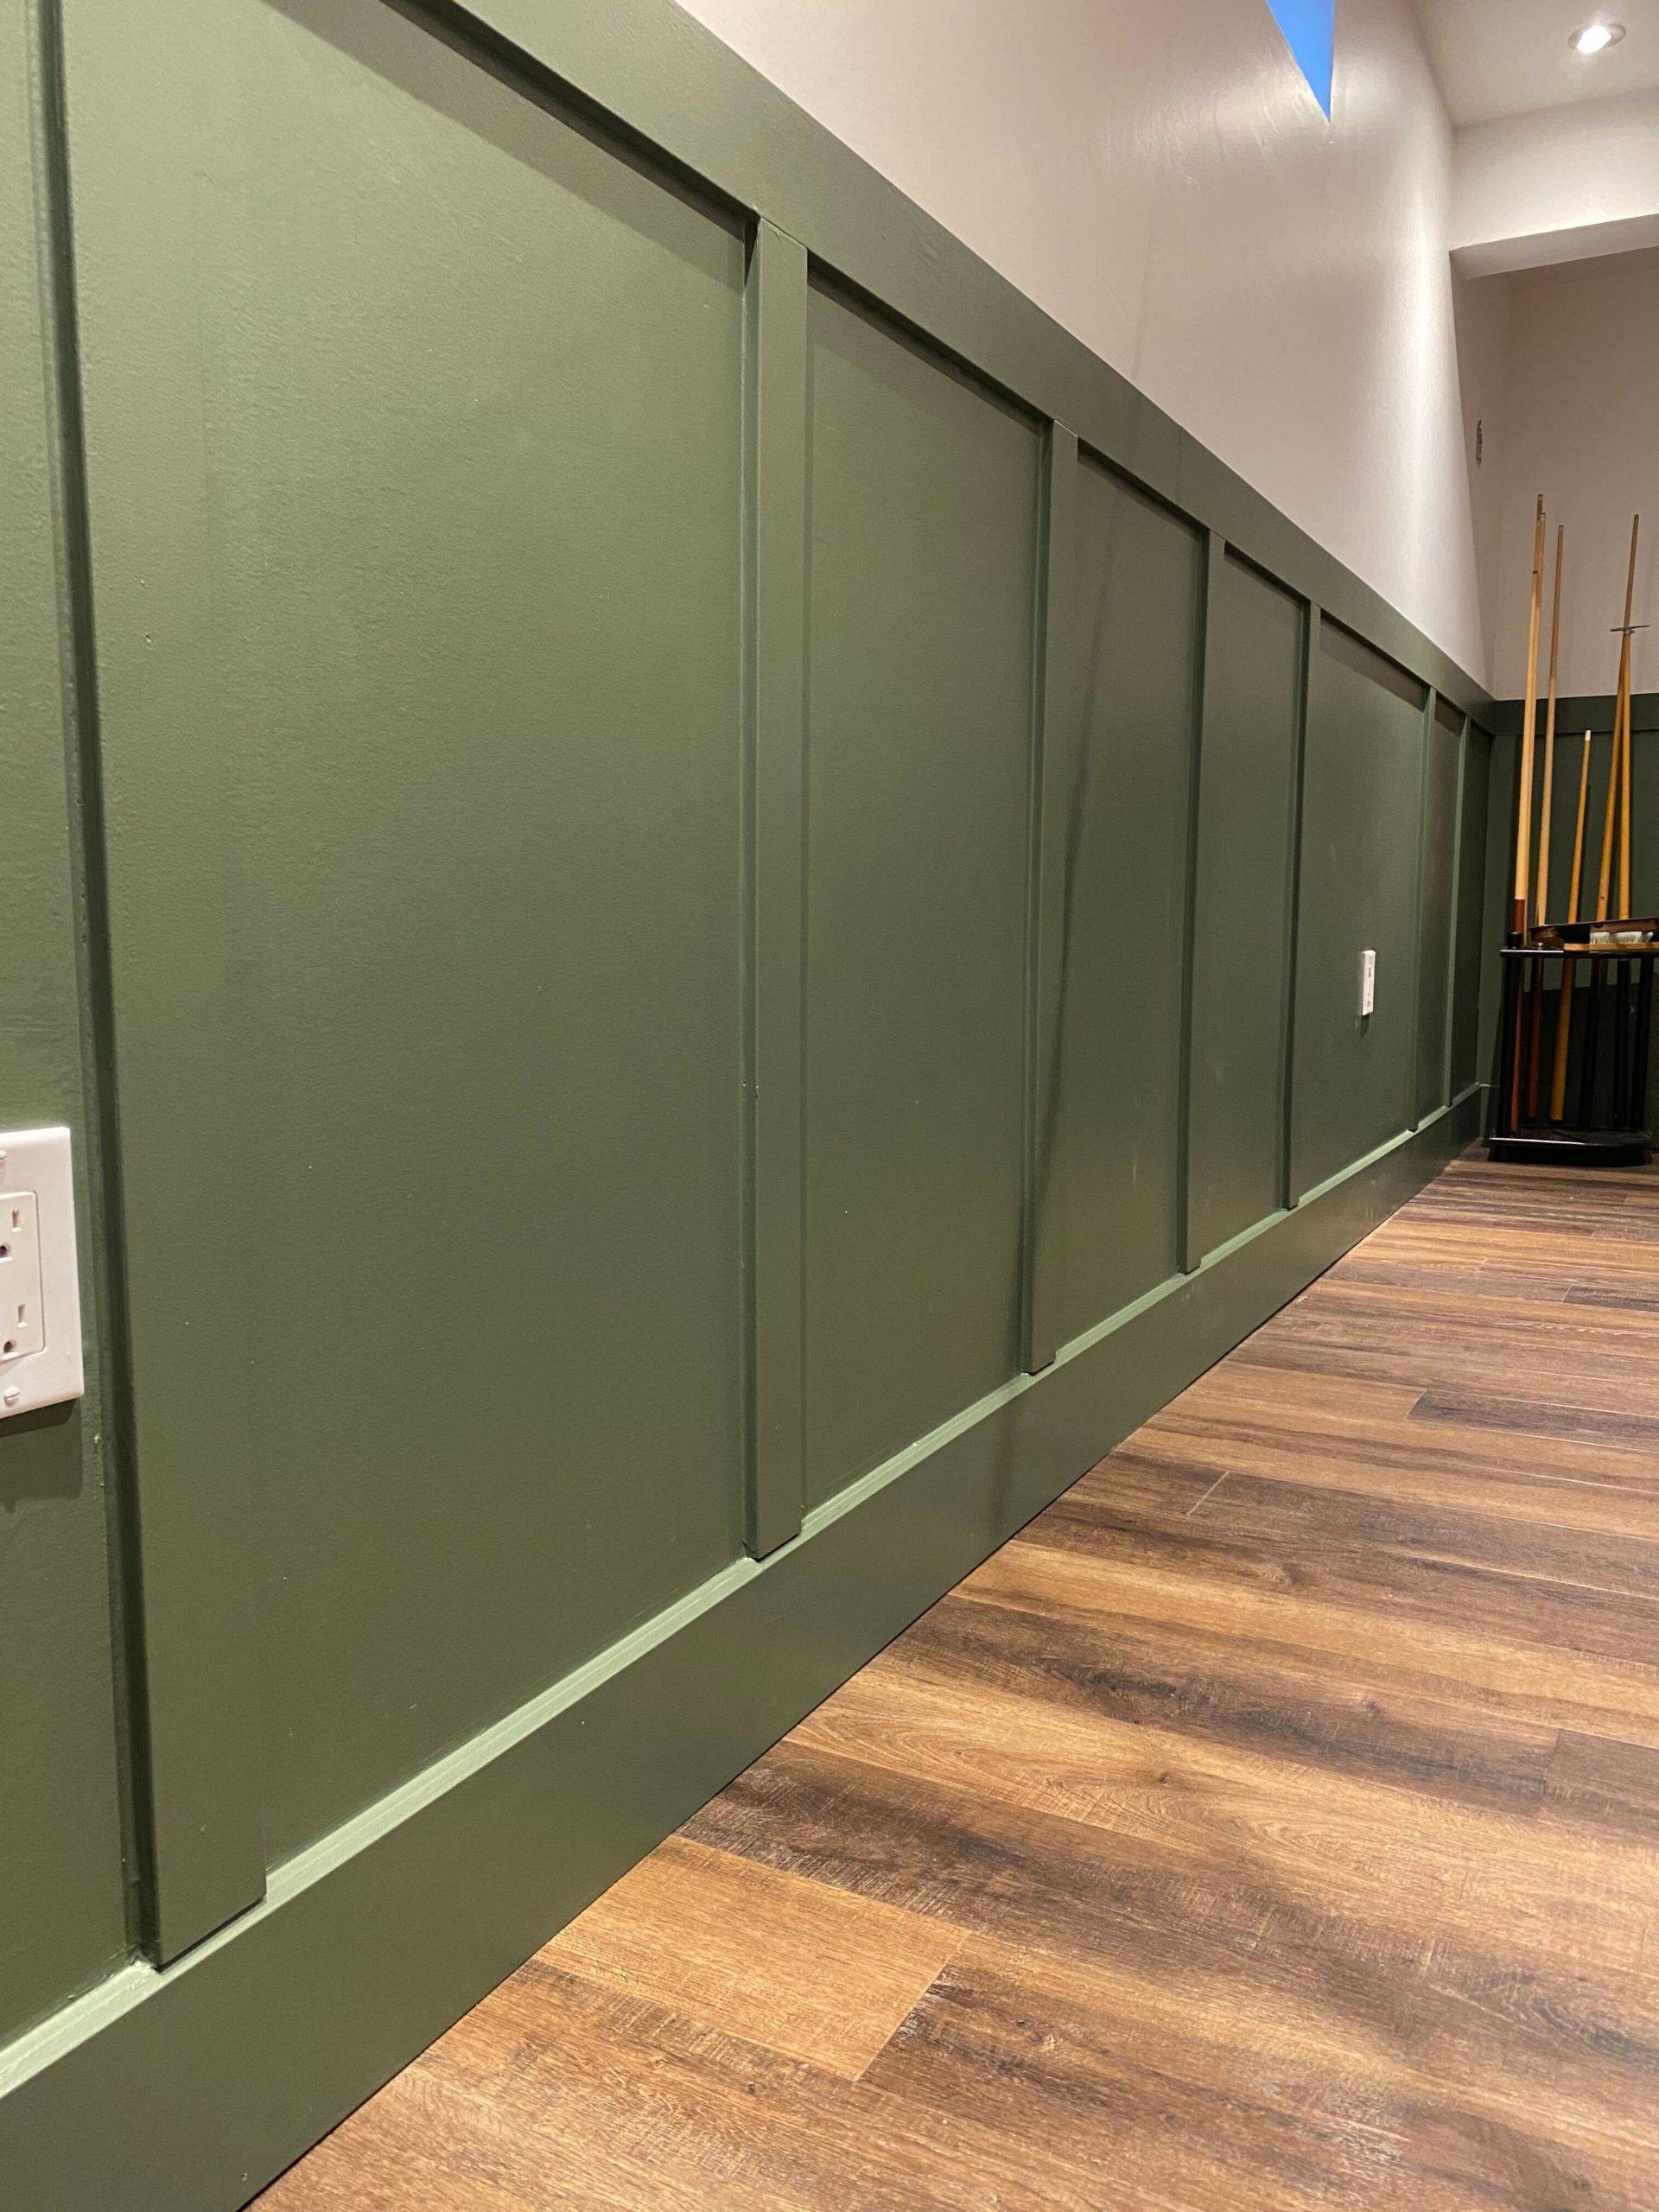
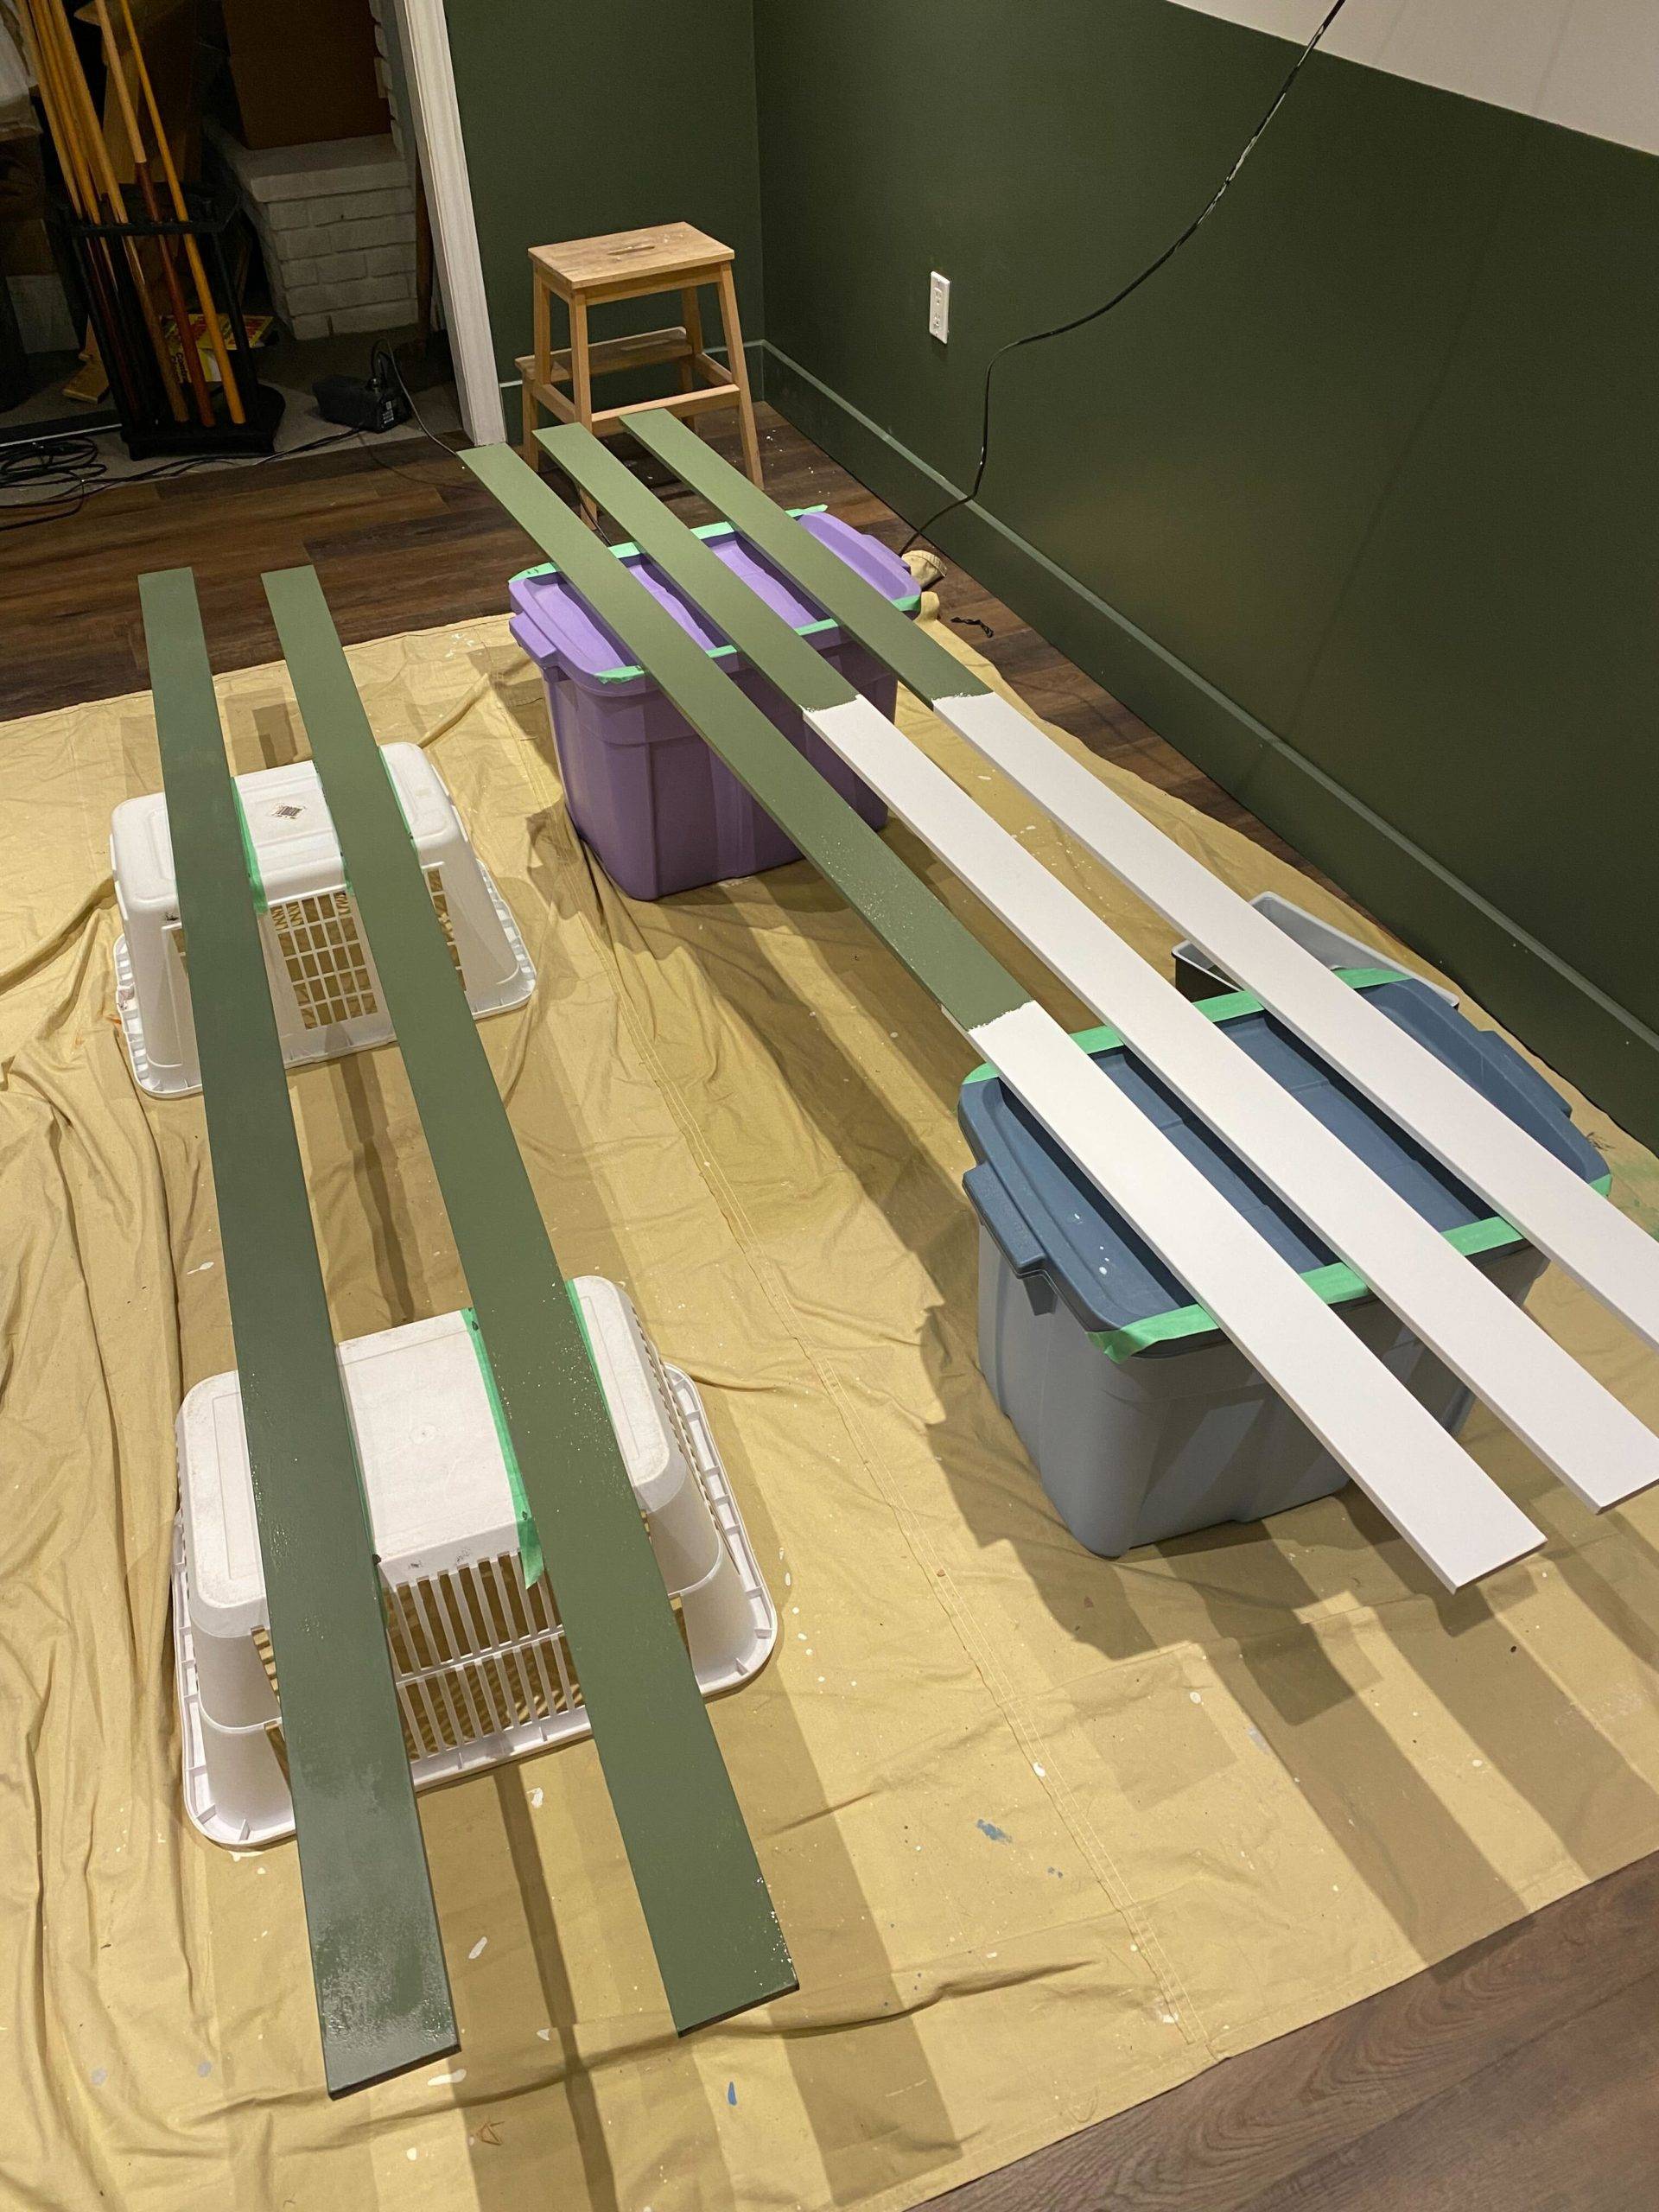
We quickly realized board and batten can either have a matching baseboard or sit on top of an already-white baseboard. We chose to go green all the way to the new, brown flooring. We sanded and painted the trim and boards beforehand because it made it way easier to make sure all sides were covered, and we didn’t risk getting dark green paint on the white half of the wall, or the floor.
After that, we painted the horizontal trim and baseboards before attaching them to the wall, then attached carefully using a compressed air gun and level.
Step 3: Choose Your Spacing and Attach
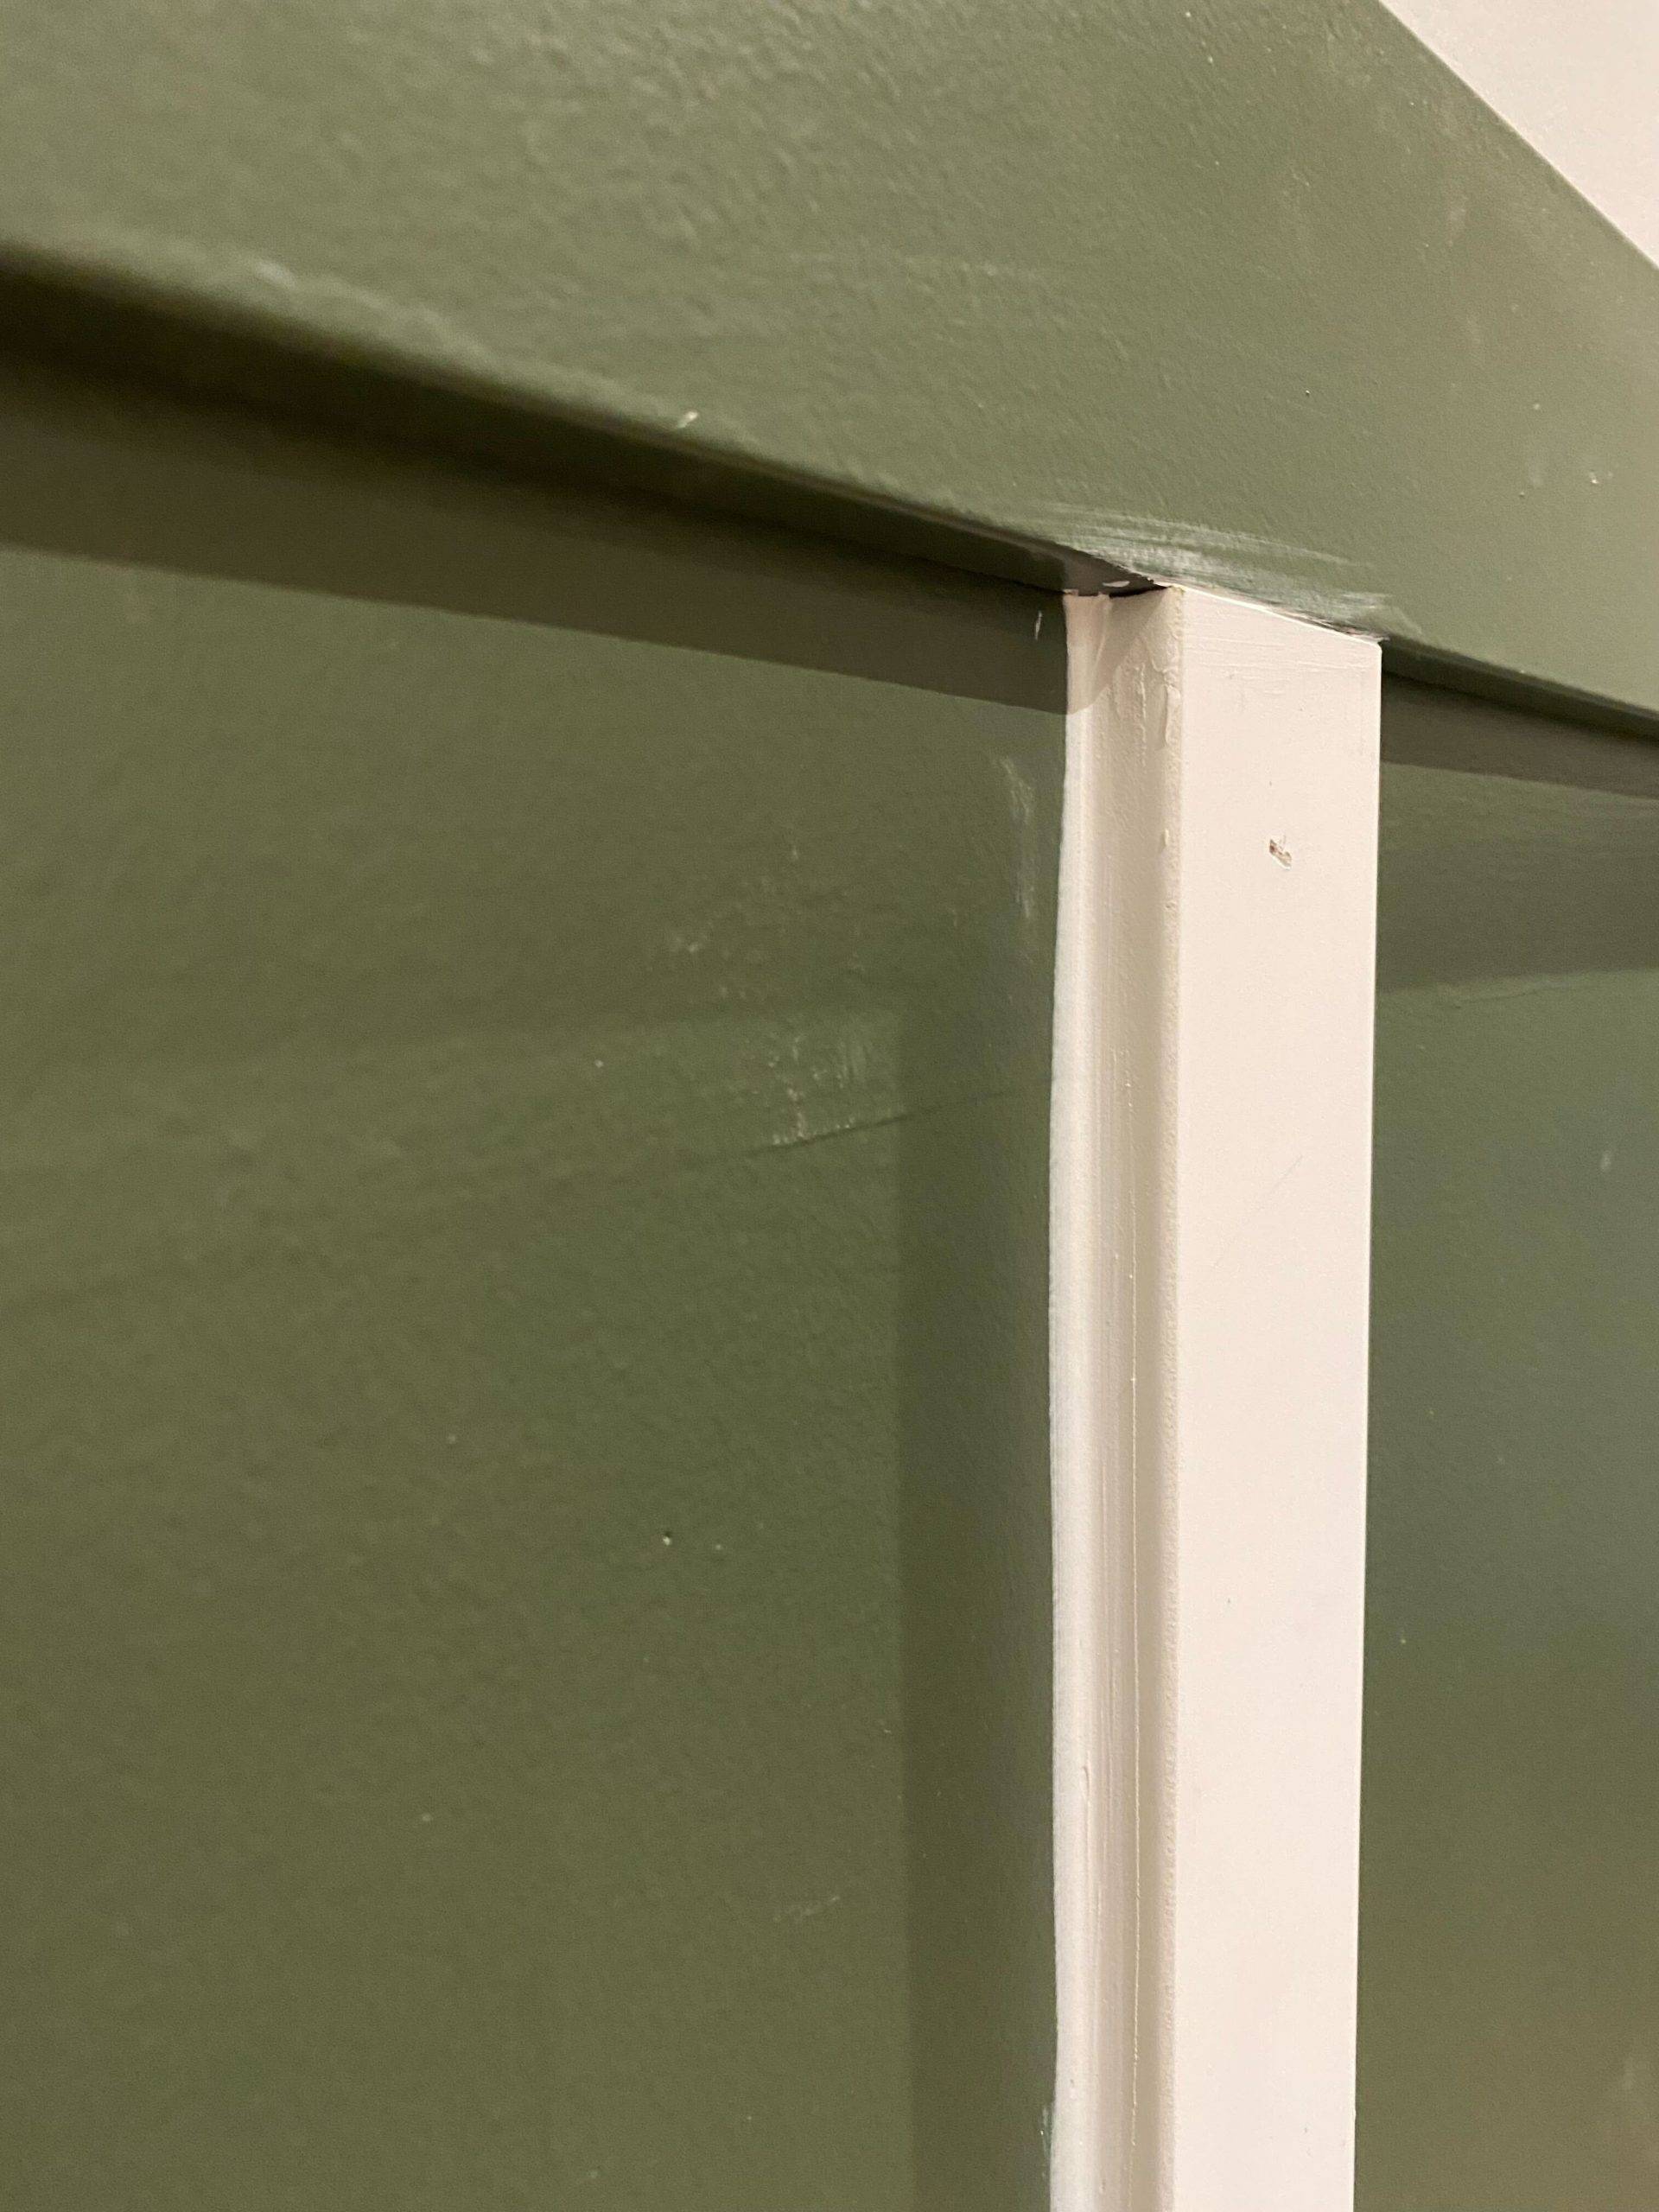
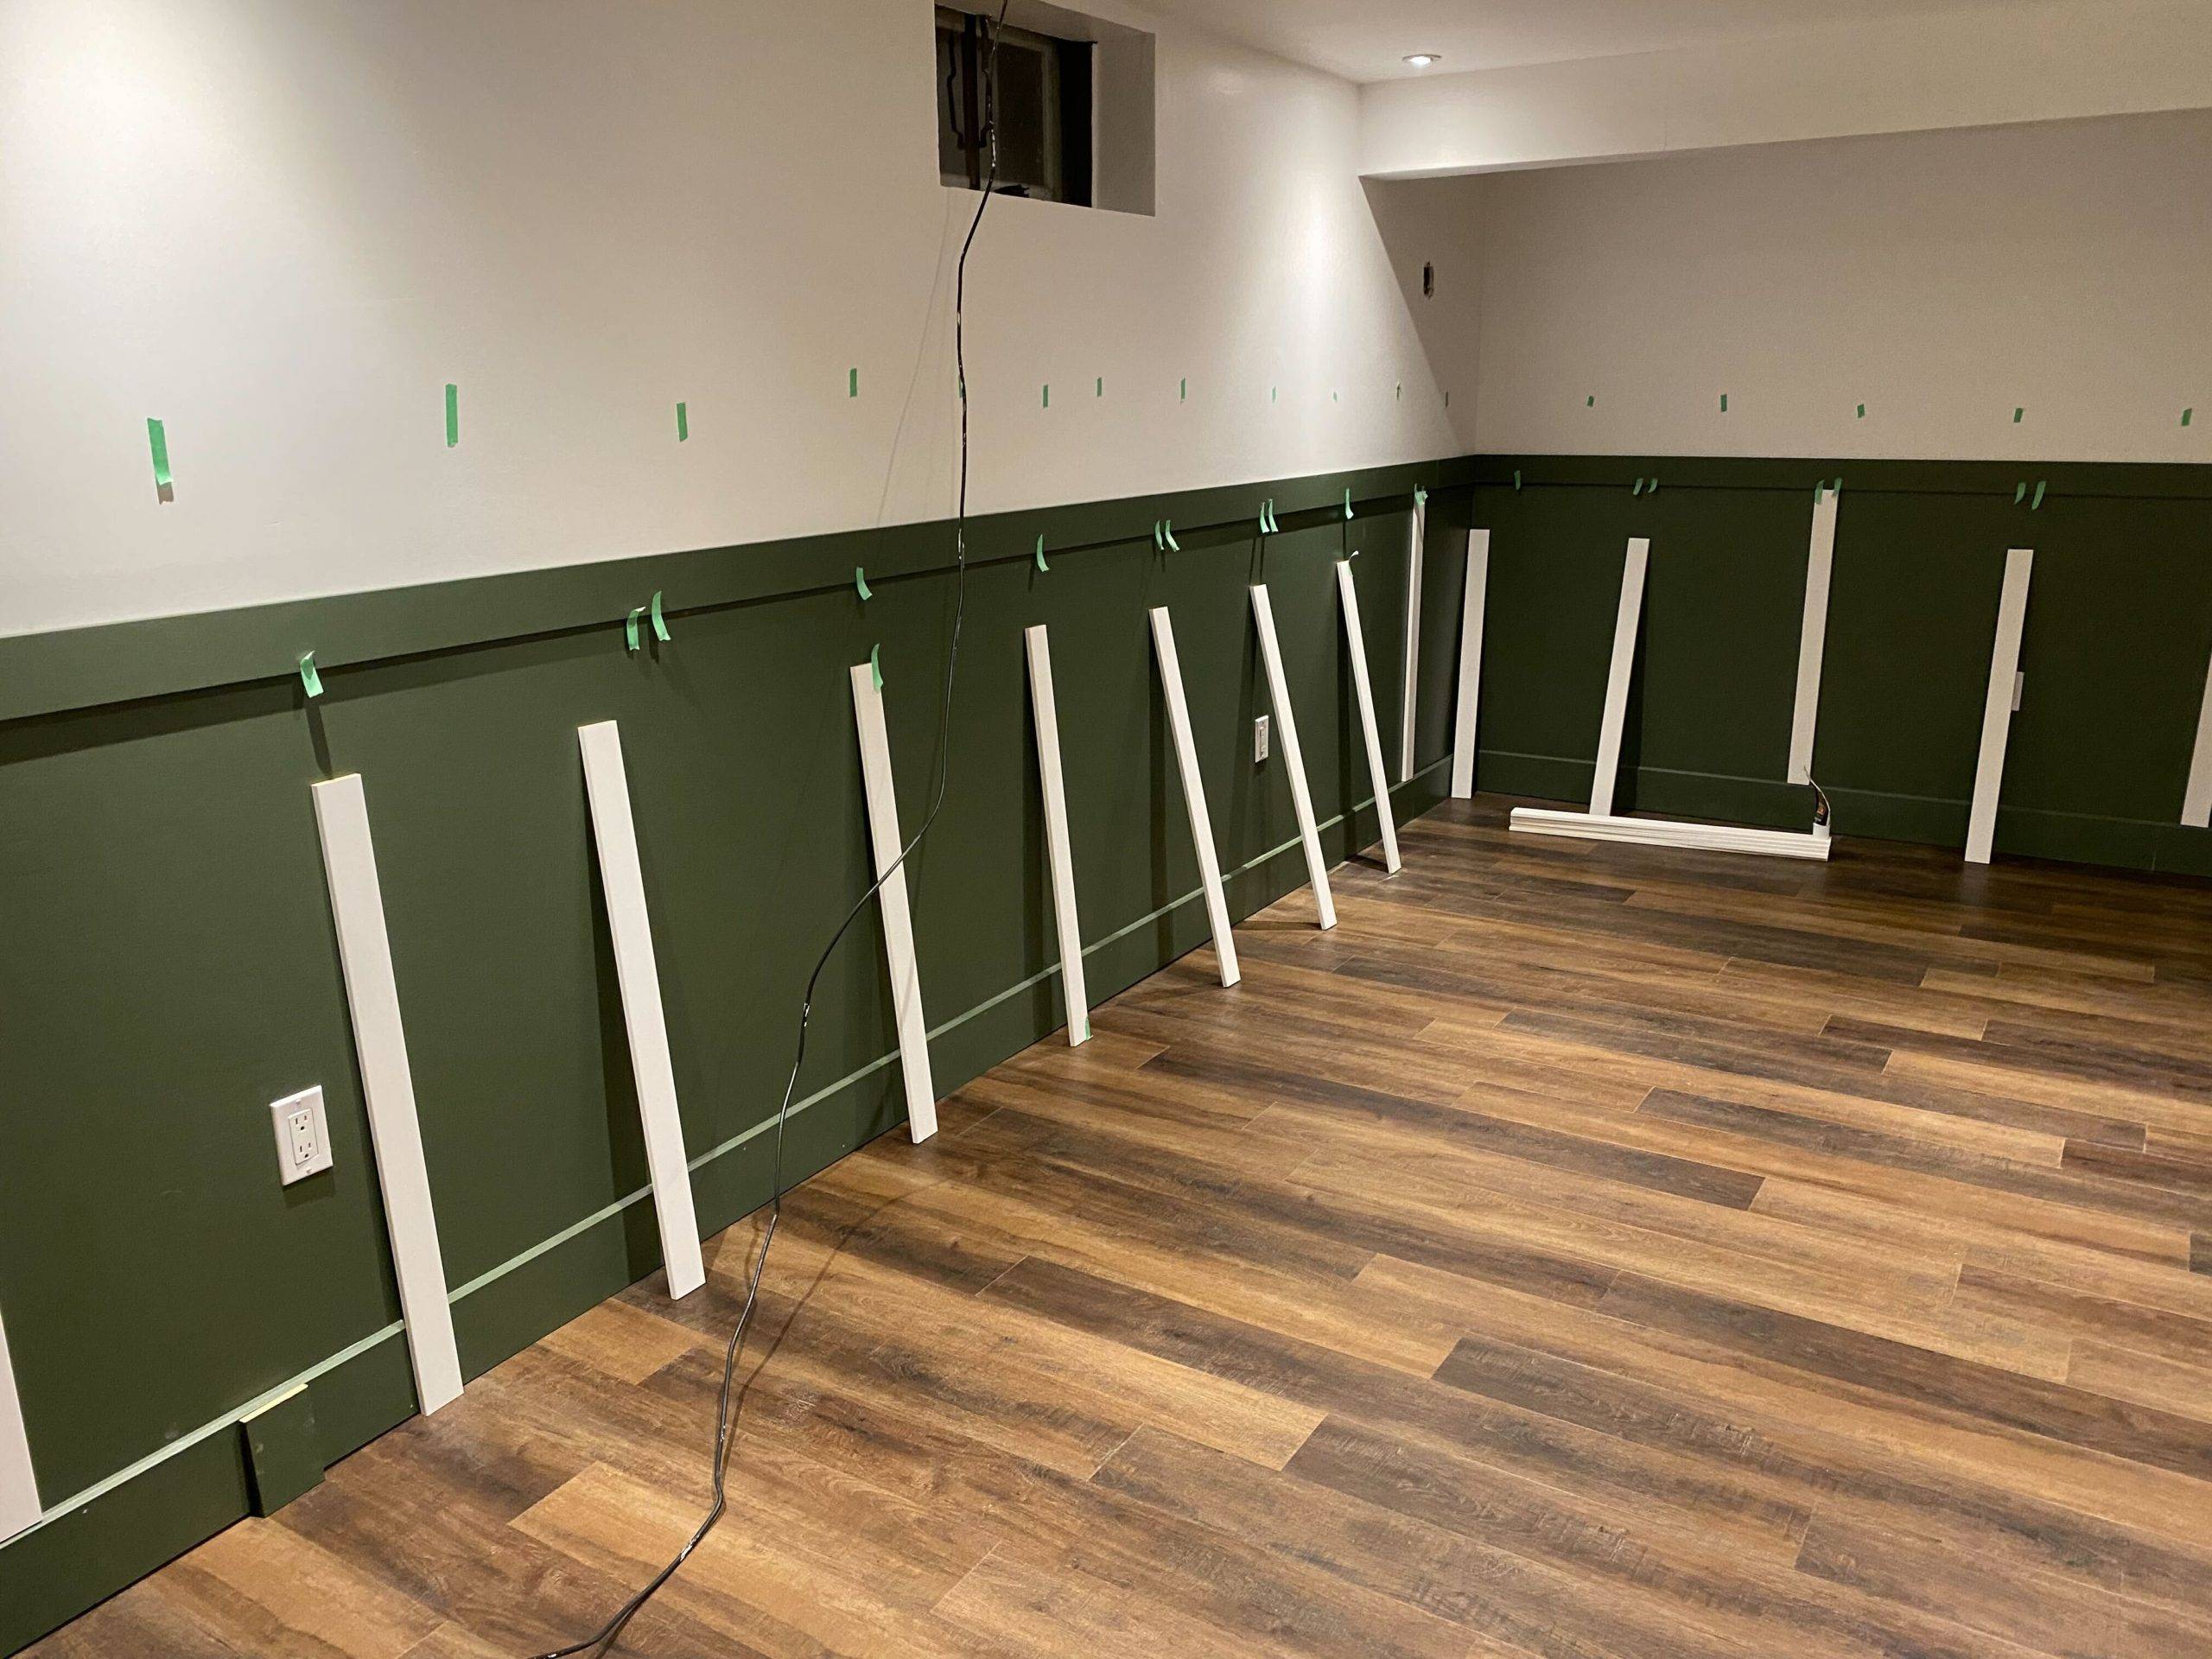
Once the baseboards were in and top boards were level, we added in the vertical boards. I used an online calculator t figure out how far apart each board would be. We used 1inch x 2.5inch x 3foot boards for the vertical bars.
We attached them with LePage “No More Nails” glue and finished them using a brad nailer.
ManMade Suggests: Ryobi Airstrike Nail Gun
Step 4: Caulk, Seal, Paint
Once they were attached we used DAP Alex to caulk and seal the gaps for a clean finish, then all that was left was to finish painting and move in our furniture!
