Easy Budget-Friendly Shower Floor Replacement [Scrap the Tiles!]
A damaged, or destroyed shower floor in a basement is an expensive proposition to resolve if you have to call in a professional. Floor tiles require a lot of work. The existing tiles must be removed, the surface prepped to allow new tile installation, followed by the final intricate work of making the new floor match the old.
It doesn’t have to be that way, especially if you have a little-used shower, washroom, or laundry area.
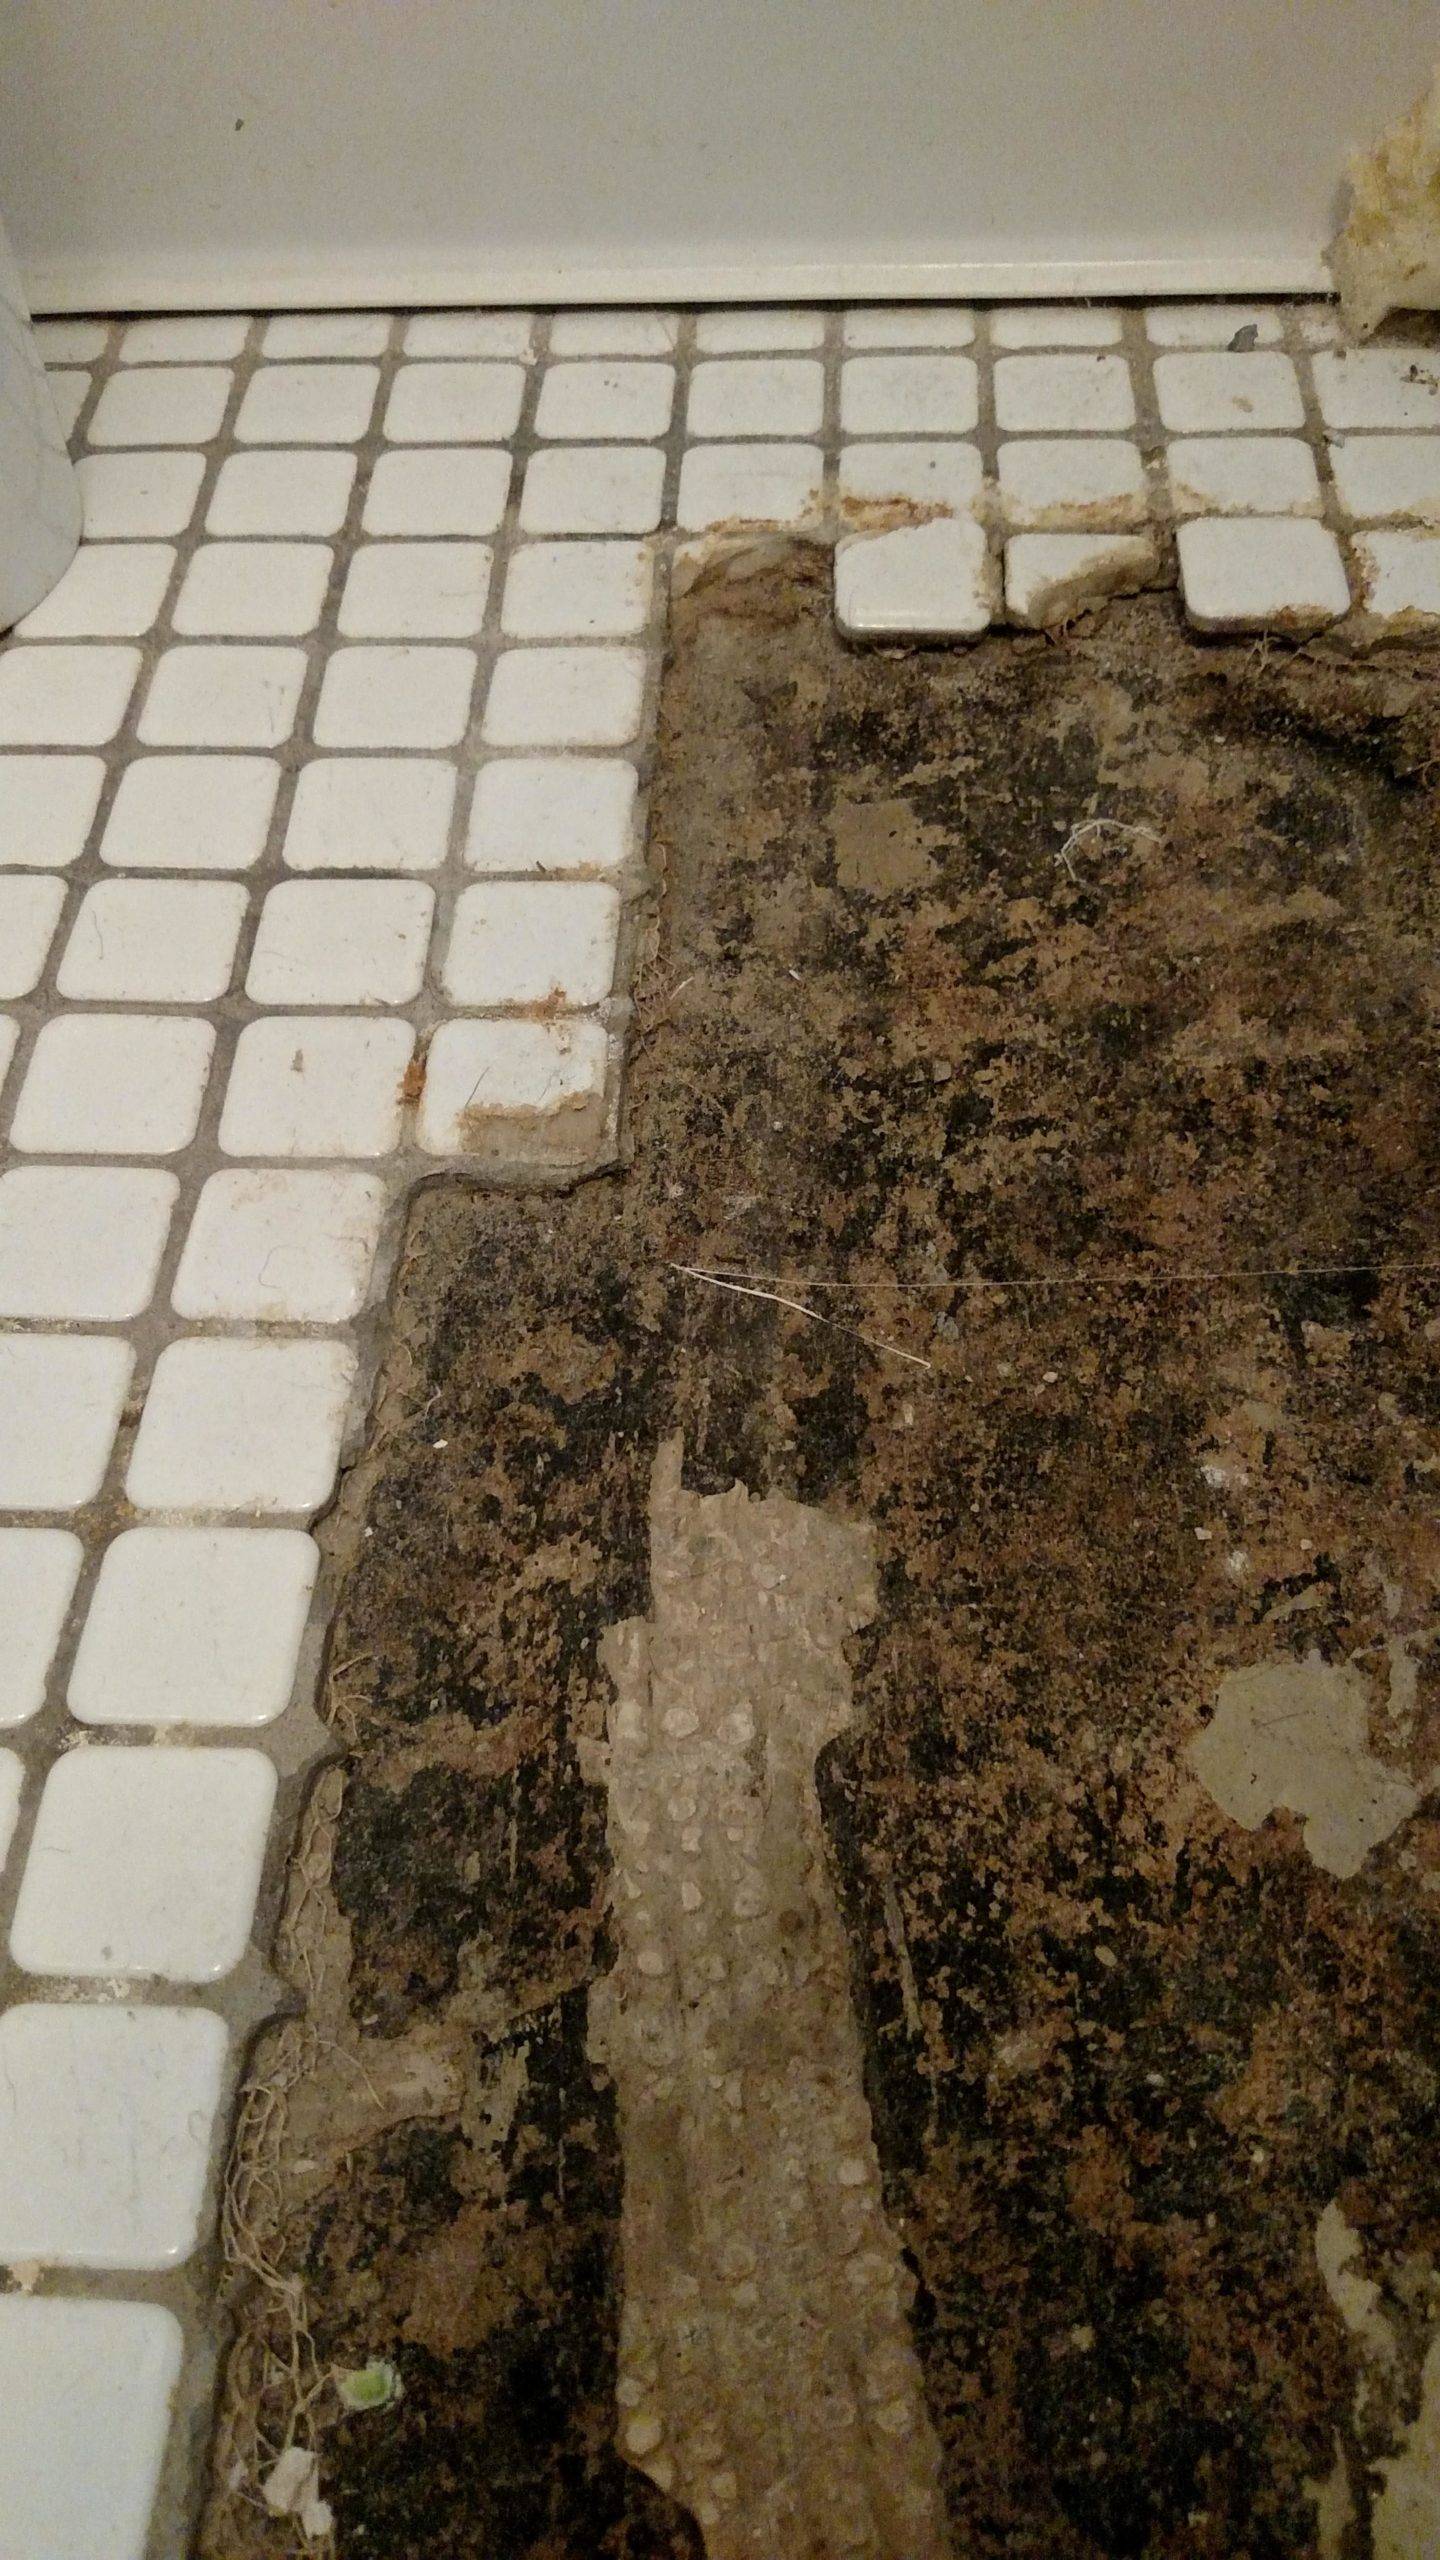
If your home was constructed during the “boomer” era from 1945 until 1972, the odds are that you have already had, or will have a problem with sewer lines. The product of choice during these years was called Orangeburg. Orangeburg sewer pipe was constructed of layers of paper, impregnated with heavy tar. It was marketed as a “no corrode” alternative to cast iron sewer pipe. It lived up to its reputation as being non-corrosive, but over the years it will eventually collapse.
When Orangeburg is the main sewer line from a house to a municipal sewer system the problems arrive. Most basements have the sewer line under the concrete. When it collapses, the concrete has to be cut, the old pipe removed, and the new PVC line put in place. That almost always involves destroying basement toilets, drains, tile, shower floors, and anything else in the path between your main interior drain pipes and the main outside your home.
When it’s a shower floor, here is an easy solution that allows you to scrap the tiles, grout, and inevitable headaches.
ManMade Budget-Friendly Shower Floor Solution
So Long, Shower Tiles
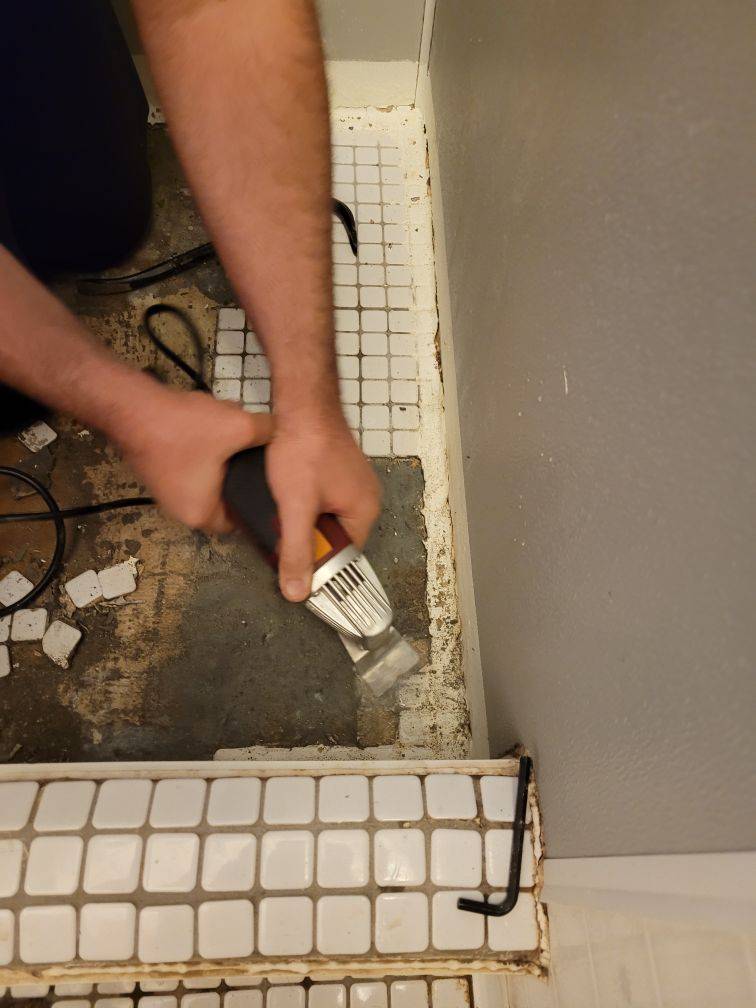
First, remove all the tiles. A wide chisel, putty knife, or a vibrating cutter works best. Find a loose corner and begin popping up the existing tiles. You’ll find prying on the corner at an angle works better than trying to lift an entire side of the tile. If you’re lucky the tile will come out in big bunches.
When the tile is removed, load it all into heavy-duty garbage bags and dispose of it properly. Sweep the area, then vacuum it to get rid of any residue. If a little mastic remains, try to pry it up as well. If it is firmly in place, don’t worry about it, you’ll be going right over it.
Check the Caulking
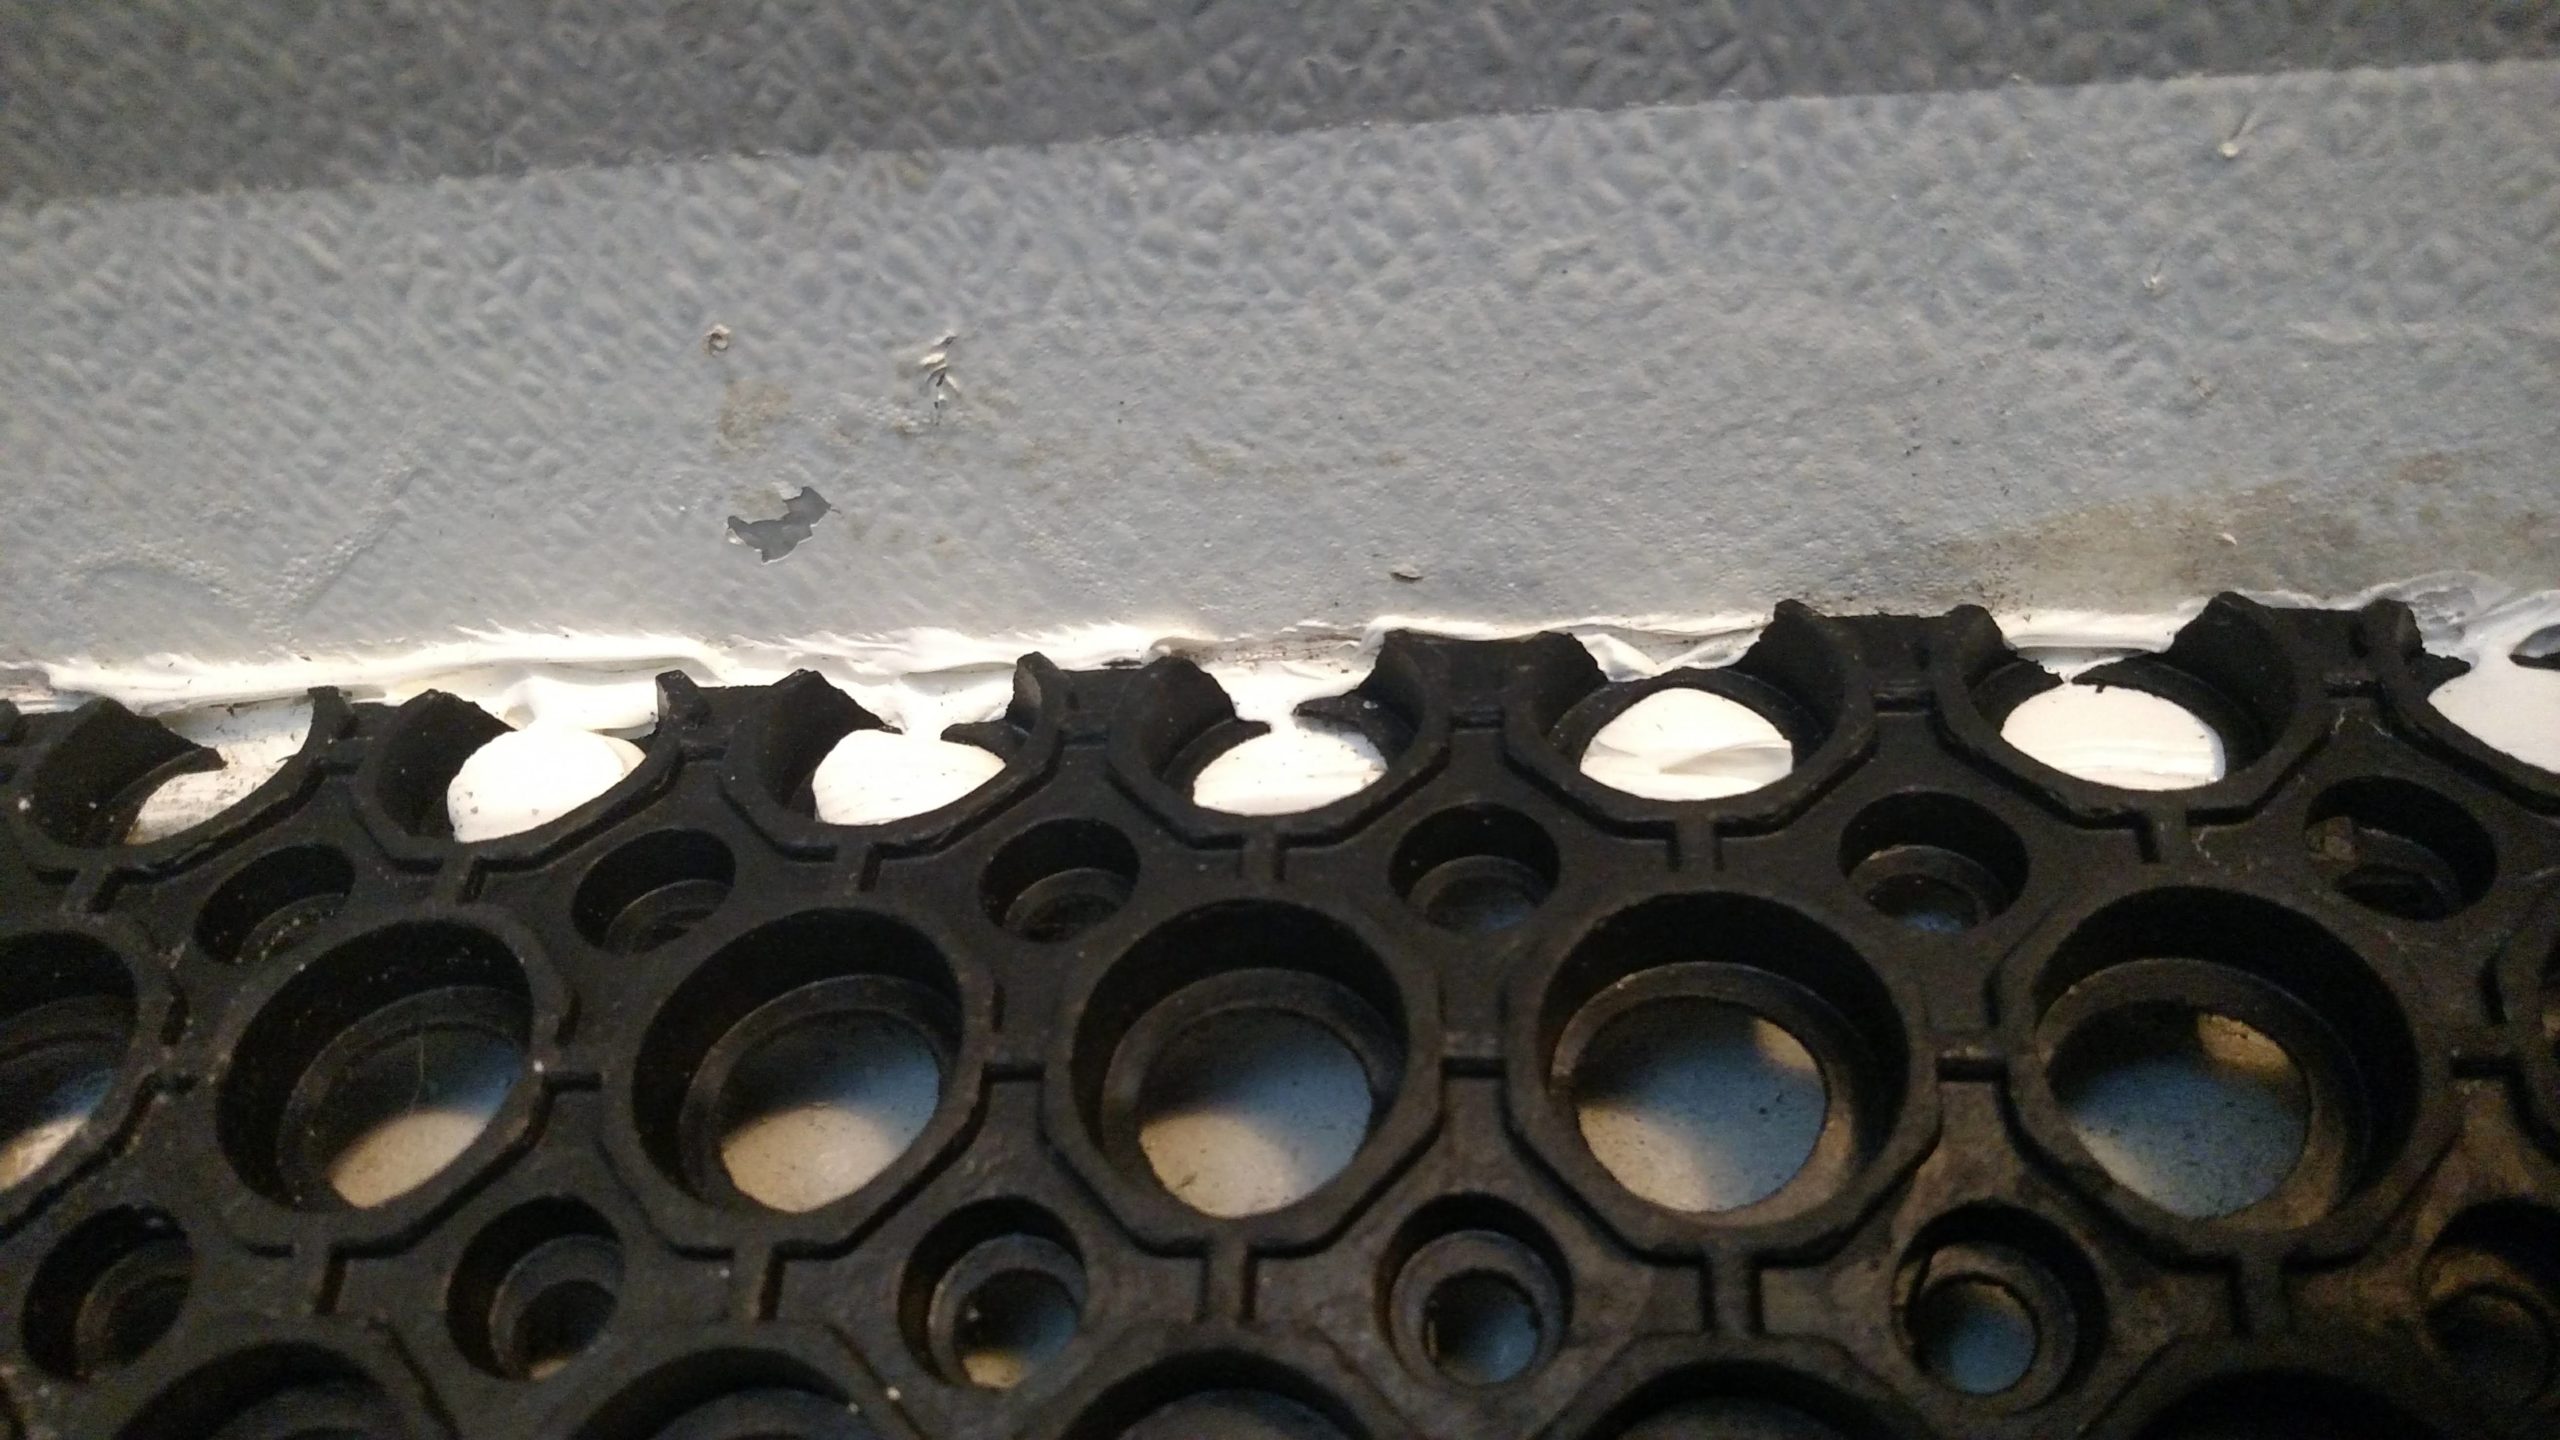
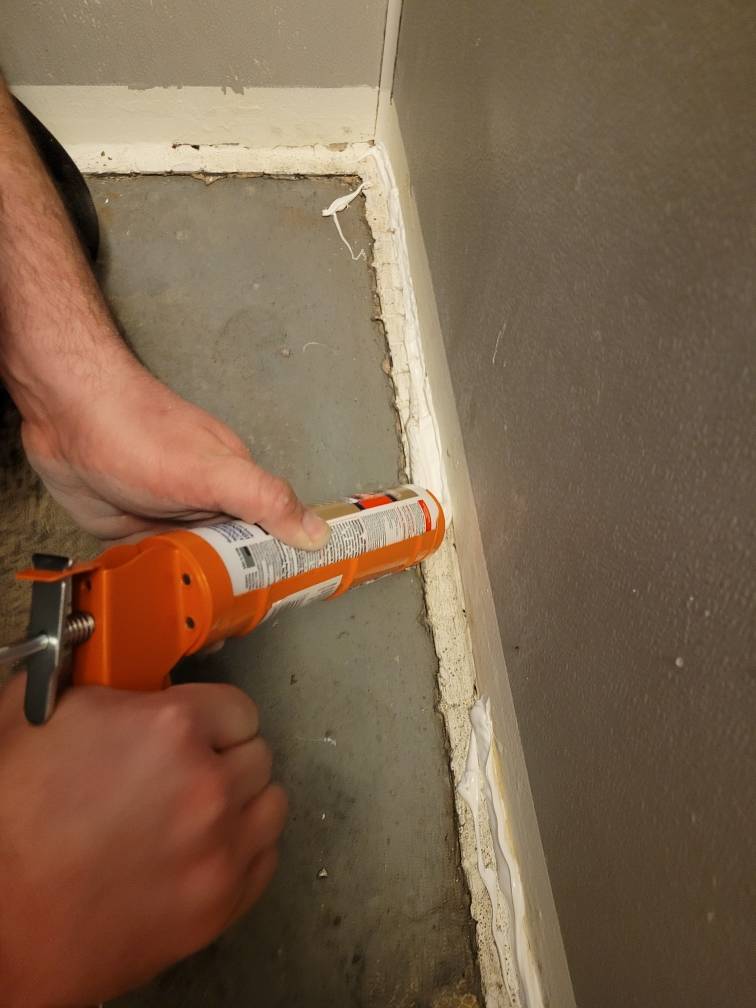
Check the caulking along the walls of the shower. If you can, remove the old caulking and put a bead of acrylic caulk along the bottom edge of the walls.
RELATED: If you need, follow our other guice for tips on how to remove silicone caulking from any surface.
Pick Out a Simple Rubber Mat
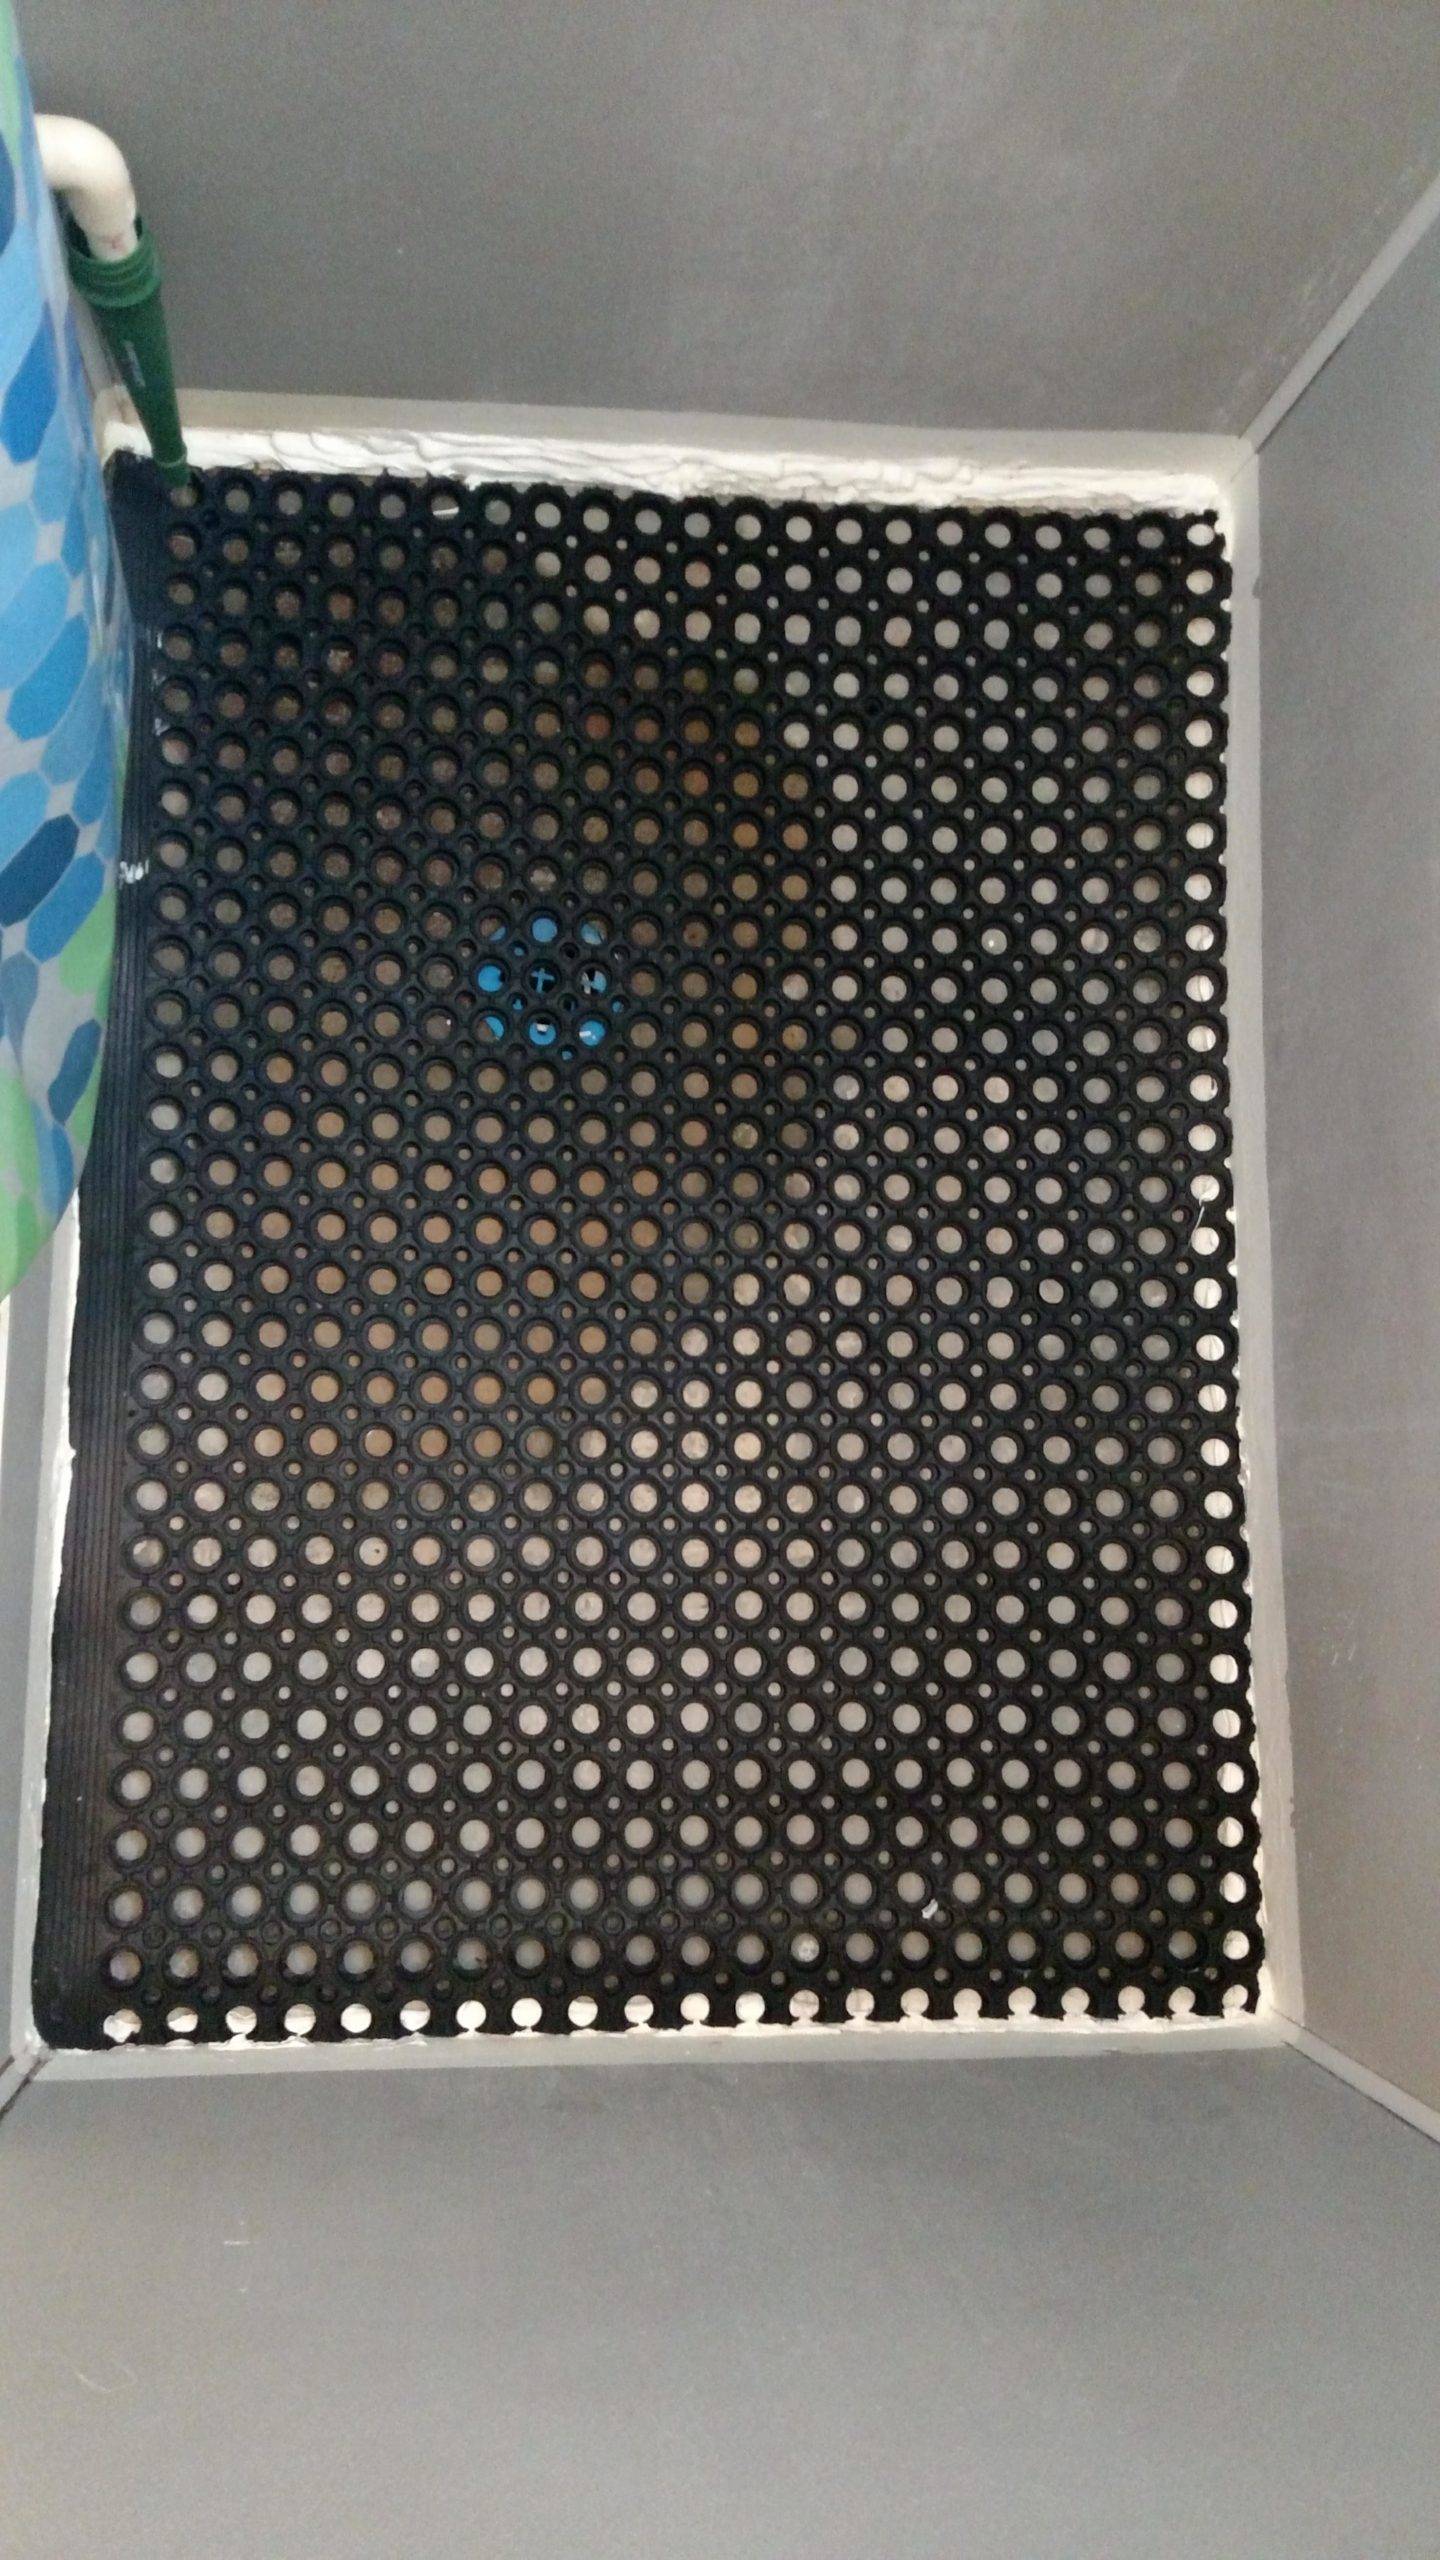
Your local home improvement store carries a variety of waterproof, rubber mats. Find one in a pattern that you like. They’re usually black, so they’ll work with just about any color combination. These mats come as interlocking tiles for a large area, or in sizes up to 54 by 48 inches.
Ideally, get a single-sized mat that can be cut to fit exactly on your existing shower floor.
Measure, Cut, and Seal Your Mat
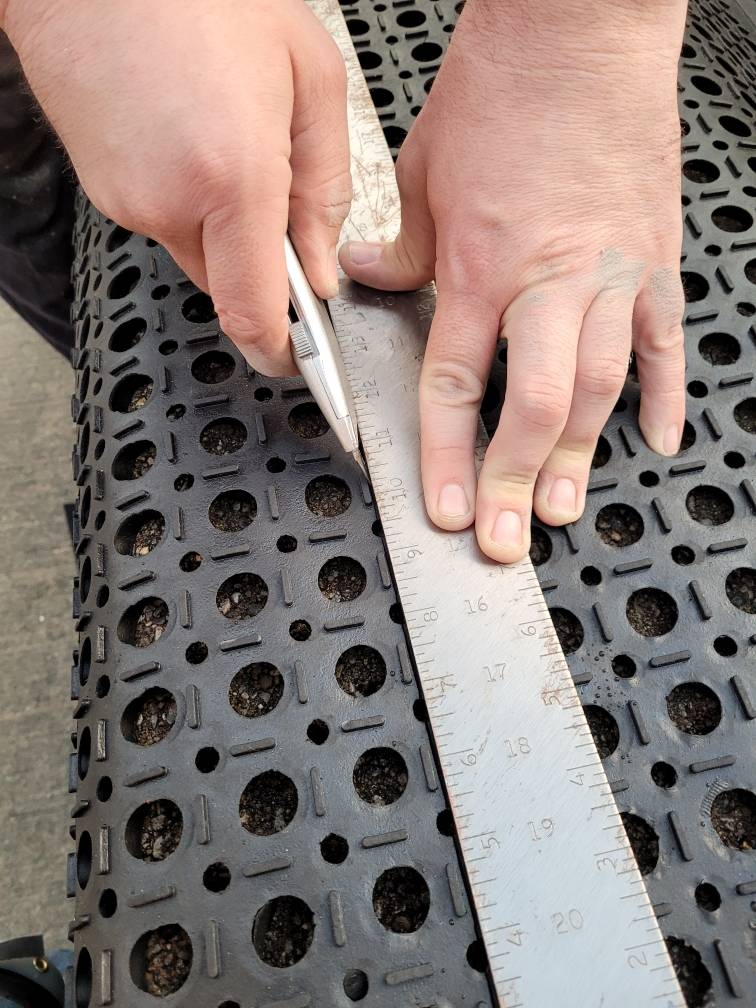
Carefully measure the mat, then cut the size you need with a straight edge like a long level or carpenter’s square with a utility knife.
Test fit the newly cut mat. If it fits, place it carefully on the shower floor. Use the same acrylic, water-resistant caulk you used as the base of the walls, but apply a thicker bead around the edge of the mat.
Let the caulk set up for 72 hours, and you’ll have a new, attractive, mold-proof shower floor that costs you less than $60 total to install!
