How To: Build Your Own Greenhouse
The seed catalogs start arriving in the mail in January. That’s a long time before you can plant anything in much of the United States. In many areas of the United States, you’re going to have to wait until late April at the earliest, and most likely May. Of course, you can start seedlings inside as early as February—follow our handy guide for starting plants inside here. But for those who missed the mark starting plants inside, there is another easy way to extend your gardening seasons: with a greenhouse!
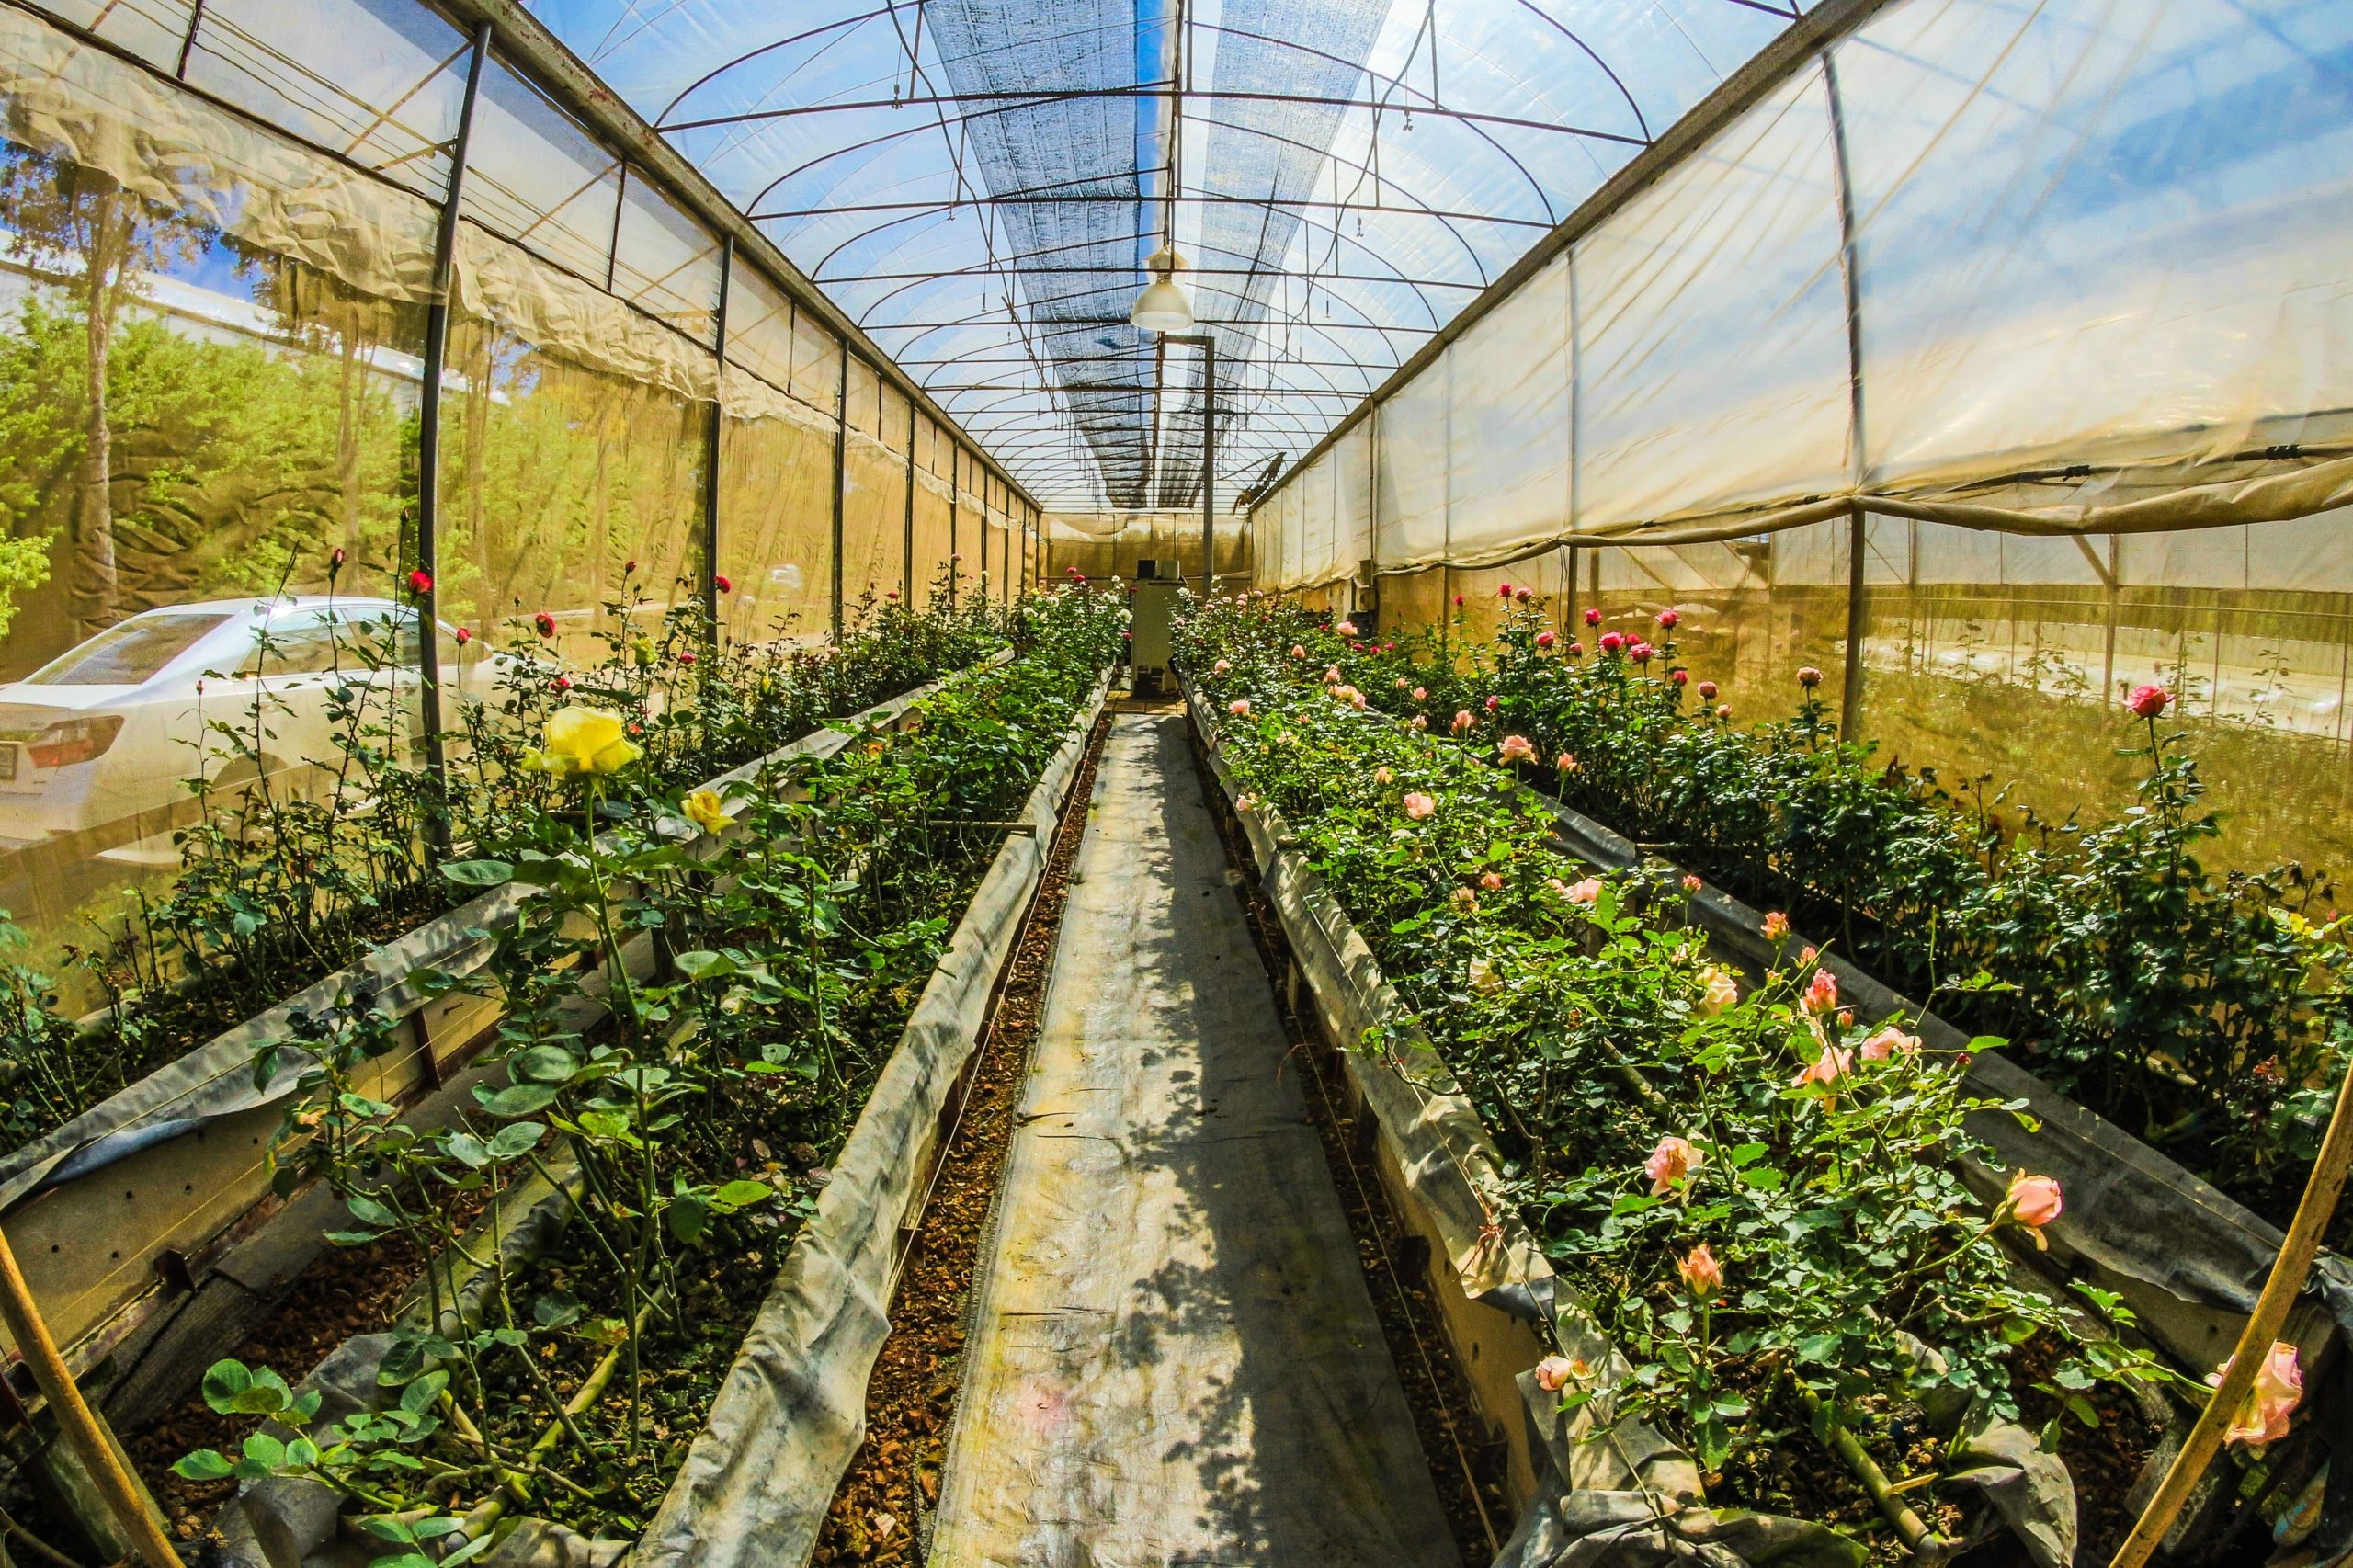
You can extend your growing season substantially with a greenhouse. A greenhouse can be as complex as those huge, opaque industrial growing centers, or just a plastic enclosed cabinet-sized one you can place near a southern window in your home. Most modern greenhouses are somewhere in between.
Pre-fabricated greenhouses are expensive and available in only a few sizes. Why not build one that fits your needs? Greenhouse construction isn’t difficult. Most of the materials are available at your local lumberyard.
Location
Find a southern facing location on an existing building, or next to a fence. Ideally, you’ll have a clear line of sight east, west, and south of the proposed site. You don’t get much solar radiation from the north, but you do get winds that blow in storms, cold fronts, and snow. Protection from the north is as important as sunshine from the other three cardinal points on the compass.
Framing
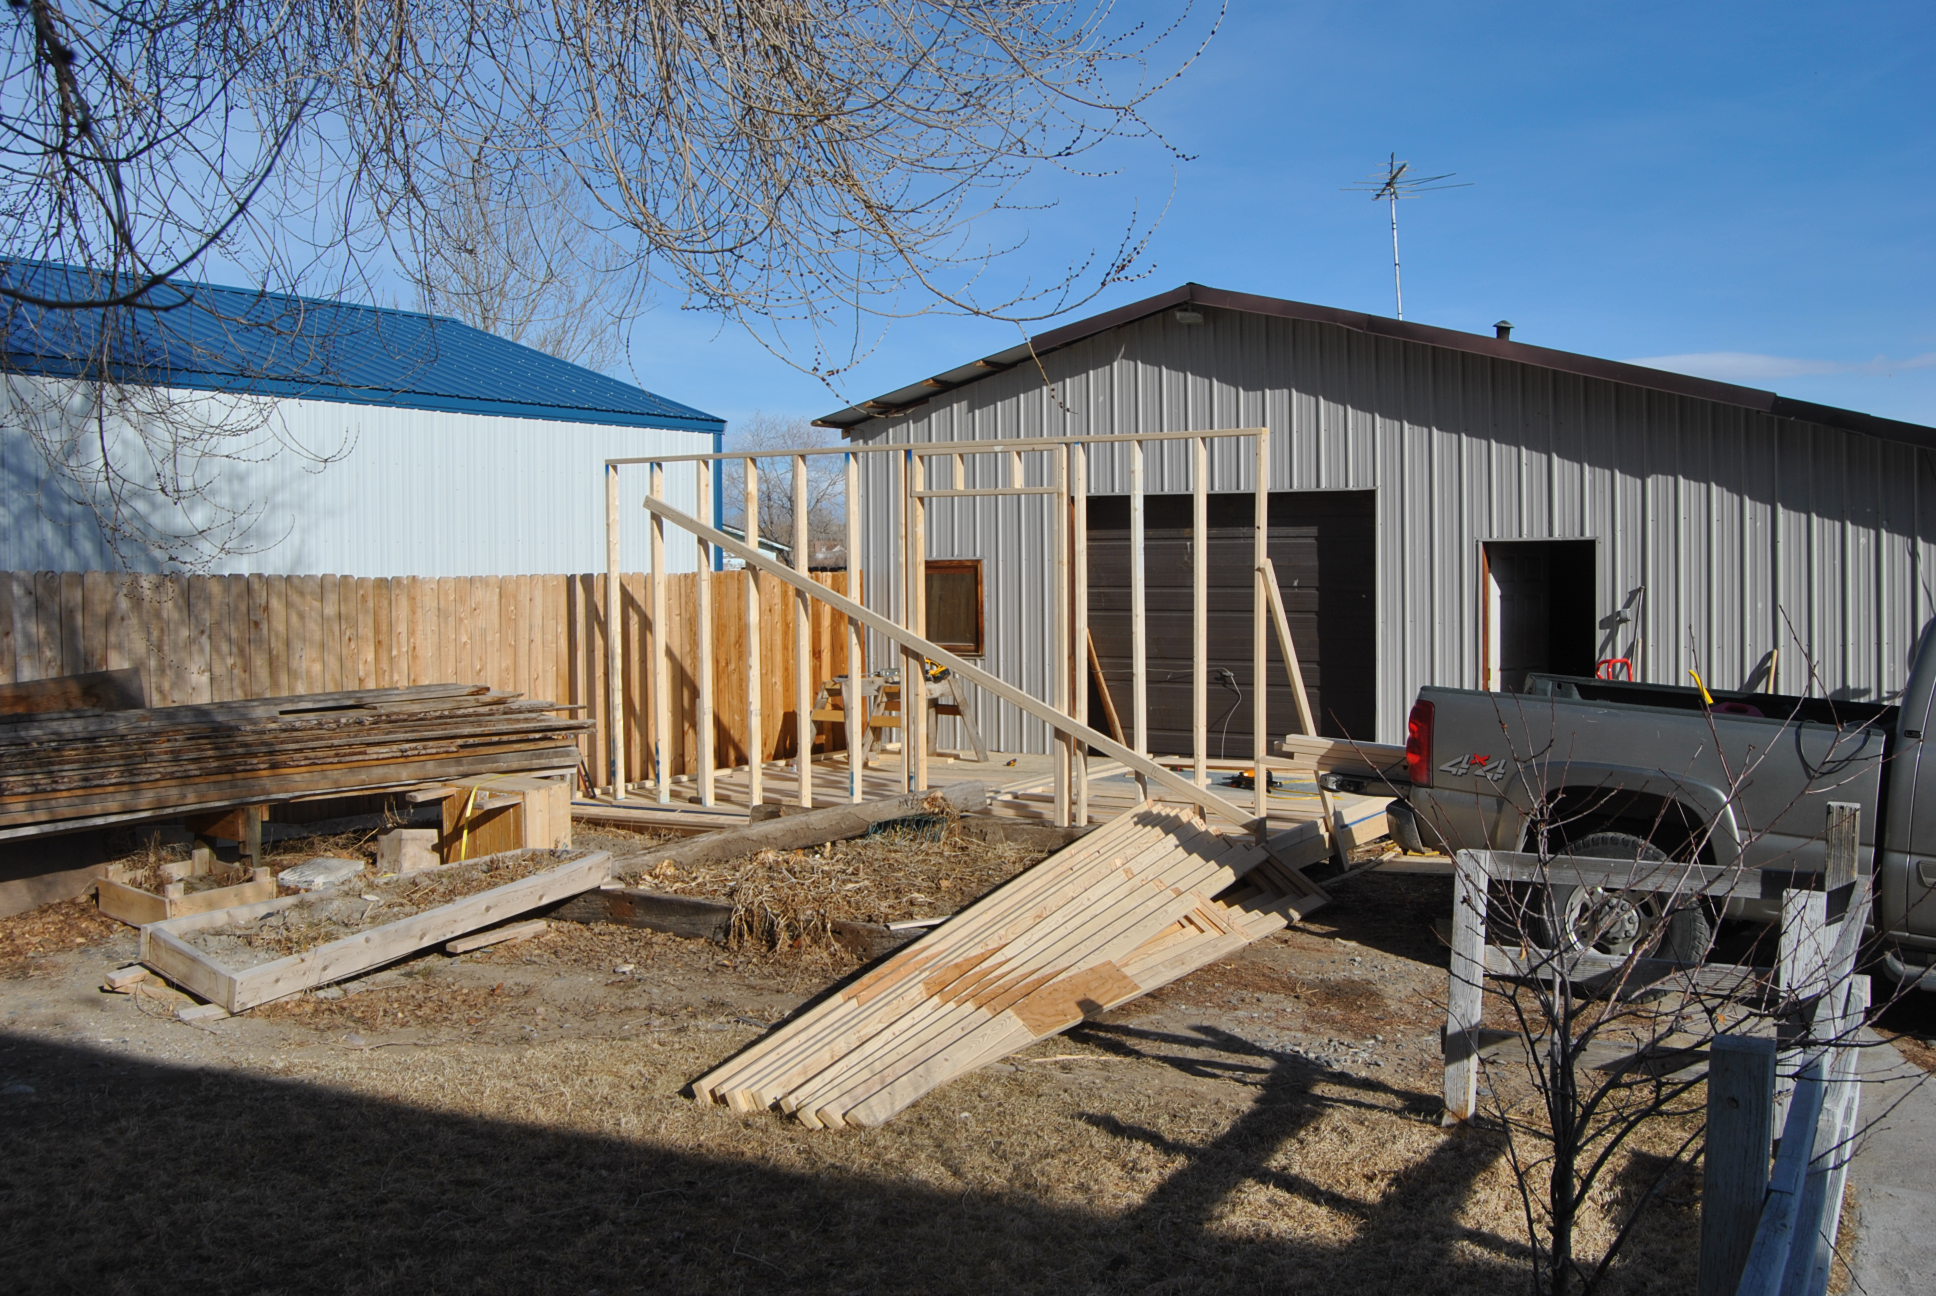
Four walls of evenly spaced 2x4s on 24-inch centers with an eastern facing door are ideal. The door blocks sunlight and early morning light isn’t as valuable as the direct sunlight you’ll get from the south and west. There is also less wind from the east so it costs less to keep your greenhouse heated.
You can pour a slab, or preferably, leave the ground in a natural state at the base of your greenhouse. Concrete footers are best, but well-set concrete blocks work well too and they don’t harm the environment as a leaching railroad tie can.
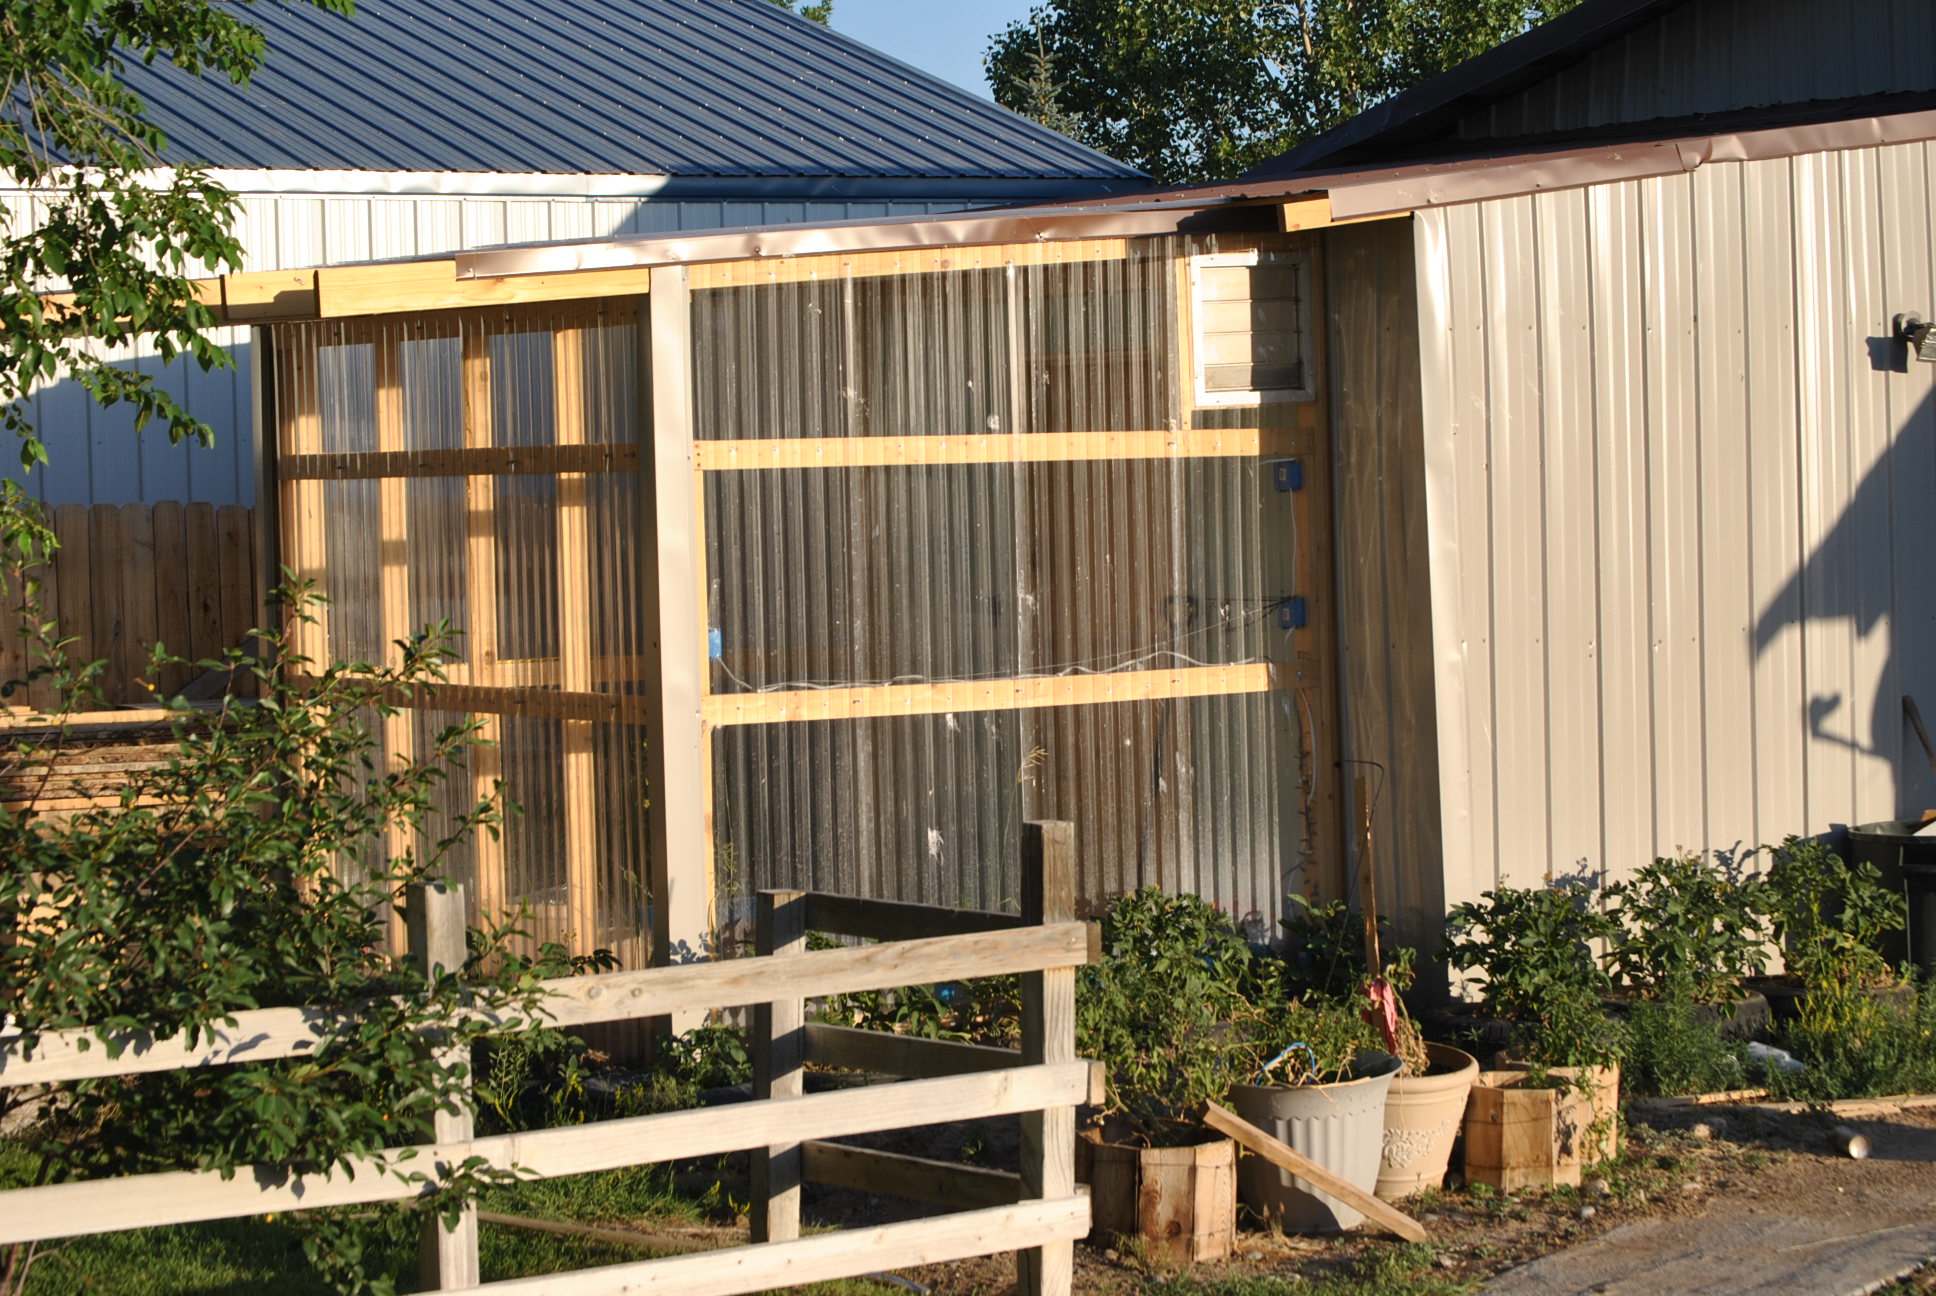
Lay out your foundation and put attach a sill plate of pressure-treated lumber on top of the concrete or blocks. Build your walls with the covering clear polyvinyl acetate sheets you’re going to attach in mind. These come in 26” and 48” widths up to 10 feet in length in standard sizes. The 26” sheets are much easier to work with. They overall 2” so you’ve got 24” to work with so your seams will line up on the 24” 2×4 studs. A horizontal 2×4 nailed into place at 48” on an 8-ft wall allows you to attach a center row of screws, strengthening your greenhouse.
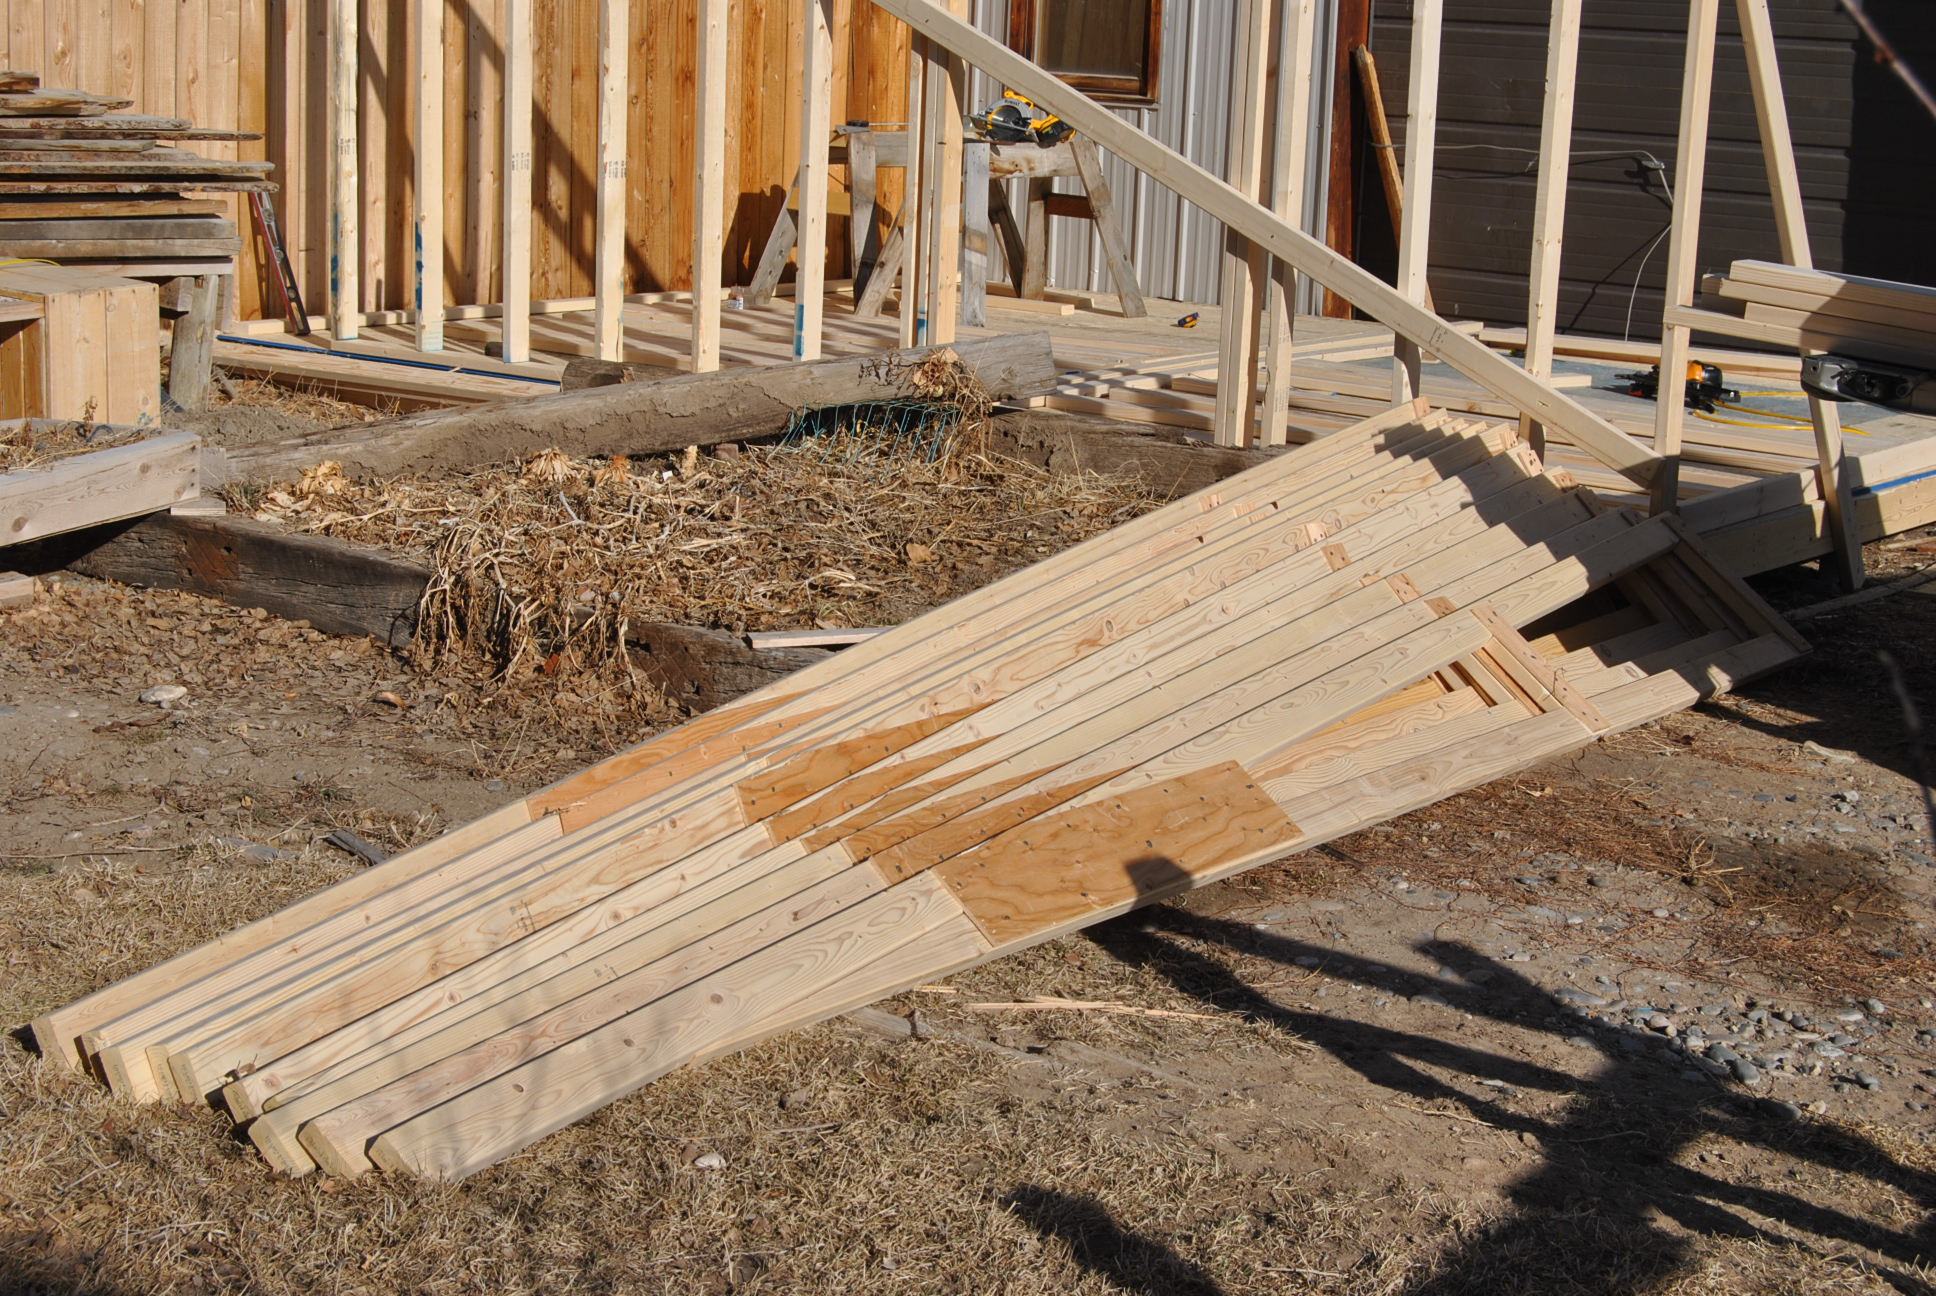
The roof should be laid out on 24” centers as well, with a horizontal 2×4 every 24 inches for strength in the event of snow or heavy rain. Slant your roof by building the northern wall one inch high than the southern wall for every foot of side length. What that means is a greenhouse frame that is 10 feet wide, and 12 feet long should have the southern wall 12 inches lower than the northern wall to create a slanted shed-style roof.
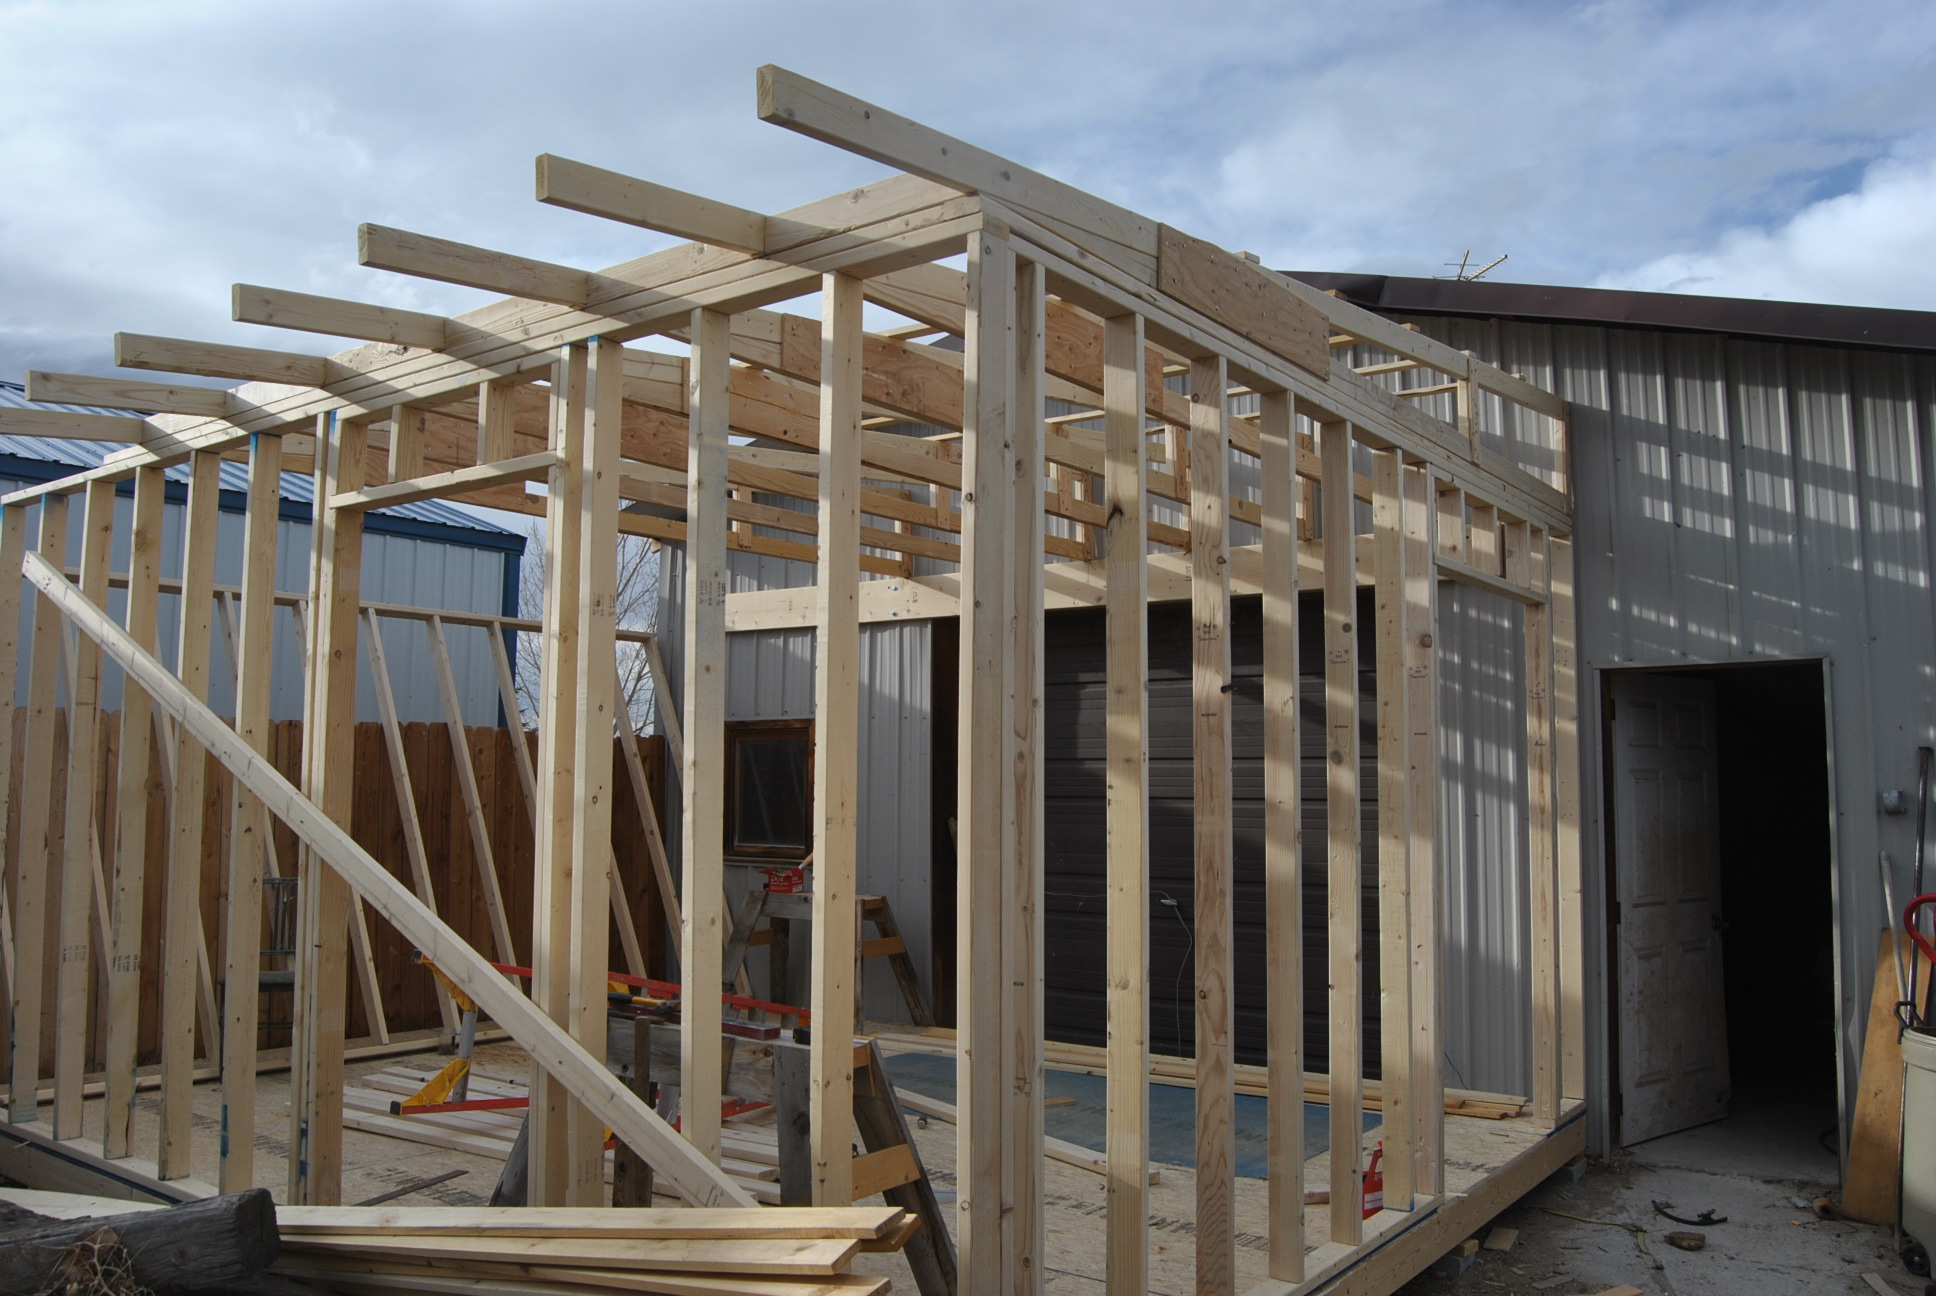
Frame around your door so the panels are tight against the door jam to minimize heat loss.
You’ll have to cut the clear panels on an angle to match the roofline, but here is a hint. Attach all the vertical panels before you attach the roof panels. When they’re in place you can use the rafter lines to cut the plastic panel at exactly the correct angle with a fine-toothed handsaw, a jigsaw, or a sawsall with a fine-toothed blade.
Finally, attach the roof panels allowing them to overlay at least an inch on the sides, tight on the north end against the wall or building, and overhanging 2 inches to the south.
Heating and Cooling
In the early months of use, you’ll need a thermostatically controlled heat source. The least expensive is a ventless propane or natural gas wall heater if you have a gas supply, but electric heaters work well too, they just cost more per BTU. Ventless wall heaters are available at almost every home hardware store, and even a few big box stores.
You’ll need a thermostatically controlled exhaust fan as well. These mount high on the northeast corner of your greenhouse and can be built into place as you construct the walls, or added later.
As the days get longer your greenhouse will get hotter in the afternoon, so hot it will kill your plants if you don’t get rid of that heat. If you’ve been to your local nursery you’ve probably noticed those big exhaust fans blowing the heavy plastic sheets that serve as doors on the southern entrance to their industrial greenhouse. That’s what you’re trying to recreate with the exhaust fan.
You won’t find these at most retail home supply centers, but an Internet search will produce hundreds of results. Select a 120V unit with a thermostat. These don’t draw many amps, giving you the opportunity to run an extension cord to your greenhouse, or wire it directly while you’re building it.
You’ll need power inside for grow lights in the early months, so permanent power is a good idea, but not essential.
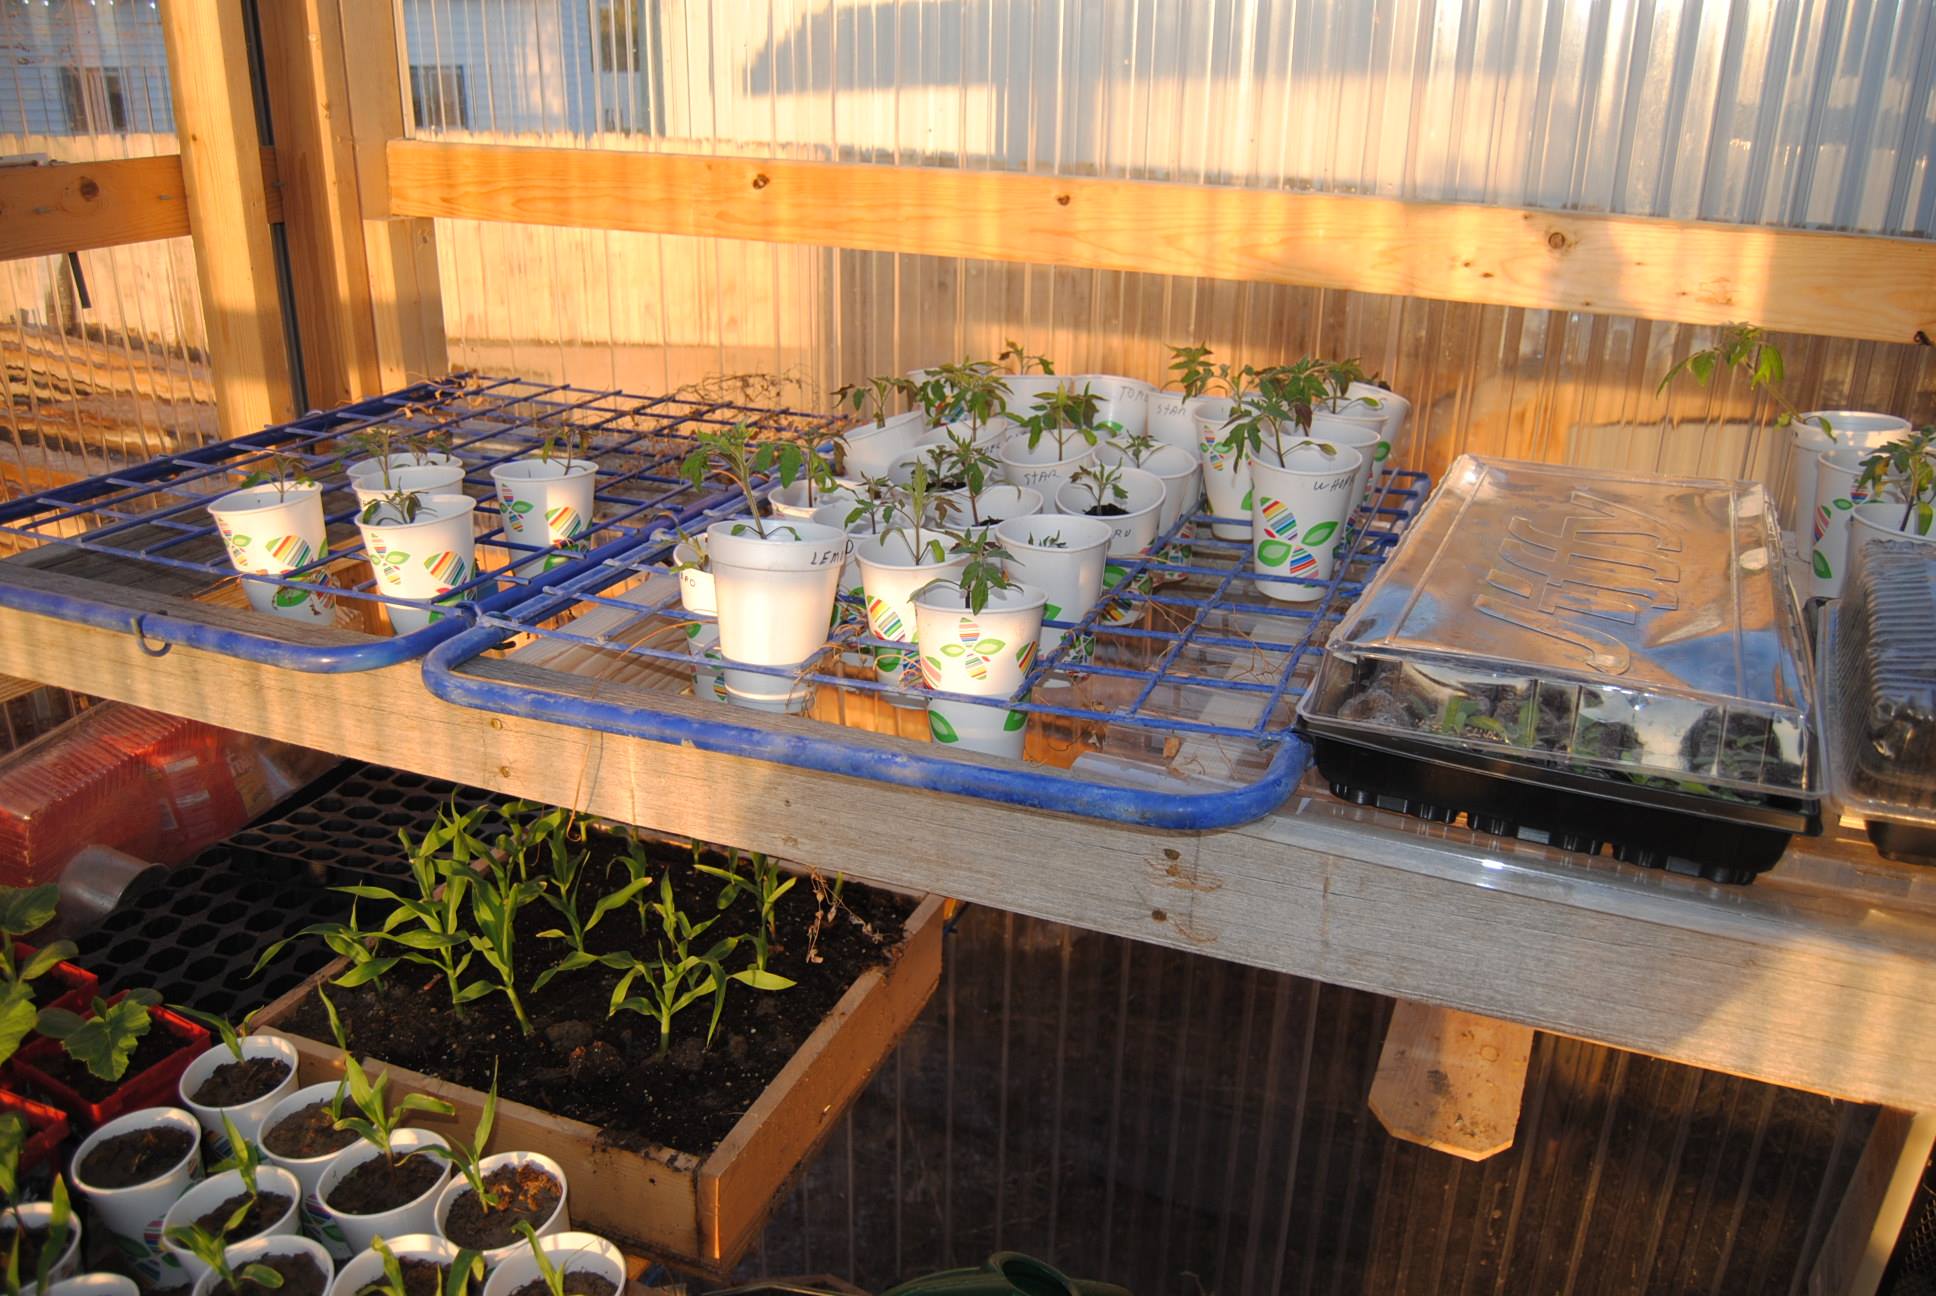
The final step is to lay out a few shelves made of heavy gauge wire. The idea is to allow as much sun as possible. There will be shadows, but they’re not permanent since the sun moves across the sky each day.
You’re ready for plants, tweak your greenhouse heater and exhaust system so the temperature never drops below 50 or above 90 and start growing.
