9 Clever Ways to Utilize Sandpaper That You’ll Regret Not Knowing Earlier
Sandpaper is often associated with woodworking and construction projects, but its utility extends far beyond these traditional uses. This versatile tool can be a game-changer in various unexpected tasks around your home, workshop, and even in your hobbies. Whether you’re a seasoned DIY enthusiast or a novice looking to expand your toolkit, understanding the myriad ways sandpaper can simplify your life is invaluable. From restoring the shine to your household items to prepping surfaces for better paint adhesion, sandpaper is a true unsung hero. In this article, we’ll delve into nine smart uses for sandpaper that you’ll wish you knew sooner.
Each method is designed to make your projects smoother, your maintenance easier, and your results more polished. So, let’s uncover the hidden potential of sandpaper and see how this humble tool can become an indispensable part of your everyday toolkit.
Revive Old Furniture
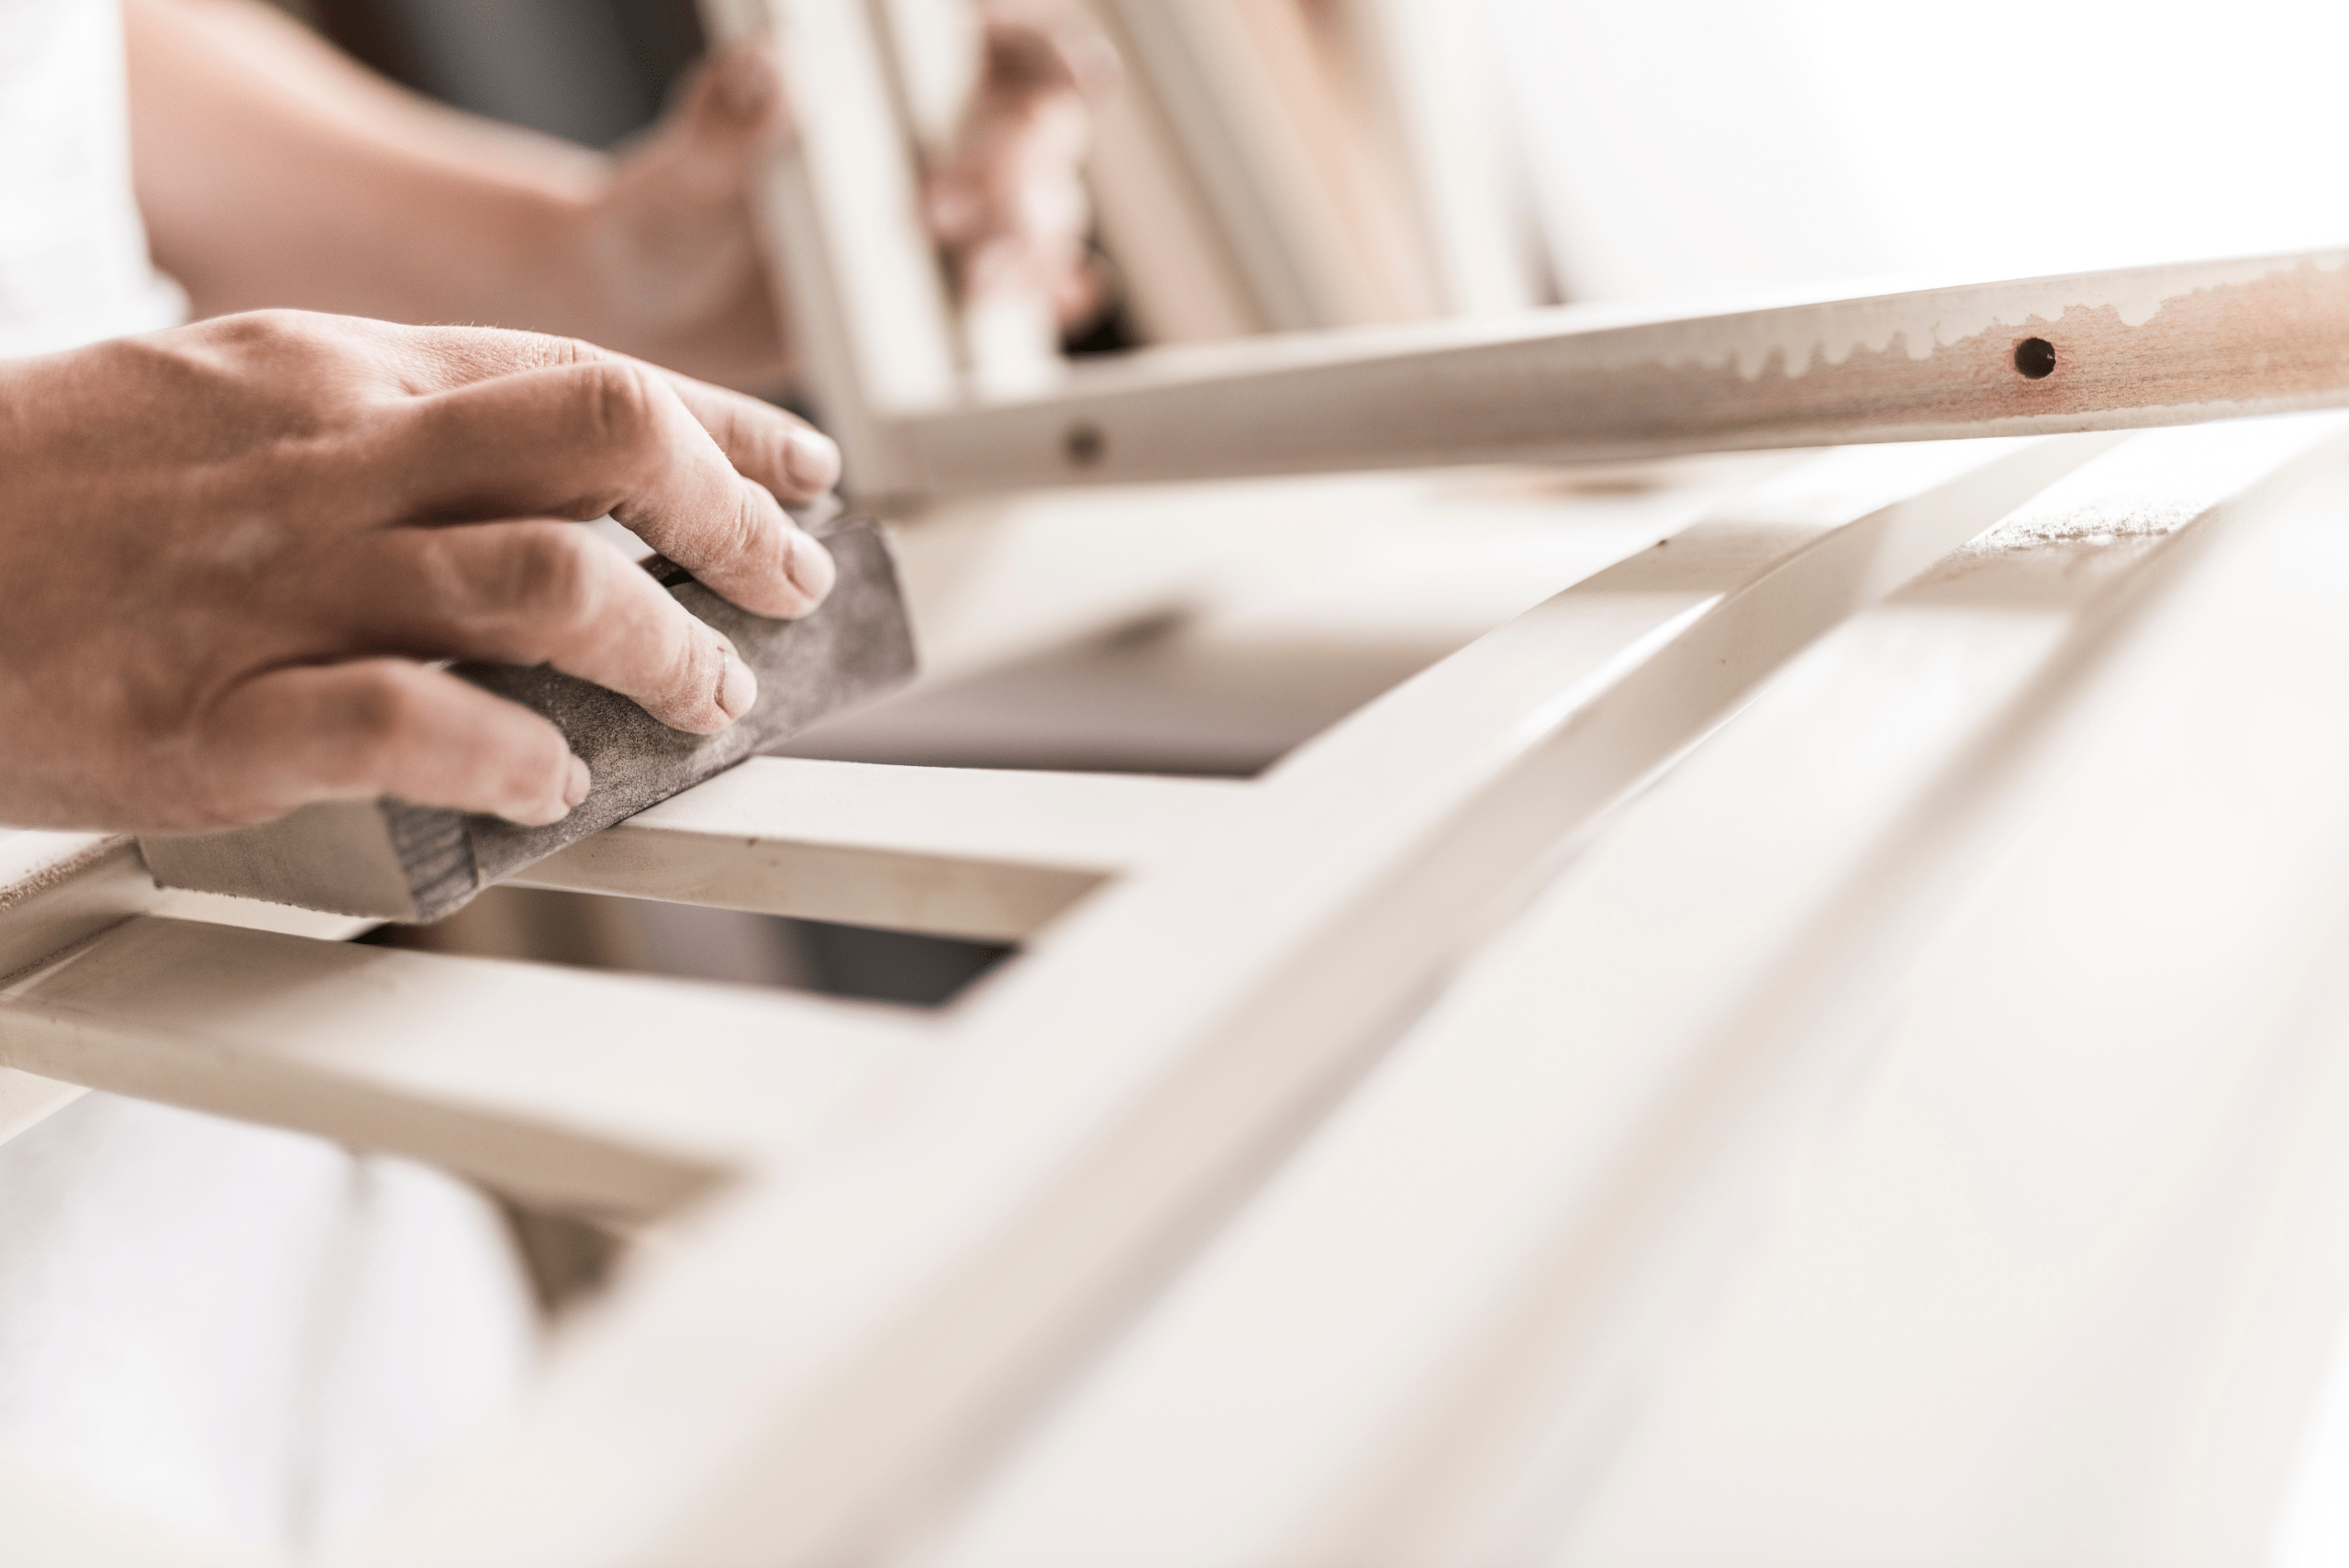
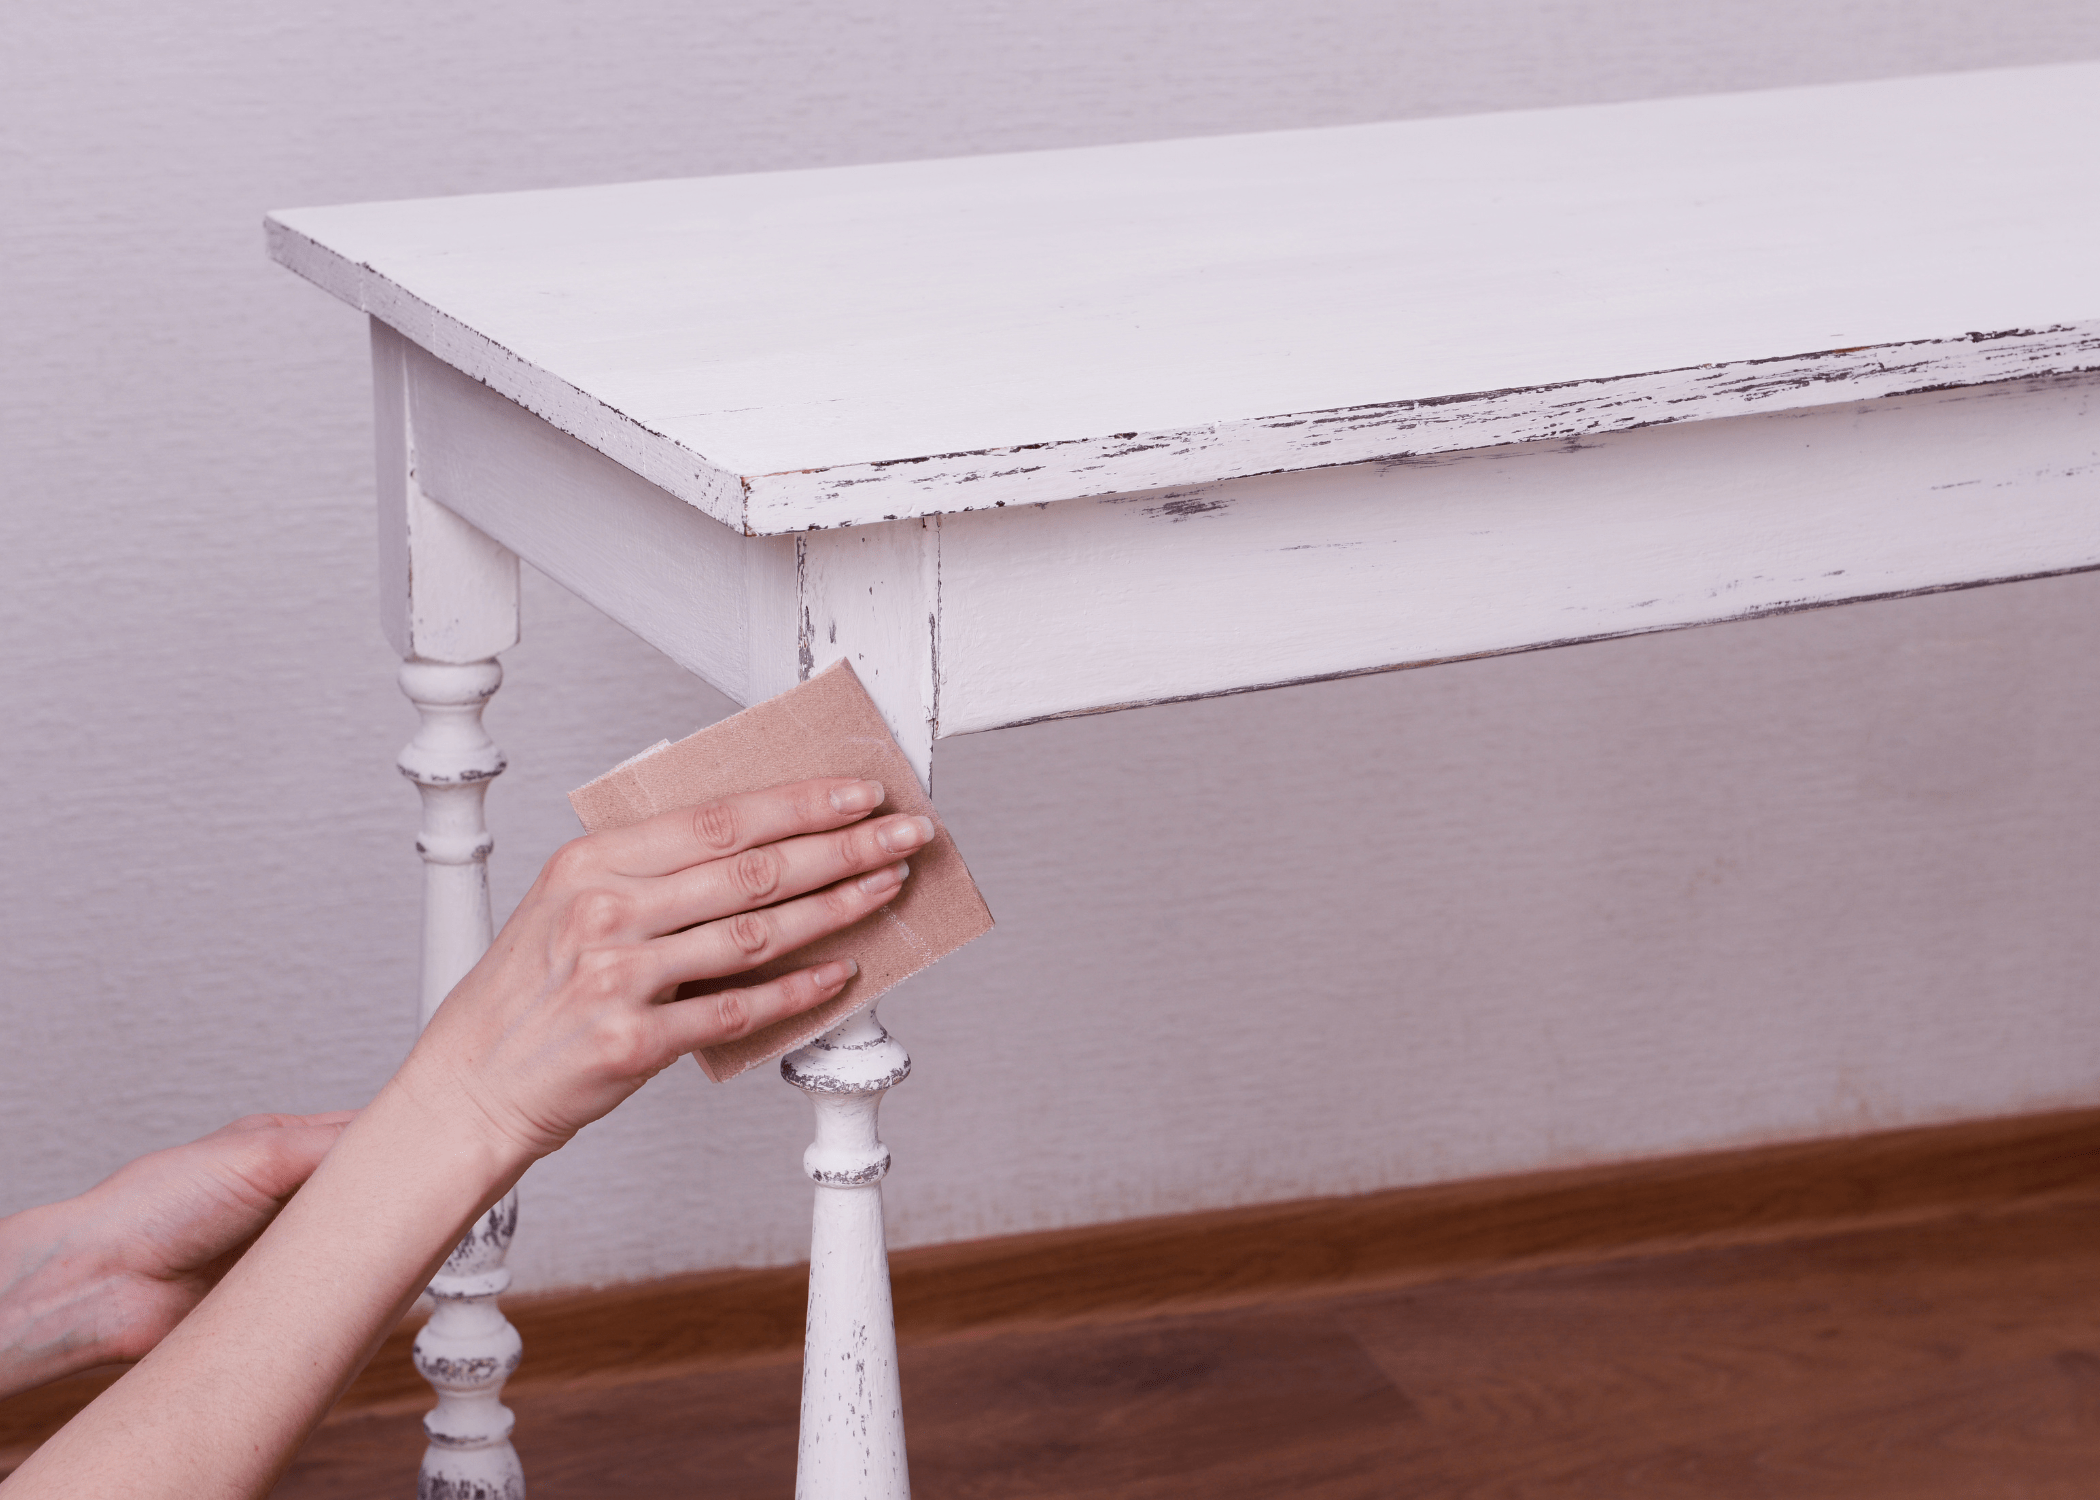
One of the most popular uses for sandpaper is in the revival of old furniture. Over time, wooden furniture can become scratched, dingy, and worn. Sandpaper can help you restore these pieces to their former glory. Start with a coarse grit to remove the old finish and any deep scratches. Gradually move to finer grits to smooth the surface and prepare it for a new stain or paint. The final result will be a piece that looks almost brand new, adding charm and character to your living space.
Sharpen Scissors and Knives
A little-known trick is using sandpaper to sharpen dull scissors and knives. Place a sheet of fine-grit sandpaper on a flat surface and repeatedly cut into it with your scissors. The abrasiveness of the sandpaper will hone the edges, making them sharp again. For knives, you can fold the sandpaper and run the blade along it. This method is quick, efficient, and can save you a trip to the sharpening service.

Clean Rusty Tools
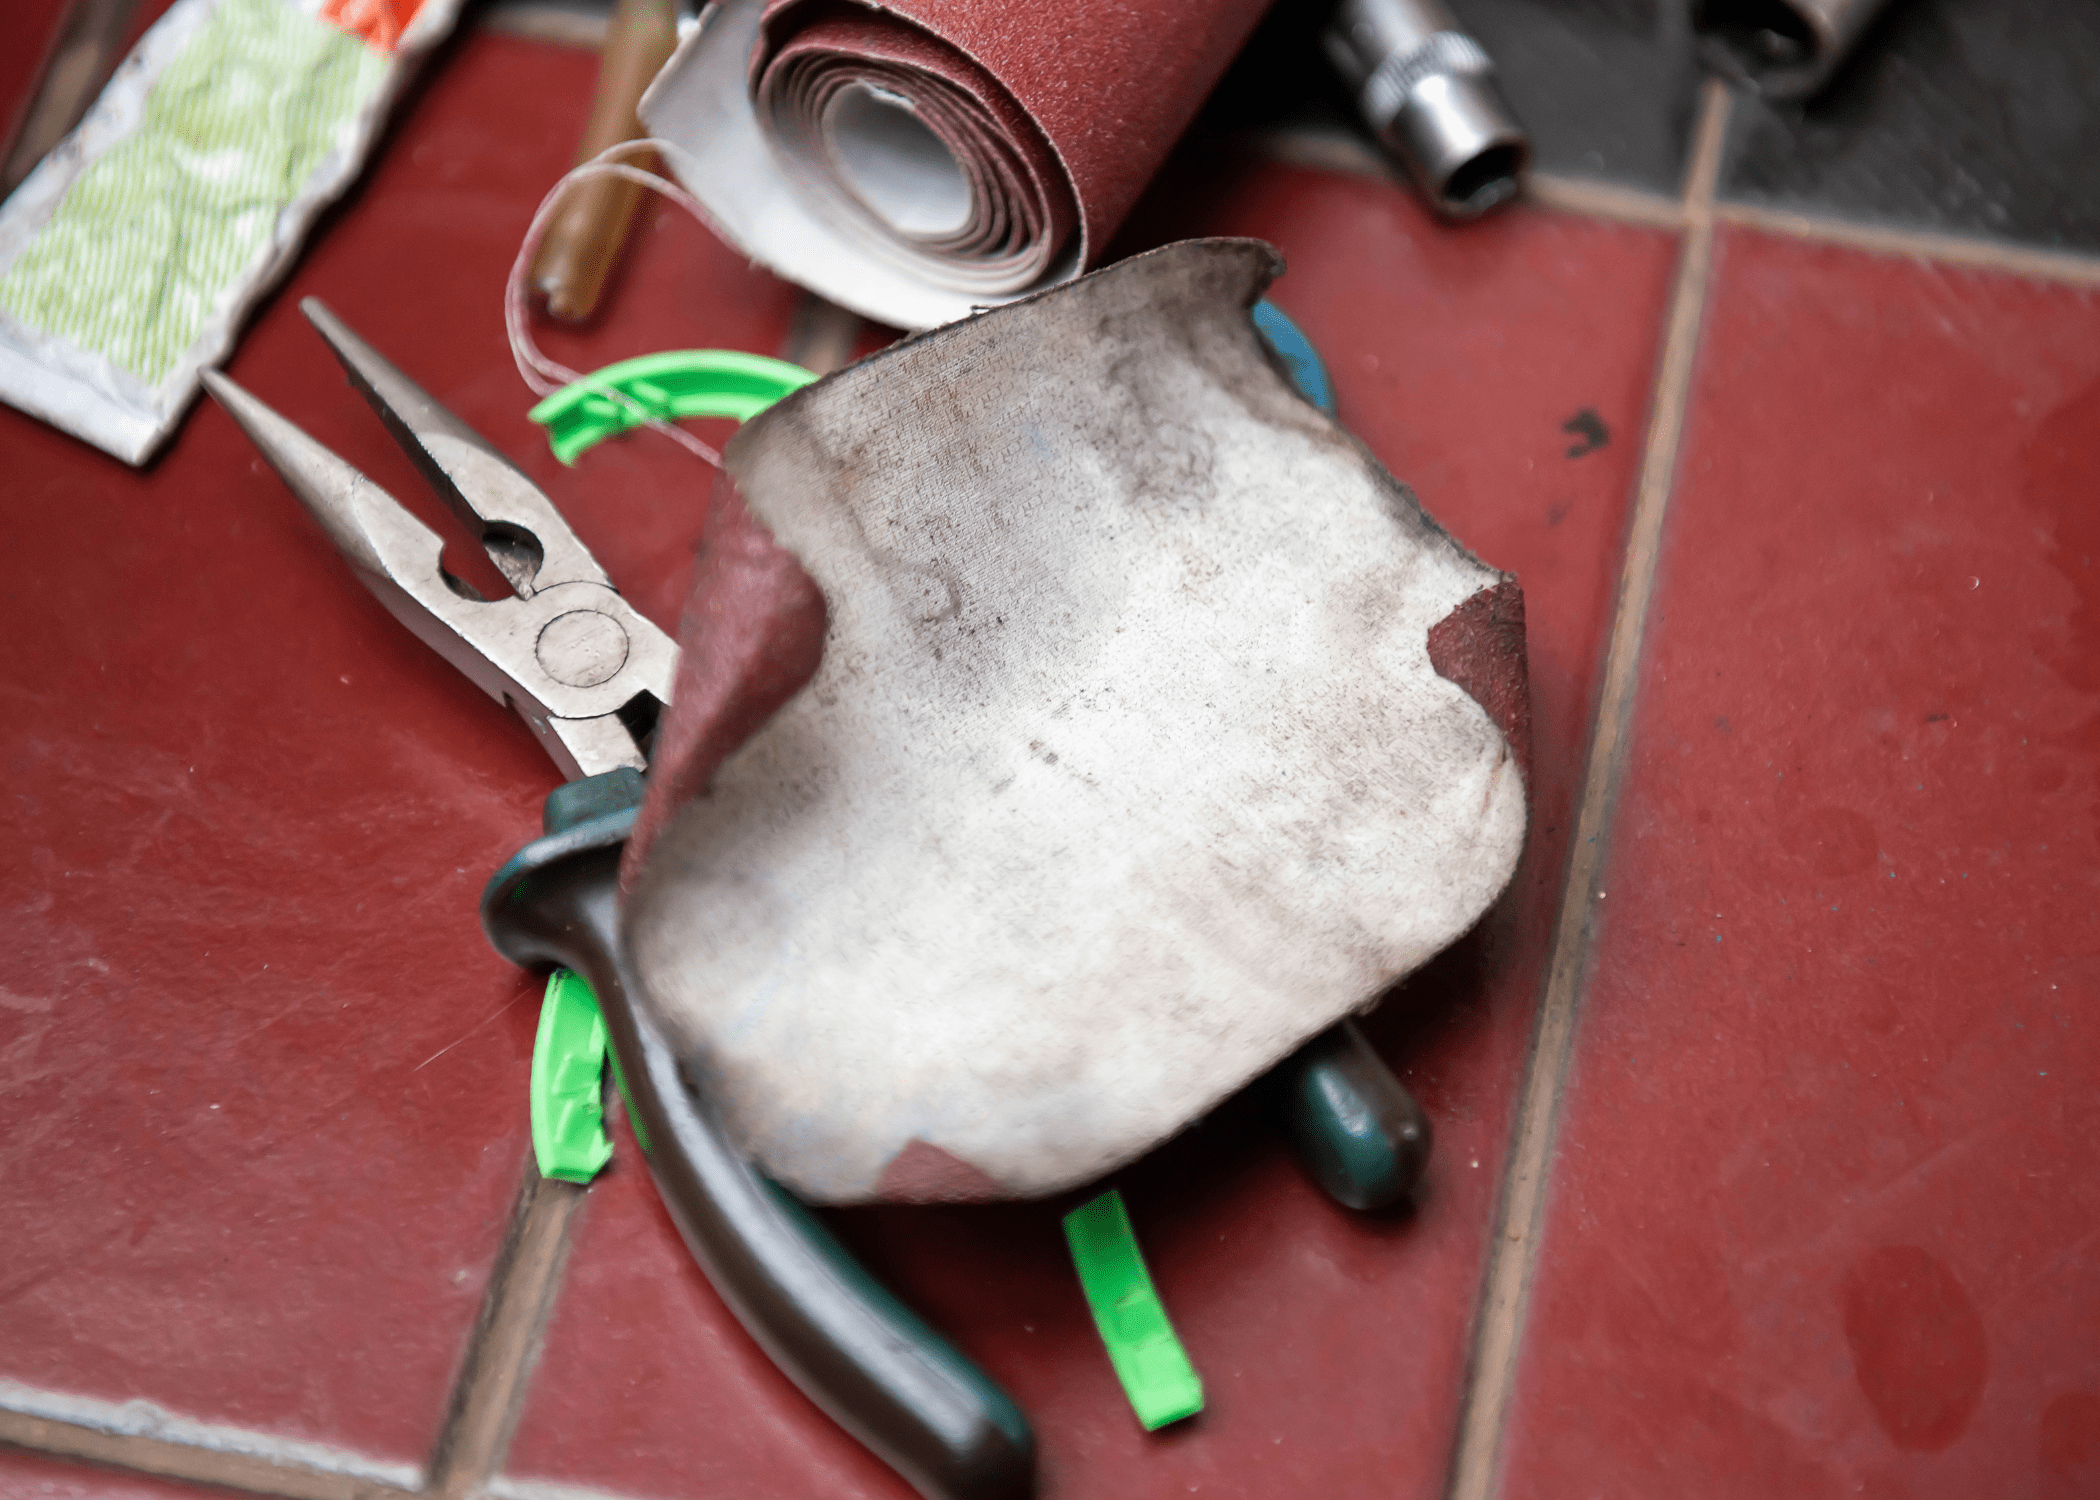
Rust can be a significant issue for metal tools, making them inefficient and difficult to use. Sandpaper can help you remove rust and restore your tools to working condition. Use coarse-grit sandpaper to scrub away the rust patches. Follow up with finer grits to smooth the metal and prevent further corrosion. This practice not only extends the life of your tools but also ensures they remain effective.
Smooth Edges on Glass and Ceramic
Working with glass and ceramic can be tricky due to their sharp and potentially dangerous edges. Sandpaper, specifically wet/dry sandpaper, can help you smooth these edges safely. Use fine-grit sandpaper and plenty of water for sanding down sharp edges gently. This technique is perfect for custom glass projects or when you need to repurpose ceramic pieces. The result is a smoother, safer edge that’s less likely to cause injury.
Prep Walls for Painting
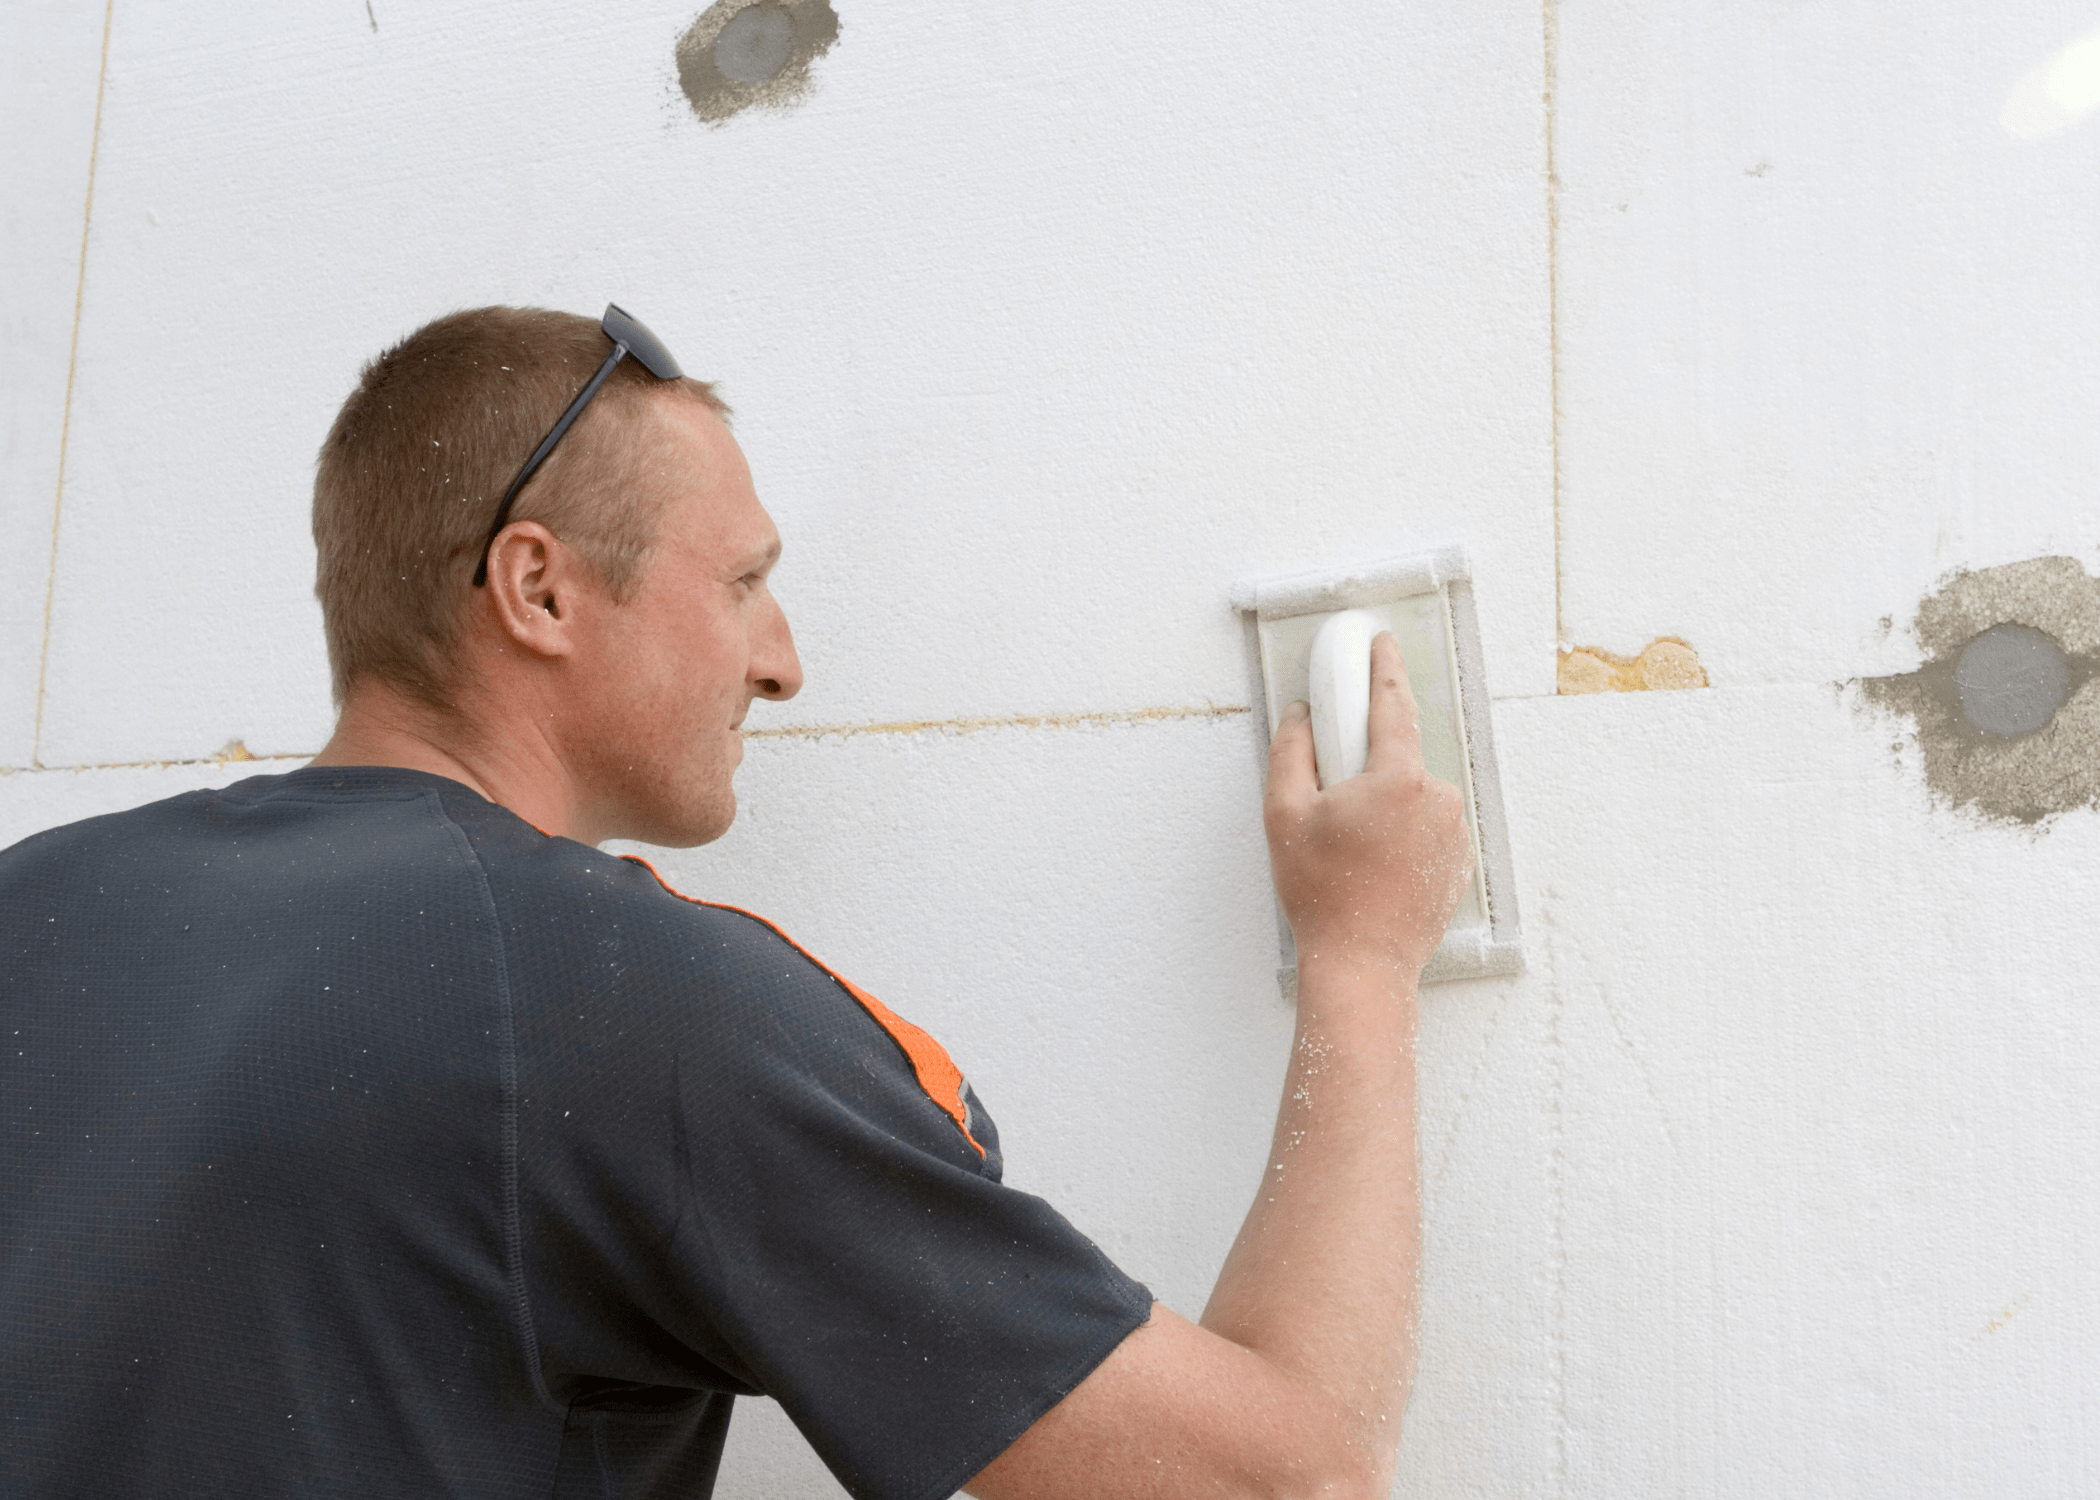
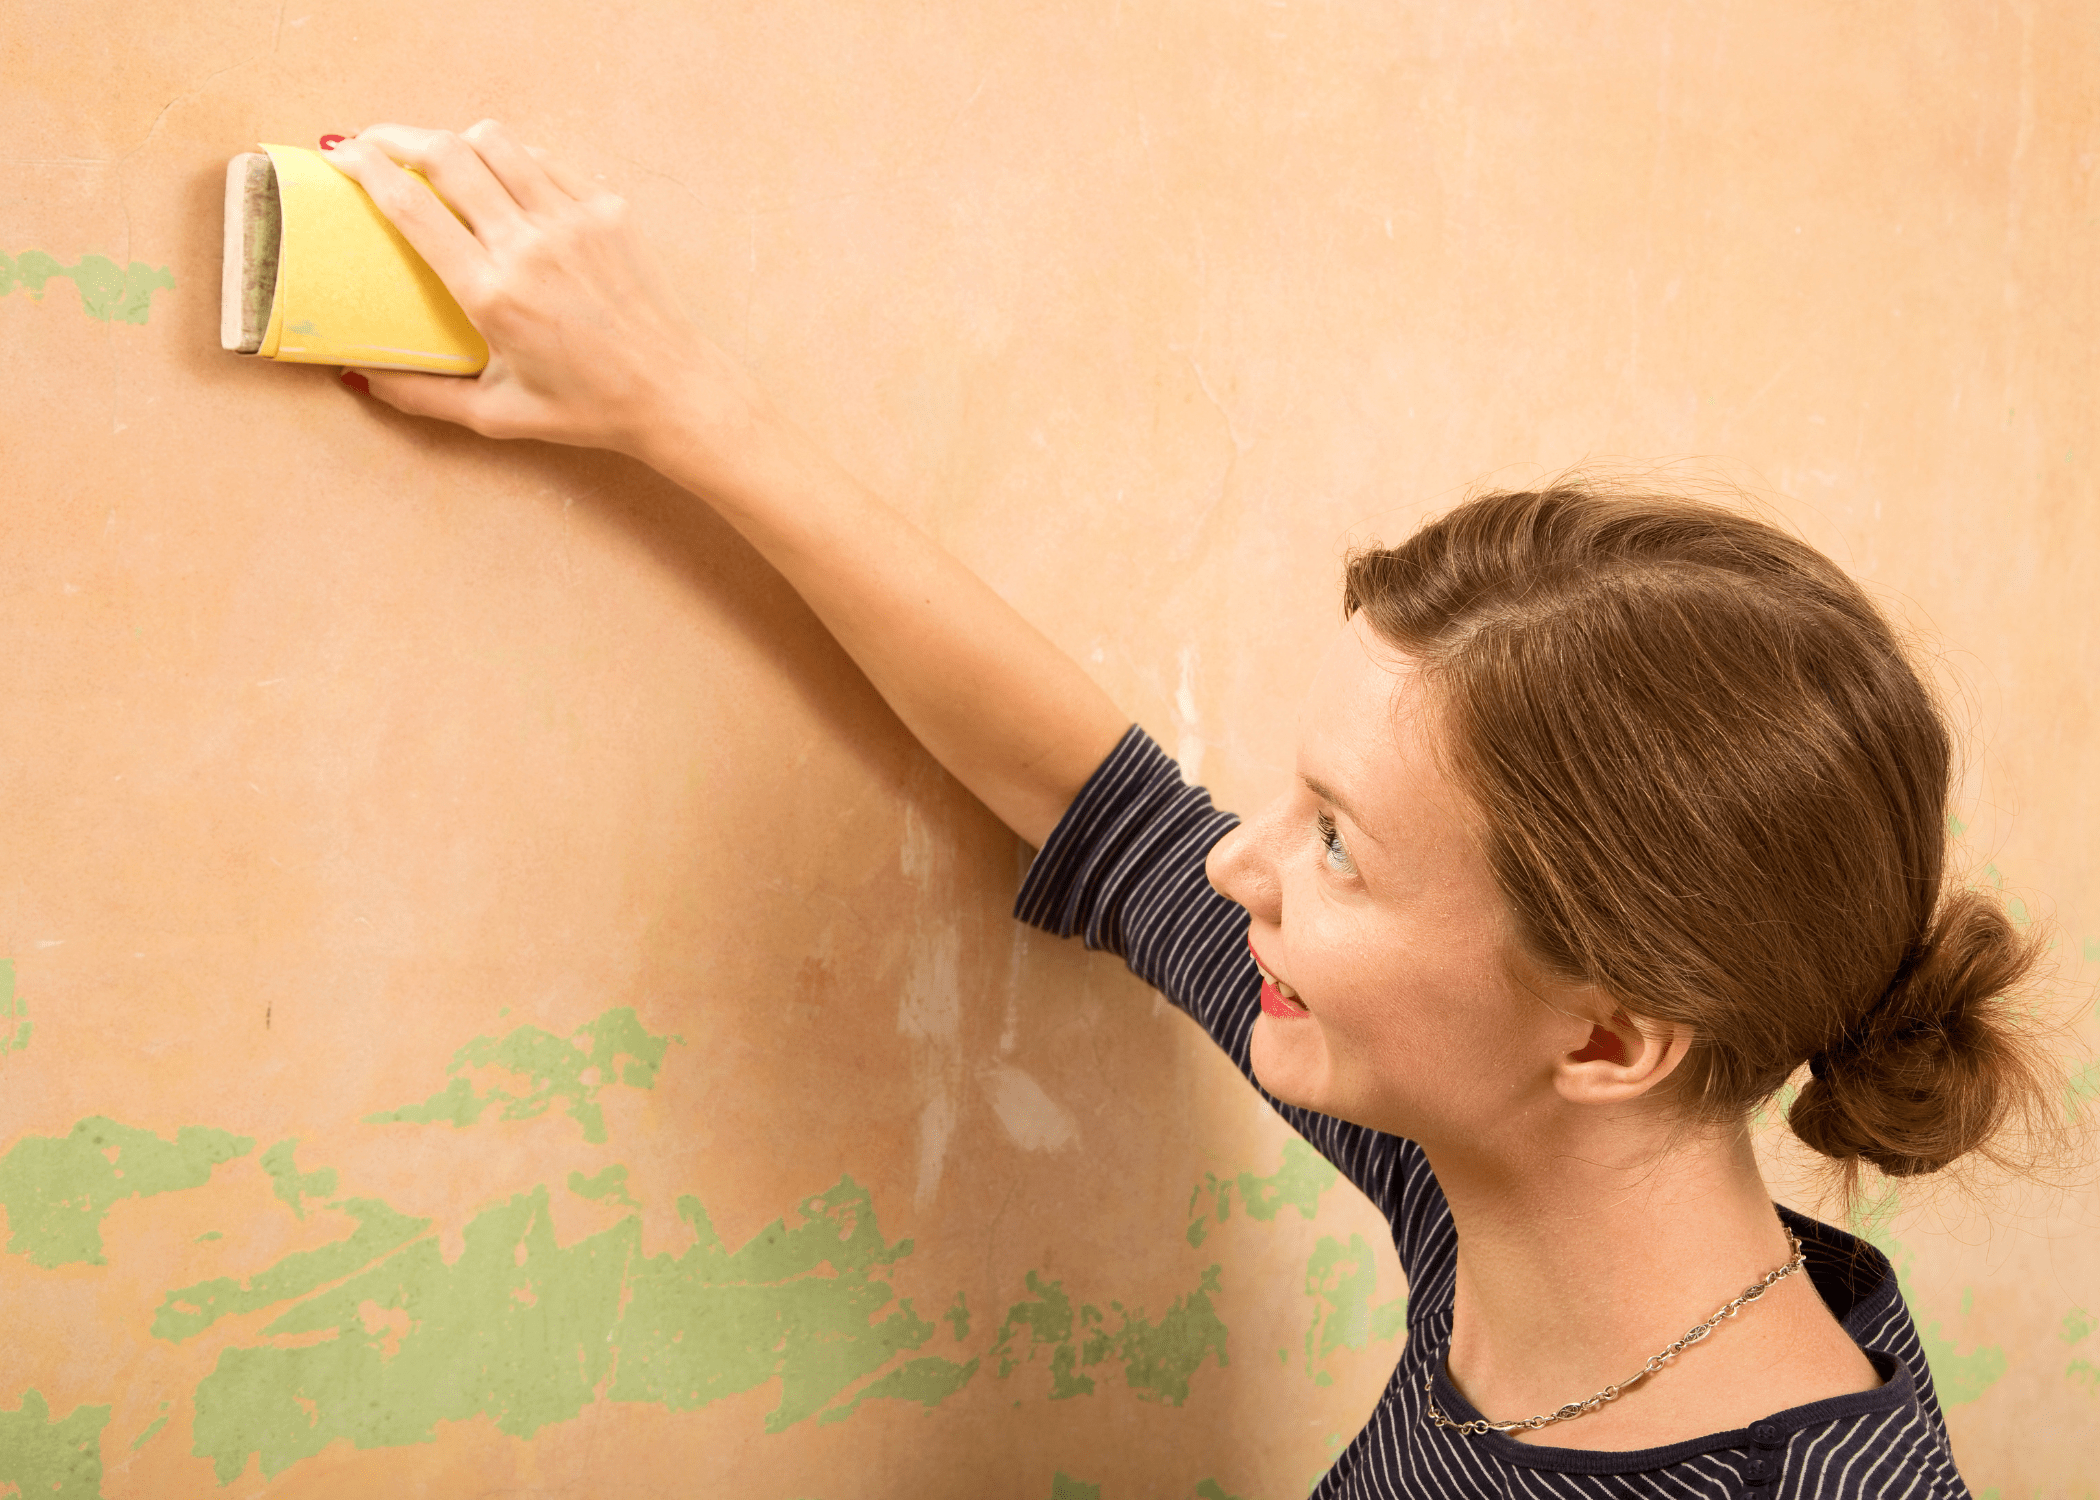
Proper wall preparation is crucial for a professional-looking paint job. Sandpaper is essential for this task, as it helps create a smooth surface that allows the paint to adhere better. Begin with medium-grit sandpaper to remove any rough patches, old paint, or wallpaper residue. Finish with fine-grit sandpaper to achieve a flawless surface. This prep work ensures your new paint job will be smooth and long-lasting.
Remove Pills from Fabric
Fabric pilling can make your clothes and upholstery look worn out. Sandpaper offers a simple solution to this problem. Gently rub fine-grit sandpaper over the pilled areas to remove the tiny fabric balls. This method is effective for sweaters, couches, and other fabric items, helping them look fresh and new again without damaging the material.
Create Distressed Finishes
Distressed finishes are a popular trend in home decor, providing a charming, rustic look. Sandpaper can help you achieve this effect on various surfaces, including wood and metal. Once you’ve applied a base coat of paint, use coarse-grit sandpaper to selectively remove some of the paint, revealing the underlying material. The result is a beautifully aged appearance that adds character to your decor.
Improve Adhesion for Glue
When working on projects that require strong adhesive bonds, sandpaper can be your best friend. Lightly sanding the surfaces before applying glue can significantly improve adhesion. This technique works well for wood, plastic, and metal surfaces. The slight roughness created by the sandpaper allows the glue to penetrate better, resulting in a stronger, more durable bond.
Polish Surfaces to Shine
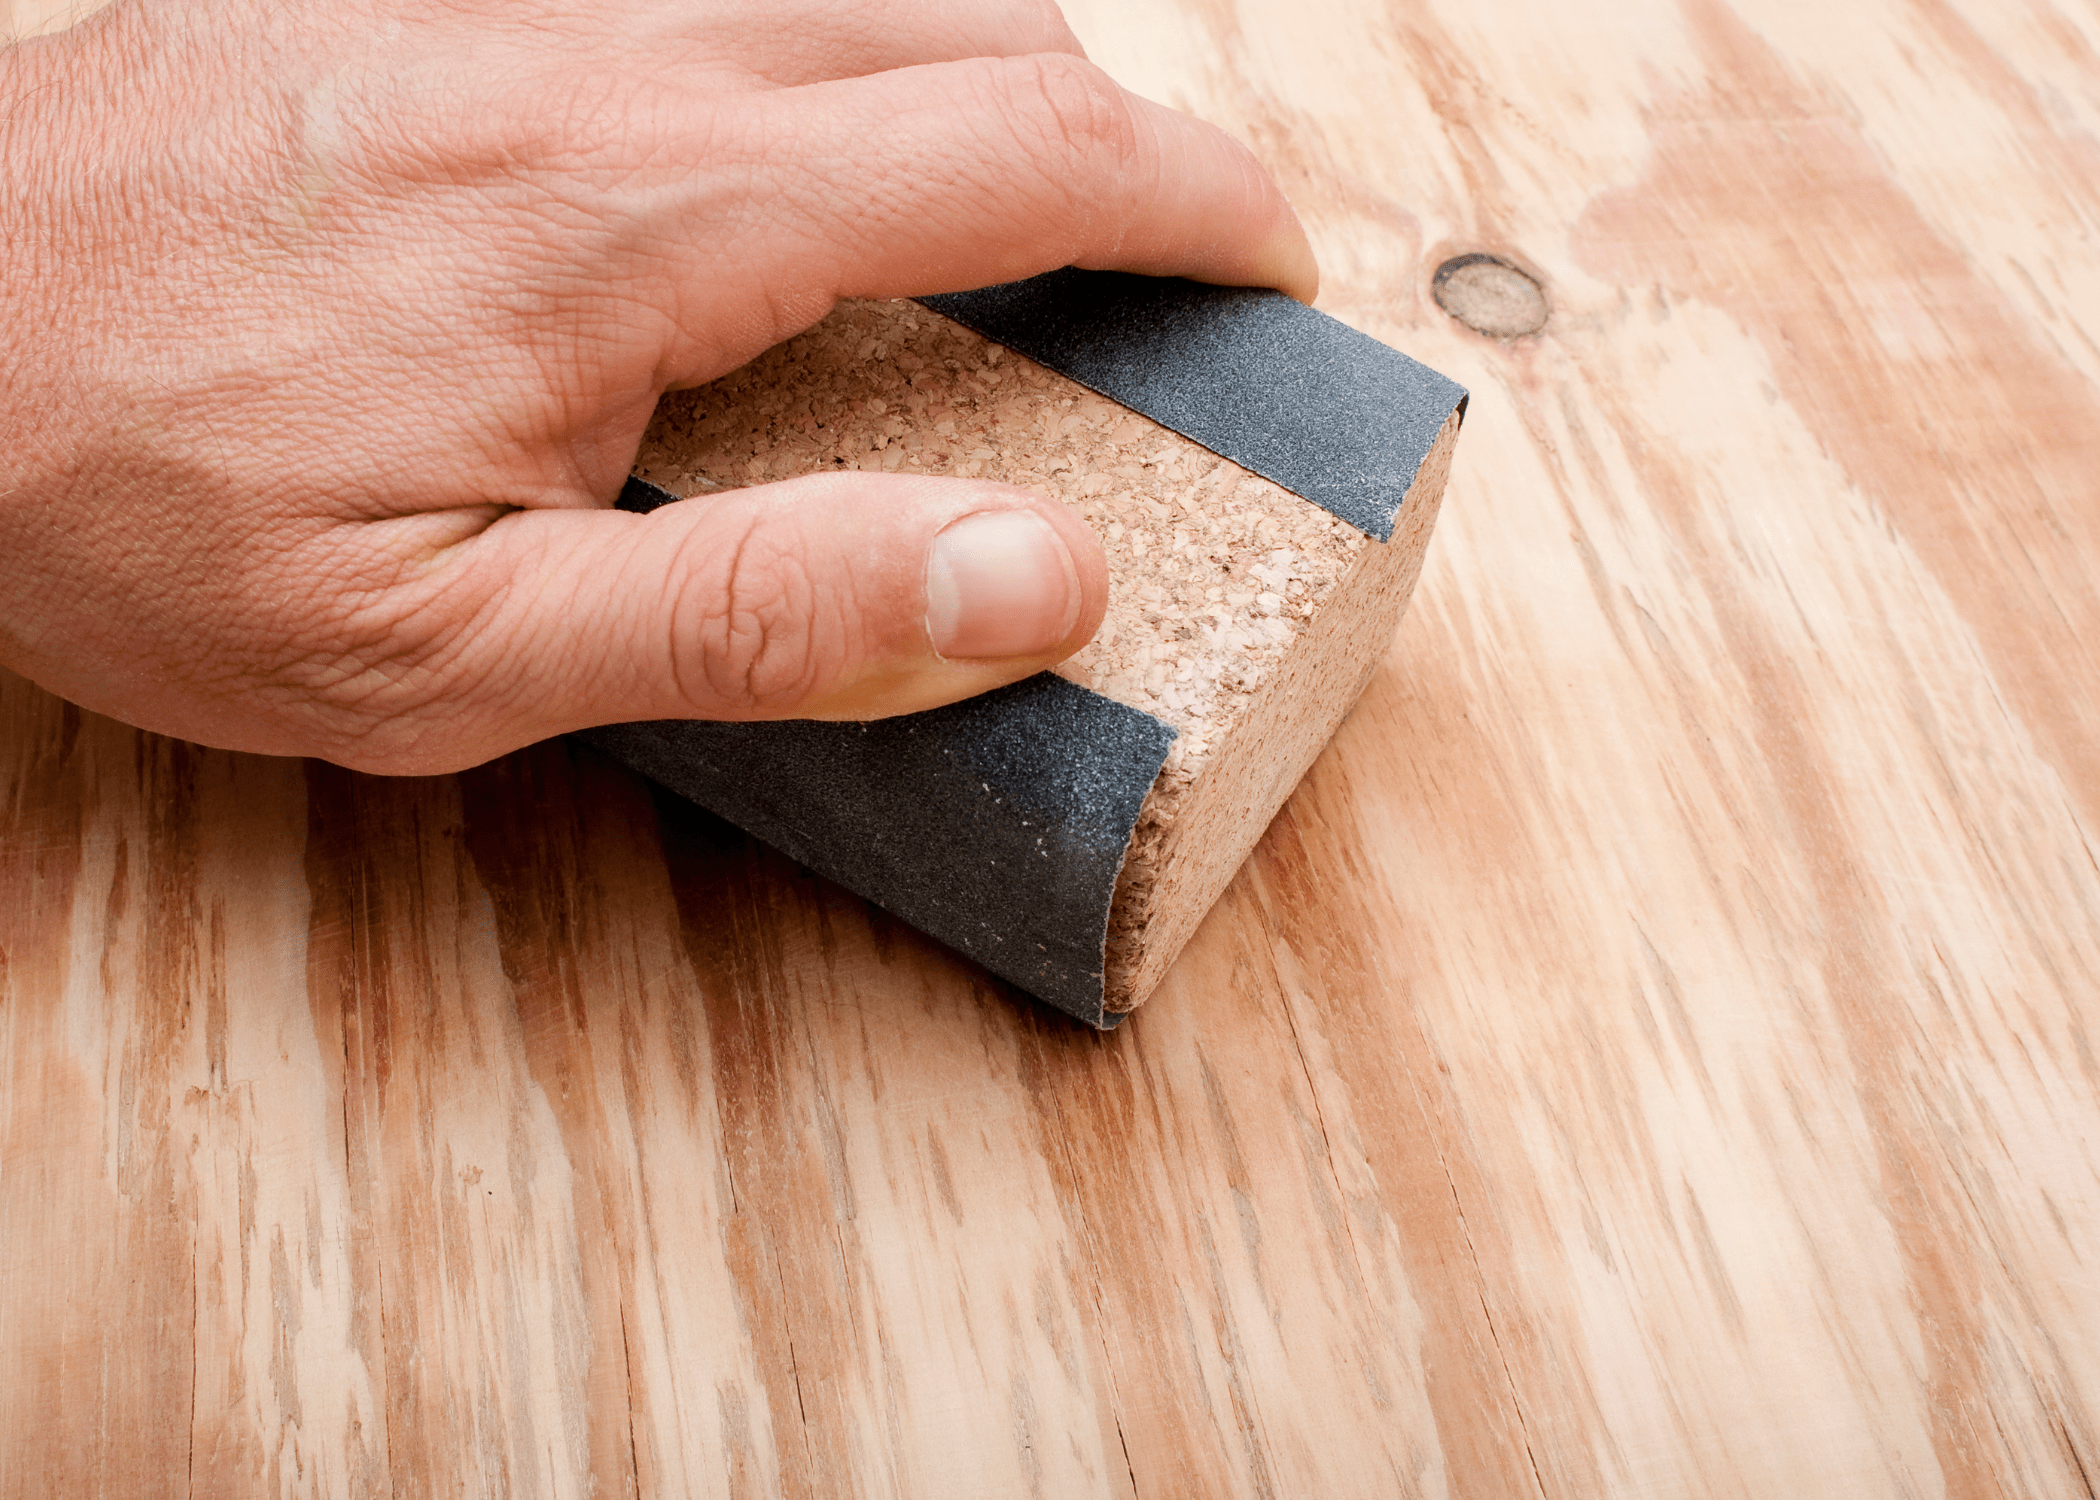
Sandpaper isn’t just for rough work; it can also be used to polish surfaces to a high shine. For materials like metal, plastic, or even painted surfaces, start with fine-grit sandpaper and gradually move to ultra-fine grits. This process will remove minor scratches and imperfections, leaving you with a glossy, polished finish. It’s an excellent way to restore the luster to various items, from jewelry to car parts.
Related Articles
- How to Choose the Right Sandpaper Grit
- The Most Effective Way For Restoring Hardwood Floors
- 10 Tool Hacks Every DIY Enthusiast Should Know
By exploring these nine smart uses for sandpaper, you can unlock new potentials for this simple yet powerful tool. Whether you’re restoring furniture, sharpening tools, or prepping surfaces for painting, sandpaper proves to be an indispensable ally in your DIY endeavors.

