How to Do a Cross Cut Quick and Easy Using a Miter Saw
Cross-cutting on a miter saw is a fundamental skill that many woodworkers and DIY enthusiasts find invaluable. No matter the project you are attempting to do, chances are there will be a cross-cut. It’s the most straightforward and common cut.
Mastering the technique of cross-cutting on a miter saw can significantly enhance the quality and efficiency of your woodworking projects. Whether you are a seasoned DIYer or just starting out, don’t worry, we will explore the step-by-step process of how to perform a cross-cut on a miter saw safely and accurately, offering tips and tricks to help you achieve professional results in your woodworking endeavors.
Embark on a journey of craftsmanship and creativity! Explore TedsWoodworking, your gateway to 16,000+ woodworking projects. Let’s turn your woodworking dreams into reality together.
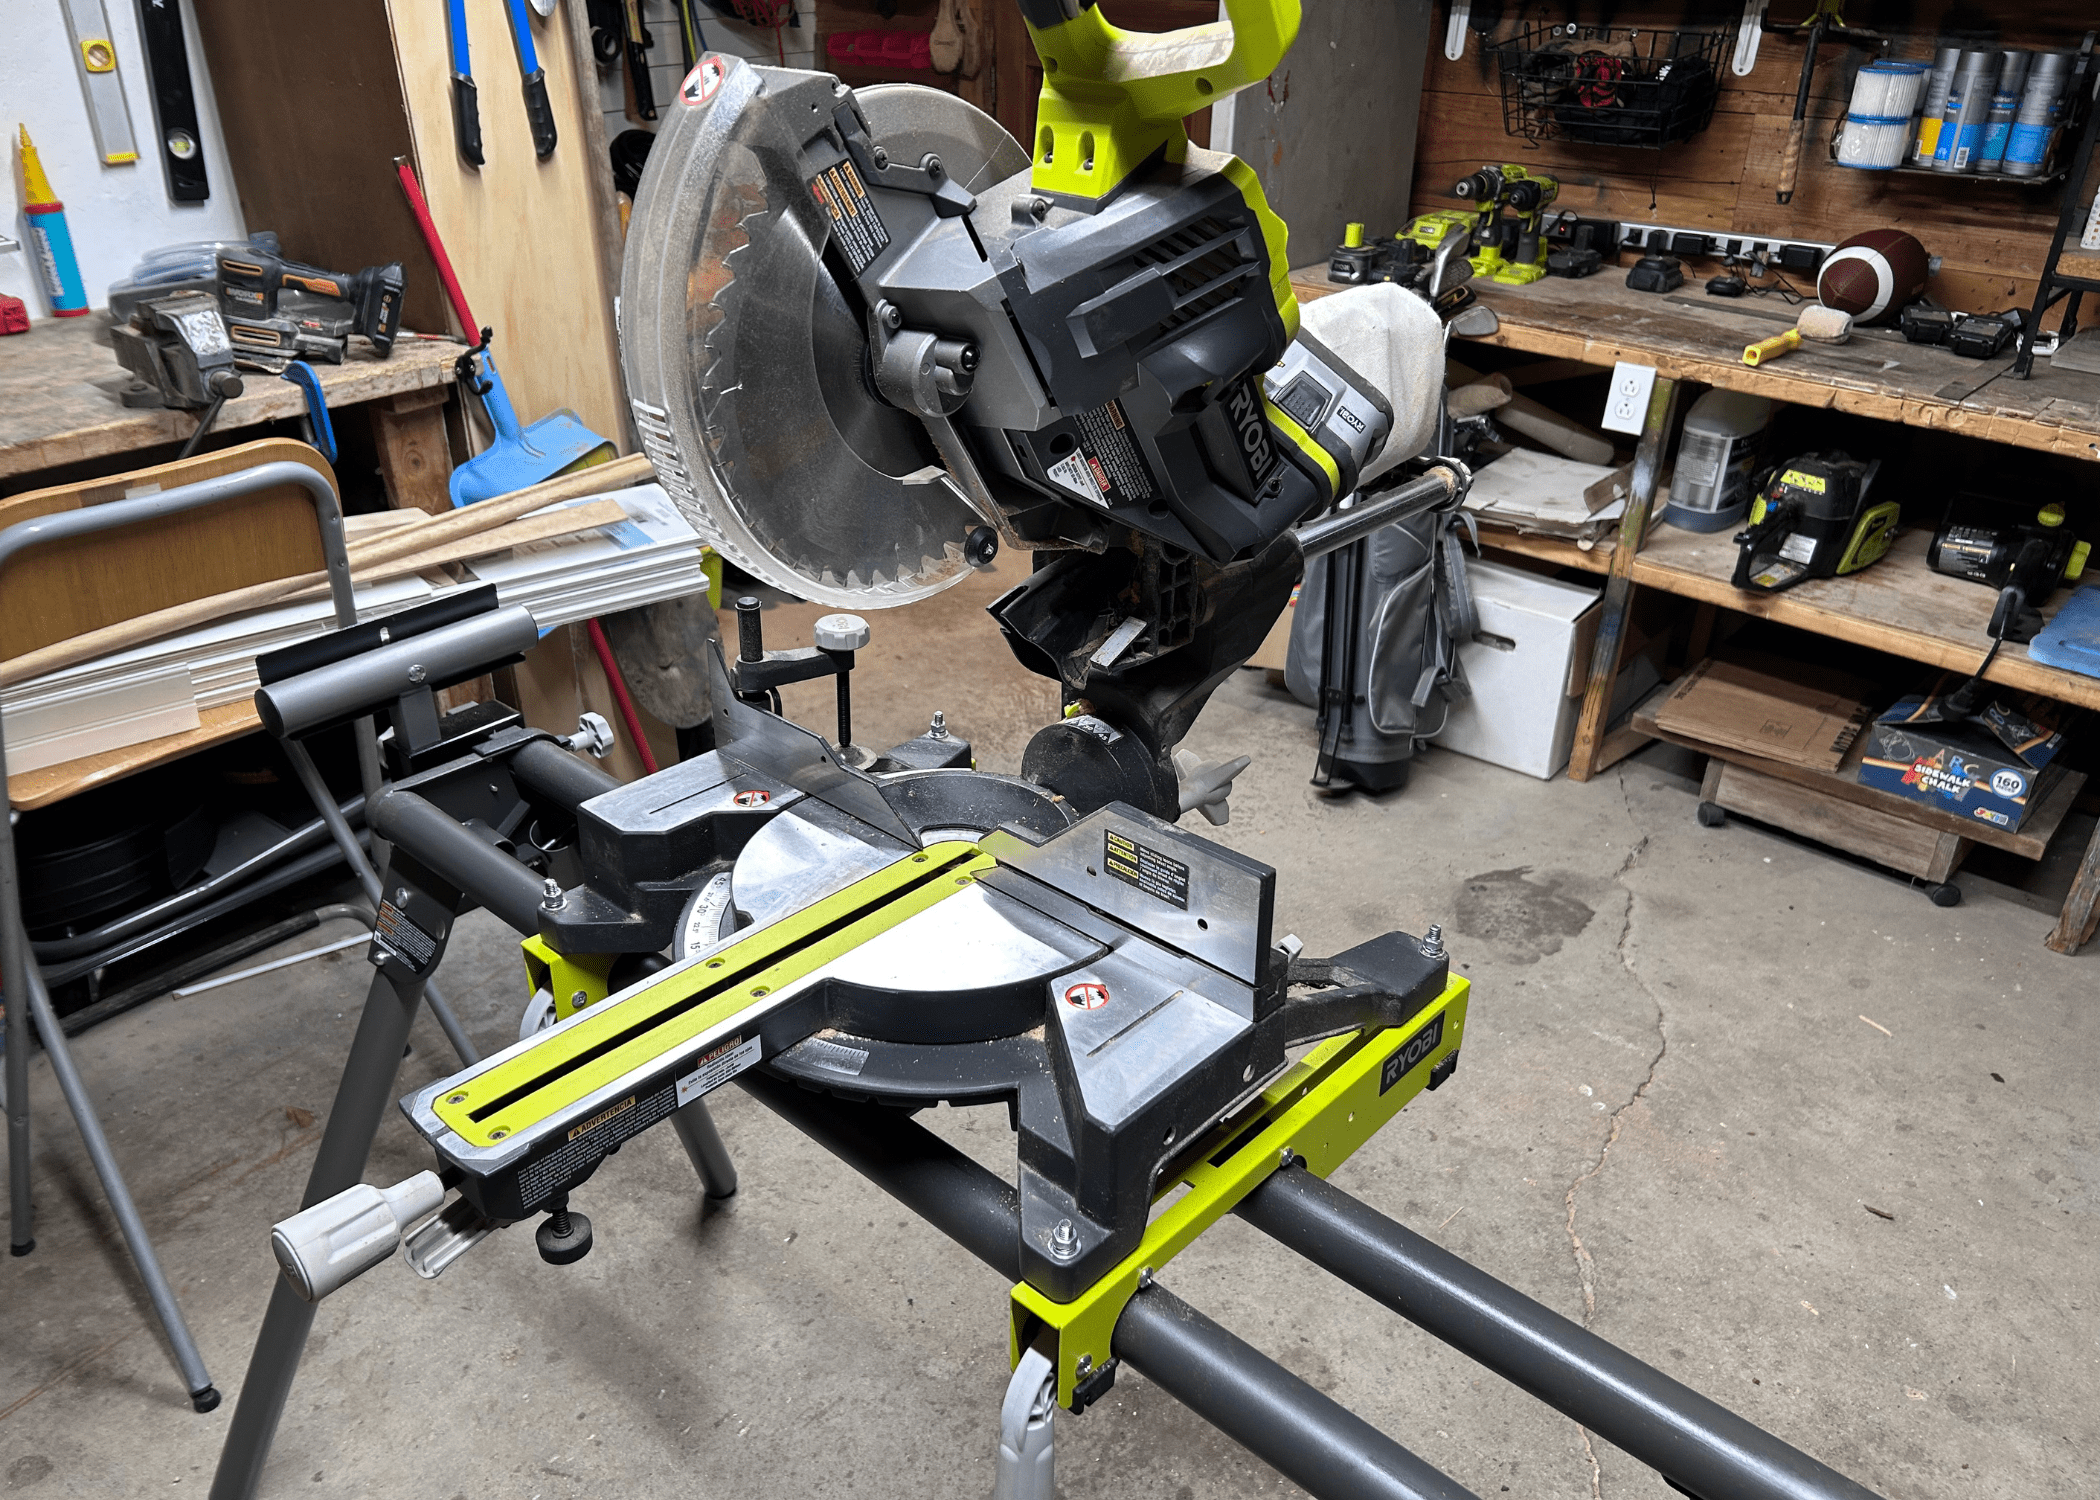
What is a Cross Cut?
A cross-cut refers to cutting a piece of material, such as wood, across the grain at a 90-degree angle. This type of cut produces a smooth and precise result, making it ideal for creating square or rectangular pieces.
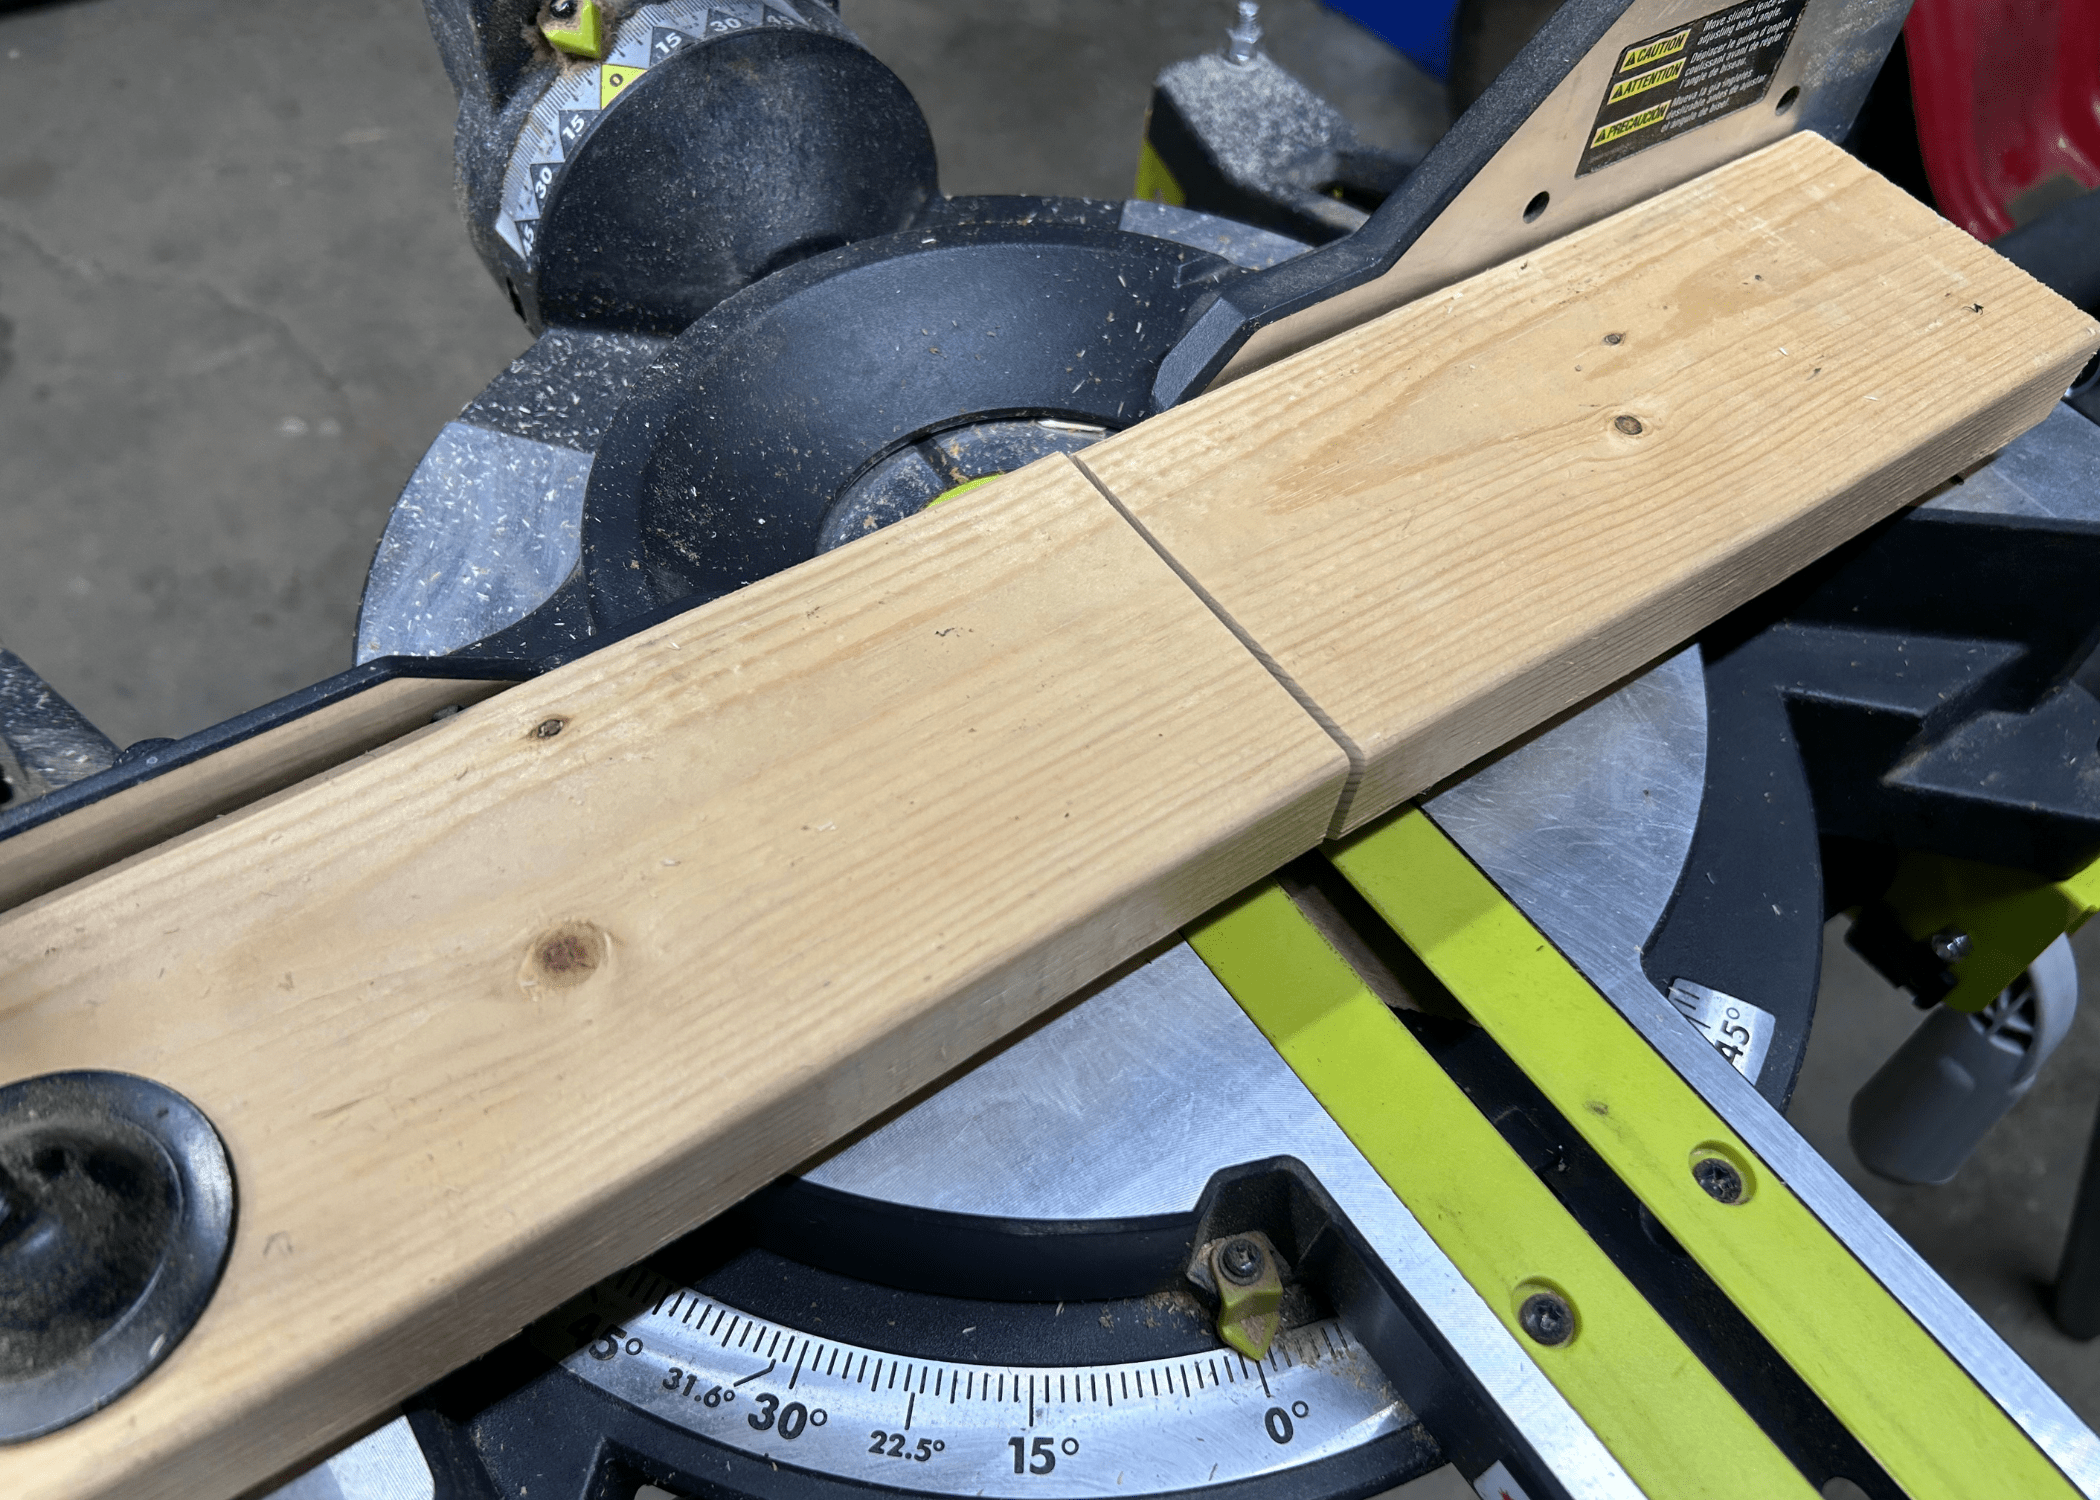
When using a miter saw for a cross-cut, the material is positioned flat on the saw’s base, and the blade is brought down vertically to make the cut. This method is commonly used in woodworking and carpentry for various projects like framing, furniture making, and trim work. It allows for accurate and clean cuts, ensuring a professional finish to your workpiece.
How To Make A Cross-Cut
To make a cross-cut on a miter saw, follow these step-by-step instructions:
Prepare the Workpiece: Measure and mark the point where you want to make the cut on your wood piece. Ensure the piece is secured firmly against the fence and the table of the miter saw to prevent any movement during cutting.
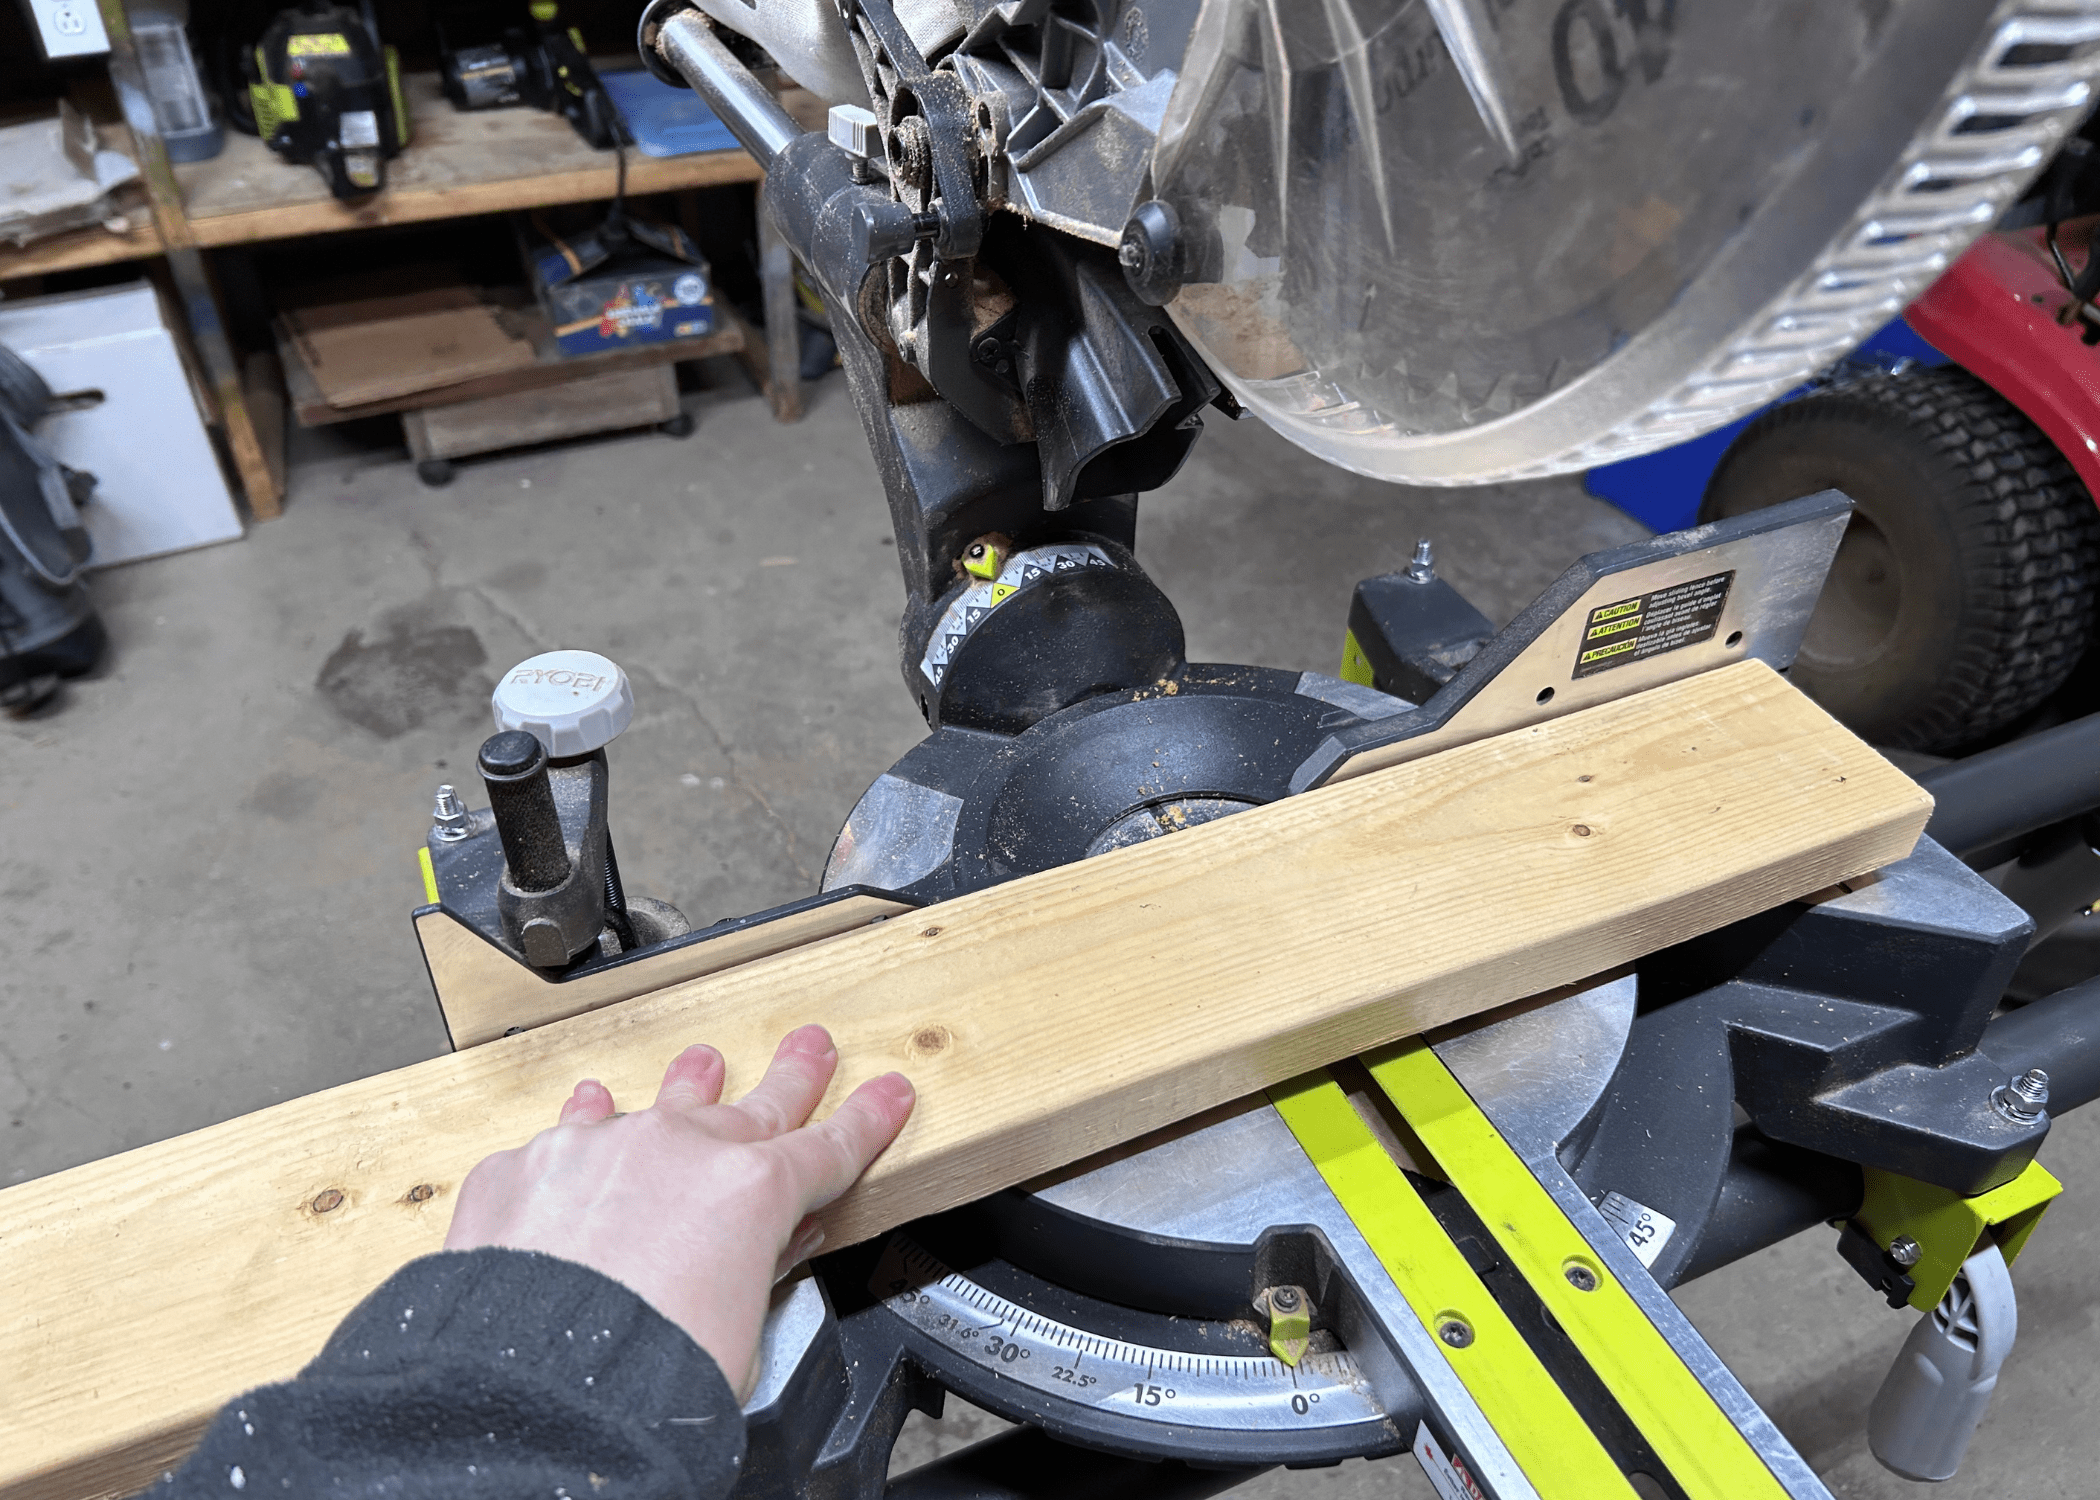
Adjust the Miter Angle: Set the miter angle to zero degrees, ensuring that the blade is perpendicular to the table. This will ensure a straight cross-cut.
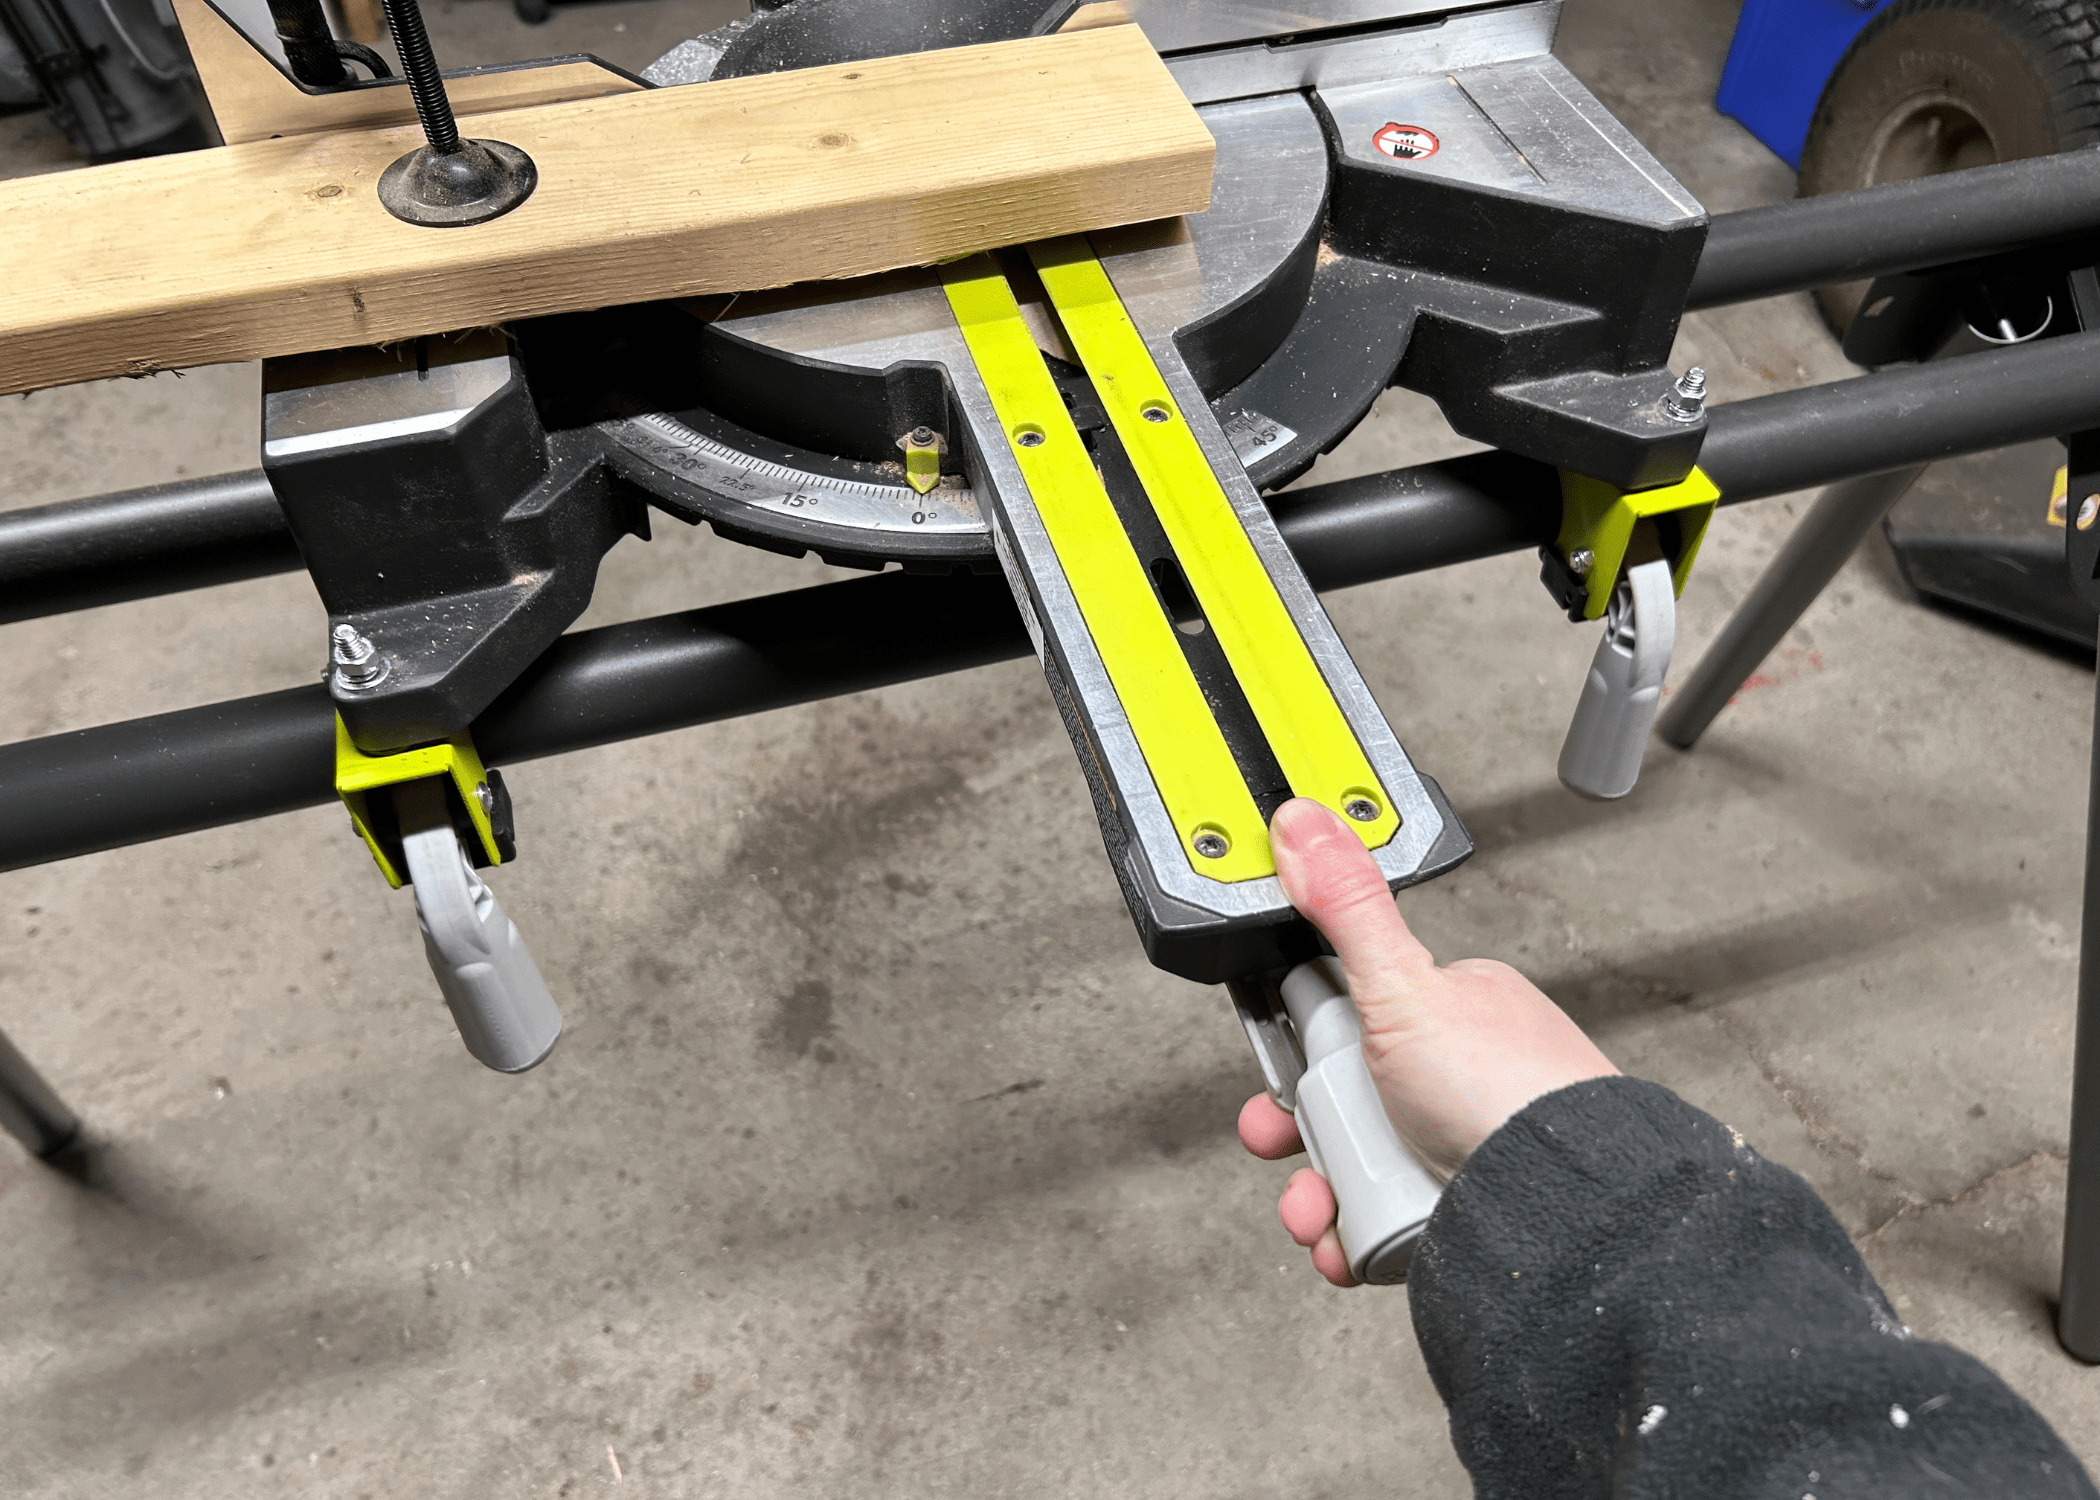
Secure the Wood: If your saw has a clamp, place the clamp down on your wood to secure it against the fence and the saw table.
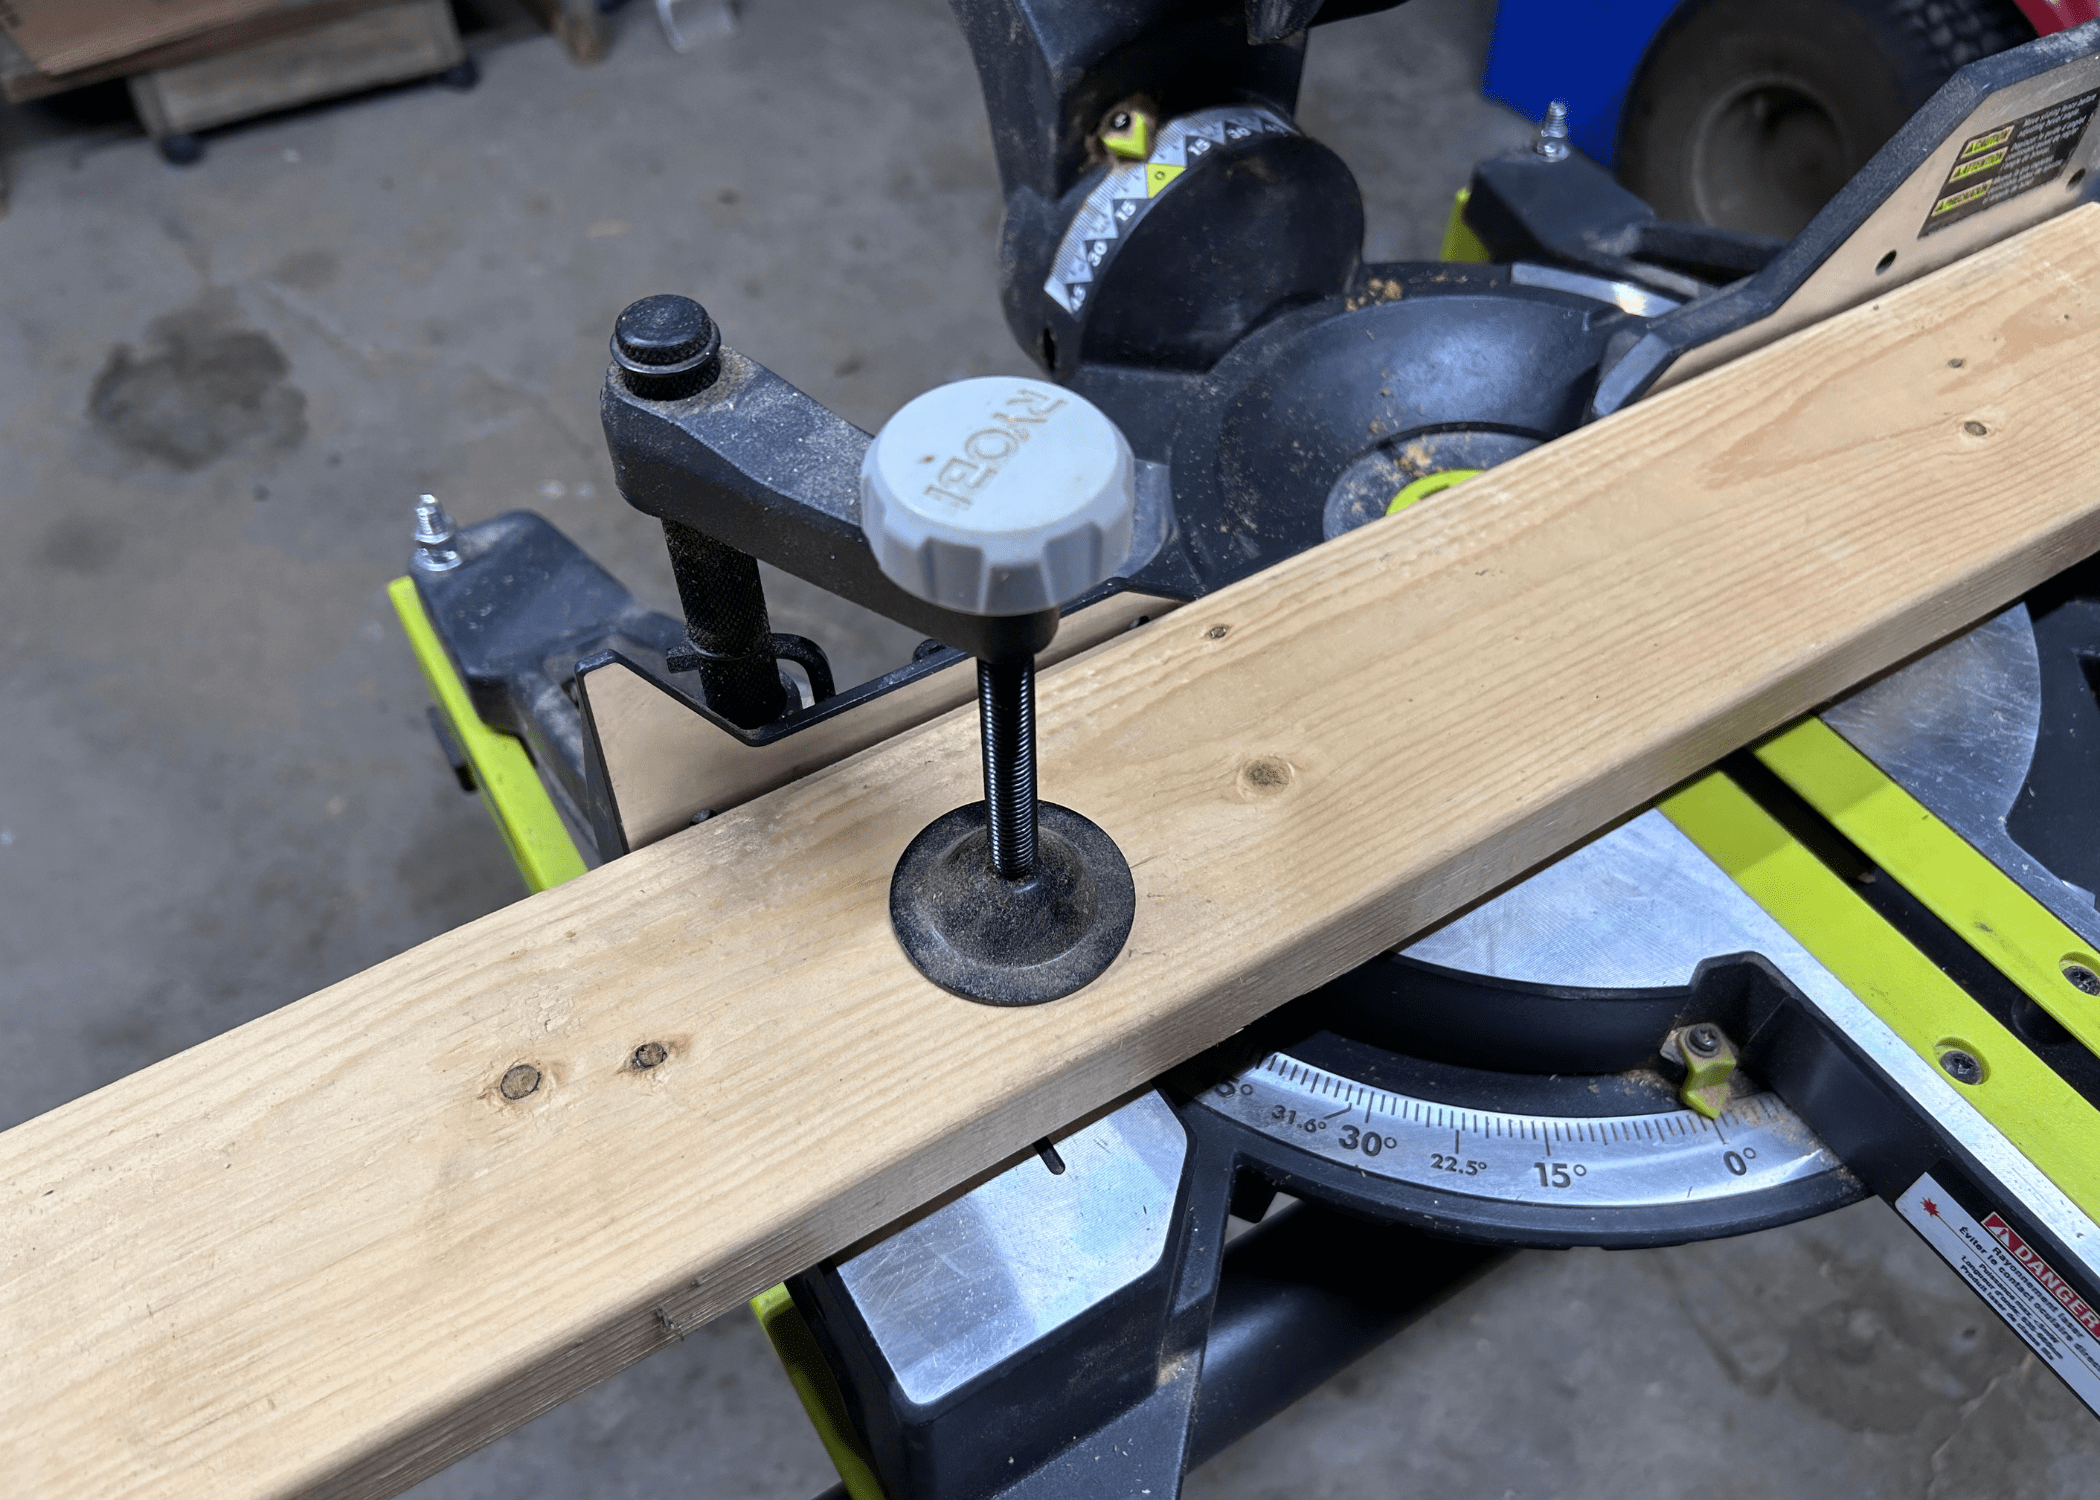
Turn on the Saw: Before cutting, ensure that all safety features are in place, and wear appropriate safety gear such as goggles and ear protection. If your saw has a laser, you can turn it on and use it to see/line up the cut.
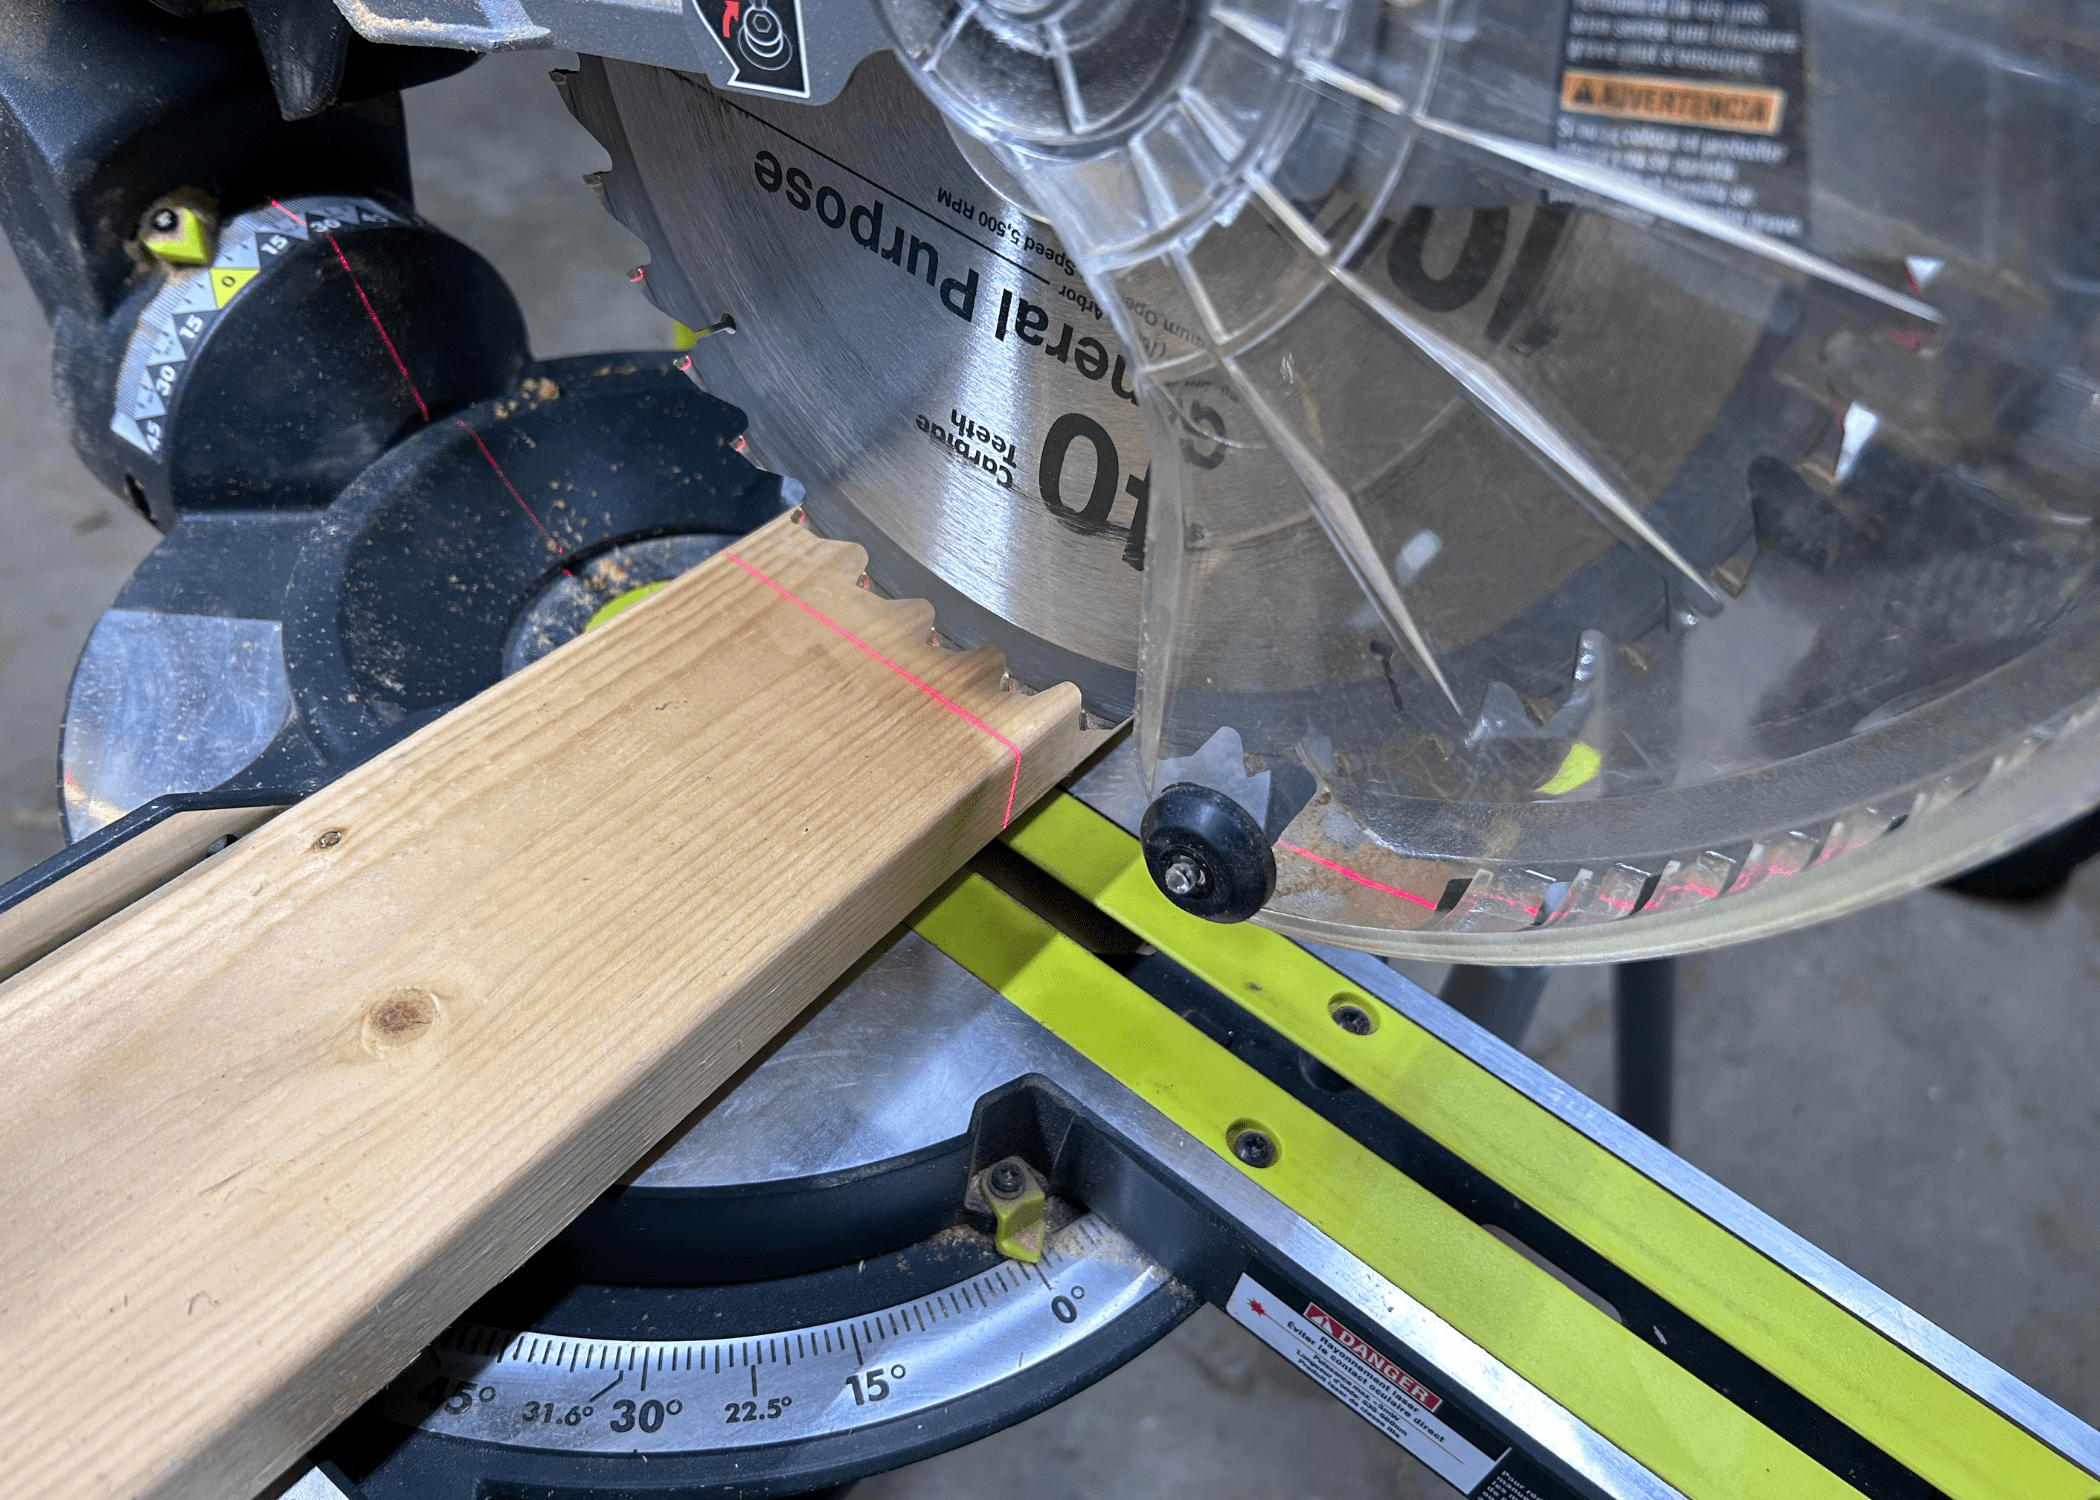
Make the Cut: Lower the blade onto the wood and slowly push the blade through the wood, allowing the saw to do the cutting. Keep a steady hand and maintain a firm grip on the workpiece.
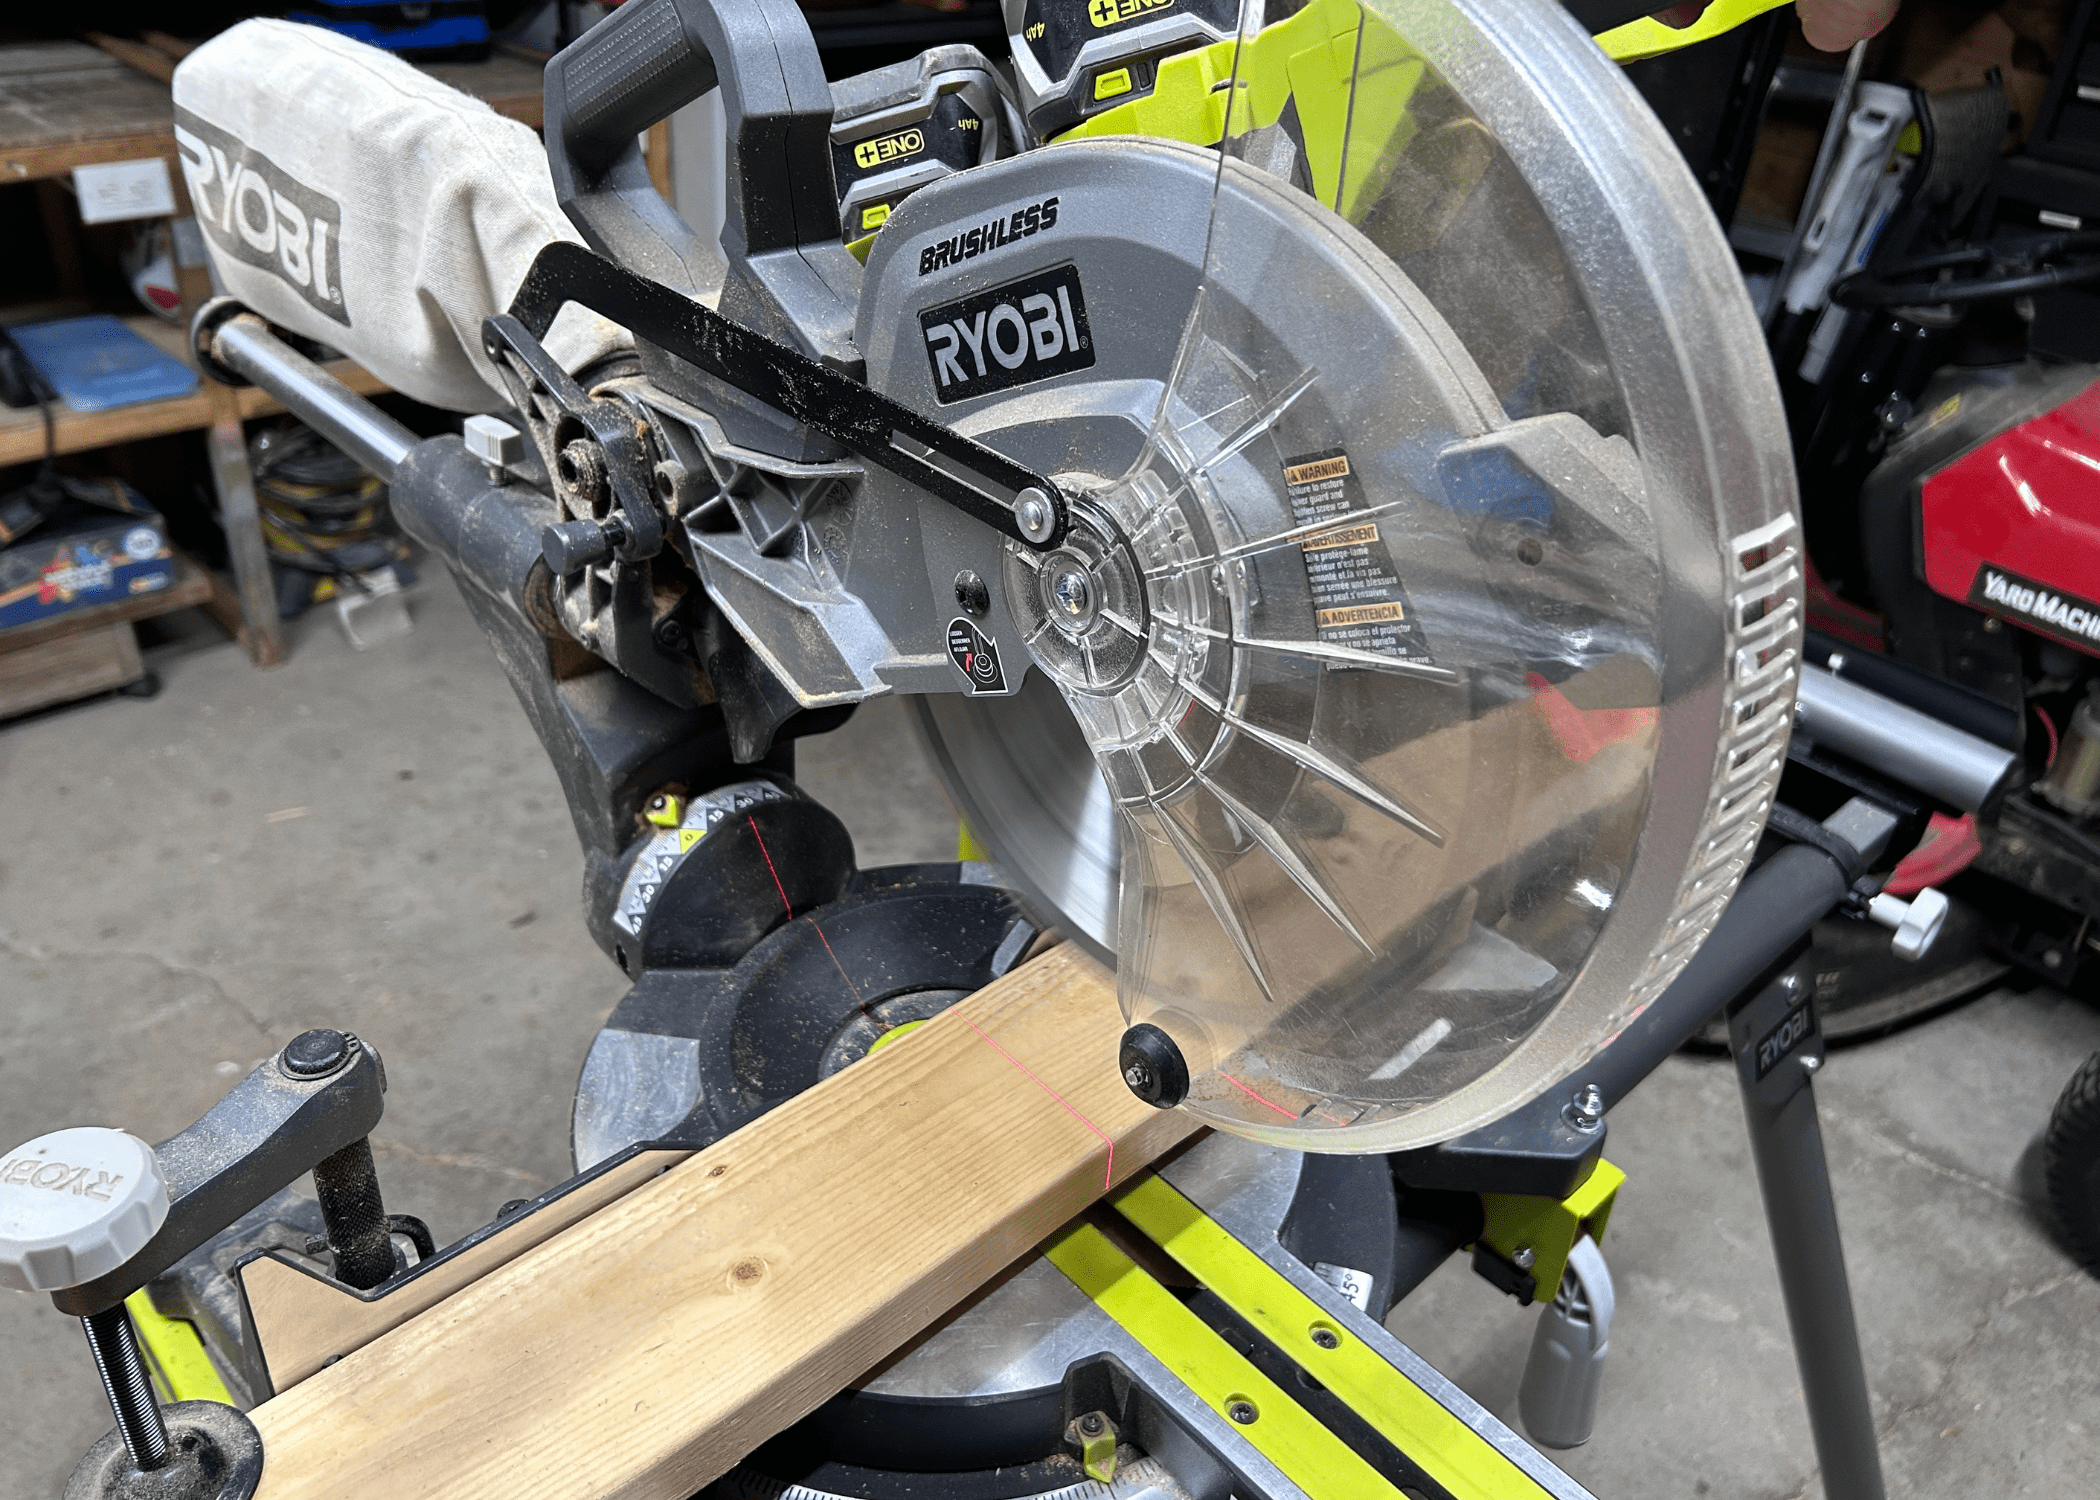
Turn off the Saw: Once the cut is complete, release the trigger and wait for the blade to come to a complete stop before raising it.
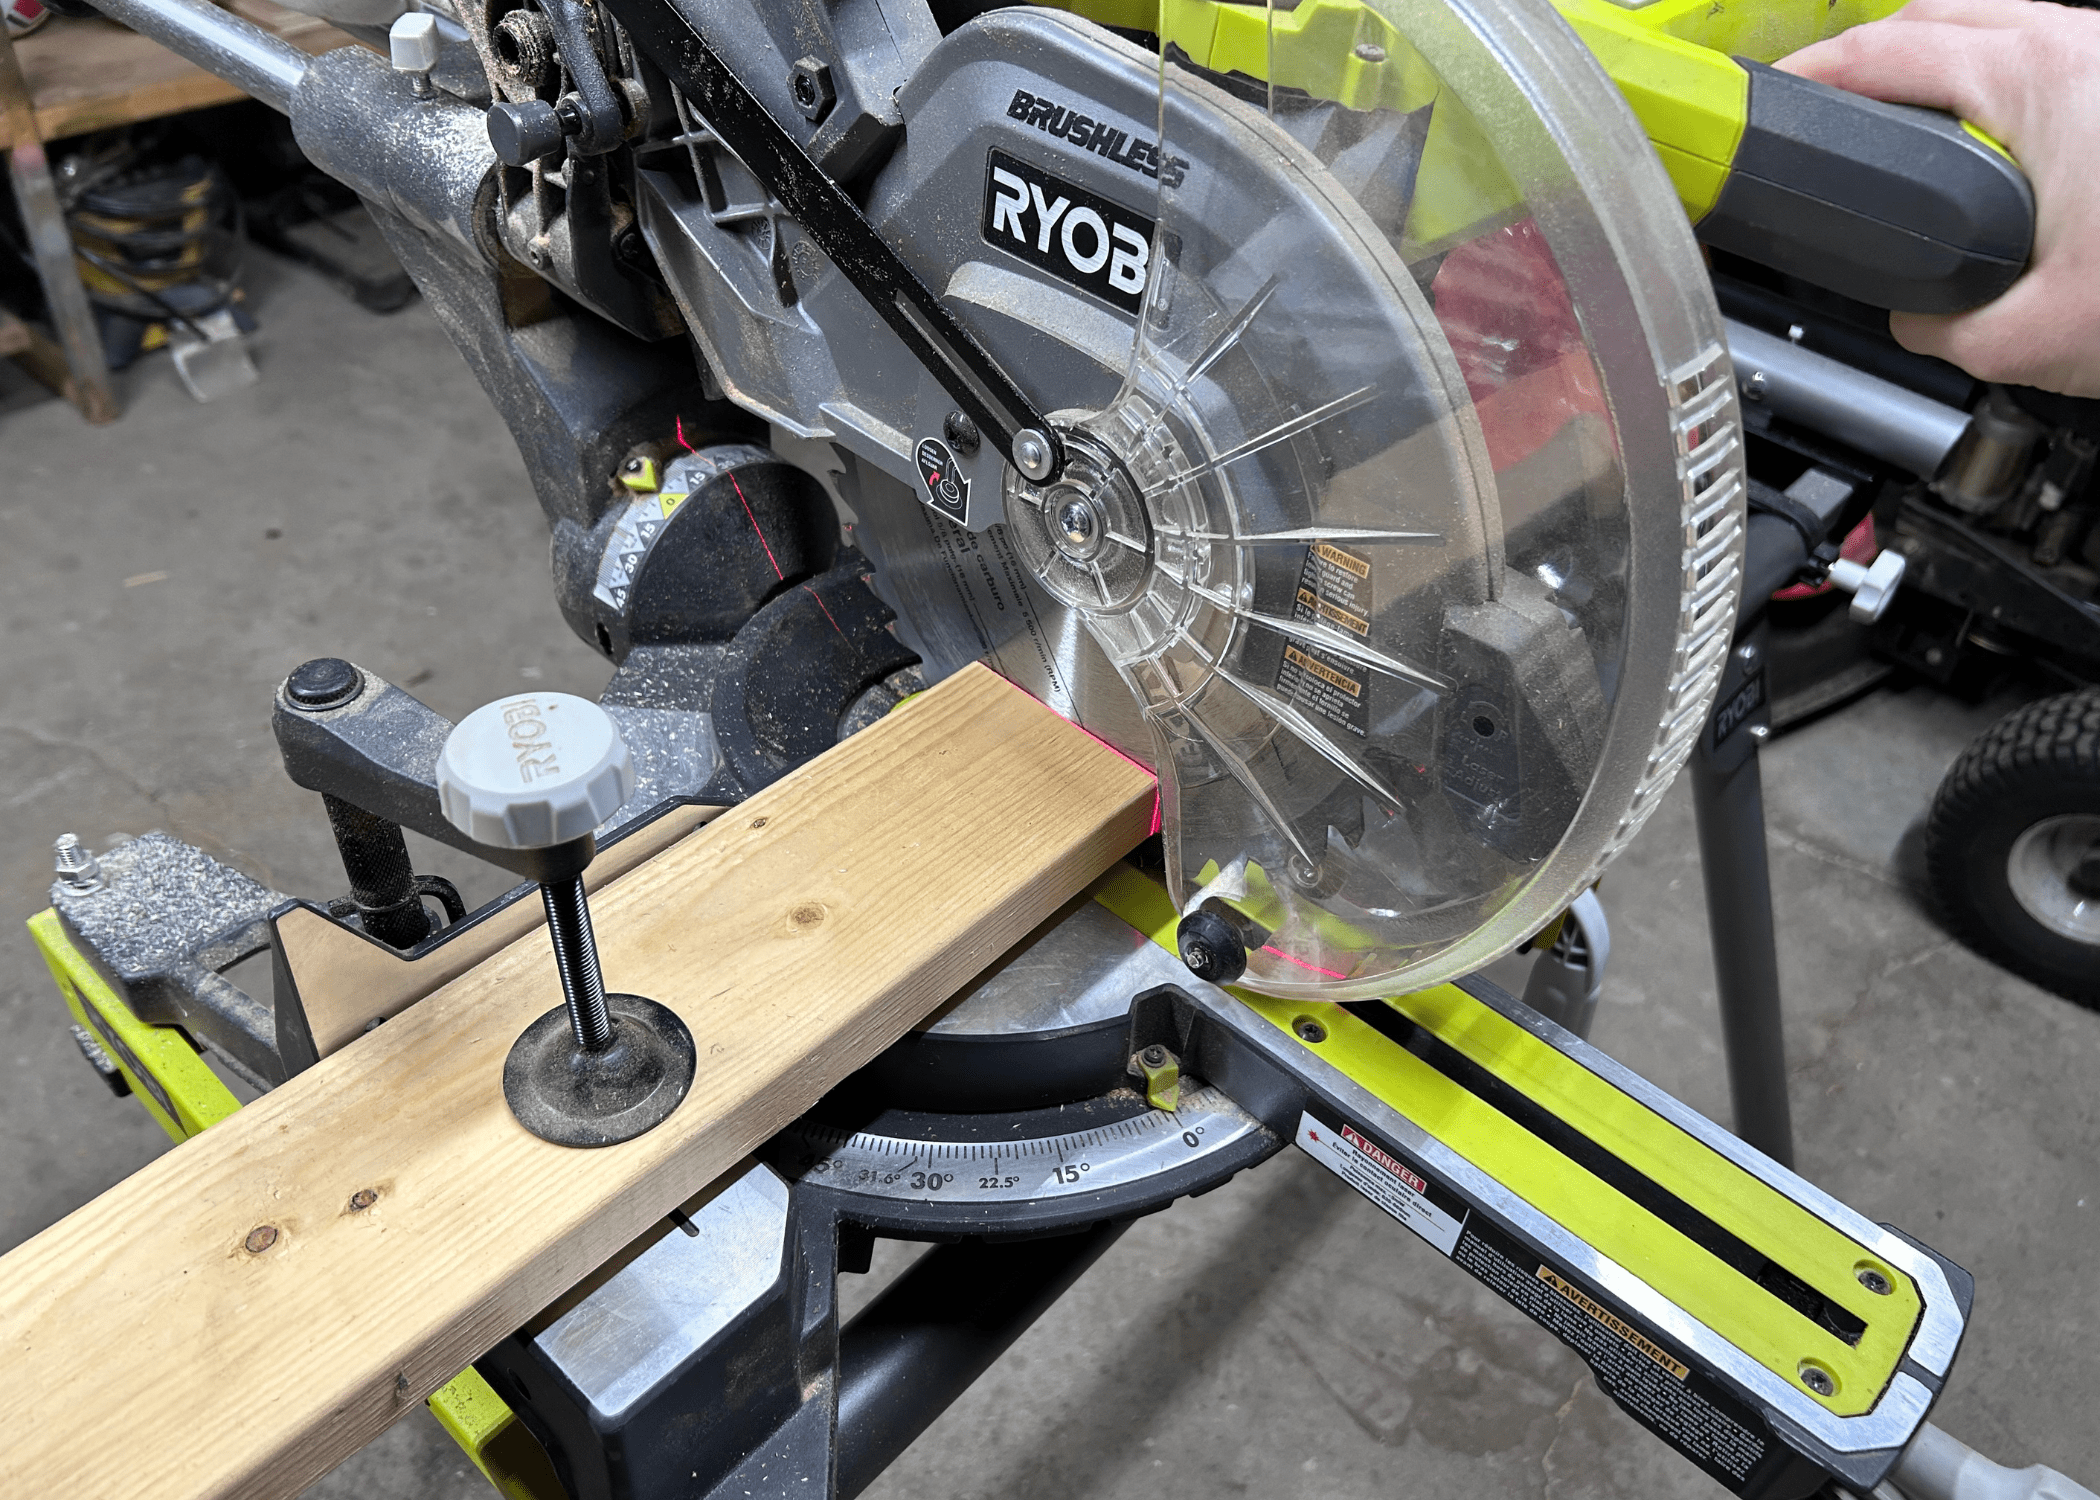
Check the Cut: After cutting, inspect the cut to ensure it is straight and clean. Make any adjustments if necessary.

By following these steps carefully, you can make a cross-cut on a miter saw with precision and accuracy.
Quick Tips
- Set Up Your Miter Saw Correctly: Ensure your miter saw is securely placed on a stable surface and that the blade is properly aligned at 90 degrees. Use a square to check the alignment before making your cut.
- Measure Twice, Cut Once: Double-check your measurements before making the cut to avoid any mistakes. Mark your cut line clearly on the workpiece using a pencil or a marking knife.
- Safety First: Always wear appropriate safety gear, such as safety glasses and hearing protection, when operating power tools. Keep your hands away from the blade and wait for it to come to a complete stop before lifting it.
- Practice Makes Perfect: If you’re new to using a miter saw, practice on scrap wood before cutting your final workpiece. This will help you get a feel for the saw and improve your accuracy over time.
By following these tips and tricks, you can master the art of making a precise cross-cut with a miter saw and achieve professional-looking results in your woodworking projects.
As we conclude, remember – TedsWoodworking is your ally in woodworking aspirations. Dive into 16,000+ projects with ease. Your creativity knows no bounds. Happy crafting!
Ready to start your next project? Join our DIY community to receive tool tips, how-to guides, and exclusive creative insights. Subscribe to the ManMadeDIY newsletter now! Click here to unlock a world of hands-on inspiration.


