This Guy Became The Envy Of The Neighborhood After Digging A Hole In His Yard
Many of us dream of creating something unique in our homes, a project that sparks admiration and sets us apart in the neighborhood. Wayne Martin turned that dream into reality by transforming his backyard into an incredible underground structure. While his neighbors were initially skeptical, Wayne’s vision soon became a source of fascination and inspiration.
What’s the Plan for That Giant Hole?
When Wayne started digging a massive hole in his yard, neighbors assumed he was building a swimming pool. A pool would have been impressive enough, but Wayne had a more innovative idea. After carefully preparing the site, he brought in a surprising centerpiece—a 20-foot shipping container. This marked the beginning of a project that would turn heads and set his home apart.
The Key to Success: A Shipping Container
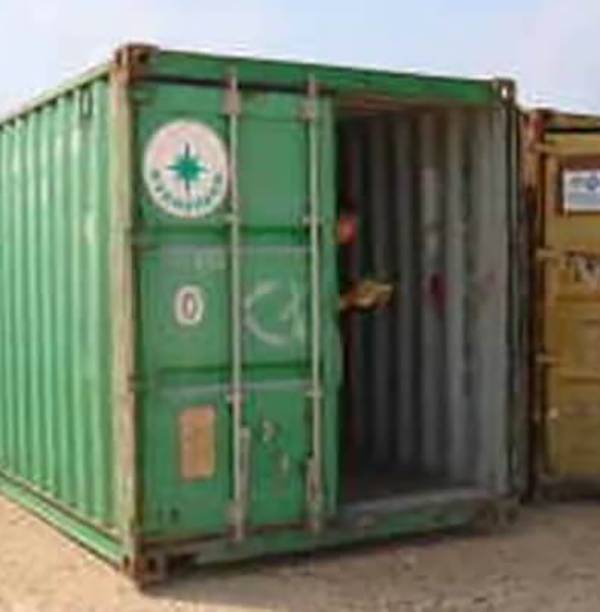
Before digging even began, Wayne acquired a 20-foot shipping container. These containers are surprisingly affordable and accessible, making them a practical choice for ambitious DIYers. Keeping costs in check was a top priority for Wayne, and sourcing this container was a crucial step in bringing his vision to life.
Sealing and Modifying the Container
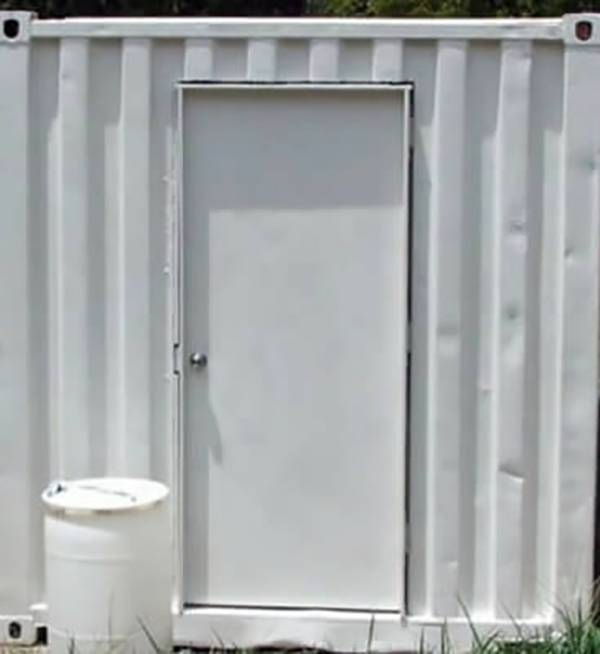
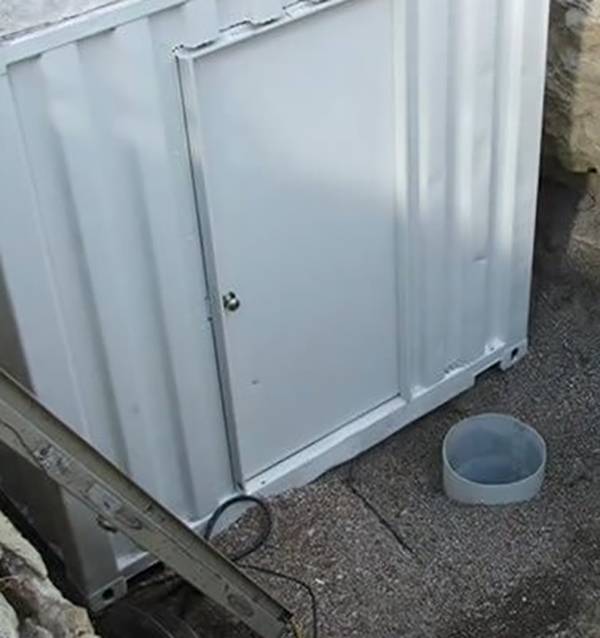
Wayne ensured that the container was tightly sealed to prevent leaks or unwanted intrusions before preparing it. He replaced the original double doors with a more secure swinging door, which opened inward to enhance accessibility and maintain structural integrity. This thoughtful modification was essential for the project’s success.
Precision in Planning: Digging the Perfect Hole
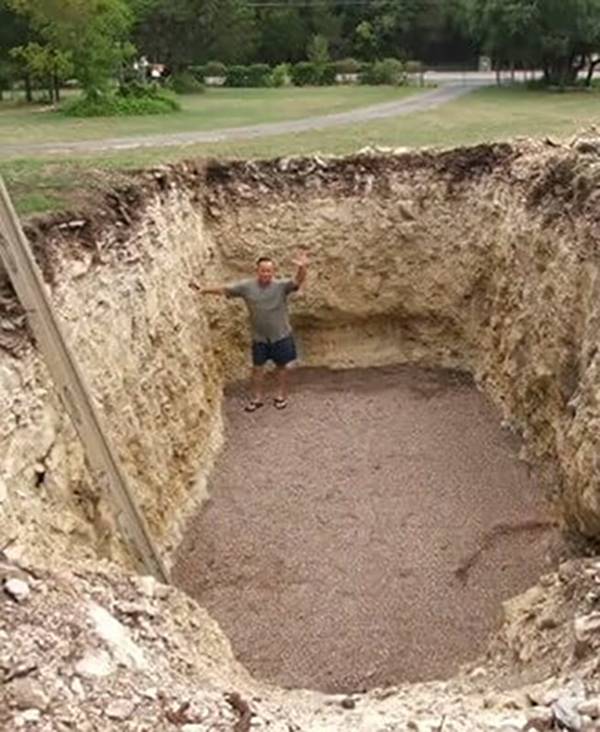
Wayne knew that precision was critical when digging the hole. He excavated it deep enough to allow for two feet of space around and beneath the container. This extra room provided clearance for structural support and ensured the container would fit securely without complications.
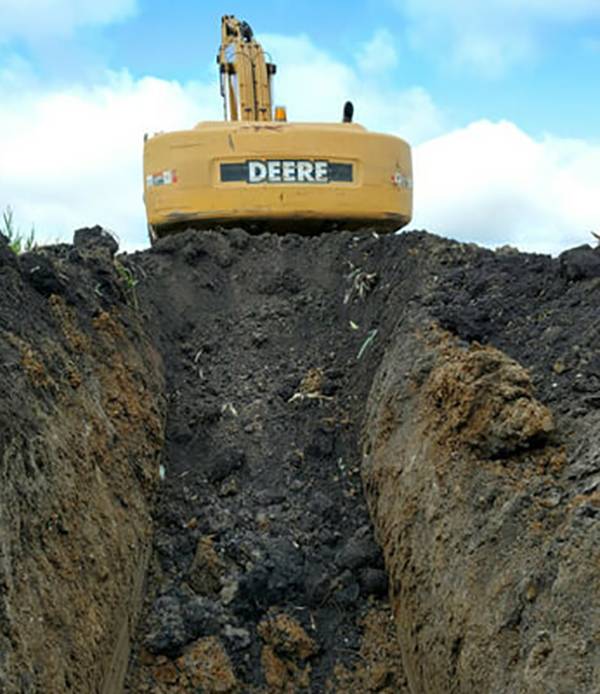
A Gravel Foundation for Stability
To create a stable base, Wayne lined the bottom of the hole with pea gravel. This layer allowed for proper drainage and prevented shifting, ensuring the container remained firmly in place.
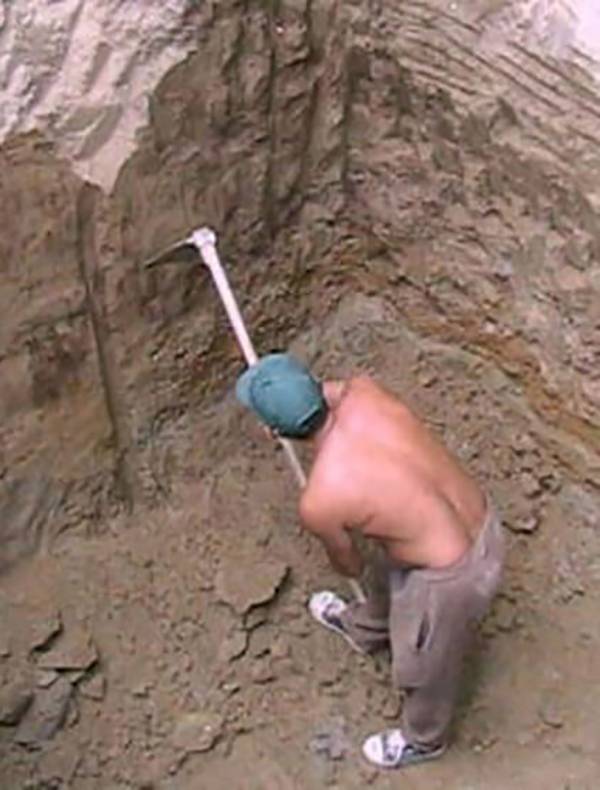
Bringing in the Pros for Heavy Lifting
While much of the project was DIY, Wayne wisely enlisted professional help for the heavy lifting. A septic tank company used a crane to lower the container into the hole, a task that would have been nearly impossible to handle without specialized equipment.
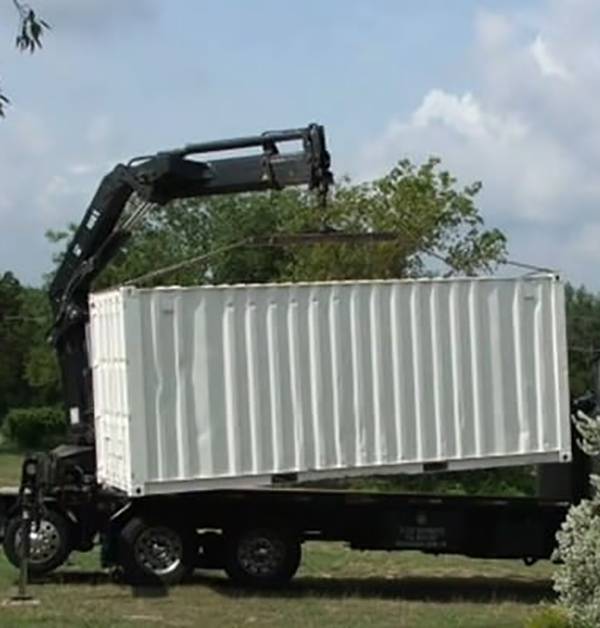
Allowing Space for Adjustments
Once the container was in place, Wayne’s foresight in leaving extra room proved invaluable. The additional space around the container not only simplified the installation process but also provided room for further modifications.
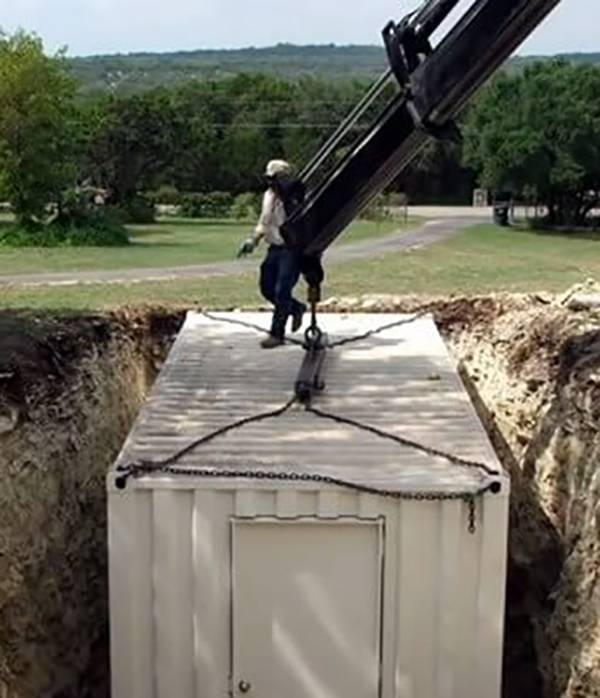
Adding Essential Equipment: A Sump Pump
An underground structure requires measures to prevent water damage, so Wayne installed a sump pump. This essential device helped keep the space dry and protected the interior from potential flooding.
Crafting an Accessible Entrance
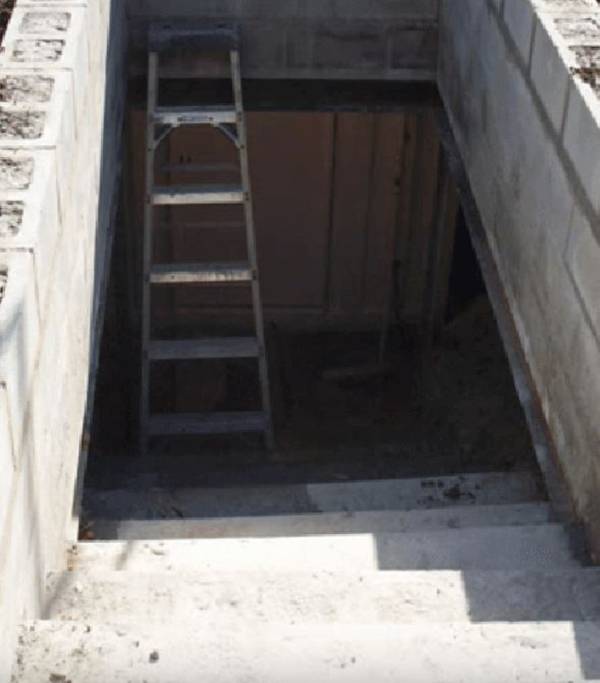
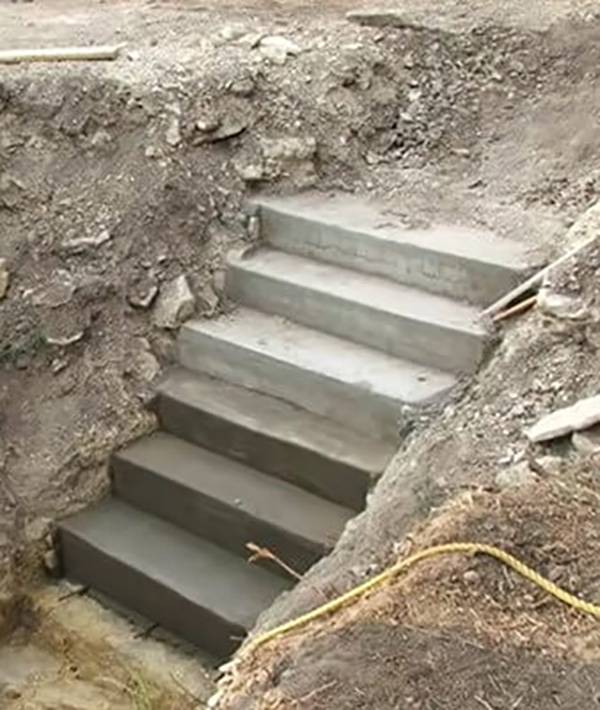
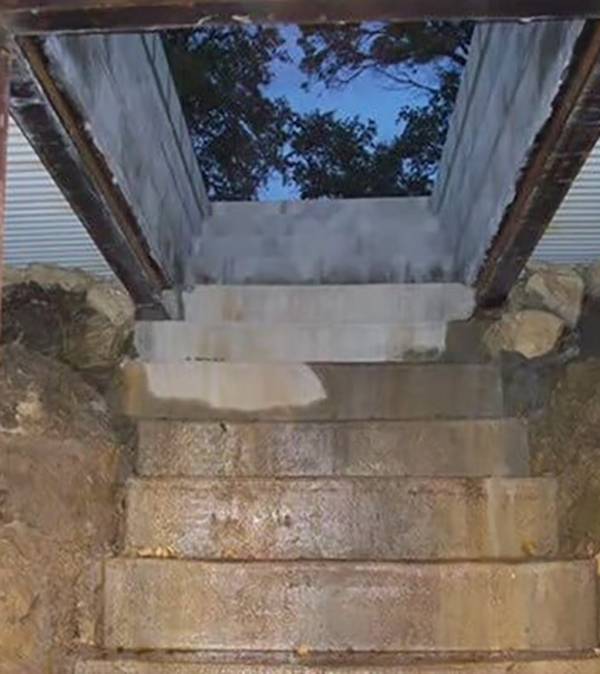
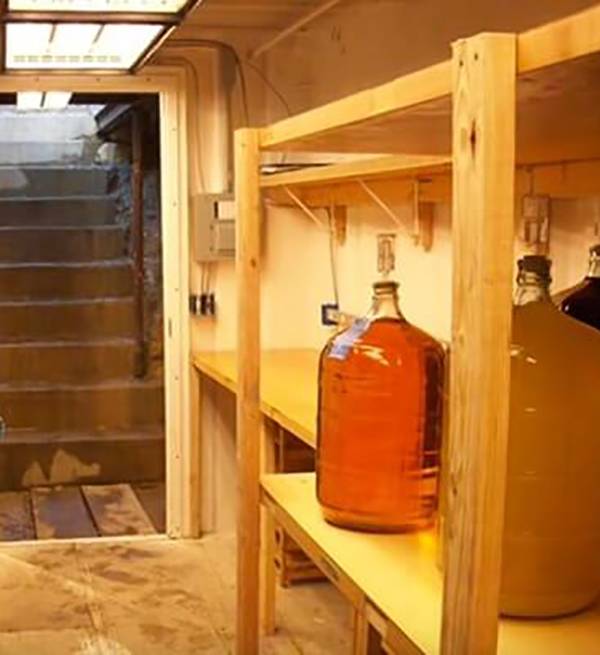
To make the bunker accessible, Wayne built a sturdy staircase leading down to the container. Concrete steps ensured durability and ease of use, providing a practical and welcoming entryway.
Reinforcing with Support Beams
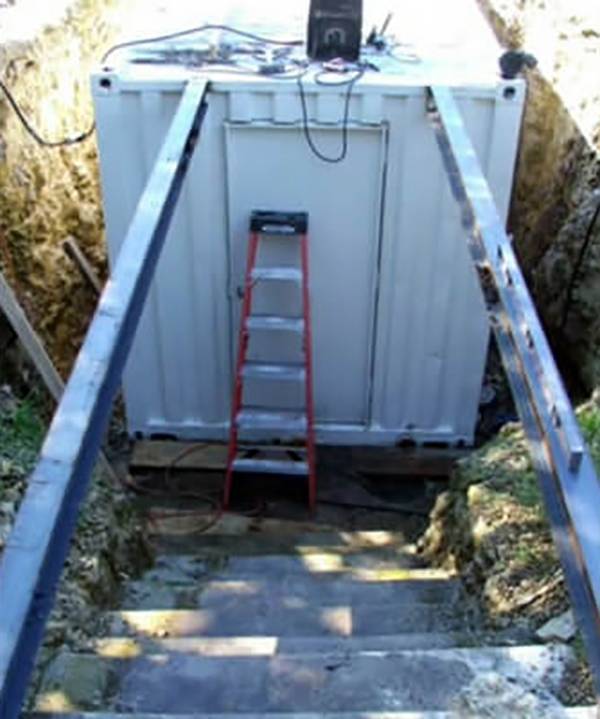
Structural stability was a priority for Wayne. He installed two I-beams to reinforce the container and support the framework for additional construction. These beams added security and versatility to the design.
Building a Roof for the Bunker
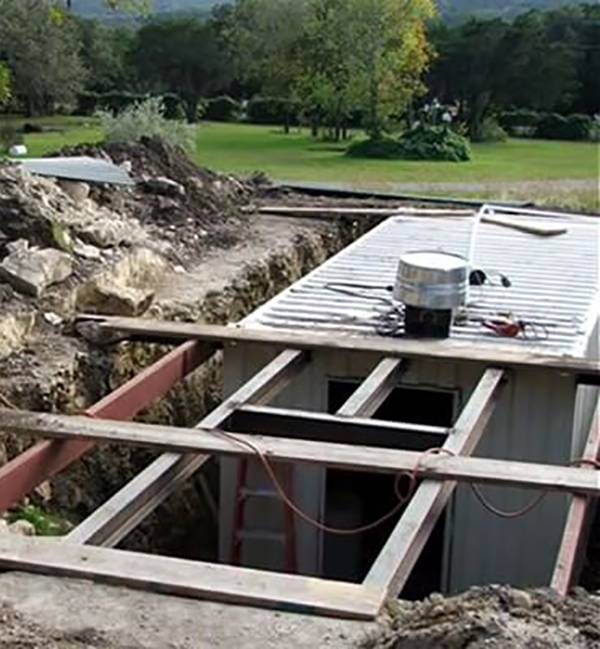
To blend the structure seamlessly with his yard, Wayne added a roof over the container. Heavy-duty metal sheets supported by the I-beams created a robust cover that could withstand weight and weather.
More Than Just a Staircase
Wayne didn’t settle for a simple entrance to his bunker. After securing the roof, he left an opening and reinforced it with rebar, crafting a striking and durable entryway. It reflects his philosophy that even functional spaces deserve thoughtful design.
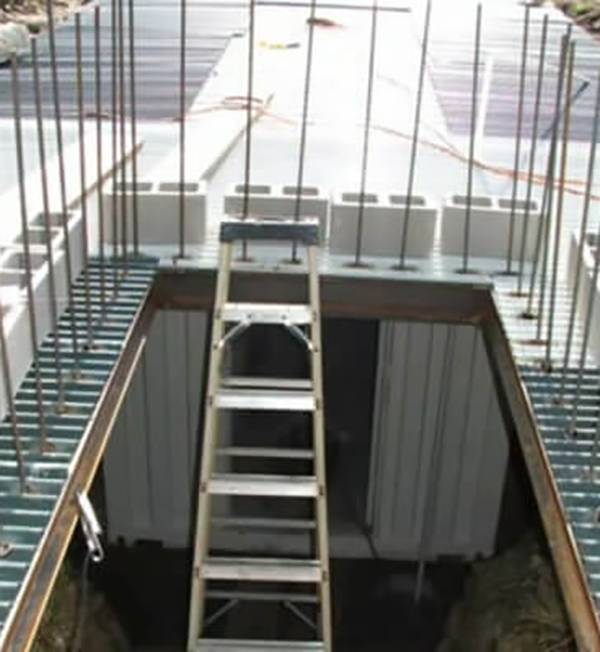
Piling On the Concrete Blocks
Safety was Wayne’s top priority throughout construction. By meticulously adding concrete blocks to fortify the bunker, he ensured the structure could withstand the elements. The result was a secure and lasting addition to his backyard.
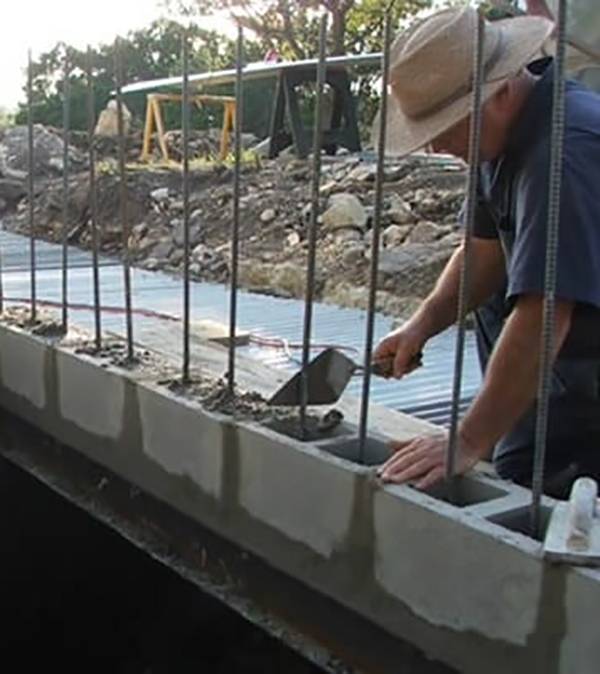
Pump That Air In
Wayne installed two 12-inch air vents at the front and back of the bunker, ensuring a steady supply of fresh air. This crucial feature highlights his practical approach to creating a livable underground space.
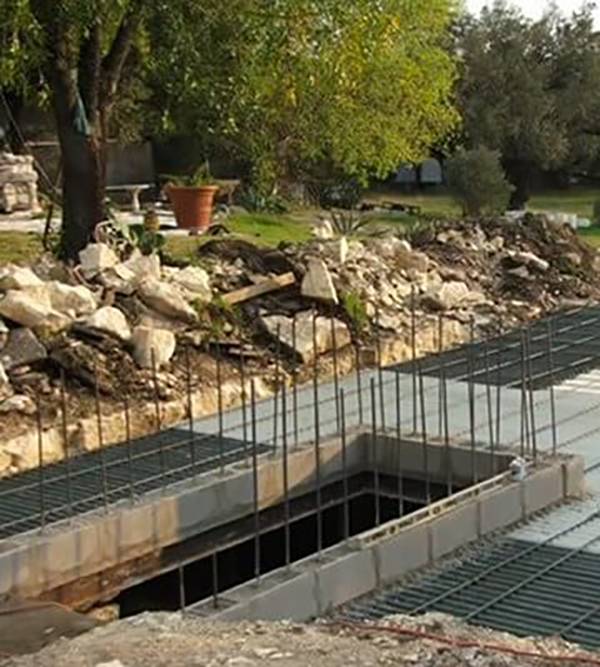
Time to Pour the Concrete
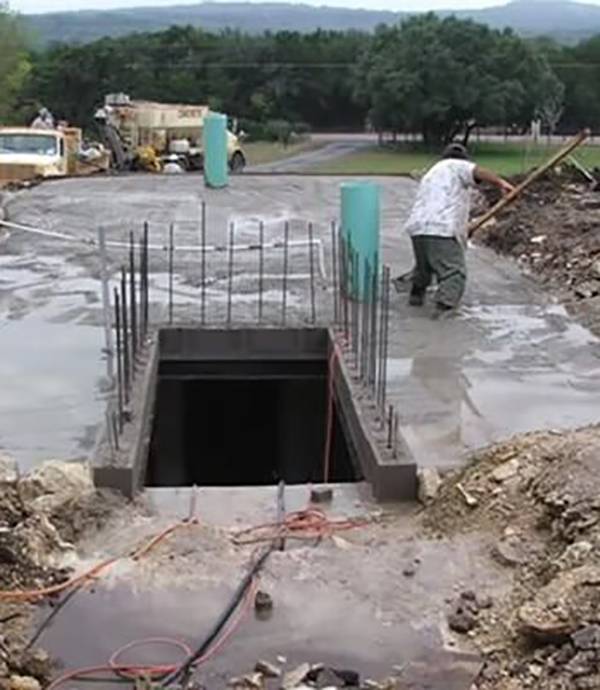
To prevent ground movement from compromising the structure, Wayne encased the bunker in concrete, covering the sides and roof. The smooth, well-executed pour ensured durability and helped the bunker blend seamlessly into the yard.
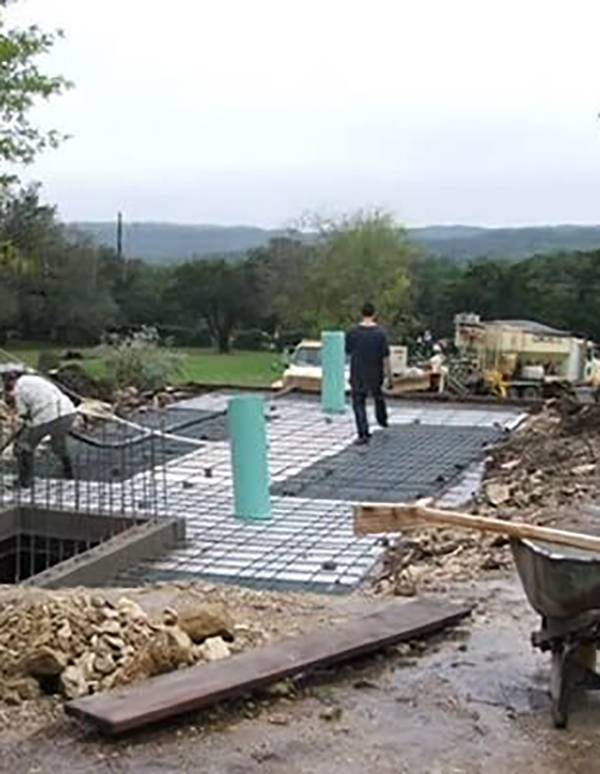
Six Inches of Separation
Wayne reinforced the roof with a six-inch concrete layer, providing robust protection against extreme weather. This extra measure demonstrated his commitment to creating a bunker that could handle anything.
Even More Blocks
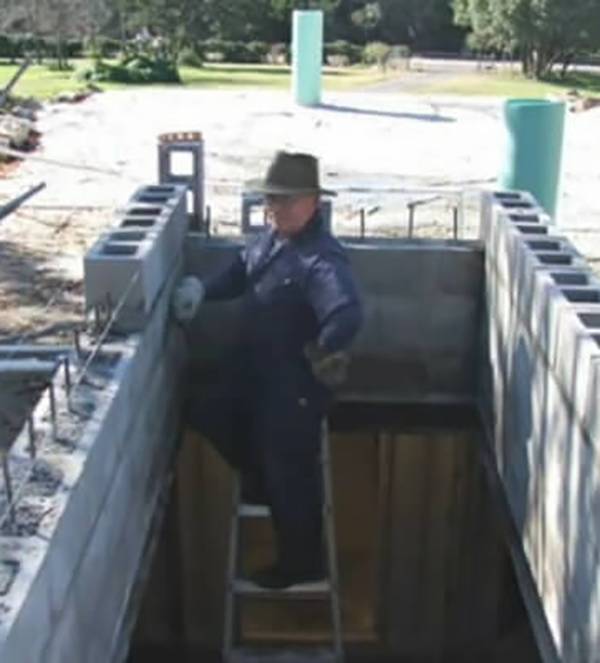
After the concrete cured, Wayne added additional cinder blocks to the entryway for enhanced durability. Knowing it would face the elements, he prioritized its resilience against weather and wear over time.
Removing the Temporary Support Beams
Once the concrete dried, Wayne removed the support beams that stabilized the roof during construction. These precautions ensured the bunker was as safe and sturdy as possible, reinforcing his meticulous attention to detail.
Blending the Bunker into the Yard
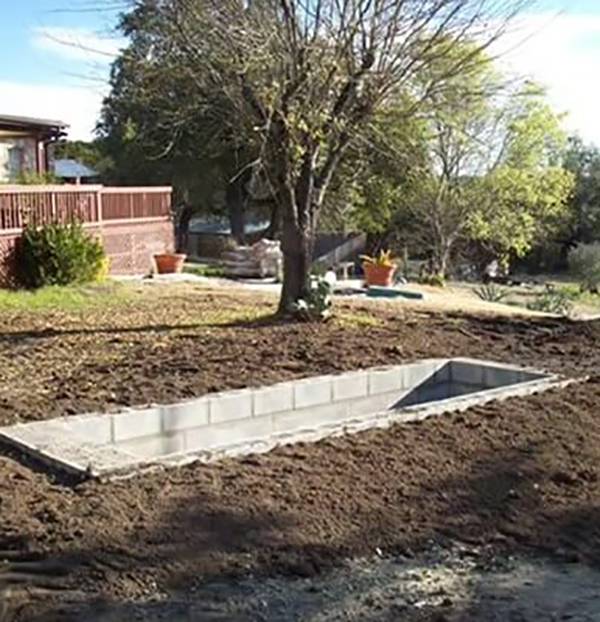
Wayne carefully filled the area surrounding the bunker with soil and planned landscaping to integrate the structure into his yard. The result was a clean and discreet design that concealed the underground project.
Outfitting the Interior
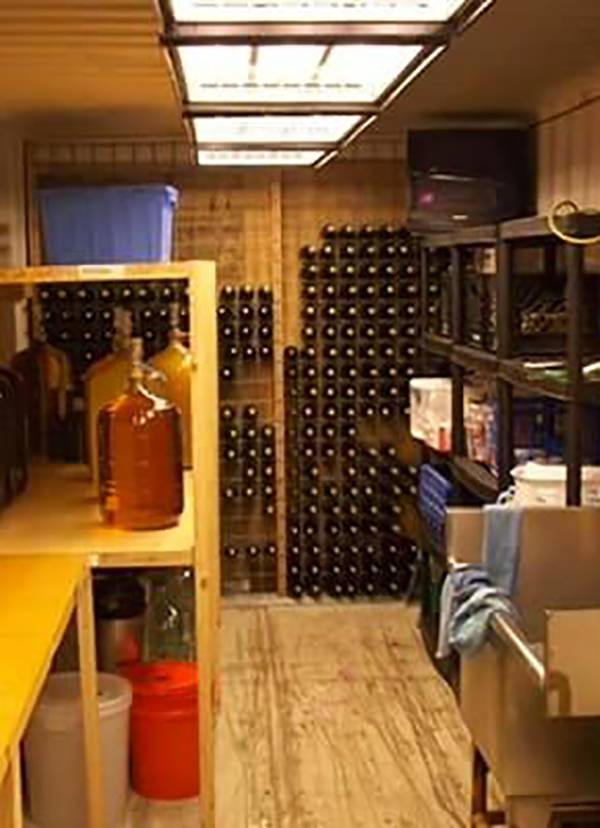
Inside the bunker, Wayne’s creative vision took shape. He transformed the container into a functional space, complete with storage for wine and other items. The cool underground environment made it ideal for preserving beverages and goods.
Multipurpose Functionality
Beyond wine storage, Wayne’s bunker offered additional utility. It provided a secure space for emergency preparedness, seasonal storage, or even as a personal retreat. The design was versatile and practical, ensuring it could meet various needs.
Helpful Suggestions for DIYers
Wayne’s advice for aspiring bunker builders included adding handrails for safety, installing overhangs to protect against the elements, and ensuring proper ventilation. These thoughtful recommendations demonstrated his commitment to creating a functional and secure structure.
