How To: Digging Fenceposts That Will Last
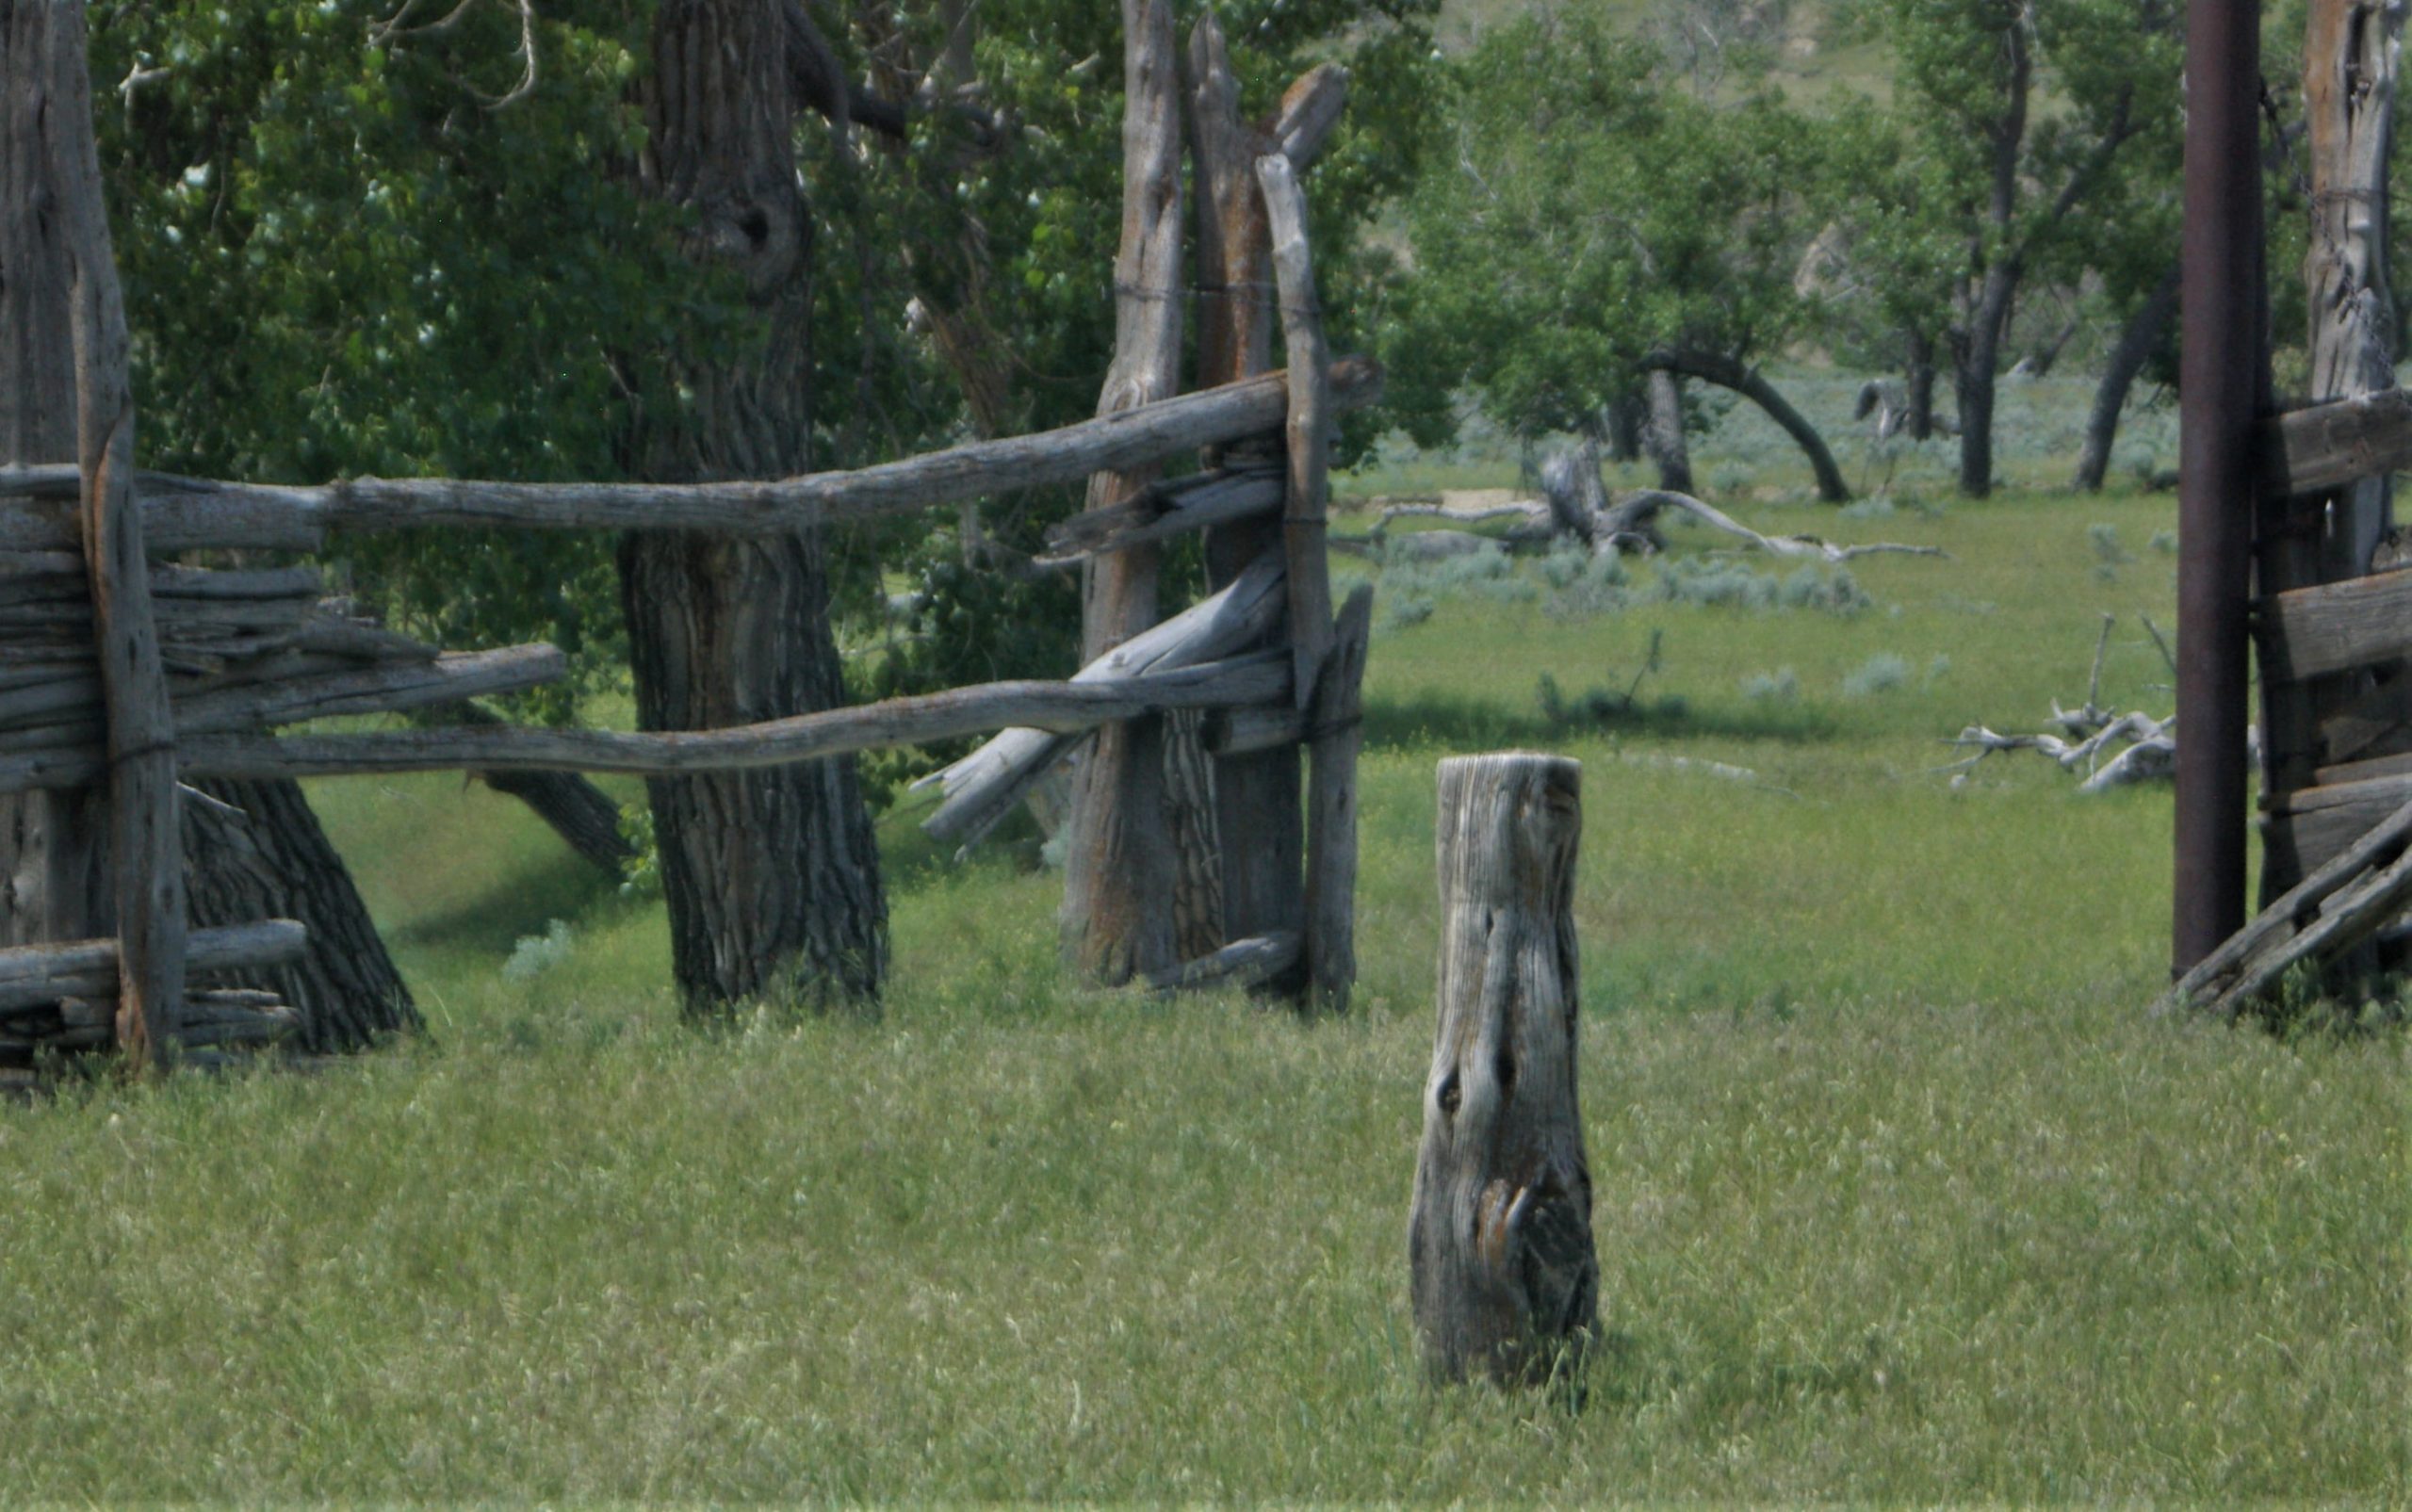
The poet Robert Frost once wrote, “Good fences make good neighbors.” The celebrated American poet was spot on with this little gem. When it comes to fences, there are a few absolute necessities in constructing one correctly.
Those quaint rail fences you see in photographs from the Civil War live on in national historical sites, and a few tourist destinations around those sites, but you don’t see them often anywhere else.The stone fences that New England farmers so diligently laid, stone after stone, for miles, are also relics of the past, yet fences remain. Fences around farms, along property lines, in sub-divisions, and surrounding playgrounds, fences are a ubiquitous feature of modern life.
The steps are: know the boundary line, dig the corner post holes, set the corner posts, stretch a string from corner to corner, measure the distance between the posts, do a little math and decide the distance between and the number of posts, decide if you want a gate or not.
Finally, stretch the wire, or attach the cross members and the vertical boards, or attach the rails.
Simple isn’t it?
Layout
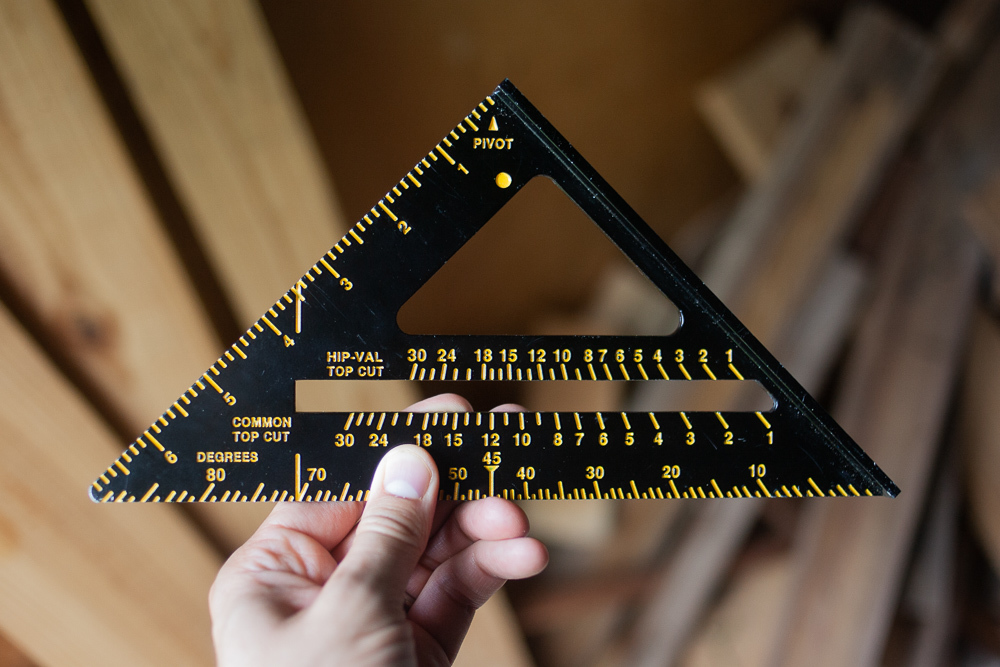
Well before you go off playing Mason and Dixon with your neighbors, there are a few steps just to get the process started correctly.
Properly set and survey corner posts are every bit as important as a cornerstone in a brick or stone structure.
ManMade Tip: Use the 3-4-5 method of squaring an open area found here.
Can you dig it?

Digging posts can be an easy process or an arduous chore, depending on the ground you’re digging in.
Soft topsoil is the cat’s meow when it comes to digging. Old river bed formations, common in many areas of New England and river valleys of the Rocky Mountain west are not quite as enjoyable.
Find your corners, mark them with marking paint and dig down as far as you can with a shovel. Dig a few inches wider than the diameter of the posts you’re going to use.
Once you’re down a foot, use a clamshell posthole digger, and a heavy tamping bar to continue the job.
Loosen the material at the bottom of the hole with the spade end of the digging bar, set the bar aside, pull the material out with the clamshell. As the commercials say, “Lather, rinse repeat.”
Keep at this process until your hole is at least 30” deep. Which is the minimum for setting an eight-foot post into the ground. The 30” depth allows five-and-half-feet of the exposed post above the surface.
Centering
Center the post in the hole, use a level to ensure that it is completely vertical on both sides, that is, 90 degrees from the level ground.
With the post in place, kick the loose material you just dug out of the ground into the hole. Kick at least six inches of material into the hole.
Here is where your balancing skills will be tested. While still holding the post in place, take the tamping end of the digging bar in your other hand and pack the material around the post. If you’ve done it correctly, the post will remain upright without support.
ManMade Recommends: 48-inch ClamShell Digger with easy-grip rubber handles
Tamping
Now you have a decision to make. You can put the material you dug out of the hole back into it in four-inch increments, then tamp it tight, add four more inches, tamp it again, and repeat until the material is gone and the post is set or use another couple of options.
The first option is to take one-inch crushed rock and pour it into the hole in those same four-inch lifts. Pour, tamp, pour tamp, until it’s at the surface.
If you live in an area with heavy rainfall, this will preserve your posts since the water will drain away. It also creates a much tighter post than just tamping the earth back into the hole.
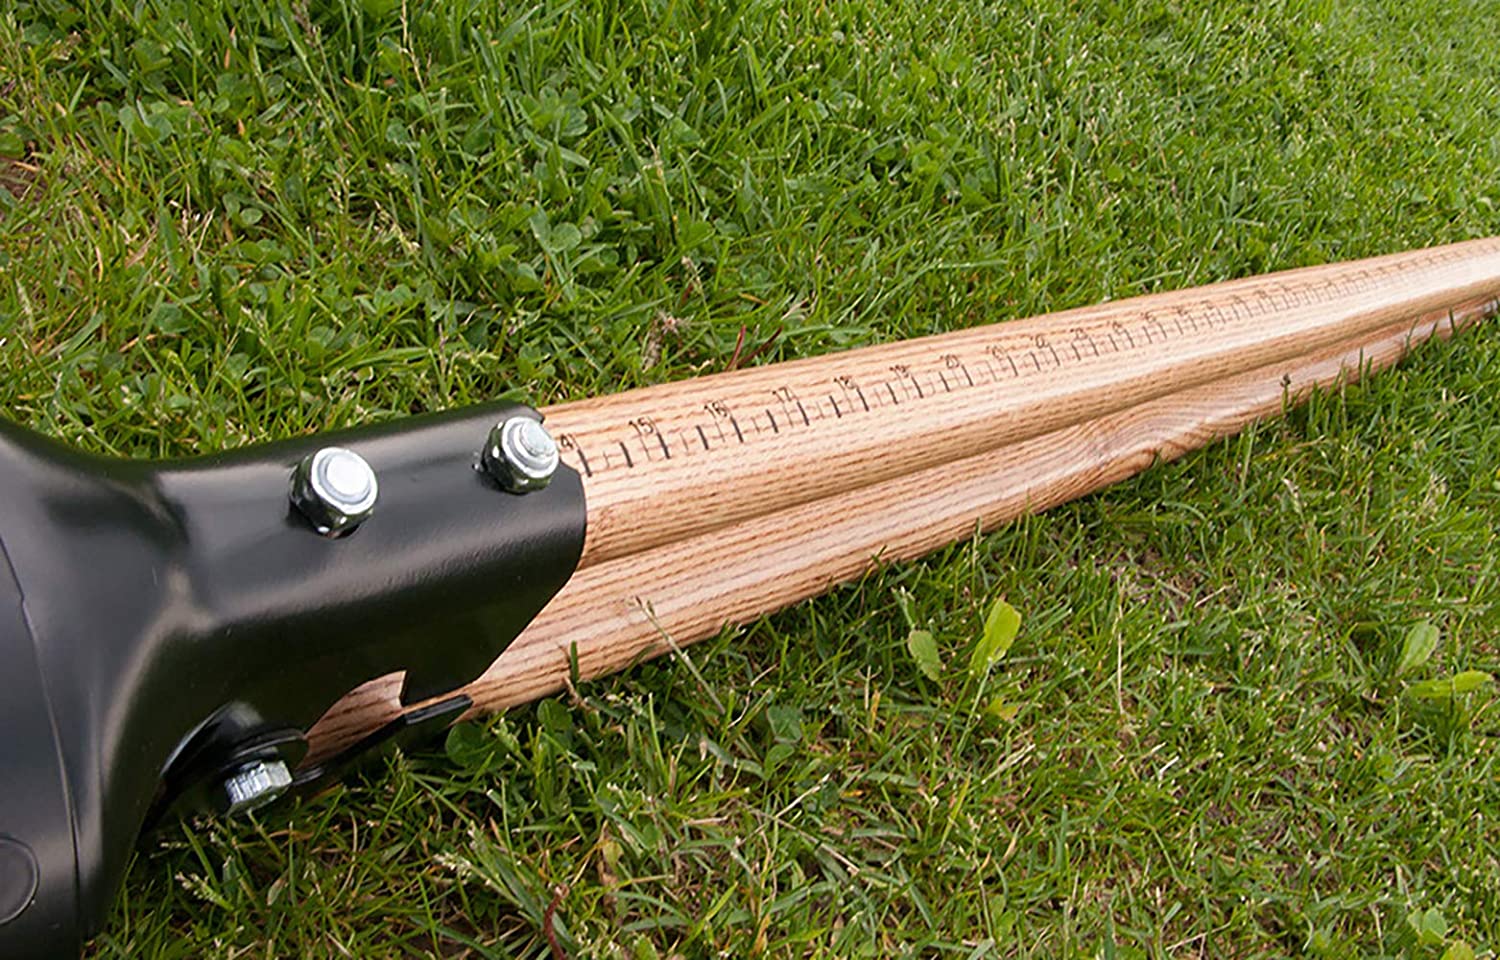
ManMade Recommends: 72-Inch Posthole Digging Bar
The final method is to pour concrete into the hole. This is the strongest method of setting a post, and the most unforgiving if you knock your post out of alignment and don’t notice until the concrete is set.
Many people use concrete on the corners, then tamp the earth back around the posts between them.
Shovel or Power?

If it’s a big job, involving dozens or hundreds of posts, you’ll want to hit the local rental center and get a posthole augur, either a handheld model (you’ll learn to twist like Chubby Checker) or one mounted on a skid steer.
Big jobs almost cry out for the crushed rock technique of tamping posts too. It’s just easier to shovel and tamp the gravel into the hole from a trailer or the best of a pickup.
That’s it, you’re off to making great neighbors with a new well-defined fence.

