Dad Transforms the Dining Room with a Custom DIY Booth
When the family’s outdated dining table started feeling cramped, Imgur user MidnightXII took matters into his own hands. Instead of buying a new table, he opted to build a custom booth from scratch, reimagining their dining space entirely.
Turning an Outdated Dining Area into Something New
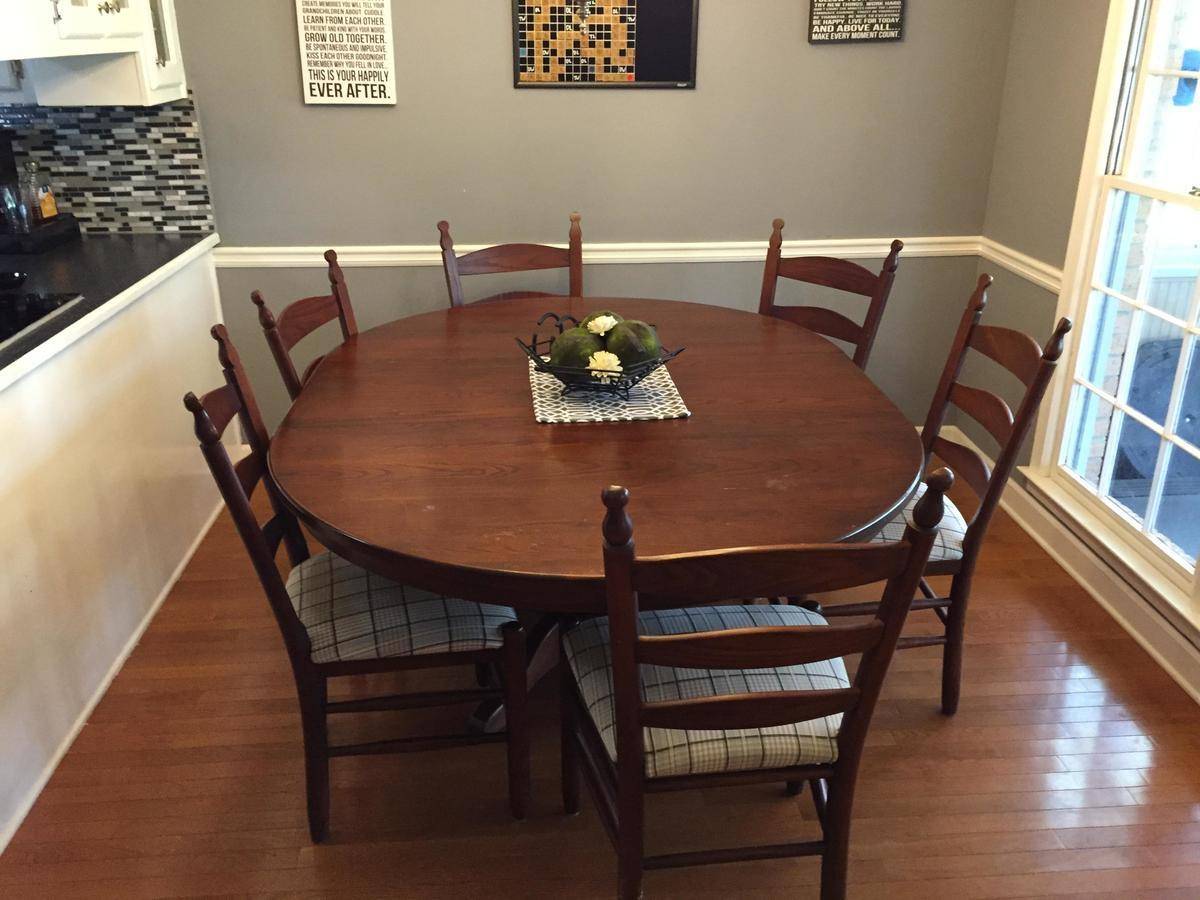
The old dining table was a hand-me-down that had begun to feel outdated and bulky. The family loved entertaining, so Dad decided it was time for a change—but instead of buying a new table, he planned to build a booth from scratch.
Start your next woodworking adventure with TedsWoodworking! Dive into 16,000+ projects and bring your ideas to life. Build unique furniture and master new skills with Ted’s detailed, step-by-step plans guiding you every step of the way.
An Open Space with Endless Possibilities
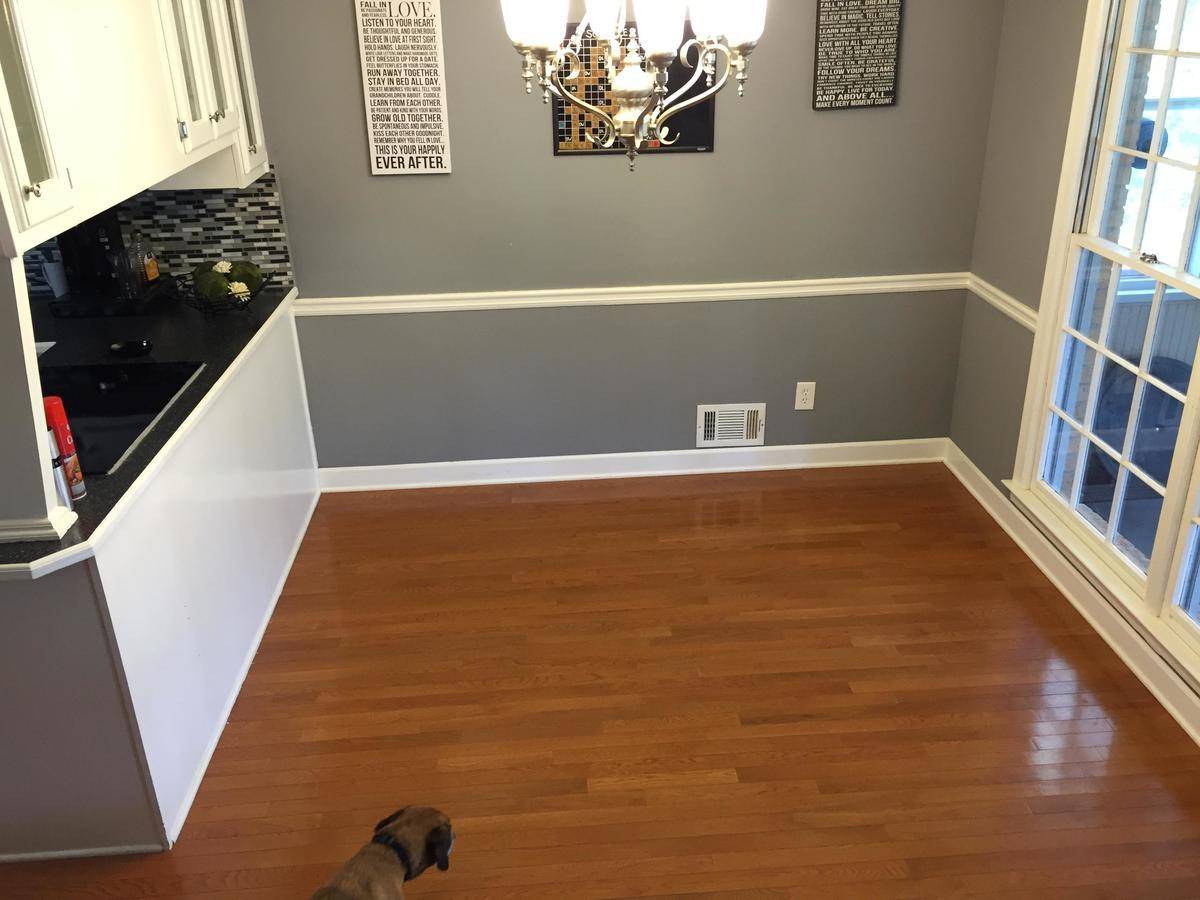
Once the old table was out, the small 9’ x 6.5’ room felt much bigger. Now, he needed to build something functional that wouldn’t overcrowd the space.
He Attached A Beam To The Wall
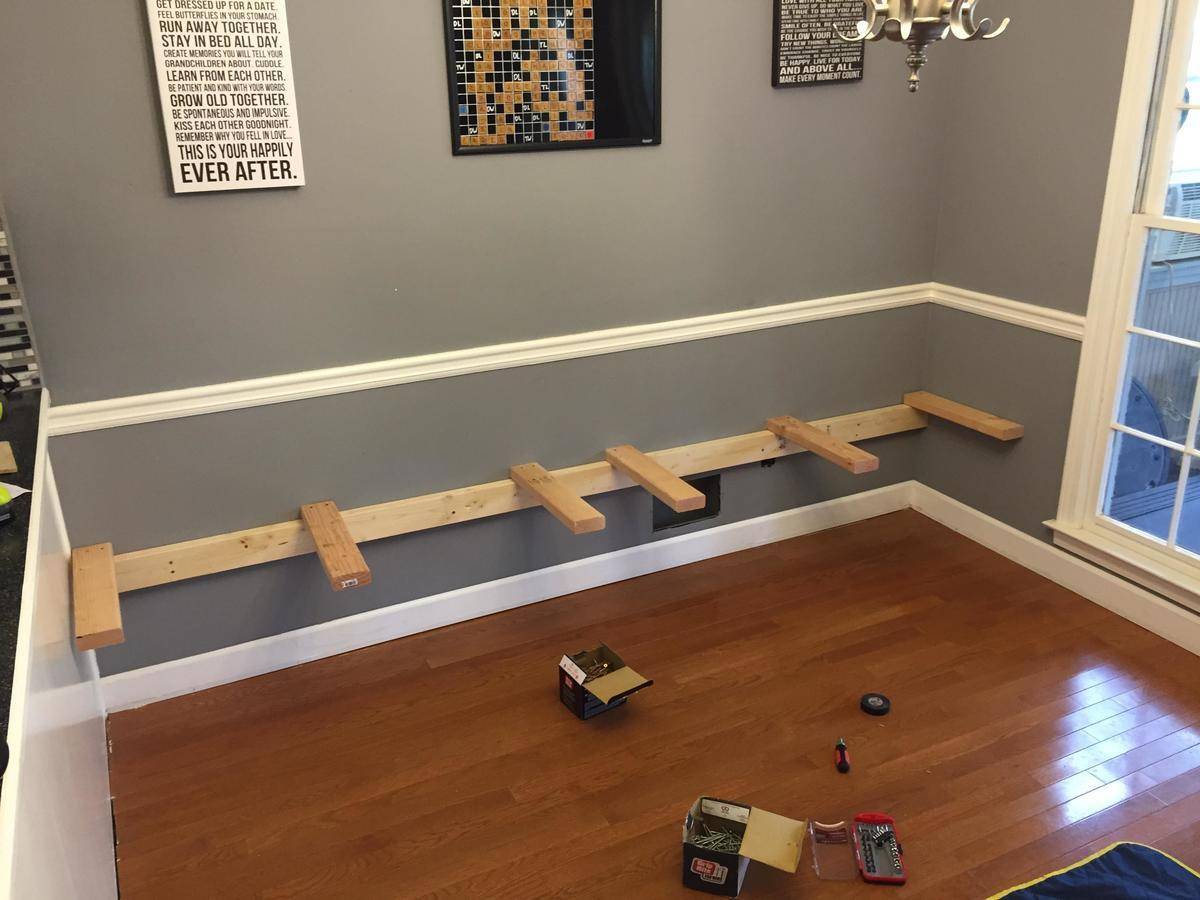
Starting the project, he measured and attached a beam along the longest wall, about 1.5 feet above the floor. The beam would support the booth structure despite the house’s uneven floors.
He Added Some Horizontal Planks
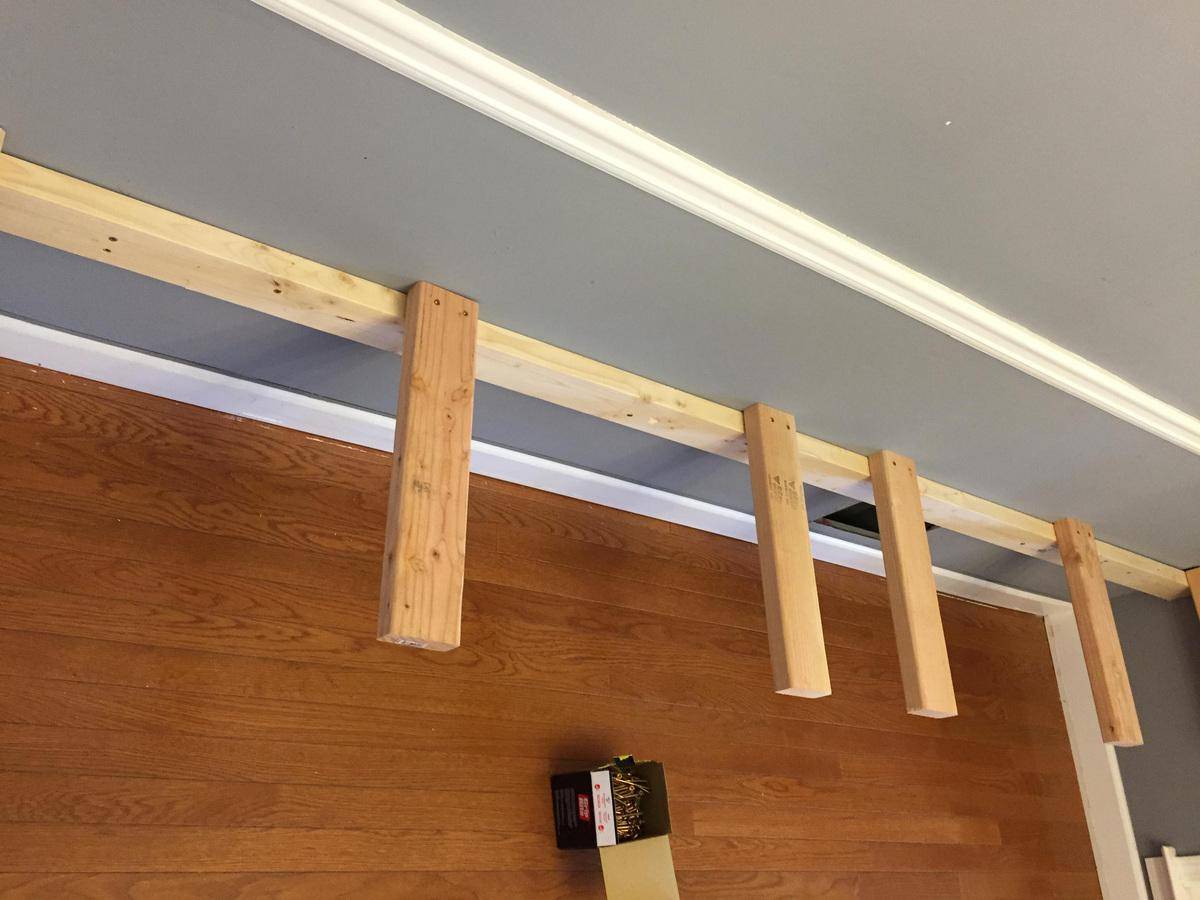
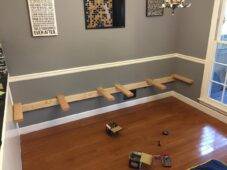
Horizontal planks were nailed onto the beam, spaced 20 inches apart. This step was crucial in building the seat’s frame, though it was still hard to envision the final result.
Reinforcing with Additional Support
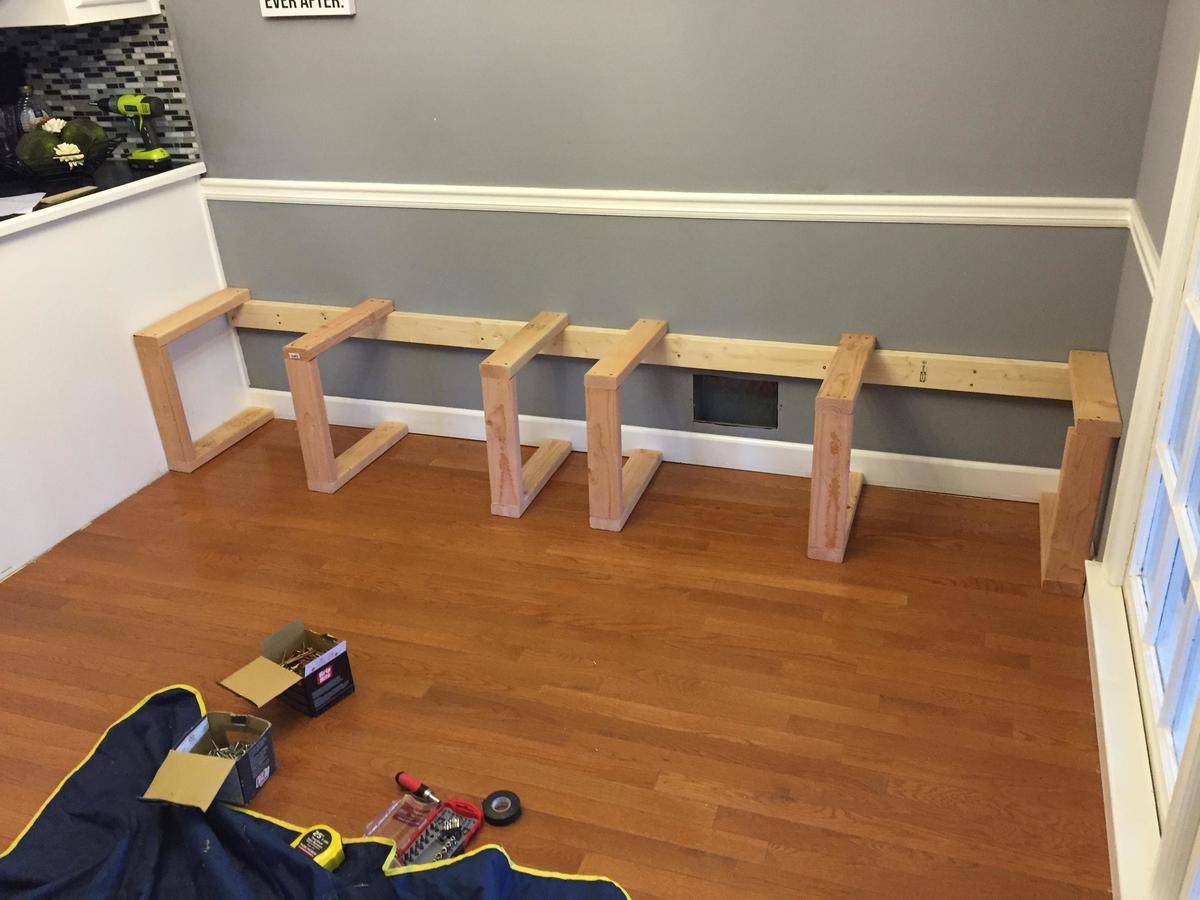
He then added matching supports along the floor, connecting vertical beams to create a stable frame. With this, the structure began to take shape, forming the base of the booth.
He Added The “Ribs”
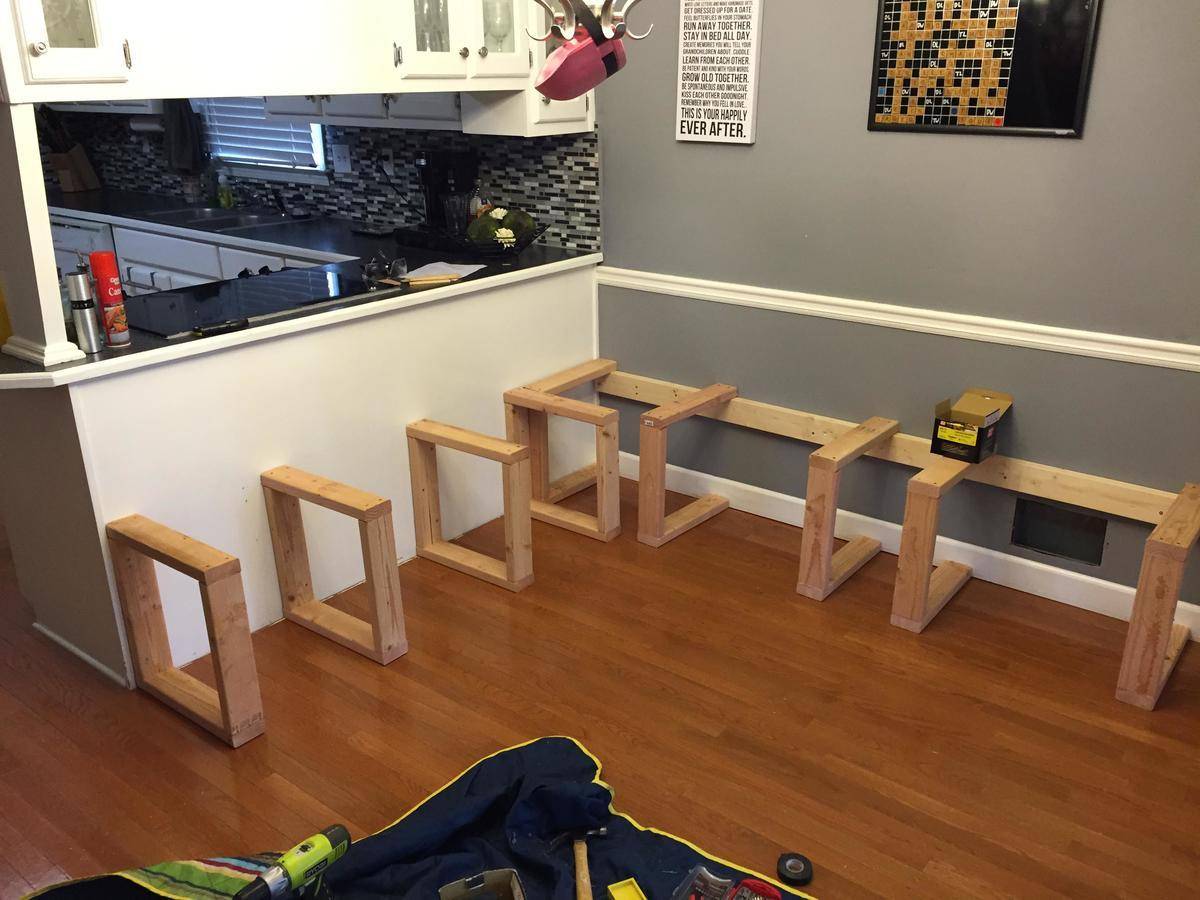
Without studs in one section, he couldn’t attach beams, so he built square “ribs” along the wall. These added support around all three walls, allowing the booth to wrap around the dining space seamlessly.
Seeing the Project Take Shape
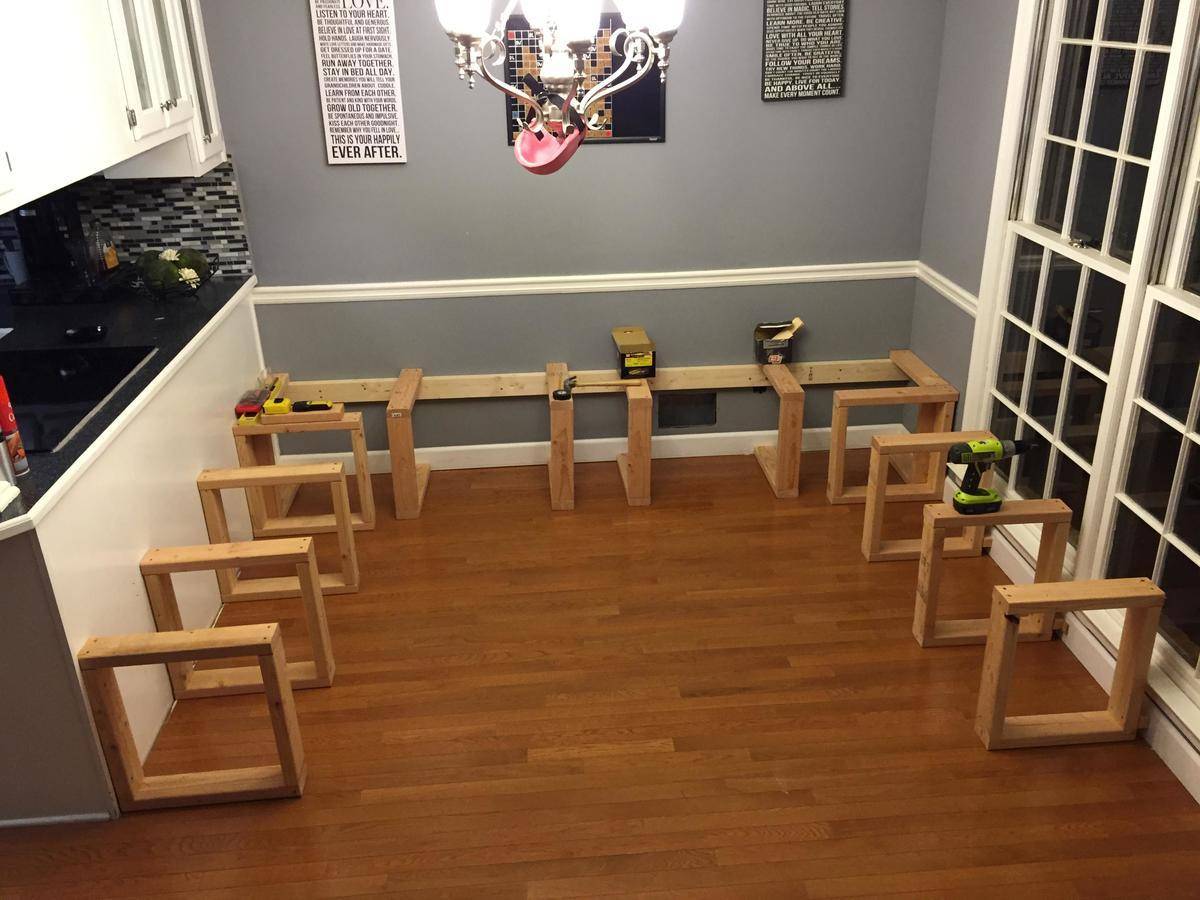
With supports lining each wall, he made sure everything was firmly anchored. He also planned to keep the A/C vent unobstructed, ensuring airflow wasn’t blocked by the new booth.
The Booth Vision Comes Together
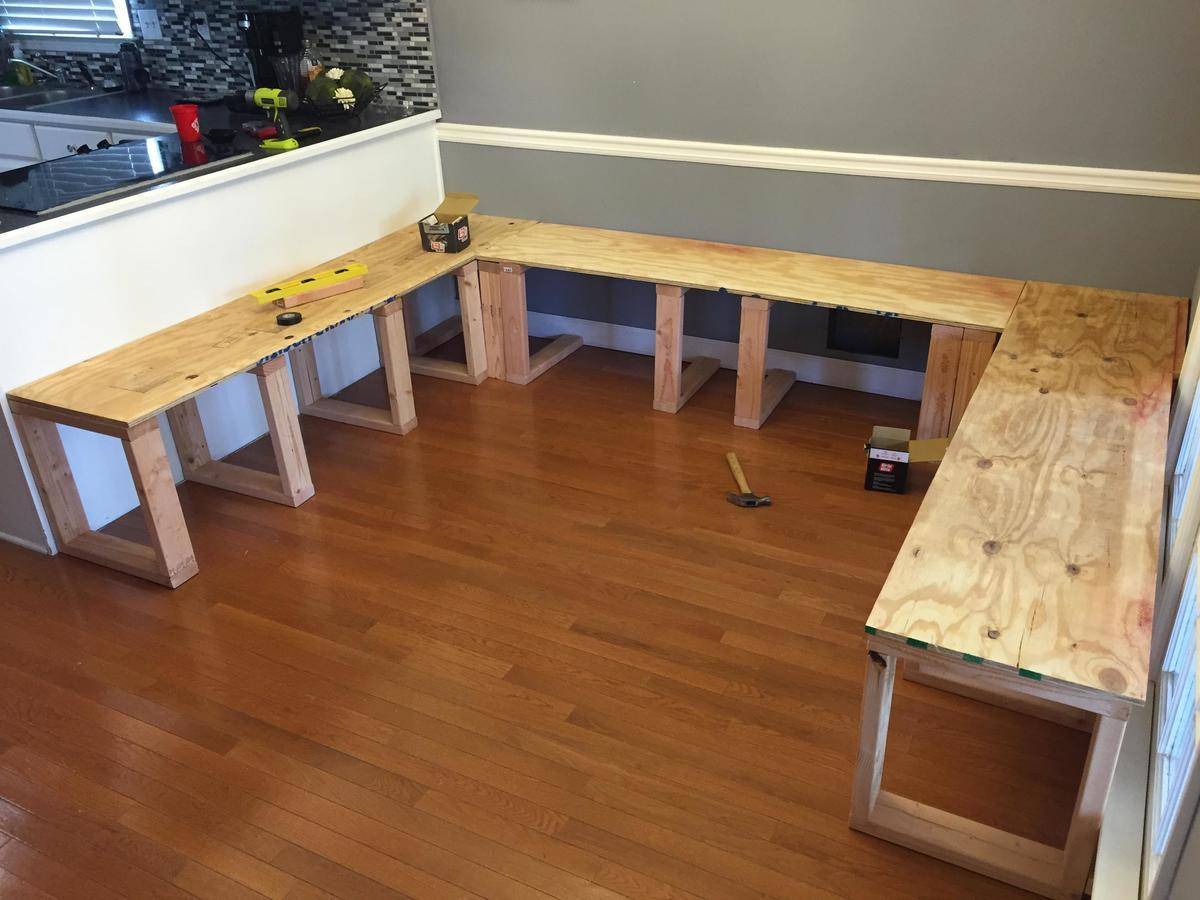
Now, Dad cut half-inch plywood to cover the frame, revealing his plan: a booth seat. He debated adding hinges for storage underneath but decided it wasn’t necessary for their needs.
Comfort in Every Detail
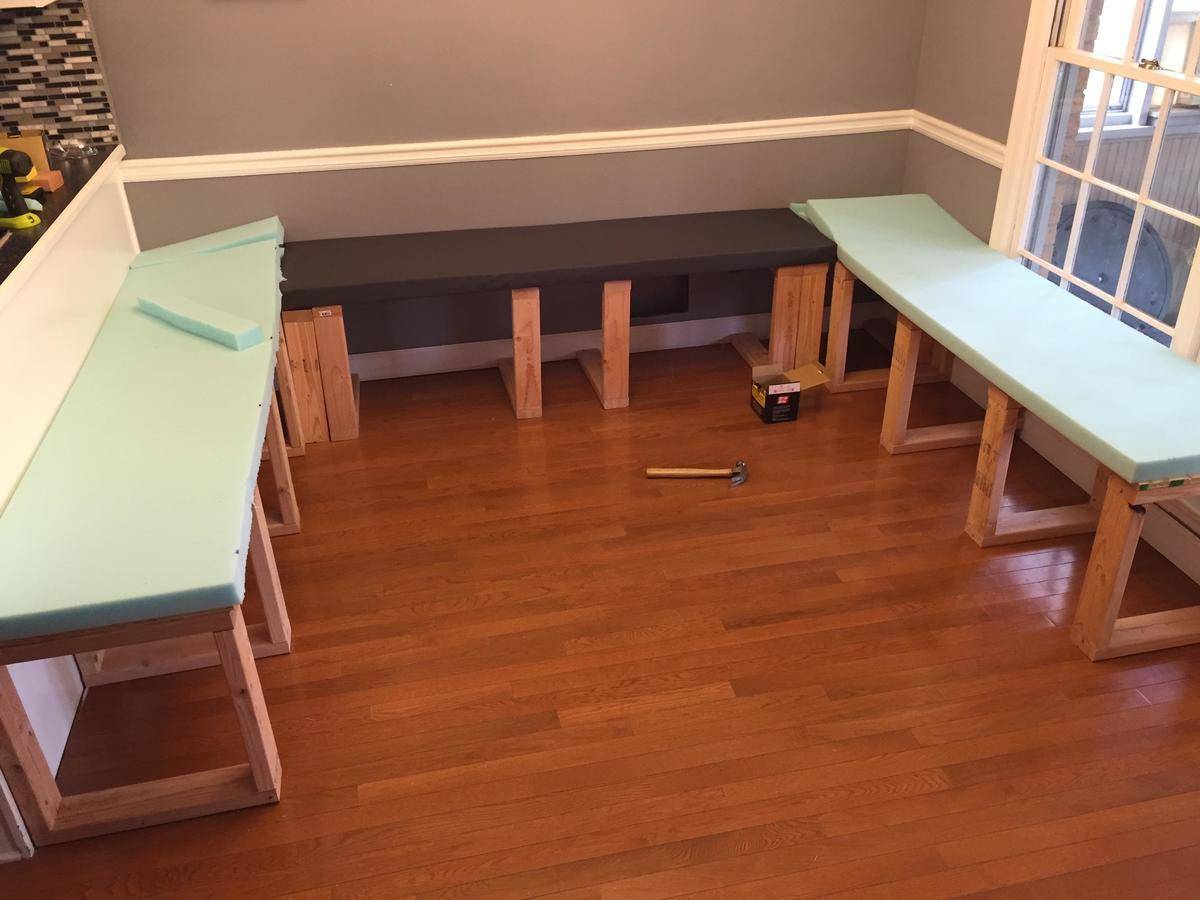
He added two-inch foam pads on top of the plywood for comfort. Surprisingly, the foam was the priciest material, but high-quality padding was worth it for a durable, comfortable seat.
Choosing the Right Fabric for Style and Function
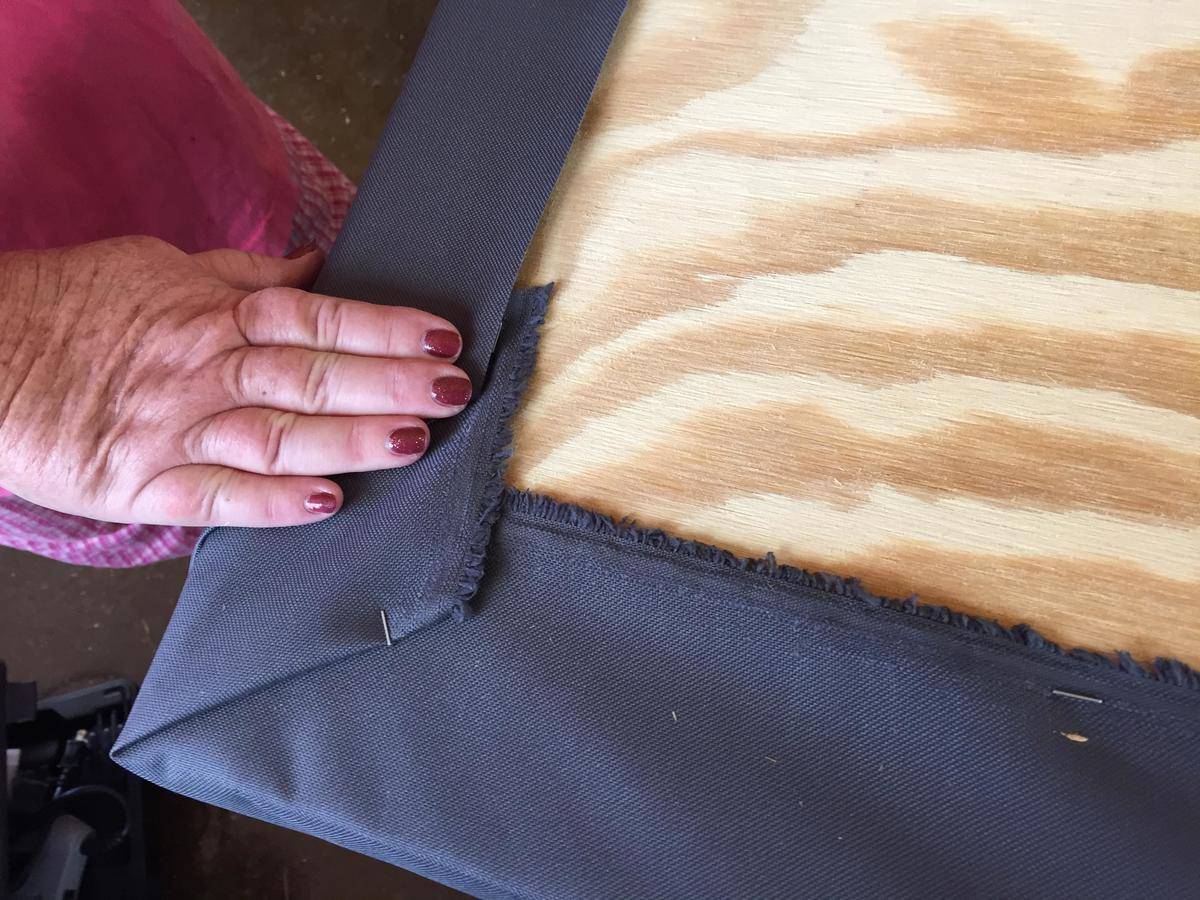
Choosing fabric was key—he needed something stylish yet stain-resistant. Dark gray outdoor fabric fit the room’s decor and would hold up to wear, with the Grandma helping secure it to the cushions.
Stretching and Securing the Upholstery
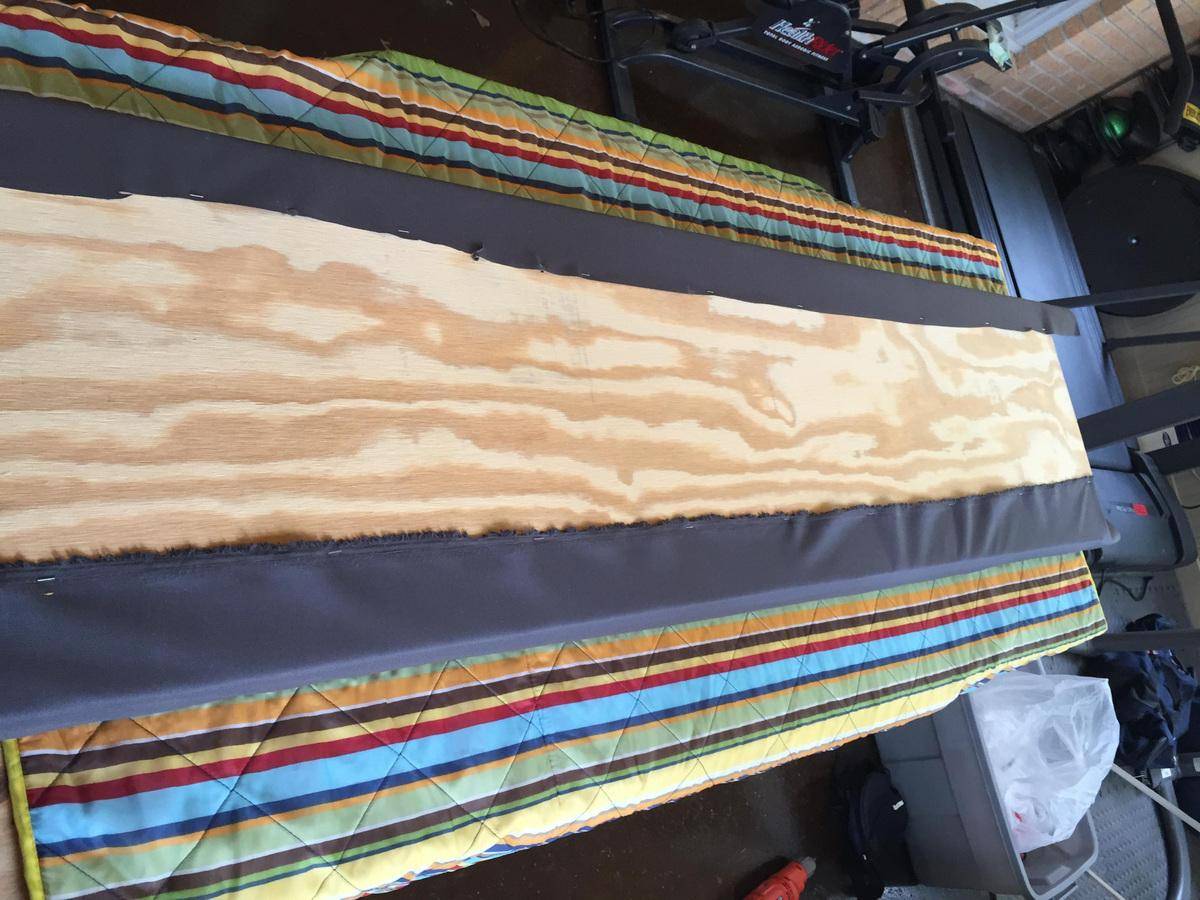
He sandwiched foam between the plywood and fabric, stretching the material over the seat before stapling it in place. Extra staples ensured a snug, seamless finish.
Finishing Touches for the Booth’s Exterior
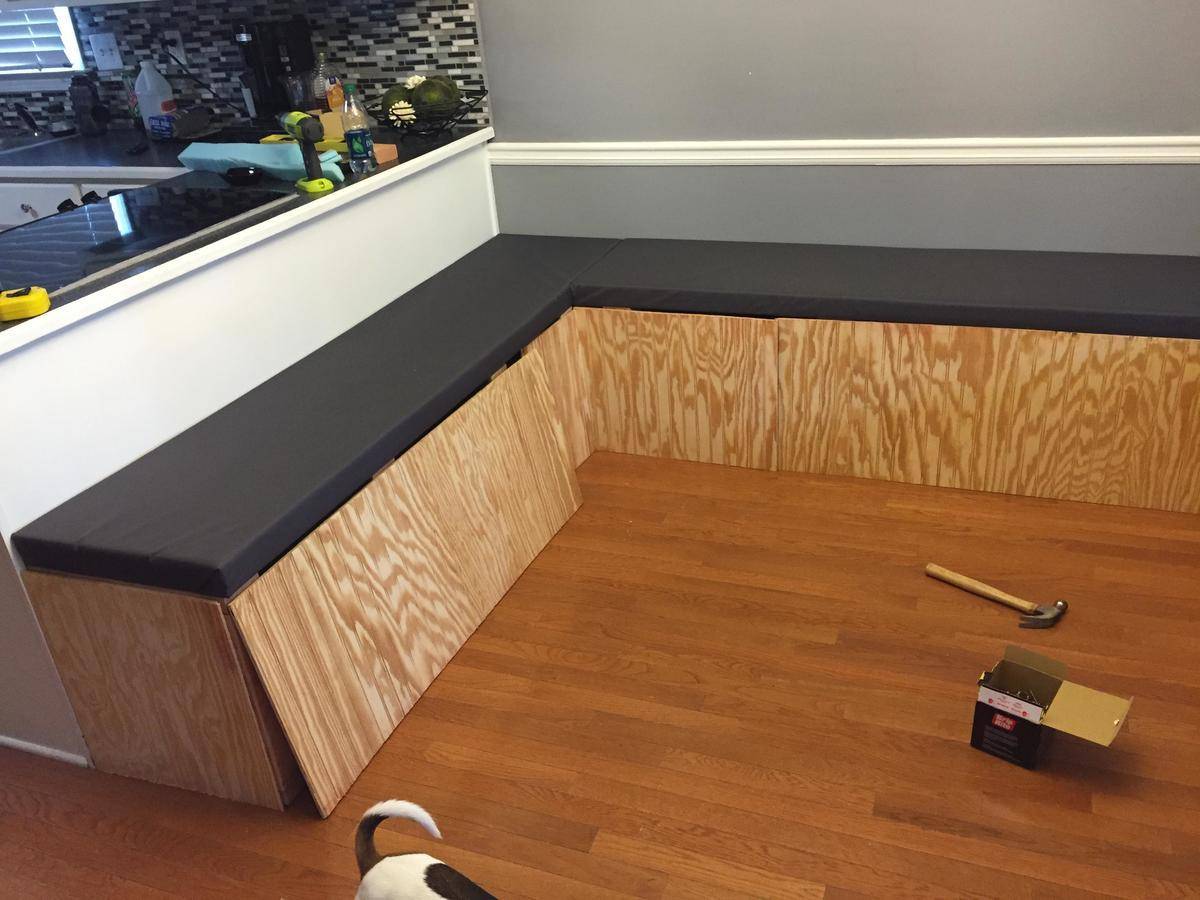
With cushions in place, he added beadboard panels to the booth’s front for a polished look. The beadboard’s vertical grooves added a bit of style without clashing with the rest of the room.
Custom-Fitting Each Piece
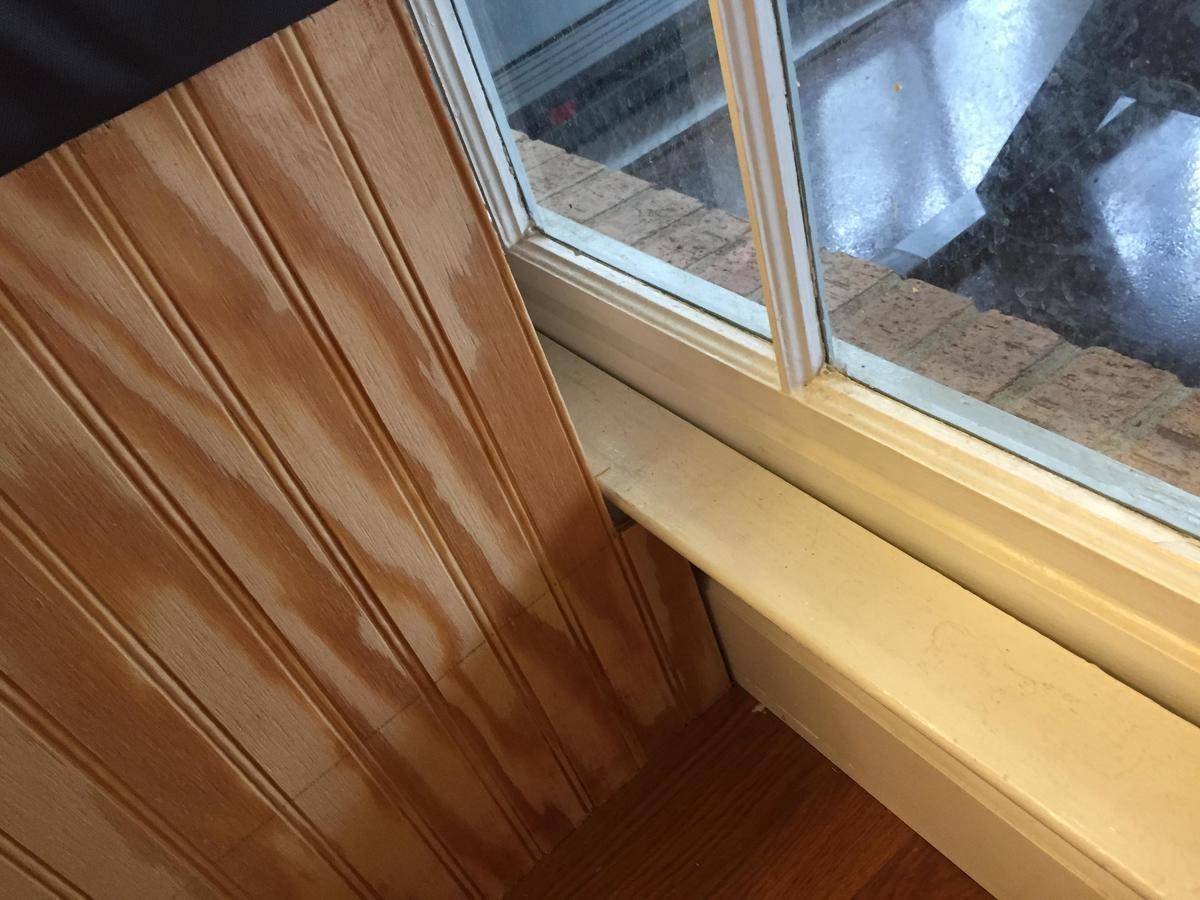
Fitting the booth along the window wall was tricky, so he cut sections of beadboard to fit around the baseboard, ensuring a tight, clean finish. The cushion overlapped the back edge slightly, which didn’t bother them.
Keeping the Vent Accessible and Functional
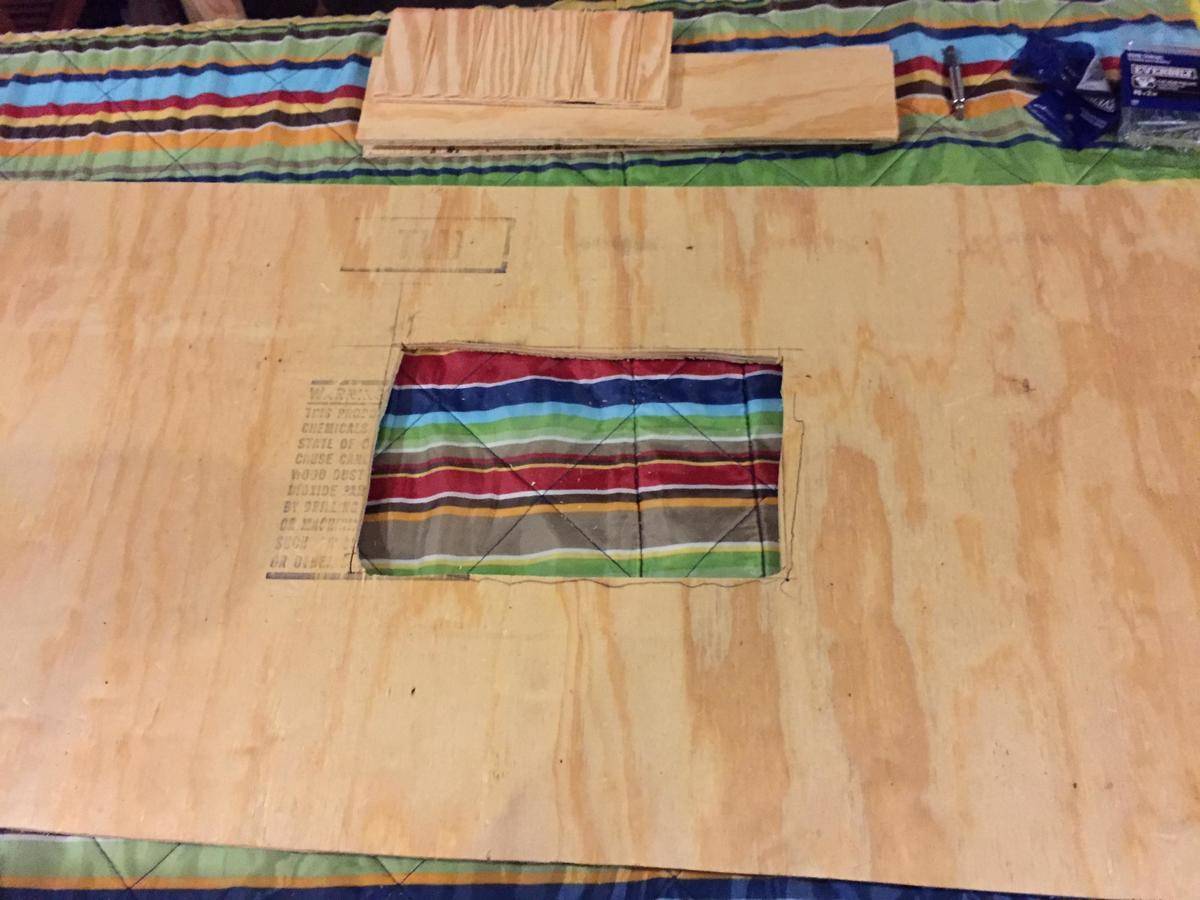
To keep airflow unrestricted, he cut a hole in the beadboard to fit over the A/C vent, adding a new cover over it for a polished, functional finish.
Adding a Professional-Quality Vent Cover
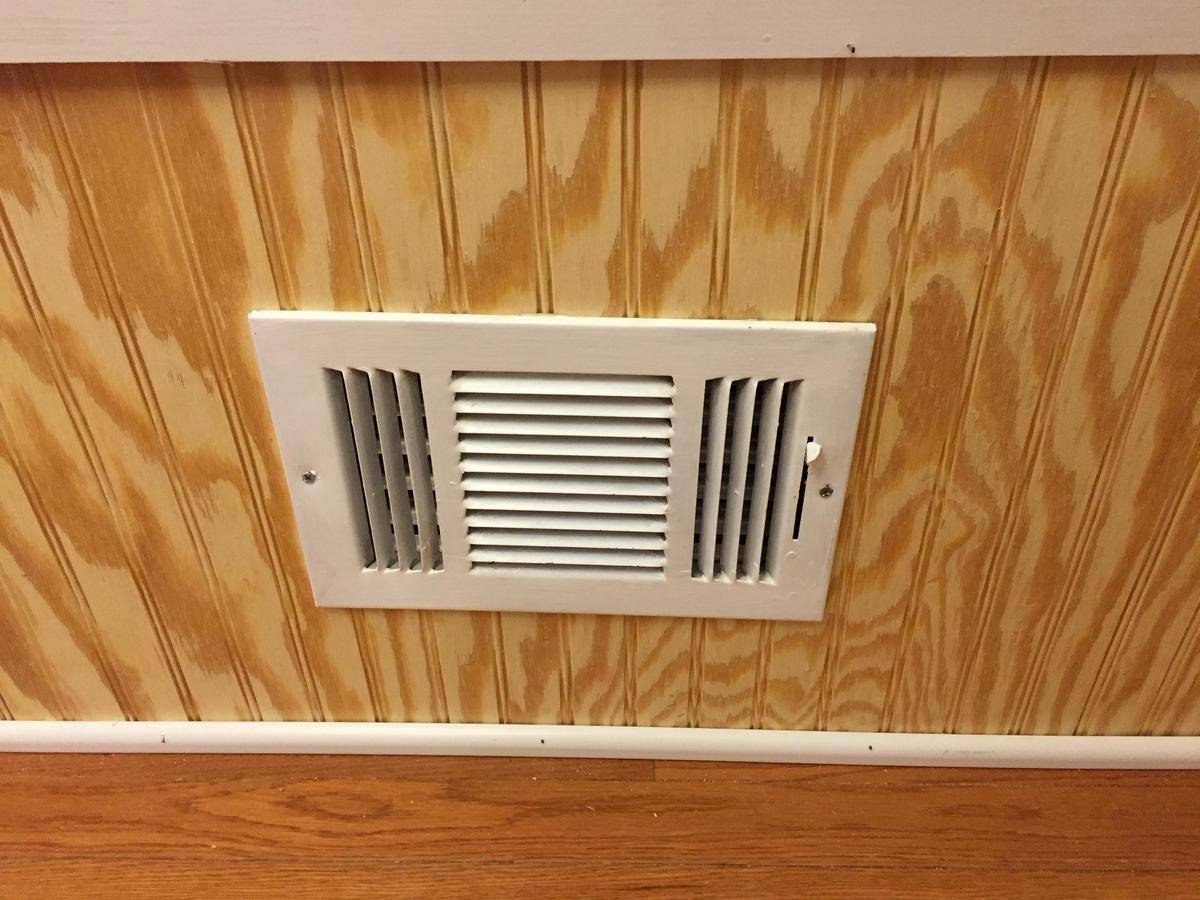
With the new vent cover in place, the setup looked professionally installed. He even connected the original wall vent to his new cover to keep the A/C functioning smoothly.
Final Adjustments Bring It Together
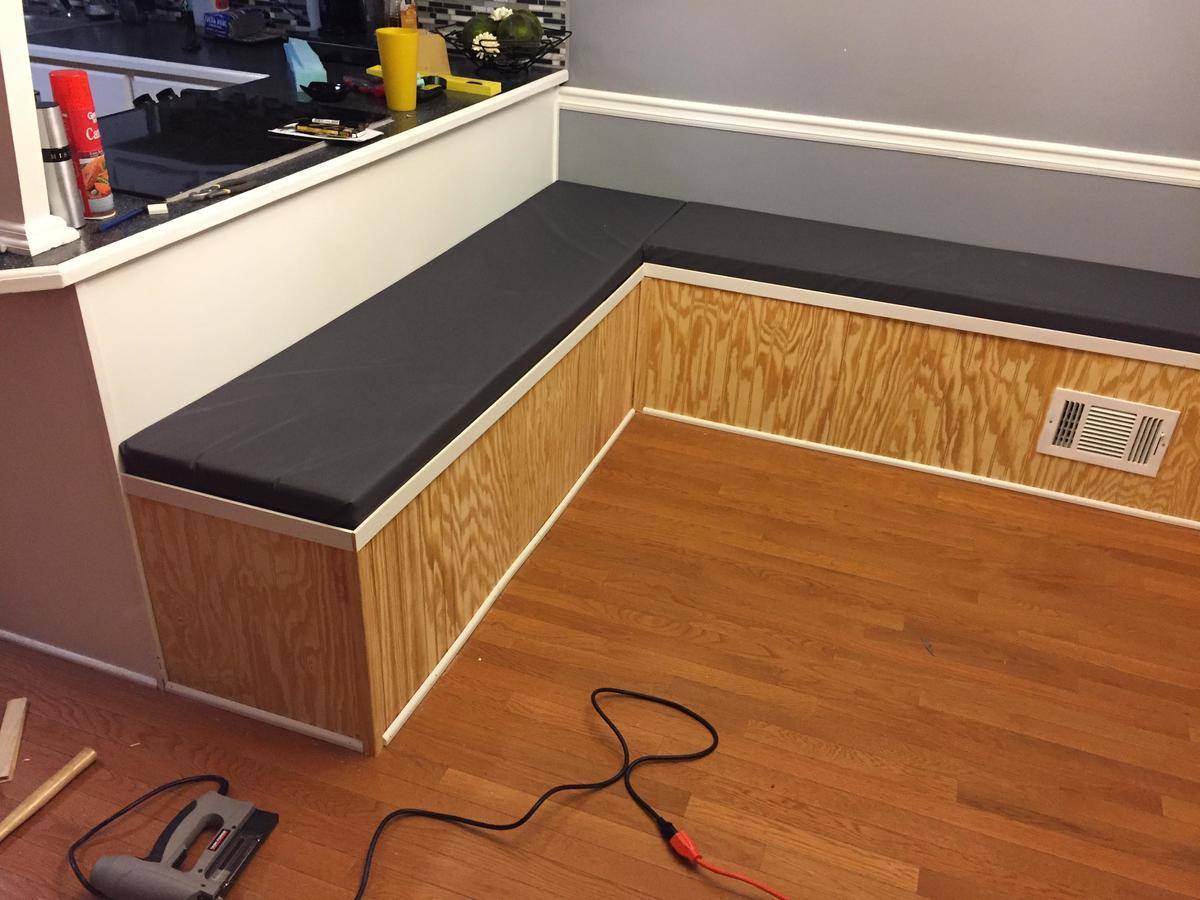
With the booth structure complete, he added trim along the top and bottom of the beadboard. This final touch made the booth look finished and added support for the seat cushions.
Seamless Trim Adds the Perfect Finish
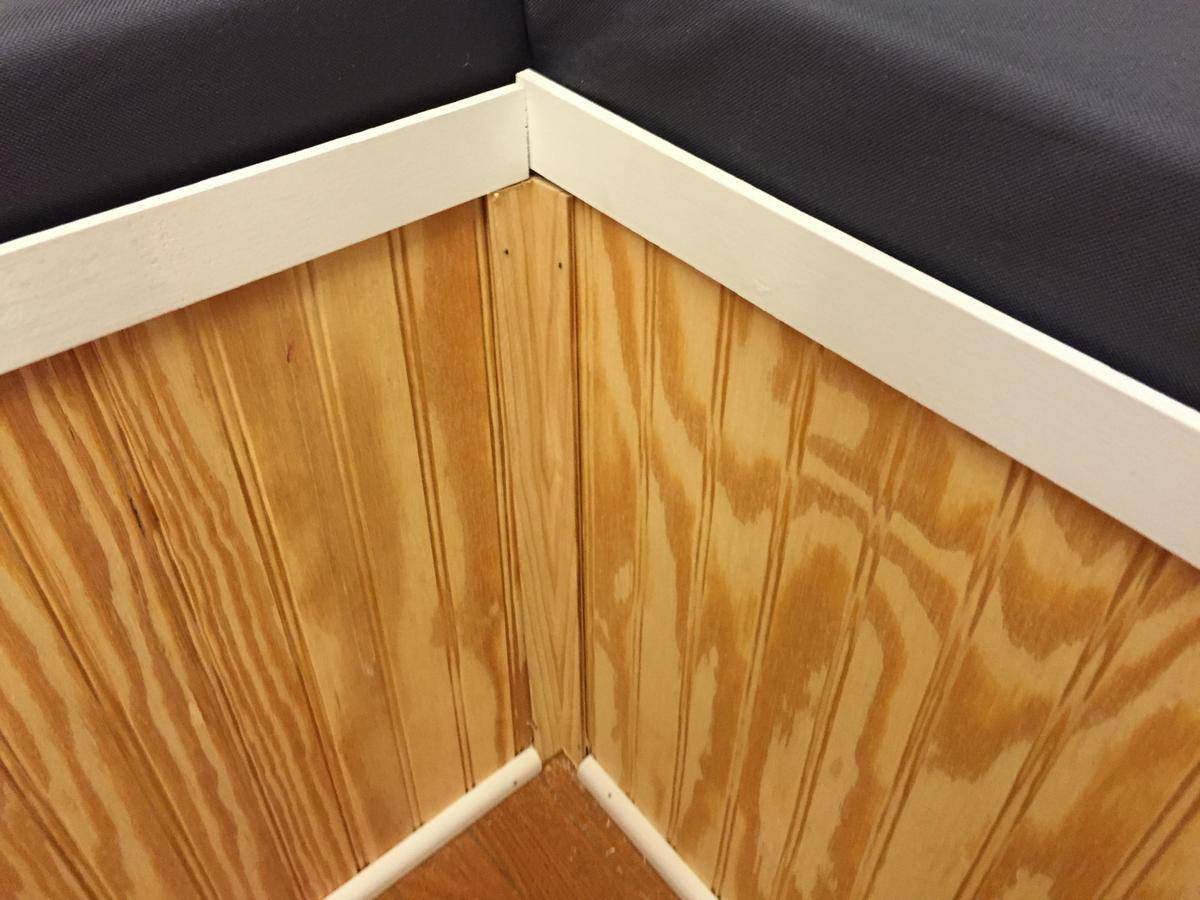
Inspecting the trim, he found a few gaps but quickly filled them with caulk for a seamless appearance. With the booth built, all that was left were the finishing touches.
A Bright, Clean Coat of Paint
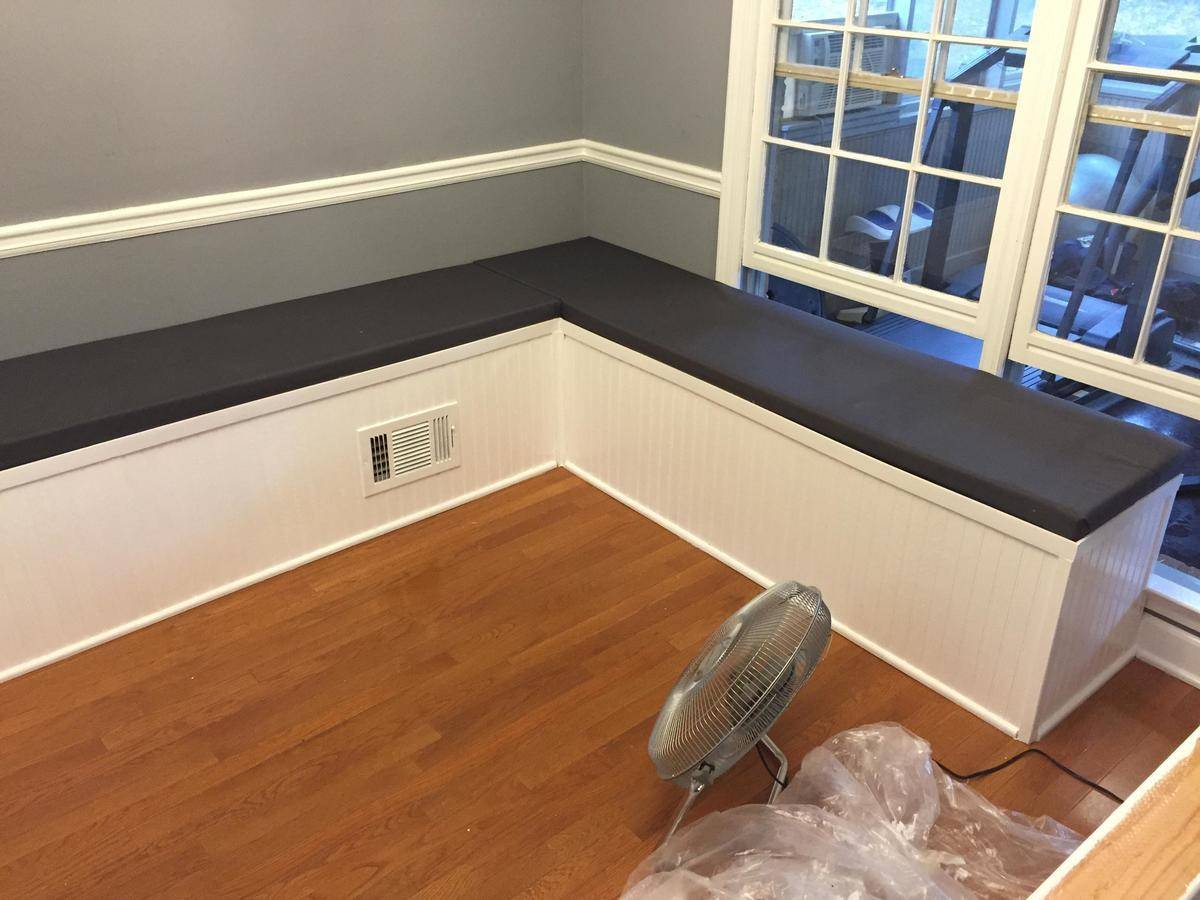
After caulking, he painted the booth a bright white to match the room, applying two coats for a clean, unified look. Once the paint dried, it was almost complete.
Crafting a Farmhouse Table to Match
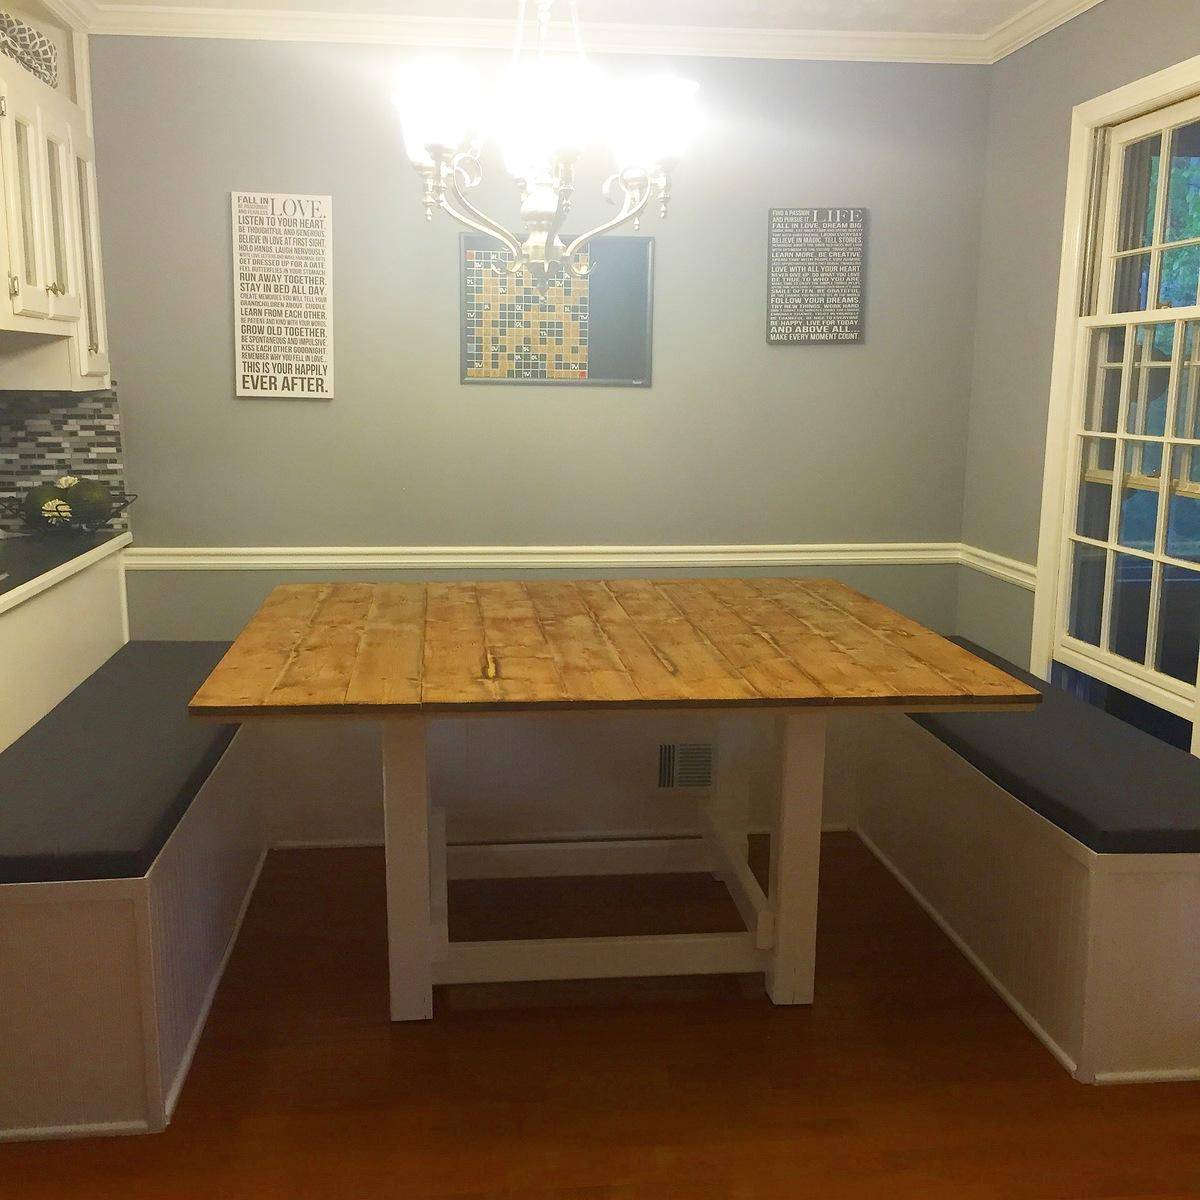
To complete the project, he built a custom farmhouse-style table with a rustic wood top and white supports, perfectly fitting the new booth’s cozy look.
A Family Dining Space That Feels Just Right!
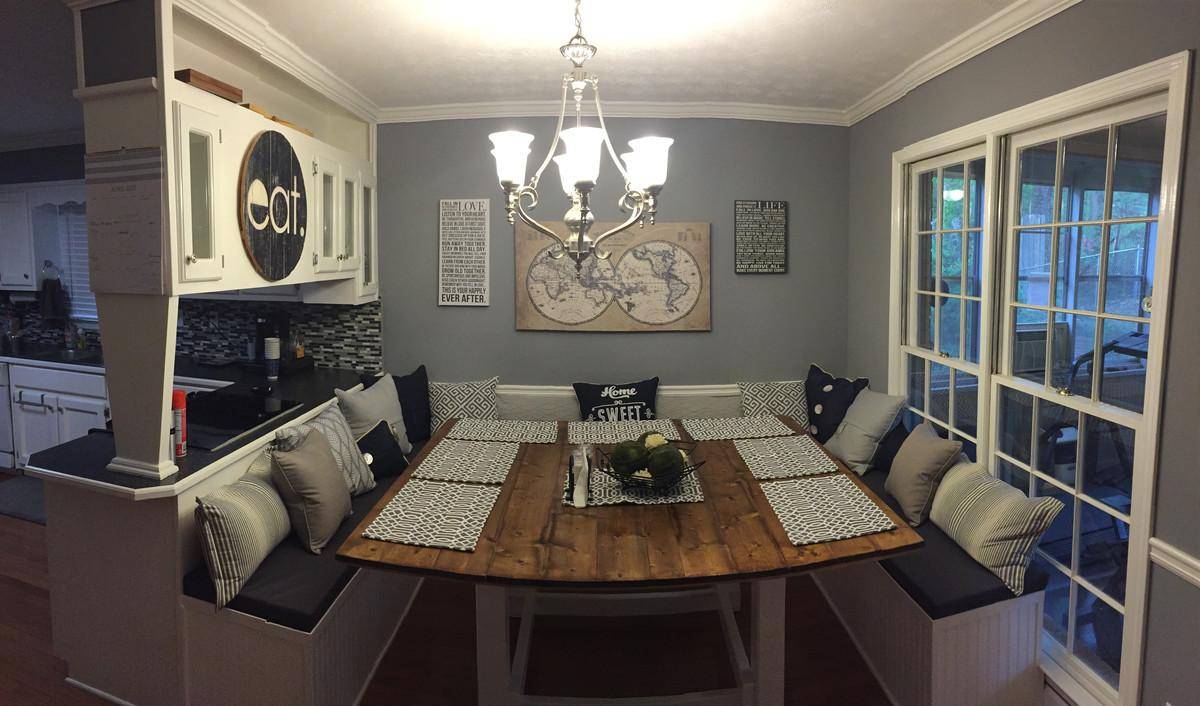
Decorative pillows and matching placemats finished the space, creating a warm, inviting dining area the family loved—all thanks to Dad’s impressive DIY work!
Ready to start your next project? Join our DIY community to receive tool tips, how-to guides, and exclusive creative insights. Subscribe to the ManMadeDIY newsletter now! Click here to unlock a world of hands-on inspiration.

