Build a DIY Adirondack Chair with Easy Steps for Beginners
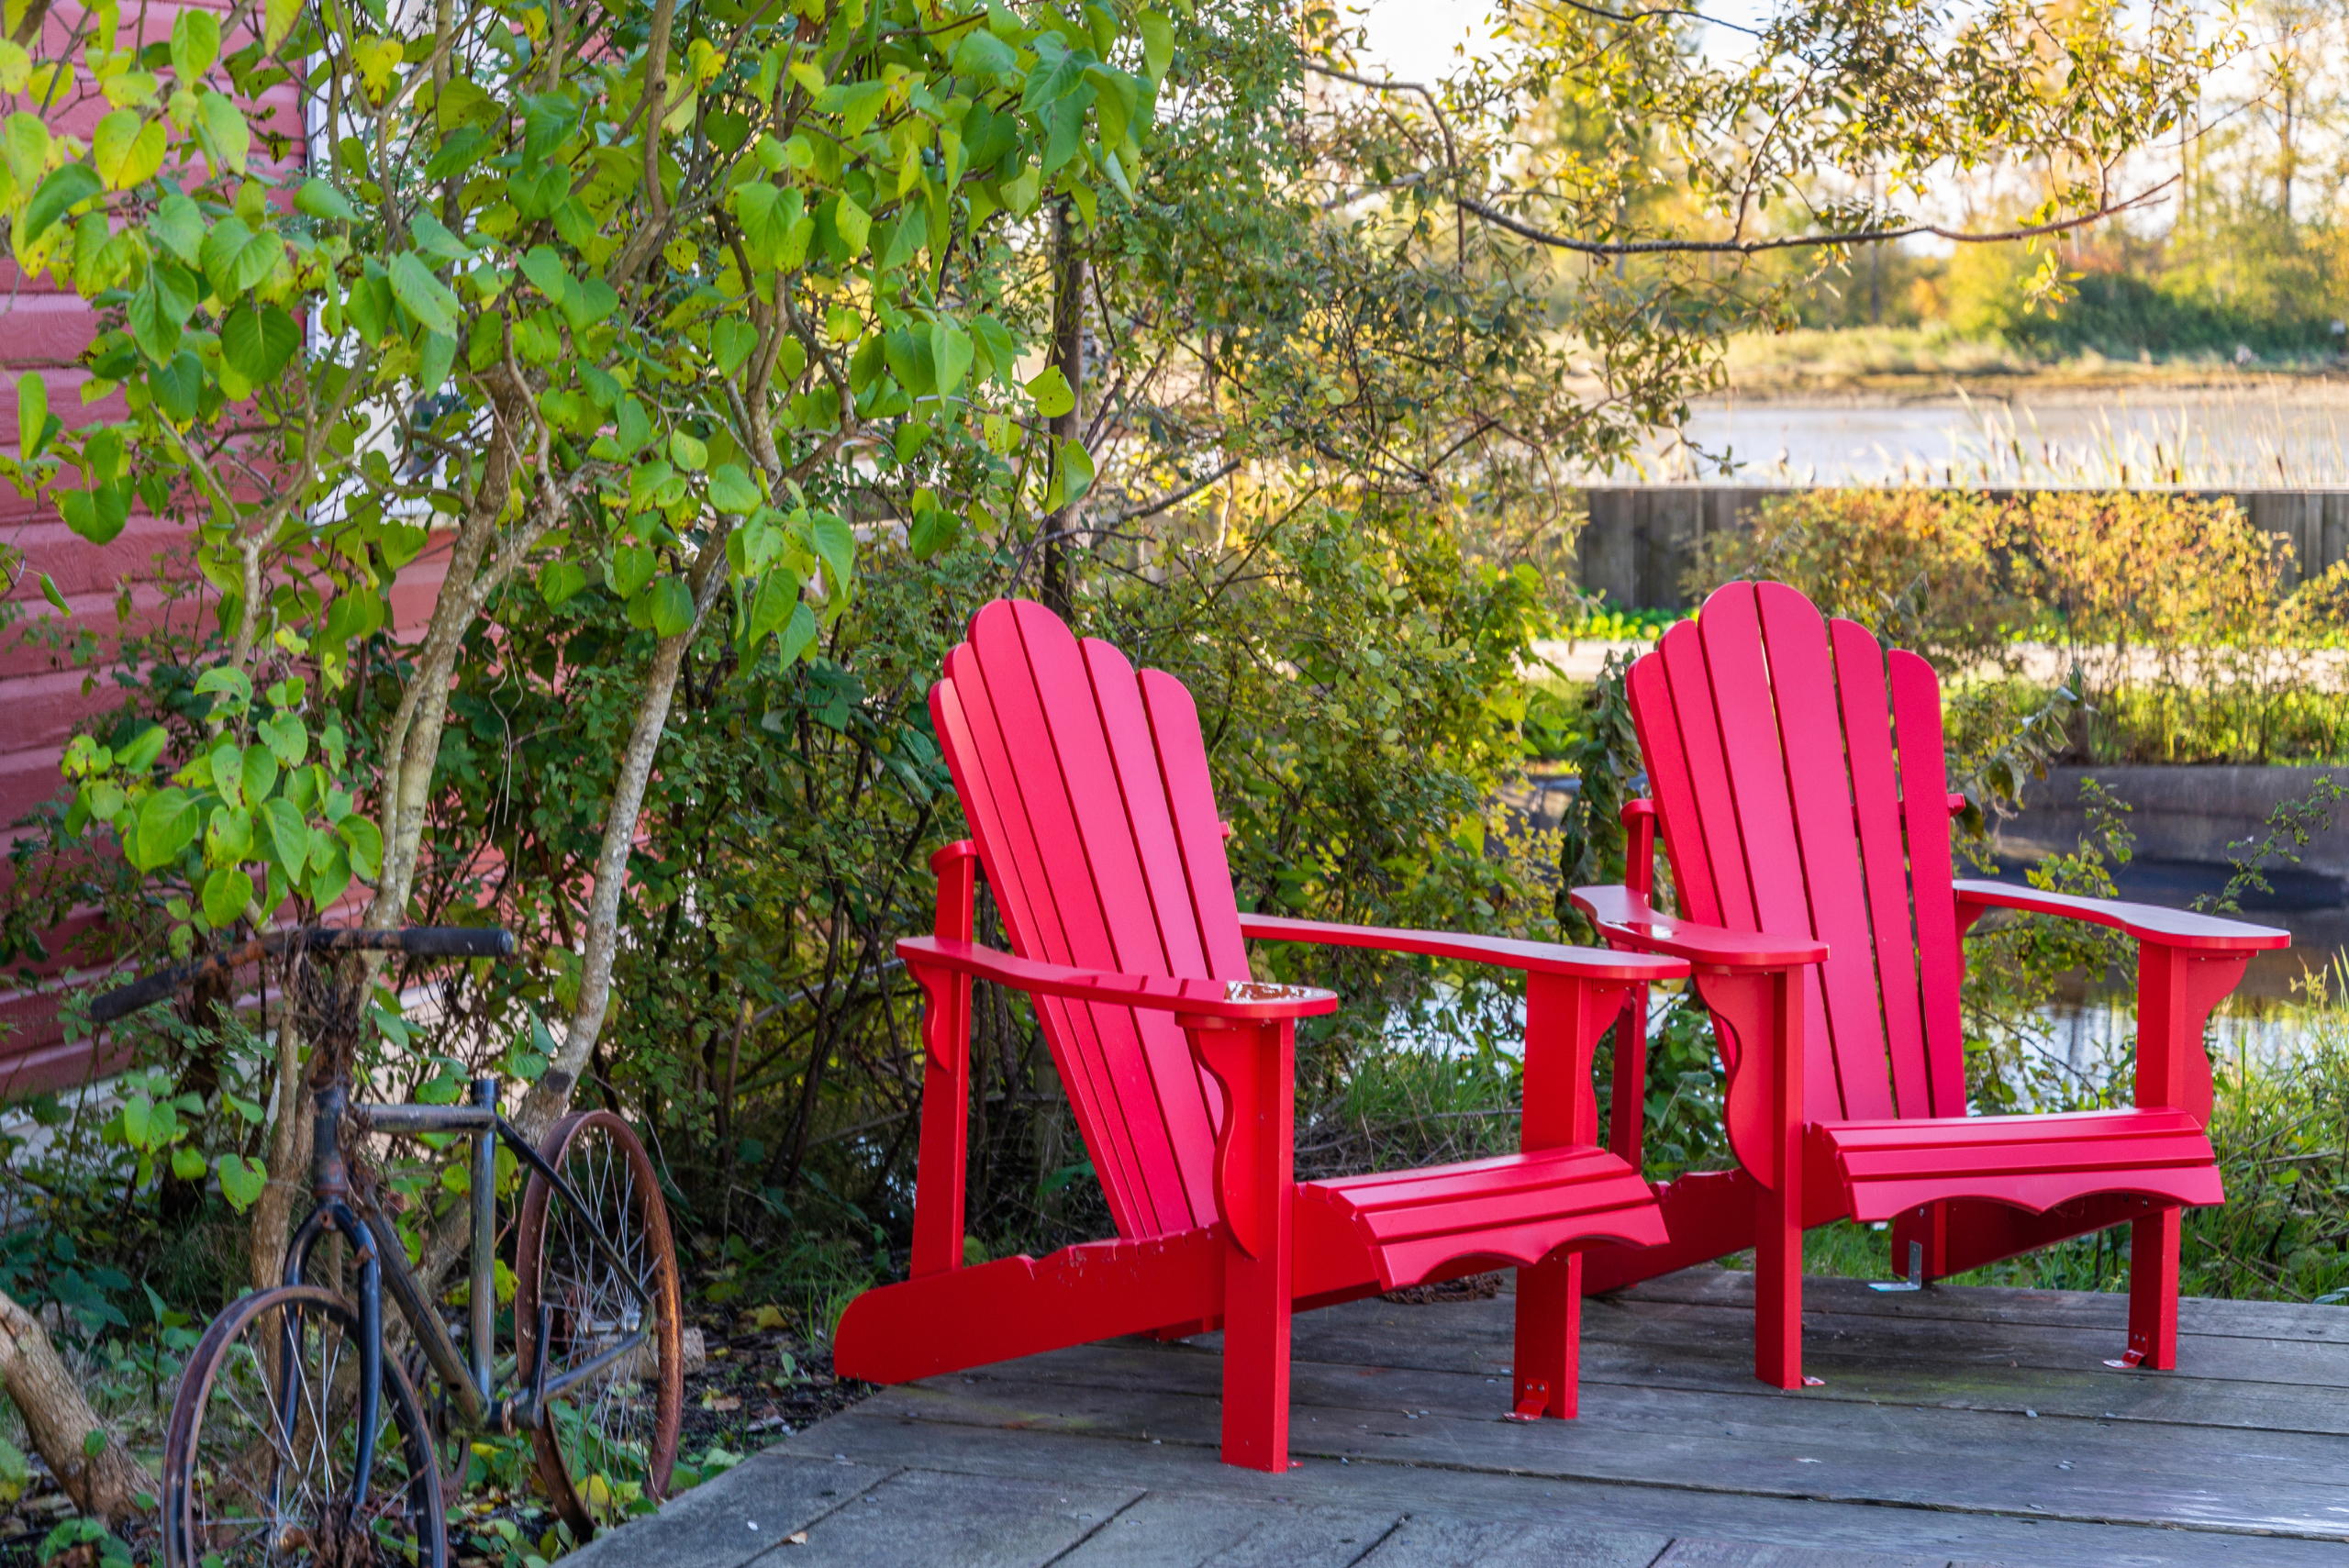
Imagine lounging in your backyard on a warm summer day, comfortably seated in a chair you built with your own hands. The Adirondack chair is a timeless piece of outdoor furniture, known for its rustic charm and inviting design. Building your own Adirondack chair not only gives you a sense of accomplishment but also provides a sturdy and stylish addition to your outdoor space. Let’s dive into this rewarding DIY project!
Start your next woodworking adventure with TedsWoodworking! Dive into 16,000+ projects and bring your ideas to life. Build unique furniture and master new skills with Ted’s detailed, step-by-step plans guiding you every step of the way.
Step-by-Step Build Guide and Initial Preparations

Before you start assembling your Adirondack chair, gather all the necessary materials. You will need various sizes of deck screws, wood boards, wood glue, and some essential tools like a power miter saw, measuring tape, speed square, and jigsaw. Once you have everything ready, begin by cutting the boards according to the specified measurements. Precision is key here, so take your time to ensure each cut is accurate.
Start by cutting the 2×4 boards for the back legs, front legs, and stringers. Next, cut the 1×4 boards for the seat slats and back slats, and the 2×2 boards for the arm supports. Having all your pieces cut and ready to go will make the assembly process much smoother. Remember, measure twice and cut once to avoid any mistakes.
Making the Stringer Cut Correctly
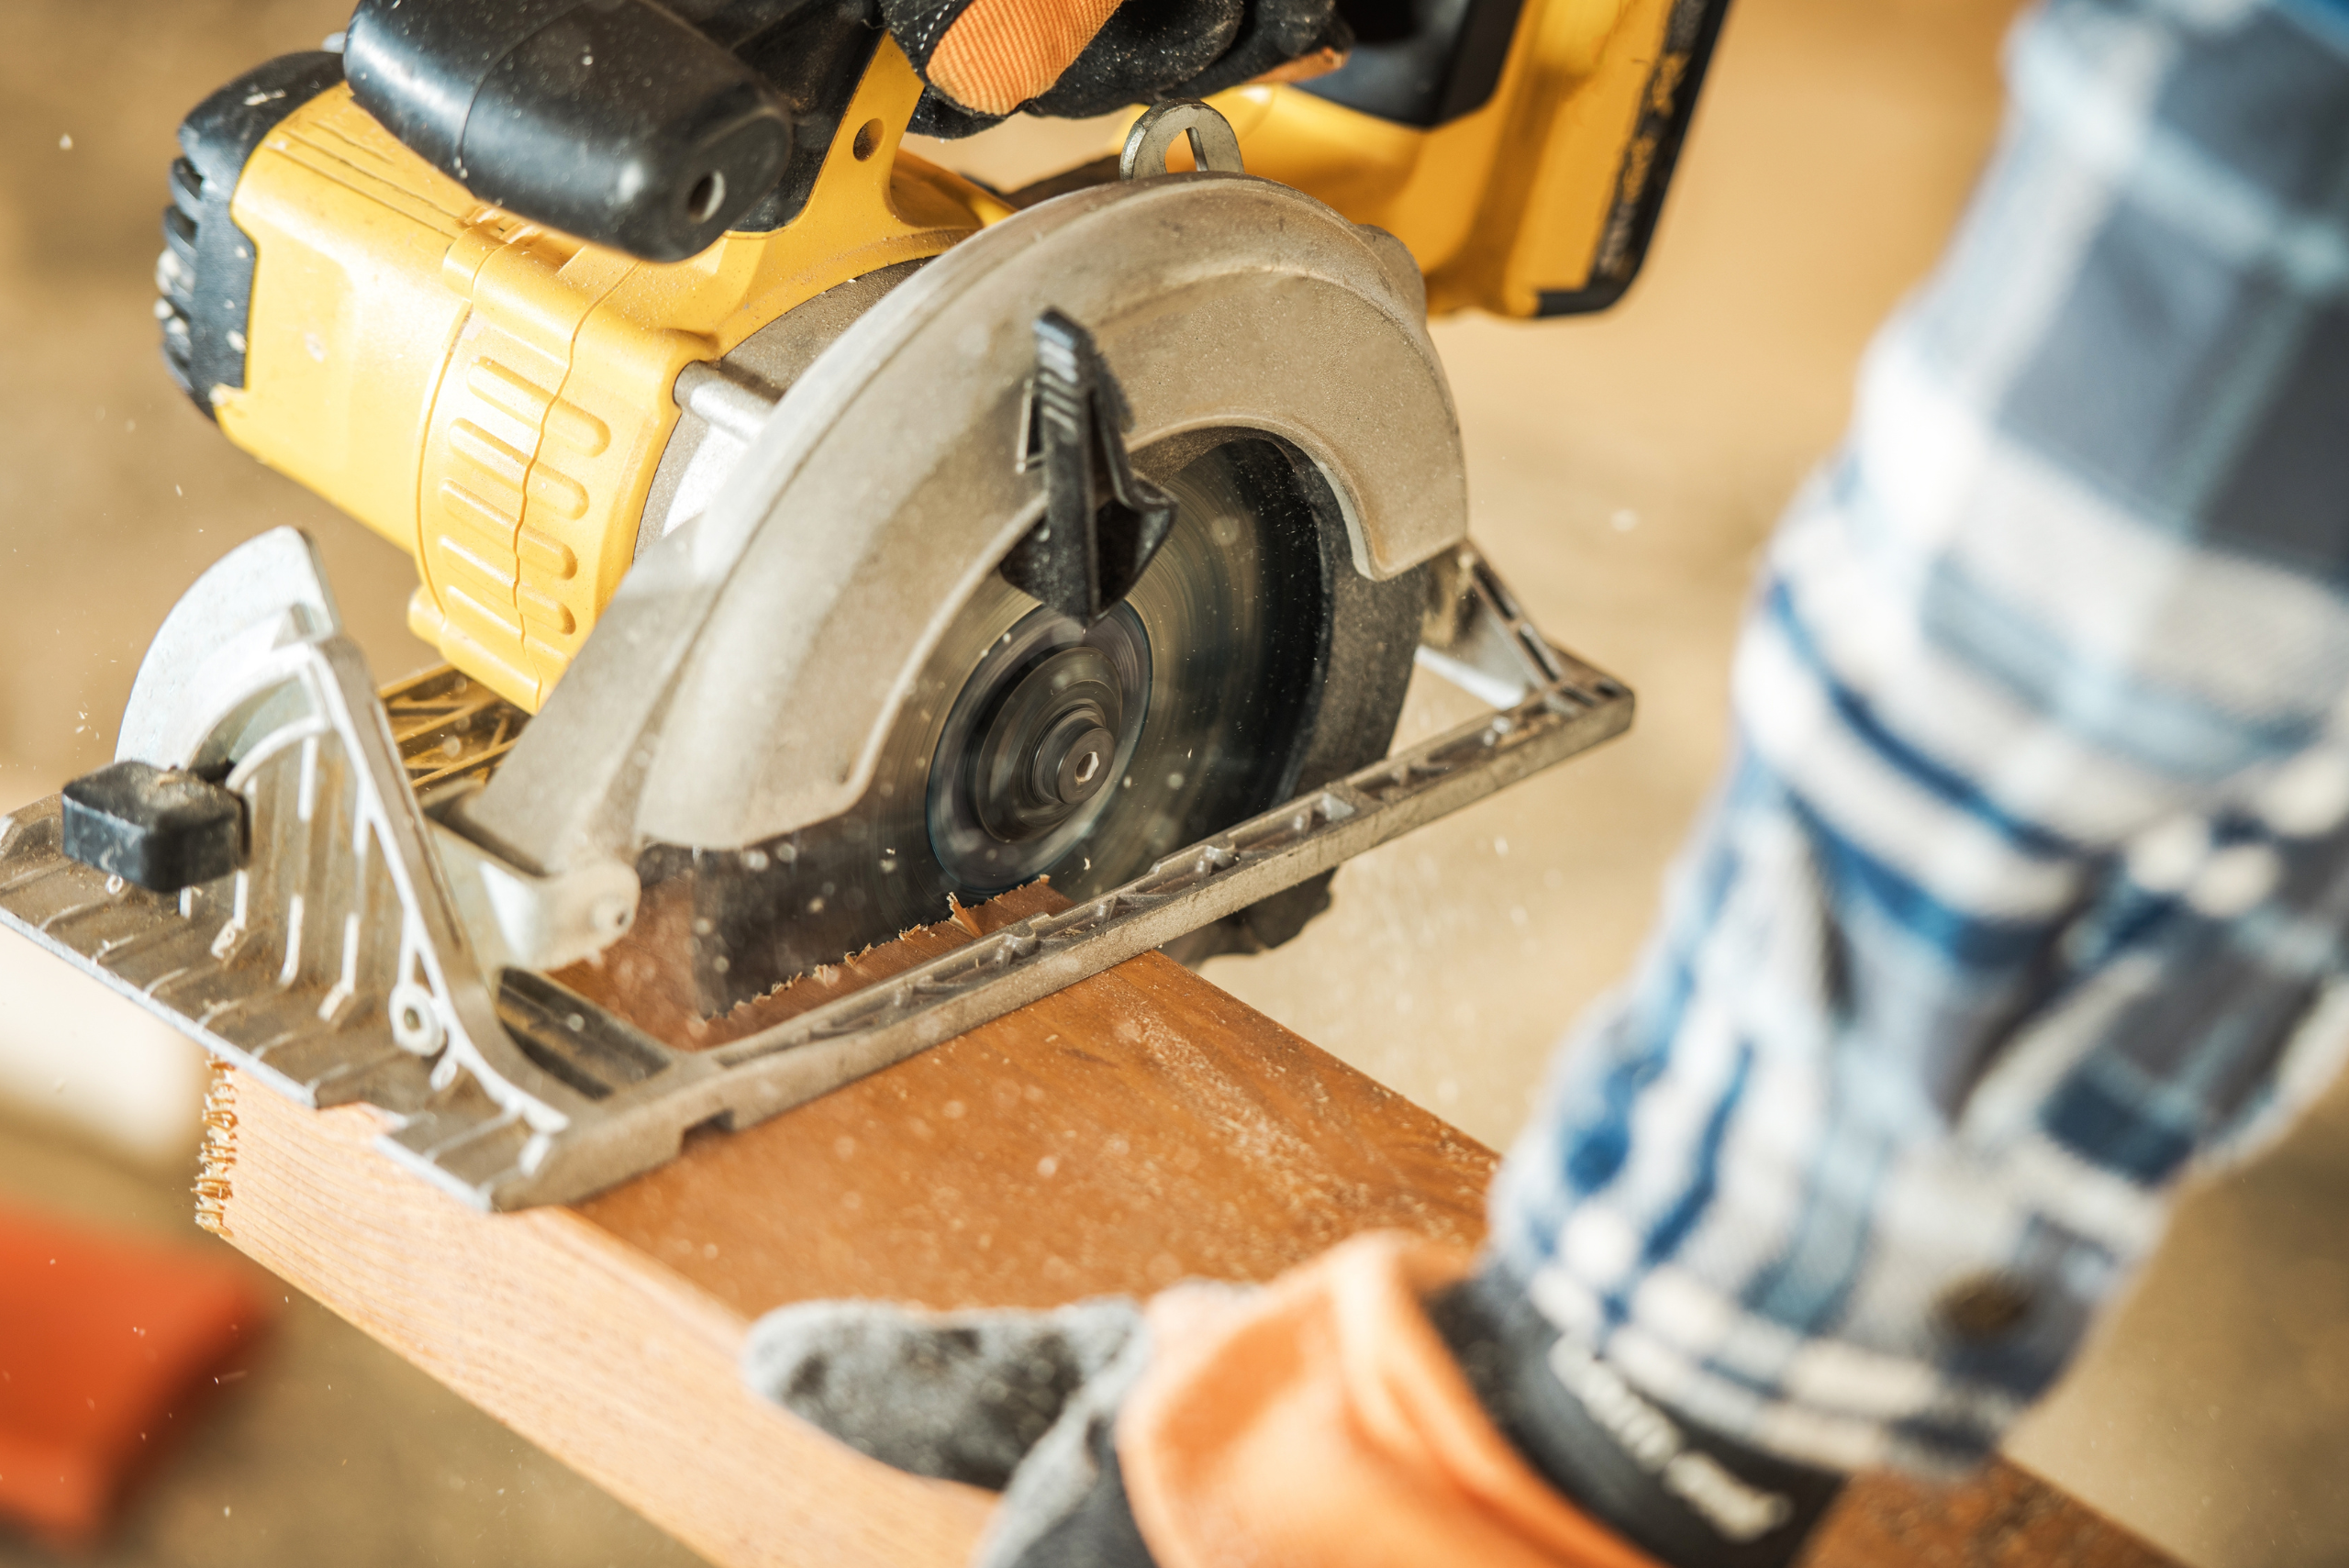
The stringers are crucial for the stability of your Adirondack chair. To ensure the front seat slat sits flat, you’ll need to make an additional cut on the stringer boards. Use a speed square to mark a 2-inch length square to the edge of the stringer. Carefully cut off the marked portion using a jigsaw. Repeat this step for the other stringer board to ensure both sides are identical.
This additional cut helps in creating a comfortable seating angle. It’s a small but important modification that enhances the overall ergonomics of the chair. Once the cuts are made, sand the edges smoothly to prevent any splinters or rough spots.
Attaching the Arm Supports to the Legs
Now, it’s time to start assembling the chair. Begin by attaching an arm support to the front and rear legs. To prevent the wood from splitting, pre-drill pilot holes using a countersink bit. Arrange one front leg and one rear leg on your work surface, and place an arm support across the two pieces, ensuring the angled end of the support aligns with the rear leg.
Apply wood glue to the joints and use clamps to hold the pieces together. Fasten the arm support to the legs with 2 1/2-inch deck screws. This step forms the basic framework of your chair, so make sure everything is aligned and secure before moving on.
Securing the Stringer Board to the Legs
With the leg assembly in place, flip it over to secure the stringer boards. Position a piece of 2×4 board underneath the legs for support while attaching the stringer. Mark the front leg on the inside and leave a 1 1/2-inch space in front of the stretcher. The bottom corner of the stringer should align with the bottom corner of the back leg.
Use a power drill to attach the stringer to both the front and back legs with 2 1/2-inch deck screws and wood glue. This step is crucial for the stability of your chair, so double-check all measurements and ensure the stringers are securely fastened.
Building the Other Side’s Leg Set
Next, you’ll need to build the opposite leg set, mirroring the first set you assembled. Make sure the arm support is on the outside and the stringer on the inside. Again, use wood glue and 2 1/2-inch deck screws to fasten the pieces together. Ensure both leg sets match up perfectly, as any discrepancies can affect the overall balance and appearance of your chair.
Having identical leg sets is essential for the chair’s symmetry and stability. Take your time to align everything correctly and secure the joints firmly. Once both leg sets are ready, you’re well on your way to completing your Adirondack chair.
Glue and Screw the Front Apron
The front apron adds additional support and stability to your chair. Attach it to the two leg sets using 2 1/2-inch deck screws and wood glue. From the front, fasten the screws through the apron into the stringer board ends. Then, use more screws to go through the legs and into the apron for added support.
Make sure all screws are properly tightened, as the front apron plays a crucial role in supporting the weight of the person sitting in the chair. This step ensures your chair is sturdy and can withstand regular use. Double-check all connections and make any necessary adjustments before proceeding.
Screwing in the Seat Slats
Now it’s time to attach the seat slats, which stretch from stringer to stringer. Begin at the front of the chair and attach the seat slats to the stringers with wood glue and 2-inch deck screws in pre-drilled holes. Keep the slat ends flush with the edges of the chair, and use a block of wood as a gauge to maintain a 1/2-inch gap between each seat slat.
Proper spacing is important for both comfort and aesthetics. Take your time to ensure each slat is evenly spaced and securely fastened. This step brings your chair closer to completion and adds to its visual appeal.
Secure the Rear Support to the Rear Legs

To accommodate the sloped chair back, the support must be fastened to the back legs at an angle. Mark the front edge of the back legs 4 1/2 inches down from the top, and mark the rear edge 5 inches down from the top. Position the back support so that its front-bottom edge is at the 4 1/2-inch mark and its rear-top edge is at the 5-inch mark.
Tilt the back support accordingly and attach it to the back legs with 2 1/2-inch deck screws. This step is crucial for the ergonomic design of your chair, ensuring a comfortable backrest angle. Double-check your measurements and alignment before securing the screws.
Put Together the Back of the Chair
The back of the chair is built by attaching the back slats to the seat’s back top support and back base support. Leave approximately a 1/2-inch gap between each board and attach them using 1 1/4-inch deck screws. Once all the slats are in place, use a jigsaw to cut the familiar Adirondack chair arch shape on the top of the chair back. Use a large round object, such as the base of a bucket, as a guide.
This step adds the iconic look to your Adirondack chair. Take care to sand the edges smoothly and ensure all slats are securely fastened. The chair back not only provides support but also enhances the overall aesthetic of your chair.
Mount the Back to the Chair
Place the back assembly inside the chair and mount it in place through the stringers using 2 1/2-inch deck screws. Then, attach the chair back to the back support with 2-inch deck screws. This step finalizes the main structure of your chair, ensuring everything is firmly connected and stable.
Double-check all connections and make any necessary adjustments. Your chair should now have a solid and secure backrest, ready for the final touches.
Fasten the Armrests to the Arm Supports

The final step is to fasten the armrests to the arm supports and the tops of the legs with 2-inch deck screws and glue. Use clamps to hold the armrests in place until the glue sets. Fill all of the screw holes in the chair with wood filler and then paint or stain the chair to suit your taste or match your other outdoor furniture.
This step adds the finishing touches to your Adirondack chair, making it both functional and visually appealing. Once the glue has set and the paint or stain has dried, your chair is ready for use.
Related Article: Best Types of Wood for Beginner Woodworking
Congratulations! You’ve successfully built your own Adirondack chair. Place it in your favorite outdoor spot and enjoy the fruits of your labor. Whether you’re sipping a cool drink, reading a book, or simply soaking up the sun, your handmade Adirondack chair is sure to provide comfort and style for years to come. Happy building!

