Unleashing Creativity with DIY Arduino Projects
In the vast realm of DIY electronics, Arduino stands out as a versatile and accessible platform that has captured the imagination of hobbyists, students, and professionals alike. Whether you’re a seasoned tinkerer or a curious beginner, an Arduino offers endless possibilities to create innovative and functional projects. In this article, we will explore what Arduino is, how to use it, and highlight some exciting DIY projects you can undertake, such as an RC car and a robot arm. By the end, you’ll be inspired to embark on your own Arduino journey.
Ready to take on life with unshakable confidence? Whether you’re aiming to excel in your career, improve your relationships, or conquer DIY projects, NLP Hero’s Confidence Course is your key to success. Click here to start transforming your confidence and be better at everything you do!
What is Arduino?
Arduino is an open-source electronics platform based on easy-to-use hardware and software. It consists of a microcontroller (a small computer on a single integrated circuit) and a development environment for writing software code, known as the Arduino IDE. The simplicity and flexibility of Arduino make it an ideal choice for building interactive objects and environments.
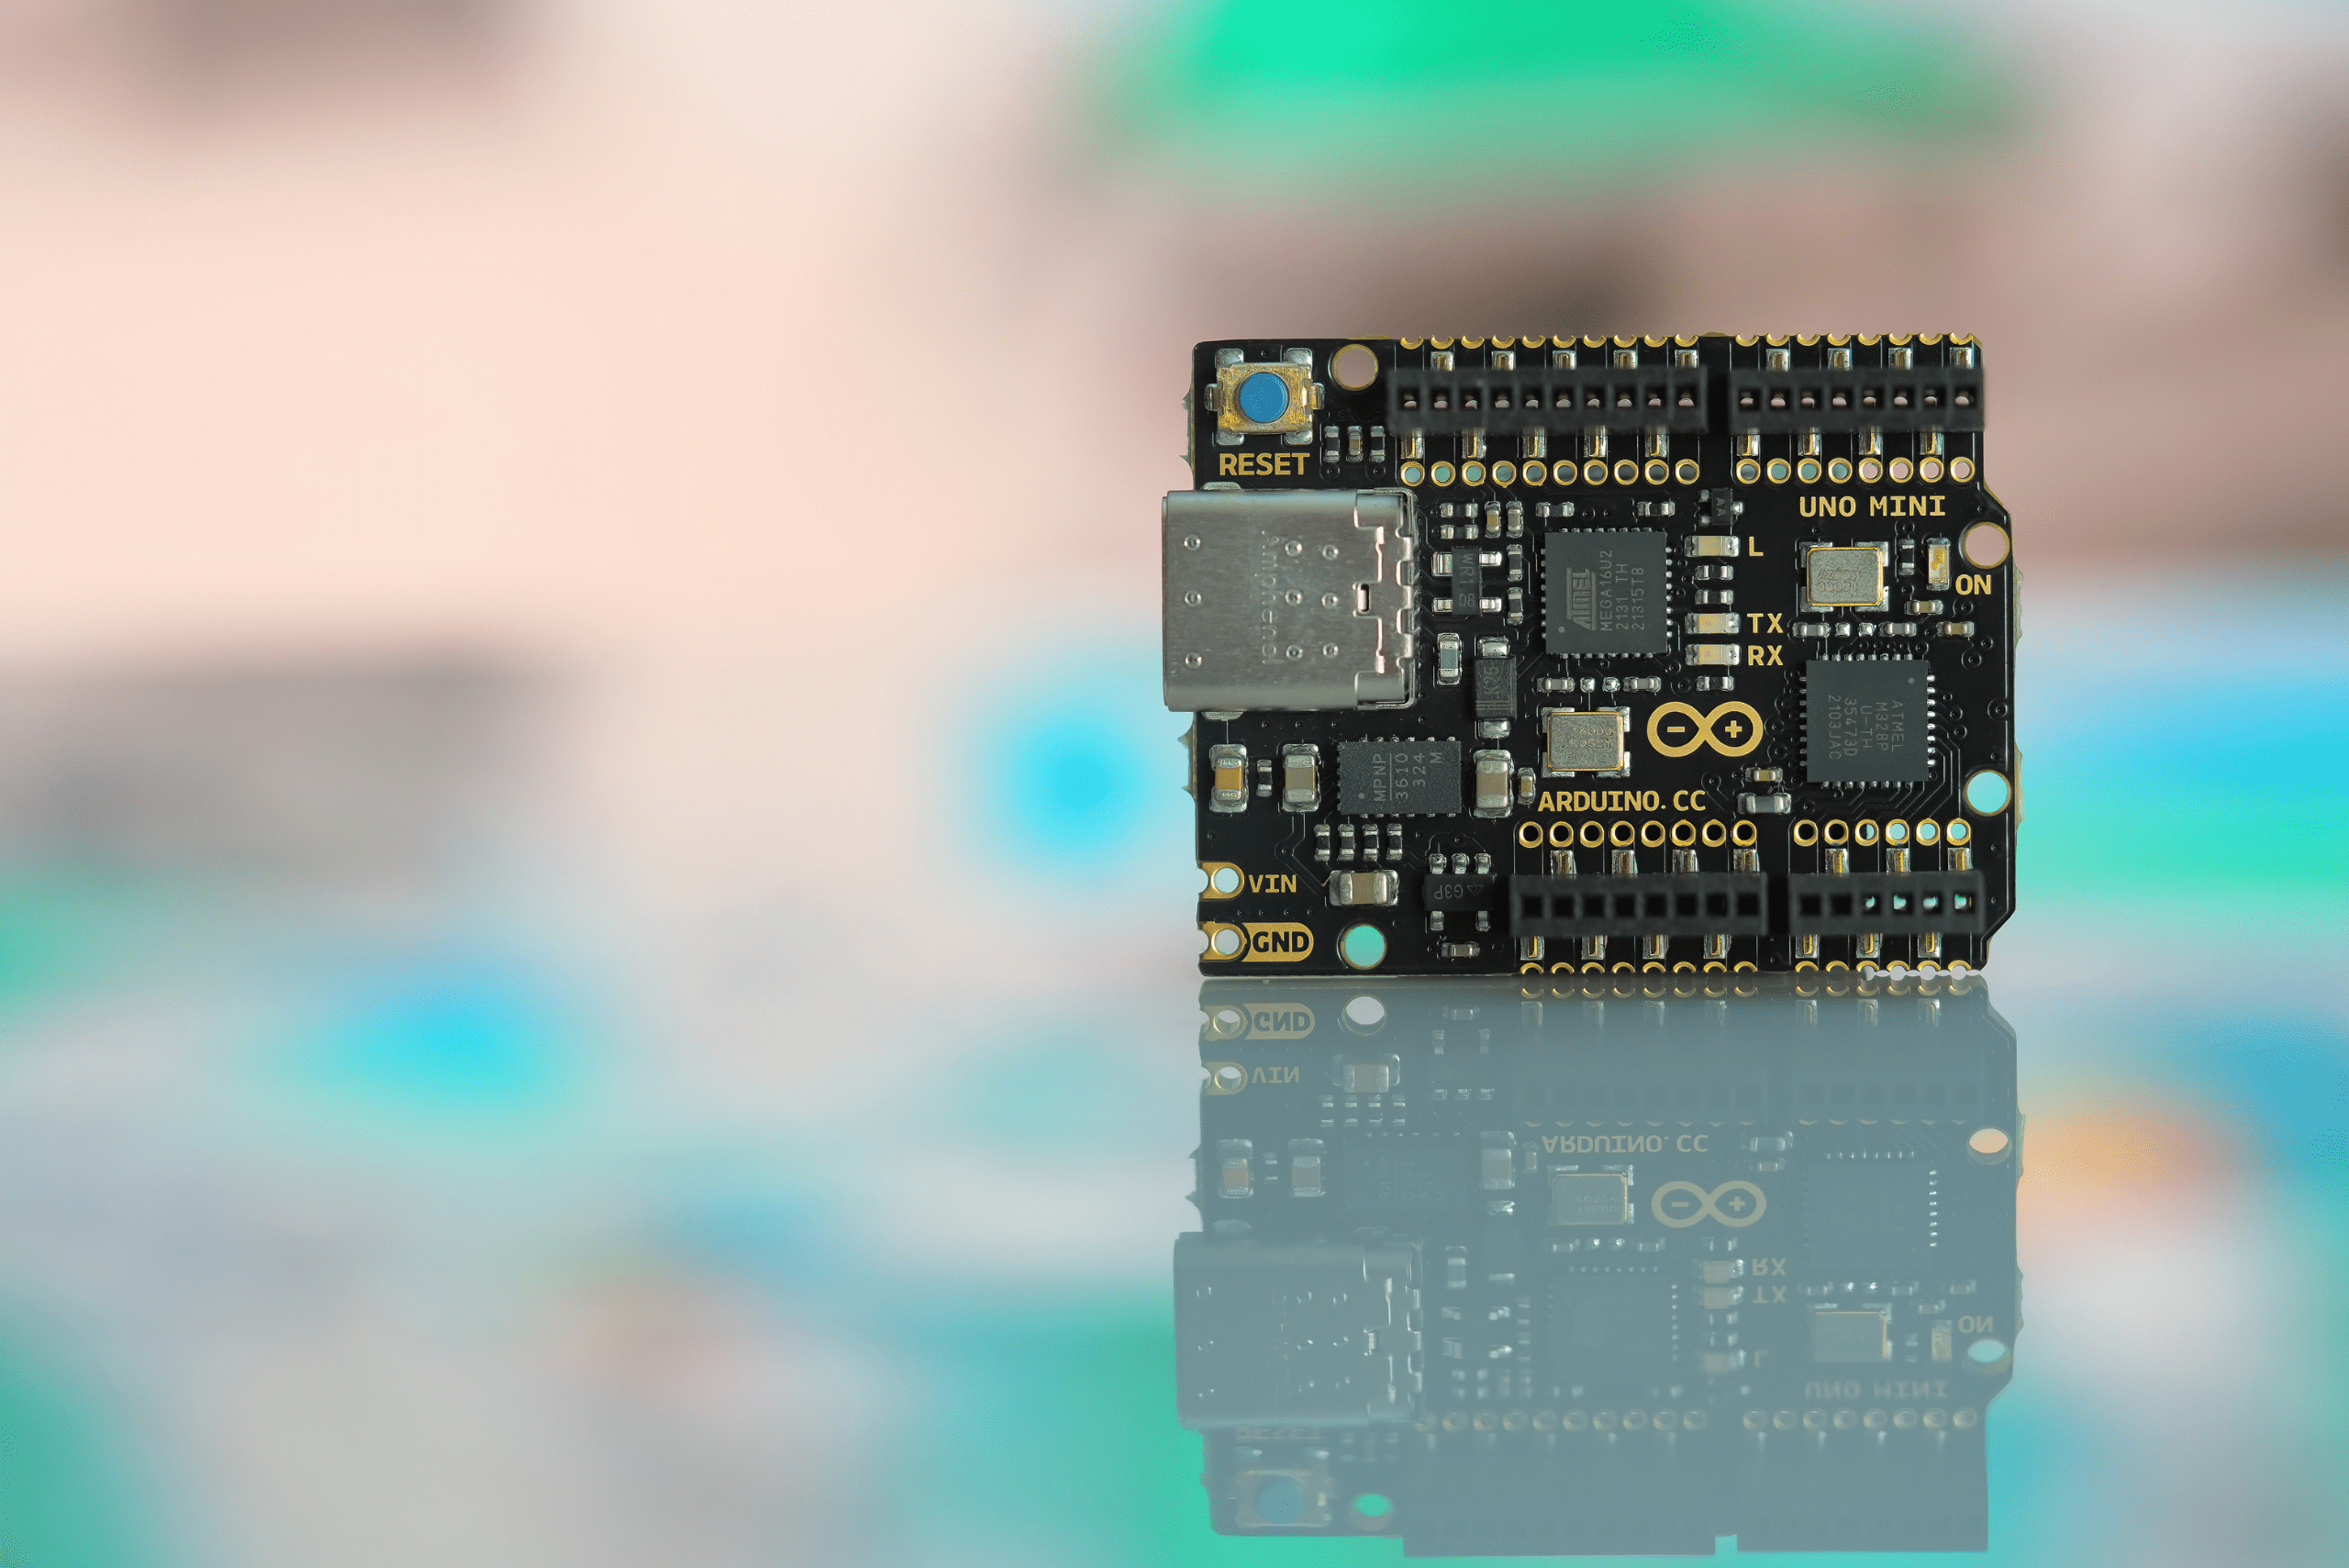
The heart of an Arduino project is the Arduino board, which comes in various models, each tailored to different needs. Popular models include the Arduino Uno, Arduino Nano, and Arduino Mega. These boards can be connected to sensors, actuators, and other components to read inputs (like light or temperature) and control outputs (like motors or LEDs).
How to Use Arduino
Getting started with Arduino is straightforward. Here are the basic steps to kickstart your first Arduino project:
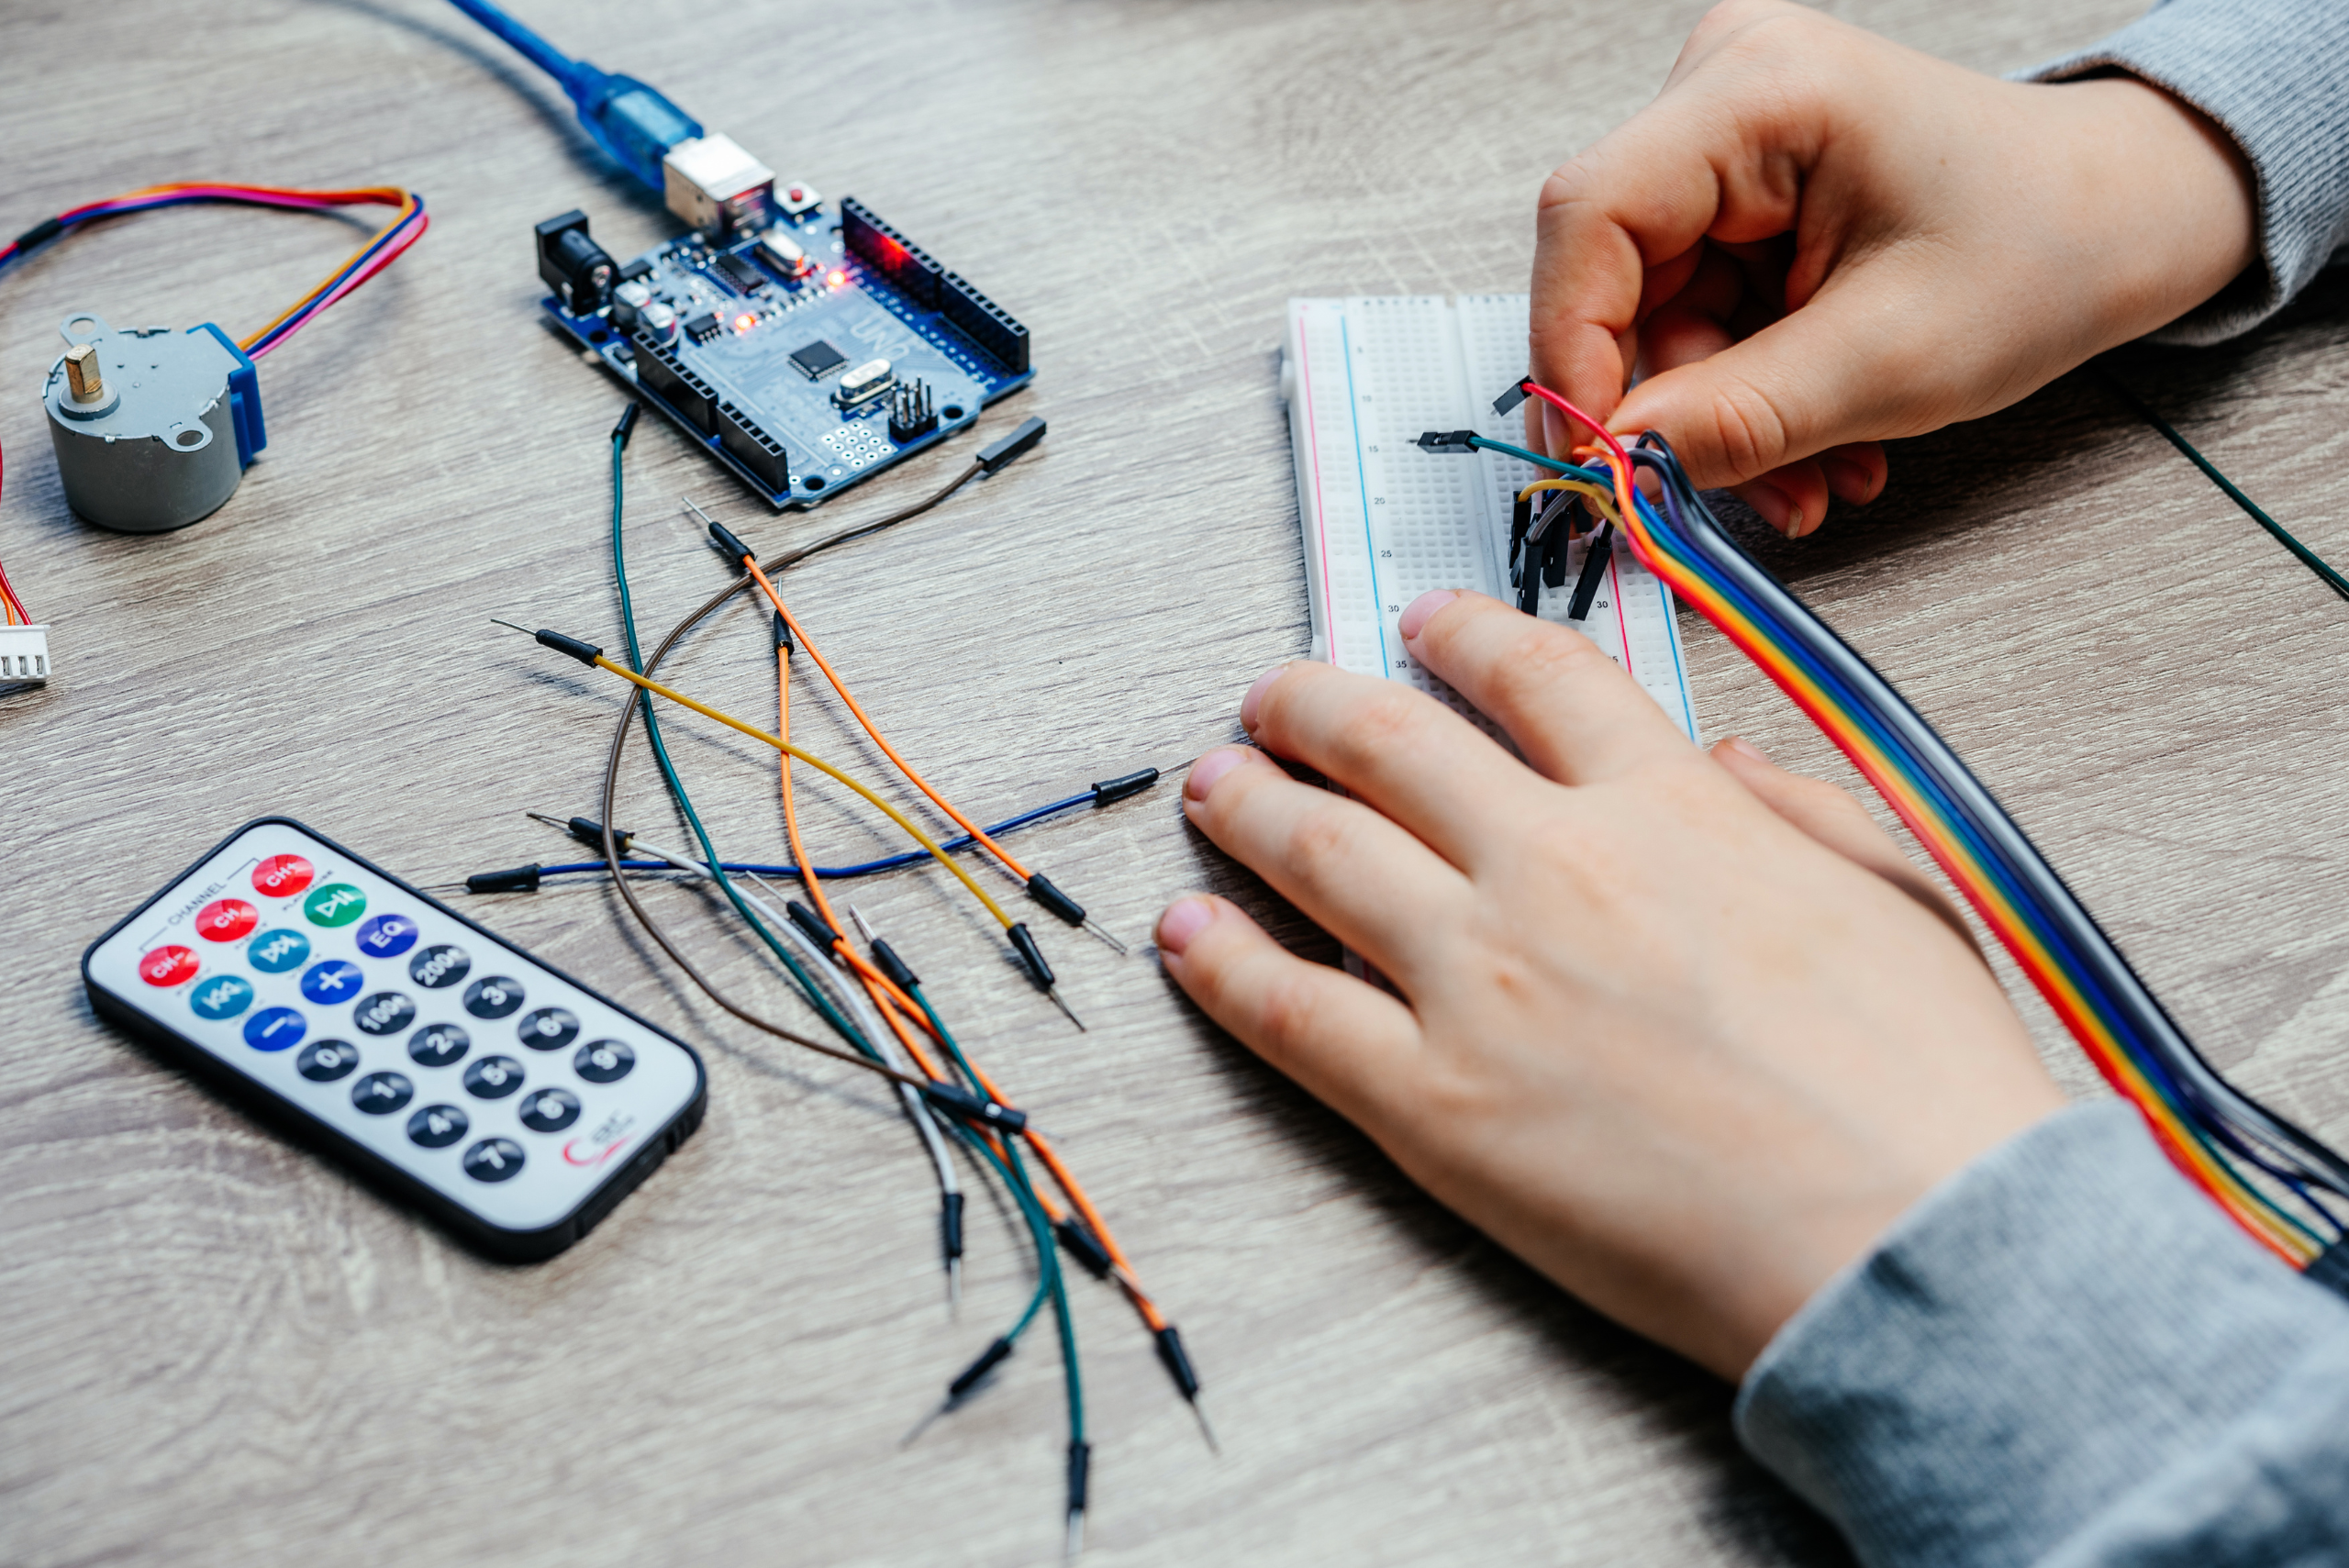
- Choose Your Arduino Board: Select an Arduino board that suits your project requirements. The Arduino Uno is a great choice for beginners due to its balance of functionality and simplicity.
- Install the Arduino IDE: Download and install the Arduino Integrated Development Environment (IDE) from the official Arduino website. The IDE is available for Windows, macOS, and Linux.
- Connect Your Board: Use a USB cable to connect your Arduino board to your computer. The Arduino IDE will detect the board and assign a communication port.
- Write Your Code: In the Arduino IDE, you can write sketches (programs) using a simplified version of C++ programming language. The code typically consists of two main functions:
setup()(runs once when the program starts) andloop()(runs repeatedly). - Upload Your Code: After writing your code, click the upload button in the IDE to transfer the sketch to your Arduino board. The board will execute the code and interact with connected components.
Exciting DIY Arduino Projects
The true magic of Arduino lies in the endless array of projects you can create. Here are some compelling DIY Arduino projects to ignite your creativity:
1. RC Car

Building an RC car with Arduino is a fantastic project for beginners and enthusiasts alike. It involves using an Arduino board to control the car’s movements via a remote control or smartphone.
Components Needed:
- Arduino board (e.g., Arduino Uno)
- Motor driver (e.g., L298N)
- DC motors
- Chassis and wheels
- Bluetooth module or RF transmitter/receiver
- Battery pack
How it Works:
- Connect the motors to the motor driver, which is then controlled by the Arduino.
- Program the Arduino to receive commands from the remote control or smartphone.
- Use the received commands to control the speed and direction of the motors, making the car move forward, backward, left, or right.
2. Robot Arm

A robot arm project showcases the versatility and precision of Arduino. You can create a robotic arm that mimics human arm movements, ideal for tasks like picking up and moving objects.
Components Needed:
- Arduino board (e.g., Arduino Mega)
- Servo motors
- Robot arm kit or 3D-printed parts
- Power supply
How it Works:
- Assemble the robot arm using servos to control each joint.
- Program the Arduino to control the servos based on predefined sequences or real-time inputs from sensors.
- Integrate additional features like a joystick or a smartphone app to manually control the arm.
Unleashing Creativity with Arduino: From Simple LED Blinkers to Complex Robots
The beauty of Arduino lies in its ability to transform ideas into tangible creations. From simple LED blinkers to complex robots, Arduino projects cater to a wide range of interests and skill levels. By following the basic steps to get started and exploring the myriad of components available, you can embark on a journey of endless innovation.

The RC car and robot arm projects are just the tip of the iceberg. Arduino can power home automation systems, environmental monitors, wearable technology, and so much more. The Arduino community is vast and supportive, providing a wealth of resources, tutorials, and inspiration to help you along the way.
Related Articles
- Innovative Battery Charging Station Ideas for Your Home
- How to Destroy a Hard Drive Safely & Effectively
- How Does a Stud Finder Work & How to Master Its Use
So, whether you want to build a gadget to solve a real-world problem or simply explore the joys of making, Arduino offers the tools and platform to bring your ideas to life. Dive in, experiment, and let your creativity soar with DIY Arduino projects. The only limit is your imagination.
Ready to start your next project? Join our DIY community to receive tool tips, how-to guides, and exclusive creative insights. Subscribe to the ManMadeDIY newsletter now! Click here to unlock a world of hands-on inspiration.


