Step-by-Step Guide to Creating DIY Concrete Pavers
Concrete pavers can transform your outdoor space, adding both functionality and aesthetic appeal. Creating your own DIY concrete pavers is not only cost-effective but also allows you to customize the design to suit your needs. By using a homemade mold made from simple 2x4s, you can produce high-quality pavers without the need for expensive equipment.
This guide will walk you through the process, from building the mold to finishing the pavers.
Using Concrete Pavers for Home Improvement
Concrete pavers offer a multitude of benefits that make them a superior choice for home improvement projects. One of the most significant advantages is their durability; they can withstand heavy traffic and harsh weather conditions without cracking or deteriorating. This longevity ensures that your investment will last for many years to come, providing both functionality and aesthetic appeal.
In addition to their strength, concrete pavers are incredibly versatile. They come in a wide variety of shapes, sizes, colors, and textures, allowing homeowners to create customized designs that complement their personal style and the architectural features of their homes.
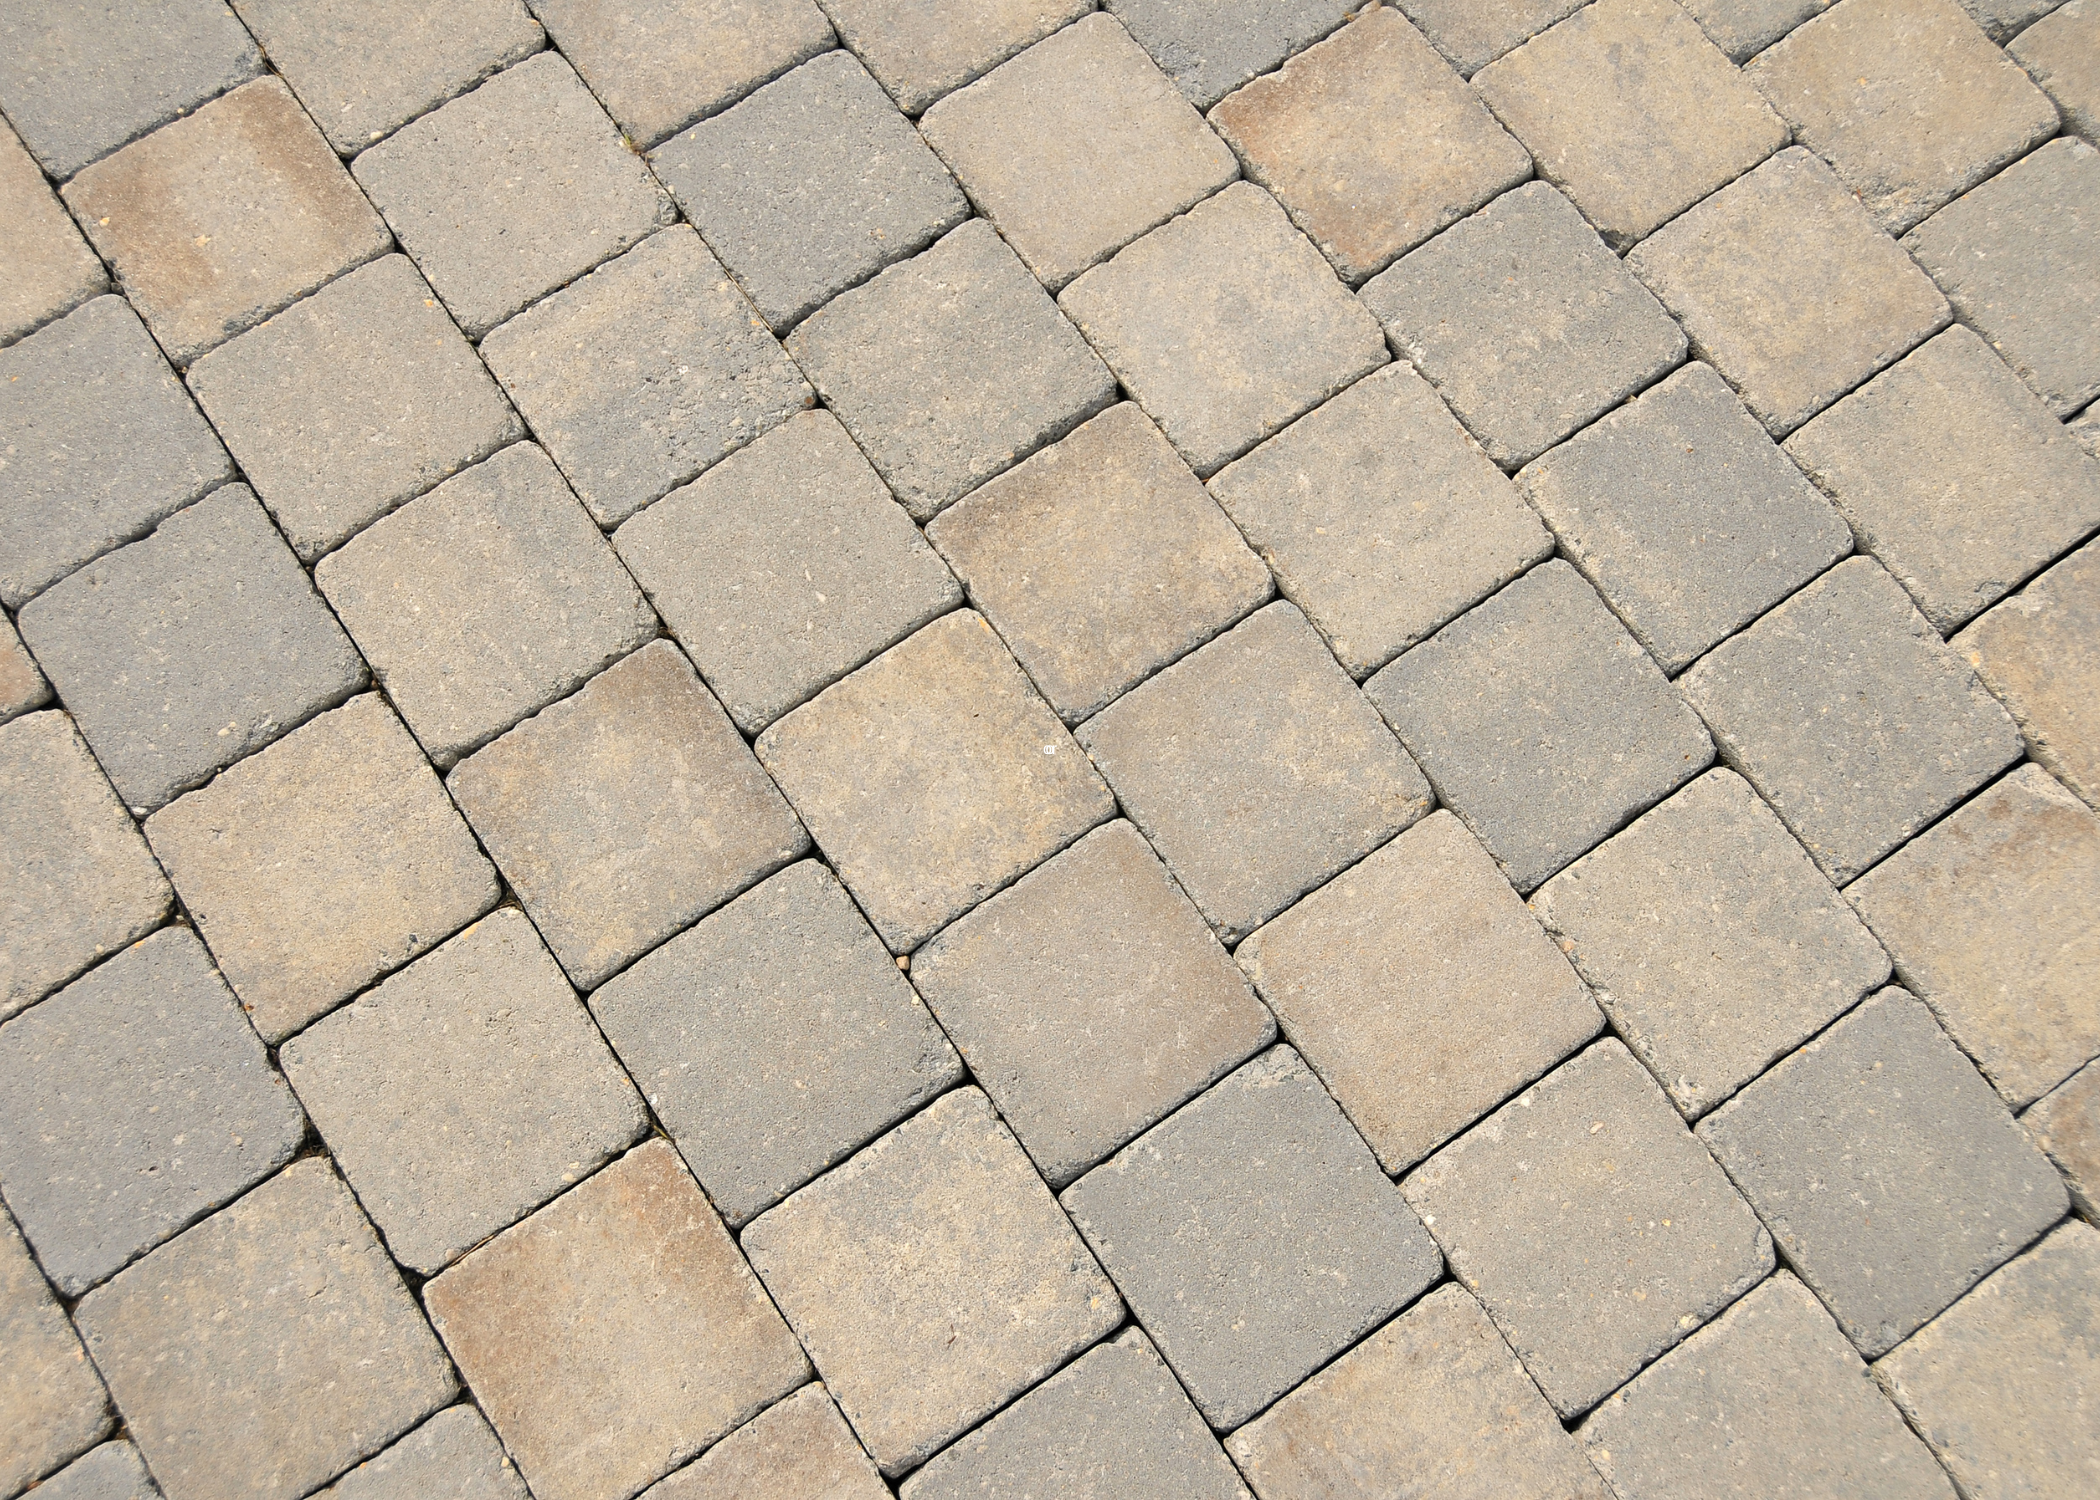
Whether you’re looking to create a modern, sleek patio or a charming, rustic walkway, concrete pavers can be tailored to meet your specific vision.
If you’re of the DIY mind, then you may want to attempt to make your own, so we have compiled a step-by-step guide to help you through the process.
Planning Your DIY Concrete Paver Project
The first critical step in your project is selecting the right location for your pavers. Begin by assessing the ground conditions to ensure the area is suitable for pavers, paying close attention to drainage and slope to prevent water accumulation.
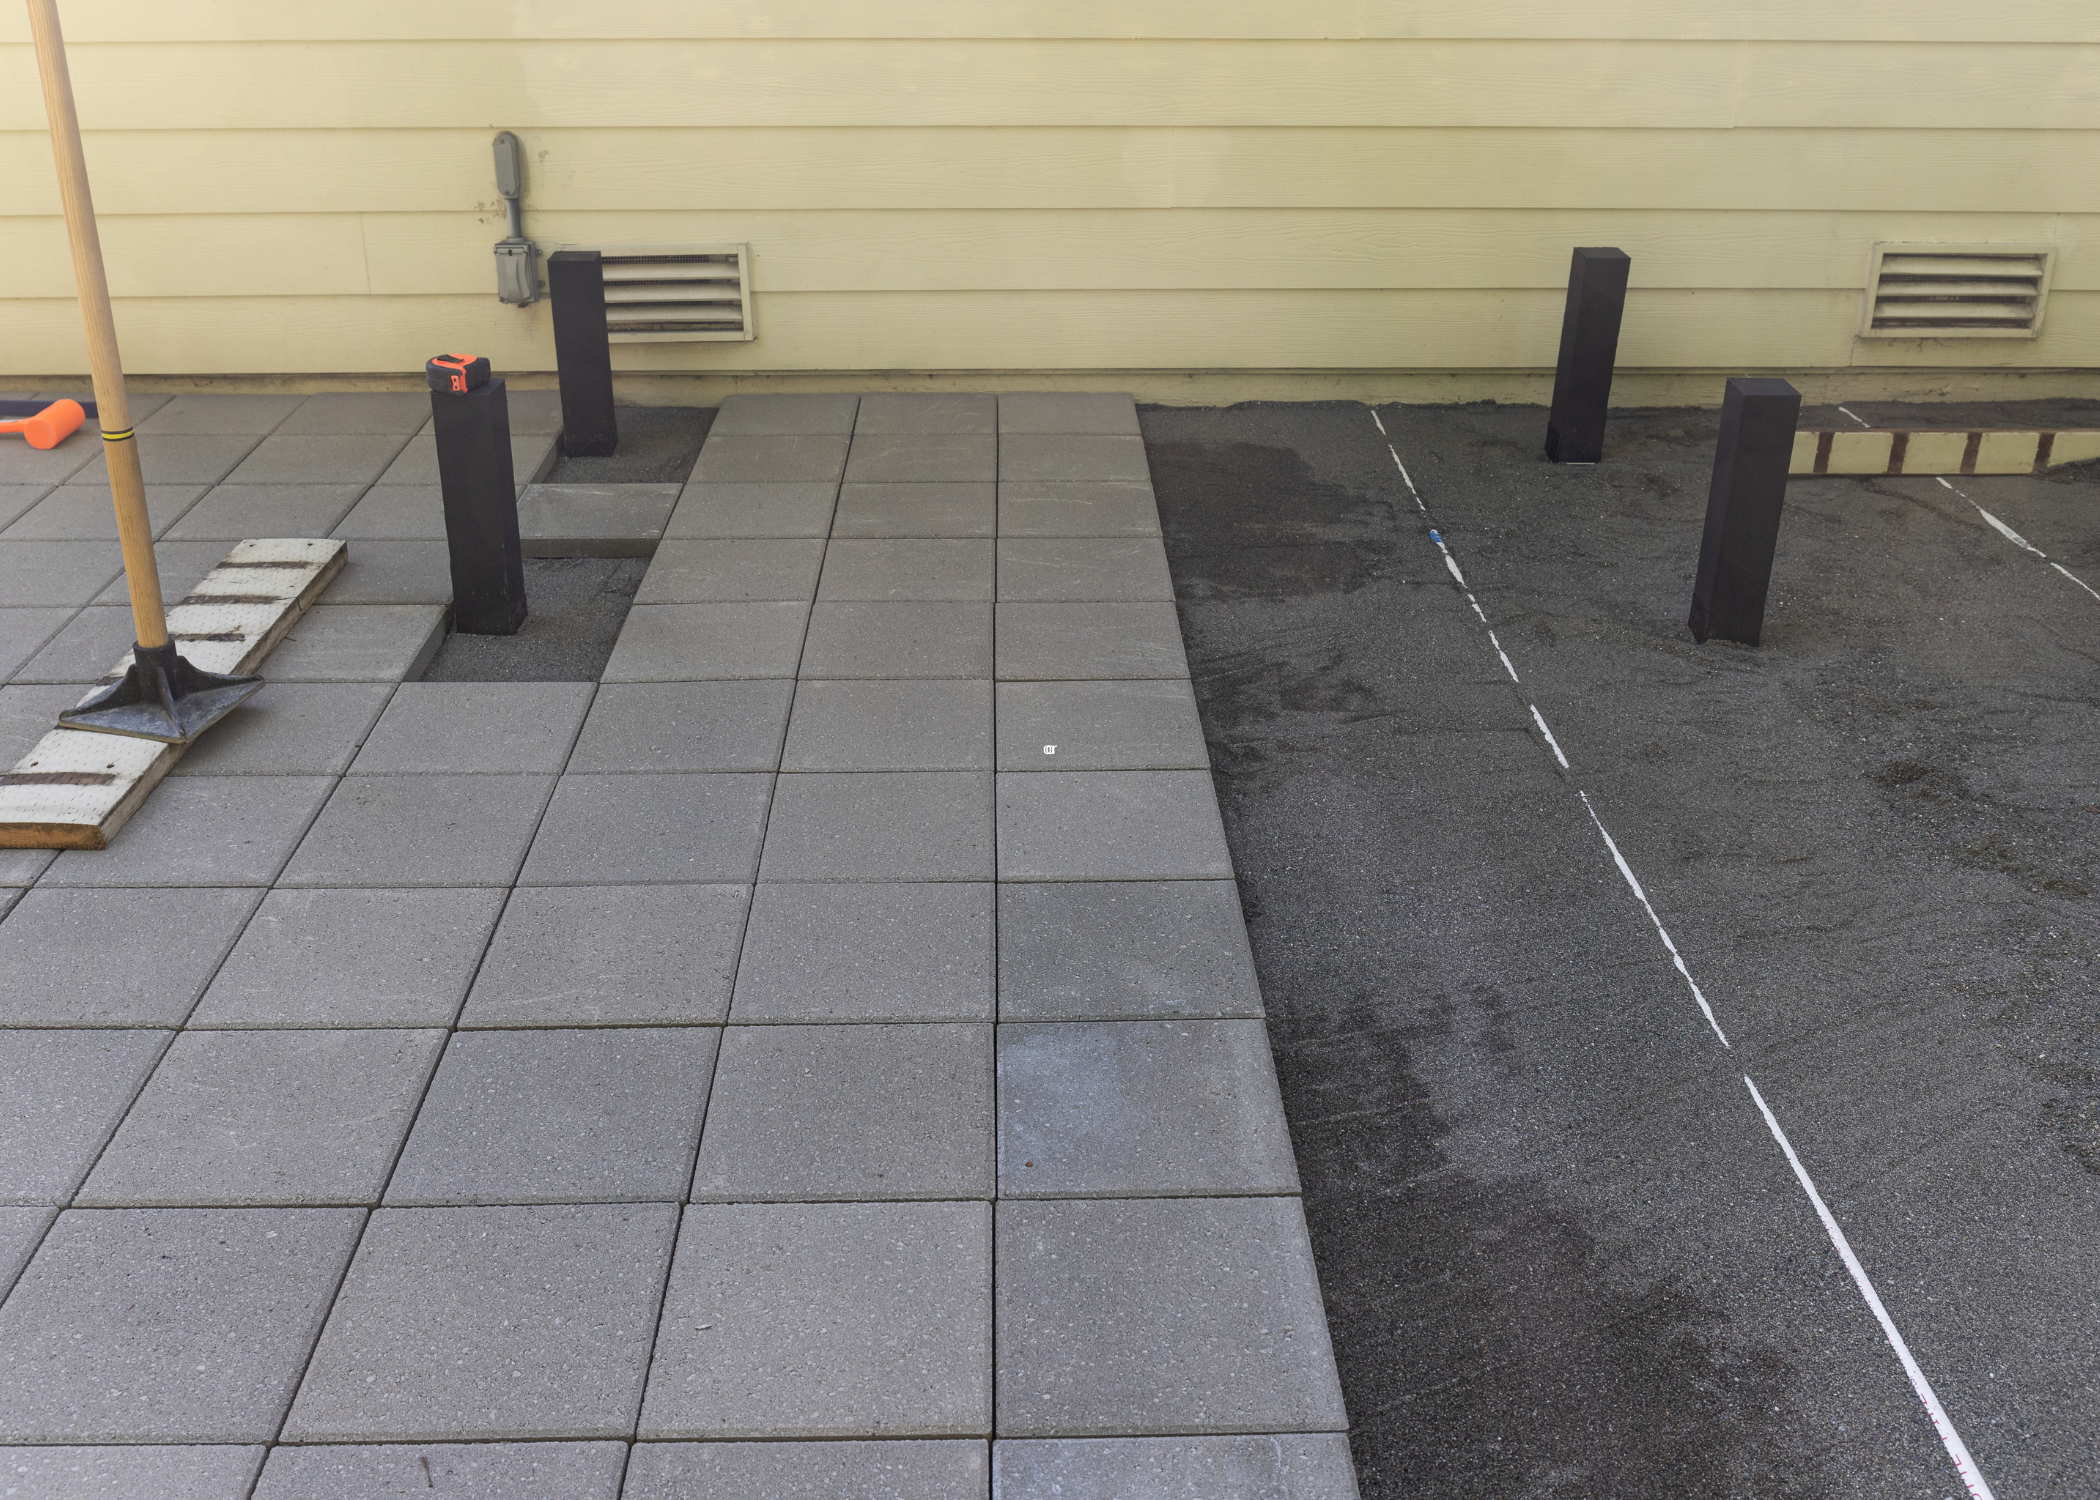
Accurate measurement and marking of the area are also crucial for a successful outcome. Essential tools for this task include a tape measure, stakes, and string lines. Taking the time to mark the layout precisely will save you from potential issues during the installation process.
Materials and Tools Needed

Before you start, gather the following materials and tools:
- Portland cement
- Sand
- Gravel
- Water
- Concrete mold (you can buy one or make your own)
- Mixing container (wheelbarrow or large bucket)
- Shovel or trowel
- Release agent (such as vegetable oil)
- Protective gear (gloves, mask, and safety glasses)
- Measuring tools
- Level
Step 1: Prepare the Mold
First, prepare your concrete mold. If you’re using a store-bought mold, ensure it’s clean and free of debris. If you’re making your own mold, you can use wood or sturdy plastic to create the desired shape and size. Apply a release agent like vegetable oil to the inside of the mold to make it easier to remove the paver once it’s set.
Step 2: Mix the Concrete
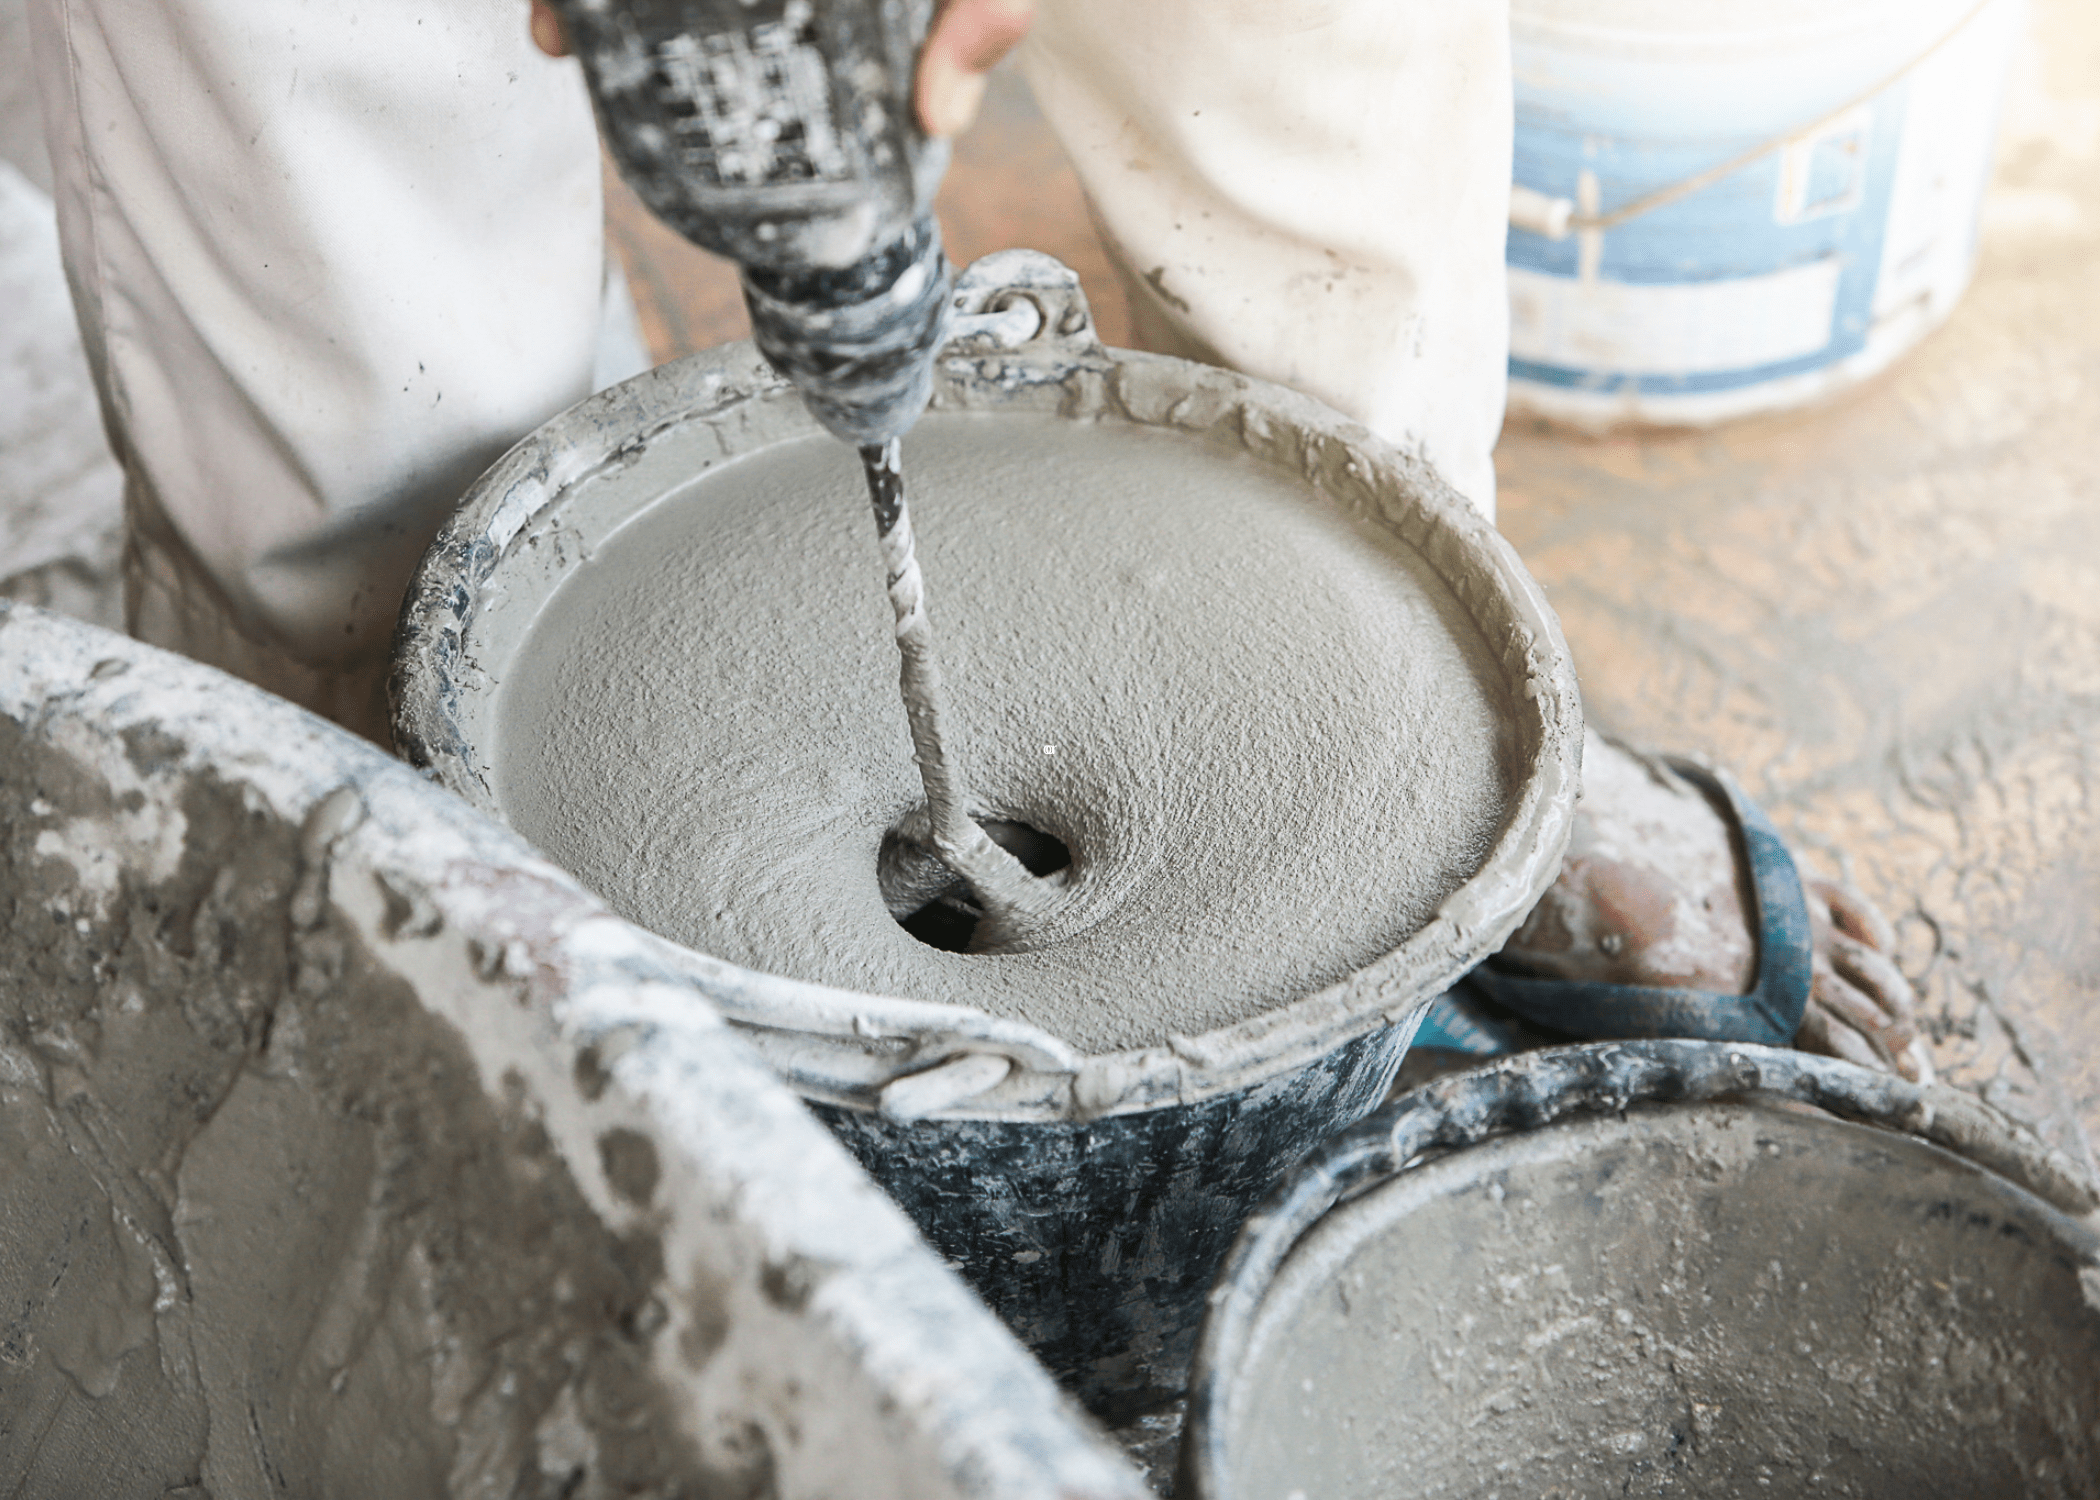
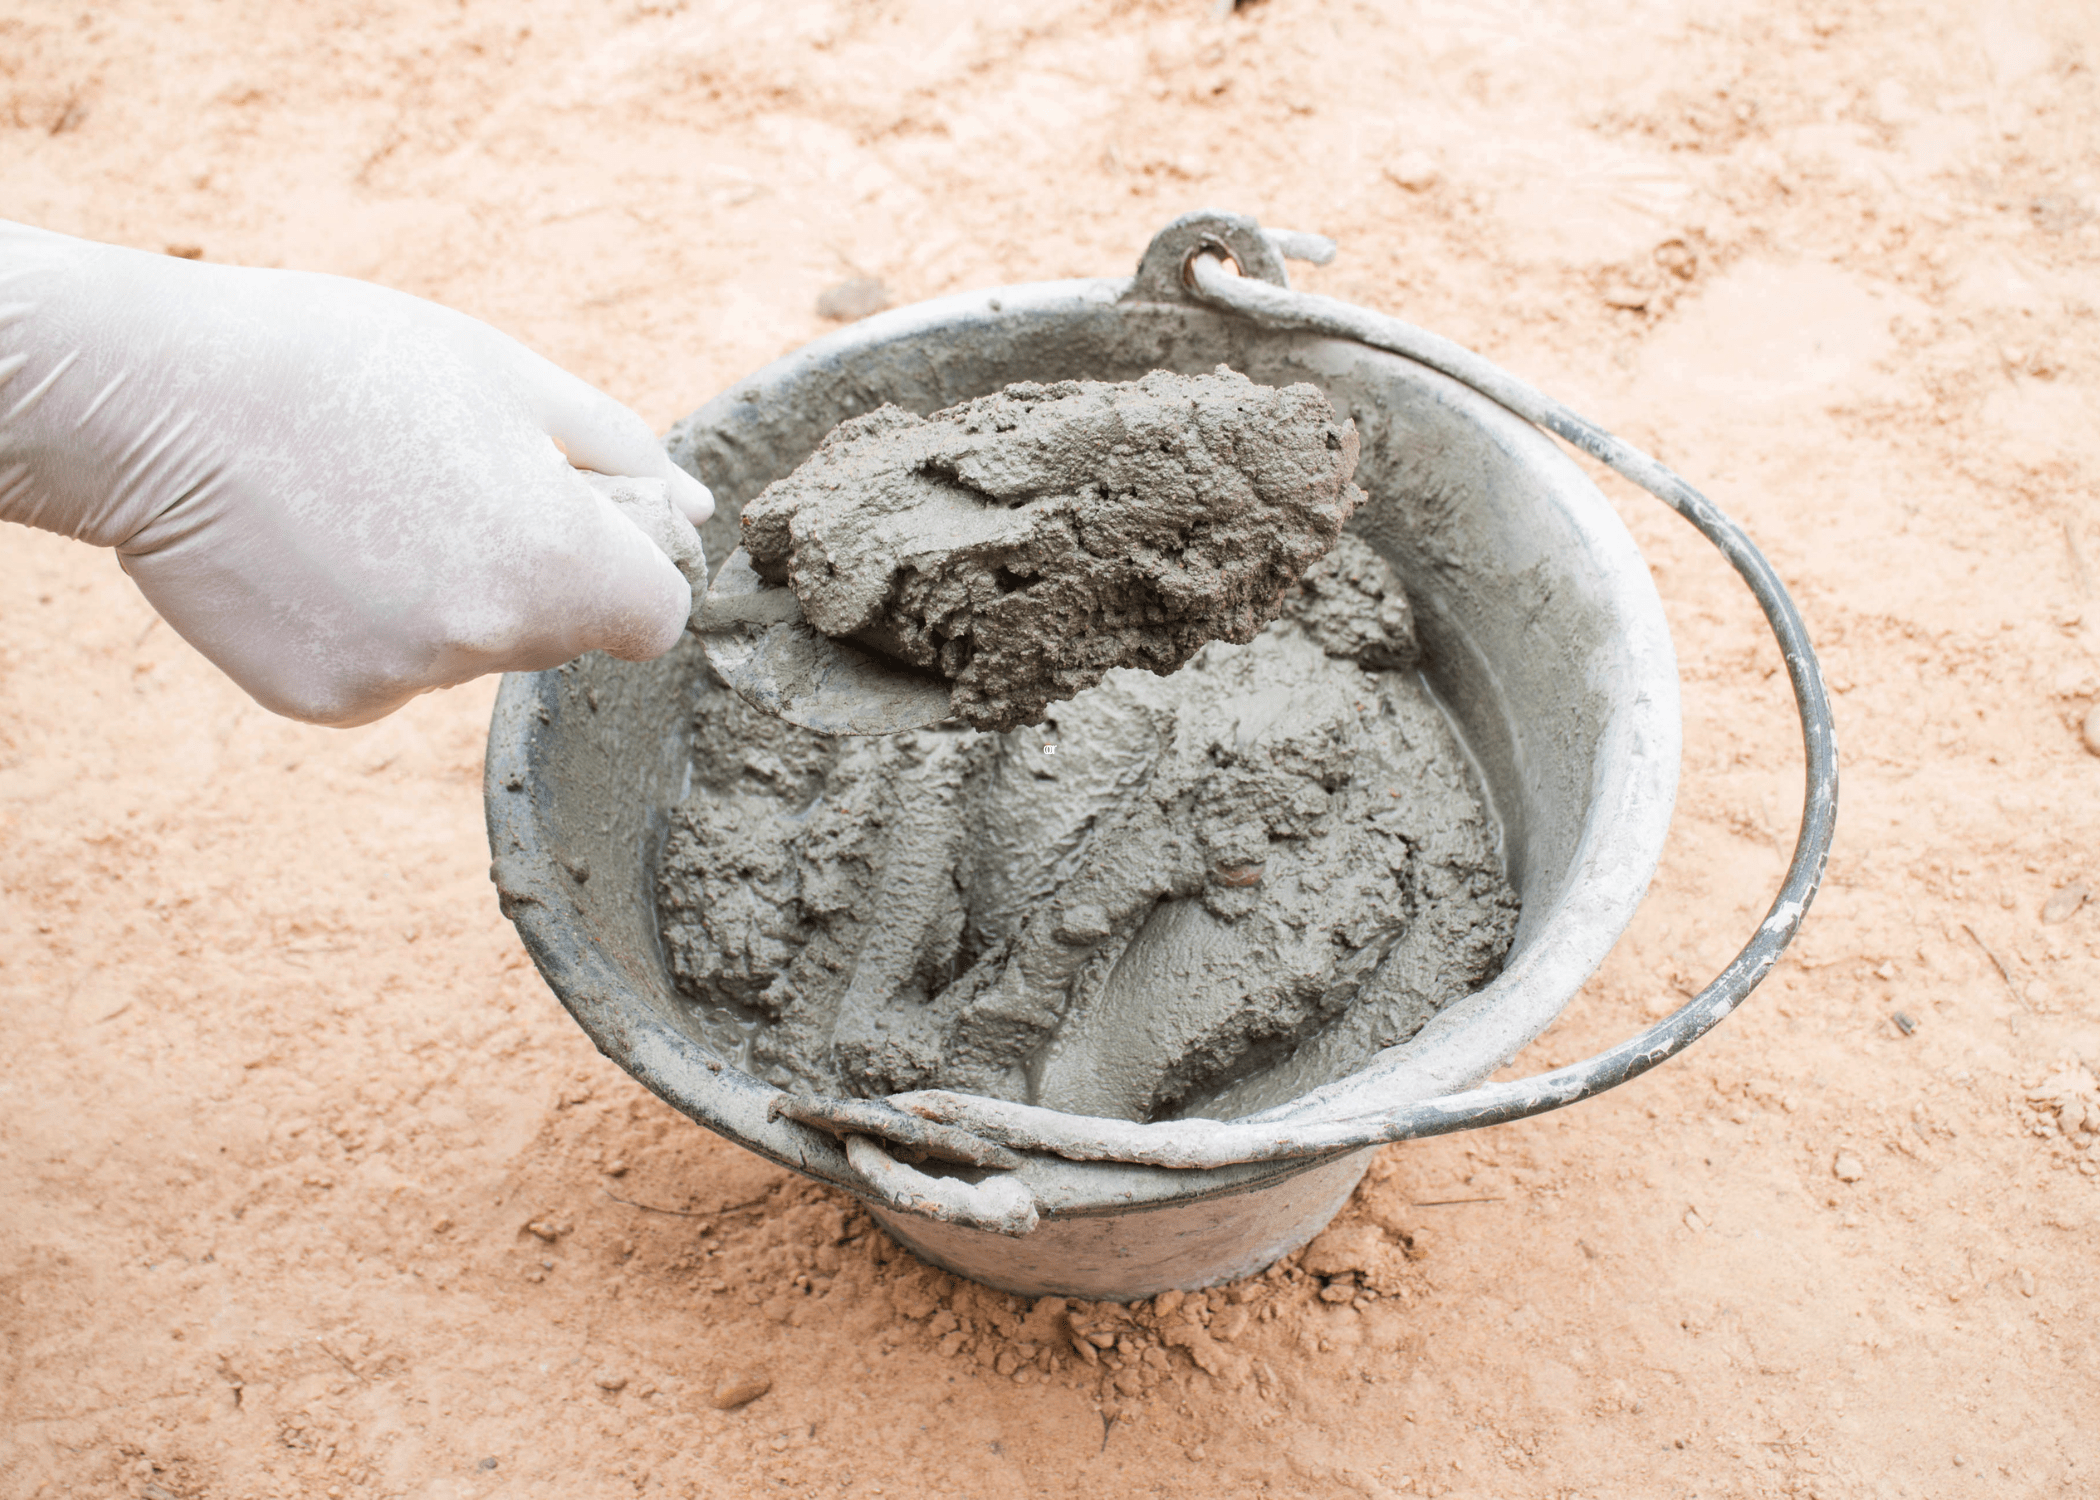
In a mixing container, combine one part Portland cement, two parts sand, and three parts gravel. Gradually add water while mixing until you achieve a thick, workable consistency. The mixture should hold its shape when you squeeze it in your hand but still be moist enough to pour. Be sure to wear protective gear while handling cement to avoid skin irritation and inhalation of dust.
Step 3: Pour the Concrete
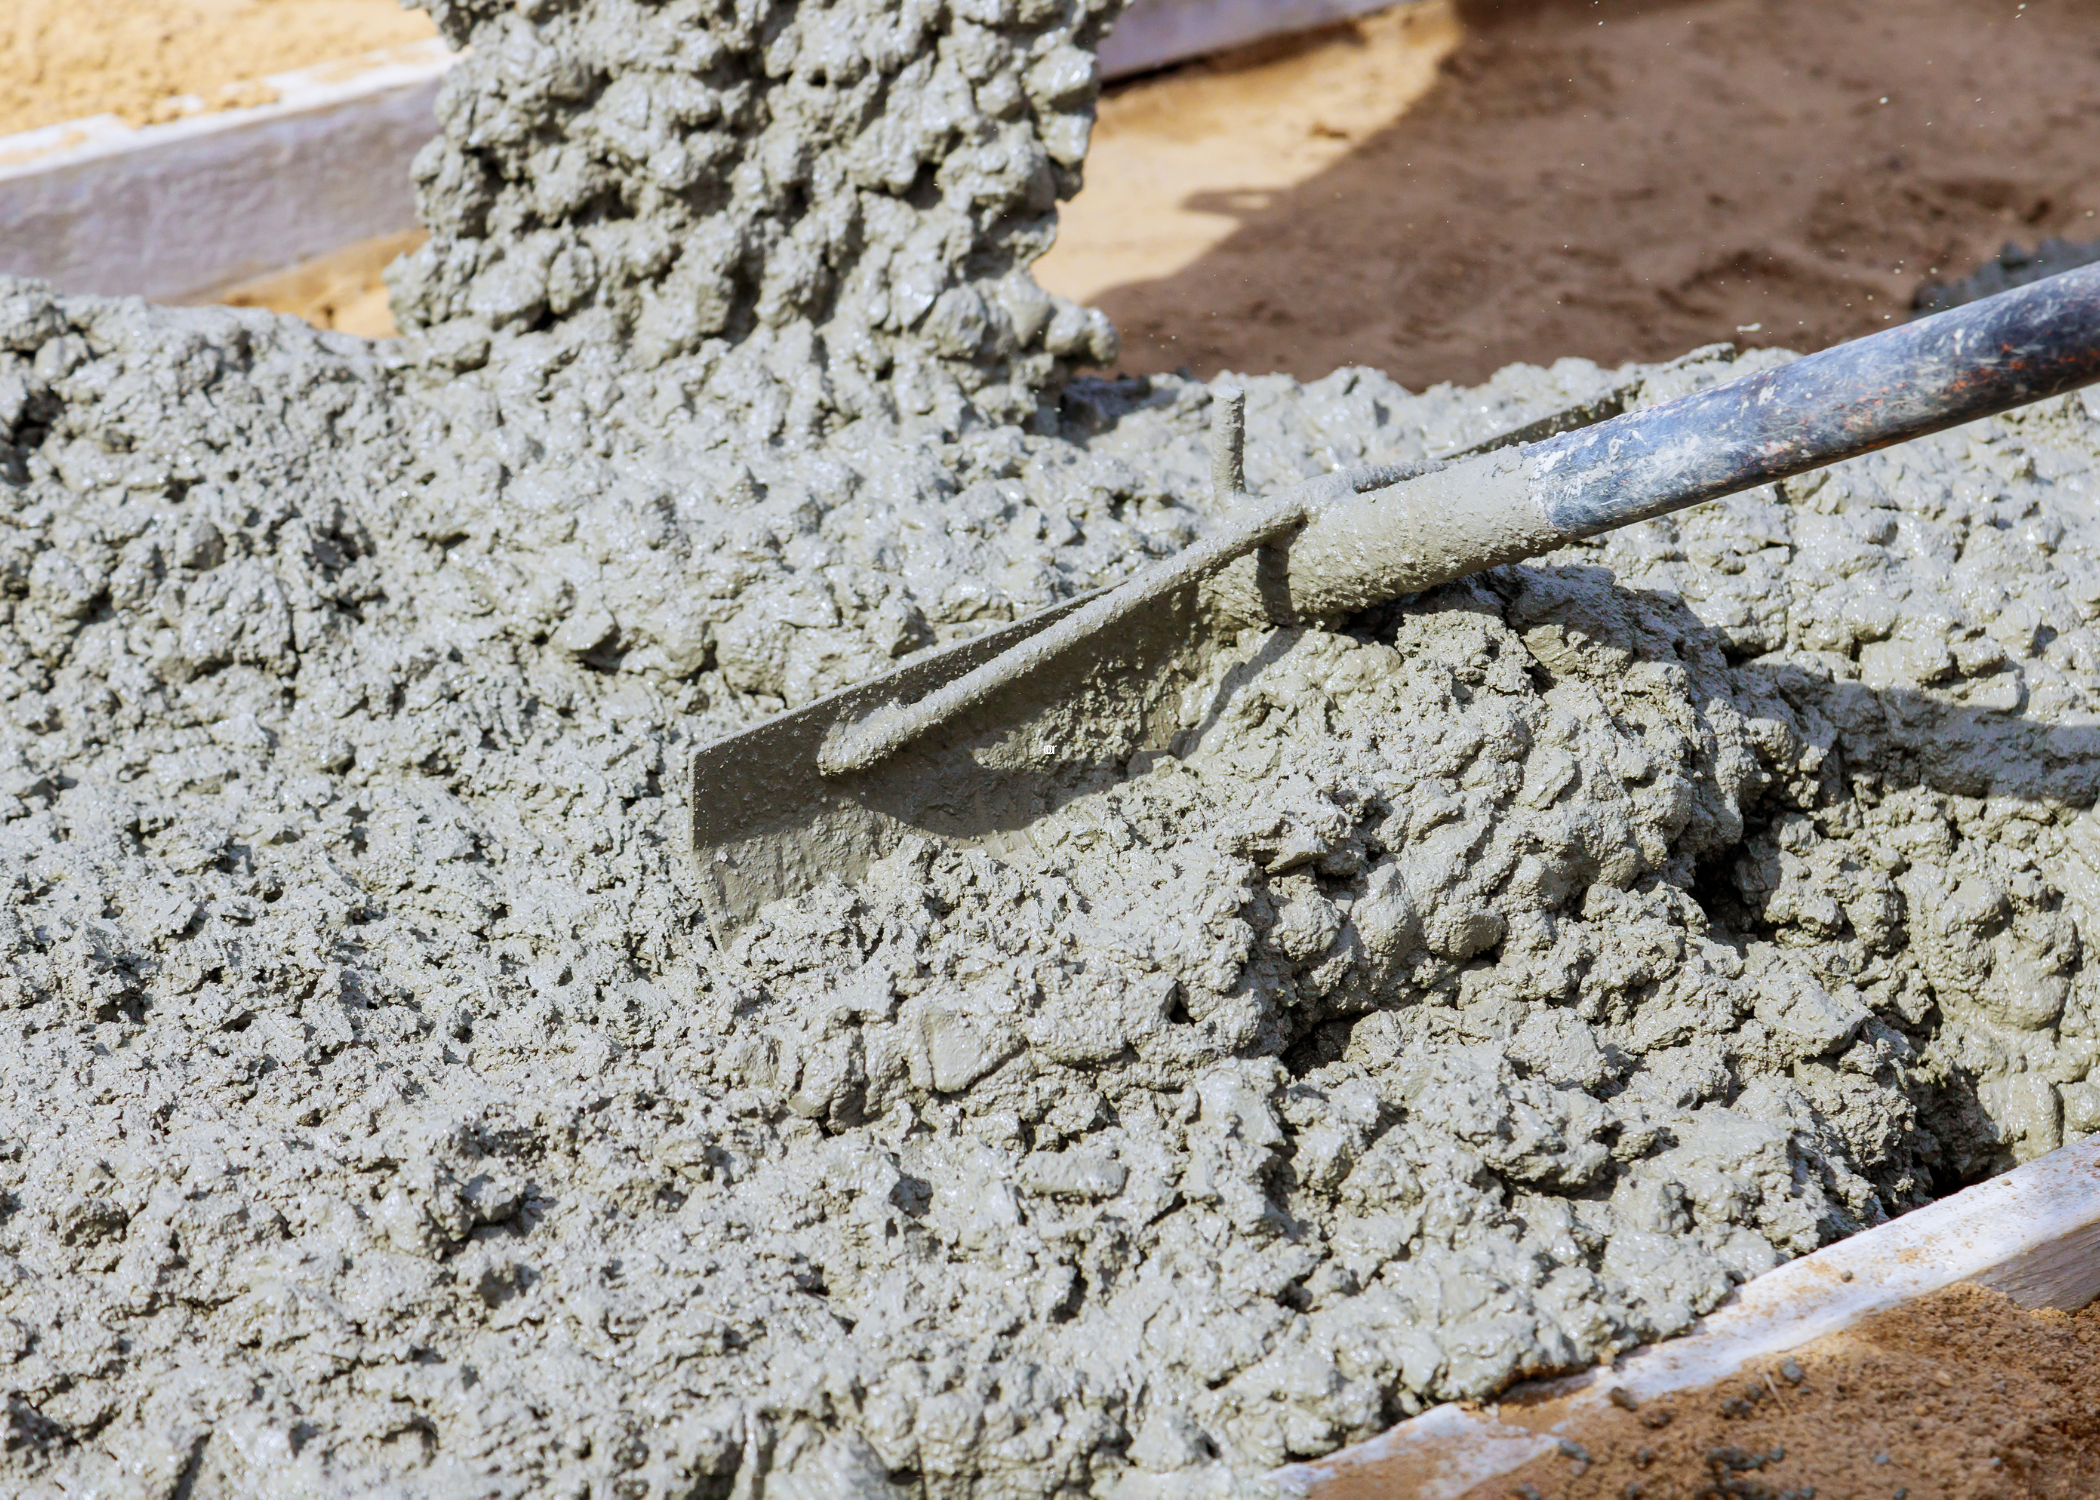
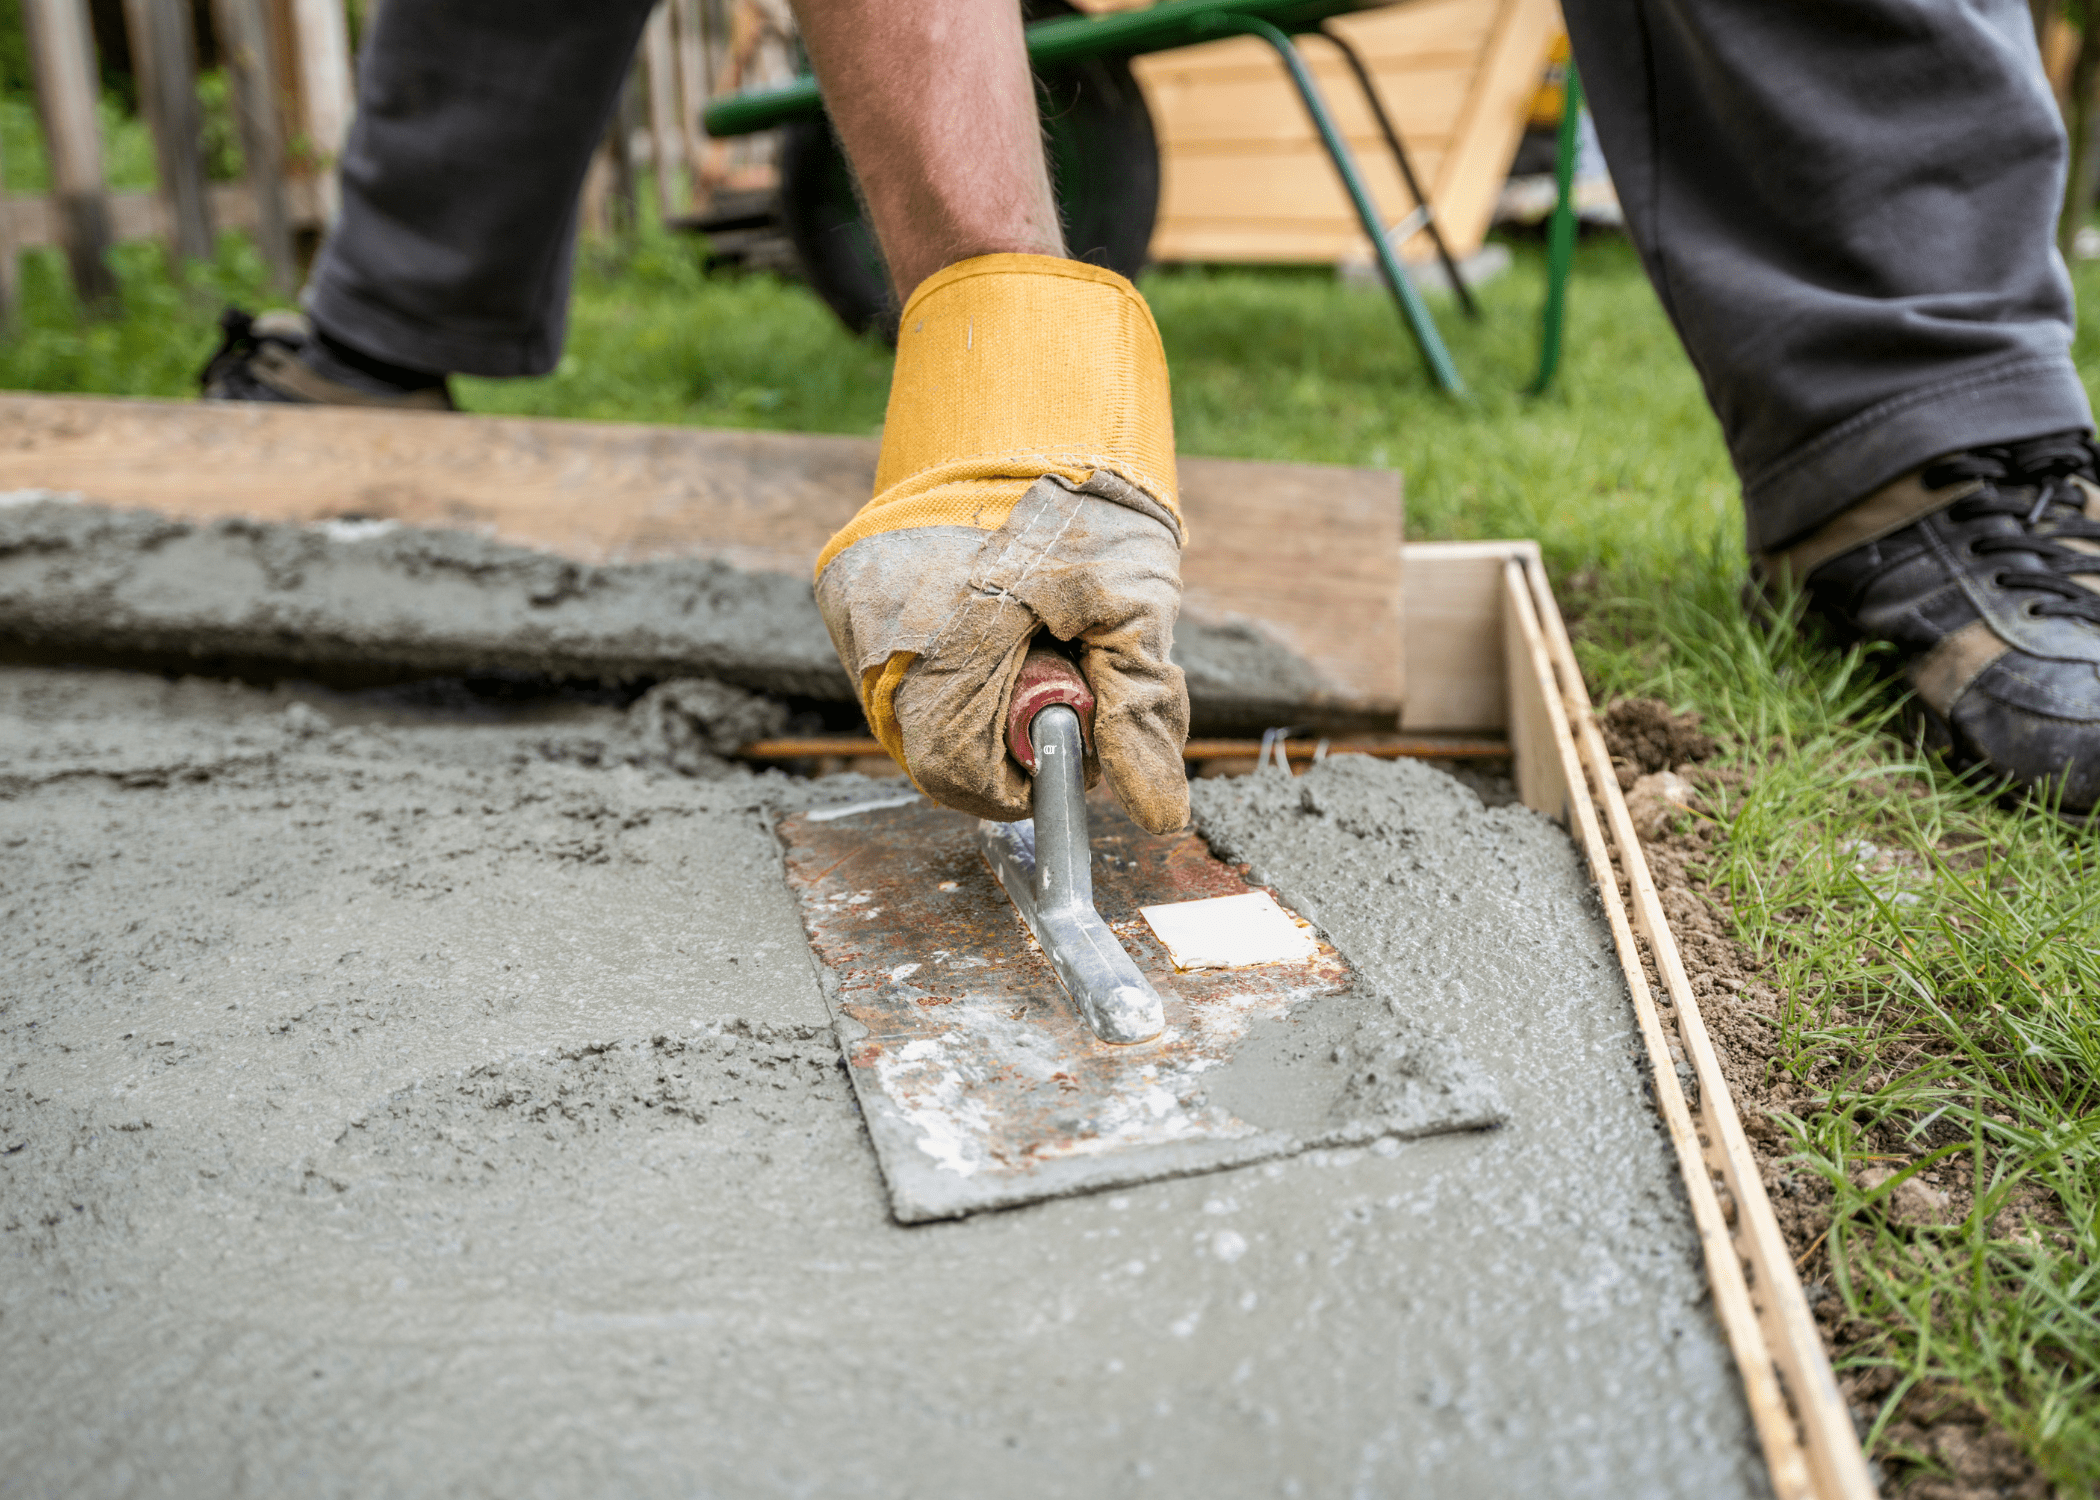
Pour the mixed concrete into the prepared mold. Use a trowel or shovel to spread the concrete evenly and eliminate any air pockets. Tap the sides of the mold gently to help settle the concrete and remove bubbles. Fill the mold to the top and smooth the surface with a trowel for a clean finish.
Step 4: Add Finishing Touches
Before the concrete sets, you can add decorative elements if desired. Pressing stones, shells, or other materials into the surface can add unique textures and patterns. You can also use a trowel to create grooves or designs. This is the time to get creative and personalize your pavers.
Step 5: Allow the Concrete to Cure
Allow the concrete to cure for at least 24-48 hours. Keep the mold in a shaded area to prevent the concrete from drying too quickly, which can cause cracking. After the initial curing period, carefully remove the paver from the mold. If the concrete is still fragile, leave it in the mold for additional time.
Step 6: Final Curing and Installation
Once removed from the mold, let the paver cure for another week in a shaded, dry place. This ensures maximum strength and durability. After the final curing period, your DIY concrete paver is ready to install. Place it in your desired location, ensuring the ground is level and firm. Use a level to make sure the paver is even with the surrounding area.
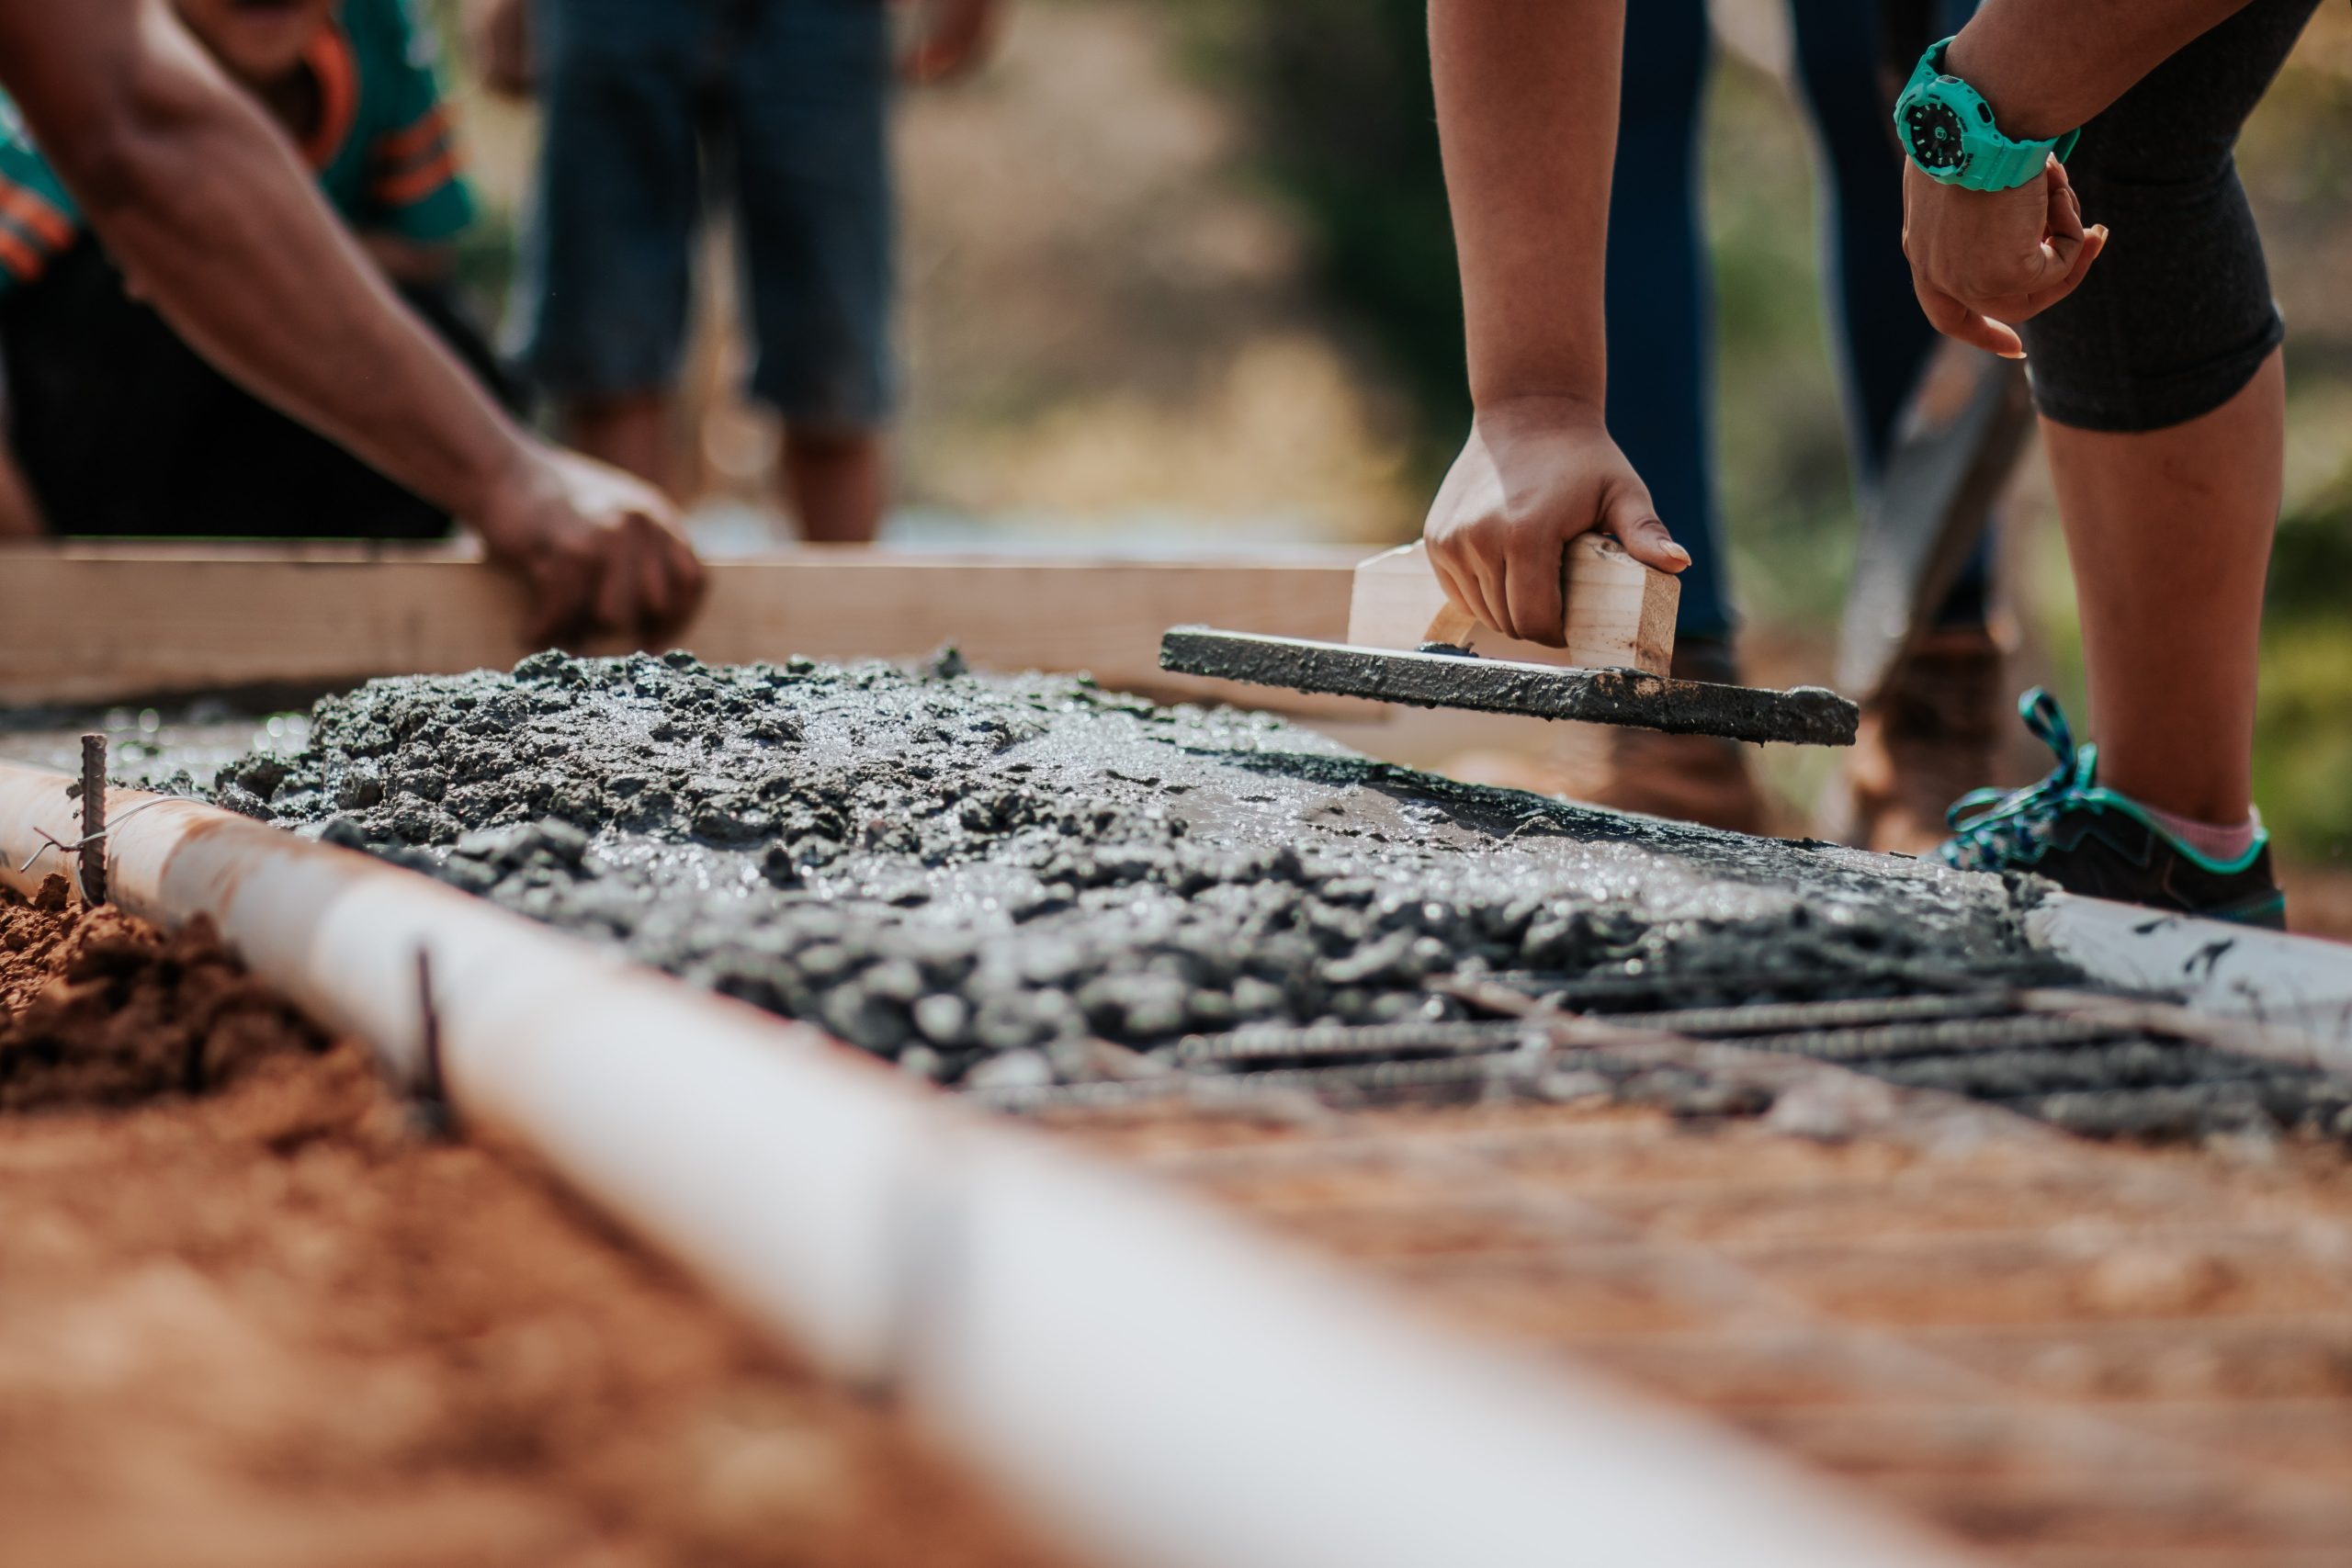
By following these steps, you can create custom concrete pavers that add a personal touch to your outdoor space. Enjoy your hand-crafted addition to your garden or patio!
Related Articles
- How to Pour Self-Leveling Concrete For Flawless Results
- Effective Methods For How to Clean Rust Off Concrete
- A Guide For How to Fix Concrete Cracks Ensuring Durable Repairs
Ready to start your next project? Join our DIY community to receive tool tips, how-to guides, and exclusive creative insights. Subscribe to the ManMadeDIY newsletter now! Click here to unlock a world of hands-on inspiration.
Frequently Asked Questions (FAQs)
How long does it take for concrete pavers to cure?
Concrete pavers typically take 24-48 hours to cure enough to handle, but it’s best to wait a full 7 days for them to reach maximum strength.
Can I add color to my concrete pavers?
Yes, you can add color pigments to the concrete mix to create custom-colored pavers.
What type of concrete should I use for pavers?
Use a concrete mix designed for outdoor use, such as a standard mix, or a high-strength mix for added durability.
How do I prevent air bubbles in my pavers?
Tap the sides of the mold gently and use a trowel to smooth the surface, which helps to release trapped air bubbles.
What can I use to line the bottom of the mold?
Plastic sheeting, baking parchment, or even a silicone baking mat can be used to line the bottom of the mold to prevent sticking.
Can I make different shapes with my mold?
Absolutely! You can adjust the size and shape of your mold by cutting the 2x4s to different lengths and securing them accordingly.
How do I keep the edges of the pavers from chipping?
Ensure your mold is lined properly, and handle the pavers with care when removing them. Adding a small amount of water can help release them without chipping.

