How to Beat the Heat by Building a DIY Evaporative Cooler
Summer can bring intense heat, making it challenging to keep your living spaces comfortable without running up high electricity bills. A cost-effective and eco-friendly solution is to build your own DIY evaporative cooler. This guide will walk you through the steps to create an efficient cooling system that will help you beat the heat without breaking the bank.
Ready to take on life with unshakable confidence? Whether you’re aiming to excel in your career, improve your relationships, or conquer DIY projects, NLP Hero’s Confidence Course is your key to success. Click here to start transforming your confidence and be better at everything you do!
What is an Evaporative Cooler?
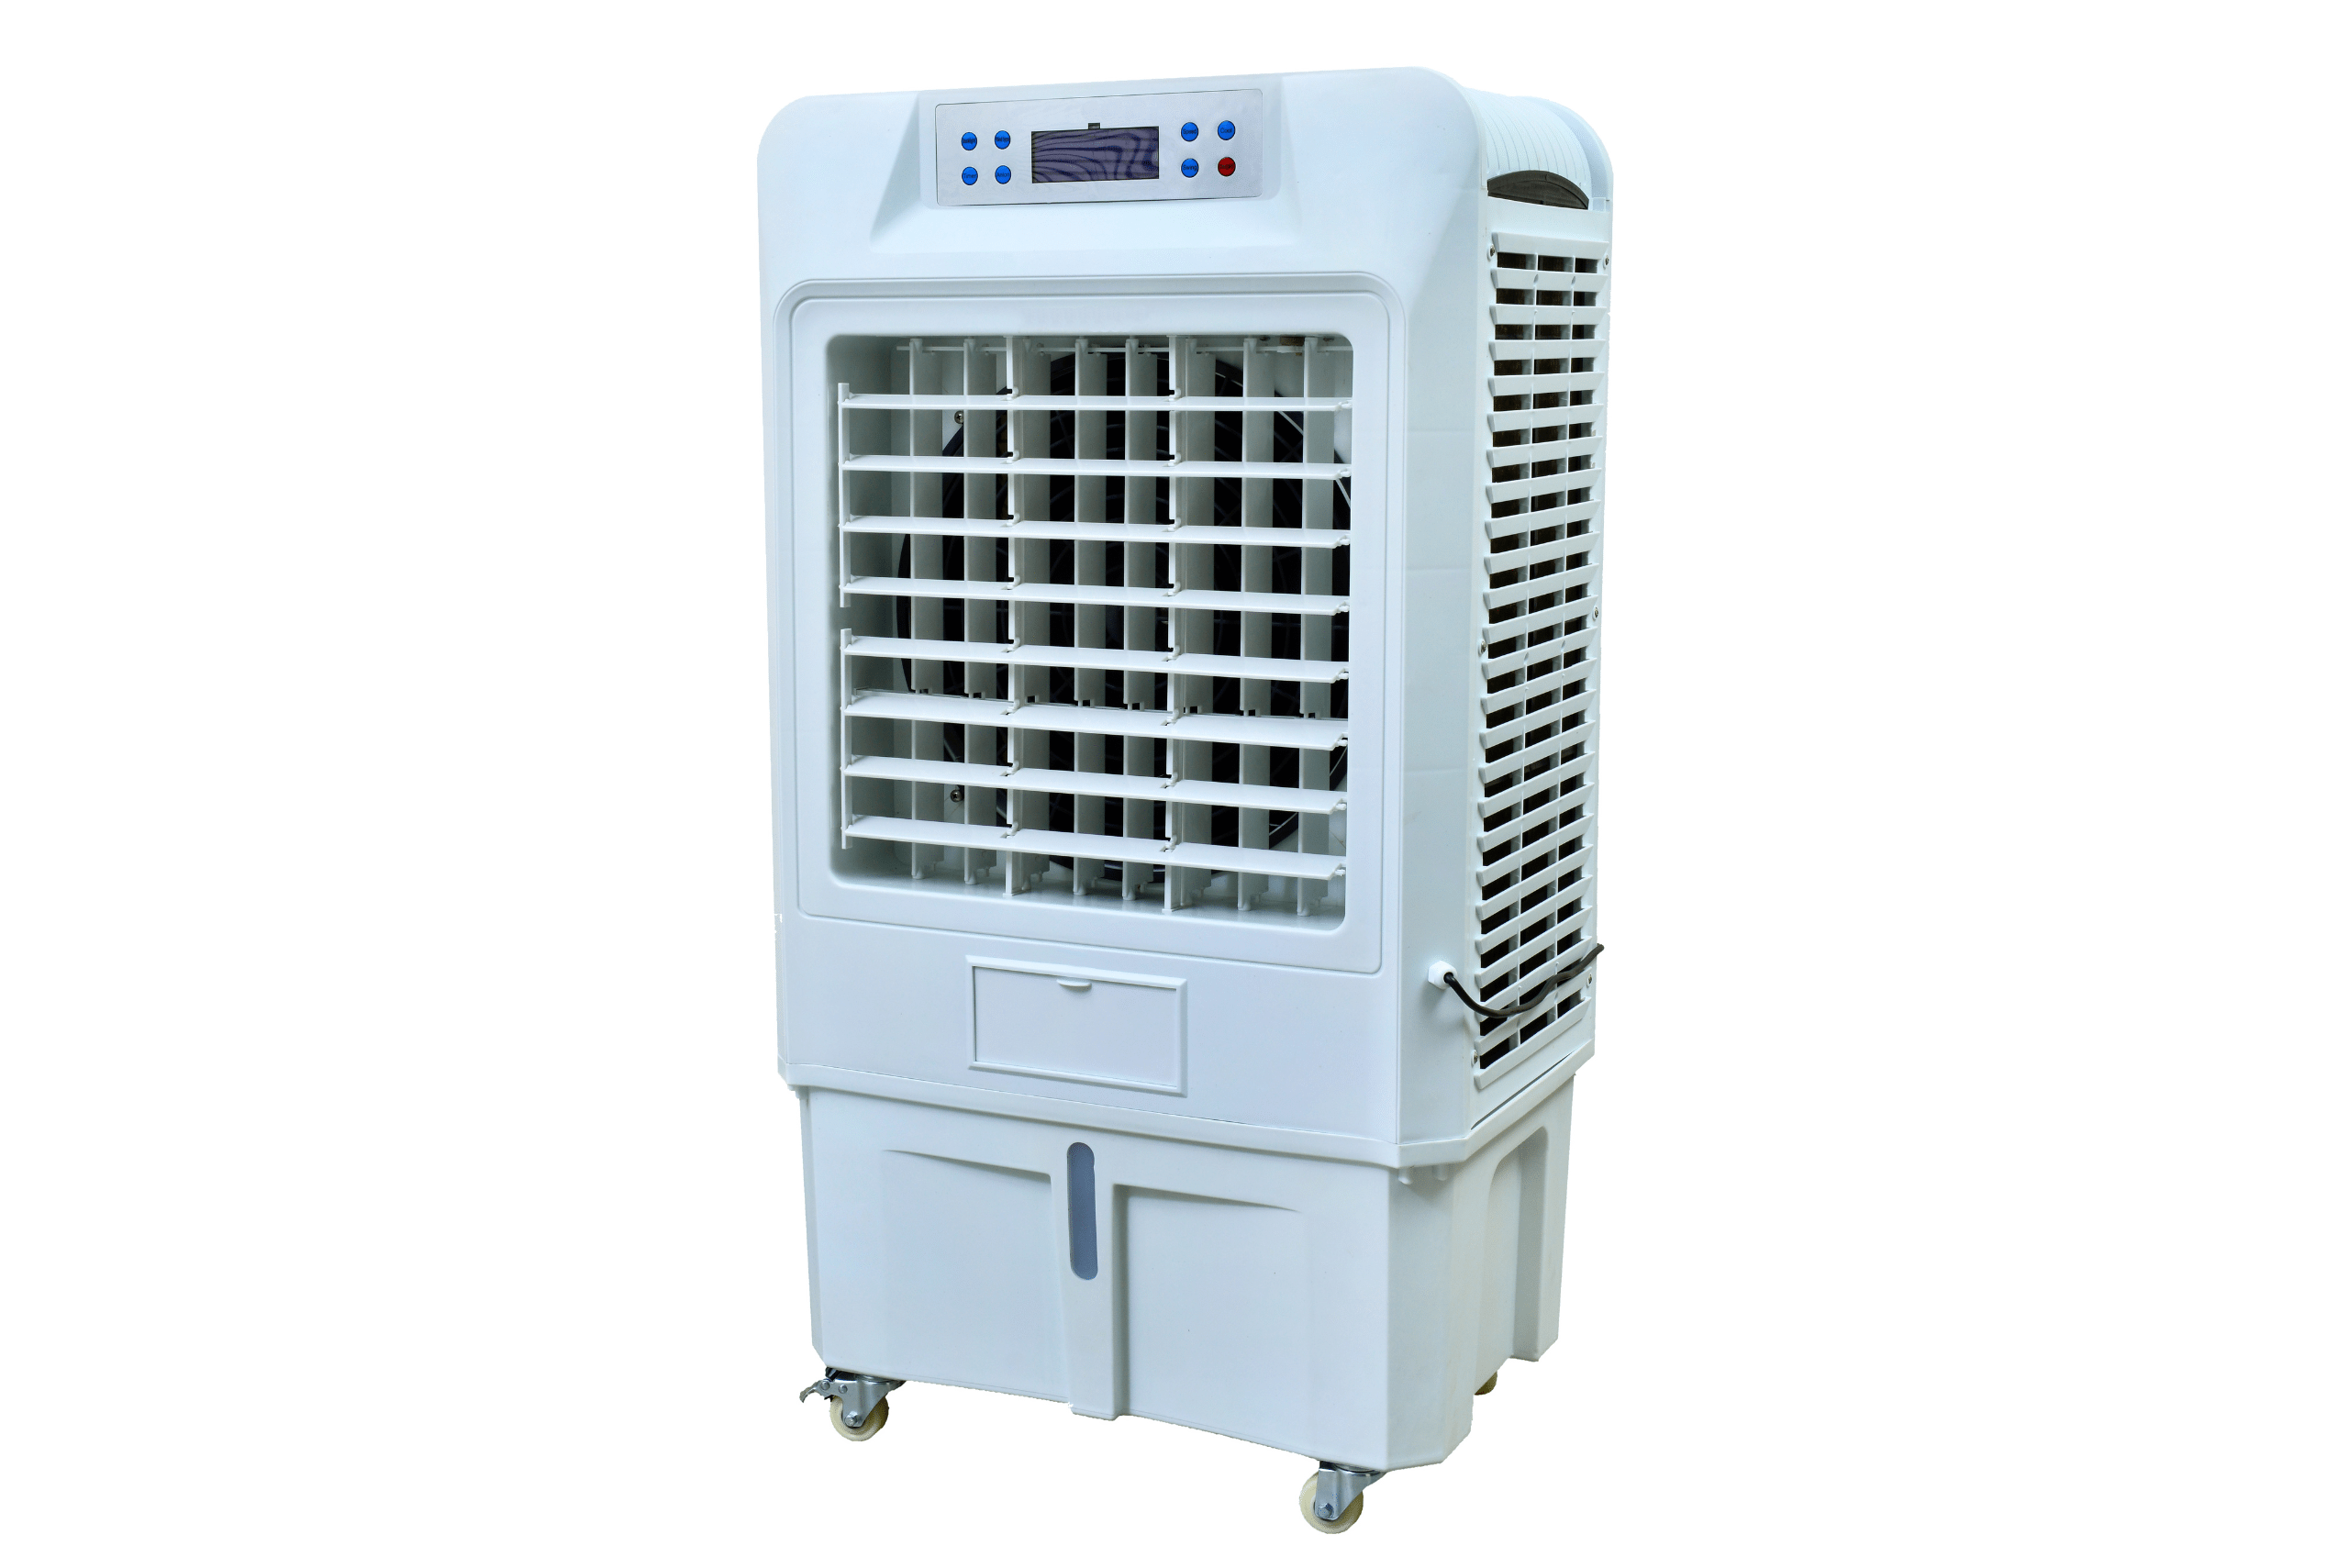
An evaporative cooler, also known as a swamp cooler, uses the natural process of water evaporation to cool the air. Unlike traditional air conditioners, which use refrigerants and consume significant energy, evaporative coolers are simple devices that draw warm air through water-soaked pads. As the air passes through the pads, it cools down and is then circulated into your space.
Benefits of a DIY Evaporative Cooler
- Cost-Effective: Building your own evaporative cooler can be significantly cheaper than purchasing a conventional air conditioner.
- Energy Efficient: Evaporative coolers use less electricity compared to air conditioners, reducing your energy bills.
- Eco-Friendly: This cooling method is more environmentally friendly, as it doesn’t use harmful refrigerants and relies on the natural process of evaporation.
- Easy to Build: With some basic materials and tools, you can construct your own cooler without needing professional skills.

Materials You’ll Need
- A medium-sized plastic container or cooler
- A small water pump
- A fan (box fan or small desk fan)
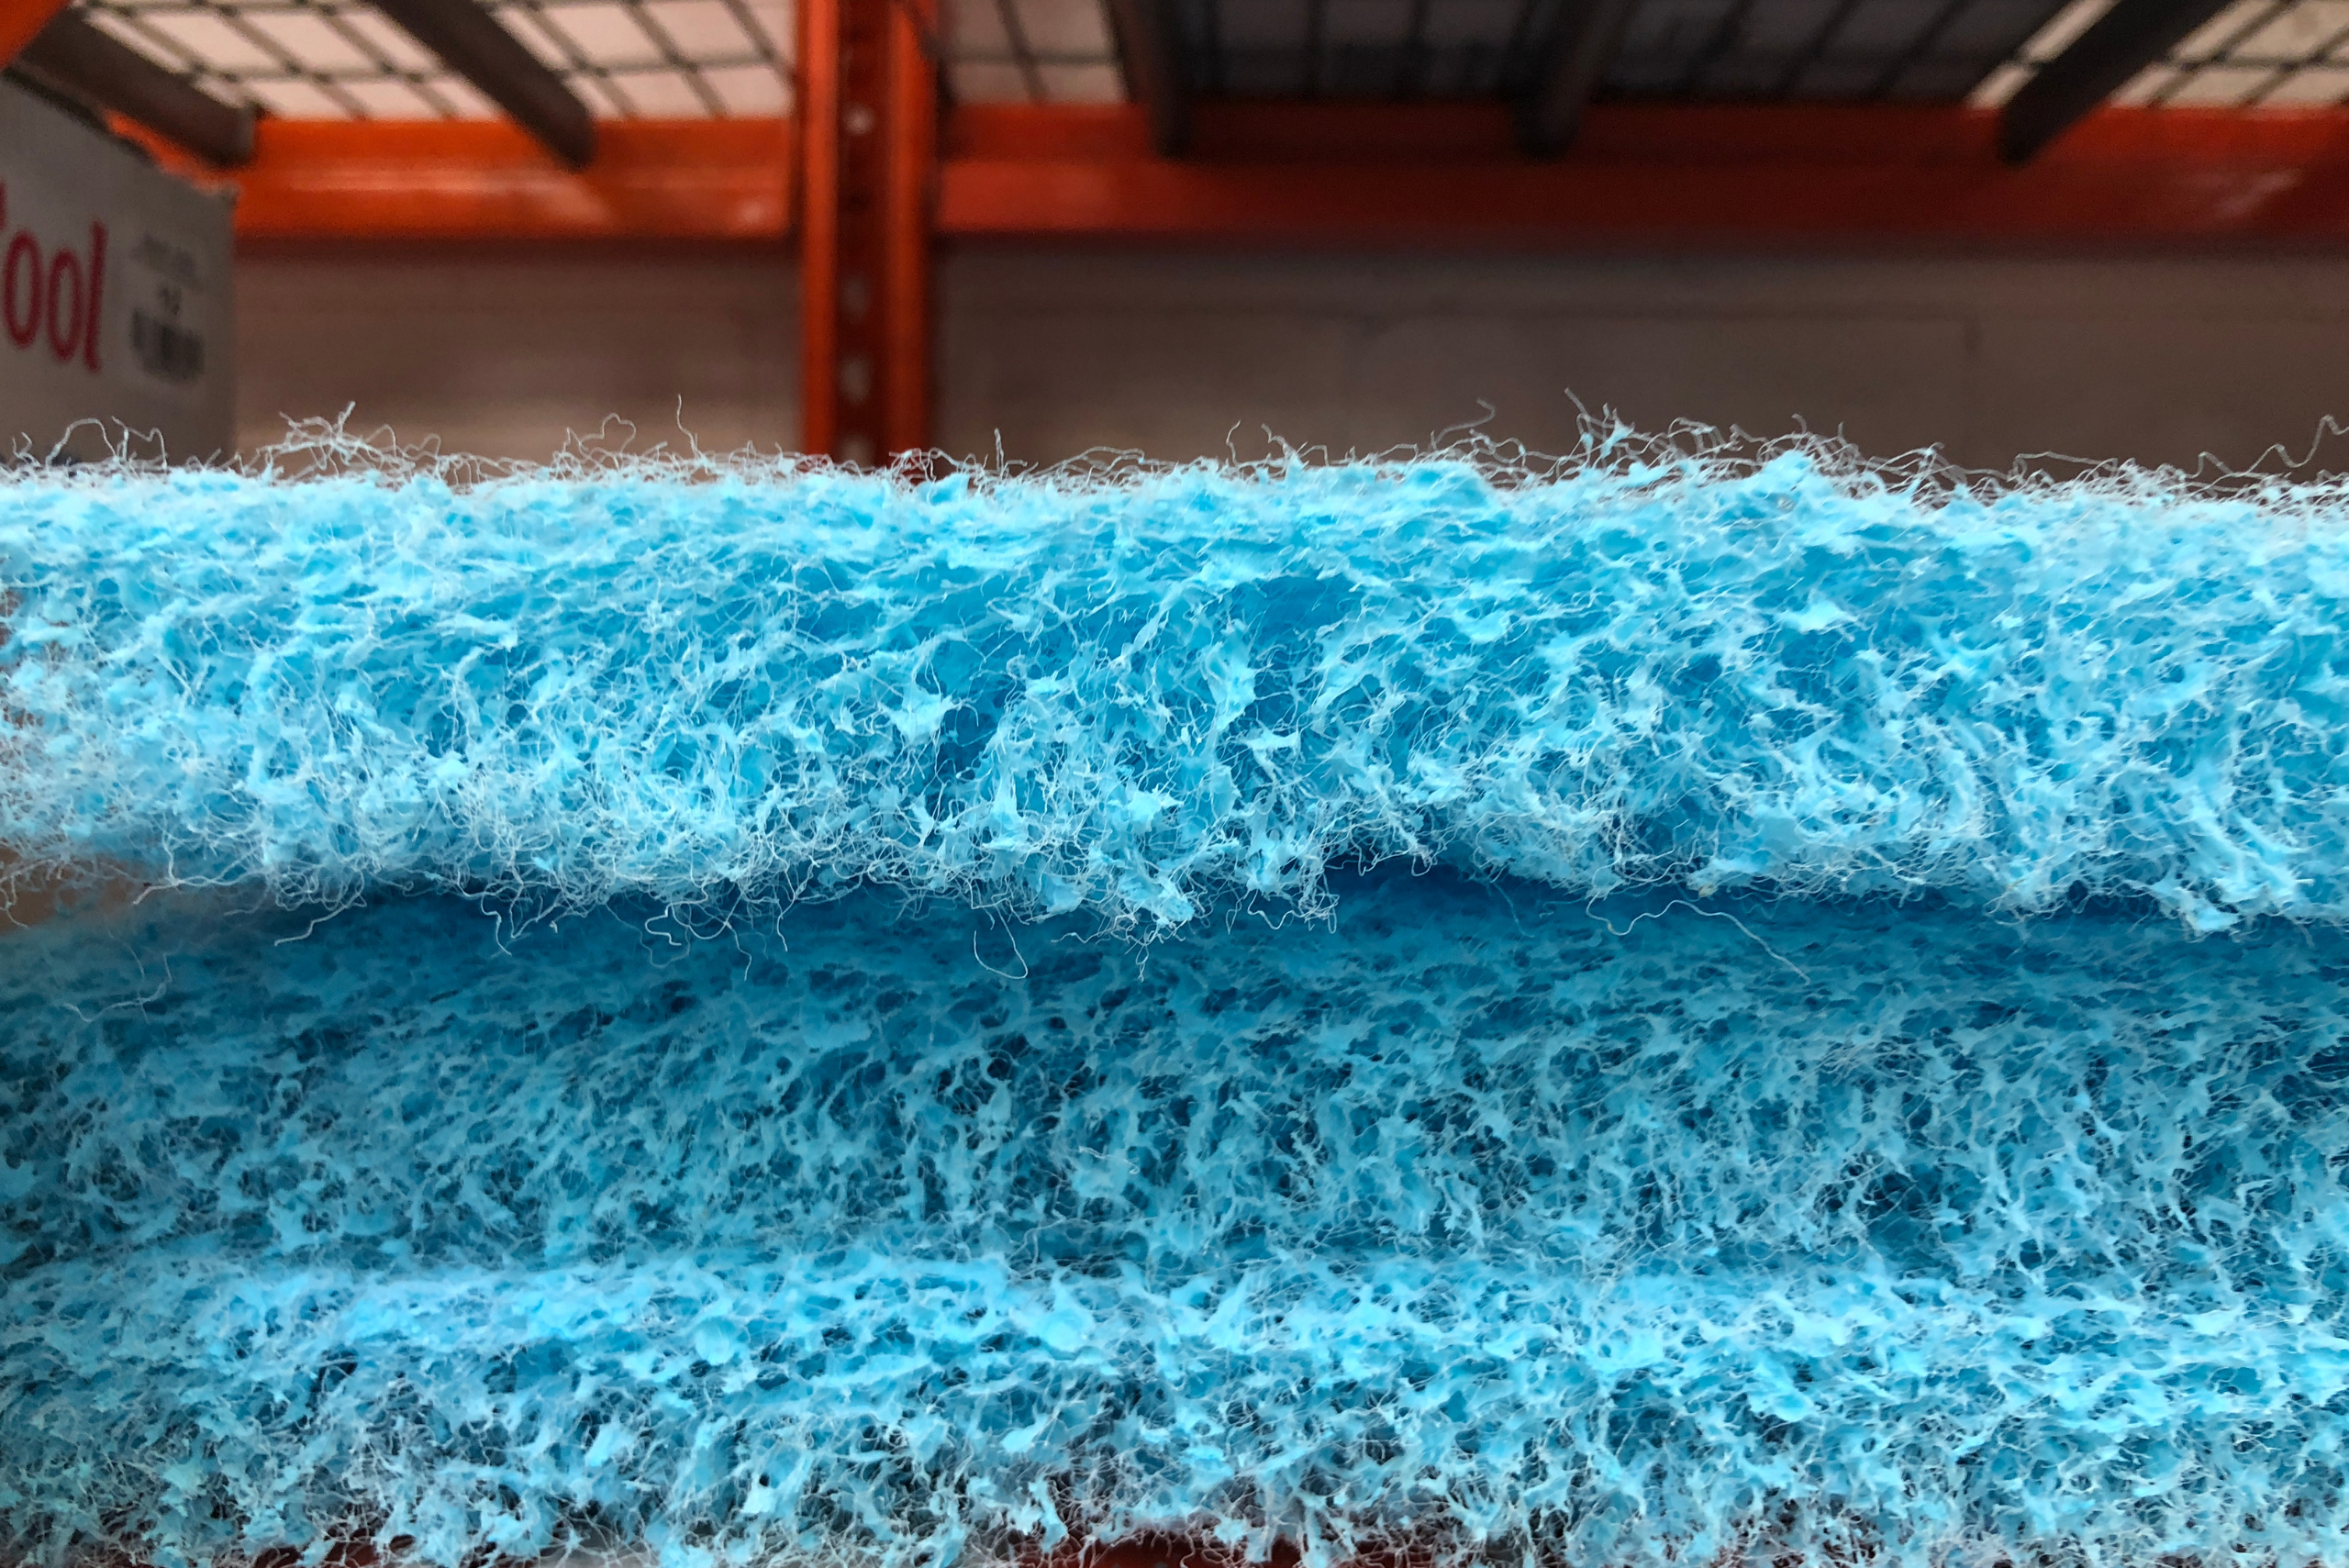
- Cooling pads or thick sponge
- PVC pipe or plastic tubing
- Drill with drill bits
- Marker and ruler
- Silicone sealant or waterproof adhesive
- Water

Step-by-Step Build Guide for DIY Evaporative Cooler
Step 1: Prepare the Container
- Choose the Container: Select a plastic container or cooler that can hold water and fit the fan on top. This will serve as the body of your evaporative cooler.
- Mark the Fan Placement: Place the fan on top of the container and mark the outline with a marker. Ensure the fan covers the top to allow optimal airflow.
Step 2: Install the Cooling Pads
- Cut the Cooling Pads: Measure and cut the cooling pads or sponges to fit snugly inside the container. These pads will absorb water and facilitate evaporation.
- Secure the Pads: Attach the pads to the inside walls of the container using waterproof adhesive. Ensure they are stable and well-positioned.

Step 3: Set Up the Water Pump
- Install the Pump: Place the water pump at the bottom of the container. The pump will circulate water to keep the cooling pads moist.
- Connect the Tubing: Attach one end of the PVC pipe or plastic tubing to the pump. The other end should be directed to the top of the cooling pads to distribute water evenly.
Step 4: Assemble the Cooler
- Drill Ventilation Holes: Drill a few small holes on the sides of the container near the top. This will allow air to flow in and out, enhancing the cooling effect.
- Seal the Edges: Use silicone sealant to seal any gaps or leaks around the fan and tubing to ensure efficient airflow and water circulation.
Step 5: Add Water and Test
- Fill the Container: Pour water into the container, ensuring the pump is submerged and the cooling pads are adequately moist.
- Test the System: Plug in the water pump and the fan. The pump should circulate water to the pads, and the fan should draw air through the moist pads, creating a cool breeze.
Maintenance Tips
- Regularly Refill Water: Check the water level daily and refill as needed to ensure continuous cooling.
- Clean the Pads: Clean or replace the cooling pads periodically to prevent mold and mildew buildup.
- Inspect the Pump: Regularly check the water pump for any blockages or malfunctions and clean it as needed.
Related Articles
- How to Clean Your AC Condenser Unit Effectively
- How to Recharge Car AC to Enjoy Comfortable Drives on Hot Days
- How to Install Door Weather Stripping to Seal Your Home
Creating your own DIY evaporative cooler is a straightforward and rewarding project that can help you stay cool during hot summer days. Not only will you save money on energy bills, but you’ll also contribute to a more sustainable environment by using a natural cooling method. Follow this guide, and you’ll have a reliable and efficient cooling system in no time!
Ready to start your next project? Join our DIY community to receive tool tips, how-to guides, and exclusive creative insights. Subscribe to the ManMadeDIY newsletter now! Click here to unlock a world of hands-on inspiration.

