Step-by-Step DIY Firewood Rack Build Guide
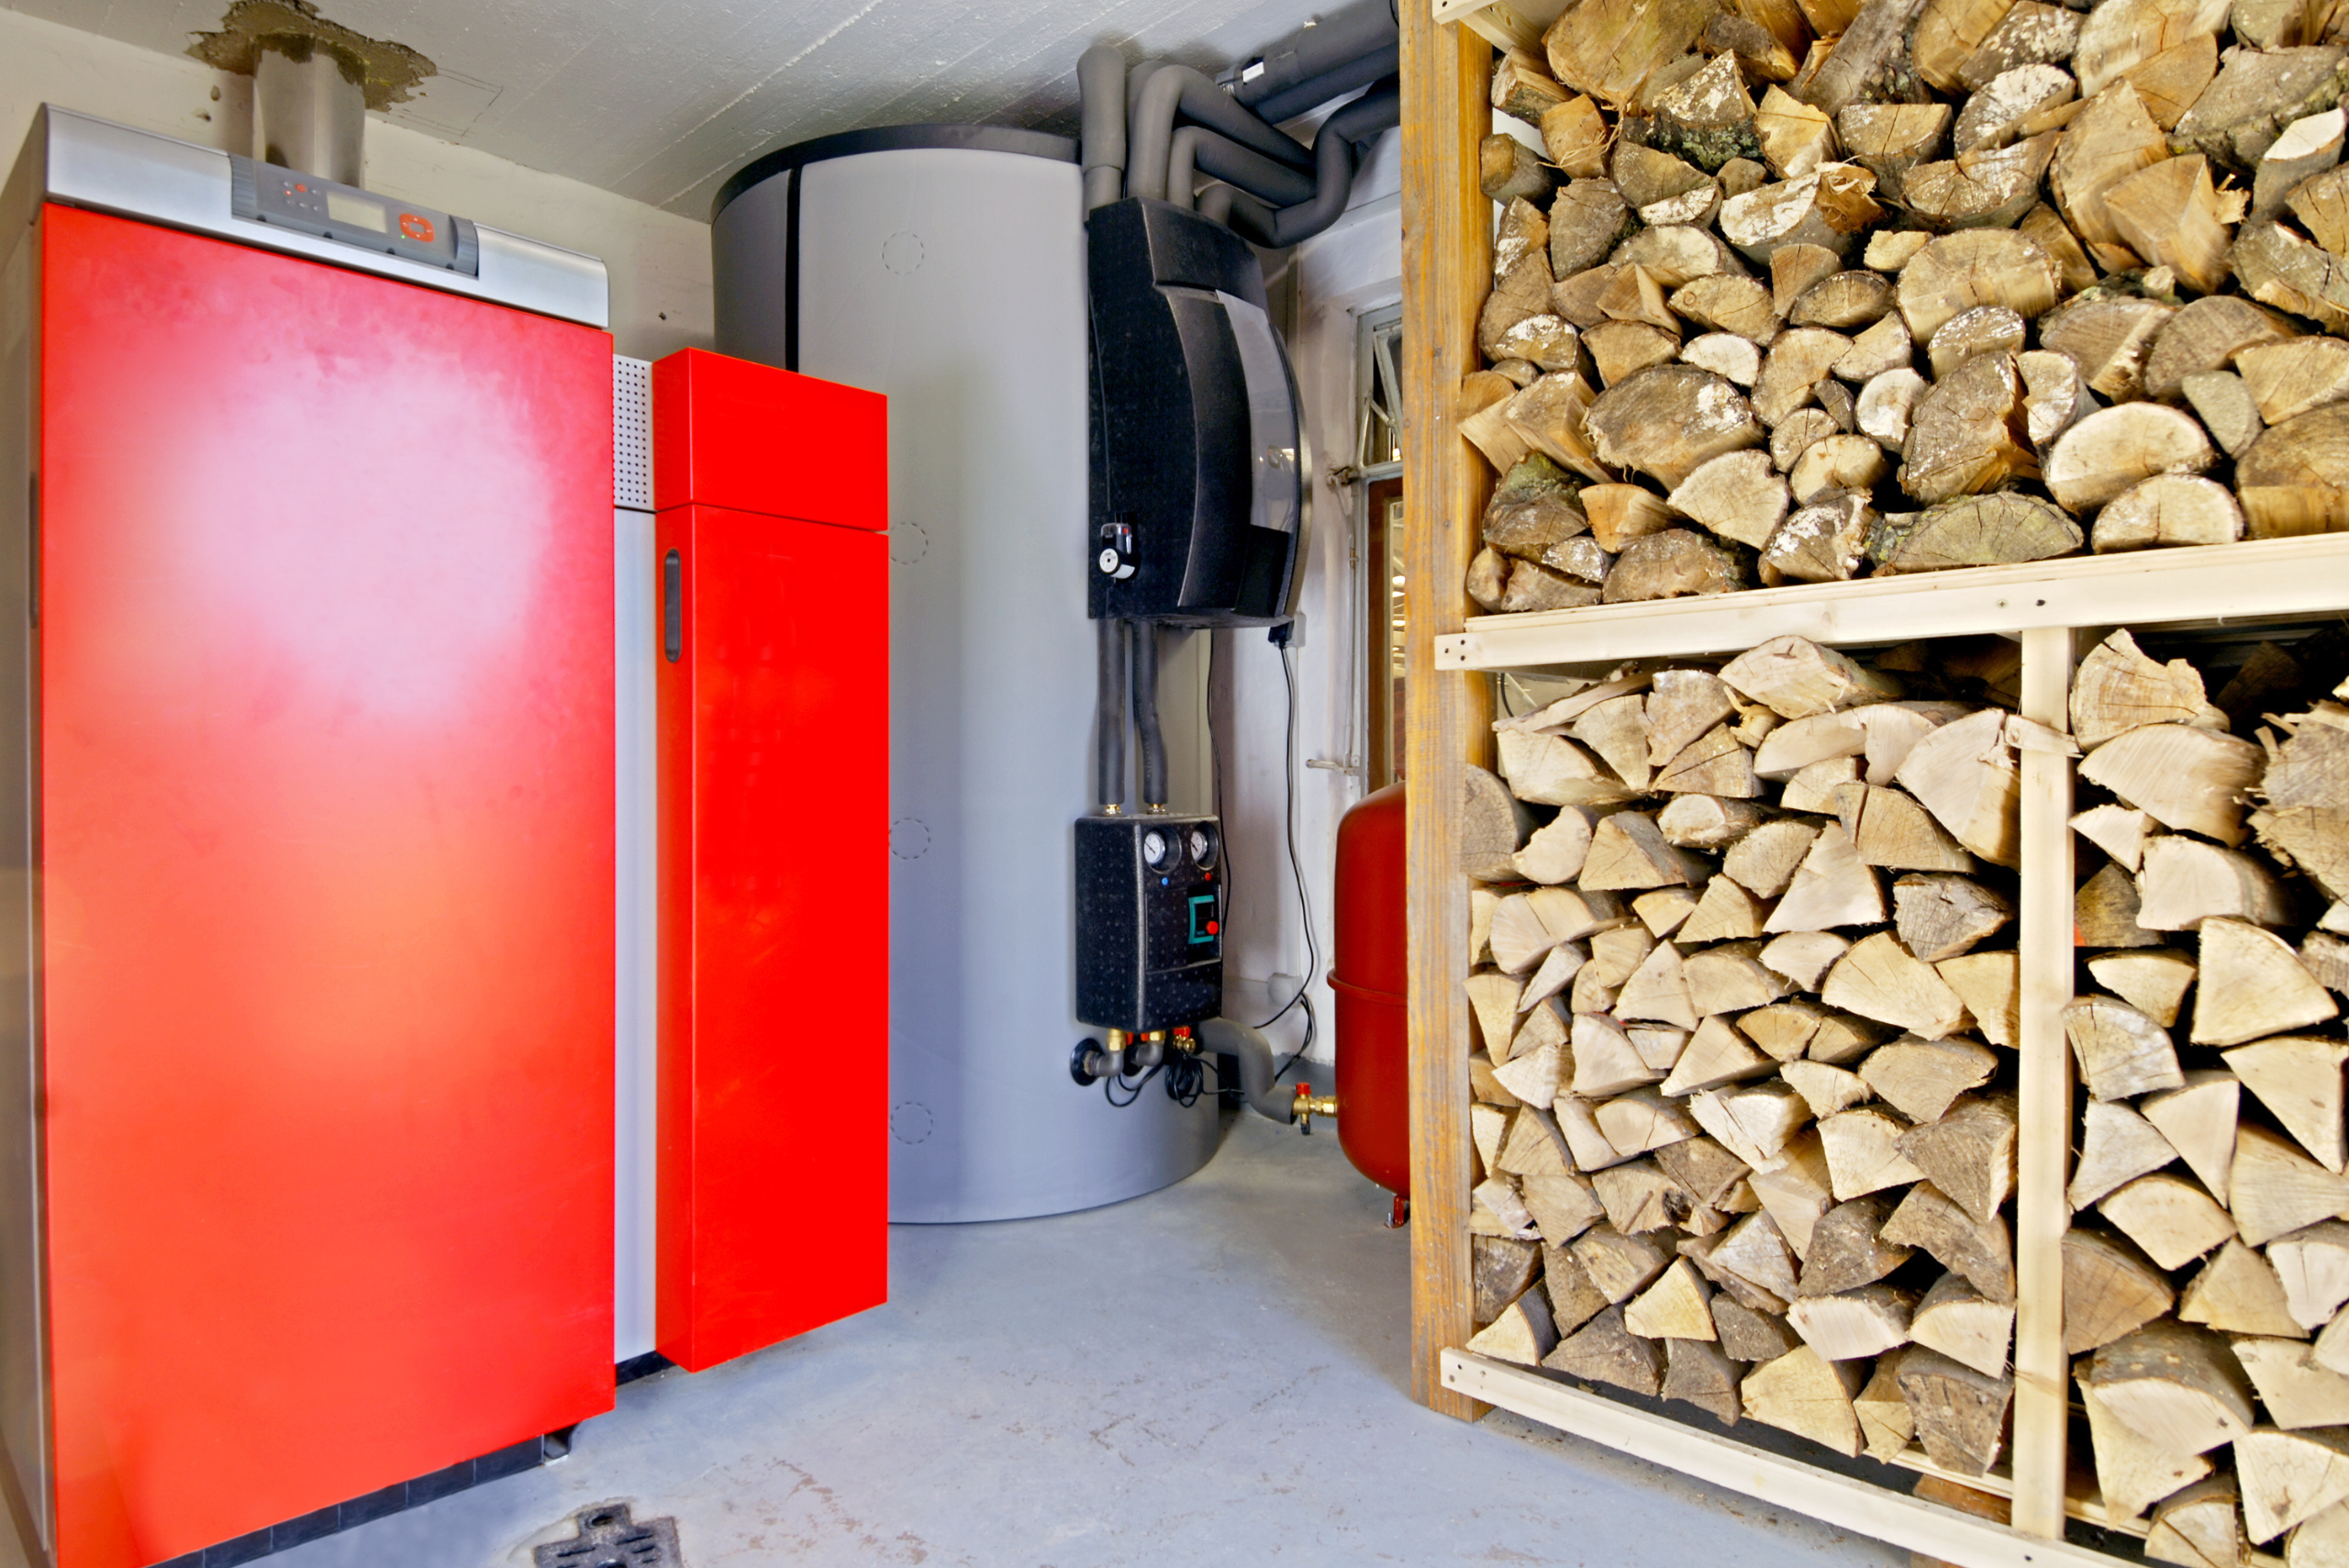
Nothing beats the crackling sound of firewood and the warm, inviting glow of a fireplace on a chilly evening. But to enjoy that, you need a convenient place to store your firewood. That’s where a DIY firewood rack comes into play. Not only does it keep your wood neatly organized and off the ground, but it can also be a stylish addition to your home’s decor. In this article, we’ll guide you through the process of creating your very own firewood rack, ensuring your woodpile stays dry while also being organized.
Curious about off-grid living? ‘Survival Sanctuary‘ holds a wealth of DIY insights, from crafting water wells to solar panels. Join us on a journey of self-sufficiency. Click here to explore this book, among others, and uncover the secrets of resilient living.
Gathering Your Materials: The First Step to Crafting Your Firewood Rack
Before you can build, you must gather. The materials you choose will dictate the durability and appearance of your firewood rack. You’ll need some lumber – typically, 2x4s are a good choice for a sturdy frame. You’ll also require screws, nails, or brackets for assembling the pieces. Consider the size of your rack and the amount of firewood you intend to store when selecting quantities. Don’t forget to grab some protective gear, such as gloves and safety glasses, and the appropriate tools – a saw, drill, and perhaps a sander for smooth finishes.
Step-by-Step Guide: Constructing Your DIY Firewood Rack with Ease
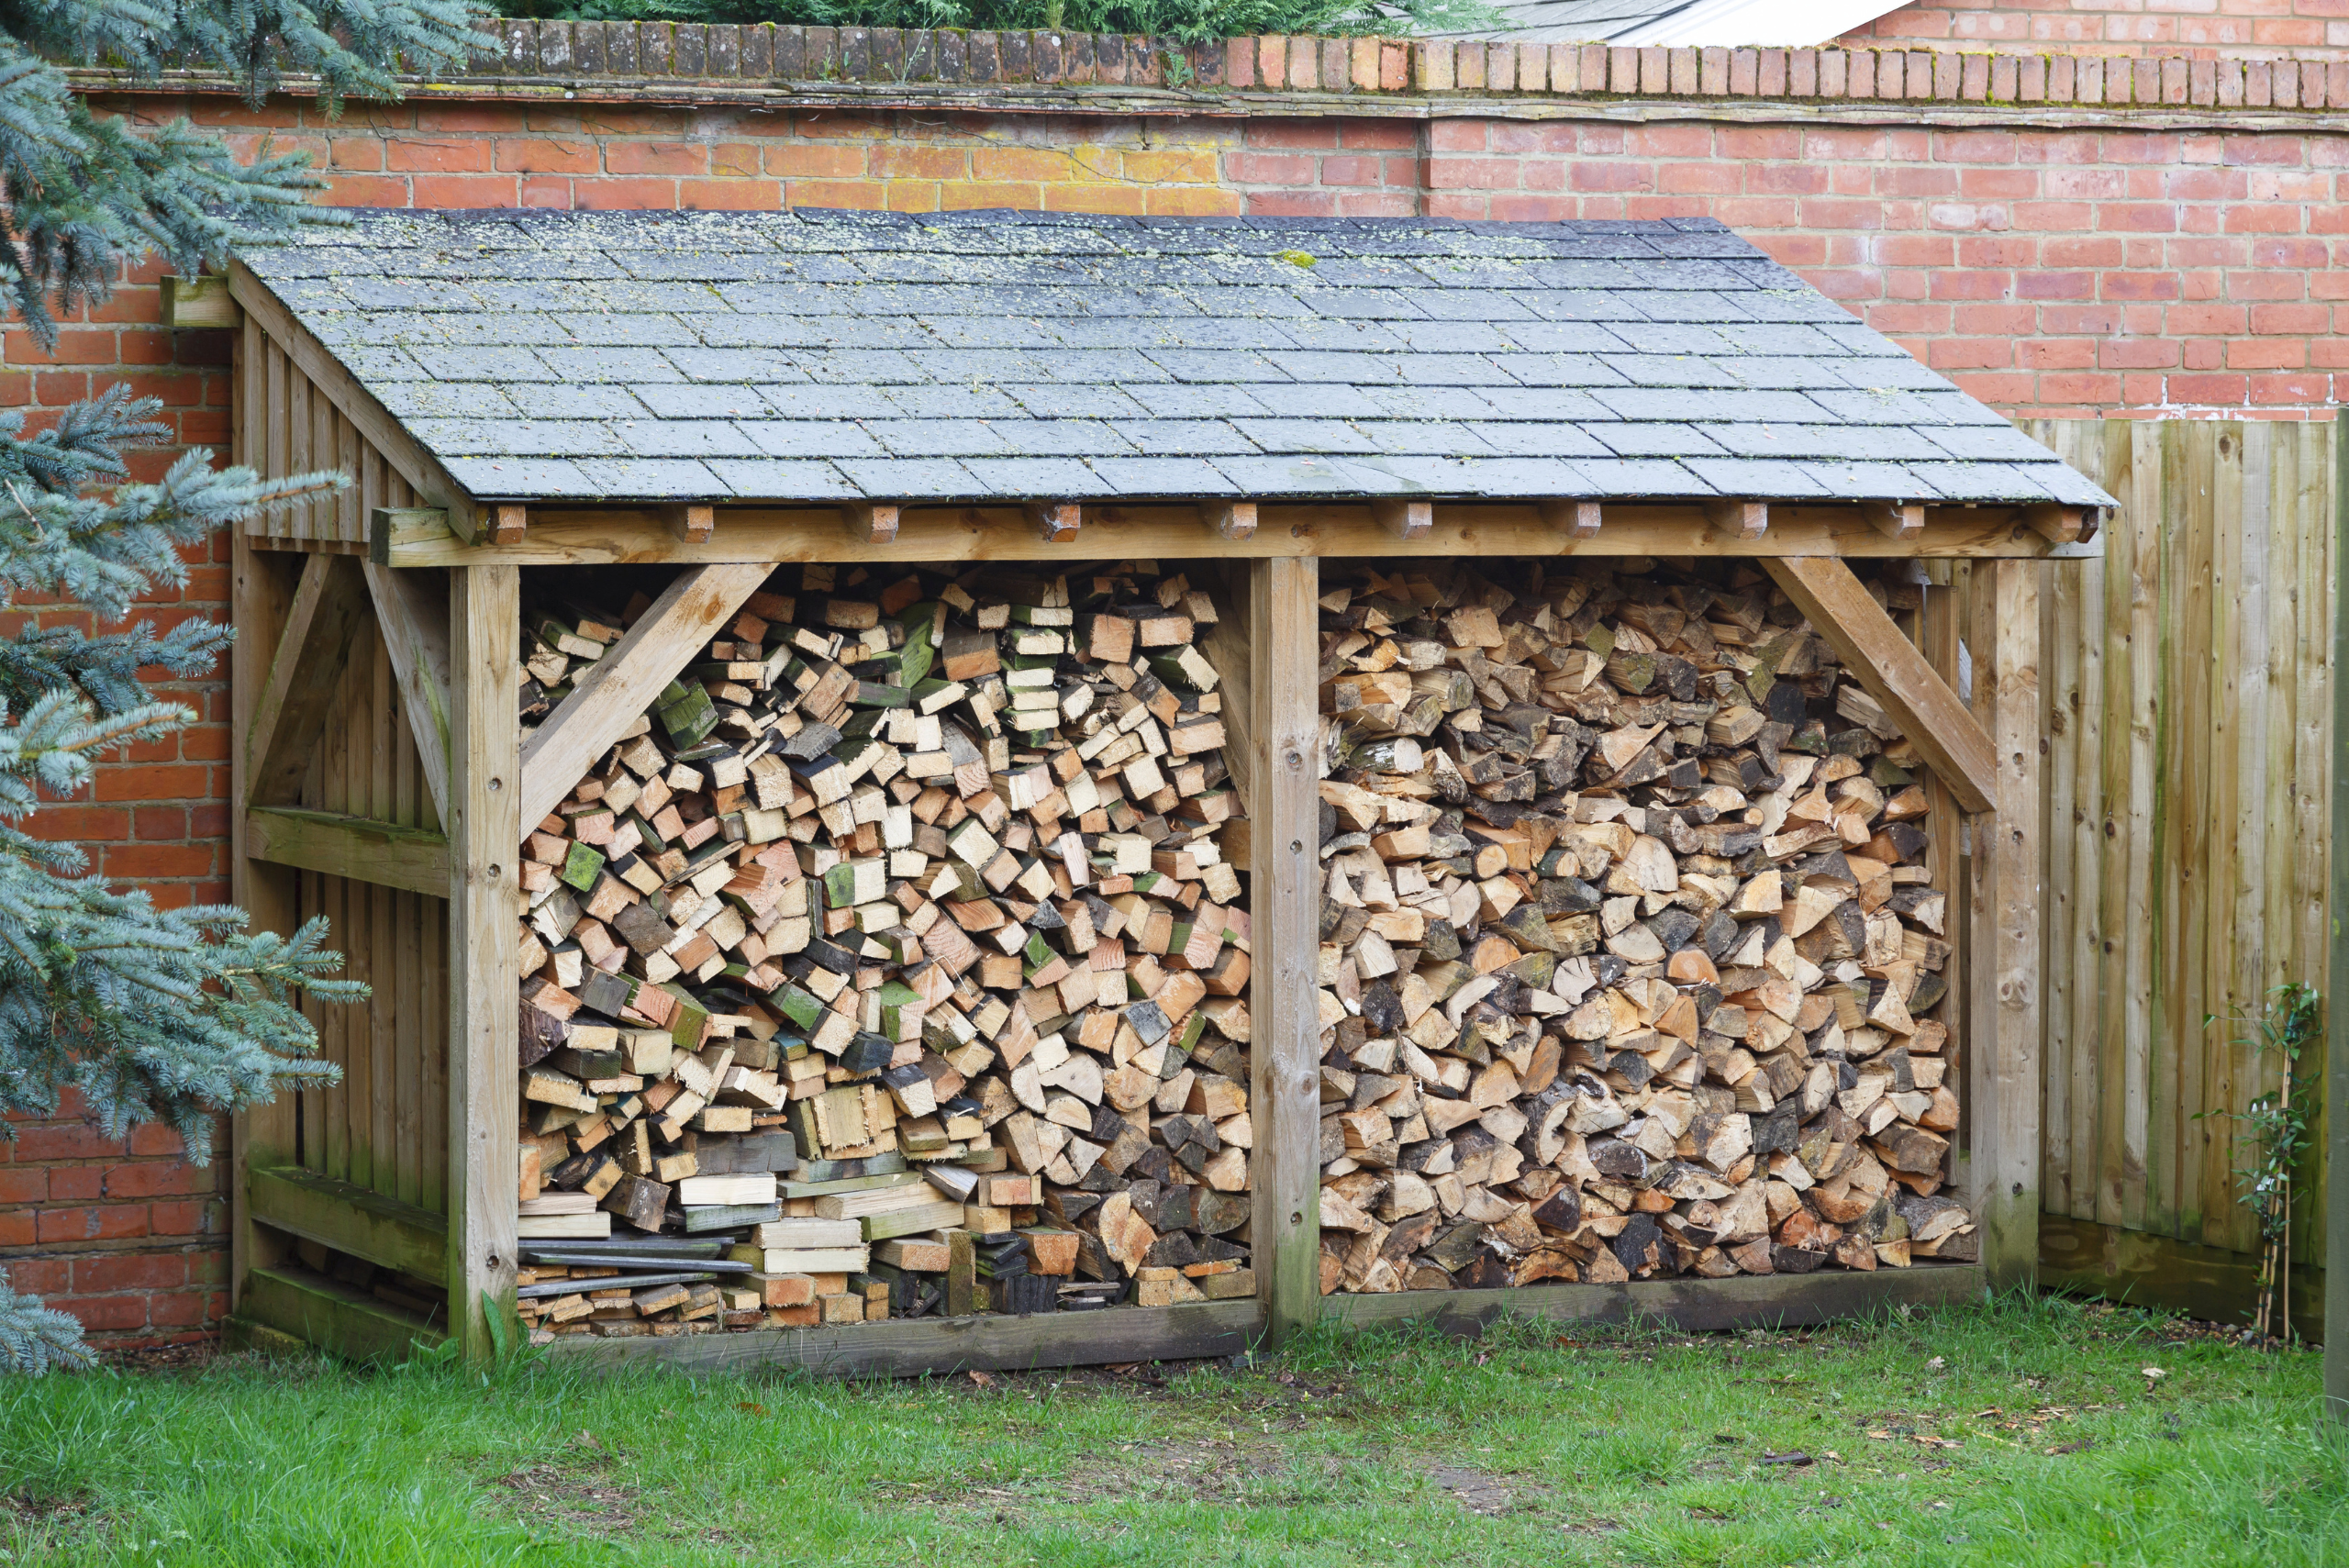
Building the Base and Frame
Your firewood rack’s foundation is crucial for stability. Start by constructing a rectangular base using your 2x4s, ensuring all corners are square for a balanced rack. Attach the longer side pieces to the base using screws or nails to form the frame. This will be the backbone of your rack, so ensure it’s solid and secure.
Adding Support and Ensuring Stability
With the frame in place, it’s time to reinforce your rack with additional supports. Cross-bracing can prevent the wood from sagging or the rack from swaying. Remember, the more wood you plan to store, the more support you’ll need.
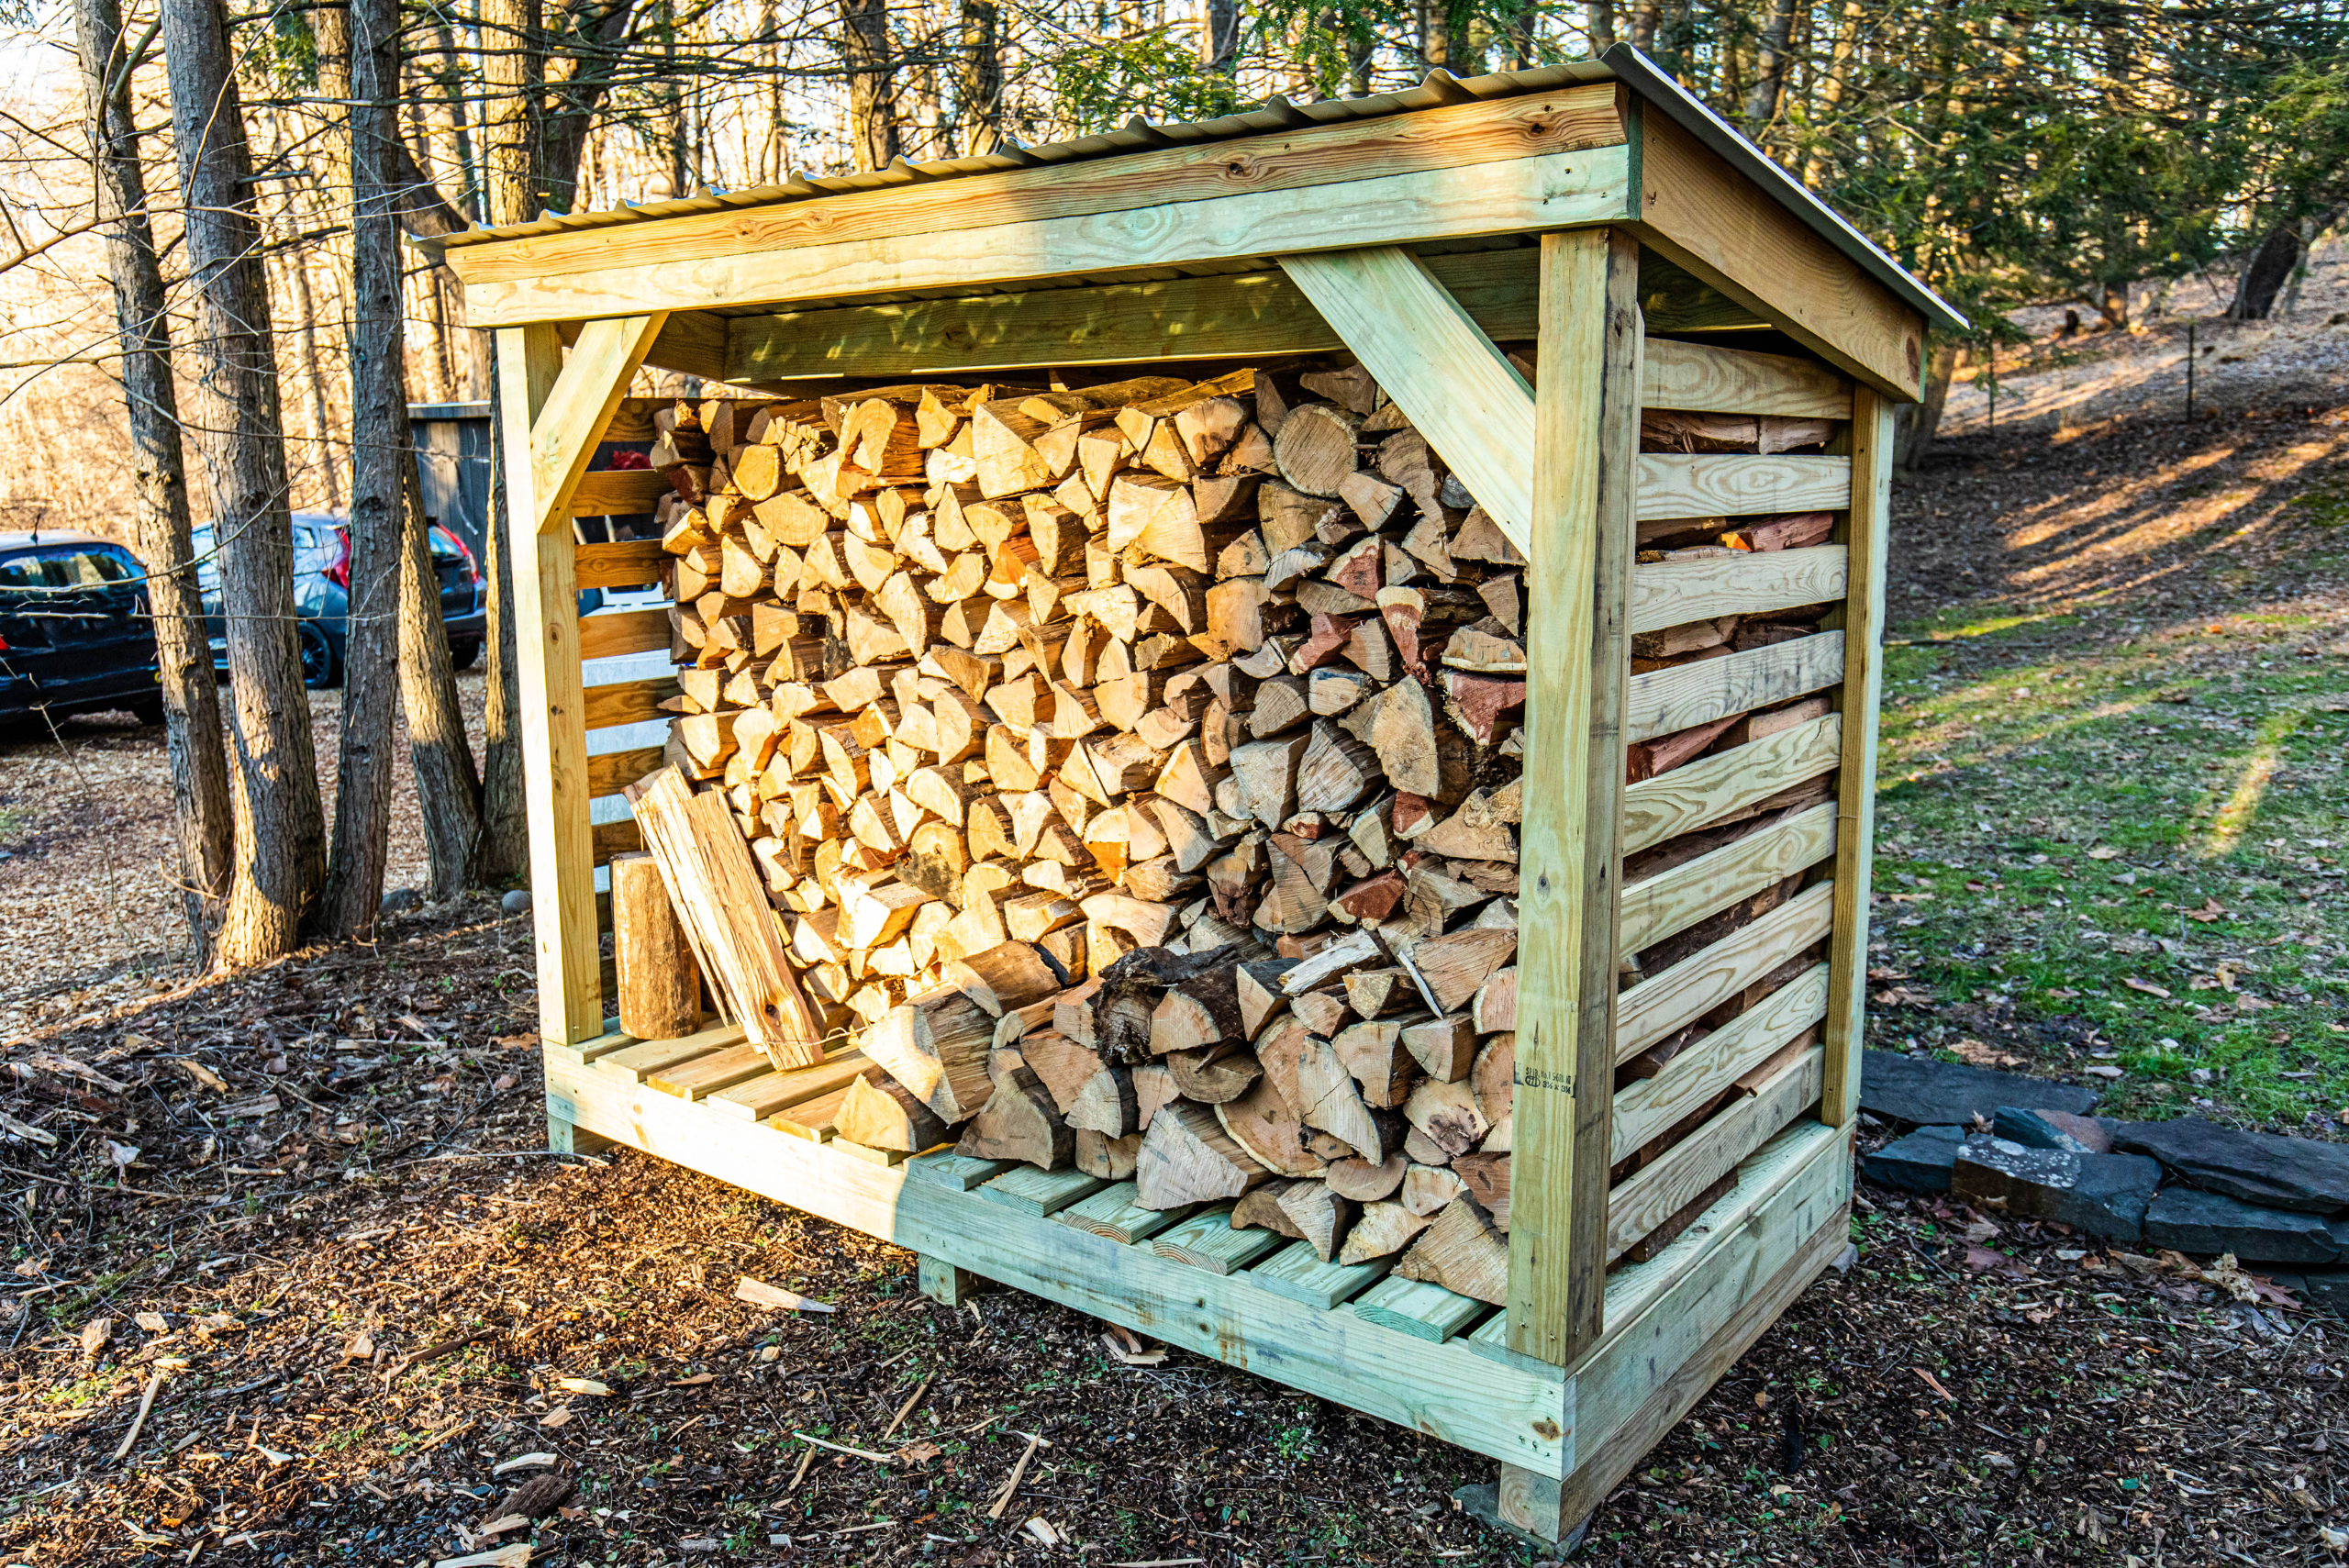
Choosing the Right Finish
A wood stain or sealant can protect your firewood rack from the elements, especially if it will be placed outdoors. Select a color that complements your home, or go for a clear coat to showcase the natural beauty of the wood.
Incorporating Design Elements
Feel free to get creative with the design. You might add decorative trim, use different wood species for a contrasting effect, or integrate a kindling shelf beneath the main storage area for added functionality. Another great way to design your firewood rack is by matching it to your home’s exterior if it’s going to be outdoors, which can be done simply by giving the rack a roof with matching shingles to your home.
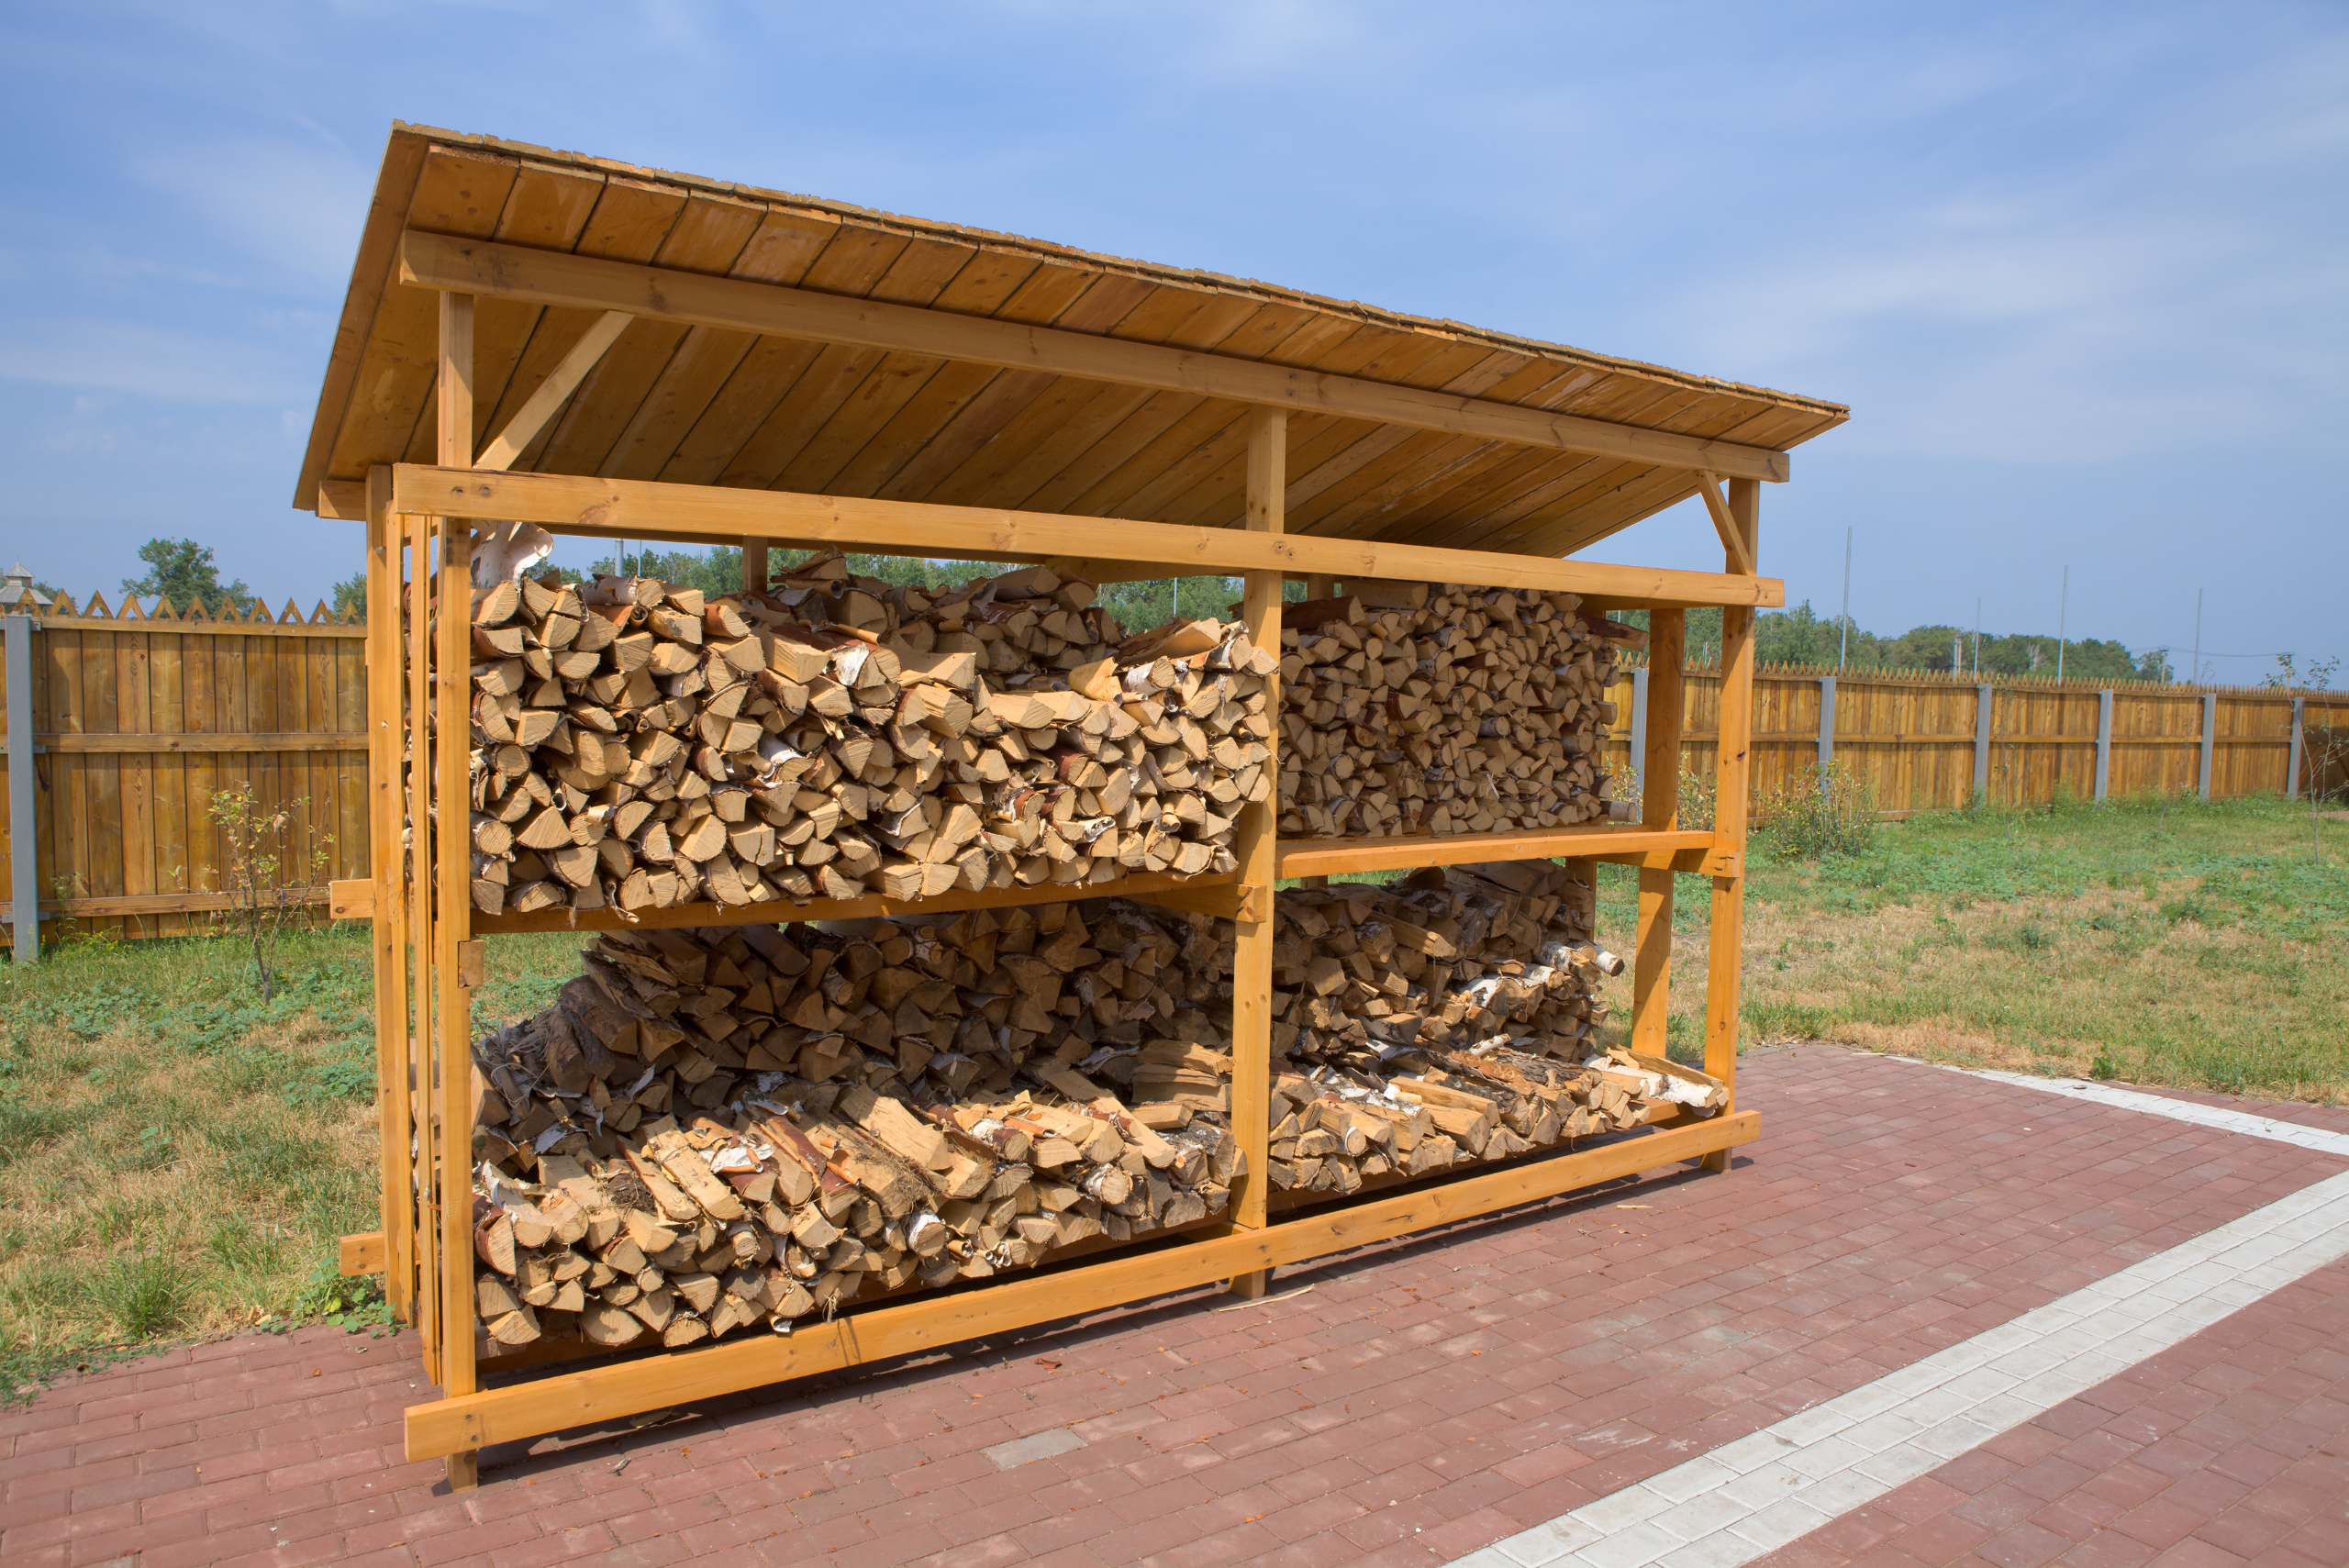
Protect the Wood by Installing a Roof
You can keep your wood dry throughout the different seasons by giving your firewood rack a roof, directing water away from the logs. Not only will the roof protect the wood, but it also gives your DIY firewood rack a professional look.
Maintenance Tips For Longevity
There are a few factors to keep in mind when thinking about the maintenance required for your freshly built firewood rack. For starters, you will want to pay close attention to the wood condition, which can decay and rot due to moisture exposure if not sealed or insects if the rack is outdoors. However, regular cleaning is another way to keep your rack looking and functioning at its best, so don’t forget to sweep leftover wood bark and dirt before restocking the shelves.
Related Articles:
- Best Types of Wood for Beginner Woodworking
- ManMade Essentials: When to Use Nails vs Screws
- Top 10 Must-Have Screws for Every Project
Building a DIY firewood rack is about more than just practicality; it’s a project that can bring a sense of satisfaction each time you light a fire. The rack you’ve constructed with your own hands won’t just keep your woodpile organized; it will also add to the ambiance of your hearth and home. So, as you settle in front of your fireplace, basking in the warmth you’ve helped create, you can take pride in your handiwork and the cozy atmosphere it has helped to foster.
Ready to start your next project? Join our DIY community to receive tool tips, how-to guides, and exclusive creative insights. Subscribe to the ManMadeDIY newsletter now! Click here to unlock a world of hands-on inspiration.


