Simple Steps to Build DIY Floating Garage Shelves
Floating garage shelves can revolutionize your storage space, freeing up the floor and decluttering your garage. This DIY project allows you to customize shelves to fit your specific needs, perfect for organizing everything from tools to holiday decorations. By opting for a floating design, you gain accessibility and a sleek, modern look. Plus, building your own shelves can be a cost-effective alternative to purchasing pre-made options that may not suit your space.
Preparing for Your DIY Garage Shelf Project
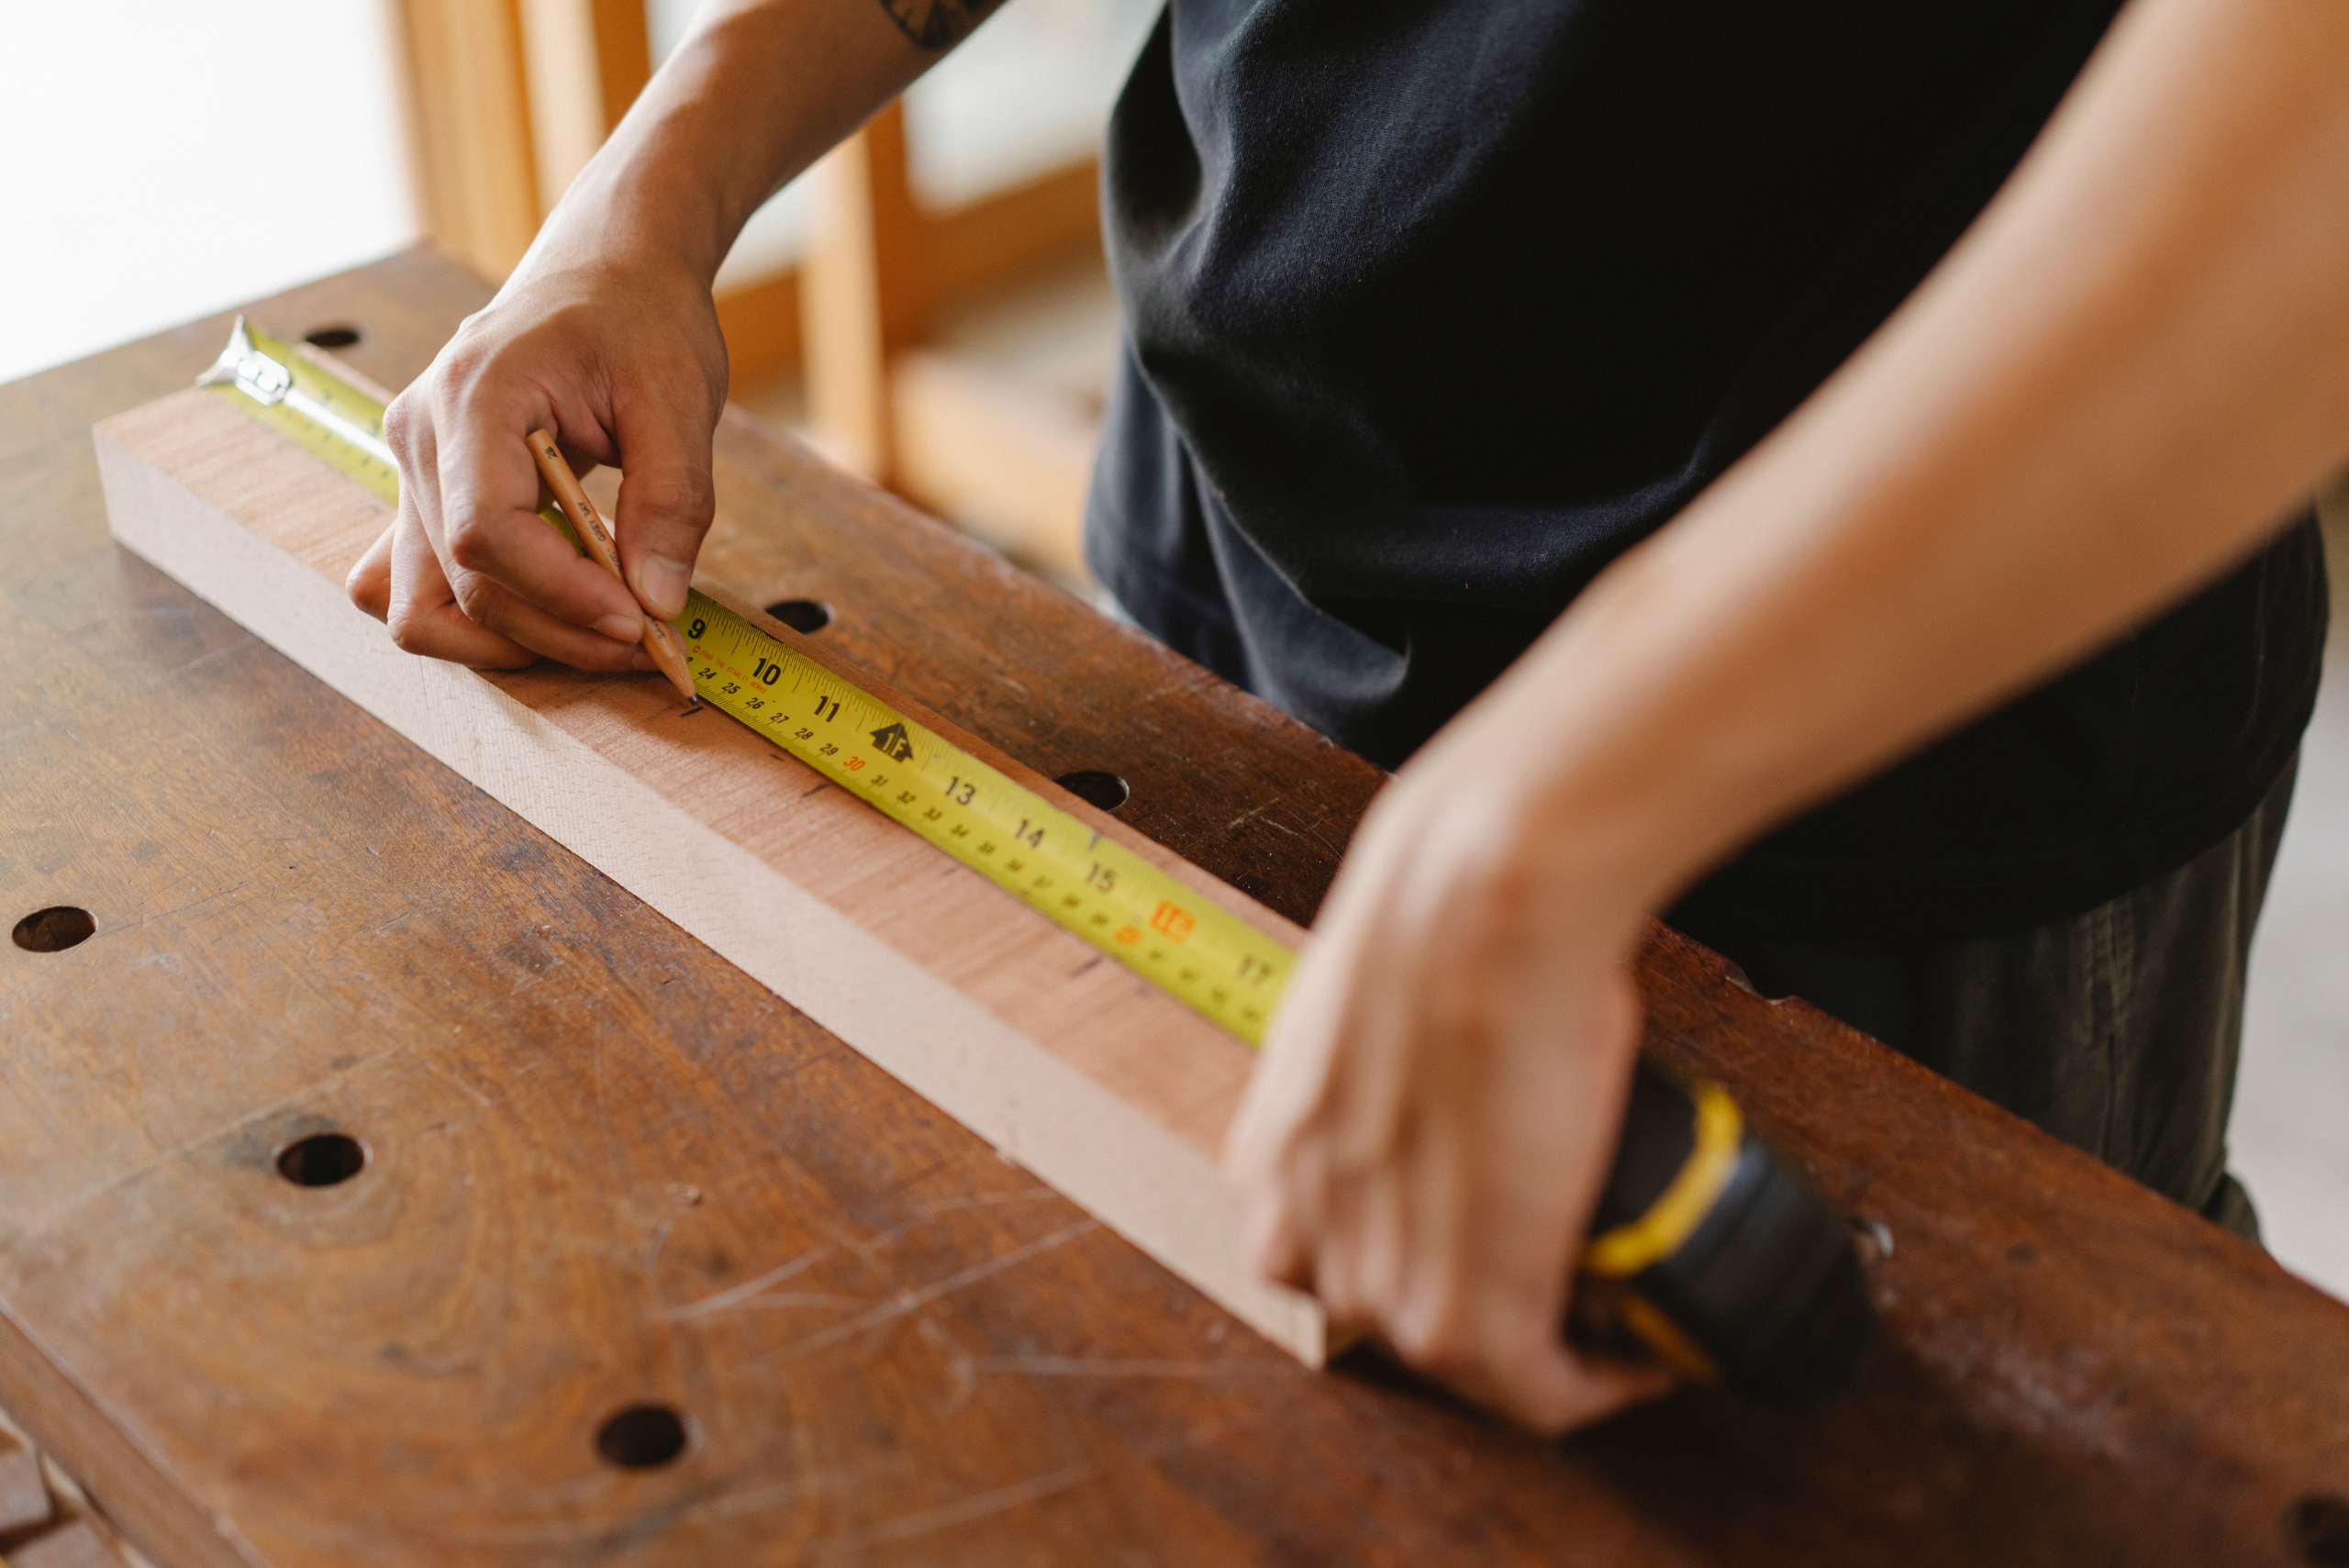
Before diving into construction, preparation is key. Start by measuring your garage wall space and sketching a layout for your shelves, considering the height and depth needed. Decide on the number of shelves and the spacing between them to accommodate various storage bins. Gathering a clear plan will ensure efficiency during the building process and prevent unnecessary trips back to the store.
Essential Materials and Tools Needed
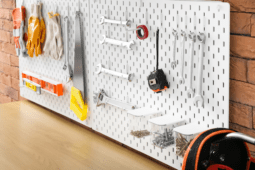
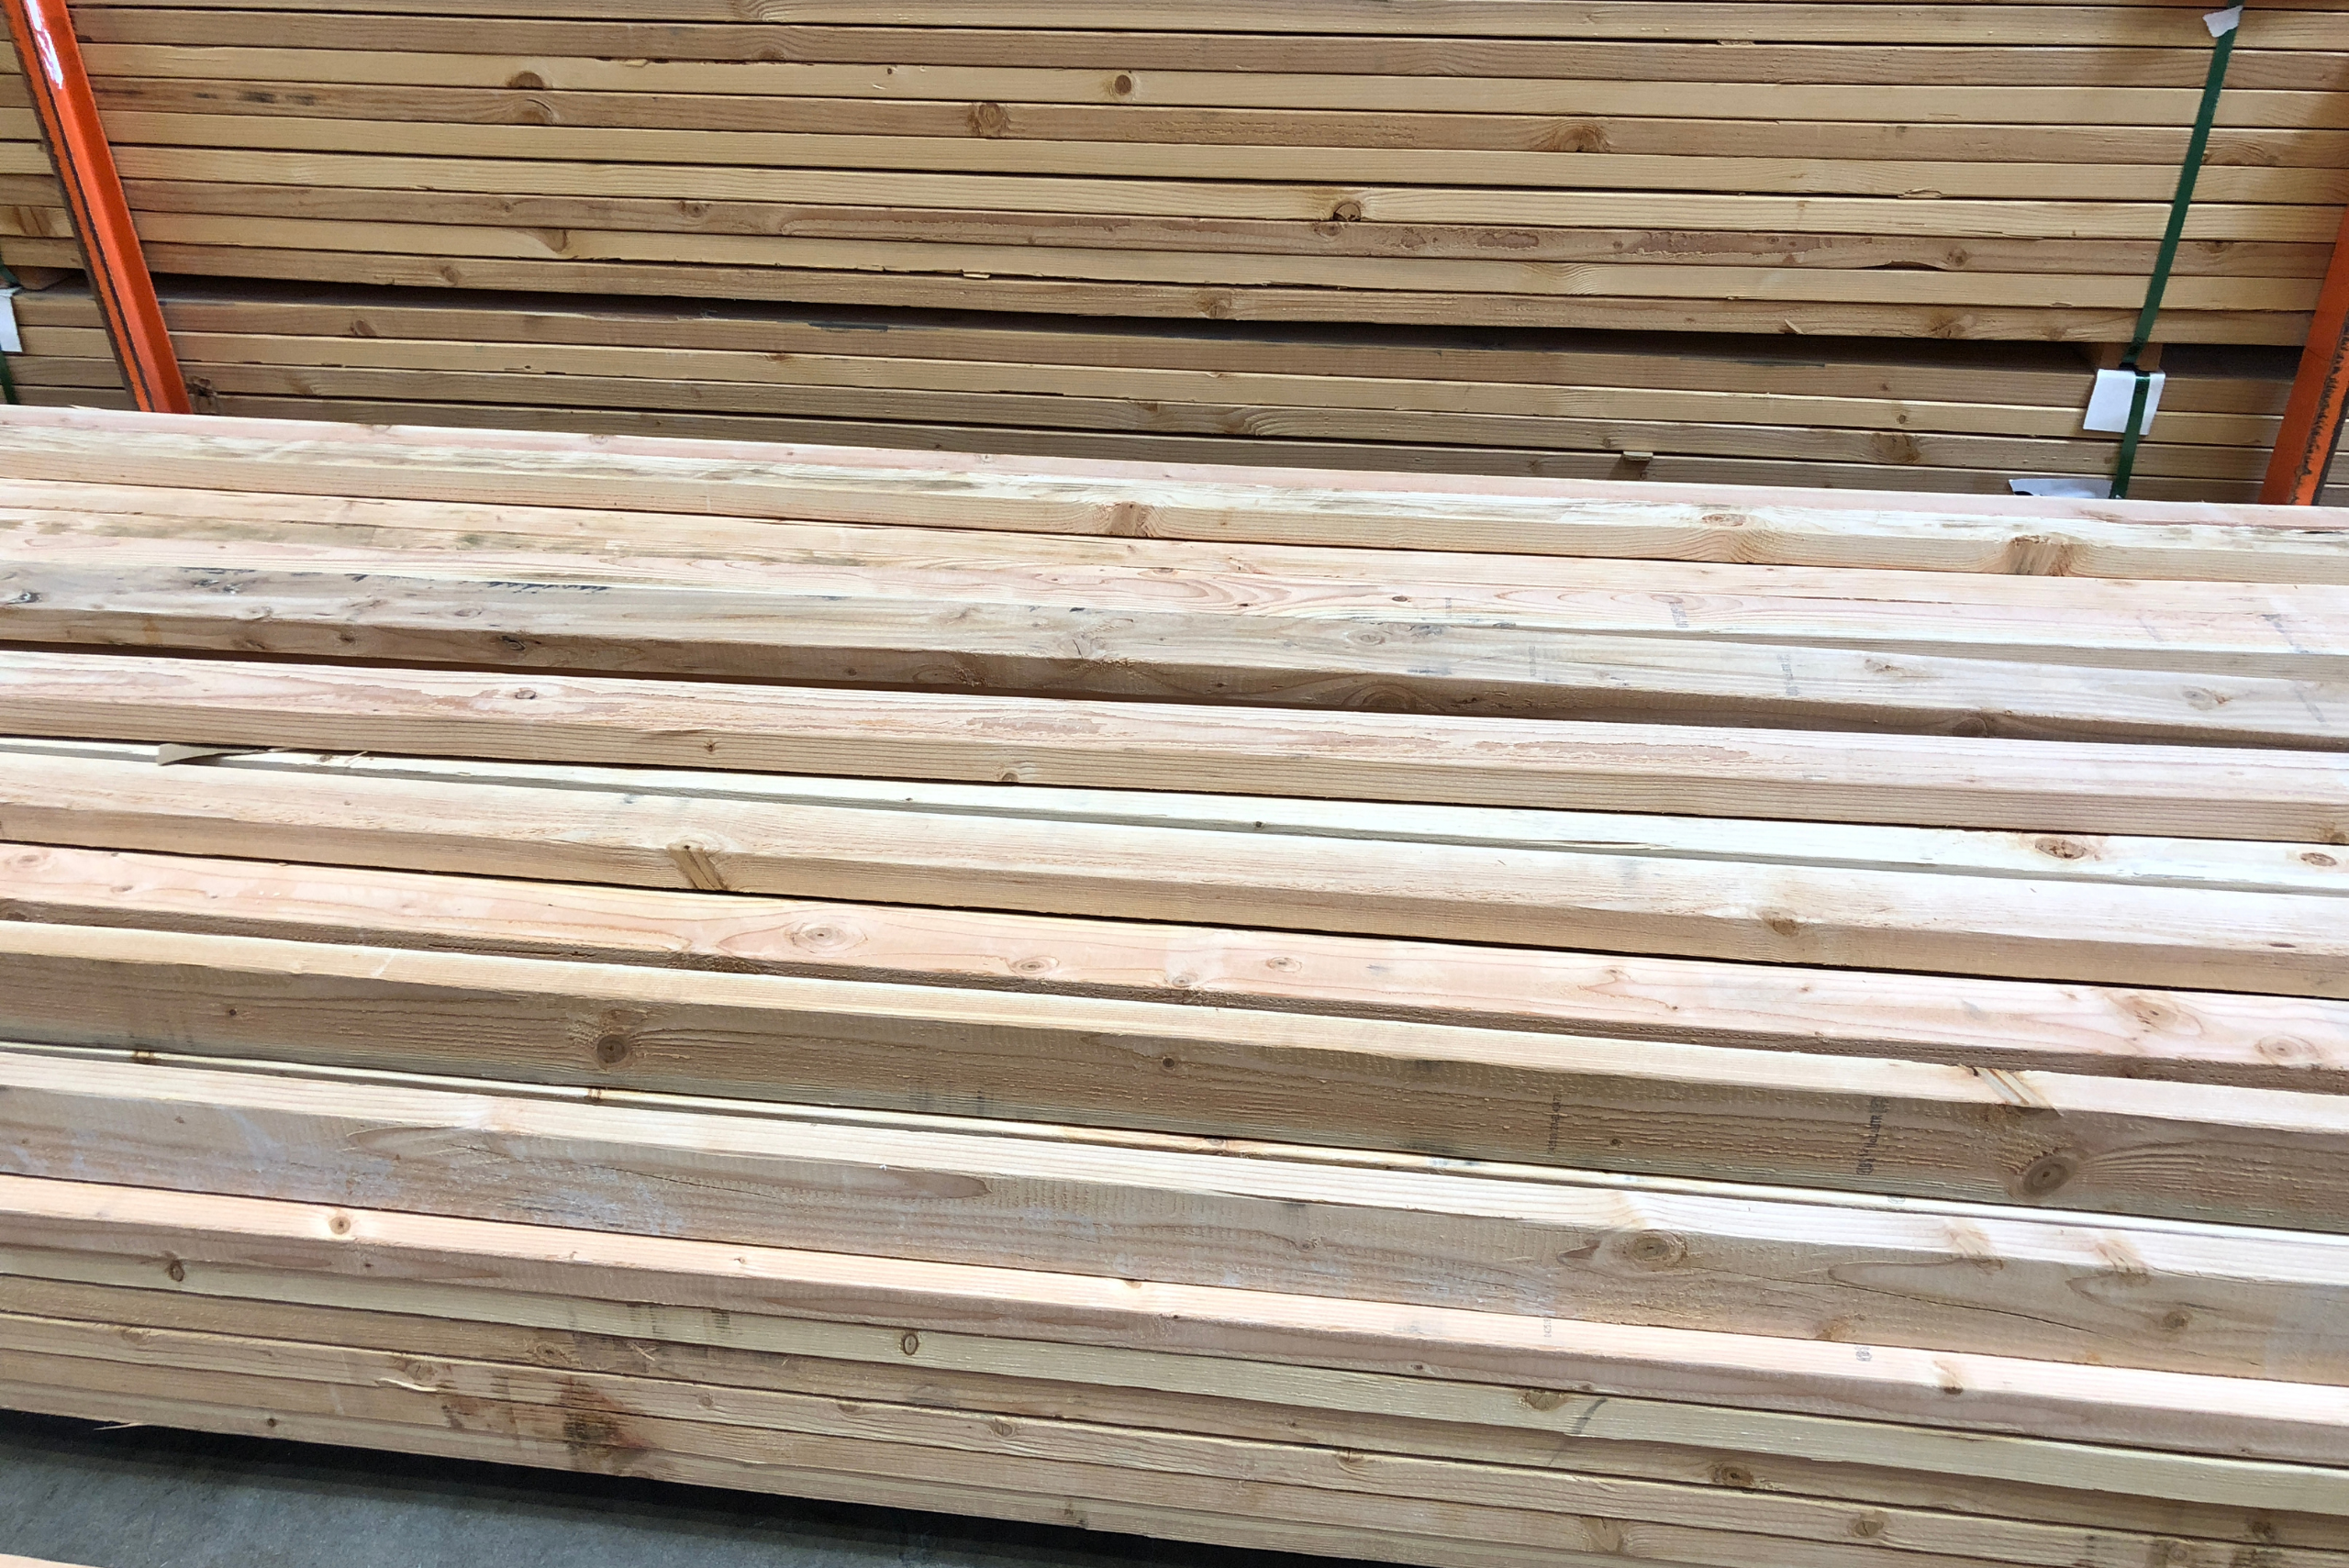
To construct these shelves, you’ll need materials like 2×4 wooden studs, plywood, wood screws, and brackets for mounting. Essential tools include a circular saw, drill, level, and measuring tape. Having everything ready before you begin will streamline the process and ensure you aren’t interrupted by missing components. Remember, investing in quality materials can enhance the durability and safety of your shelves.
Detailed Instructions for Constructing Garage Shelves
Building your own garage shelves involves several precise steps, which consist of the following:
Step 1: Assembling the Shelf Frames
Begin by cutting your 2x4s to the desired lengths for your shelf frames. Lay out the pieces on a flat surface, aligning them to form a rectangular frame. Use wood screws to fasten the pieces together securely. Double-check the measurements and ensure each corner is square. Building precise frames is crucial as they form the foundation of your shelves.

Step 2: Securing the Shelf Frames
With the frames assembled, it’s time to secure them to the garage wall. Locate the wall studs and use a level to position the frames accurately. Drill pilot holes and use durable screws to attach the frames to the studs, ensuring they can bear weight. This step is vital for safety, as improperly secured shelves can pose a risk.

Step 3: Installing the Top Shelf
Once the frames are in place, begin with the top shelf. Position it at a height that accommodates your tallest storage needs. Use a level to ensure it’s even before fastening it to the frame with screws. The top shelf sets the standard for the rest, so take extra care in its installation.

Step 4: Adding Additional Shelf Layers
Repeat the process for additional shelves, spacing them according to your storage requirements. Use a level to maintain even spacing and ensure each shelf is parallel to the floor. Consistency in spacing not only looks better but also maximizes storage efficiency.

Step 5: Completing the Shelf Tops
Cut your plywood or chosen shelf material to fit the frame dimensions. Secure the shelf tops with wood screws, ensuring they are flush with the edges of the frames. This provides a smooth, stable surface for storage bins and other items, preventing tipping or slipping.

Step 6: Adding Support Legs for Stability
Finally, enhance the stability of your shelves by adding vertical support legs. Attach them to the front of the frames using screws, ensuring they are level and securely fastened. These legs distribute weight evenly and prevent sagging, especially important if storing heavy items.

Cost Comparison: DIY vs. Purchased Garage Shelves
DIY shelving projects can significantly reduce costs compared to buying pre-made units. Custom shelves not only fit your space perfectly but also eliminate the markup associated with store-bought options. While initial material purchases may seem pricey, the long-term savings and satisfaction of a tailored solution are invaluable.
Related Articles
- How to Insulate a Garage for Maximum Efficiency
- Prevent Your Garage Door from Freezing Shut This Winter
- Handy Garage Hacks To Maximize Storage Space
Building your own floating garage shelves is a rewarding project that combines functionality and creativity. By following these simple steps, you can maximize your garage’s storage space while keeping it neat and organized. Not only do these shelves provide a sturdy solution for storing tools and equipment, but they also allow for more floor space, making your garage more versatile.
Ready to start your next project? Join our DIY community to receive tool tips, how-to guides, and exclusive creative insights. Subscribe to the ManMadeDIY newsletter now! Click here to unlock a world of hands-on inspiration.

