DIY Garden Hose Repair Made Easy
Picture this: You’re ready to water your prized petunias when, suddenly, your garden hose decides to throw a tantrum, spraying water everywhere except where it’s needed. Don’t let a damaged hose rain on your parade! With a little know-how and some elbow grease, you can breathe new life into your trusty watering companion. In this guide, we’ll walk you through the steps to repair your garden hose like a pro, saving you money and keeping your garden lush and green.
Start your next woodworking adventure with TedsWoodworking! Dive into 16,000+ projects and bring your ideas to life. Build unique furniture and master new skills with Ted’s detailed, step-by-step plans guiding you every step of the way.
Before you toss that leaky hose in the trash, consider the environmental impact and the hit to your wallet. By repairing your garden hose, you’re not only reducing waste but also extending the life of a valuable gardening tool. Plus, it’s a great opportunity to flex those DIY muscles and impress your neighbors with your handyman skills. So, roll up your sleeves, grab your tools, and let’s dive into the world of garden hose repair!
1. Pinpoint the Source of Your Hose’s Woes
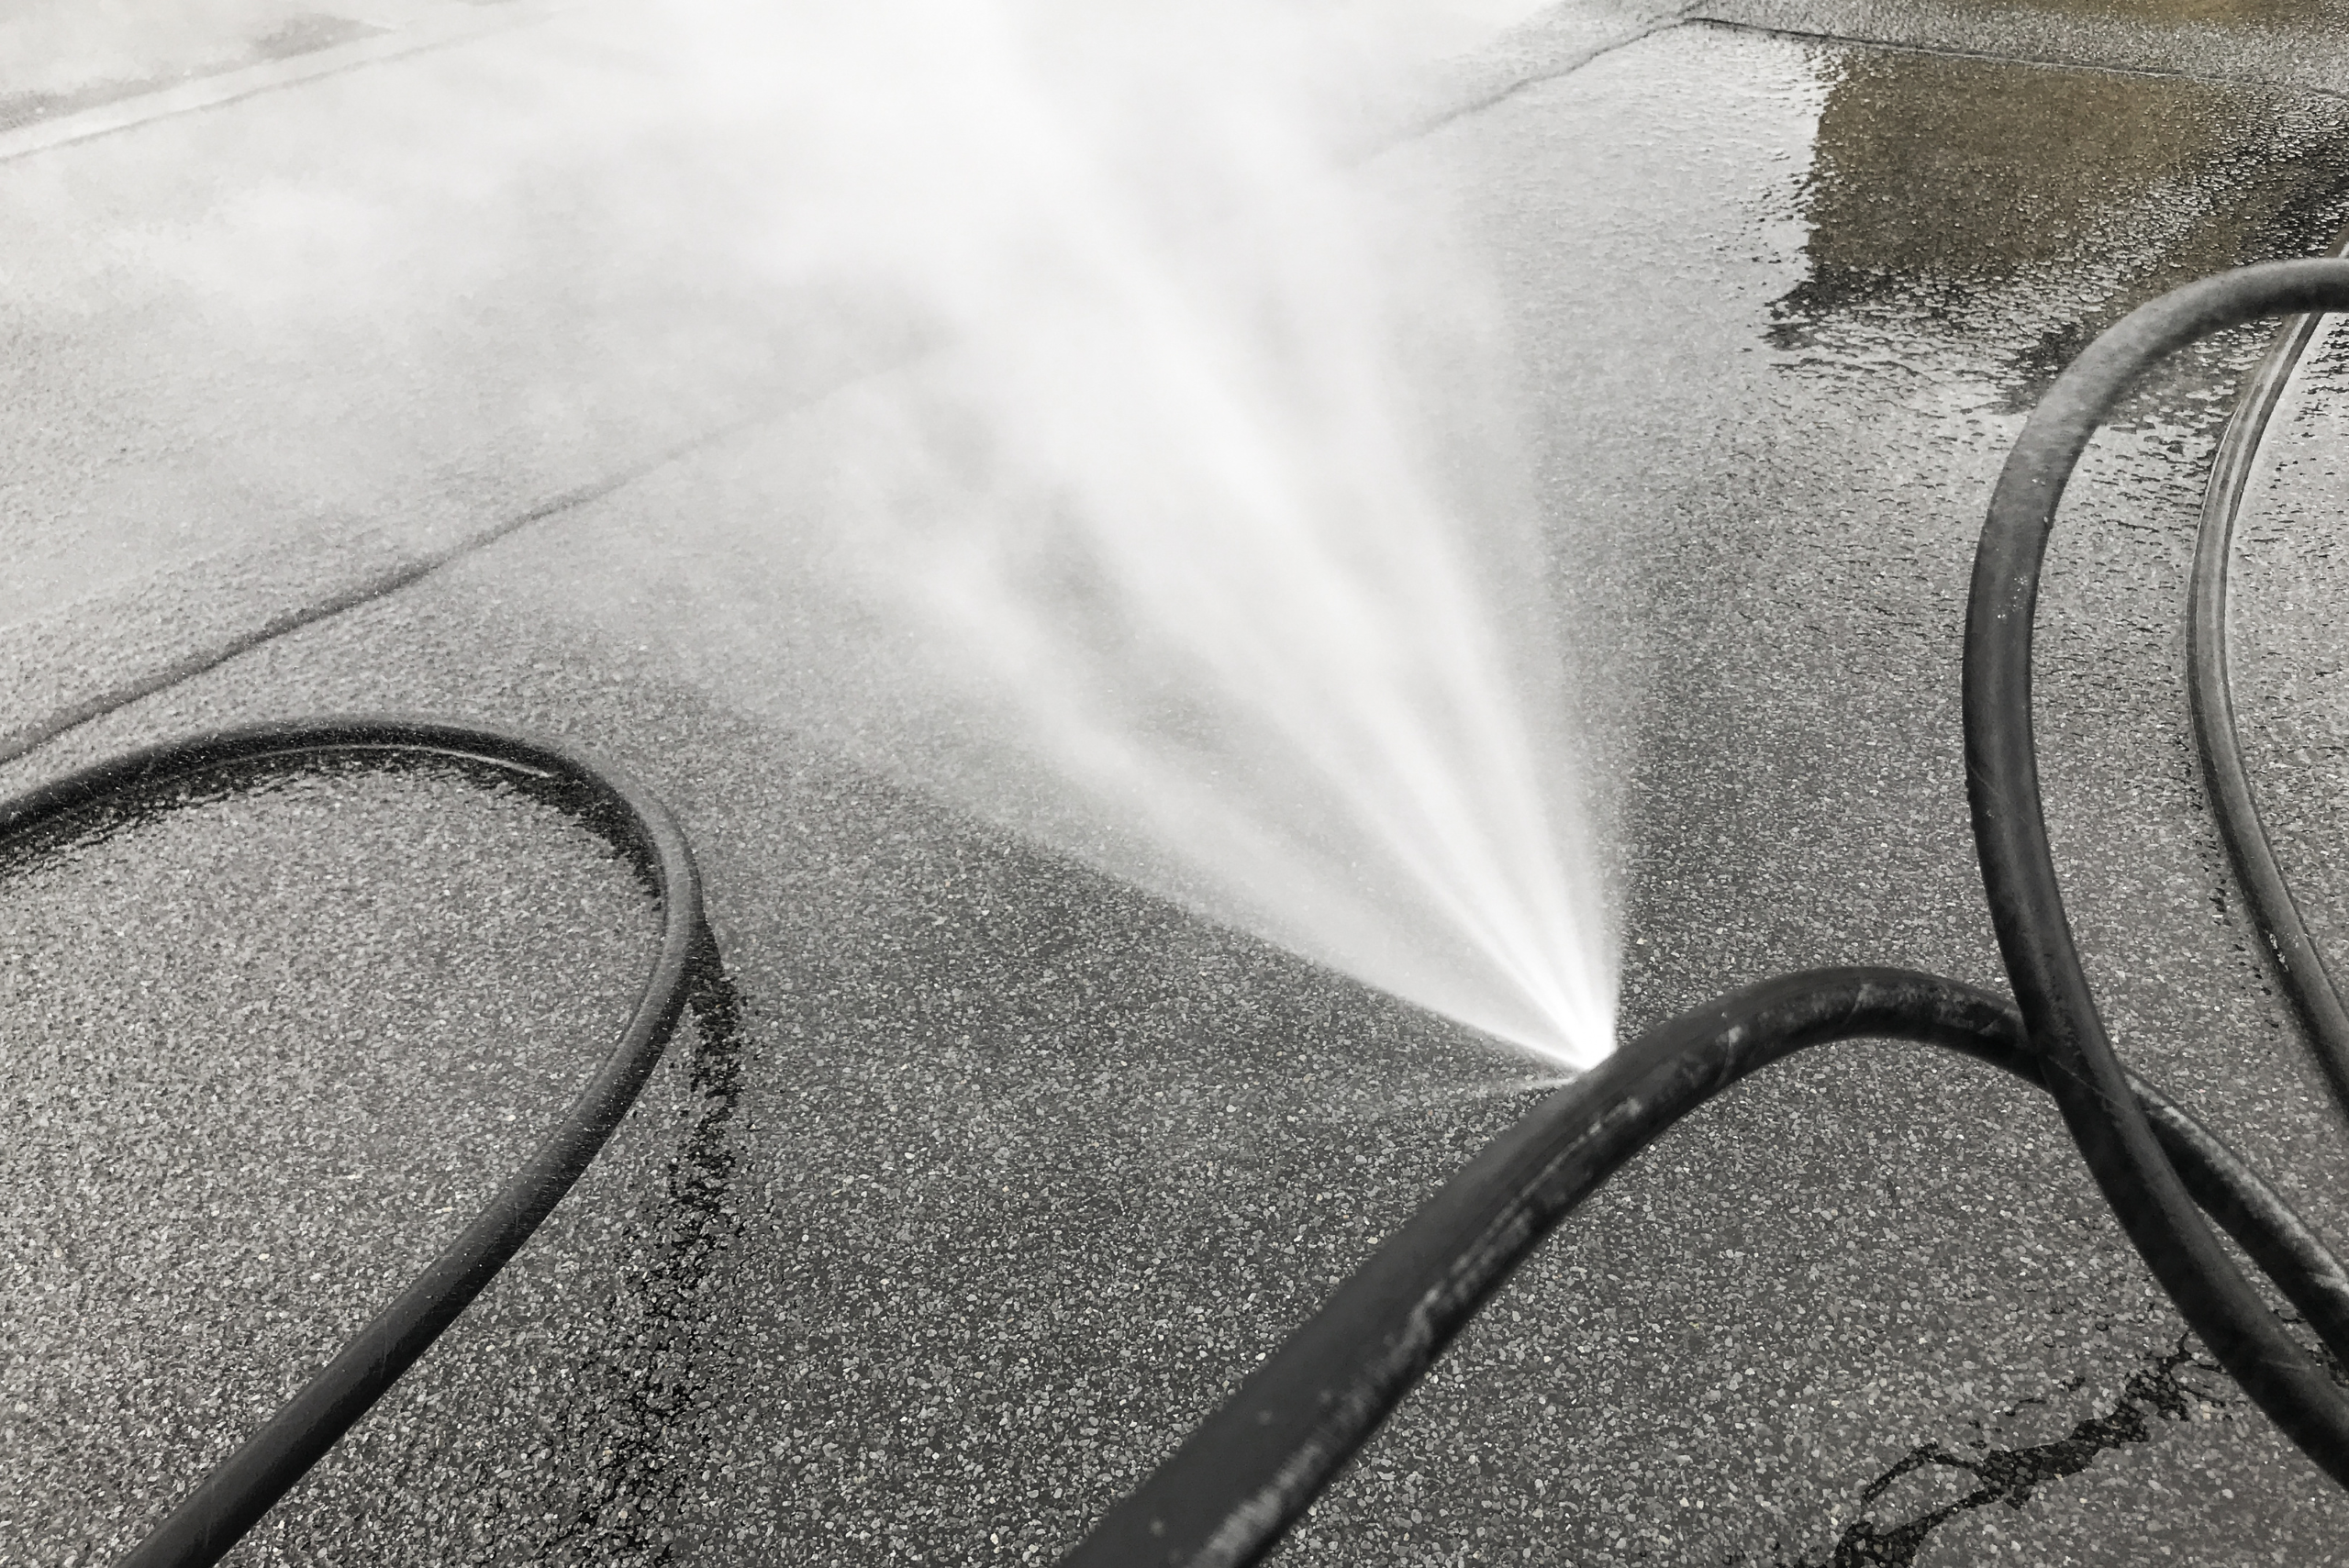
Before you can fix your garden hose, you need to play detective and locate the culprit. Start by inspecting the entire length of the hose, paying close attention to areas that are frequently bent or kinked. Look for obvious signs of damage, such as cracks, punctures, or splits in the rubber. Don’t forget to check the connections at both ends of the hose, as these are common trouble spots.
If you’re dealing with a leak that’s not immediately visible, try pressurizing the hose and watching for water escaping from unexpected places. Sometimes, a small pinhole leak can be tricky to spot when the hose is dry. Once you’ve identified the problem area, mark it with a piece of tape or a marker to make it easier to locate when you’re ready to start repairs.
2. Gather Tools and Materials for Hose Repair
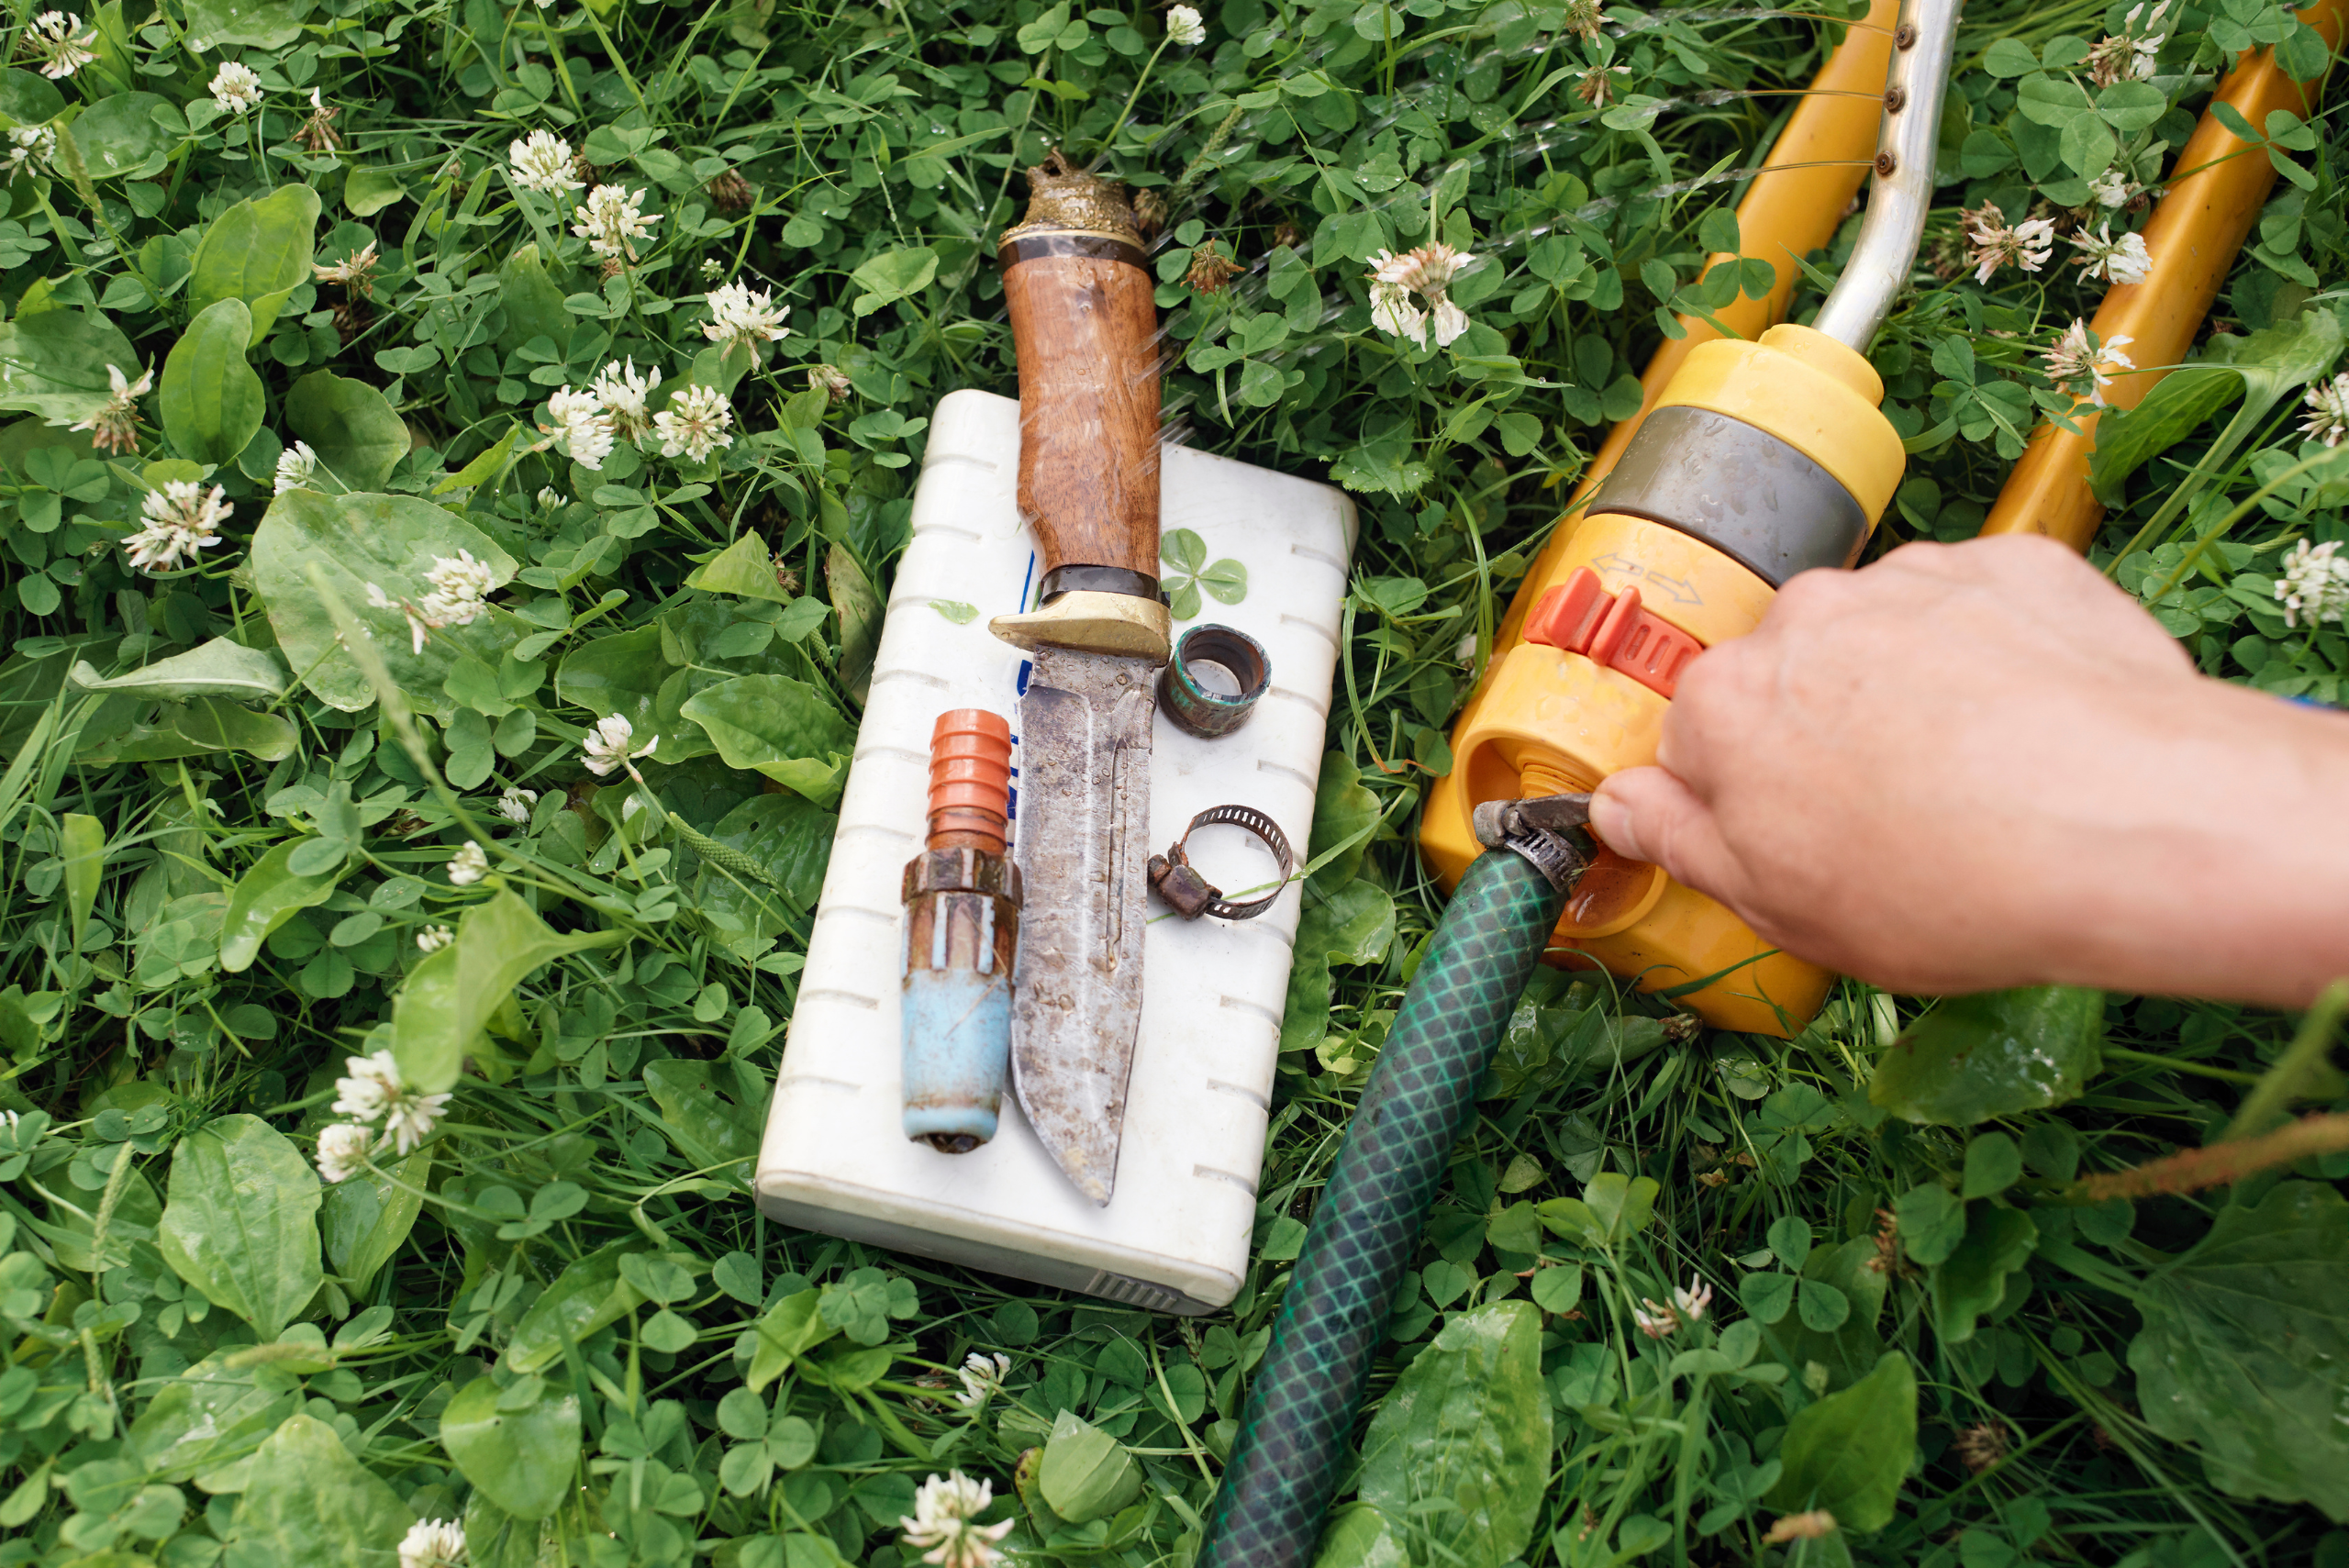
Now that you’ve identified the issue, it’s time to assemble your repair kit. For most garden hose repairs, you’ll need a sharp utility knife or scissors, pliers, and a flathead screwdriver. Depending on the type of repair, you may also want to have some sandpaper on hand to smooth rough edges. As for materials, pick up a hose repair kit from your local hardware store or garden center.
These kits typically include replacement couplings, hose clamps, and sometimes even rubber washers. If you’re dealing with a small puncture or tear, you might also want to grab some waterproof tape or a tube of rubber cement. Having these tools and materials at the ready will make your repair process smoother and more efficient, allowing you to get back to your gardening in no time.
3. Cleaning and Preparing the Damaged Area
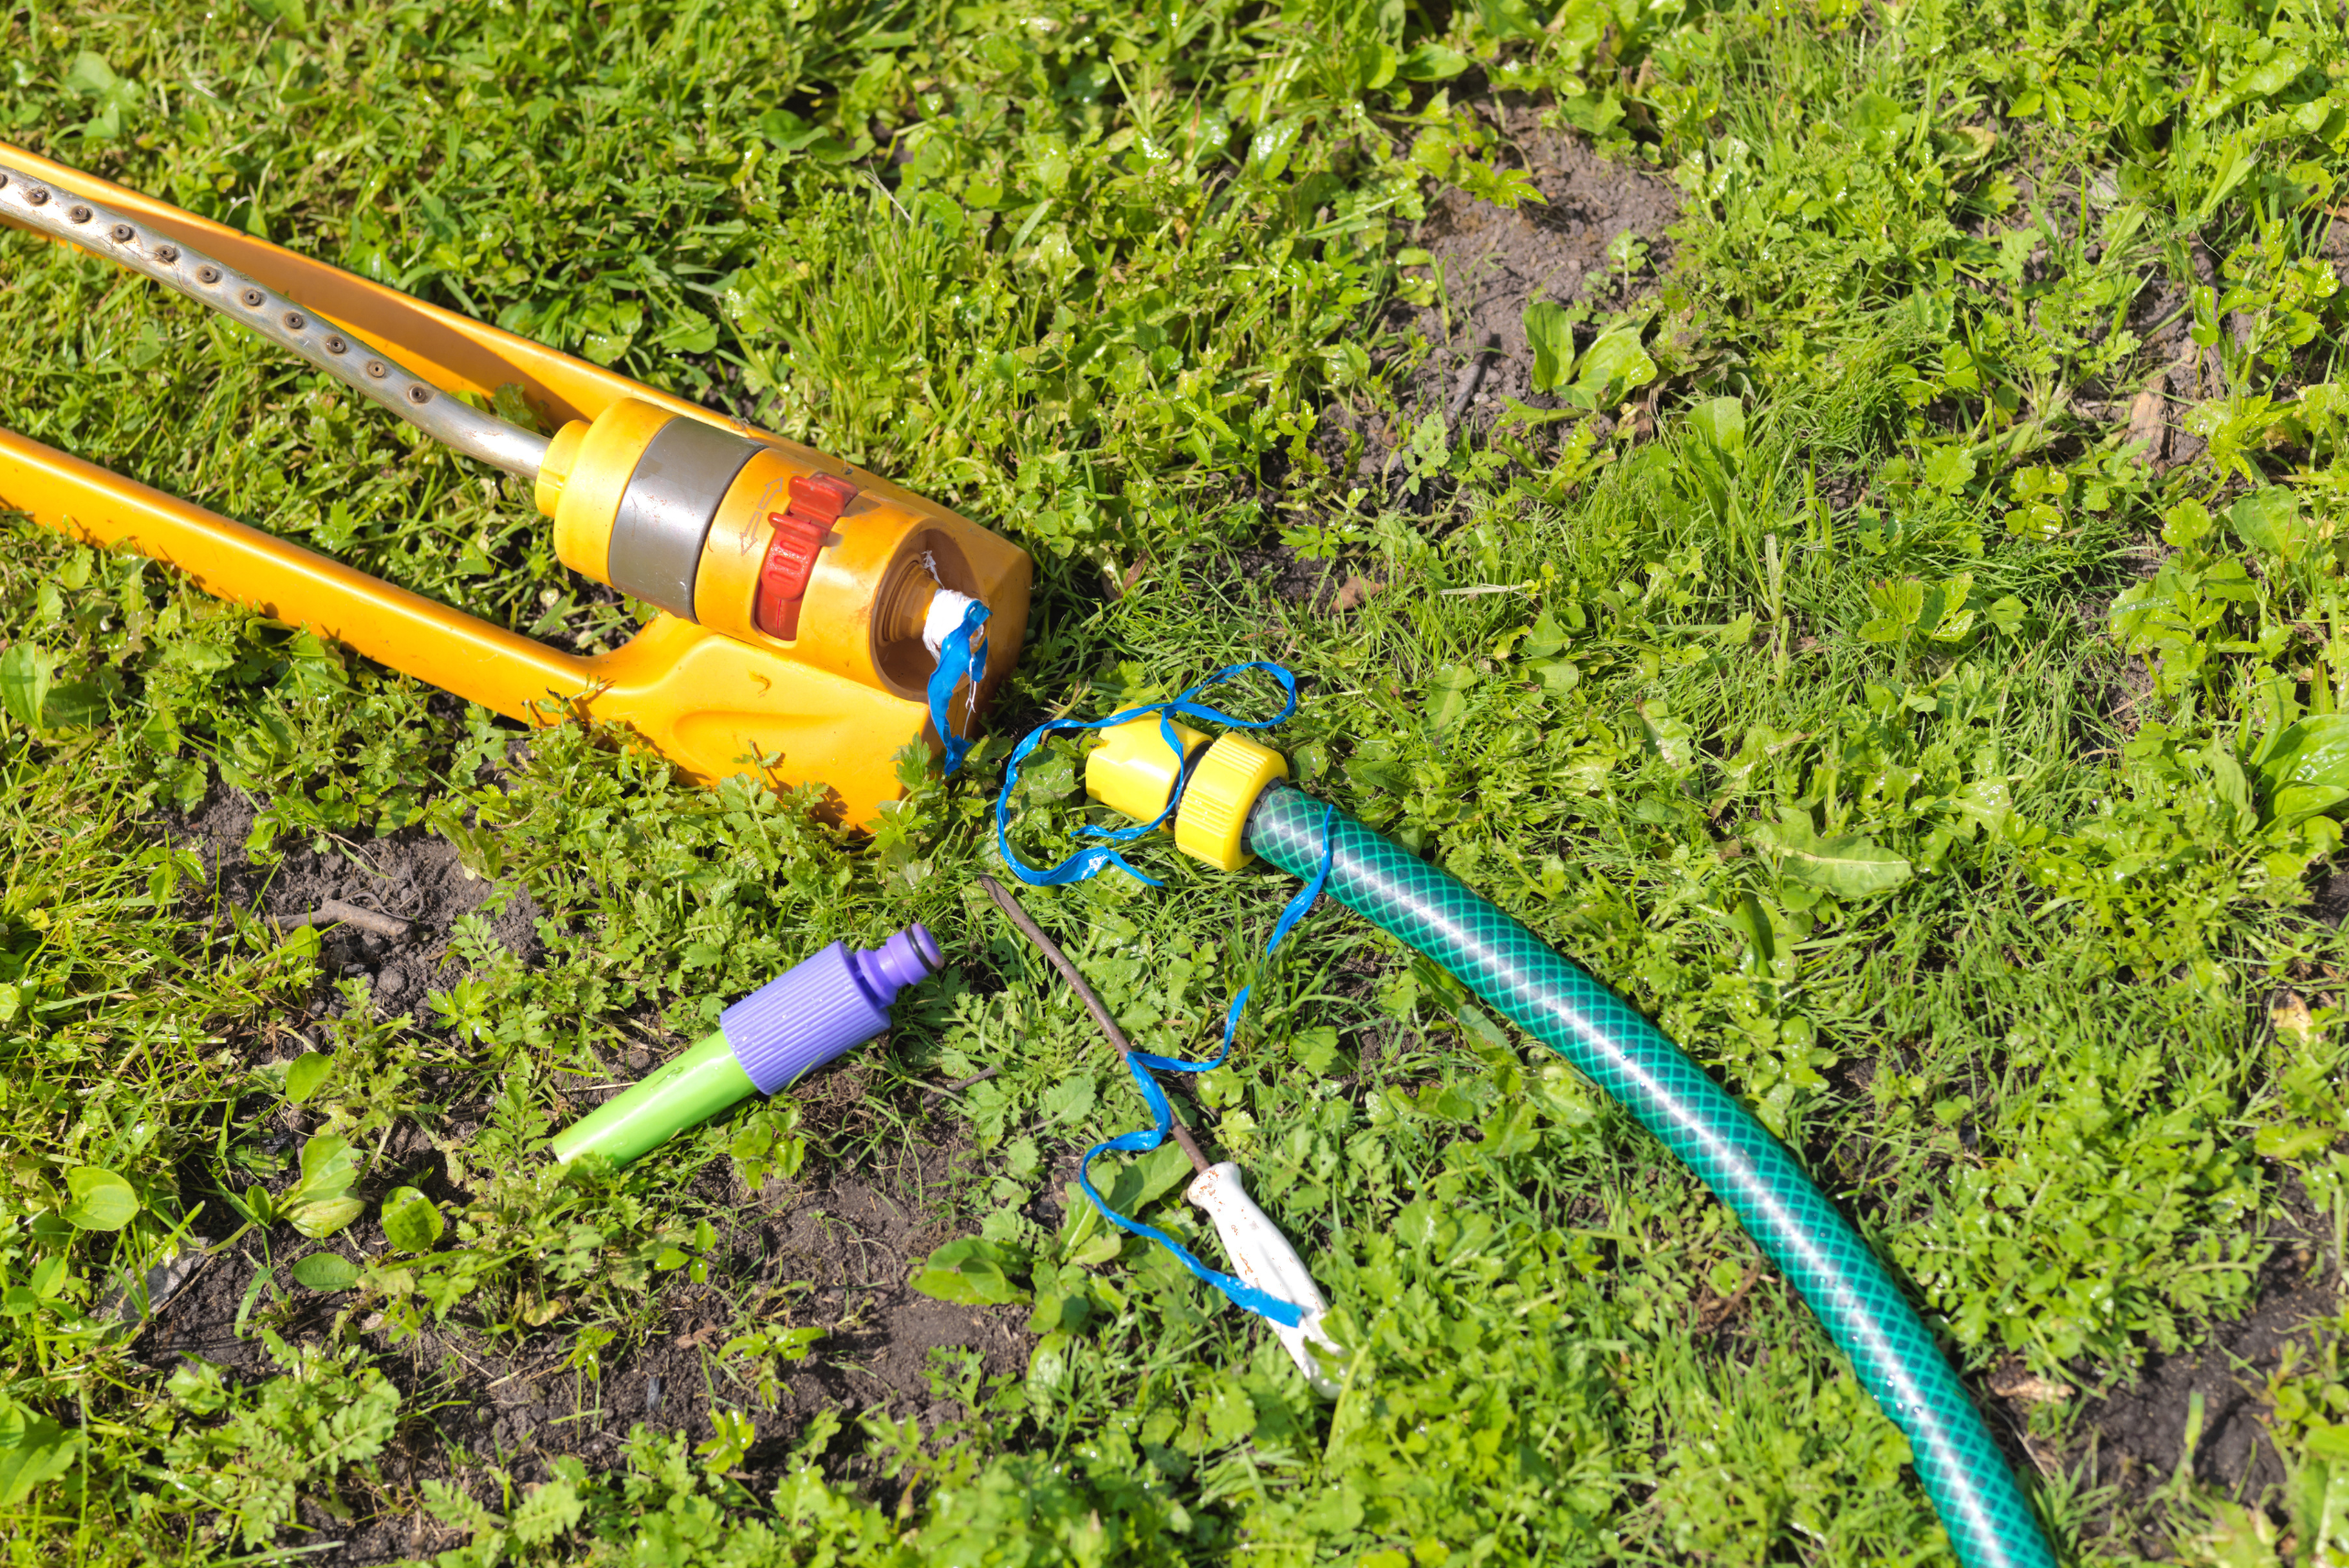
Before you start slicing and dicing, take a moment to clean the area around the damage. Use a damp cloth to wipe away any dirt, grime, or debris that might interfere with your repair. If you’re dealing with a particularly stubborn buildup, a mild soap solution can help loosen things up. Once the area is clean, allow it to dry completely.
If you’re repairing a cut or tear, use your utility knife to trim away any frayed or jagged edges carefully. This will create a cleaner surface for your repair and help ensure a better seal. For punctures or small holes, gently sand the area around the damage to roughen up the surface slightly. This will help your repair material adhere more effectively, creating a stronger, longer-lasting fix.
4. Cutting and Removing the Damaged Section
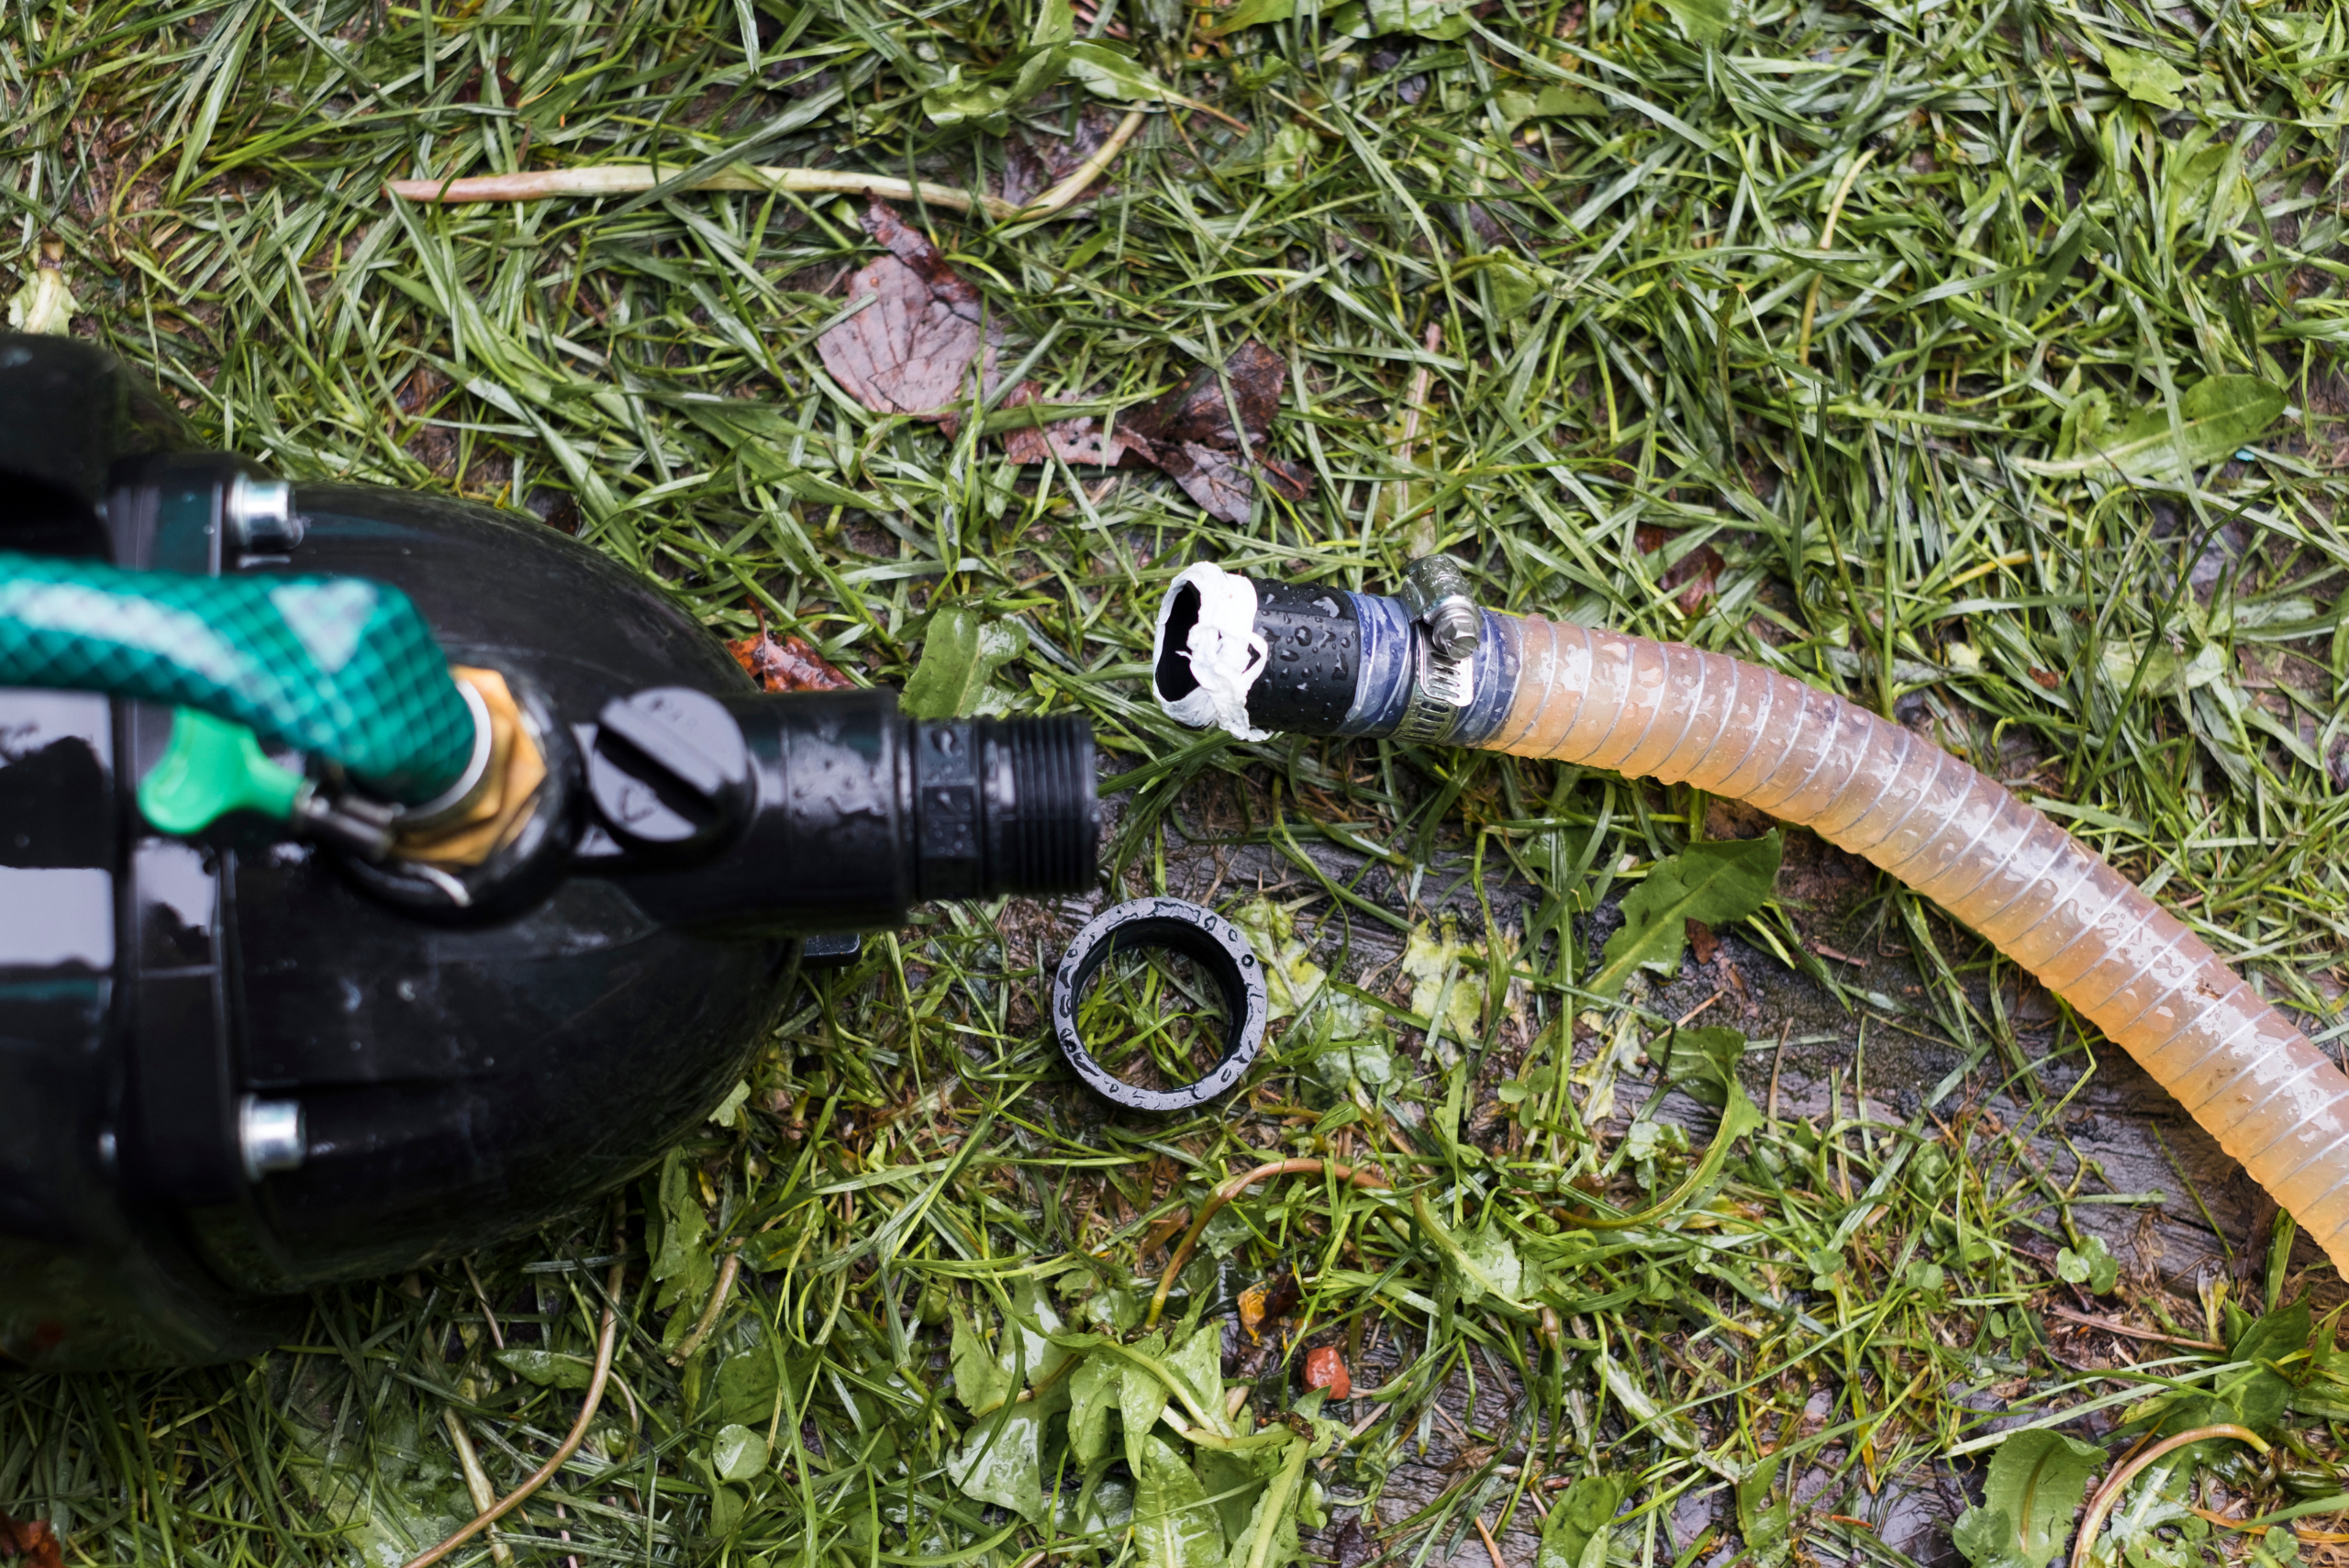
For more severe damage or when replacing end fittings, you’ll need to remove the affected portion of the hose. Using your utility knife or a pair of sharp scissors, make a clean, straight cut through the hose on either side of the damaged area. Aim to remove as little of the good hose as possible while ensuring you’ve eliminated all compromised material.
If you’re replacing an end fitting, you’ll need to remove the old one first. Use pliers to loosen and remove any hose clamps, then twist and pull the fitting to separate it from the hose. If it’s stubborn, you may need to cut the hose just behind the fitting to free it. Remember to make your cuts as straight and clean as possible to ensure a good fit with your replacement parts.
5. Applying Repair Techniques and Materials
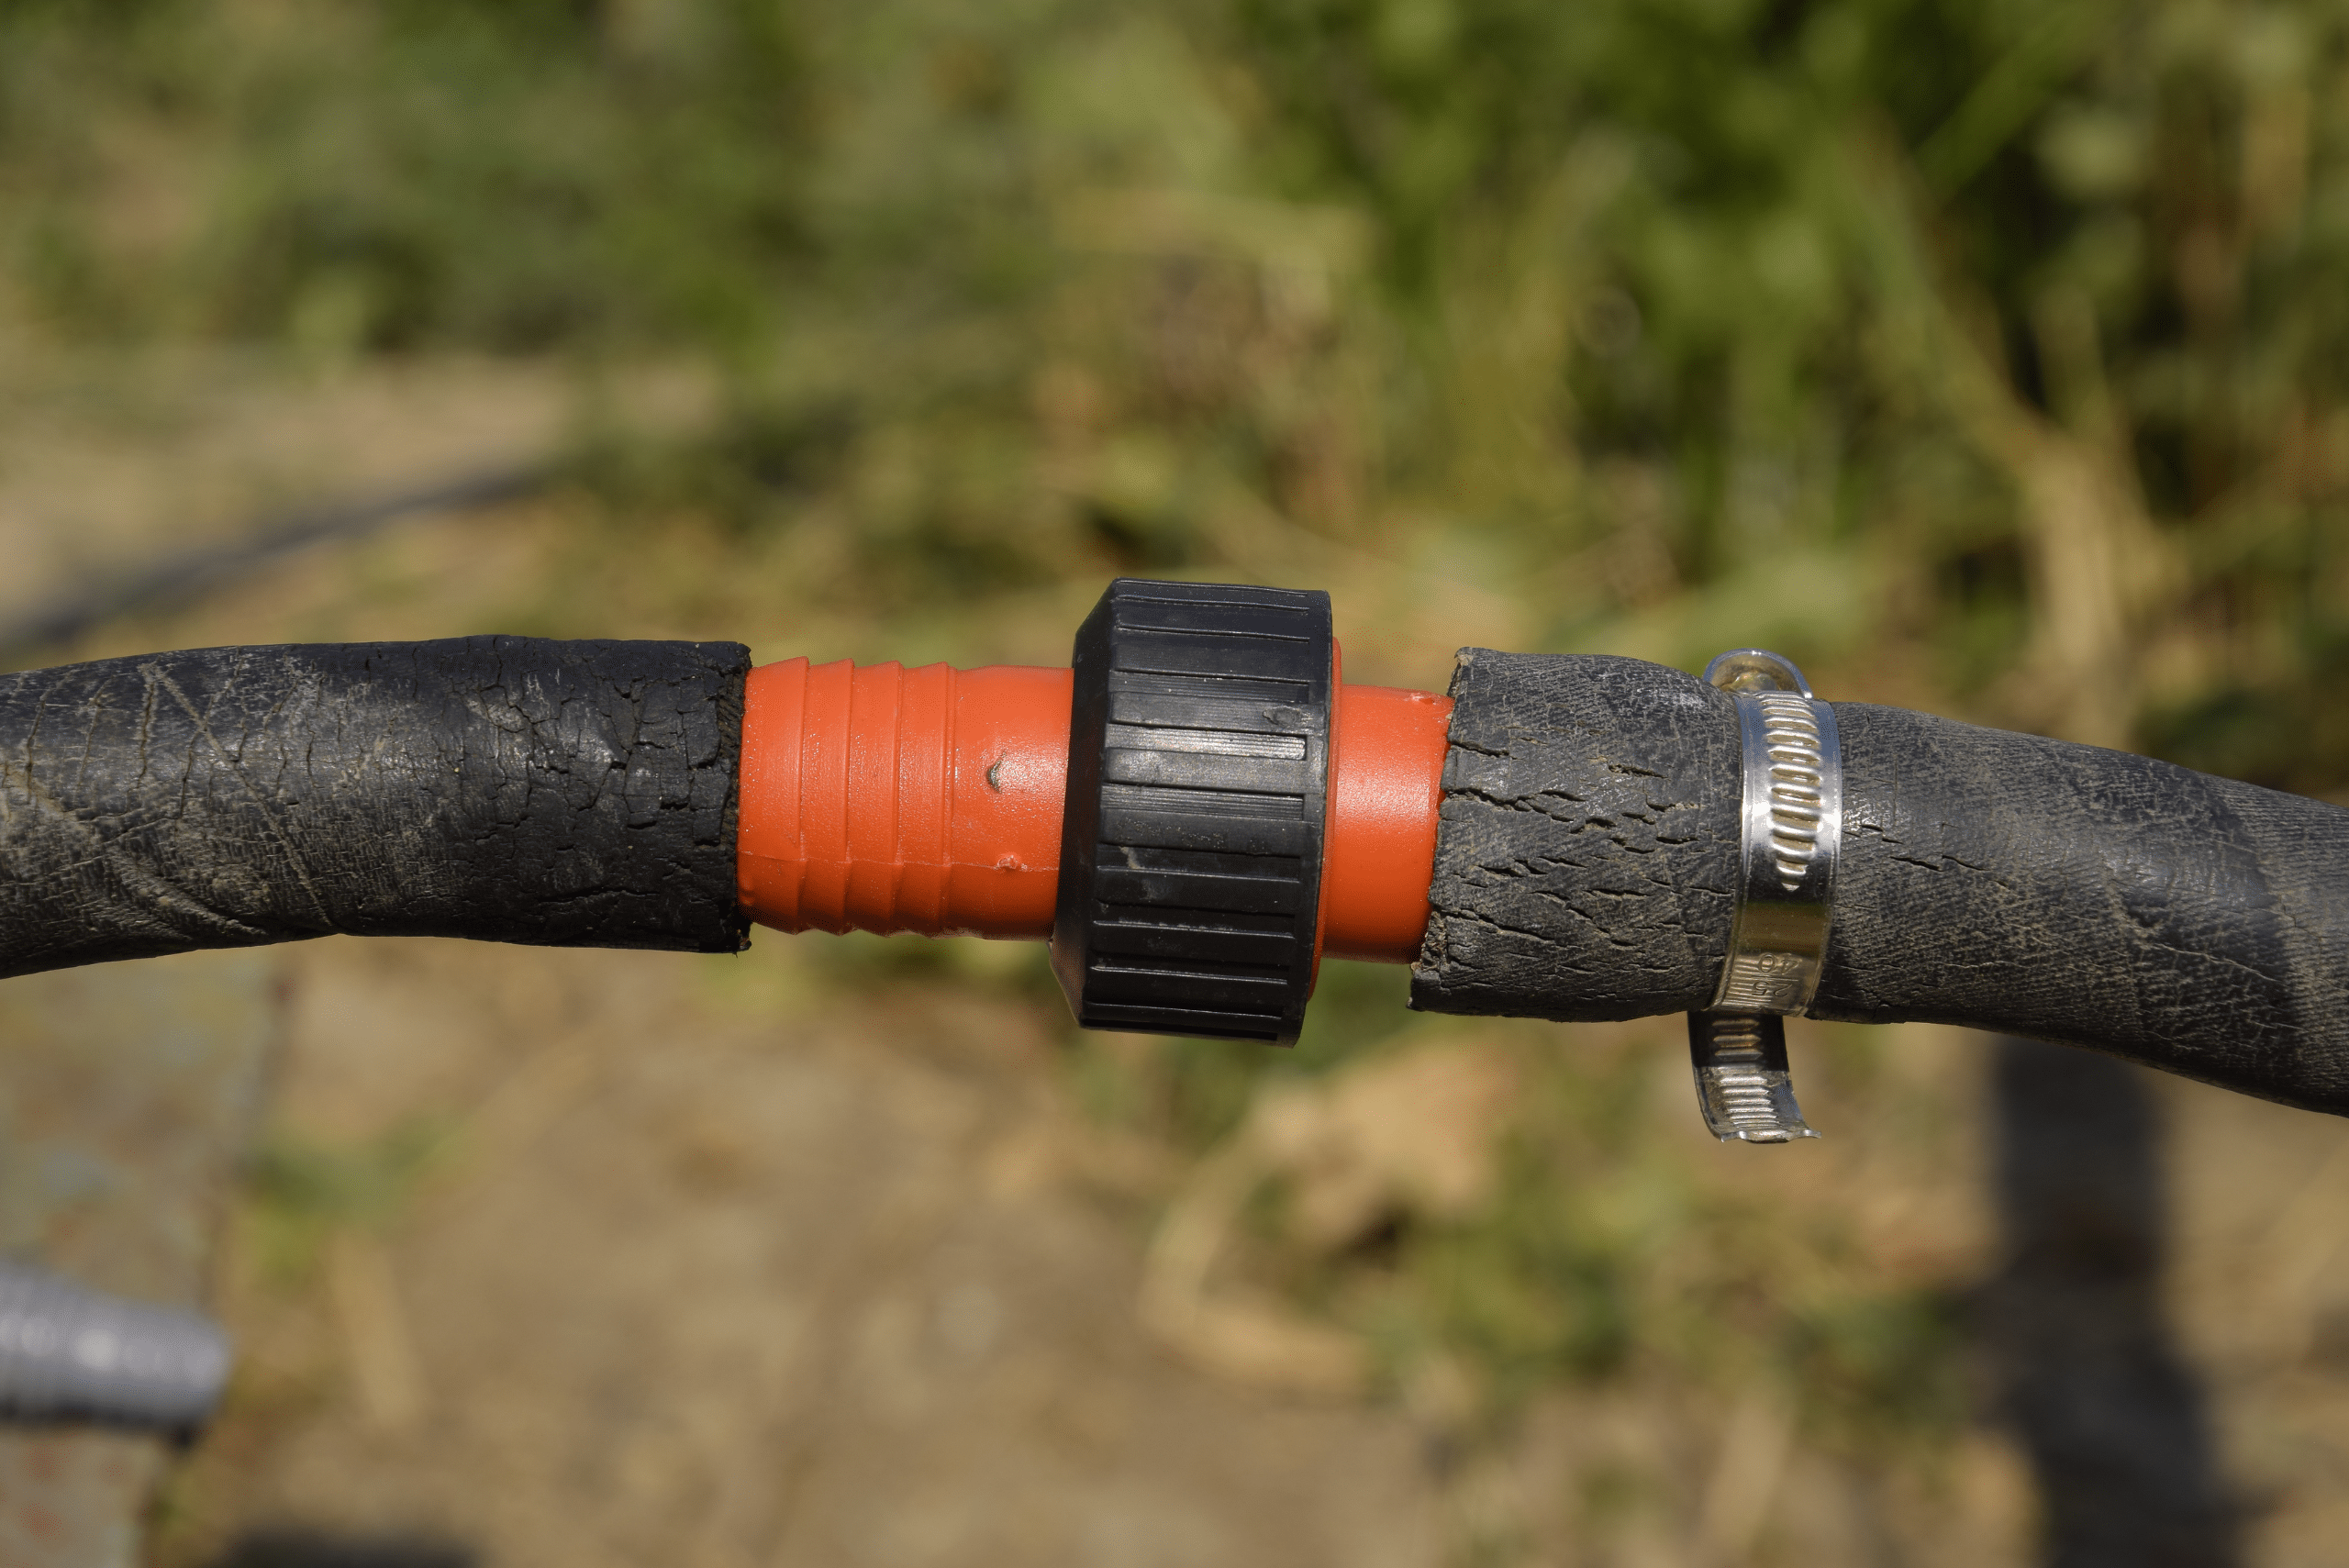
Now comes the fun part – putting your hose back together! For small punctures or tears, you can often get away with a simple patch job. Apply a generous amount of rubber cement around the damaged area, then cover it with a piece of waterproof tape or a rubber patch from your repair kit. Press firmly to ensure good contact and allow it to dry completely.
For more extensive repairs or when replacing fittings, you’ll need to use a coupling or new end piece. Slide any necessary clamps onto the hose before attaching the new fitting. Push the hose firmly onto the barbed end of the fitting, making sure it’s seated all the way. Tighten the hose clamps securely, but be careful not to overtighten and damage the hose. For an extra secure fit, you can use a bit of rubber cement between the hose and fitting before assembly.
6. Testing Your Handiwork for Leaks and Pressure
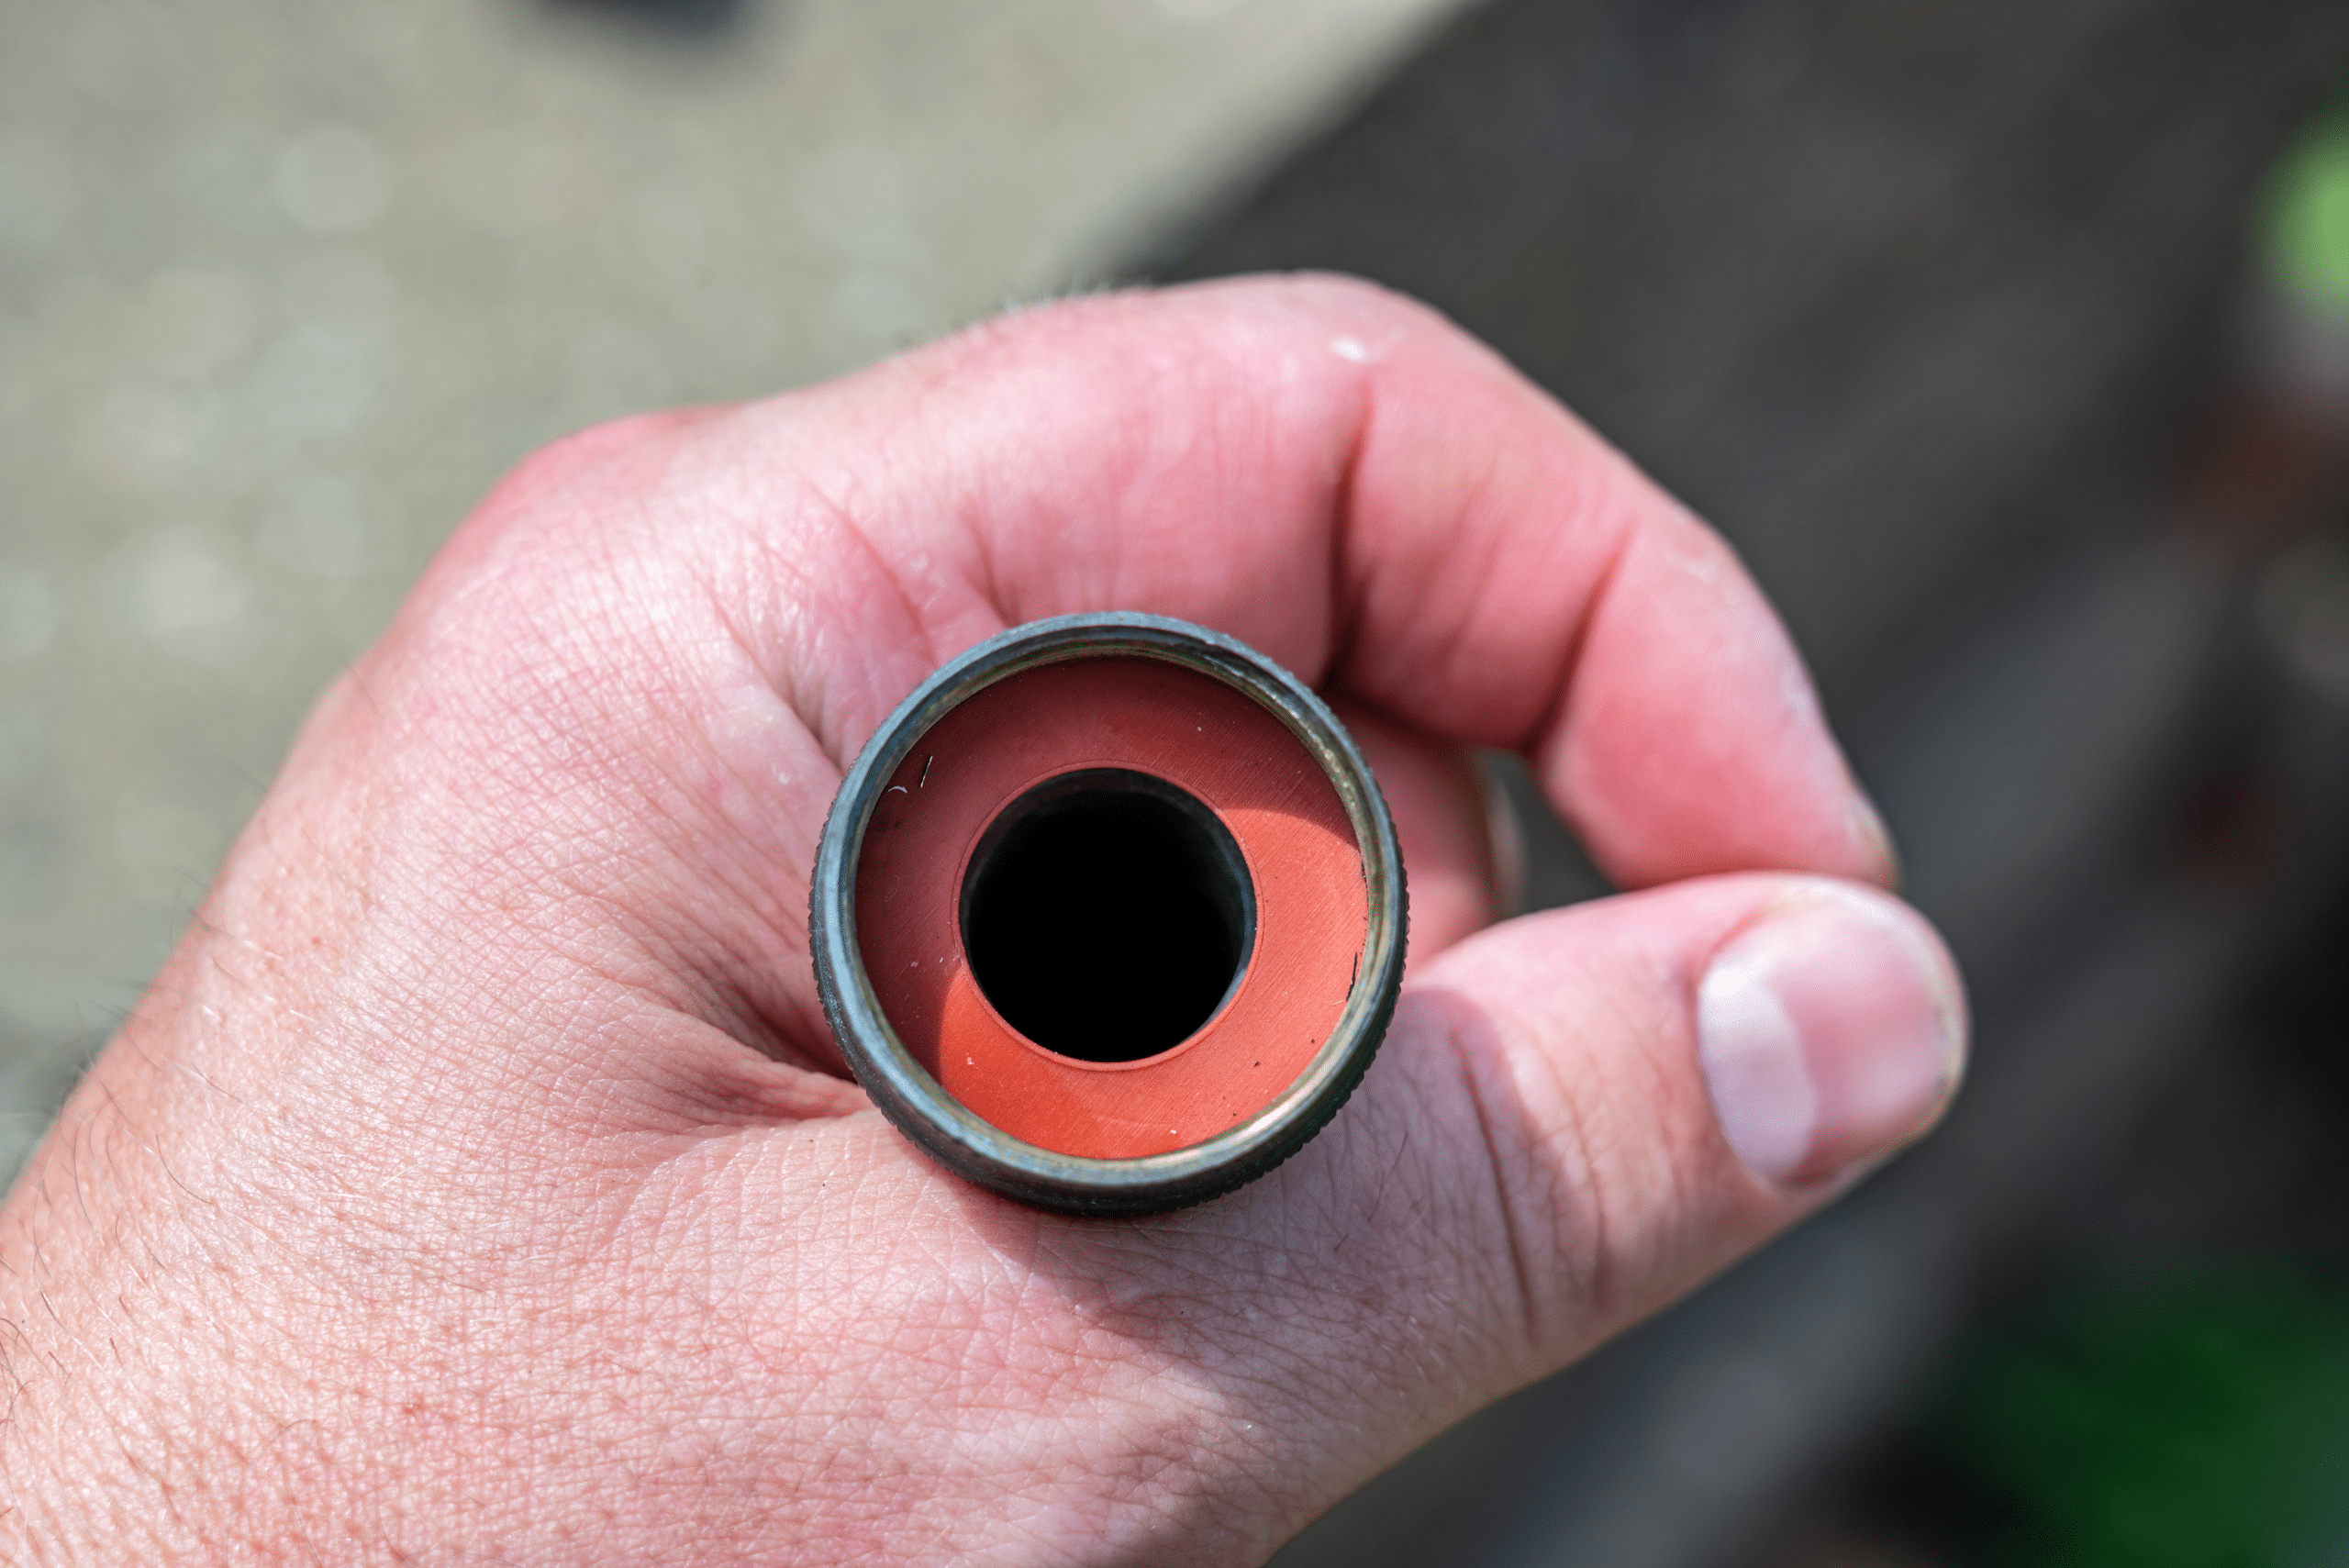
Before you declare victory, it’s crucial to put your newly repaired hose through its paces. Connect the hose to a water source and turn it on, gradually increasing the pressure. Watch carefully for any signs of leaking, paying extra attention to your repair sites and connections. If you spot any drips or sprays, tighten connections or reapply your repair as needed.
Once you’re confident that your hose is leak-free, test its flexibility by gently bending it in various directions. Make sure your repairs haven’t created any stiff spots that might lead to future kinks or damage. If everything looks good, give yourself a pat on the back – you’ve successfully brought your garden hose back from the brink!
Related Articles
- How to Build Your Own DIY Lawn Sprinkler System
- The Benefits Of Using A Rain Barrel To Water Your Garden
- Craft Your Own DIY Self-Watering Planters
Congratulations! You’ve now joined the ranks of garden hose repair experts. By taking the time to fix your hose instead of replacing it, you’ve not only saved money but also reduced waste and honed your DIY skills. Remember, a well-maintained hose is a happy hose, so keep an eye out for signs of wear and tear and address issues promptly. With these repair techniques in your toolkit, you’ll be ready to tackle any hose emergency that comes your way. Now, go forth and water those plants with pride – your green thumb and your wallet will thank you!
Ready to start your next project? Join our DIY community to receive tool tips, how-to guides, and exclusive creative insights. Subscribe to the ManMadeDIY newsletter now! Click here to unlock a world of hands-on inspiration.

