DIY Method to Stop Rust from Spreading on Your Car
Rust on your car can be more than just an eyesore—it can lead to significant damage if left untreated. Over time, rust will spread, eating through the metal and weakening your vehicle’s structure. Fortunately, you don’t have to pay for expensive professional repairs to prevent this. With a few simple DIY methods, you can stop rust in its tracks and protect your car from further corrosion. In this article, we’ll walk you through a step-by-step guide on how to effectively stop rust from spreading, helping you maintain your car’s appearance and structural integrity.
Clean the Affected Area
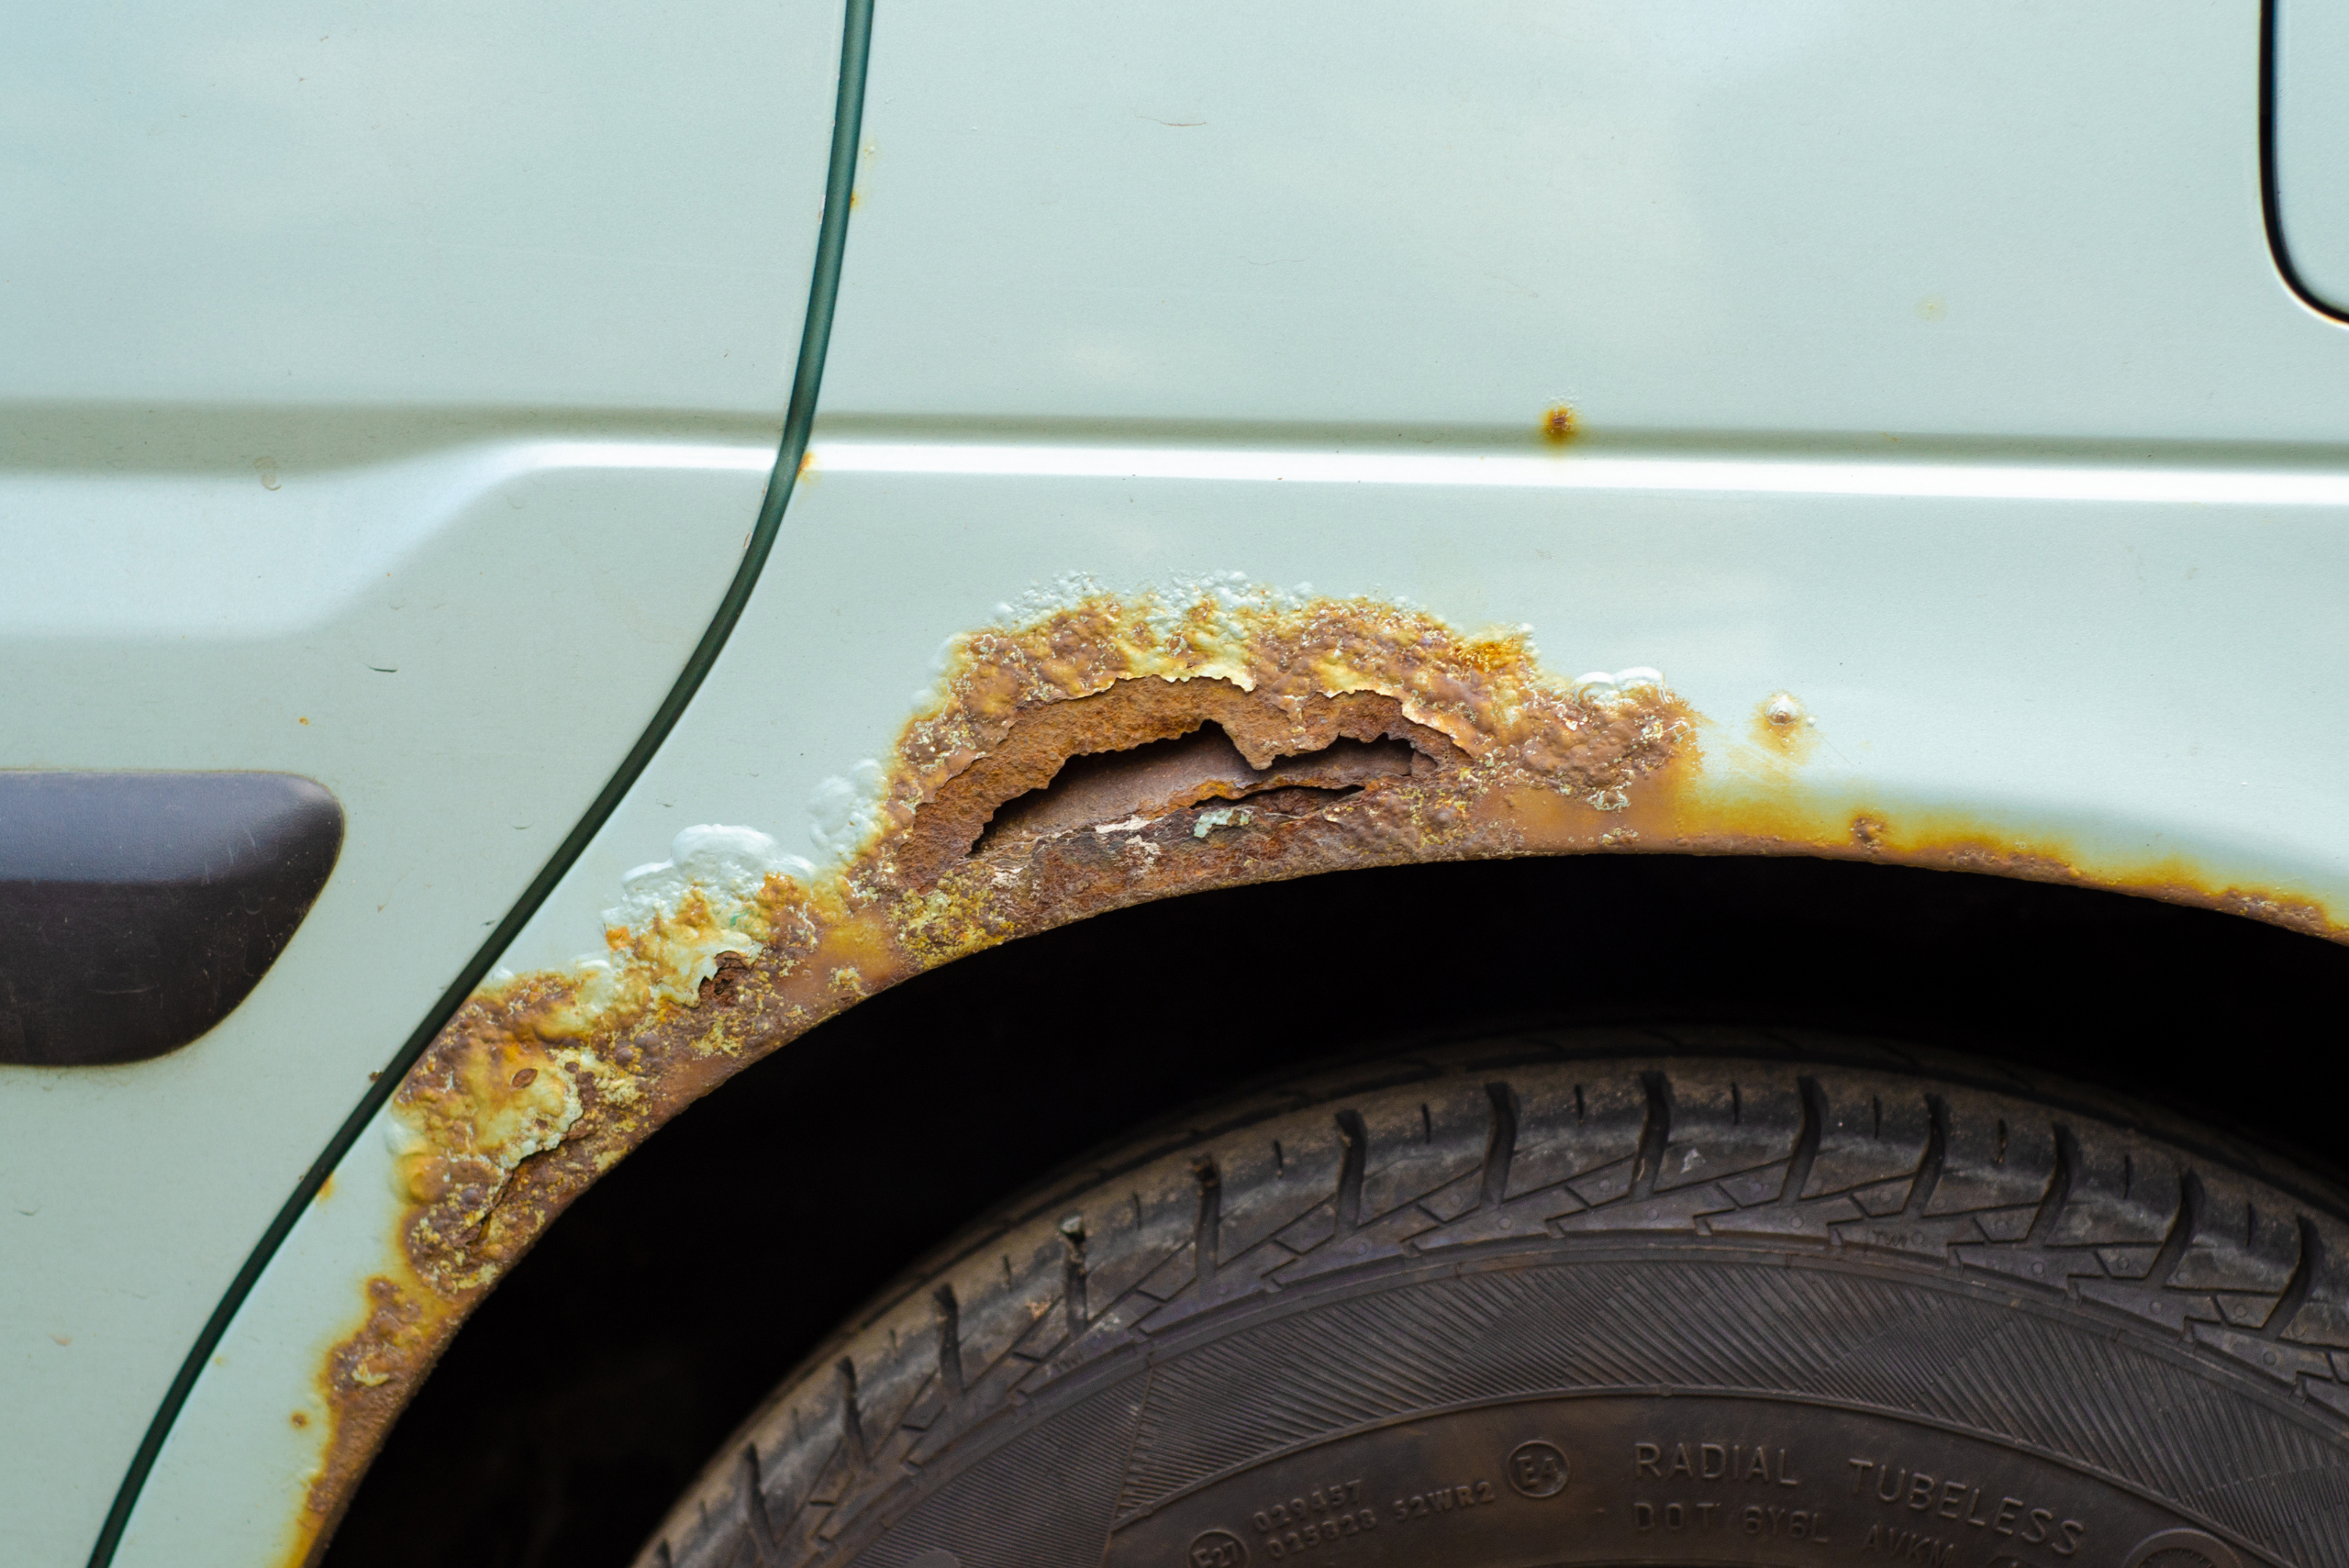
The first step in stopping rust from spreading is to clean the affected area thoroughly. Rust tends to develop when dirt, moisture, and grime are trapped on the metal surface, so it’s essential to remove any debris before working on the rust. Use a wire brush, sandpaper, or a rust removal tool to scrub away the rusted area. If you’re dealing with a small spot, you can also use a rust remover solution to break down the corrosion before scrubbing.
Once the rust is removed, wash the area with soap and water to remove any remaining dirt or cleaning chemicals. Allow the area to dry completely before proceeding to the next step. Proper cleaning ensures that the surface is smooth and ready for further treatment, improving the chances of preventing the rust from returning.
Sand the Rusted Area
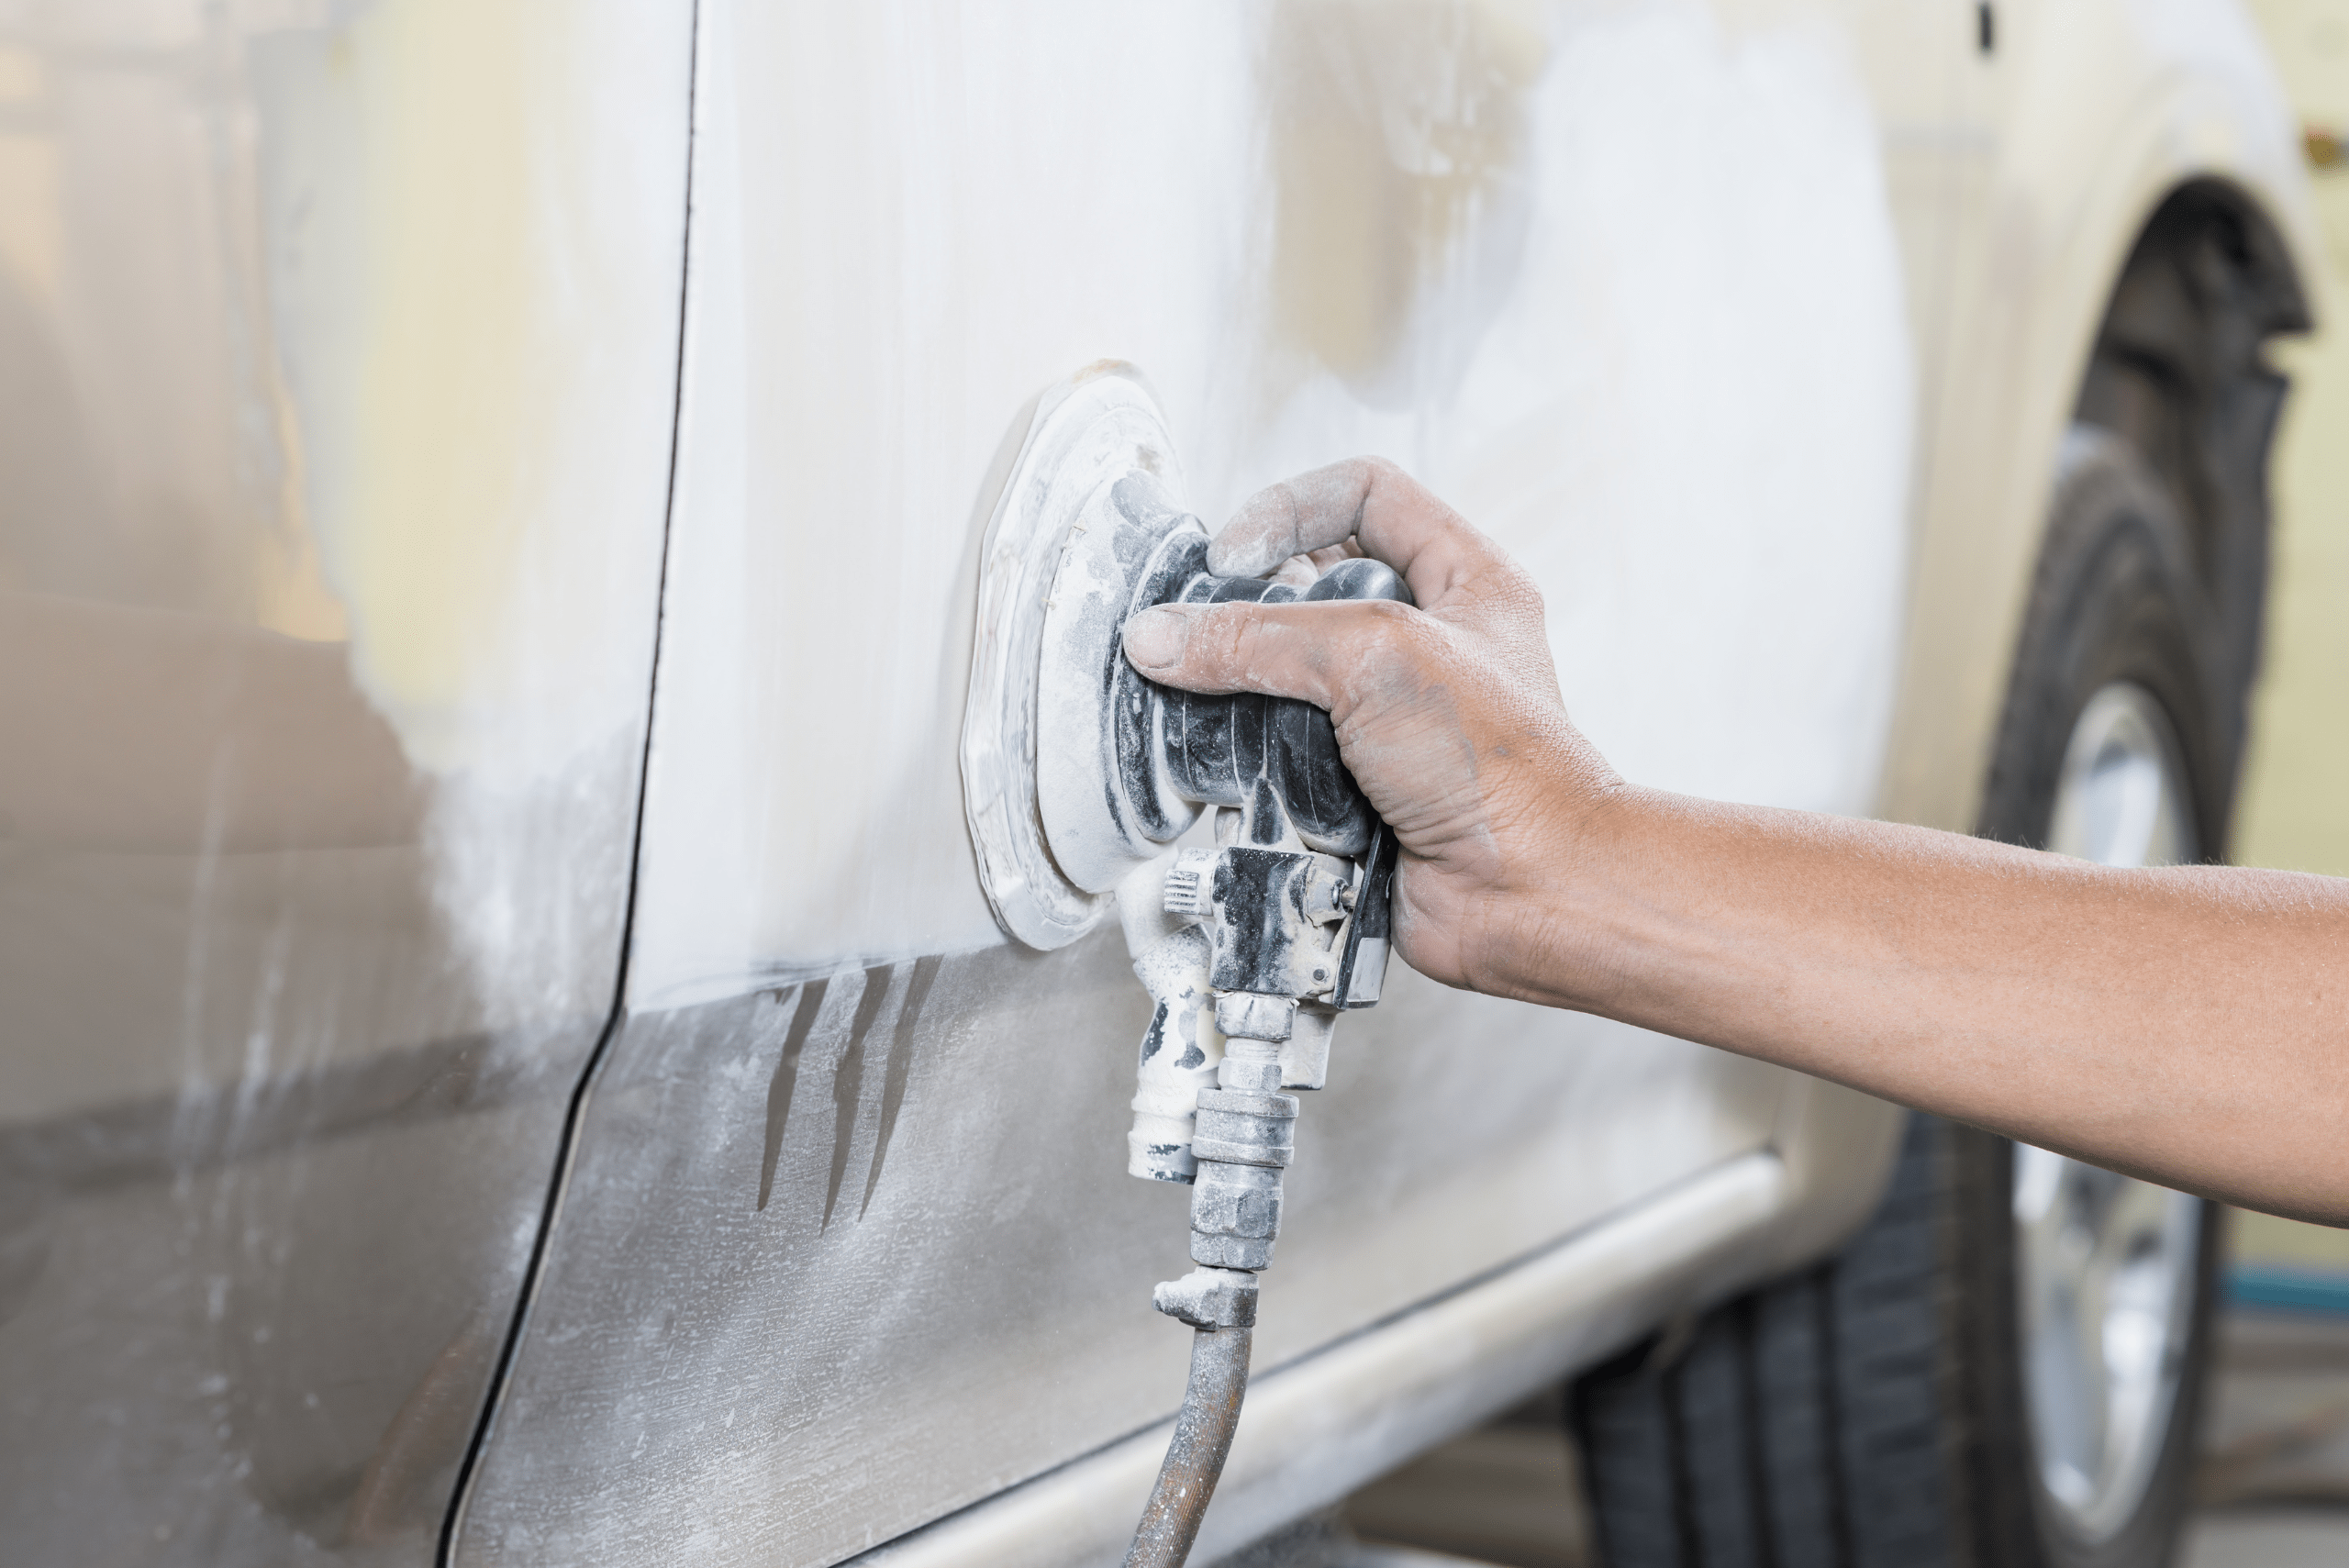
After cleaning, the next step is to sand the rusted area to smooth out any rough patches and remove any remaining rust. This step is crucial because it helps ensure that the treatment products adhere properly to the surface. Use sandpaper with a coarse grit (around 80-120) to remove the bulk of the rust, then switch to a finer grit (around 220) to smooth the surface.
Be sure to wear safety glasses and a mask to protect yourself from rust particles and dust. Sanding the area helps expose clean metal beneath the rust, which makes it easier to apply protective coatings that will prevent further corrosion.
Apply a Rust Converter
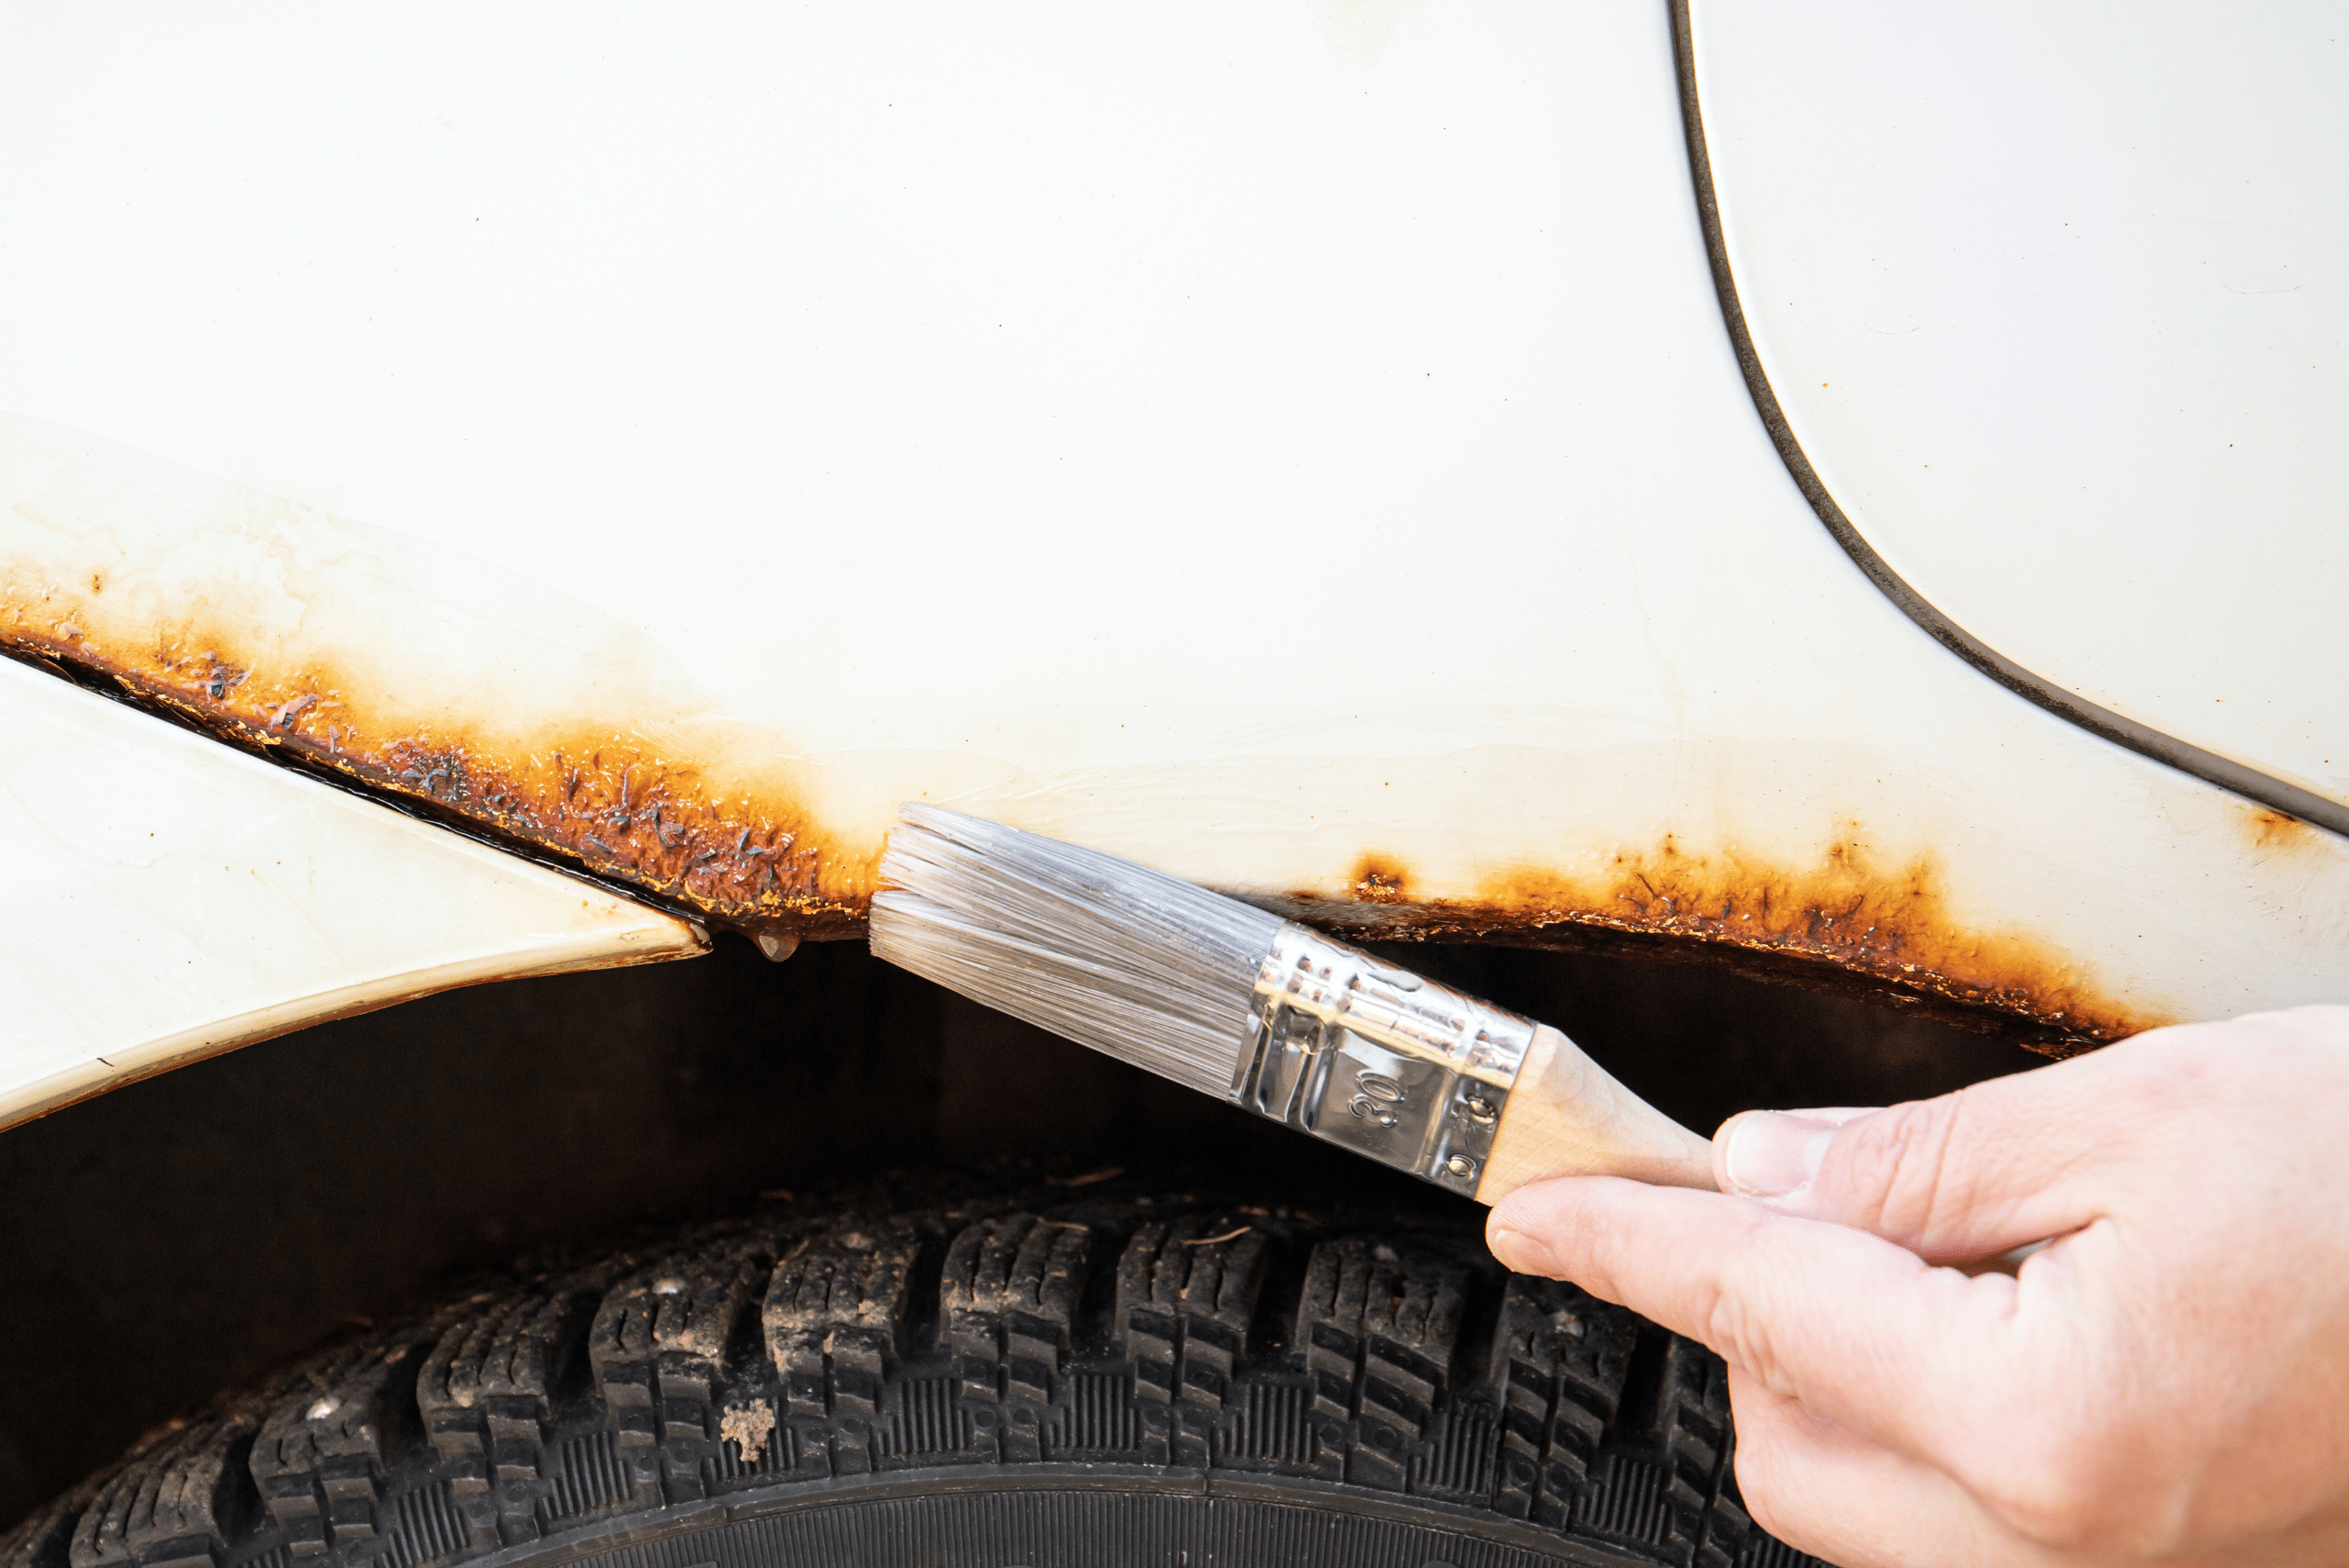
Once you’ve removed the rust and smoothed the surface, the next step is to apply a rust converter. Rust converters work by chemically transforming the rust into a stable compound that prevents it from continuing to spread. These products are available in spray or liquid form, making them easy to apply to small or hard-to-reach areas.
Follow the manufacturer’s instructions carefully when applying the rust converter. Typically, you’ll need to apply a thin layer to the rusted area and allow it to dry for several hours. Once it’s dry, the rust converter will form a protective barrier, stopping the spread of corrosion and preparing the surface for painting.
Bondo for Deep Rust Damage
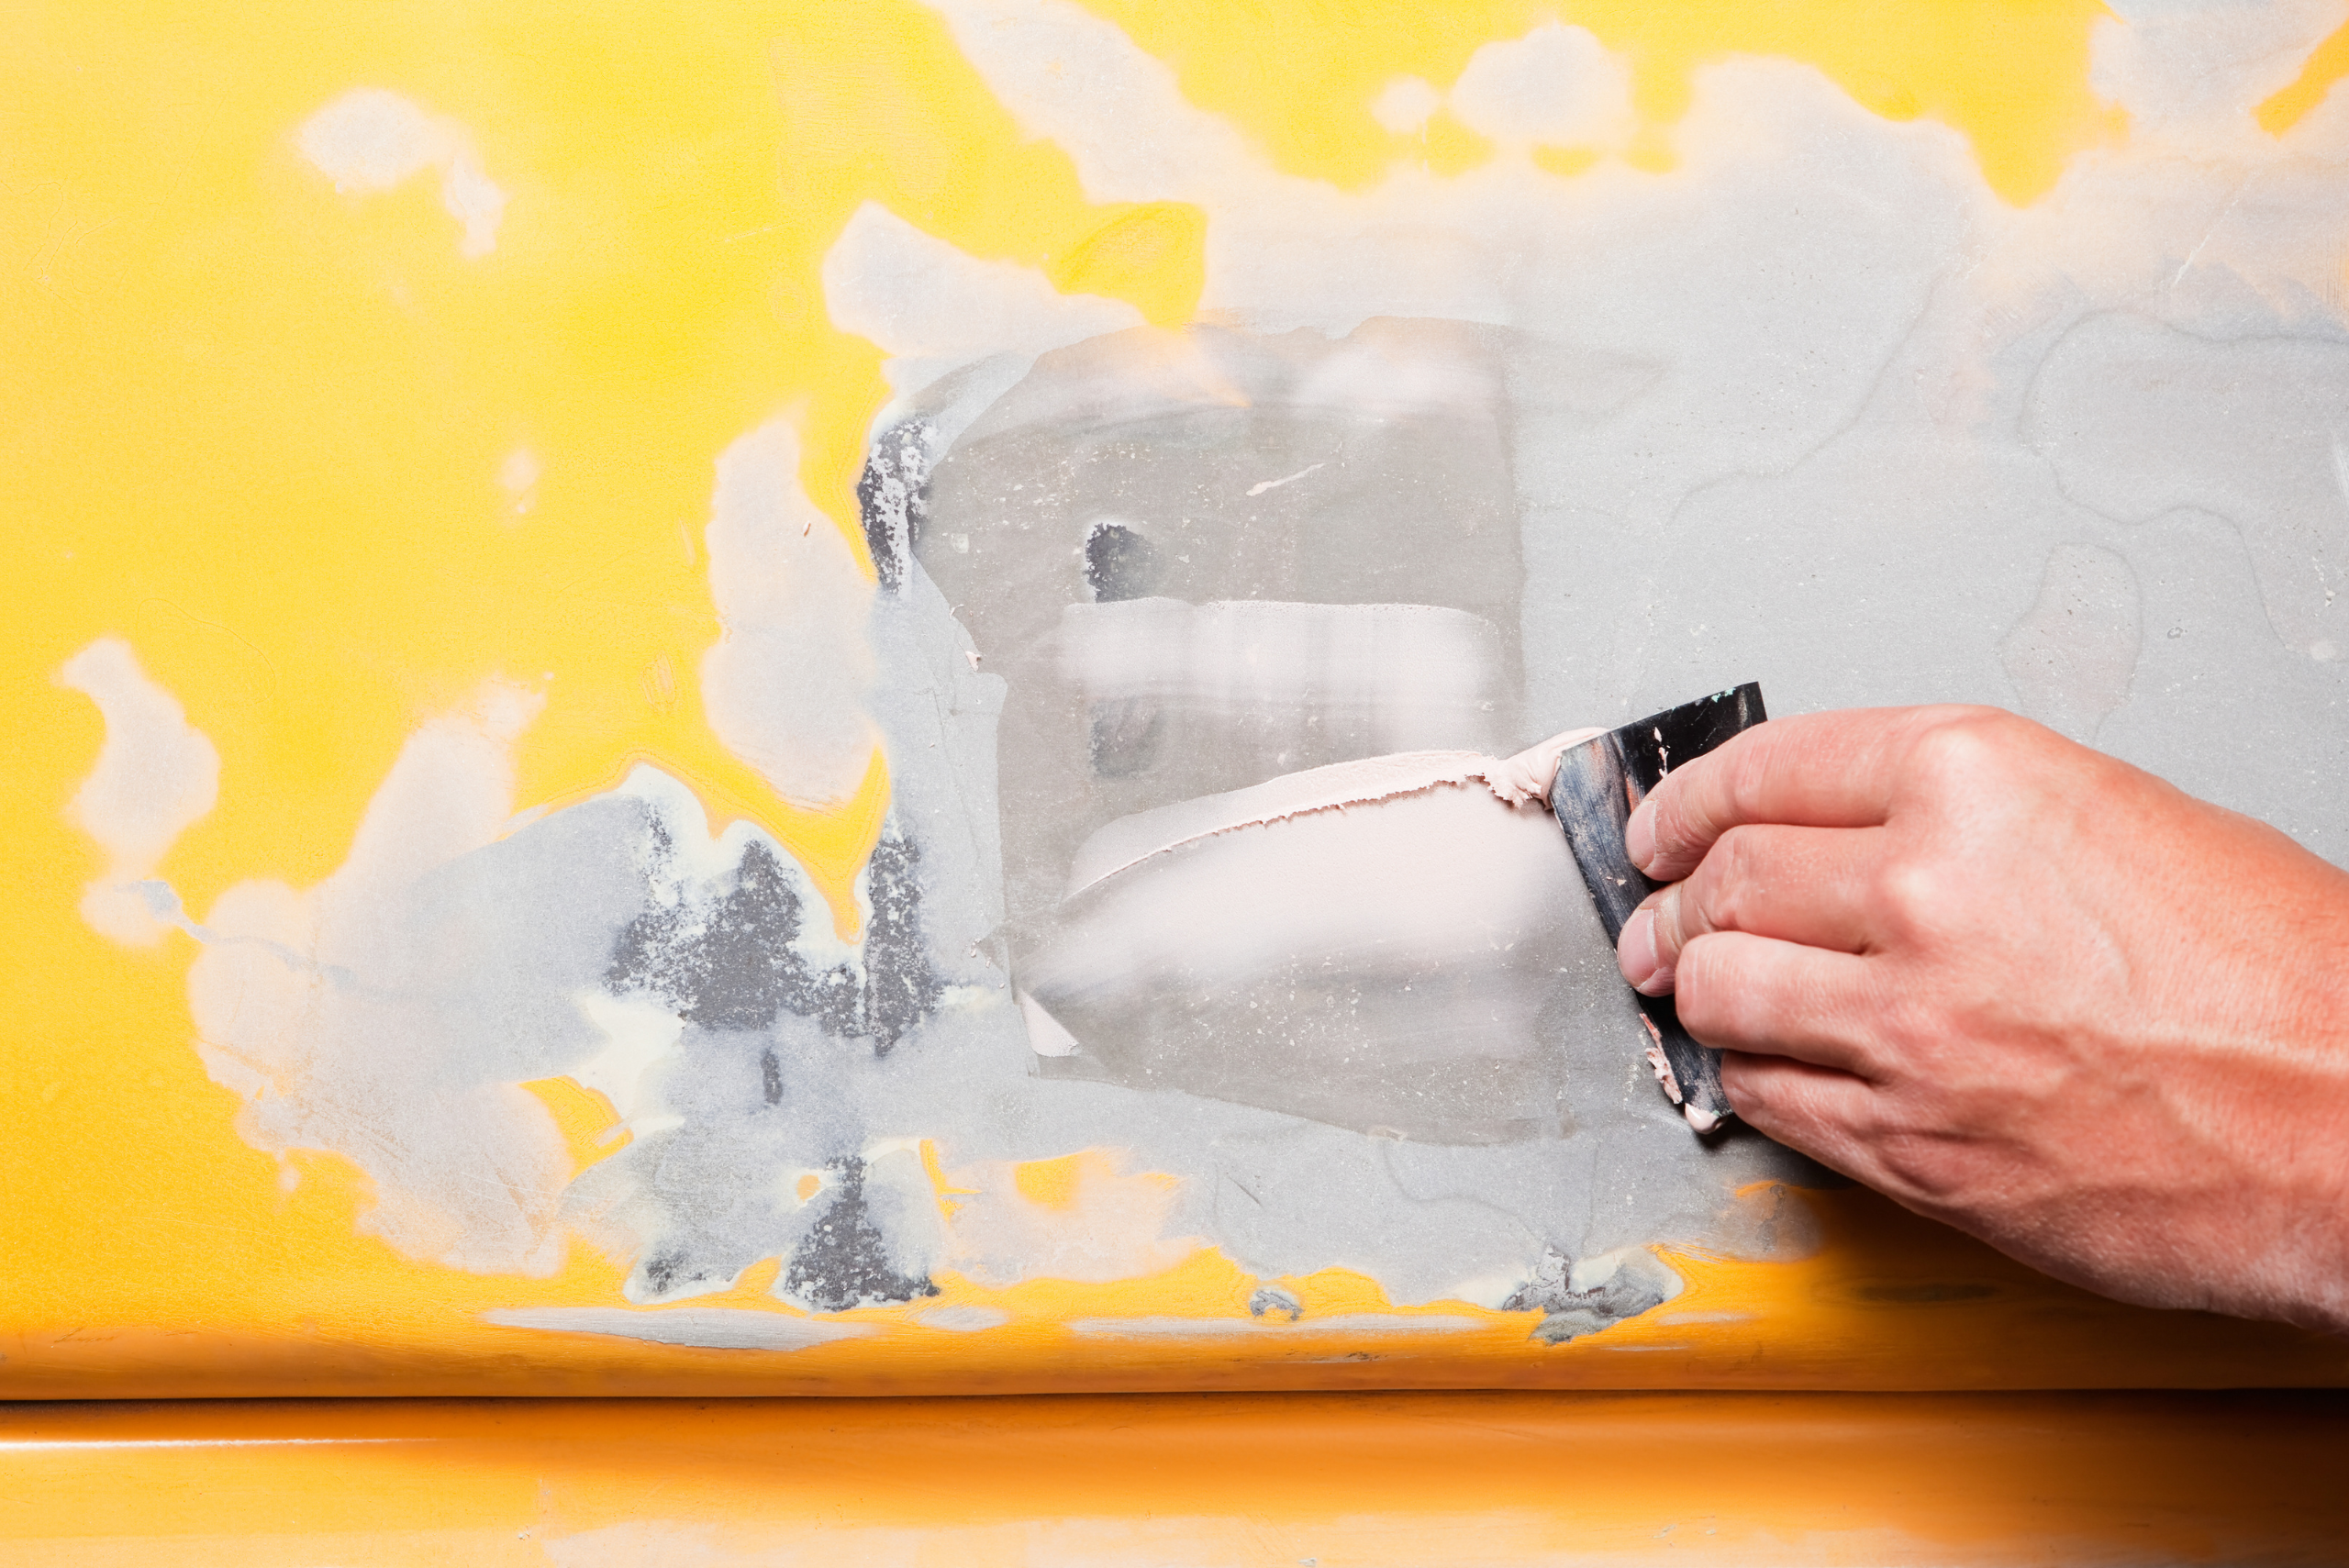
If the rust has caused significant damage and has eaten through the metal, you’ll need a more intensive approach. Bondo, a two-part auto body filler, is an excellent solution for filling in deep rust spots. After cleaning and sanding the area, mix the Bondo according to the manufacturer’s instructions, then apply it to the rusted area using a putty knife. Press the filler into the hole or cavity left by the rust, smoothing it out as you go.
Once the Bondo has cured, use a sanding block or sandpaper to smooth the surface down. You’ll want it to be as flush with the surrounding area as possible before moving on to priming and painting. Bondo is perfect for restoring the shape of the metal and preventing the rust from continuing to spread beneath the surface.
Prime and Paint the Area
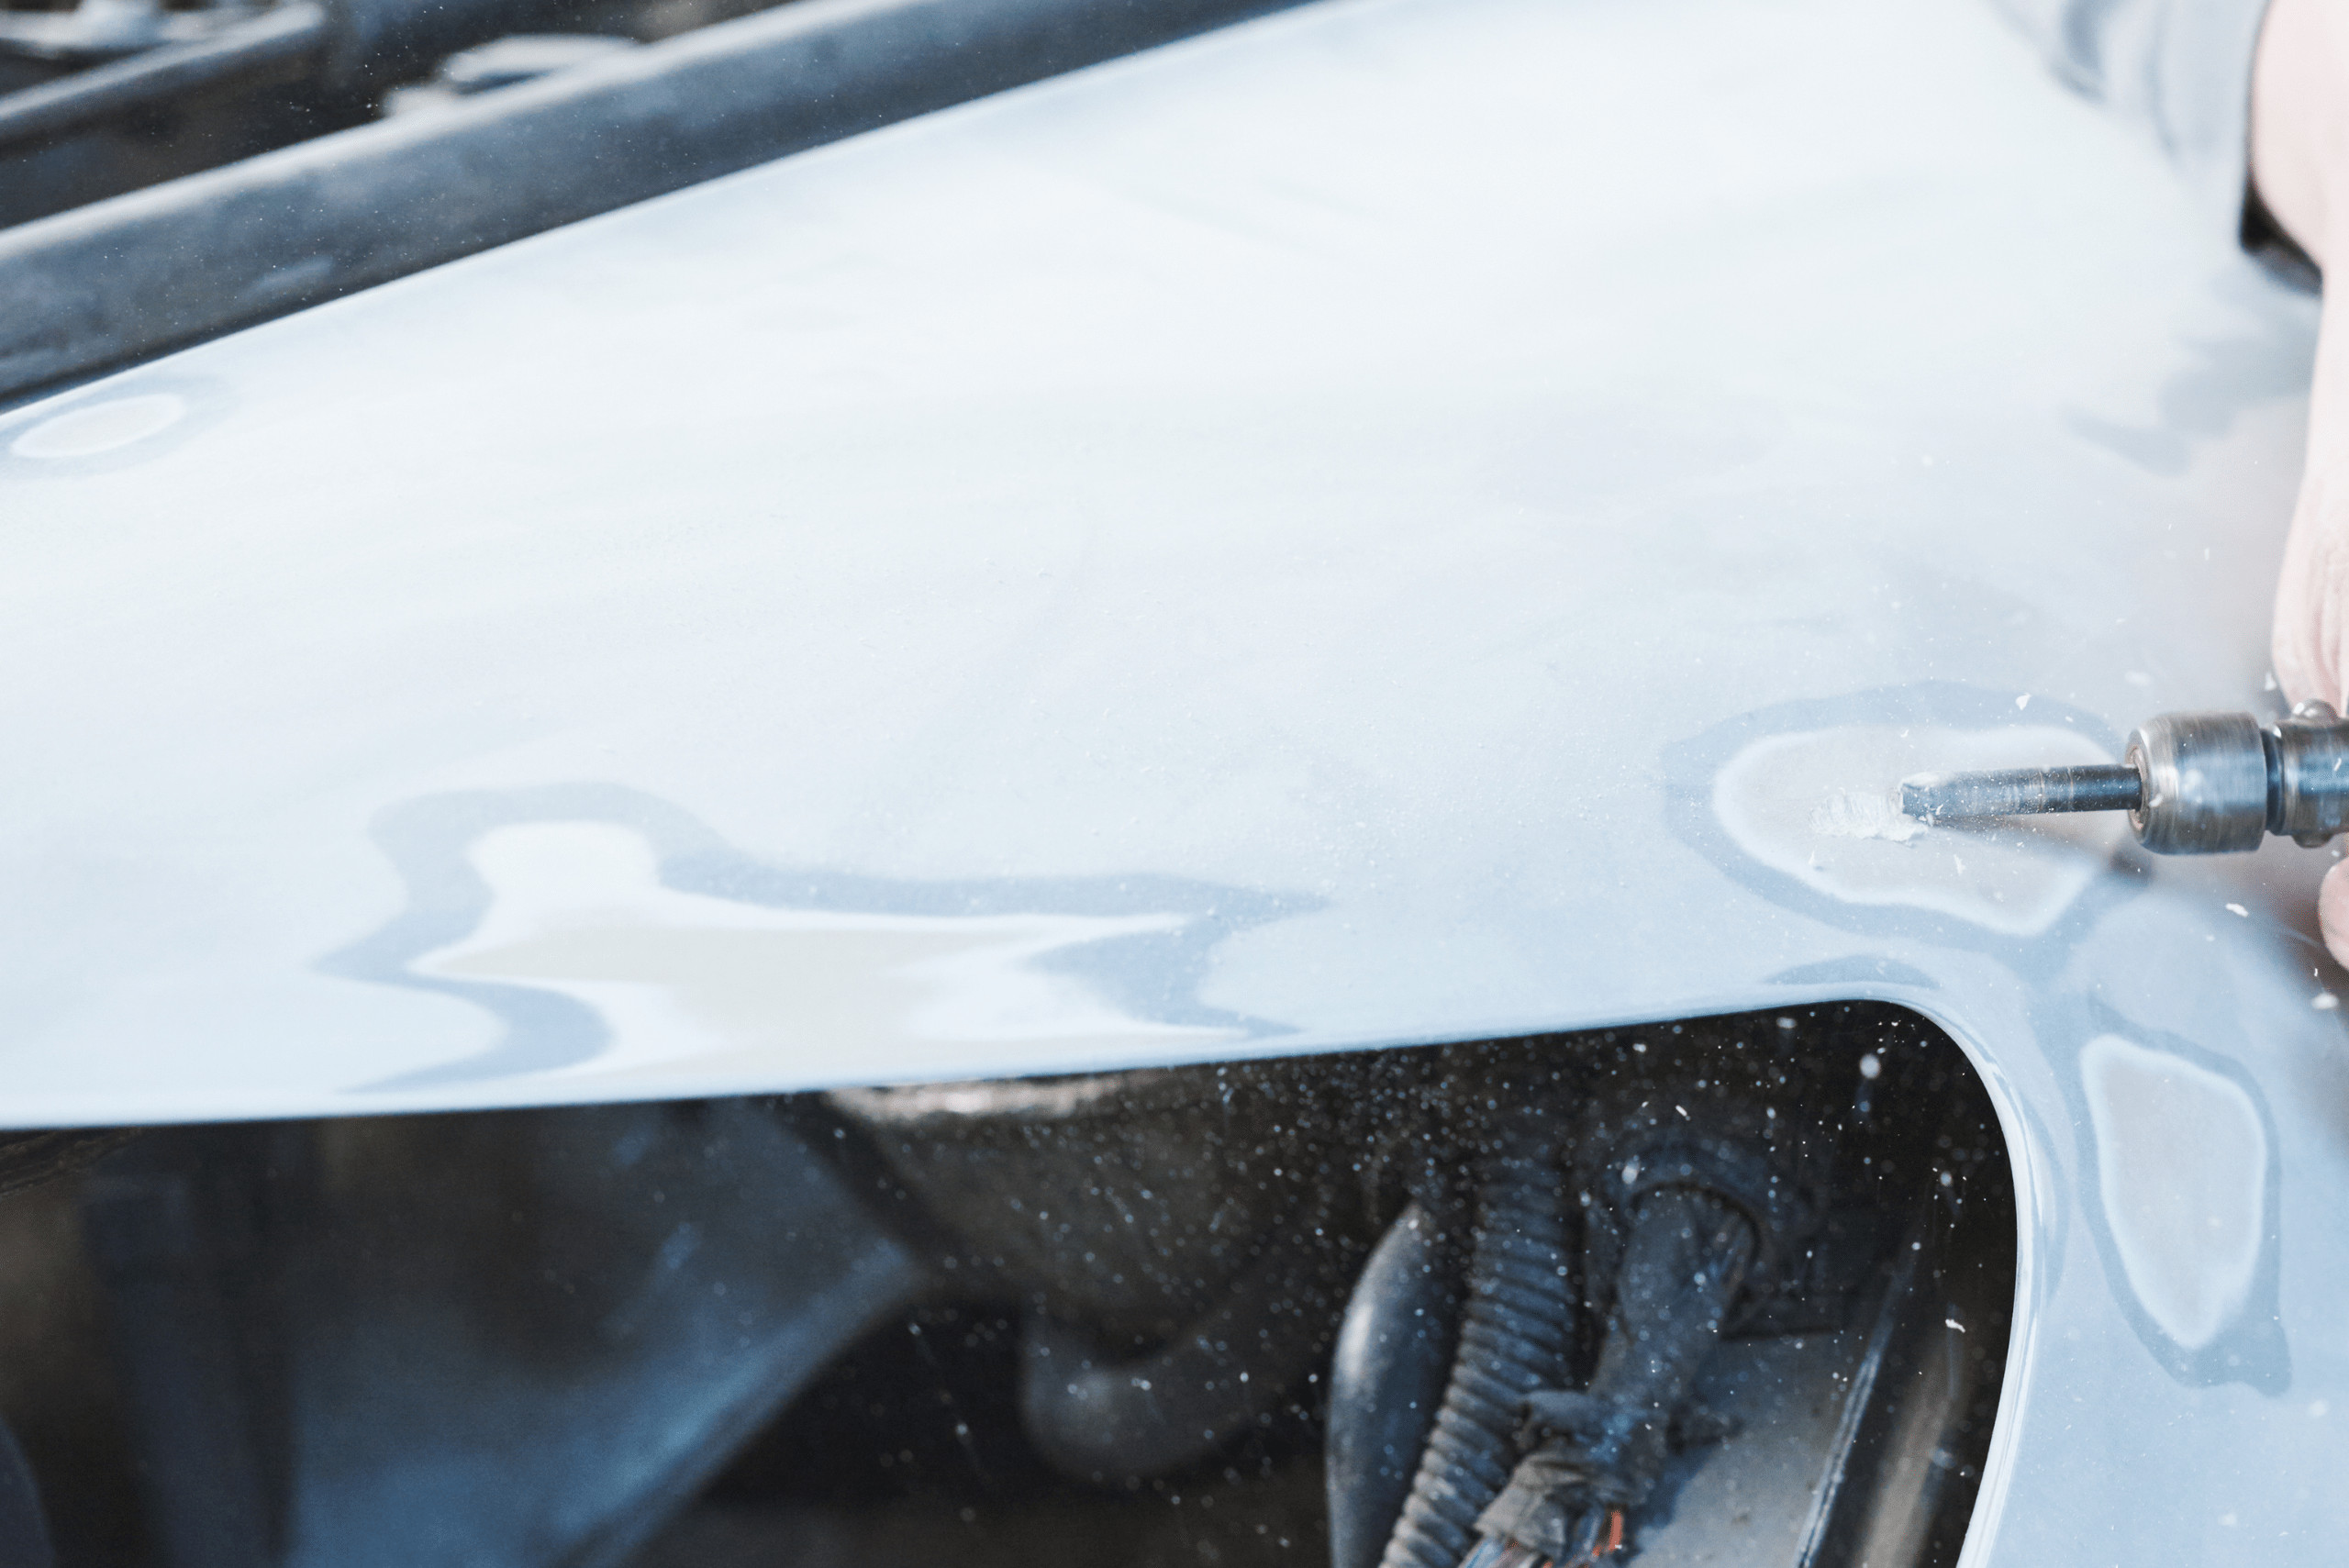
After the rust converter has dried, the next step is to prime and paint the area to protect it from future rust formation. Apply a coat of automotive primer to the treated area to create a smooth surface for the paint. Automotive primer is designed to adhere to metal and provide a durable foundation for the final paint layer.
Once the primer has dried, apply an automotive paint that matches your car’s color. It’s important to use paint specifically designed for automotive use to ensure a long-lasting finish. Depending on the size of the area, you may need to apply several coats of paint, allowing each layer to dry before applying the next. After the final coat is dry, apply a clear coat to seal the paint and give the surface a glossy finish.
Related Articles
- How to Easily Free Stuck Rusty Wheel Lug Nuts on Vehicles
- Easy Hacks for Loosening a Rusted Car Battery Terminal
- Car Battery Replacement – Step-by-Step Guide for DIY Enthusiasts
With these simple DIY methods, you can stop rust from spreading on your car and prevent further damage. By cleaning the area, sanding it, applying a rust converter, and painting over the treated spots, you can protect your vehicle from costly repairs and keep it looking great. Regular maintenance and preventive care will ensure that rust doesn’t get the chance to take hold, keeping your car in top shape for years to come.

