A Guide to Crafting the Ultimate DIY Screened In Porch
Taking on a DIY project to transform your porch into a screened-in haven is an exciting adventure that promises to blend the comfort of the indoors with the beauty of the outdoors. This guide is designed to walk you through the process, from the initial planning stages to the final touches, ensuring that your screened-in porch becomes a cozy outdoor living space where memories are made.
What You Need to Know Before Starting Your DIY Screened-In Porch Project
Before diving into the construction of your screened-in porch, it’s crucial to lay a solid foundation of understanding. This involves knowing the materials you’ll need, the tools required, and the overall design you’re aiming for. A DIY screened-in porch project isn’t just about adding screens to your existing porch; it’s about creating a functional, comfortable, and aesthetically pleasing space.
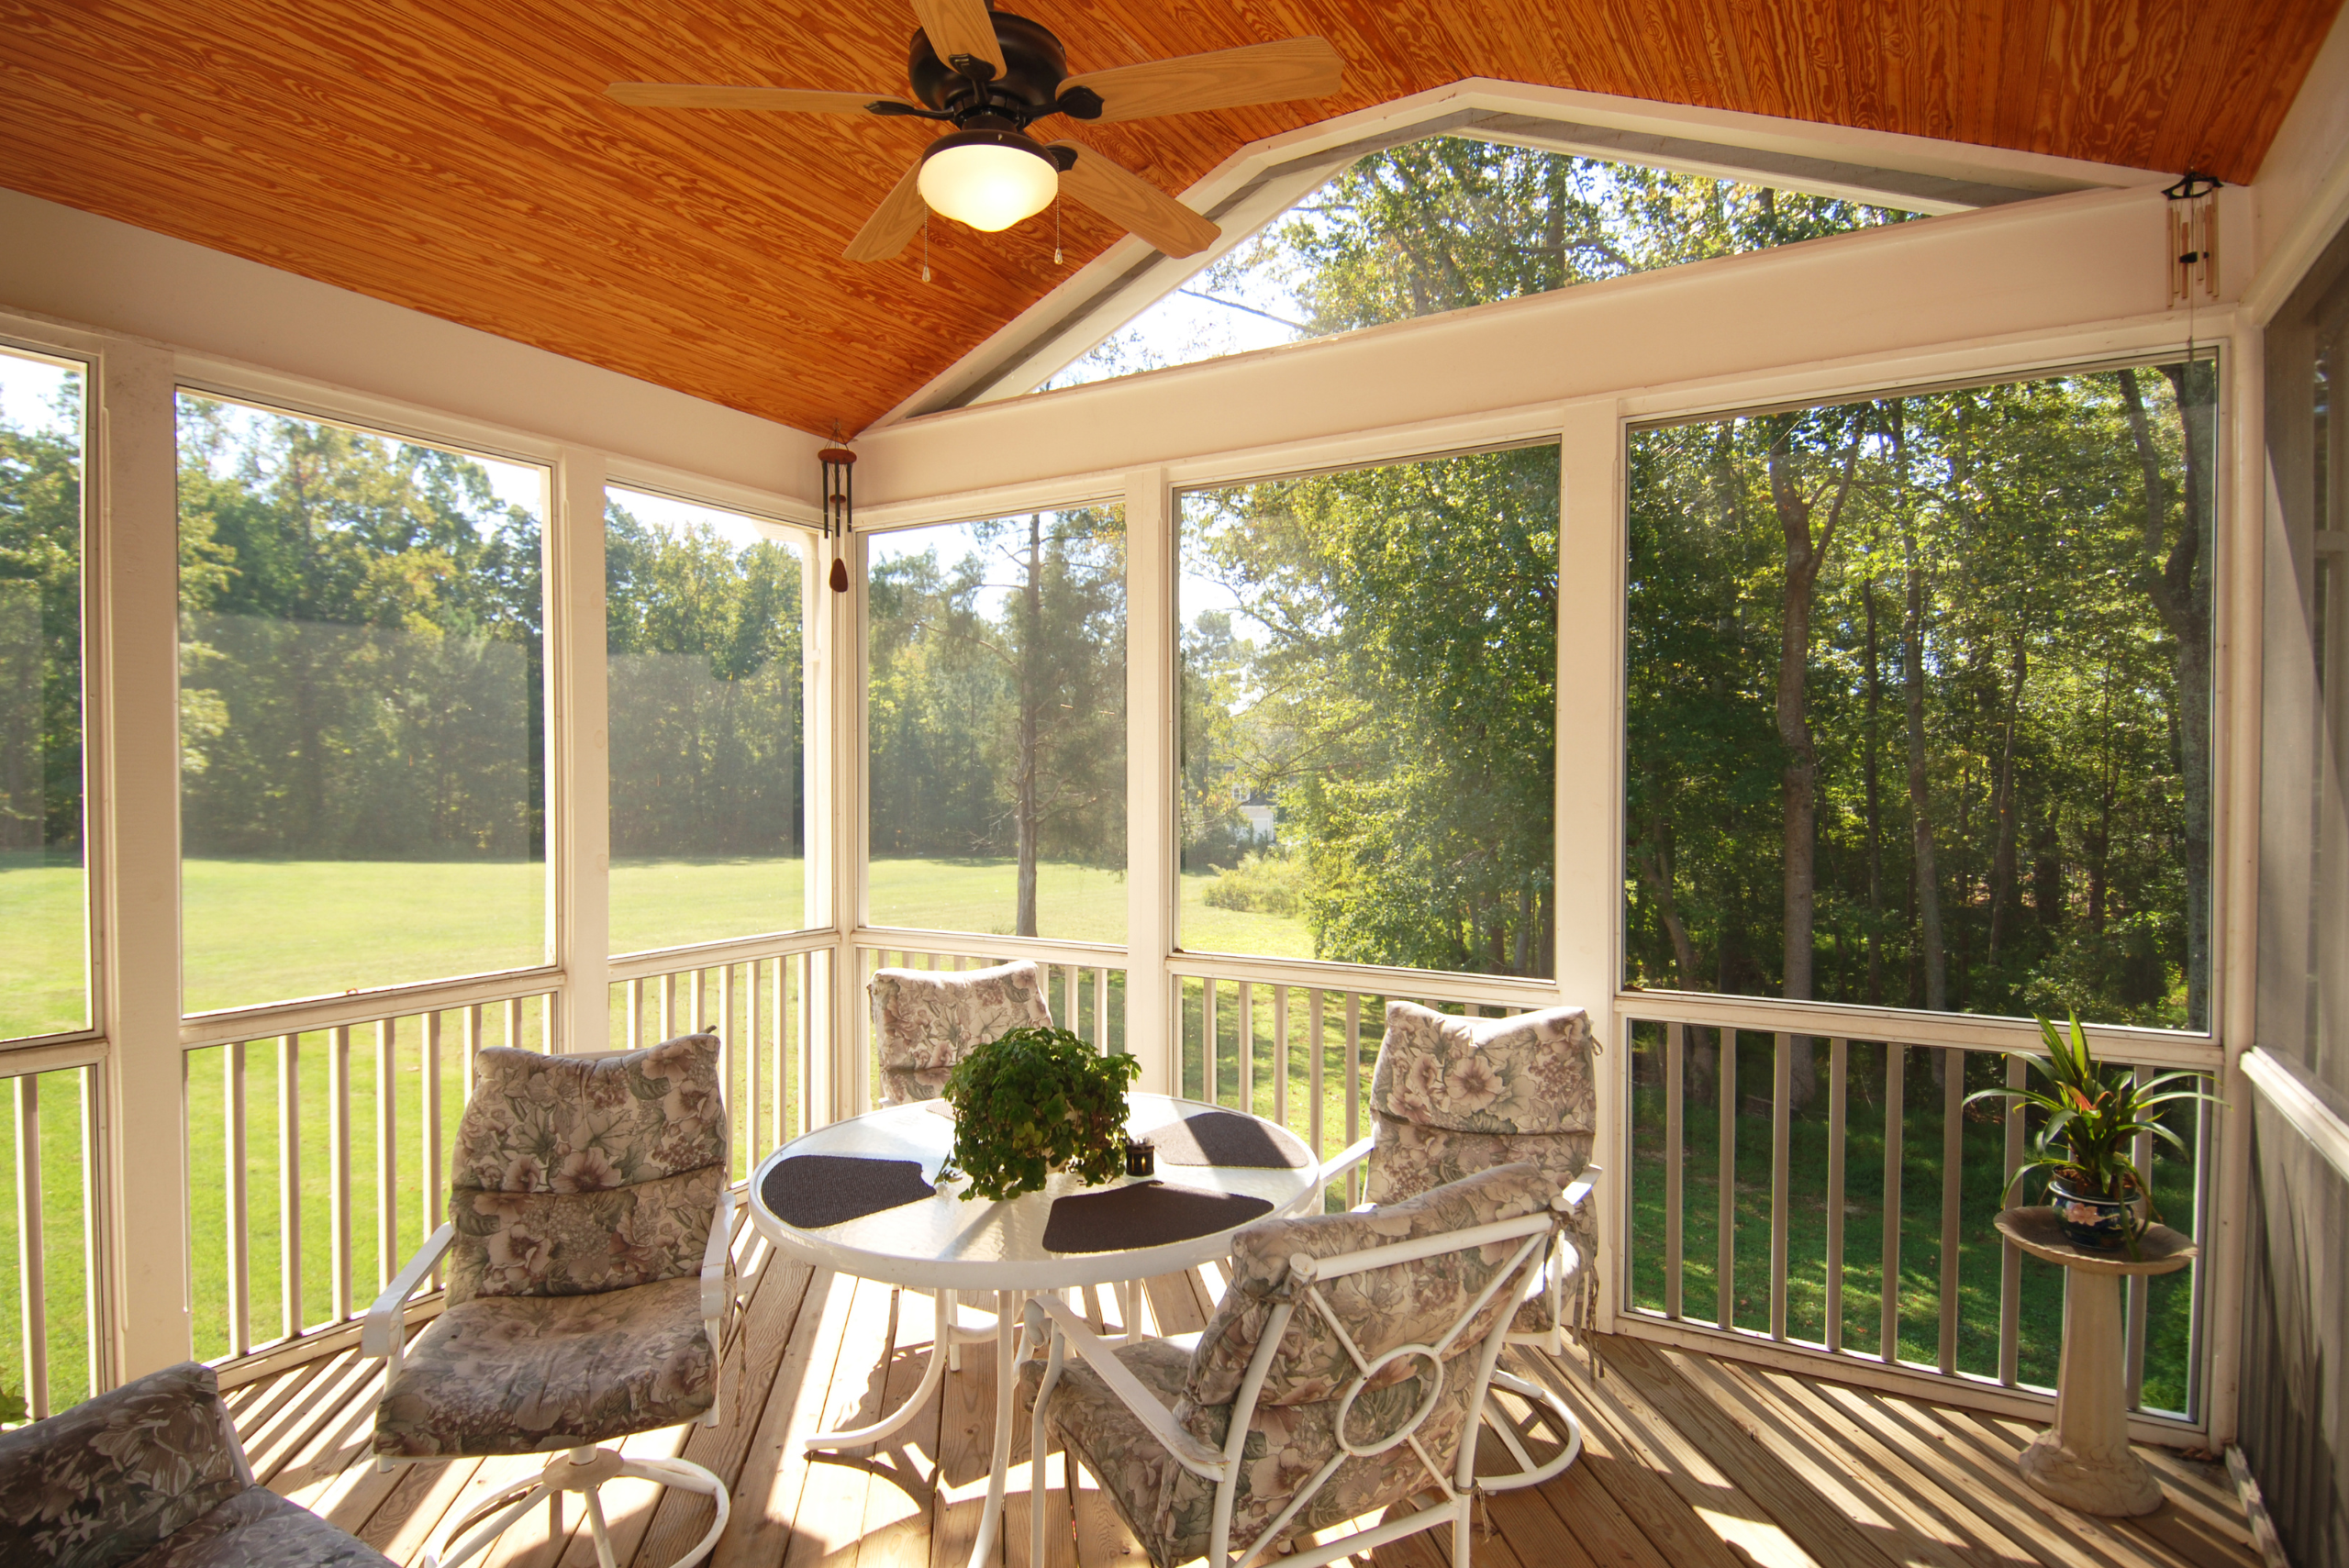
Consider factors such as the direction your porch faces, the typical weather conditions in your area, and how you plan to use the space. Will it be a quiet reading nook, an area for dining, or a space for entertaining guests? Answering these questions will help guide your design choices and ensure your screened-in porch meets your lifestyle needs.
Selecting Durable and Stylish Options for Your Screened-In Porch
The materials you choose for your DIY screened-in porch are pivotal in determining both the look and longevity of your project. For the framing, options such as aluminum, wood, and vinyl offer different benefits in terms of durability, maintenance, and aesthetic appeal. When it comes to screening, fiberglass screens are popular for their cost-effectiveness and ease of installation, while aluminum screens are prized for their durability.
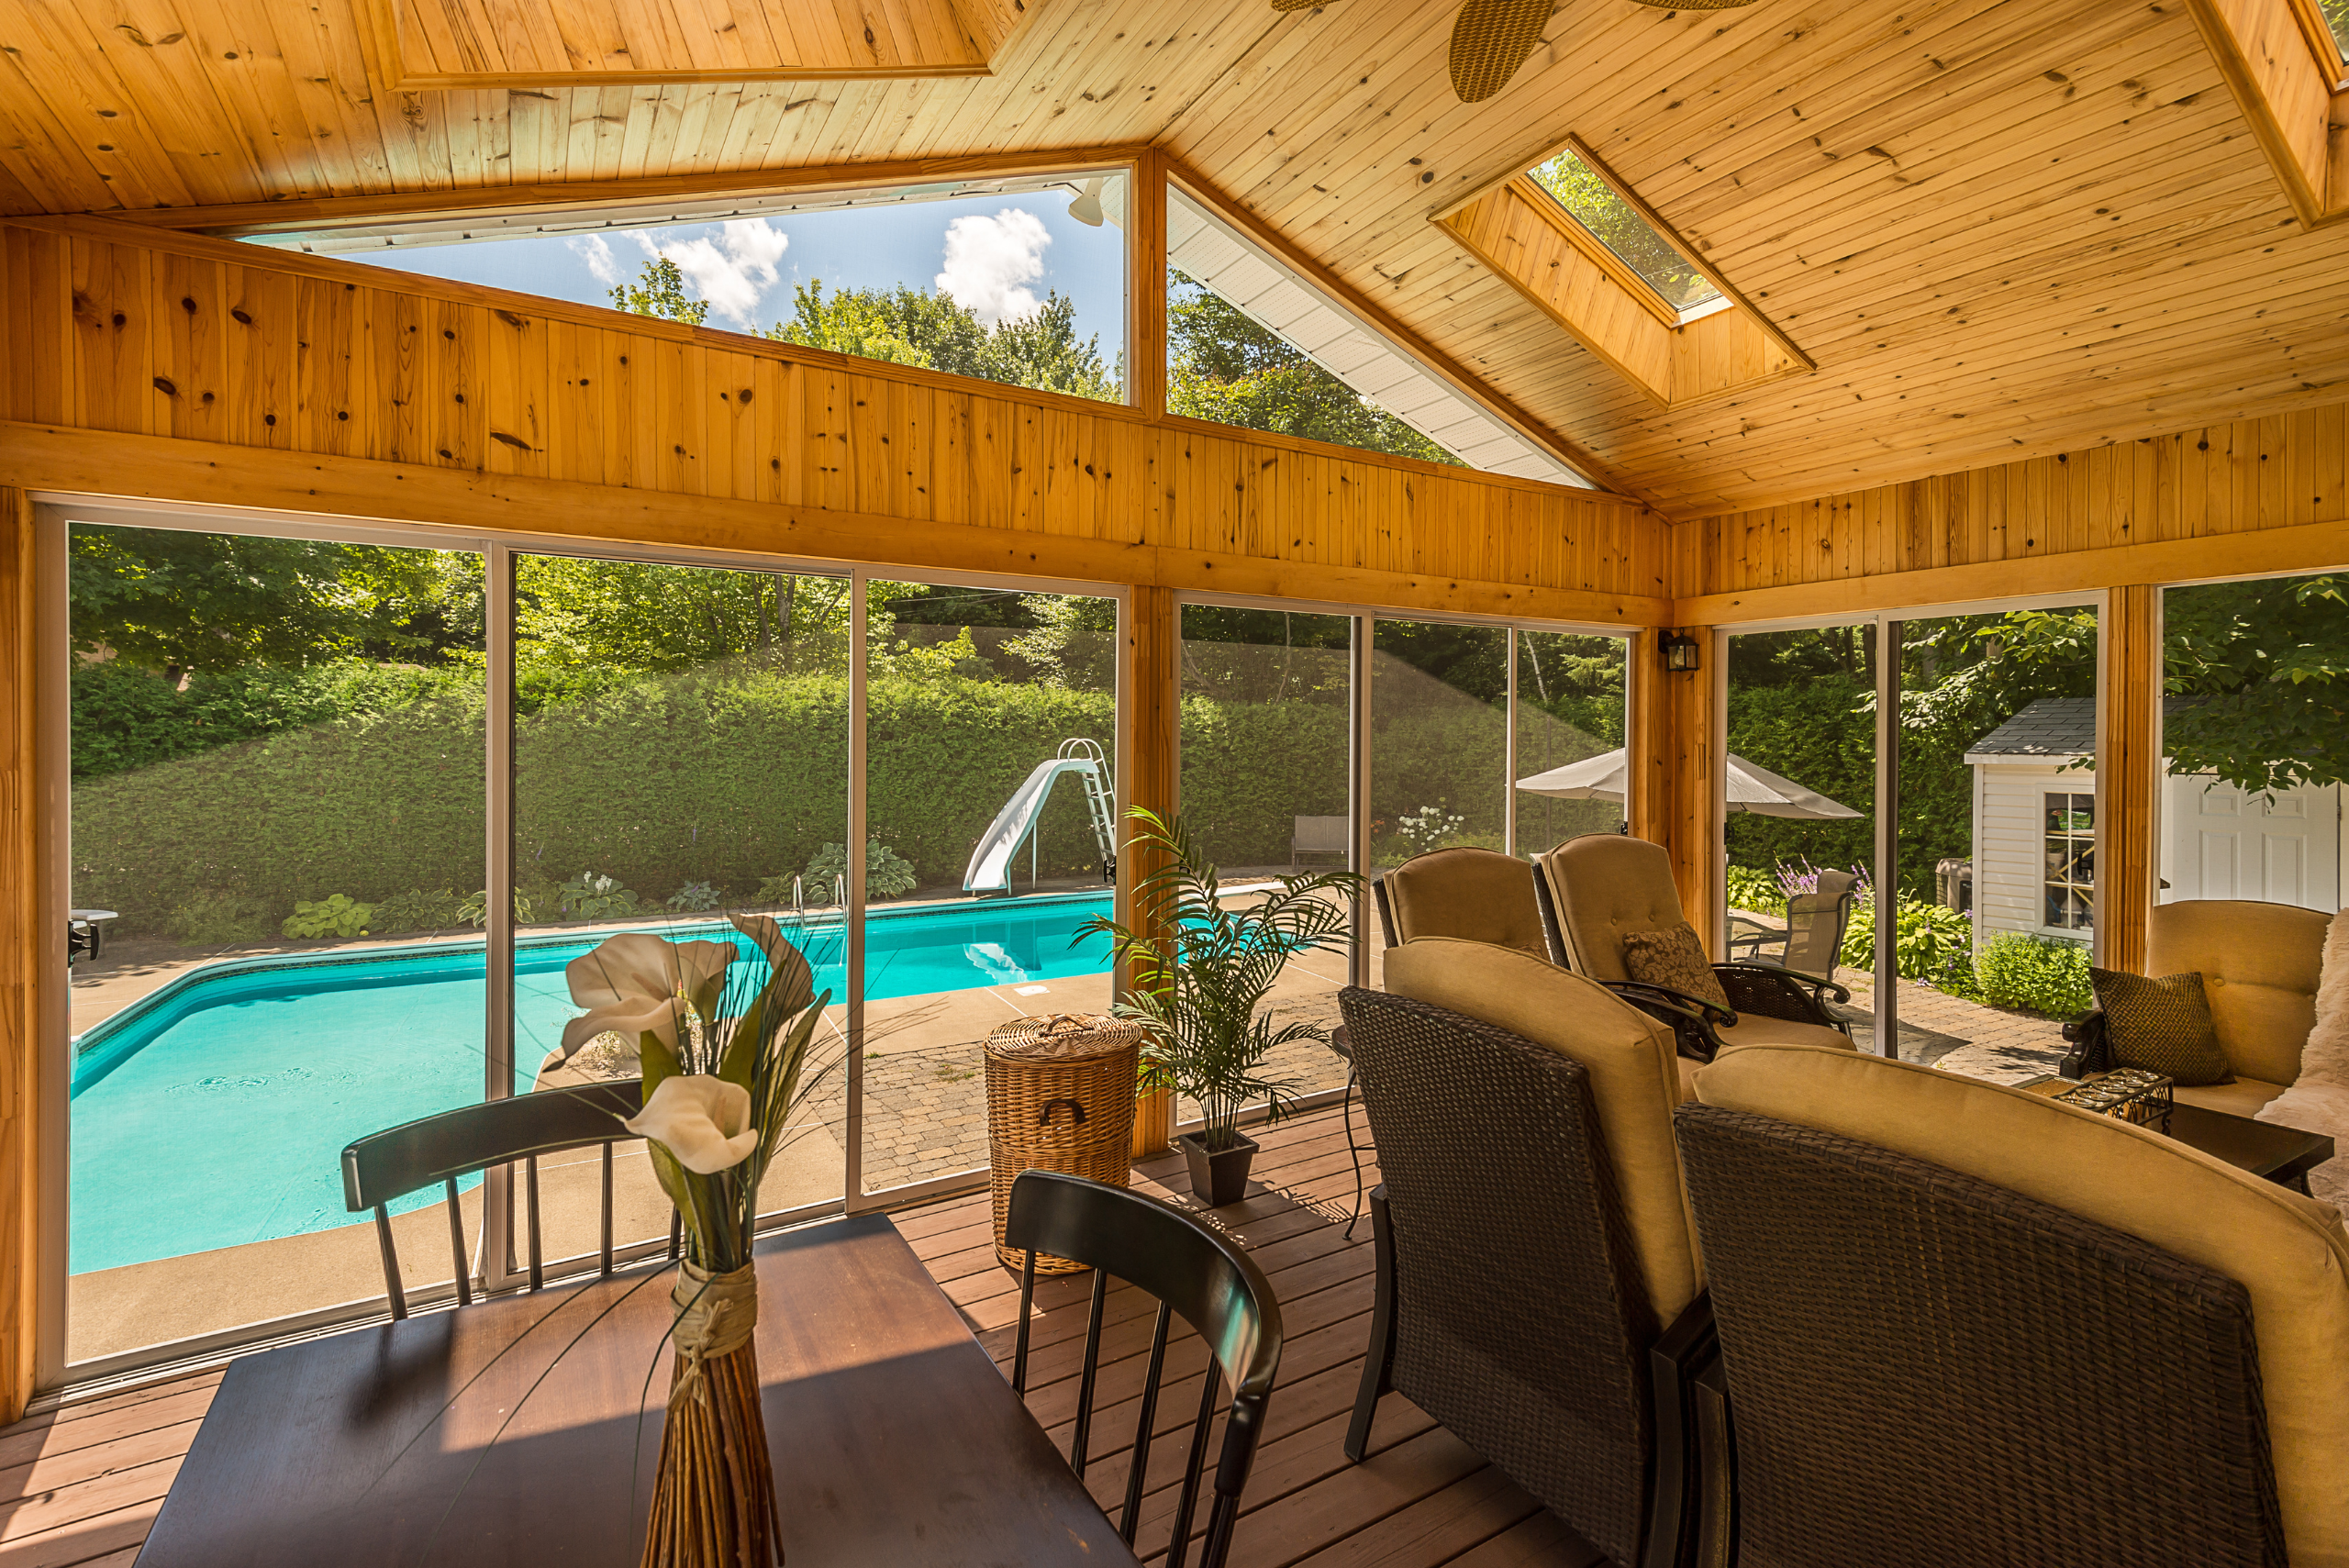
Additionally, the flooring of your screened-in porch deserves careful consideration. Whether you opt for outdoor carpeting, wooden decking, or even tile, ensure it complements the overall design and is suited to withstand the elements. Remember, the quality of materials you choose directly impacts the comfort, functionality, and durability of your screened-in porch.
Step-by-Step Guide to Constructing Your DIY Screened-In Porch – From Framing to Finishing Touches
Constructing your DIY screened-in porch can be a rewarding experience, but it requires careful planning and execution.
Framing:
- Begin by carefully planning the layout and dimensions of your screened-in porch. Ensure the framing is sturdy and aligned with your design plans. Use pressure-treated lumber or other weather-resistant materials to prevent decay.
- Consider consulting a professional or utilizing reliable resources for guidance on framing techniques and structural integrity, especially if you’re unfamiliar with construction. (You might need a permit depending on your local zoning laws and/or have to follow certain building regulations)
Roof Installation or Inspection:
- If you’re building a new porch, install a roof that provides adequate shelter from the elements. Consider factors such as pitch, material durability, and compatibility with your home’s architecture.
- If you’re converting an existing porch, thoroughly inspect the roof for any signs of damage or weakness. Repair or replace affected areas as necessary to ensure they can support the addition of the screens and withstand weather conditions.
Screen Installation:
- Choose high-quality screening materials that are durable and resistant to tearing, such as fiberglass or aluminum.
- Install the screens tightly to prevent insects and debris from entering the porch. Use appropriate fasteners and techniques to secure the screens to the framing.
- Pay special attention to corners and seams, ensuring they are properly reinforced to prevent sagging or tearing over time.
- Consider adding a kick plate or railing along the bottom of the screens to protect against damage from pets or children.
Door Installation:
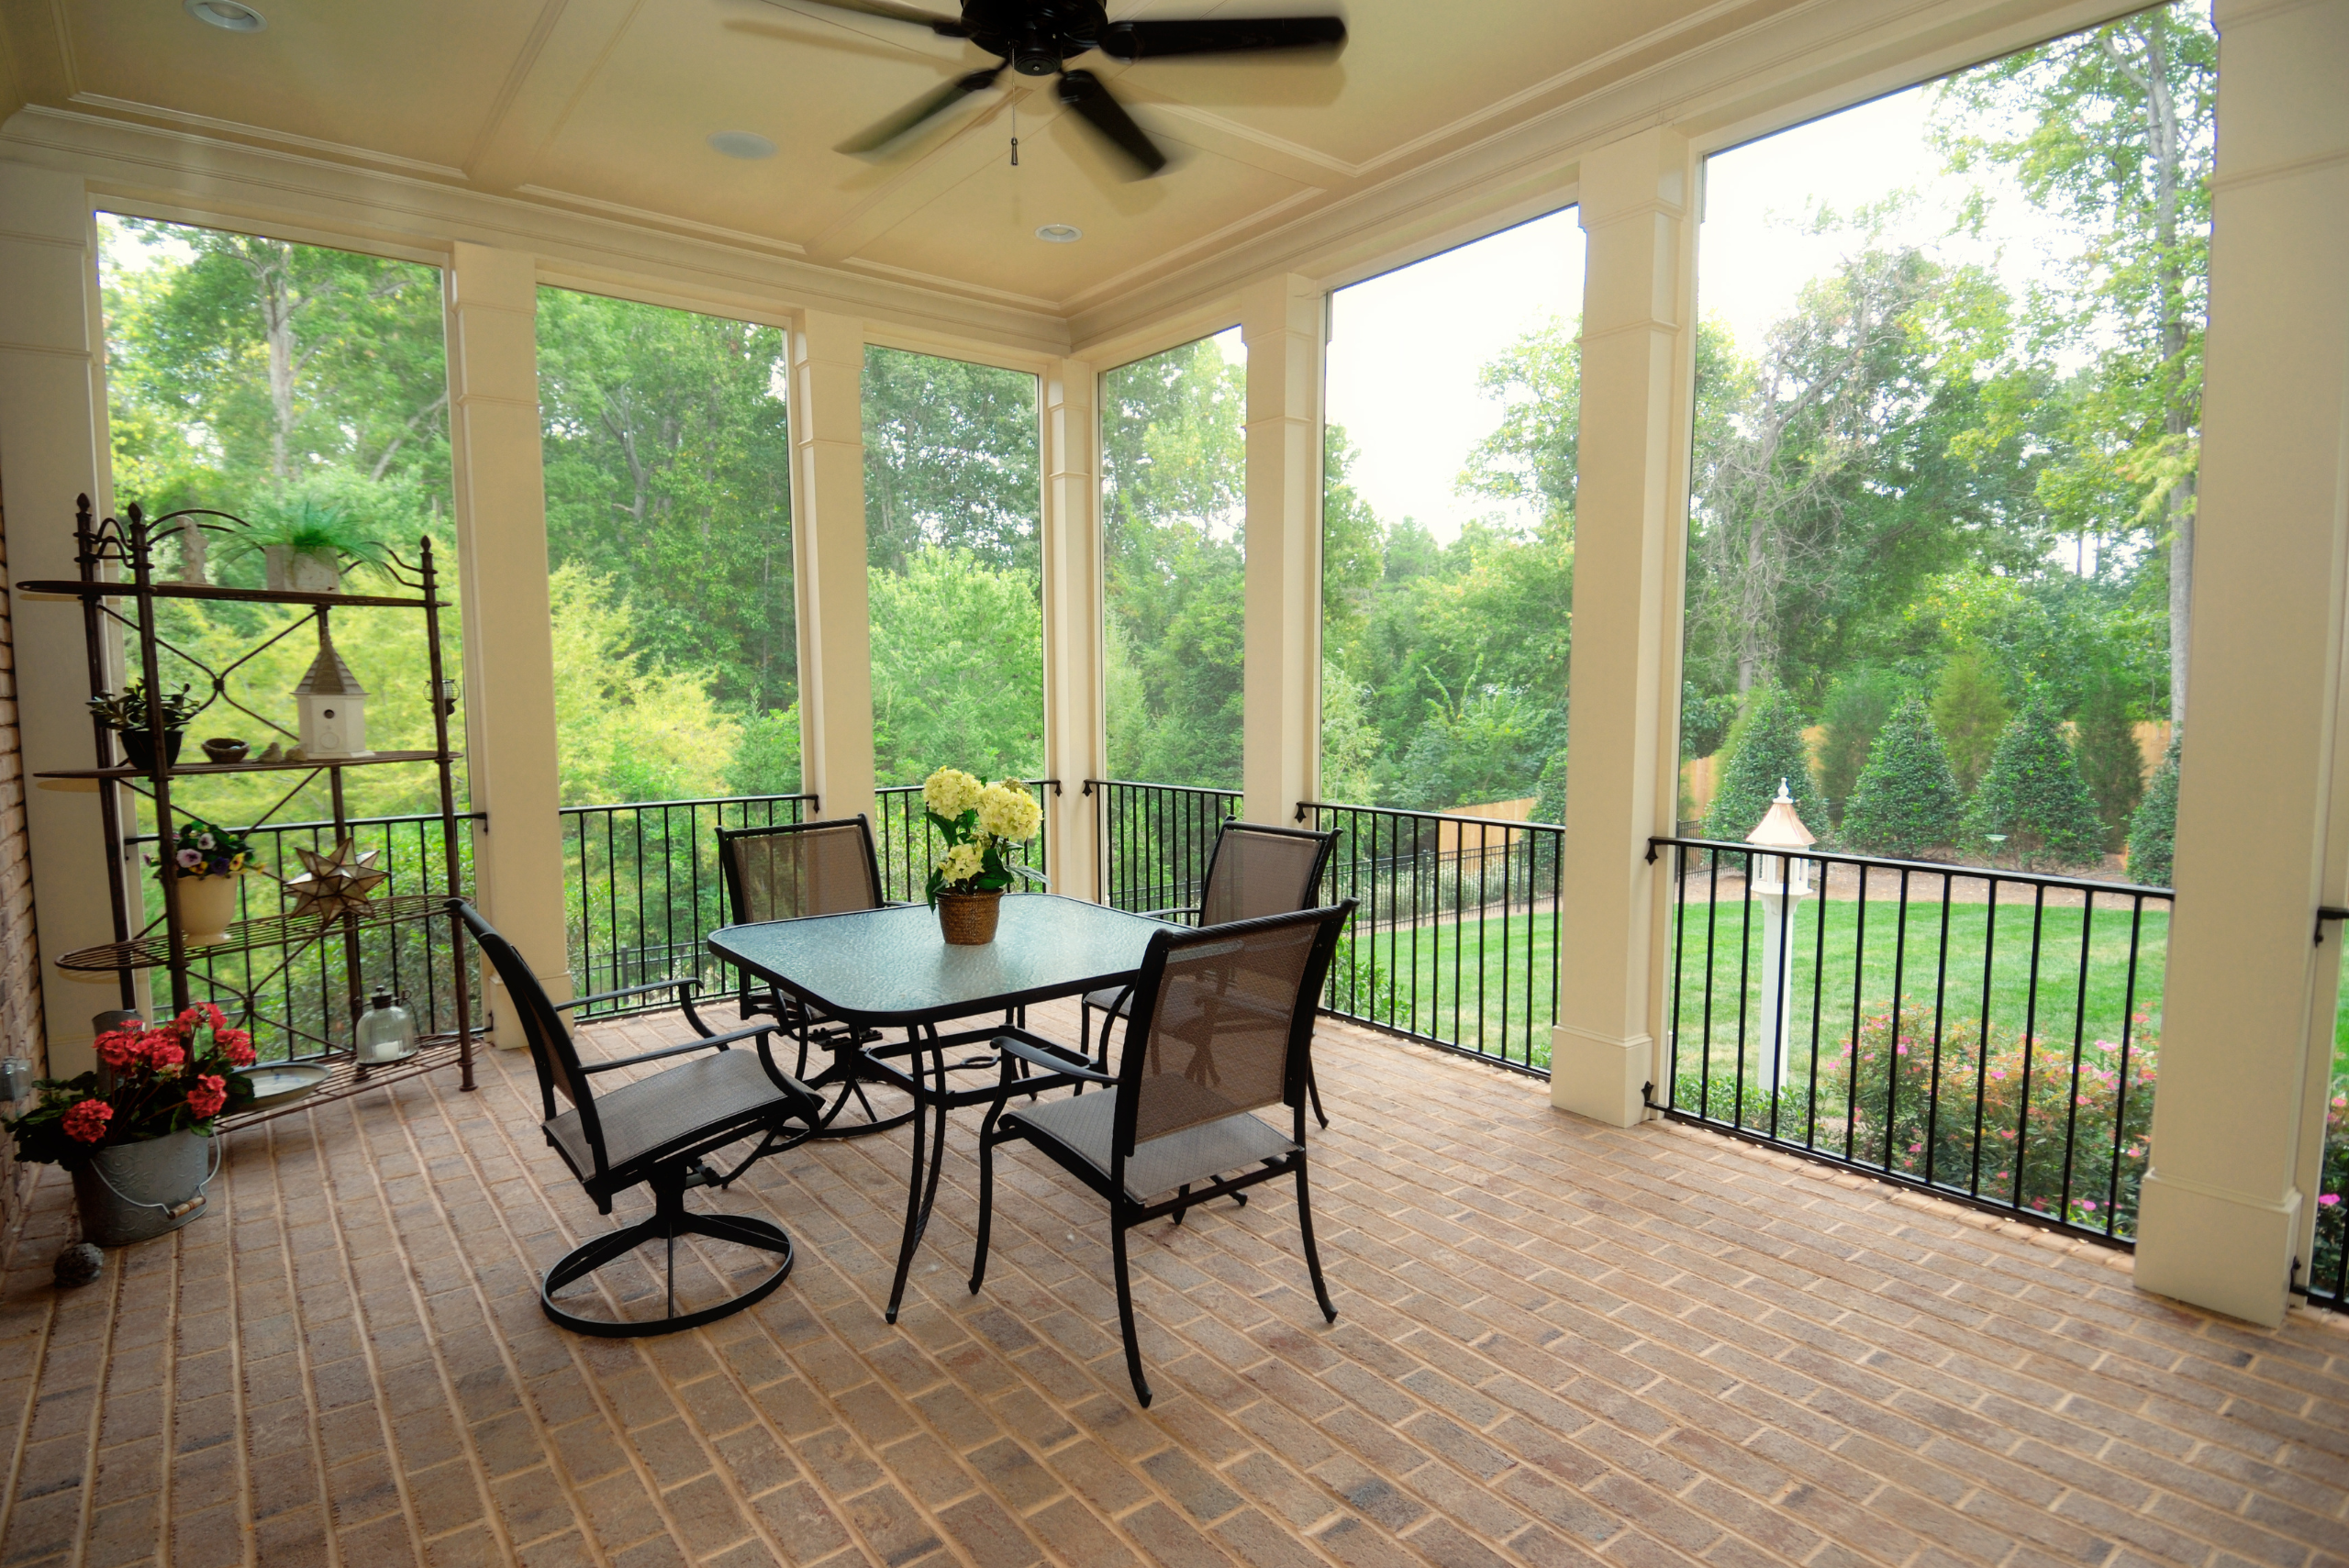
- Select a door that complements the design of your porch and provides easy access in and out of the space.
- Consider options such as sliding doors, hinged doors, or retractable screens, depending on your preferences and space constraints.
- Ensure the door is properly sealed to prevent drafts and pests from entering when closed. Install weather stripping and a durable threshold to create a tight seal.
Finishing Touches:
- Enhance the ambiance of your screened-in porch with carefully chosen lighting, furniture, and decor.
- Opt for weather-resistant lighting fixtures and consider installing dimmer switches or remote controls for added convenience.
- Choose comfortable and durable furniture that can withstand exposure to sunlight and moisture. Look for materials such as wicker, teak, or aluminum with weather-resistant cushions.
- Personalize the space with decorative touches such as outdoor rugs, throw pillows, and potted plants. Consider incorporating elements that reflect your personal style and create a welcoming atmosphere for relaxation and entertainment.
With each step, remember to measure twice and cut once, ensuring precision and avoiding unnecessary mistakes.
Decorating Your DIY Screened-In Porch – Tips for Creating a Cozy and Inviting Space
Once the construction of your DIY screened-in porch is complete, the fun part begins – decorating. This is your opportunity to infuse the space with your personal style and create an outdoor living area that feels like an extension of your home. Start with comfortable seating that invites relaxation and conversation. Add soft furnishings like cushions and throws to bring warmth and texture.
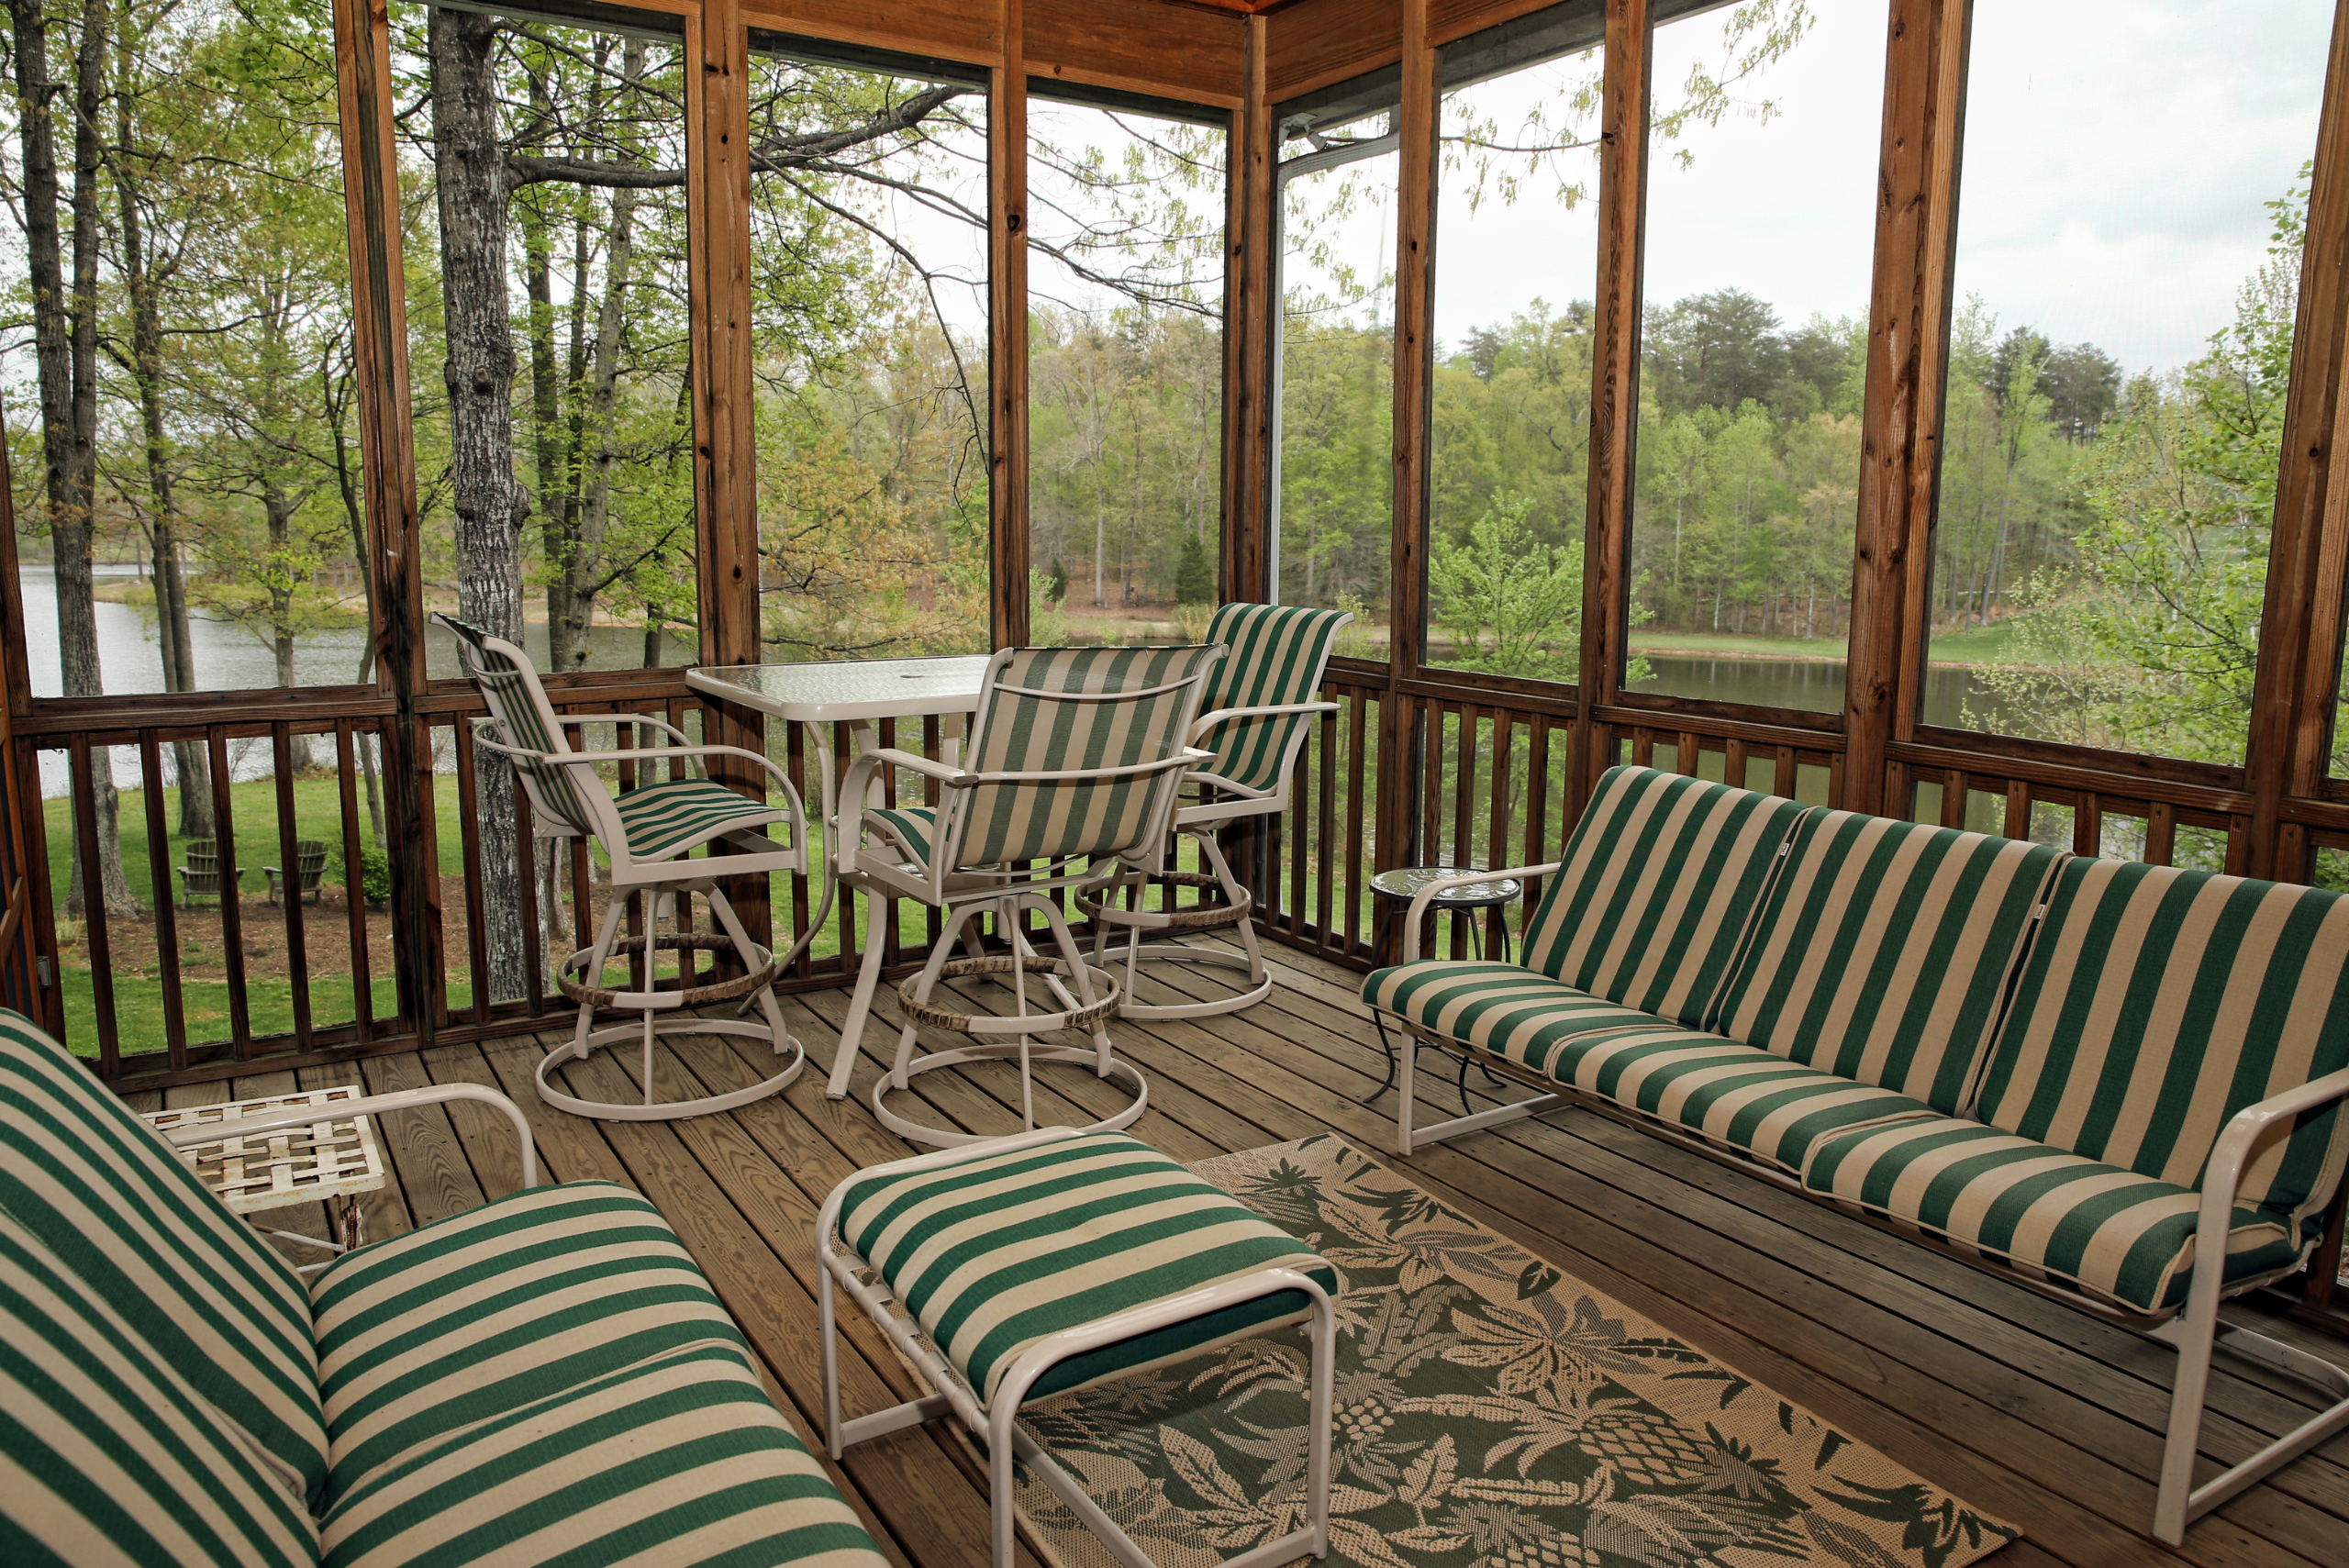
Consider installing a ceiling fan for those warmer days, and don’t forget about lighting – string lights, lanterns, or even a statement light fixture can transform the ambiance of your screened-in porch. Plants are another wonderful addition, bringing a touch of nature and freshness to the space. When decorating, keep functionality in mind, ensuring your choices enhance the usability and enjoyment of your new outdoor retreat.
Enjoying Your New DIY Screened-In Porch – Making the Most of Your Outdoor Living Space
Congratulations, your DIY screened-in porch project is complete! Now comes the best part – enjoying the fruits of your labor. Your new screened-in porch offers a versatile space that can be enjoyed in various ways. Whether you’re sipping your morning coffee in solitude, enjoying a meal with family, or hosting a gathering with friends, your screened-in porch provides a comfortable and protected outdoor living area. It’s a place where you can enjoy the beauty of the outdoors without the inconvenience of bugs or inclement weather.
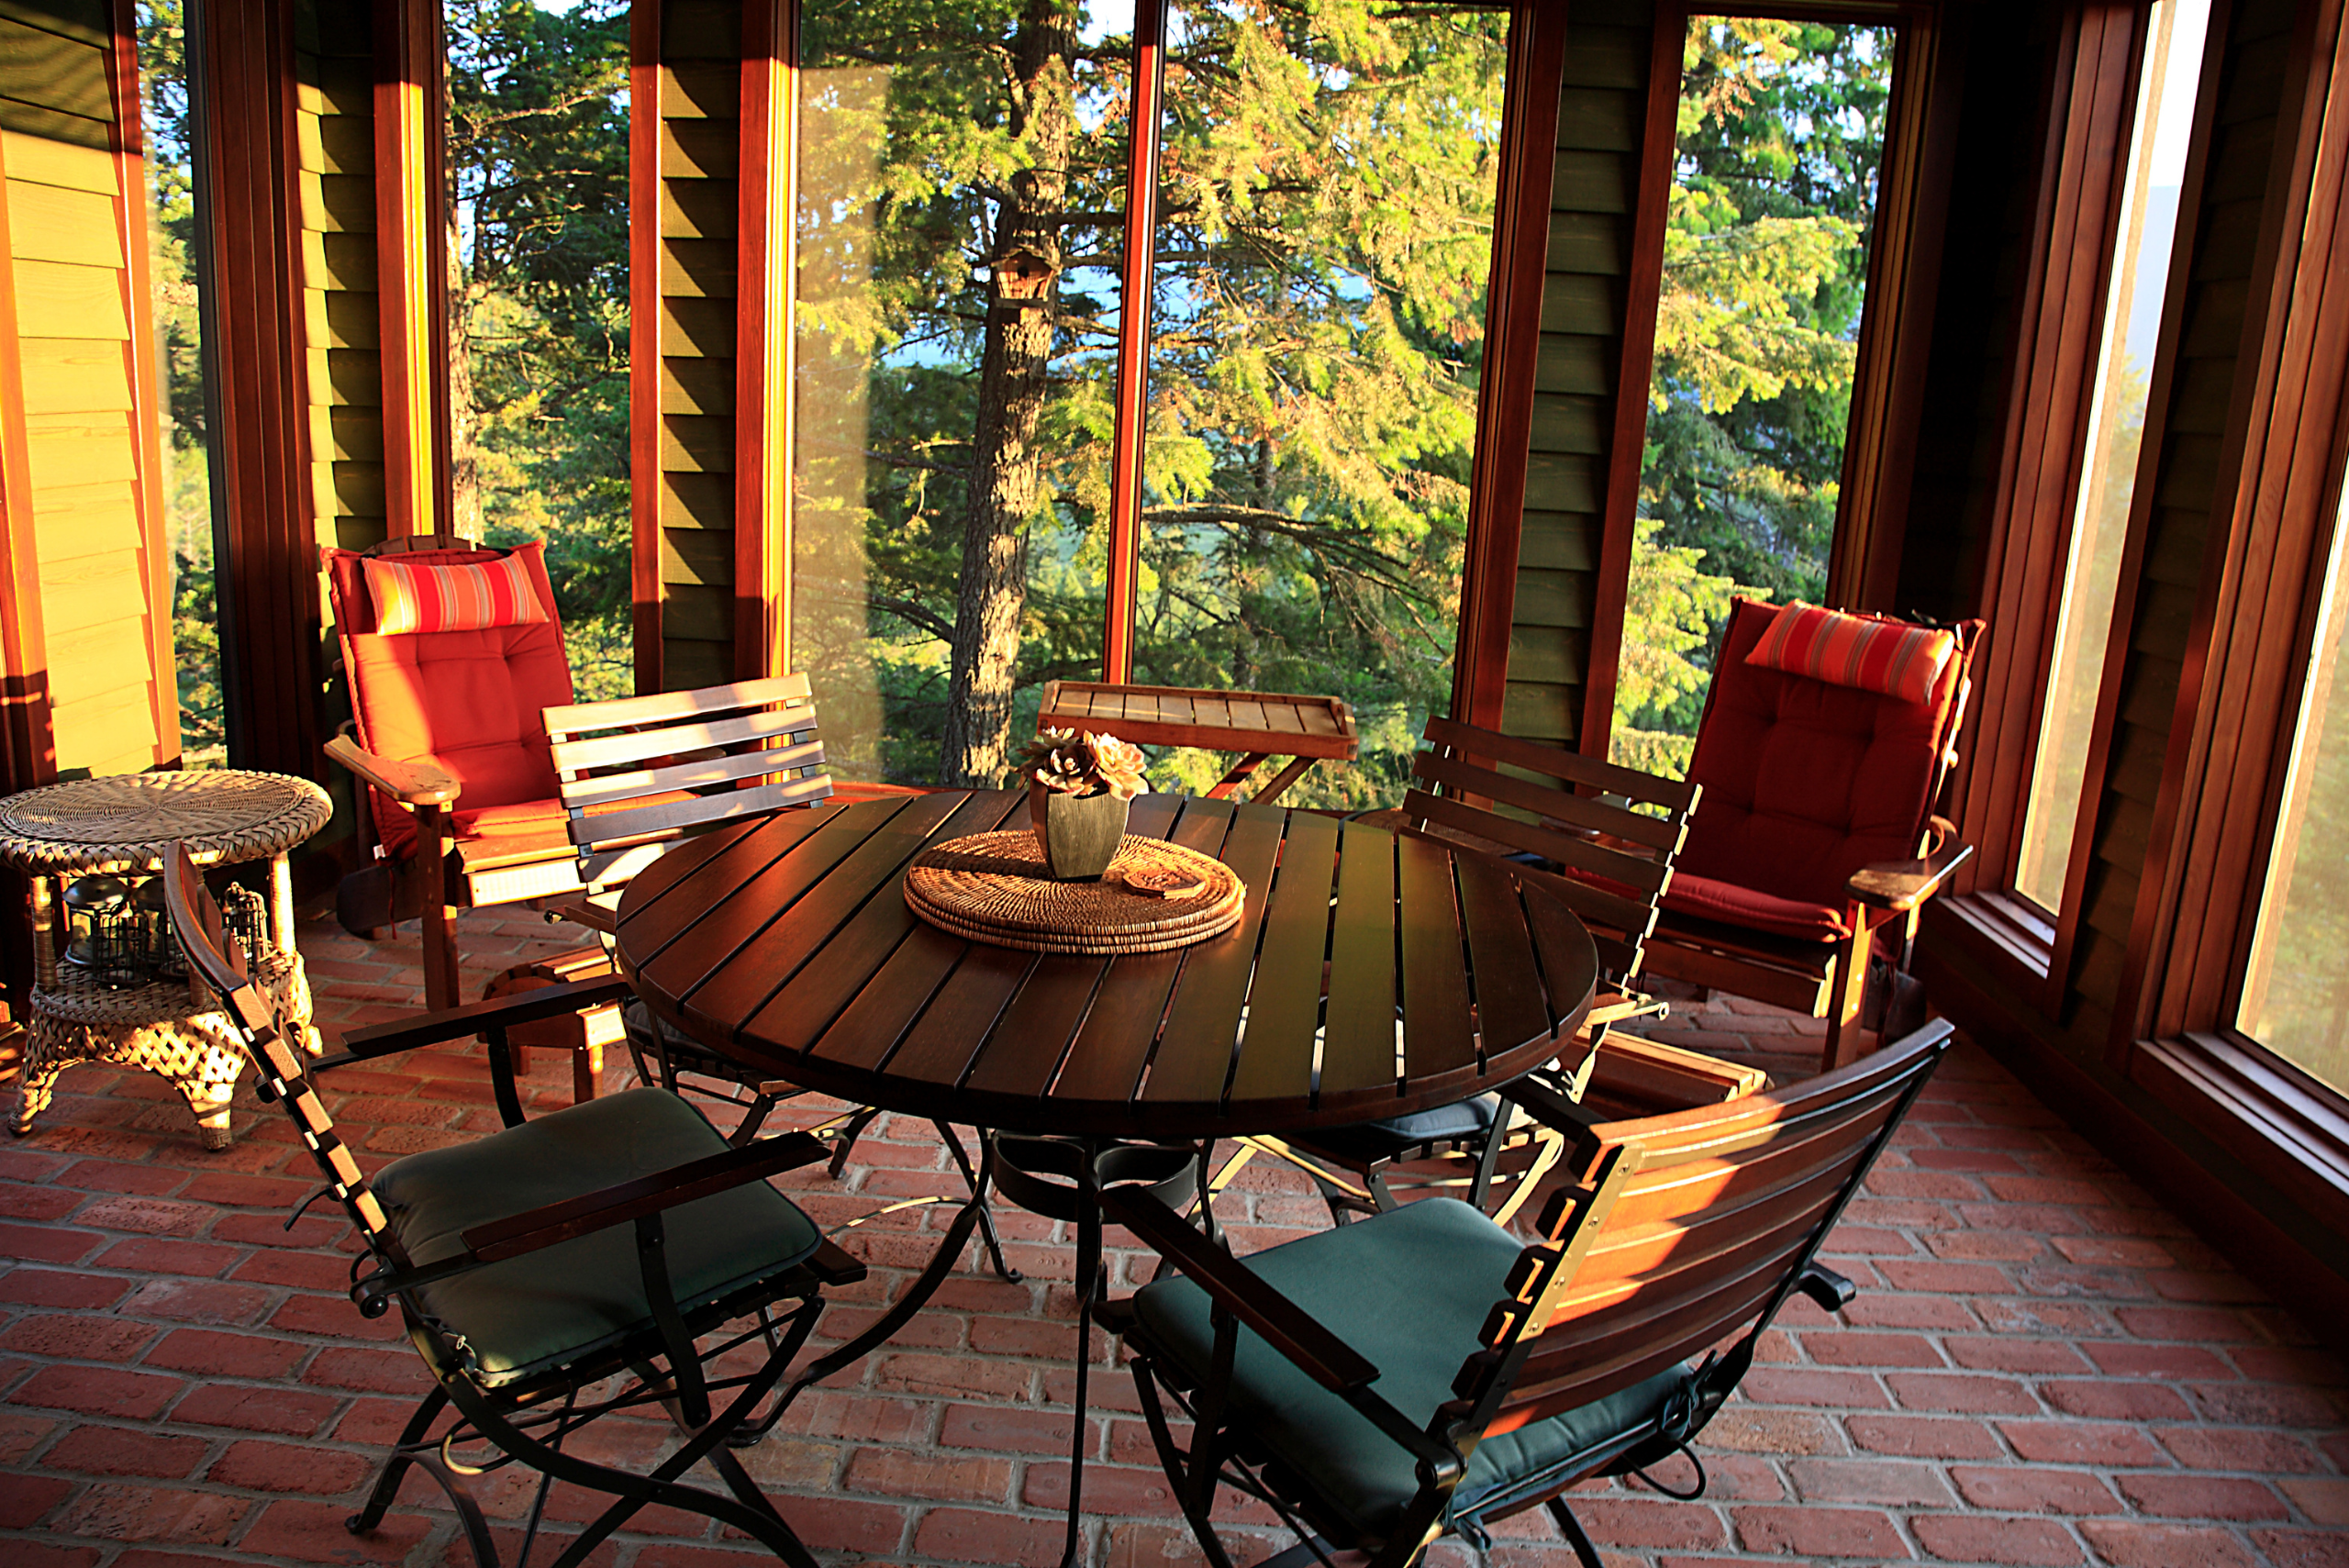
To keep your screened-in porch looking its best, regular maintenance is key. Clean the screens periodically, touch up paint as needed, and refresh your decor to reflect the seasons or your evolving style. With a little care, your DIY screened-in porch will remain a cherished part of your home for years to come.
Related Articles:
- Improve Your Home’s Ventilation and Air Quality by Installing a Screen Door
- How To: Make a DIY Mason Jar Porch Light (in 30 Seconds)
- How to Stain a Wooden Deck [With 10 Quick Tips For You!]
A DIY screened-in porch project combines creativity, craftsmanship, and the joy of creating a personalized space. From the planning and material selection to construction and decoration, each step offers the opportunity to tailor your outdoor living area to your preferences and needs. By following this guide, you’re well on your way to creating a cozy, inviting screened-in porch that enhances your home and lifestyle. So grab your tools, unleash your creativity, and transform your porch into a beautiful, functional outdoor retreat where memories are made and cherished.
Ready to start your next project? Join our DIY community to receive tool tips, how-to guides, and exclusive creative insights. Subscribe to the ManMadeDIY newsletter now! Click here to unlock a world of hands-on inspiration.


