Craft Your Own DIY Self-Watering Planters
In the realm of gardening, the concept of do-it-yourself (DIY) self-watering planters has surged in popularity. Offering a blend of convenience, sustainability, and a touch of personal flair, these ingenious devices are a testament to the innovative spirit of modern gardeners. This guide will walk you through the ins and outs of creating your own DIY self-watering planters, ensuring your green friends thrive with minimal fuss.
Why DIY Self-Watering Planters Are a Game-Changer for Plant Parents
The beauty of DIY self-watering planters lies in their ability to provide a consistent water supply to your plants, mimicking the natural wet-dry cycle. For those of us who love plants but are either too busy or tend to forget watering, these planters are a lifesaver. They work through a simple mechanism where water is stored in a reservoir and gradually fed to the plant’s roots as needed. This not only saves time but also promotes healthier plant growth by preventing over or under-watering. Crafting your own planter allows for customization in size, color, and design, making it a perfect fit for your home’s aesthetic.
The process of making a DIY self-watering planter is surprisingly straightforward and rewarding. It often involves repurposing materials you might already have lying around, such as plastic bottles, buckets, or even wooden boxes. This not only adds a unique touch to your décor but also contributes to reducing waste, aligning with eco-friendly living principles. The joy of watching your plants flourish in a container you’ve created yourself is unmatched, fostering a deeper connection with your indoor or outdoor garden.
Choosing the Right Materials for Your DIY Self-Watering Planter
Selecting the appropriate materials is crucial for the success of your DIY self-watering planter project. The choice of material can affect the planter’s durability, functionality, and overall appearance. For instance, using recycled plastic is an affordable and lightweight option, ideal for indoor plants. Alternatively, for a more rustic or outdoor look, repurposed wood or metal containers can add character to your garden space. It’s important to ensure that whatever material you choose is non-toxic and safe for plants.
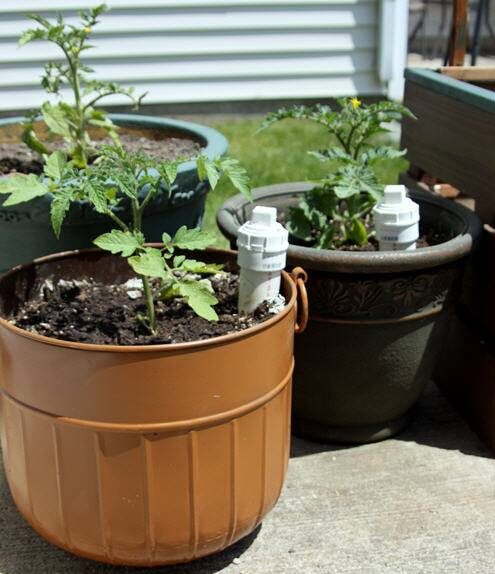
Moreover, considering the size and type of plants you intend to grow is essential when selecting materials. Larger plants with deep root systems require more space and a sturdier base, whereas smaller herbs or succulents might be perfectly happy in a compact container. Incorporating a water reservoir that’s easy to fill and monitor will make maintaining your DIY self-watering planter a breeze. The goal is to create a functional yet aesthetically pleasing planter that meets the needs of your plants while complementing your living space.
Step-by-Step Guide to Crafting Your Own Self-Watering Planter
Creating a DIY self-watering planter can be a fun weekend project that doesn’t require expert carpentry or gardening skills. Start by selecting a container that fits the size and style you’re aiming for. Then, create a water reservoir at the bottom of the container using a smaller pot or a water bottle cut in half. This reservoir will hold water, allowing it to slowly seep into the soil above, keeping your plant hydrated.
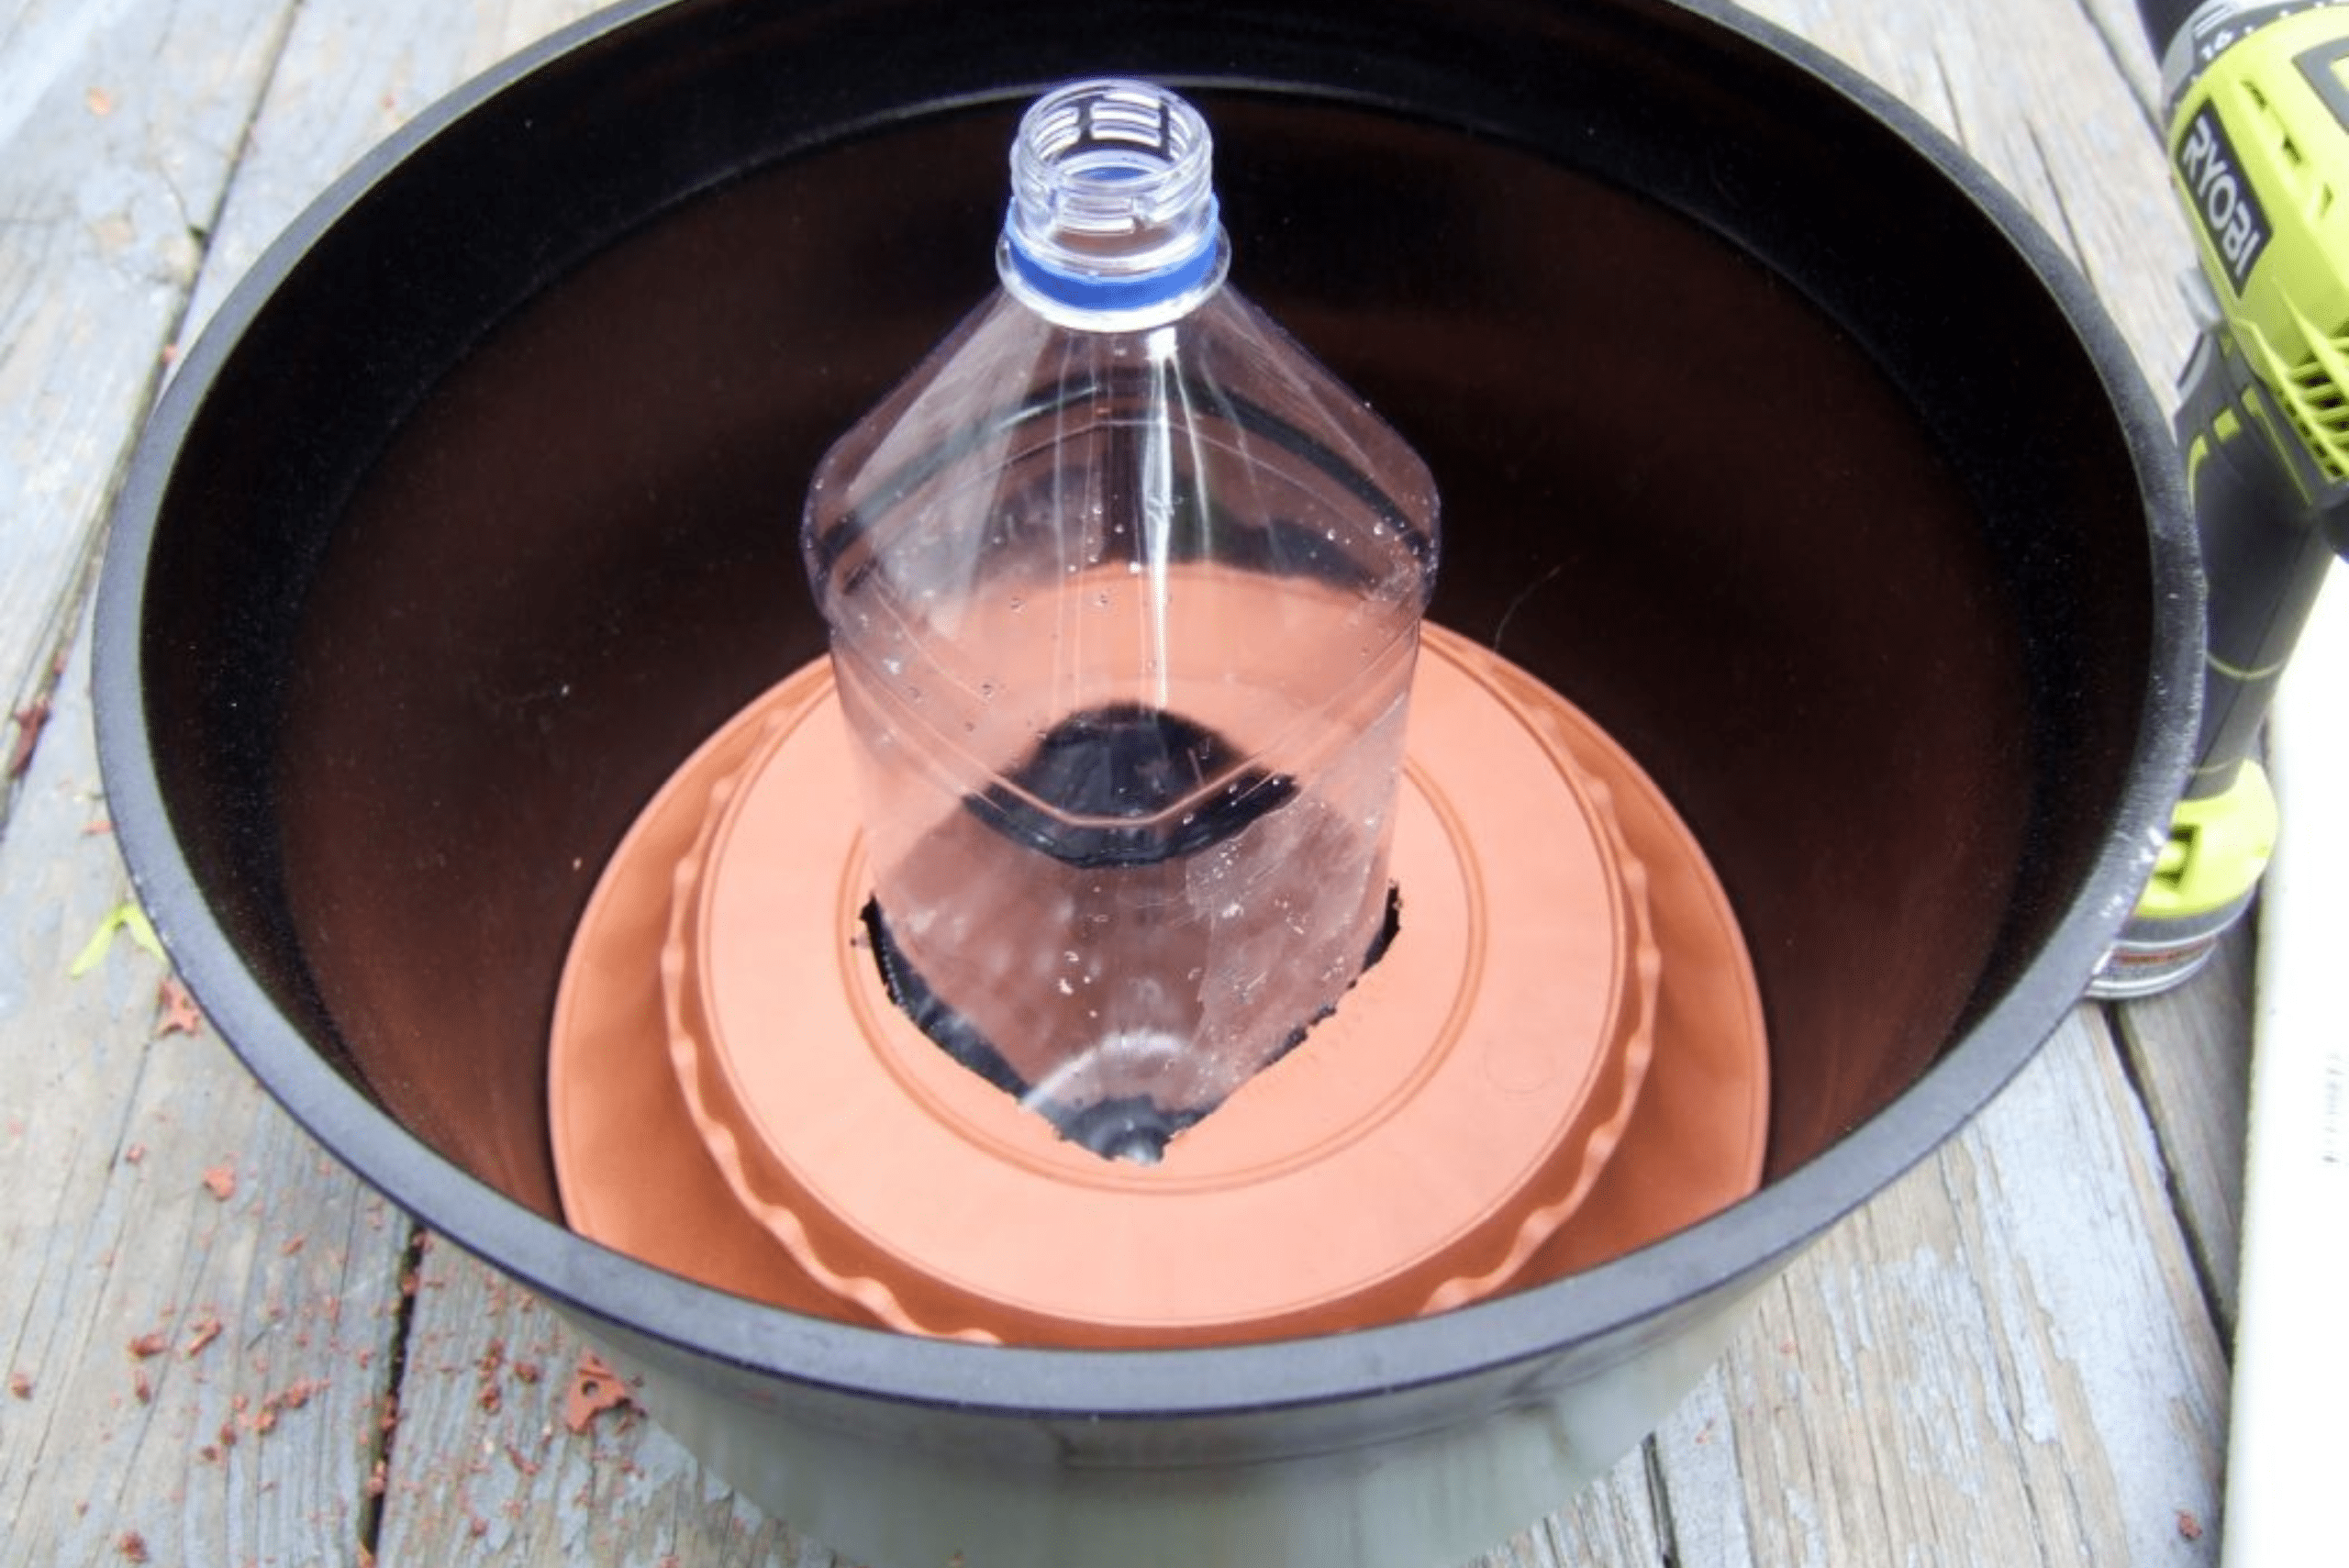
Next, you’ll need to establish a wicking system that draws water from the reservoir to the soil. This can be as simple as a piece of cloth or a strip of sponge that connects the water source to the soil. Ensure there’s a barrier, such as a piece of plastic with holes, between the soil and the water reservoir to prevent soil from washing into the water. Finally, fill the planter with soil, plant your seeds or seedlings, and water the soil to start the wicking process. The beauty of this system is its simplicity and efficiency, making gardening accessible to everyone.
Maintaining Your DIY Self-Watering Planter for Optimal Plant Health
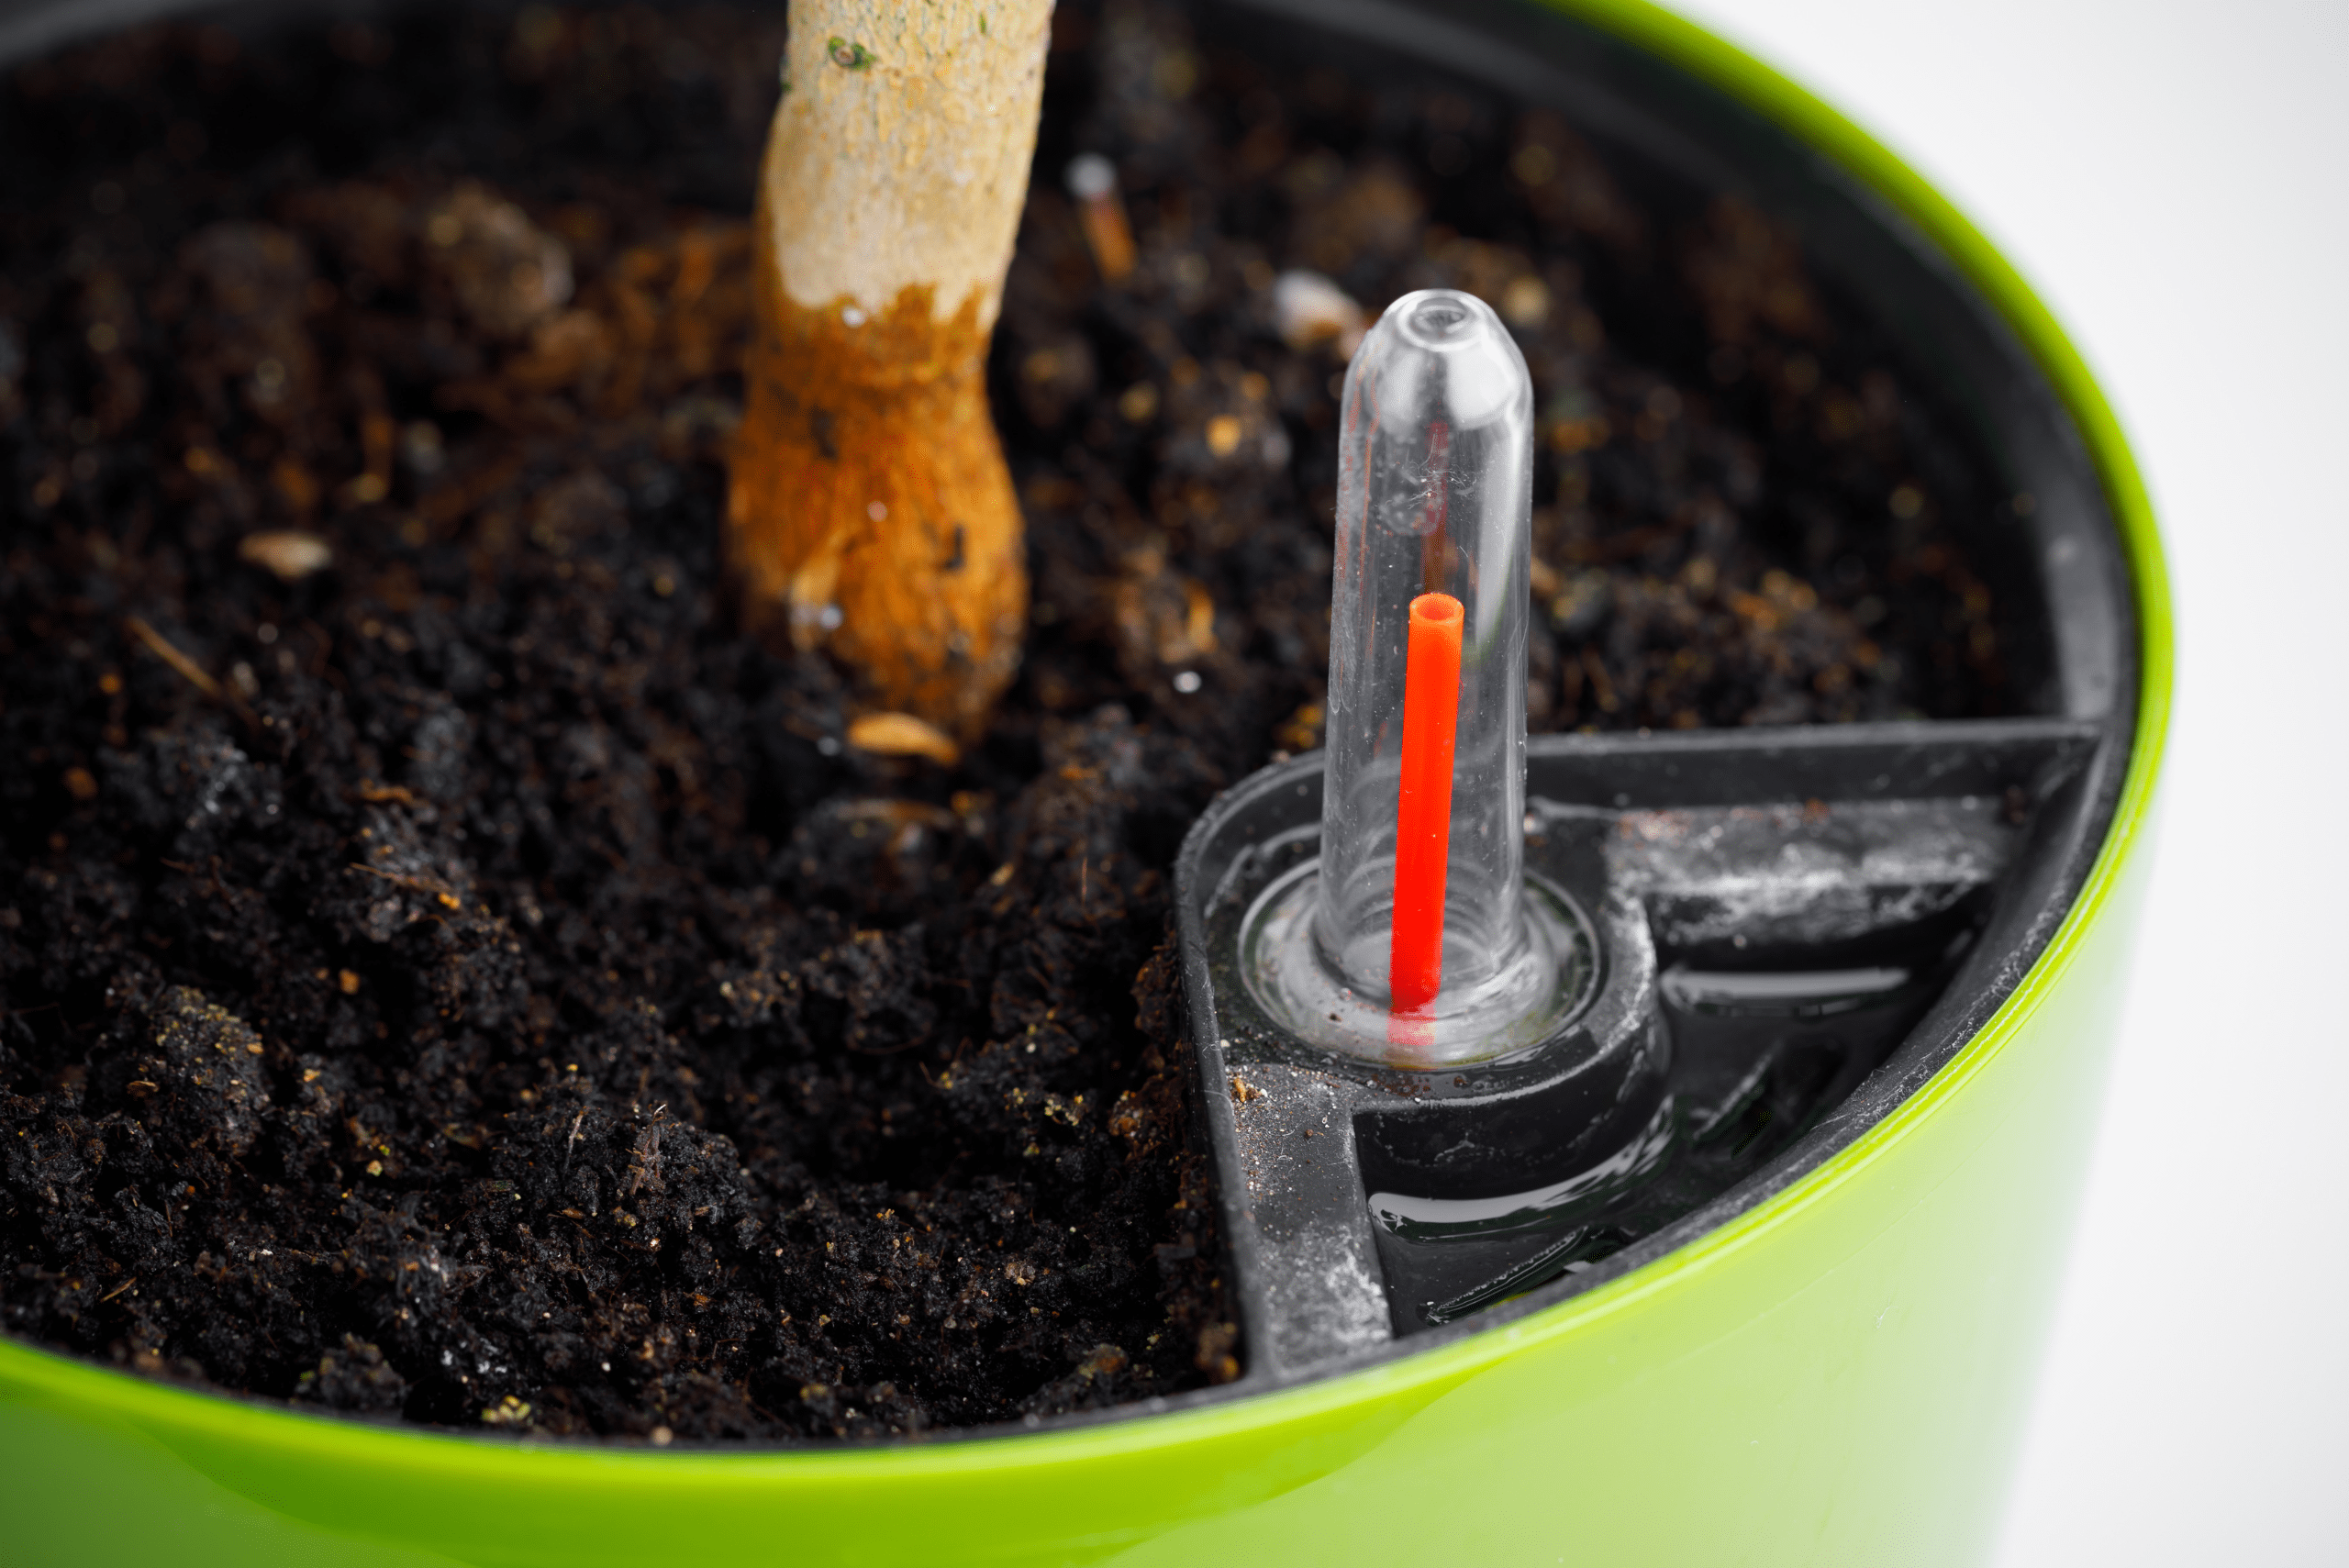
Maintaining your DIY self-watering planter is straightforward yet crucial for the well-being of your plants. Regularly checking the water level in the reservoir and refilling as needed ensures your plants receive a consistent supply of moisture. It’s also important to monitor the soil and plant health, making adjustments to the watering system if necessary. Over time, the wicking material may need to be replaced to maintain efficiency.
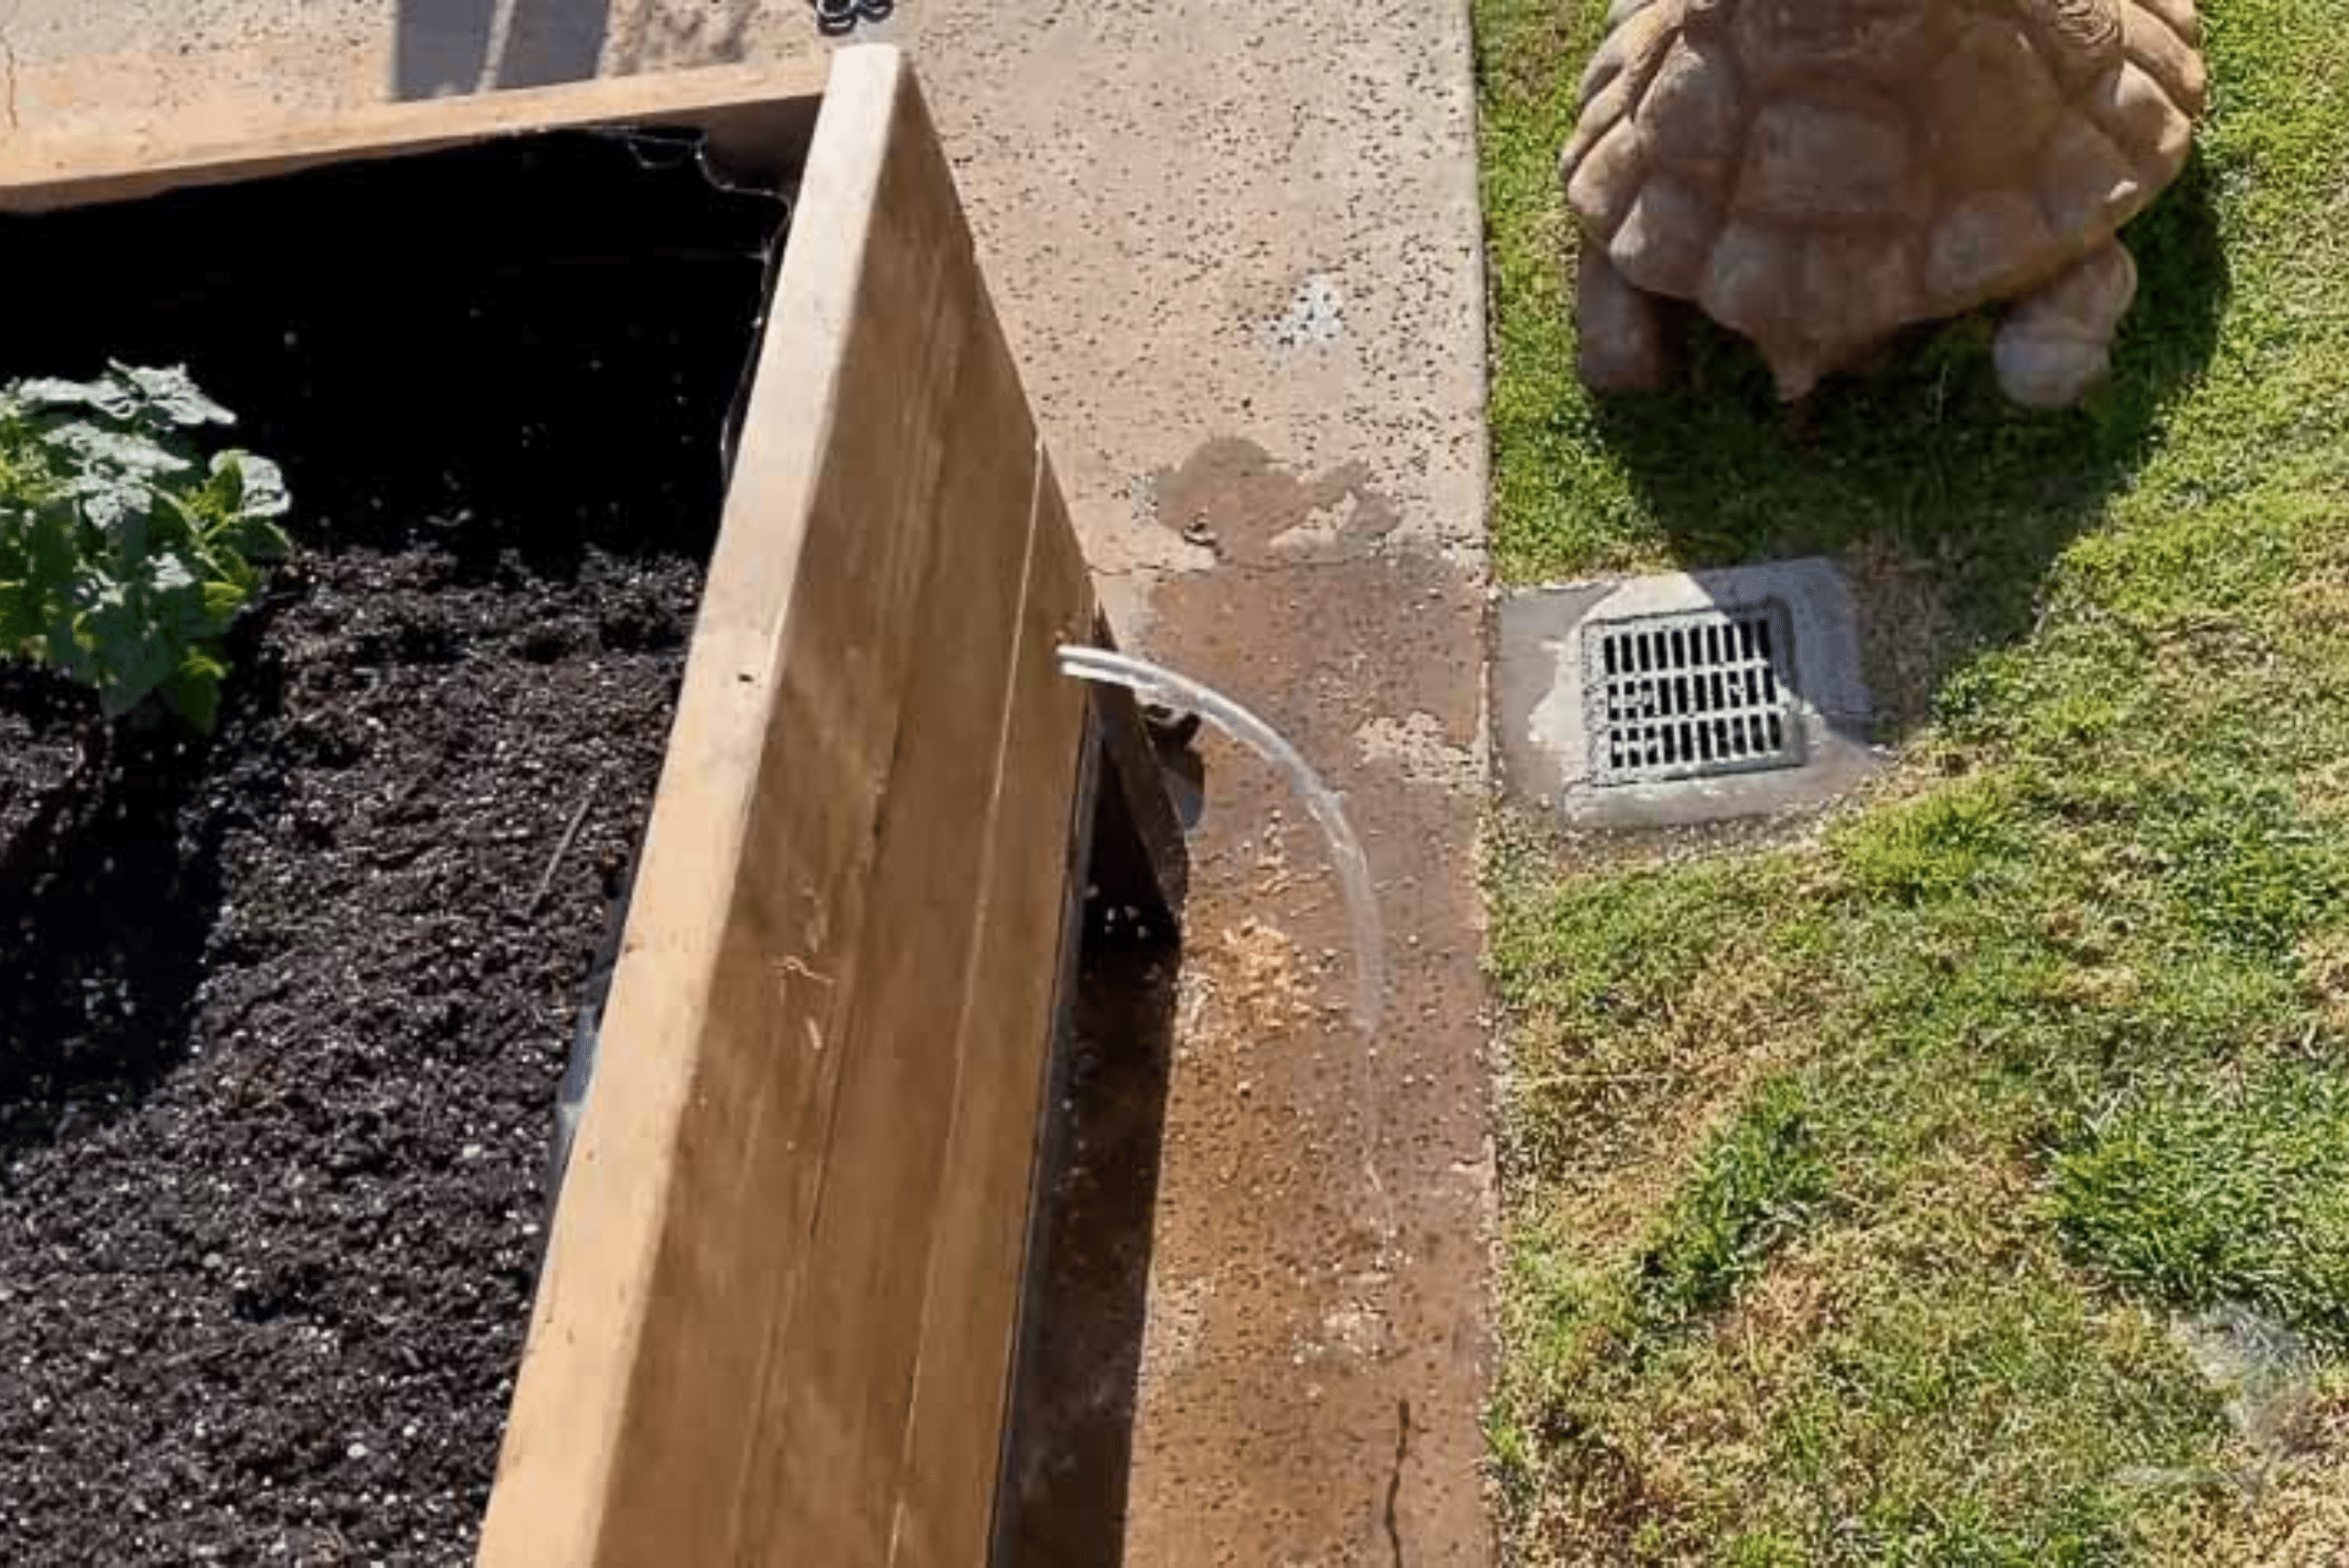
Another aspect of maintenance is cleaning the planter, especially if it’s outdoors and exposed to the elements. Keeping the reservoir and the planter clean prevents algae growth and keeps the system working smoothly. With minimal effort, your DIY self-watering planter can support a thriving garden, providing you with fresh herbs, flowers, or vegetables right at your doorstep.
As we conclude, remember – TedsWoodworking is your ally in woodworking aspirations. Dive into 16,000+ projects with ease. Your creativity knows no bounds. Happy crafting!
Related Articles:
- Indoor Vining Plants—Embracing Nature Indoors
- The Benefits Of Using A Rain Barrel To Water Your Garden
- 10 Insect-Repelling Plants You Want Around Your Patio
The process of building, decorating, and maintaining self-watering planters is not just about gardening; it’s a rewarding hobby that fosters a deeper connection with nature. So, why not grab some tools, unleash your creativity, and start crafting your own self-watering planters today? Your plants—and the planet—will thank you.
Ready to start your next project? Join our DIY community to receive tool tips, how-to guides, and exclusive creative insights. Subscribe to the ManMadeDIY newsletter now! Click here to unlock a world of hands-on inspiration.


