How To Make Your Own Wood Filler
The most common repair product for woodworking projects is wood filler. Wood filler, wood putty, and plastic wood are all patch repair products that can be used to fill in imperfections on your projects. This includes any holes, dents, and gaps along a surface.
But why waste money when you can make a DIY wood filler at home using items you likely already have in your shop? That’s right, you can make this stuff in the comfort of your home and customize the consistency and color to your project.
What Is Wood Filler?
Wood filler consists of sawdust/wood fibers and bonding agents. While this stuff does not permanently bond wood together, it helps maintain and enhance your wood project’s aesthetics by filling in any noticeable gaps and dents. When wood filler stiffens up, it becomes hard and mimics a wood finish.
Pigments are added to store-bought wood fillers to match the wood grain color of your project. This ensures that you don’t end up with a patchy staining job during the finishing process. Wood filler is best used for indoor applications. This mix is not waterproof. However, it can stand up against water exposure if it is sealed well with a synthetic finishing such as polyurethane or epoxy.
Wood Filler Recipe
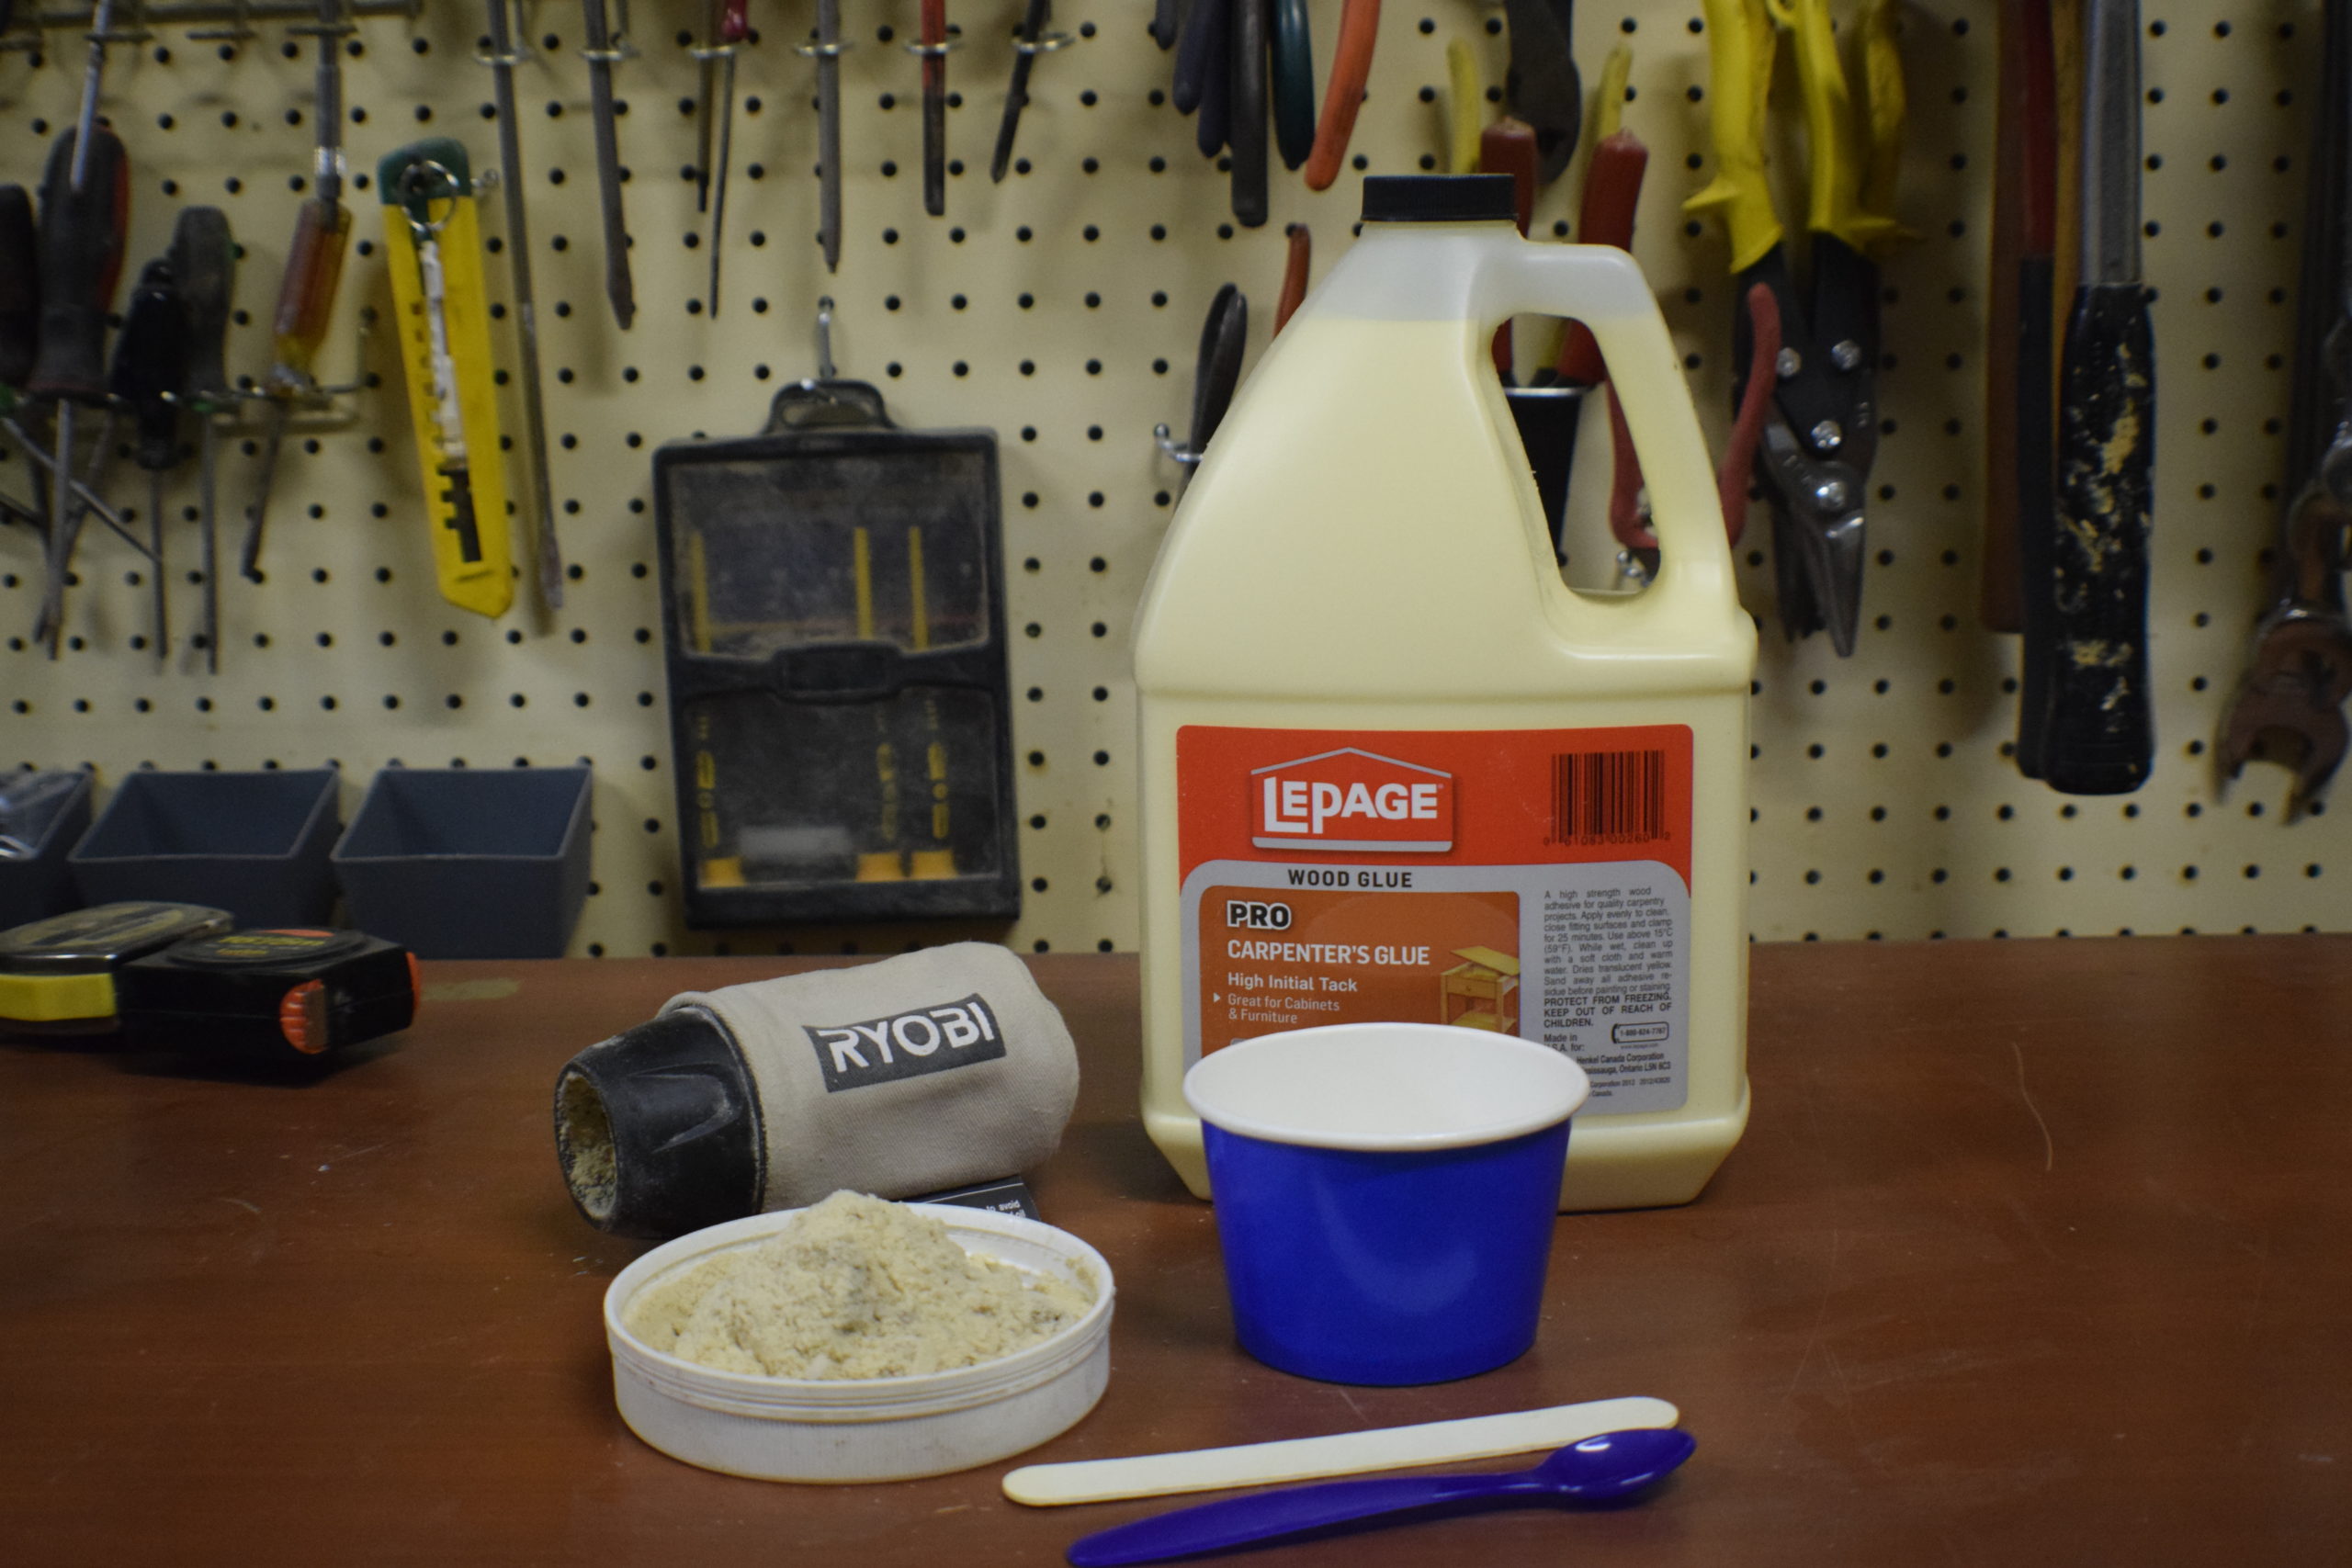
Put away your wallet, put down your car keys and head out to your shop. Everything you need is right there.
- Set aside some sawdust from the project you’re working on
- Pull out your wood glue and a stir stick
Yup, the ingredient list isn’t long for this recipe.
Saw Dust To Glue Ratio
There is no defined ratio for this recipe. This is because the density of sawdust can differ depending on how you got it and what wood it came from. The trick to obtaining a perfect mix is by using your own best judgment. It can take a bit of practice, but once you’ve got this down, it’s as easy as mixing sugar into your morning coffee.
Scoop about 1/2 cup of sawdust into a disposable dish, a little bit at a time.
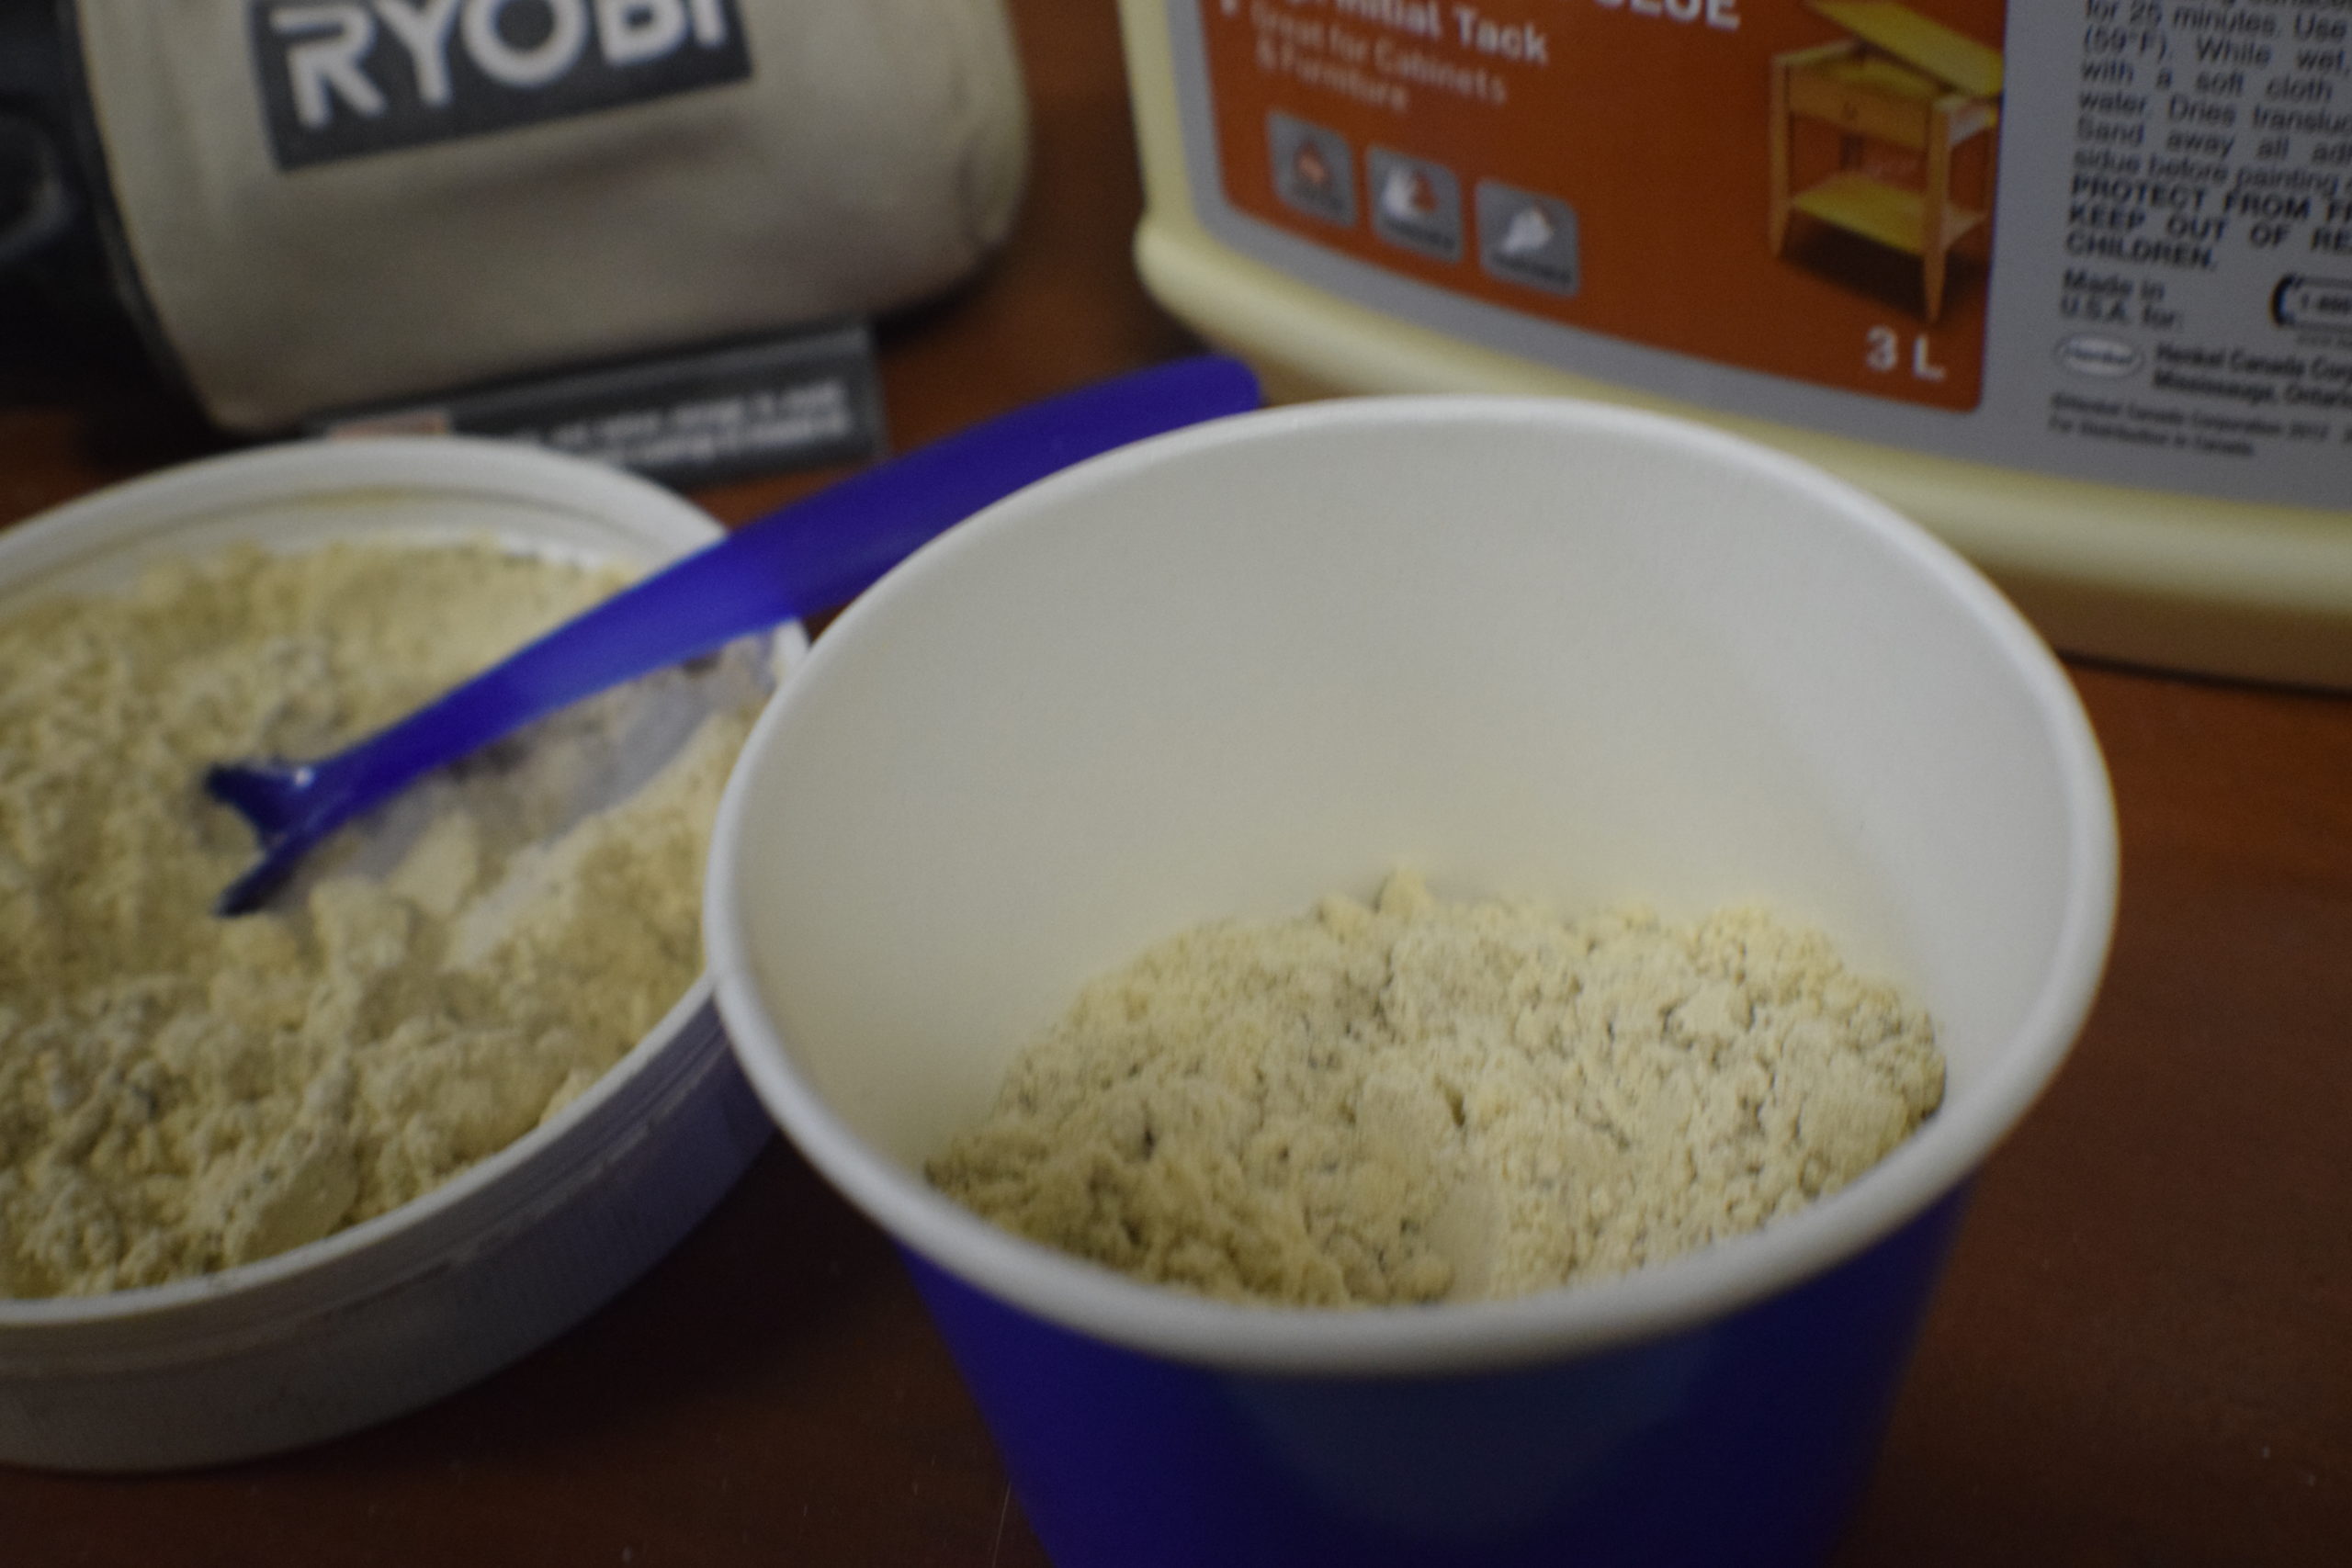
Slowly pour in some wood glue.
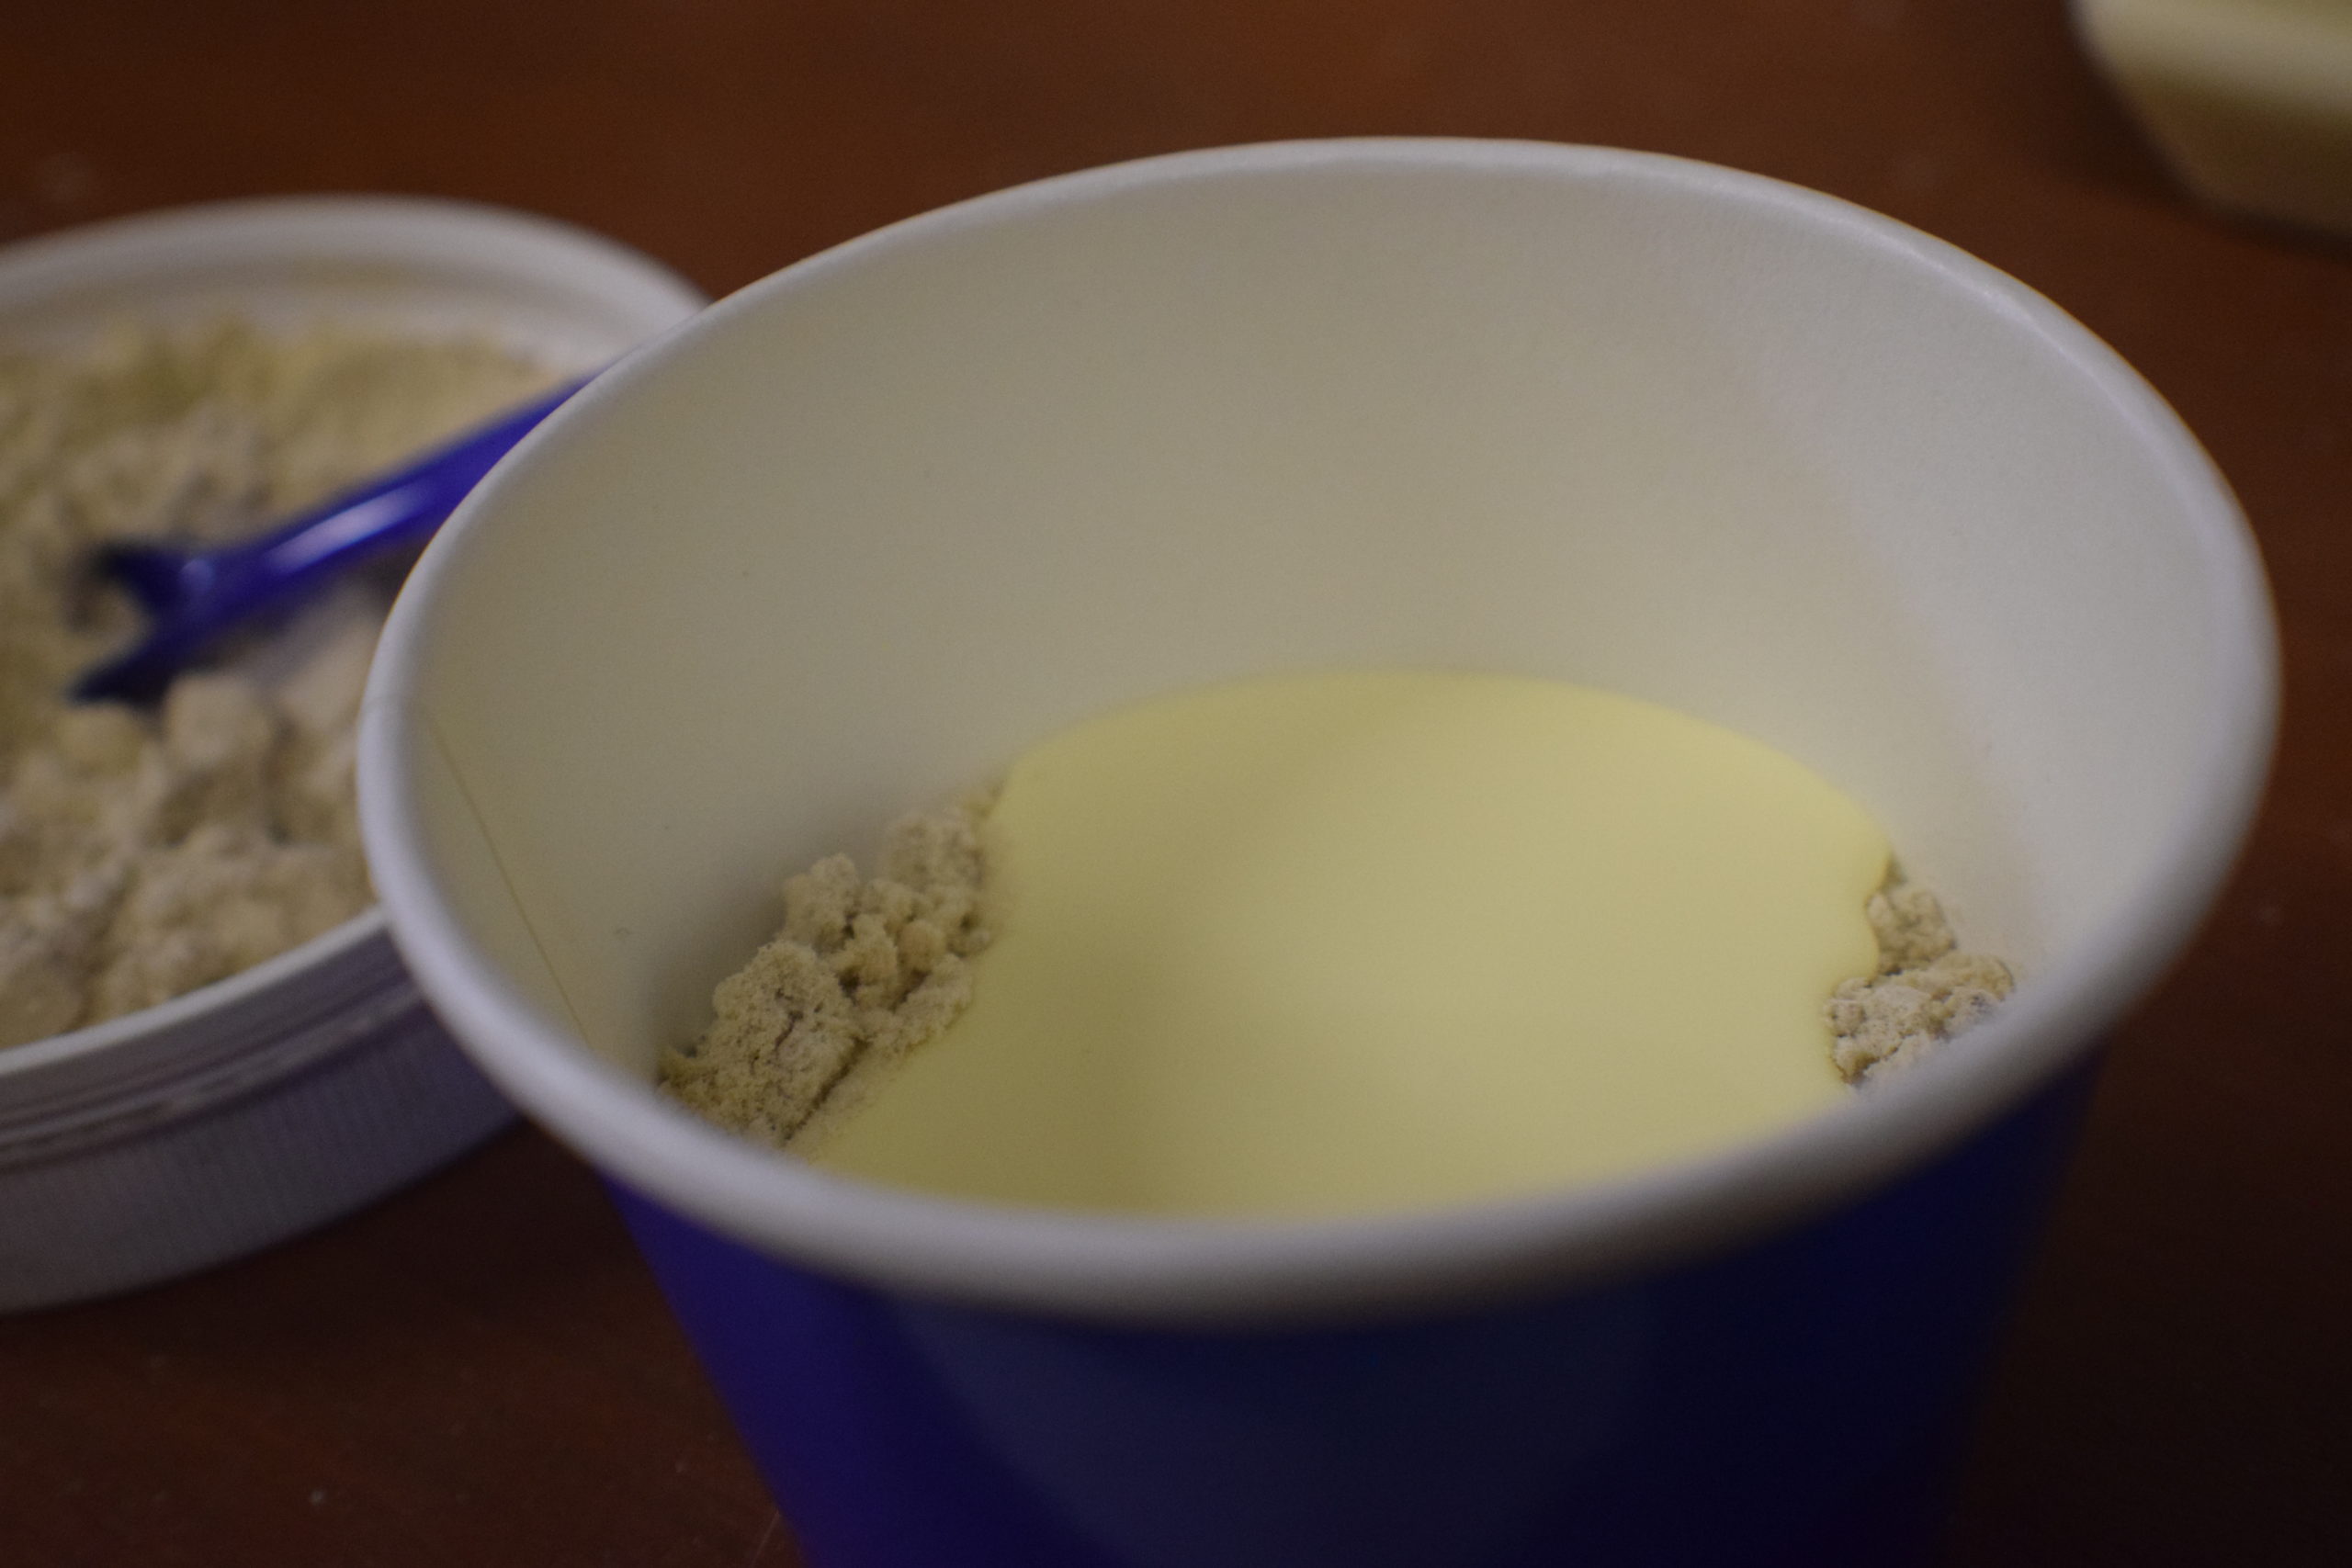
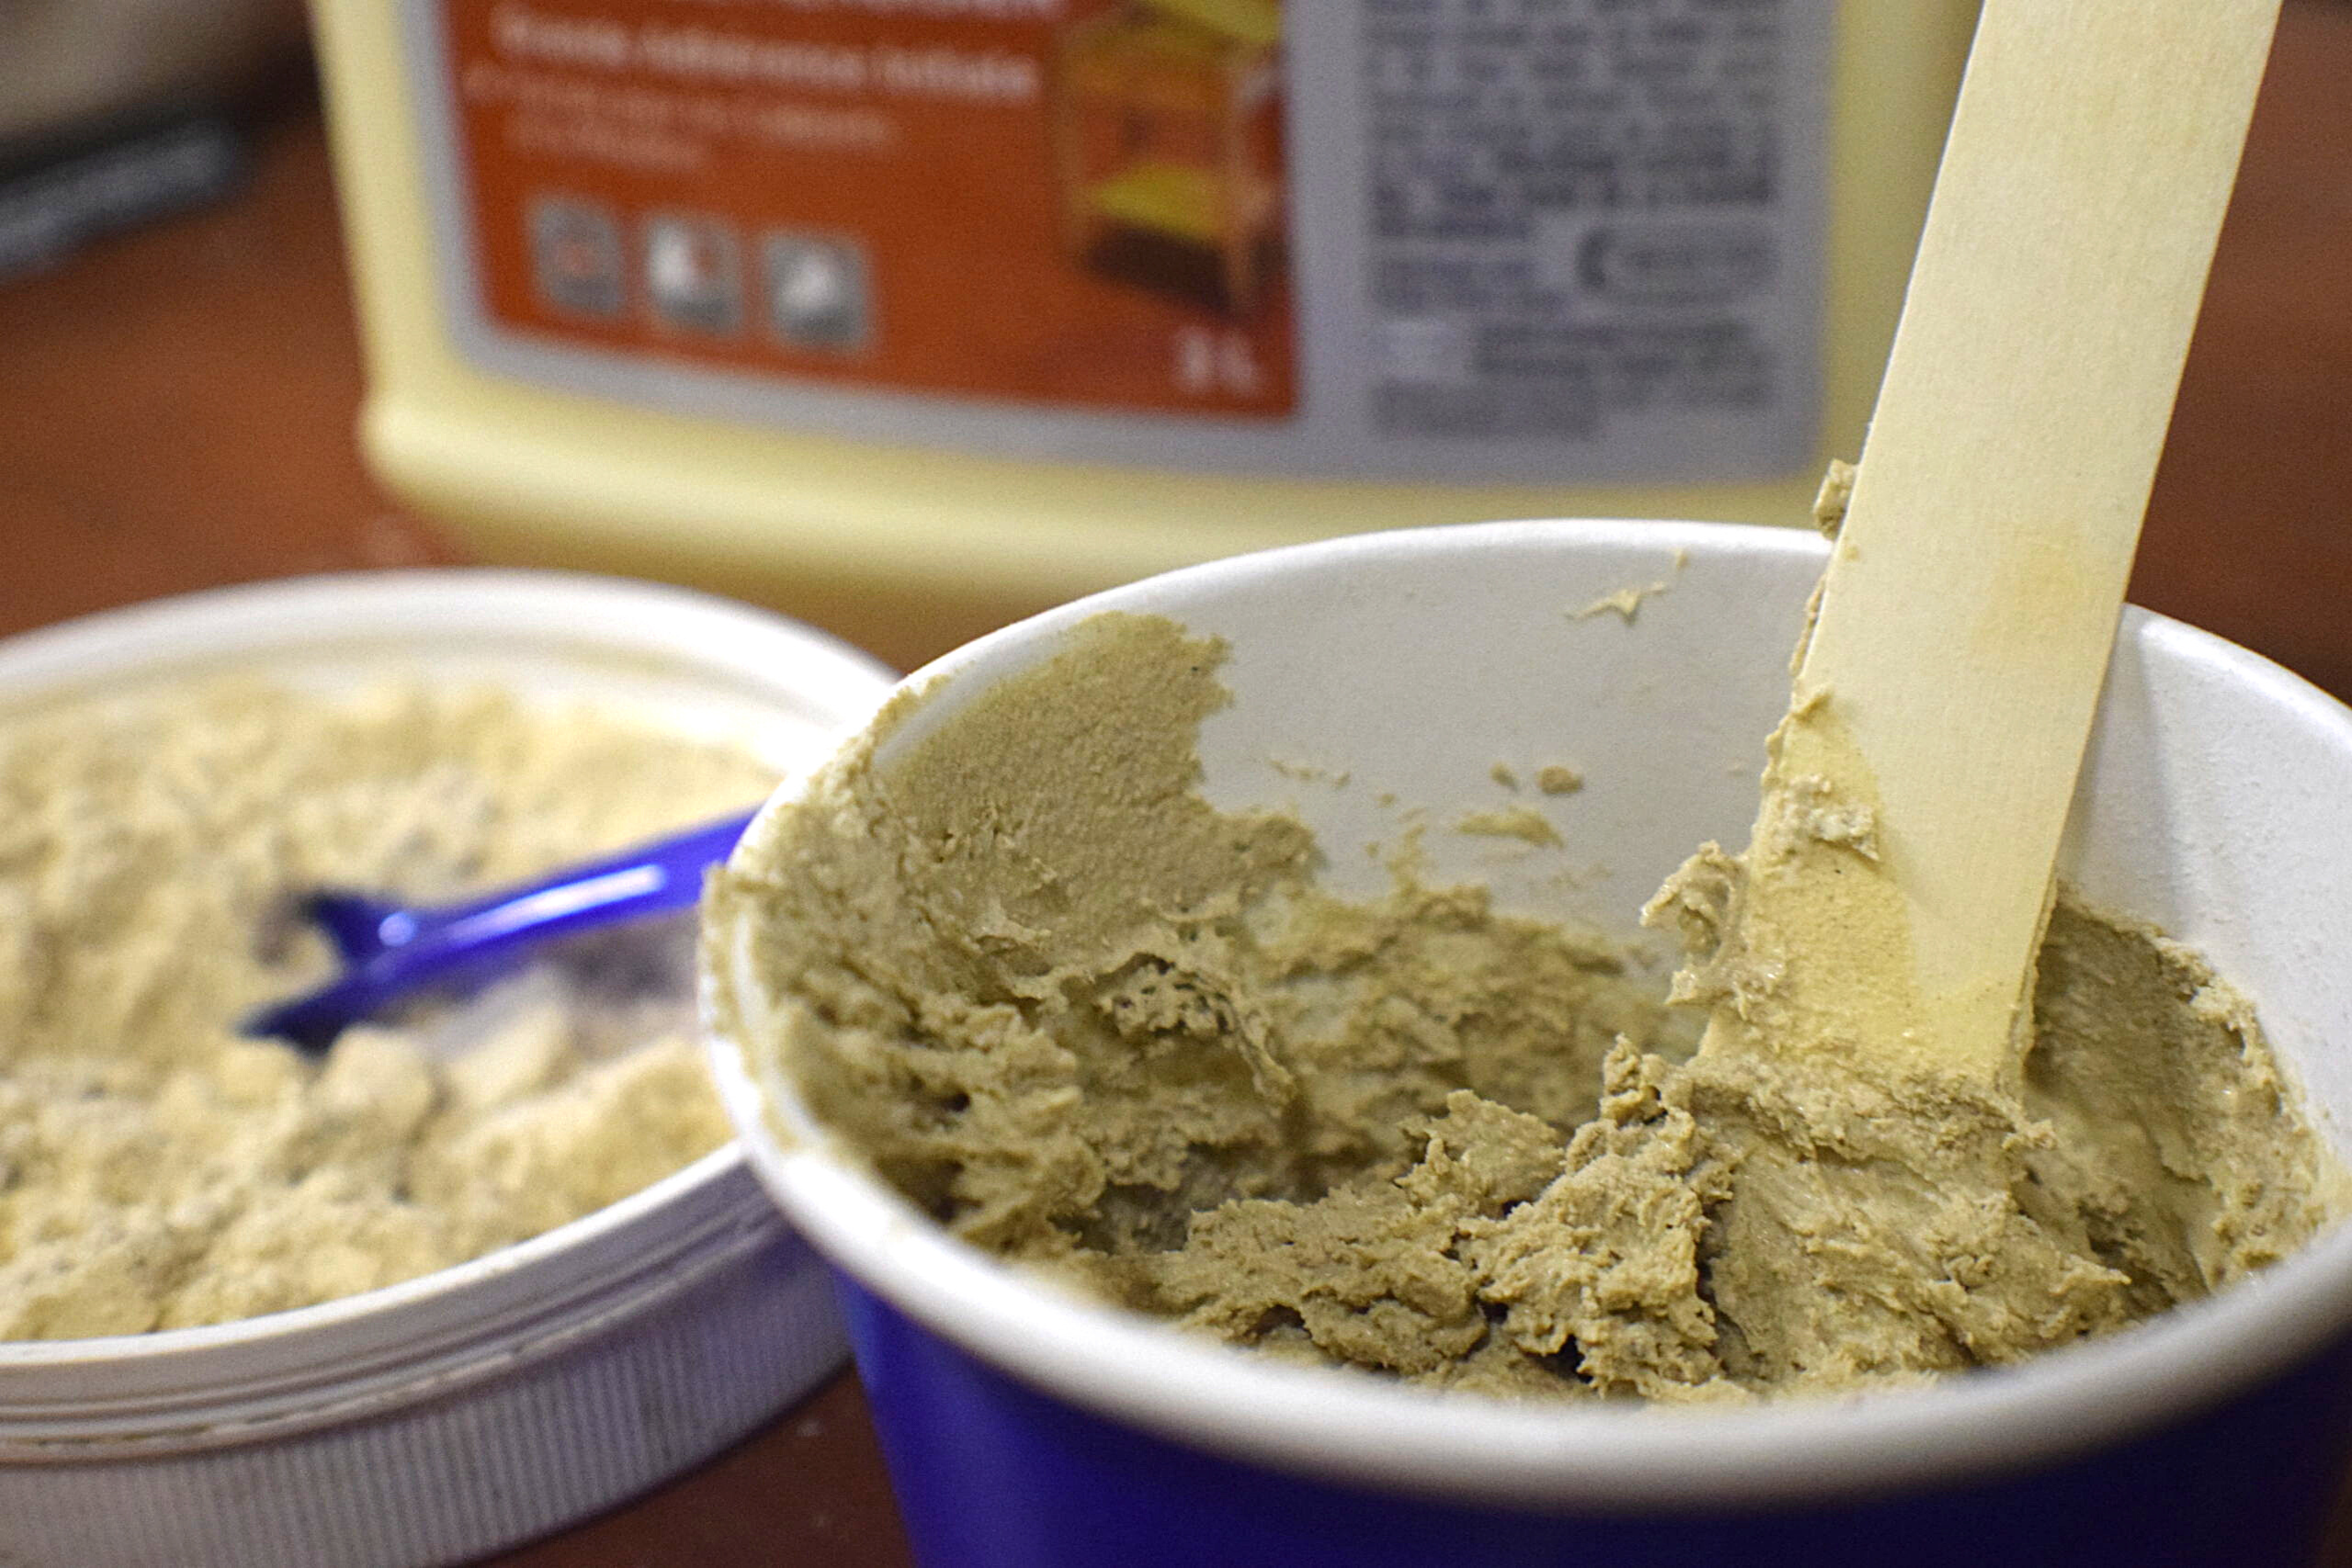
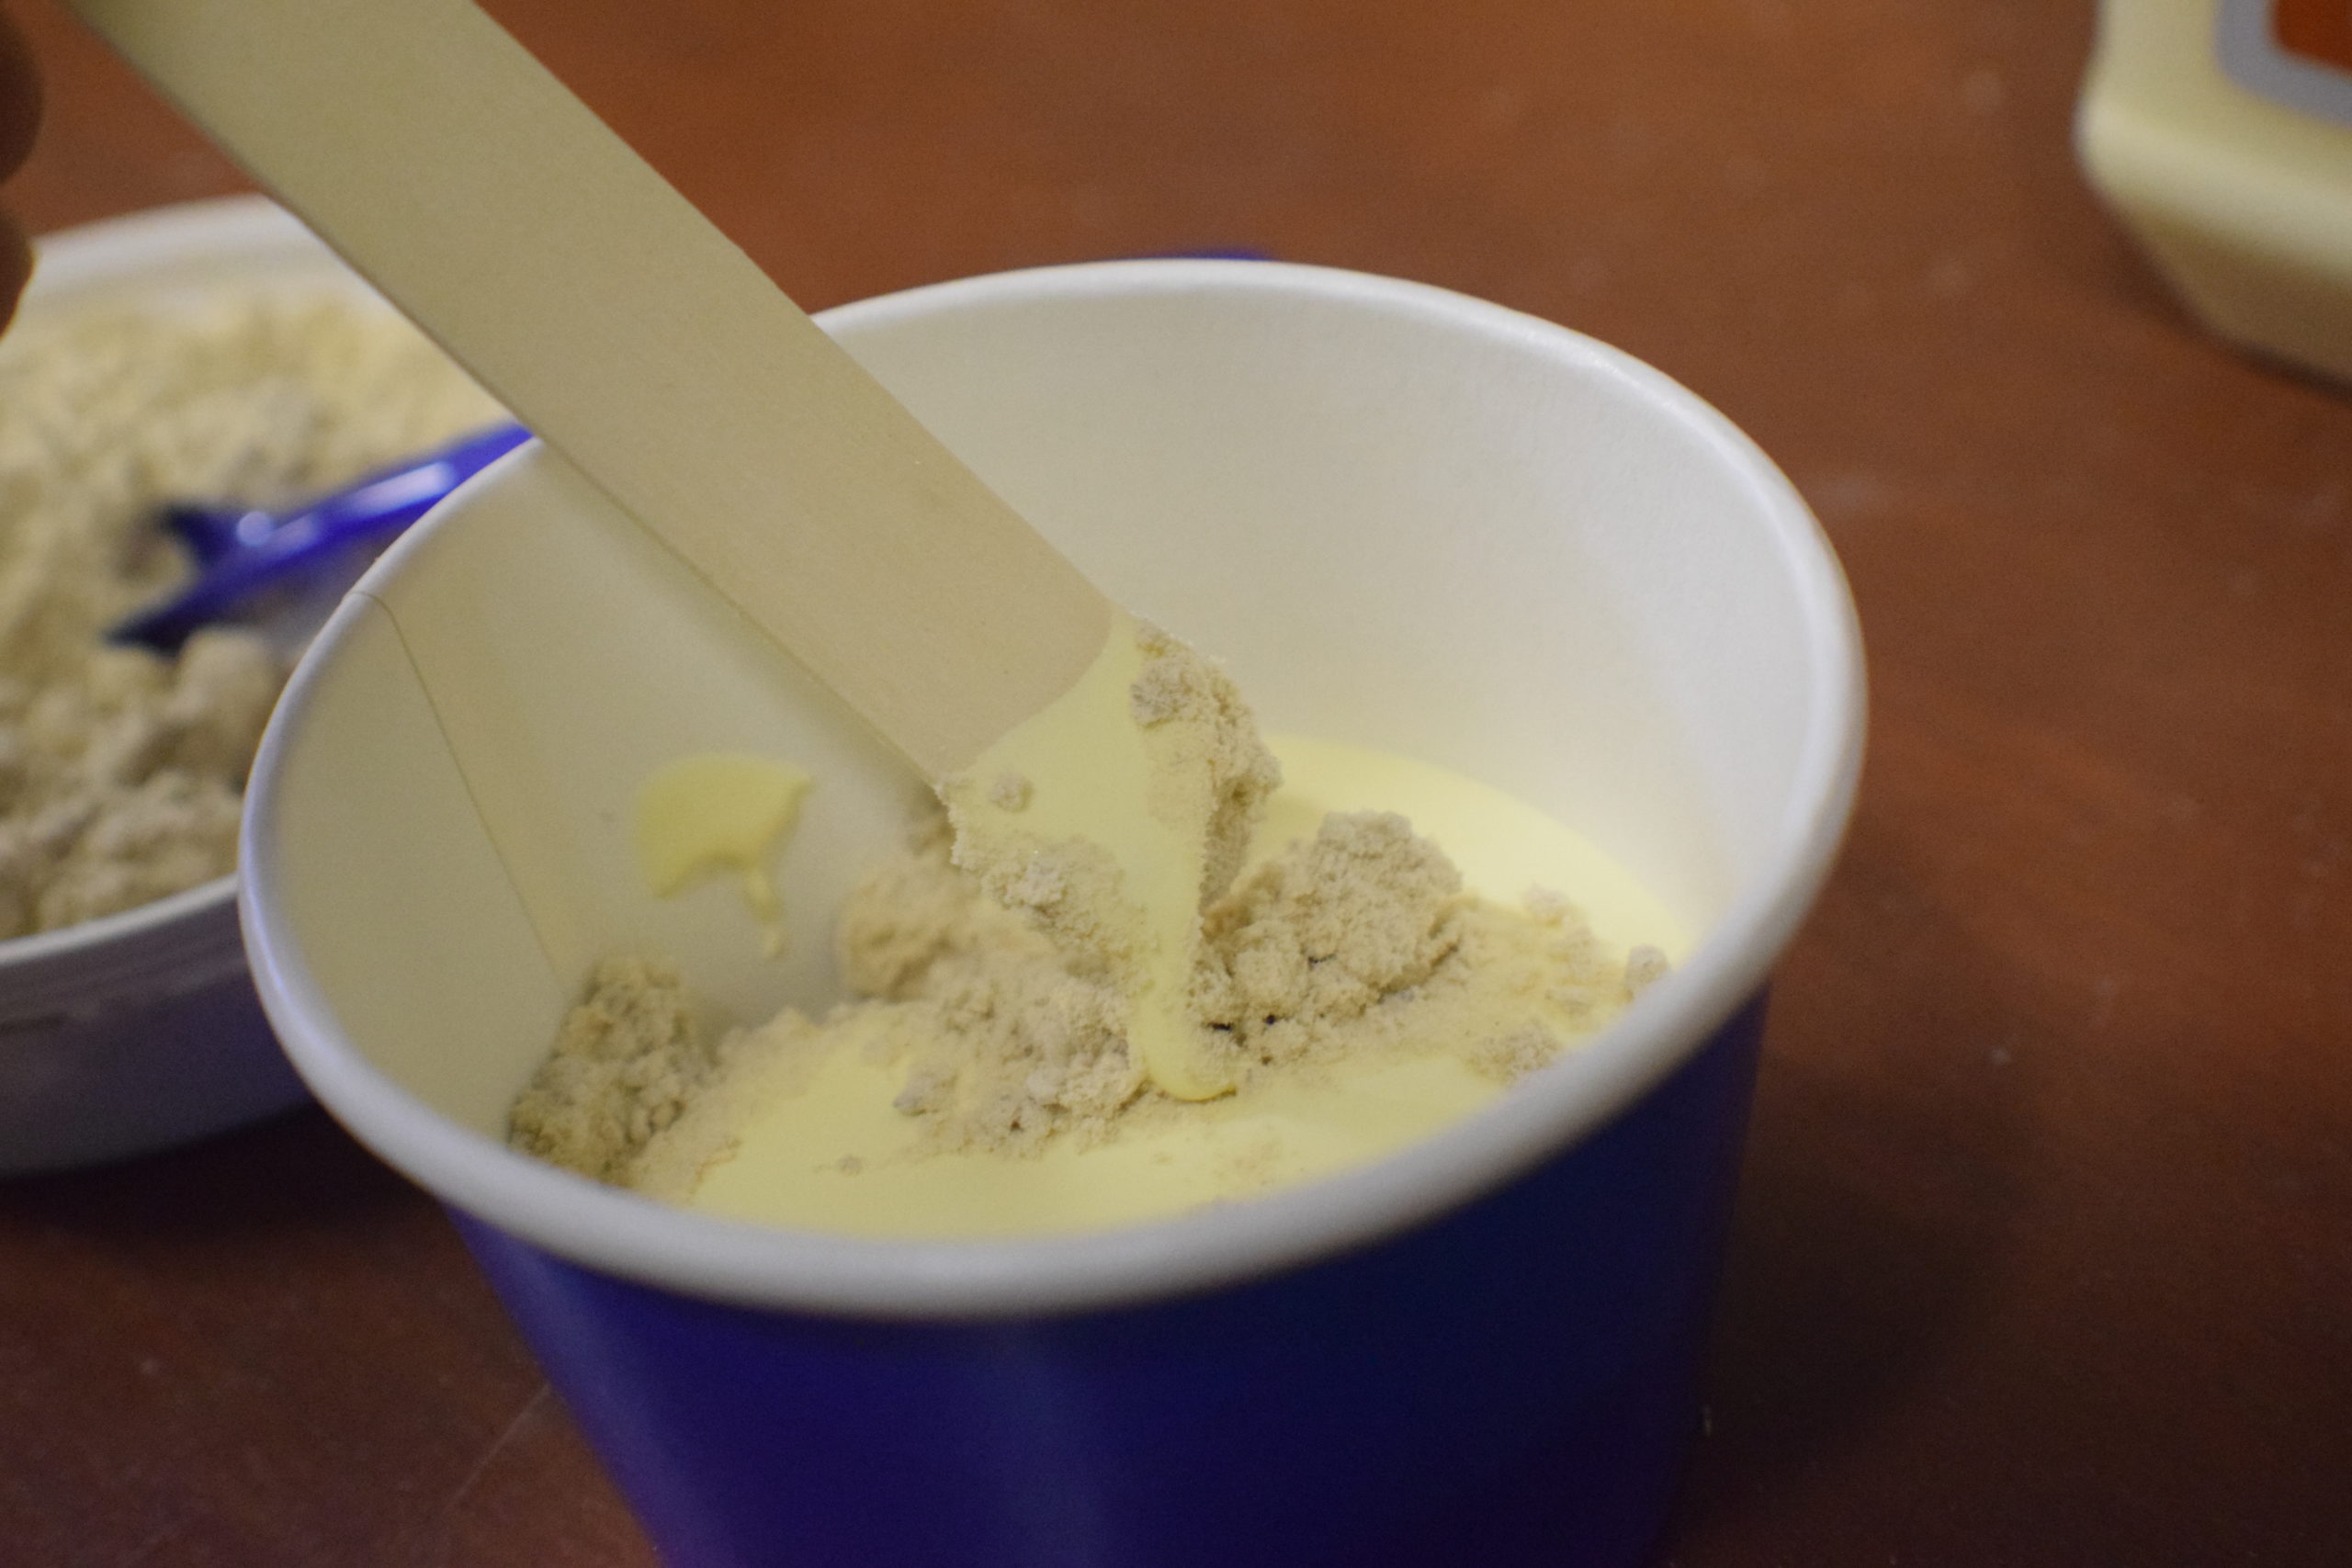
Start mixing. If you notice that the glue isn’t picking up the sawdust, add more glue. If the mix is thin enough to stir easily, add more sawdust. You’re aiming for a putty-like consistency.
Sawdust Is Essential
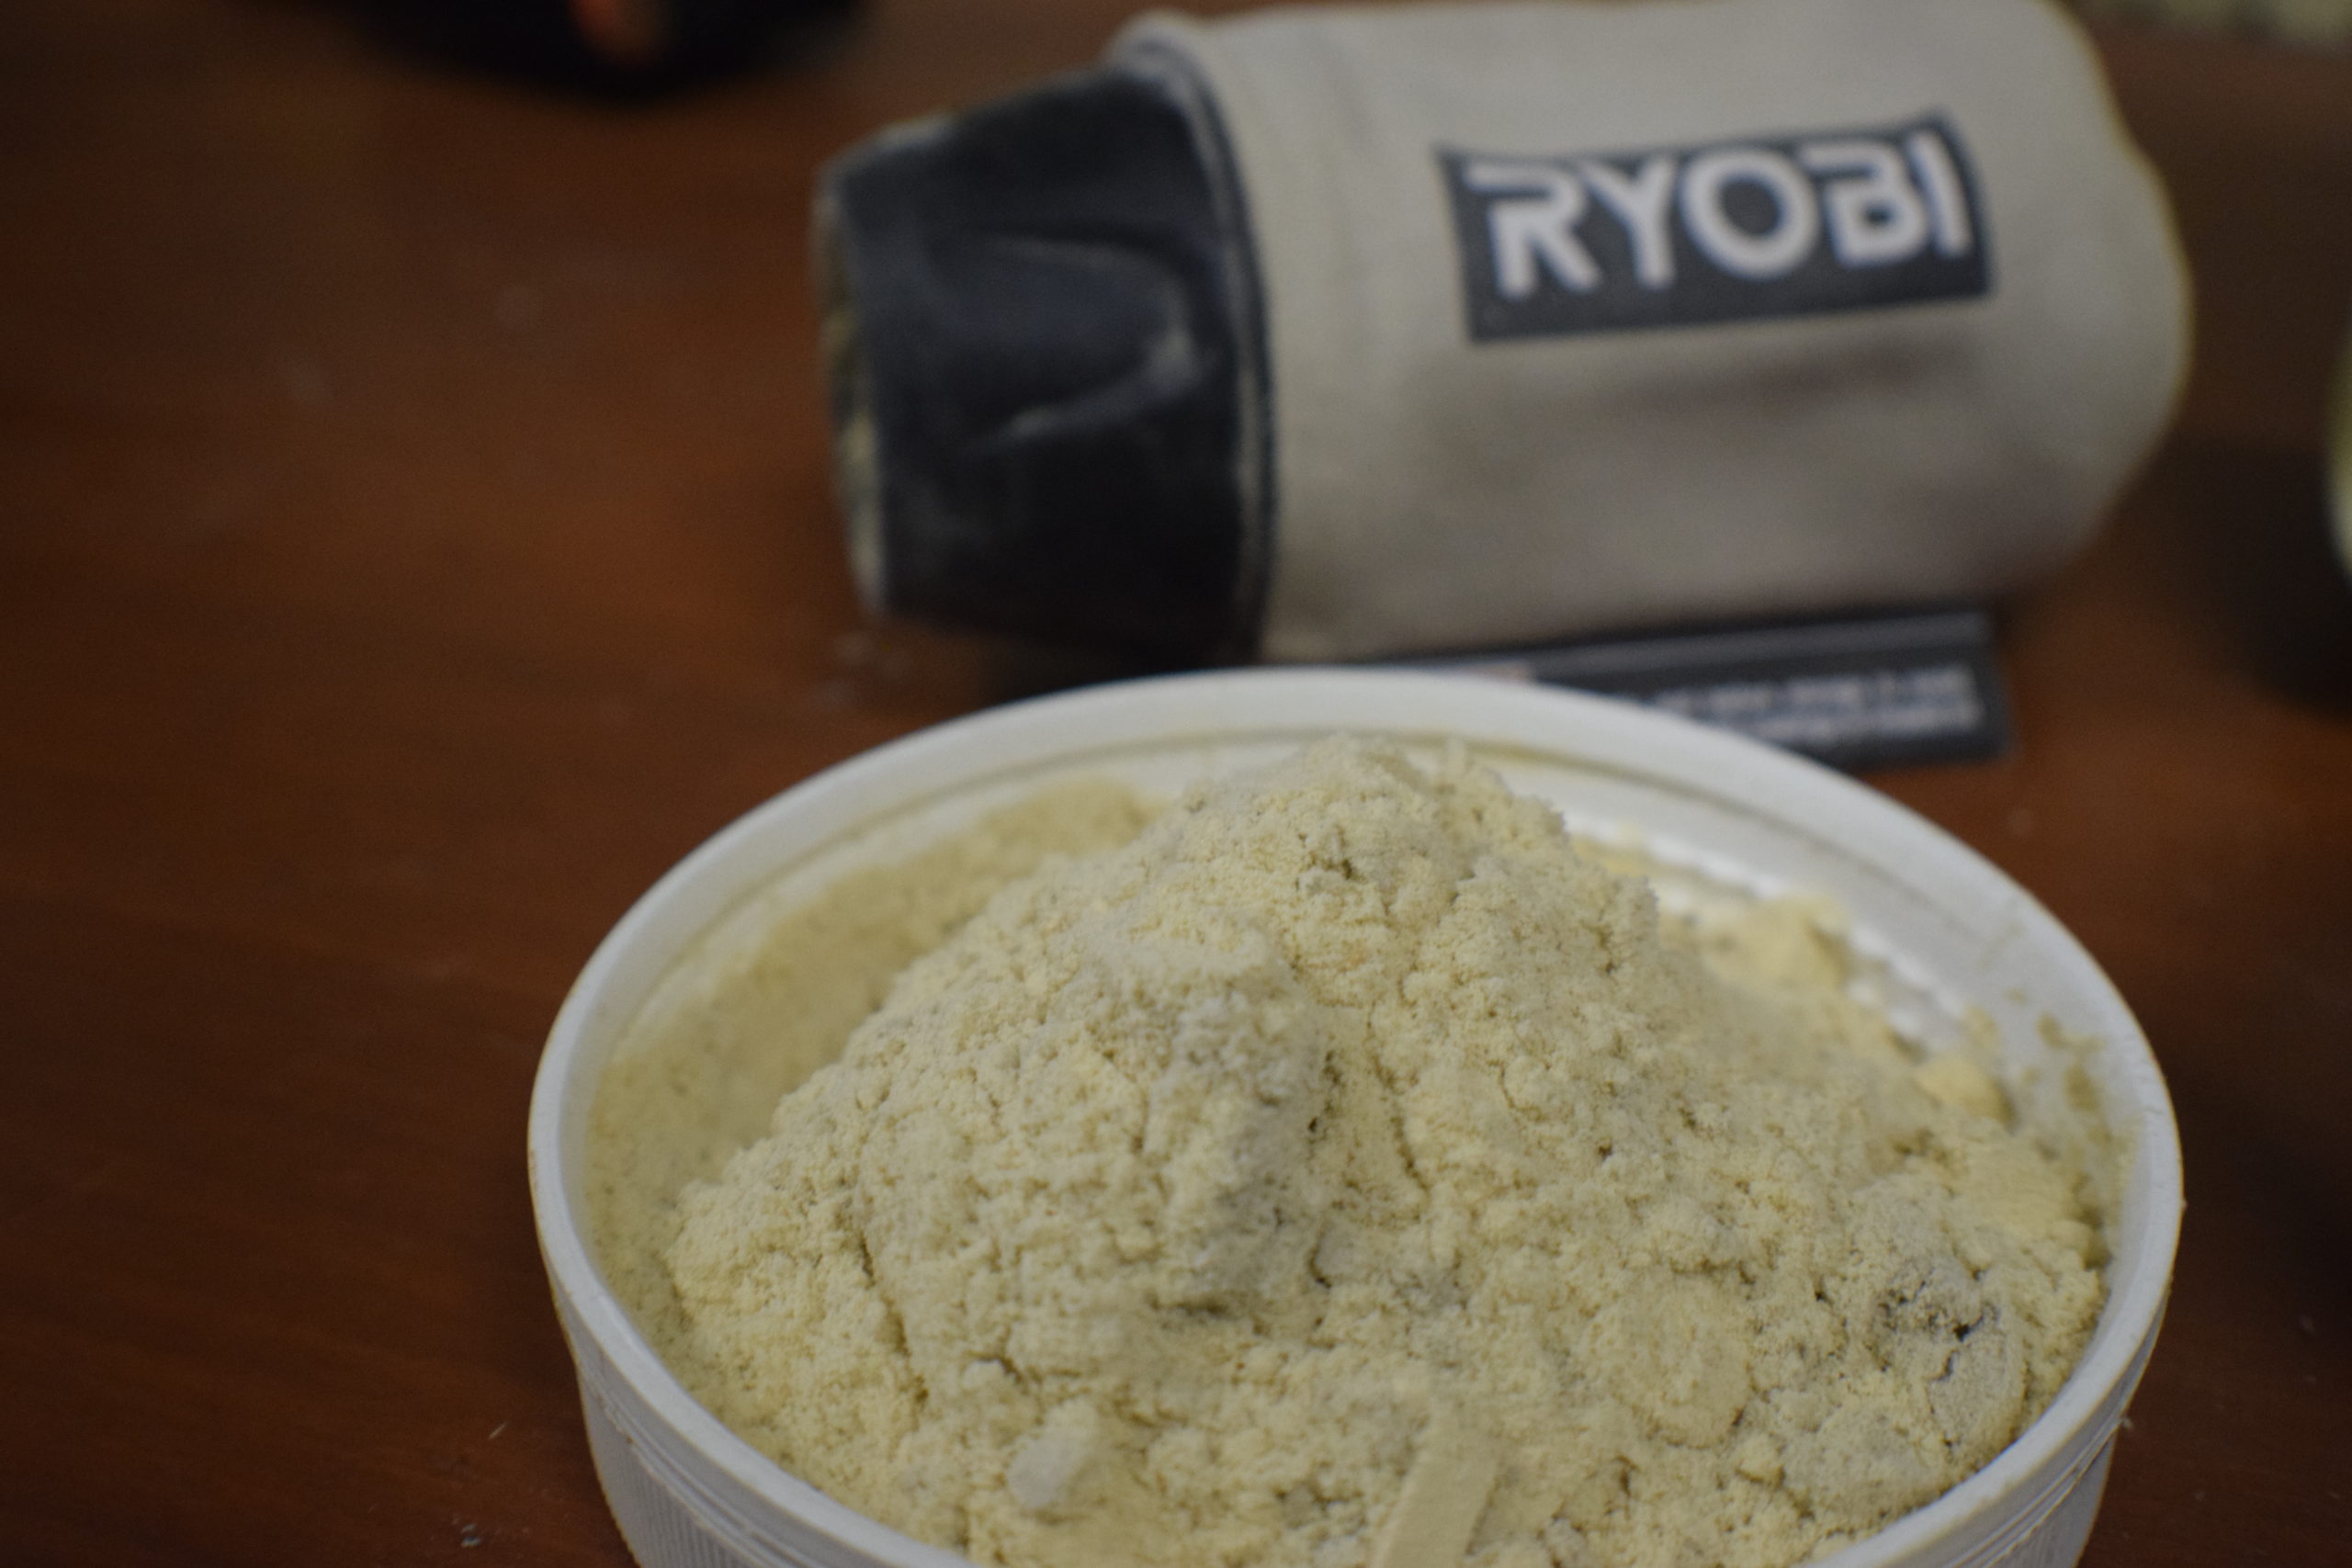
You may think any sawdust will do the trick, but re-using the sawdust from your project is one of the most important steps and shouldn’t be skipped over.
Sawdust plays an important role when it comes to matching the color pigment of your filler. If you use pine dust on a black walnut project, you’re going to end up with a white filler on dark-grained wood. No amount of stain will help match it.
The density and consistency of your sawdust is also a factor. Using fine sawdust from your hand sander is preferred. It mixes evenly and forms a clean and smooth putty. Using rougher sawdust should be avoided and will result in an inconsistent and lumpy mix. This can cause the glue to be unmixed, which will affect the durability of the fill. It also affects the coloring of the fill and repels stain.
Applying Wood Filler
Now that you’ve got your filler prepared, it’s time to put it to use. You can use your finger, a popsicle stick, or a putty knife as an application tool for this process. Making the choice on which to use will depend on the size of the area you are mending.
If you’re filling in some small nail holes, scratches, or thin cracks, your finger is the preferred tool. Simply rub your finger over the area with the putty and wipe away any mess around the edges.
When working with larger gaps, scoop up some putty on a popsicle stick or knife and spread it over the crack (just like peanut butter on toast). If you applied too much, use the putty knife to go back over the surface and scrape away the remains.
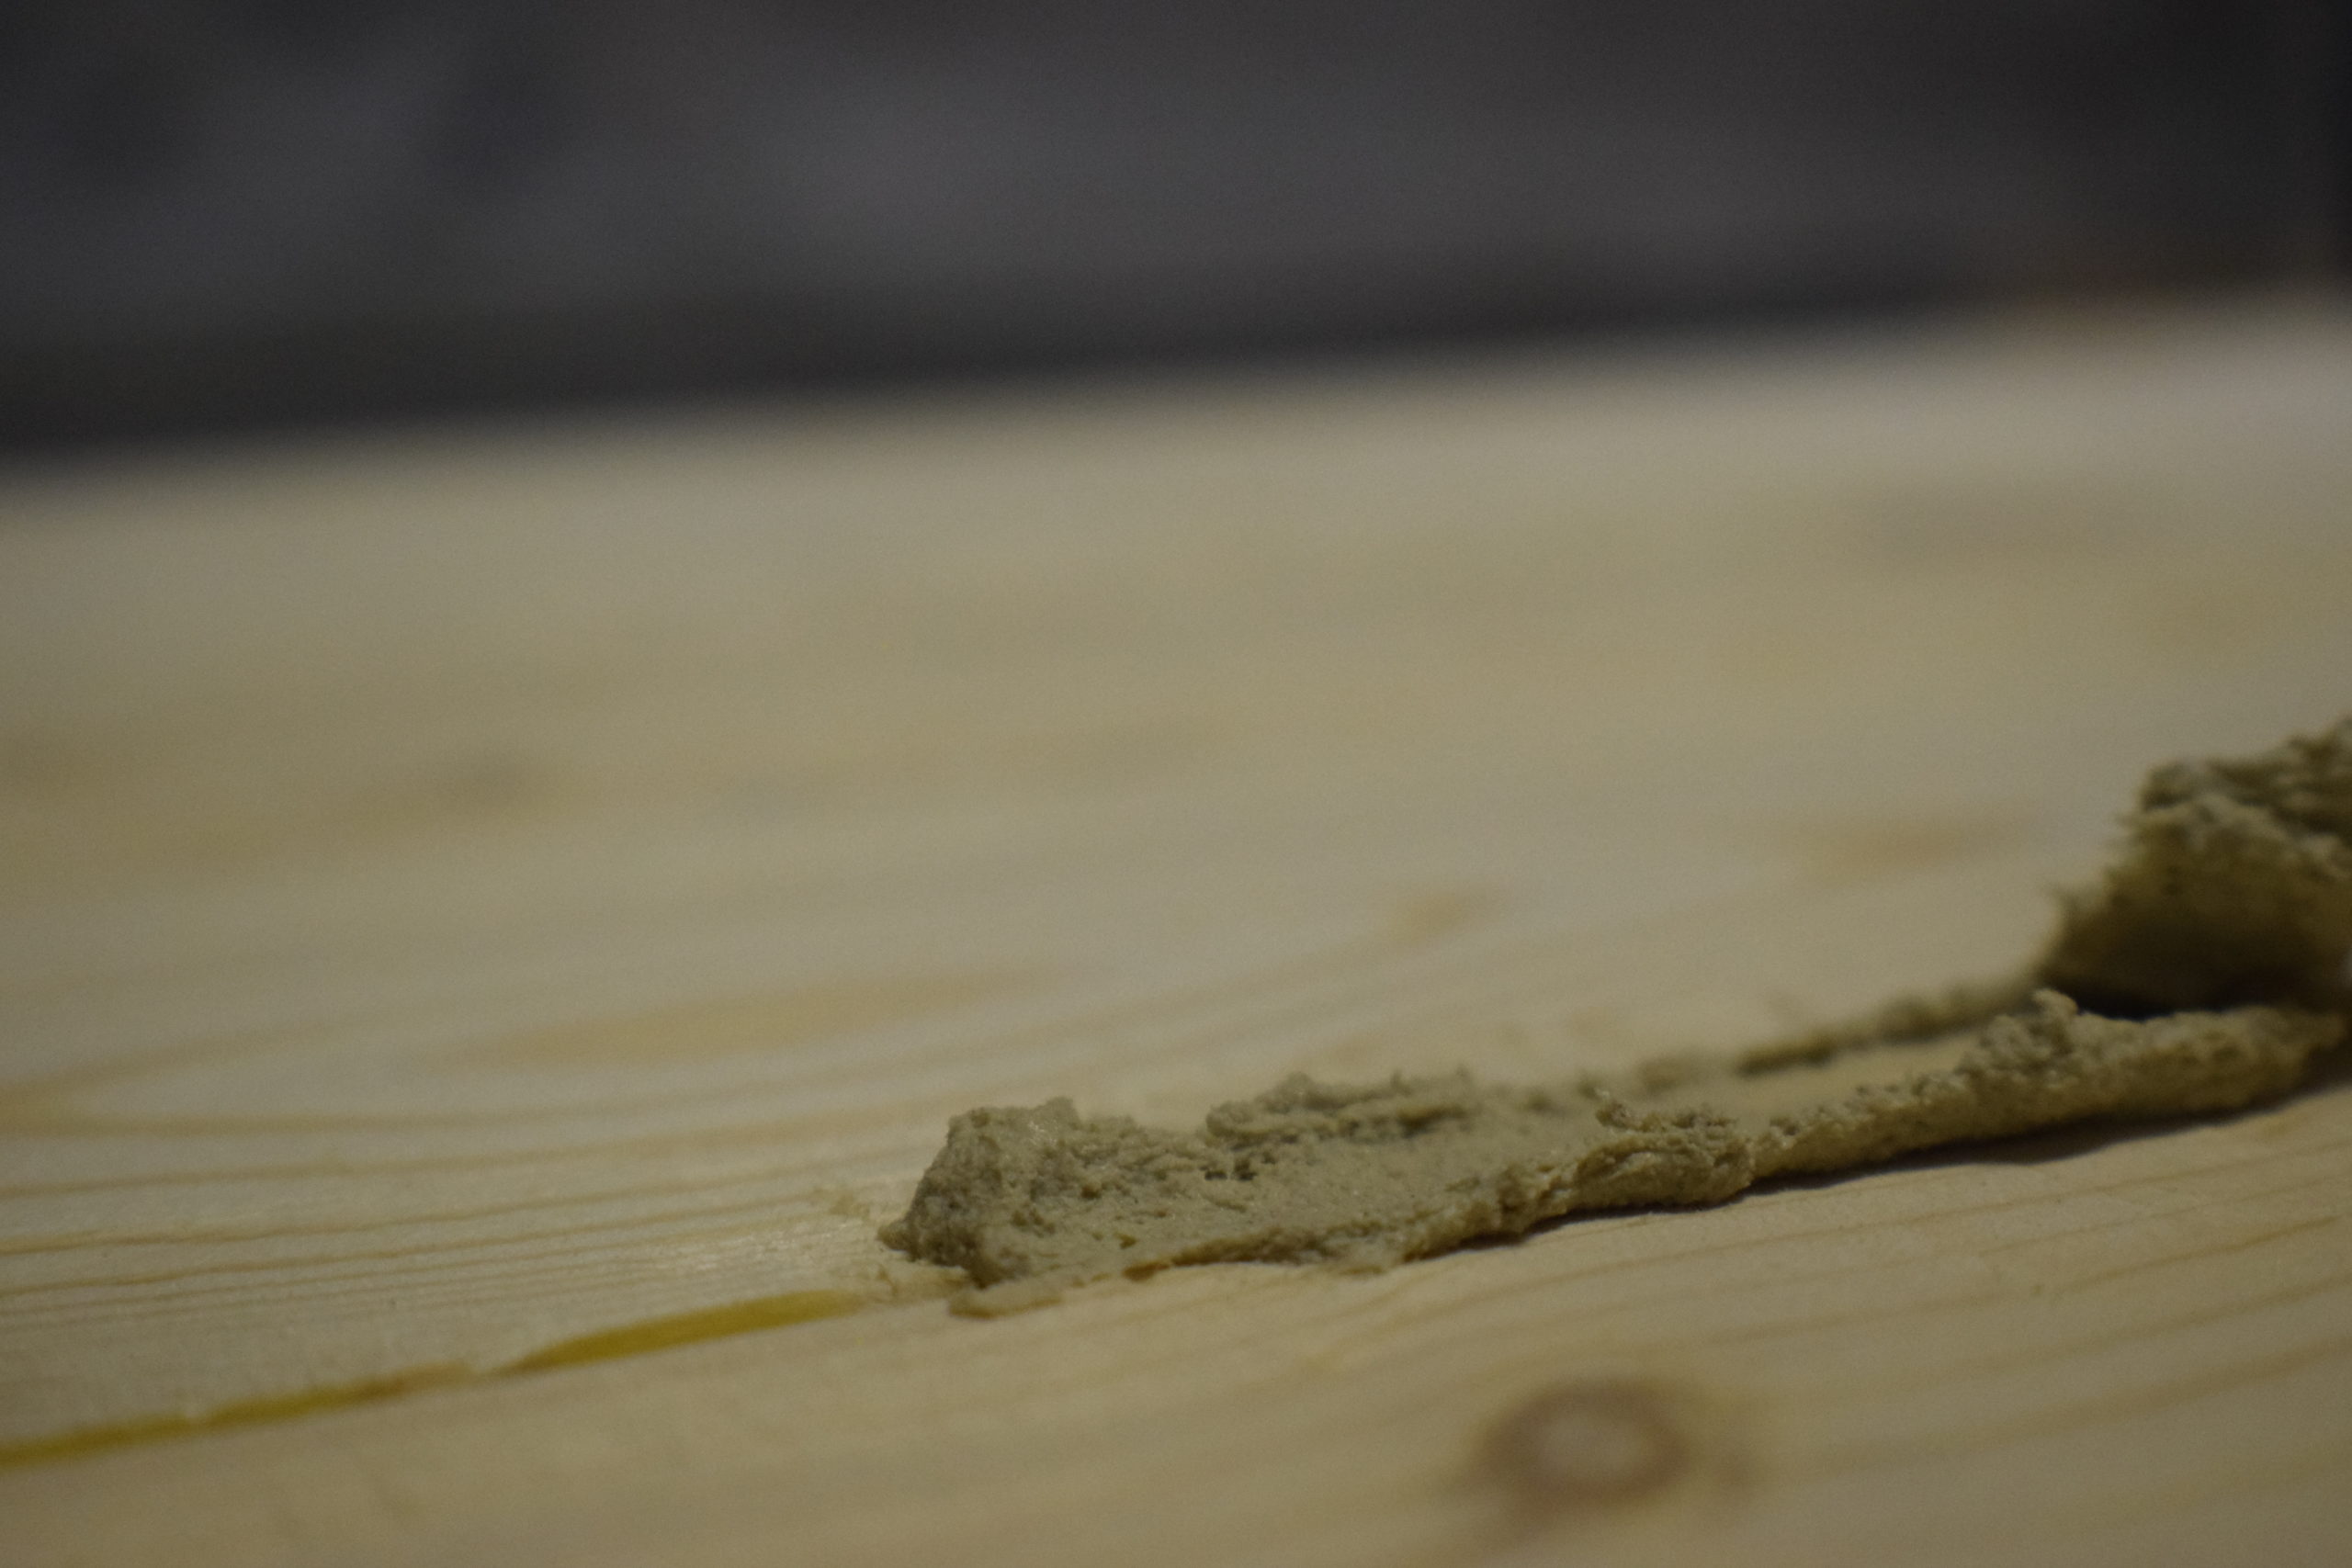
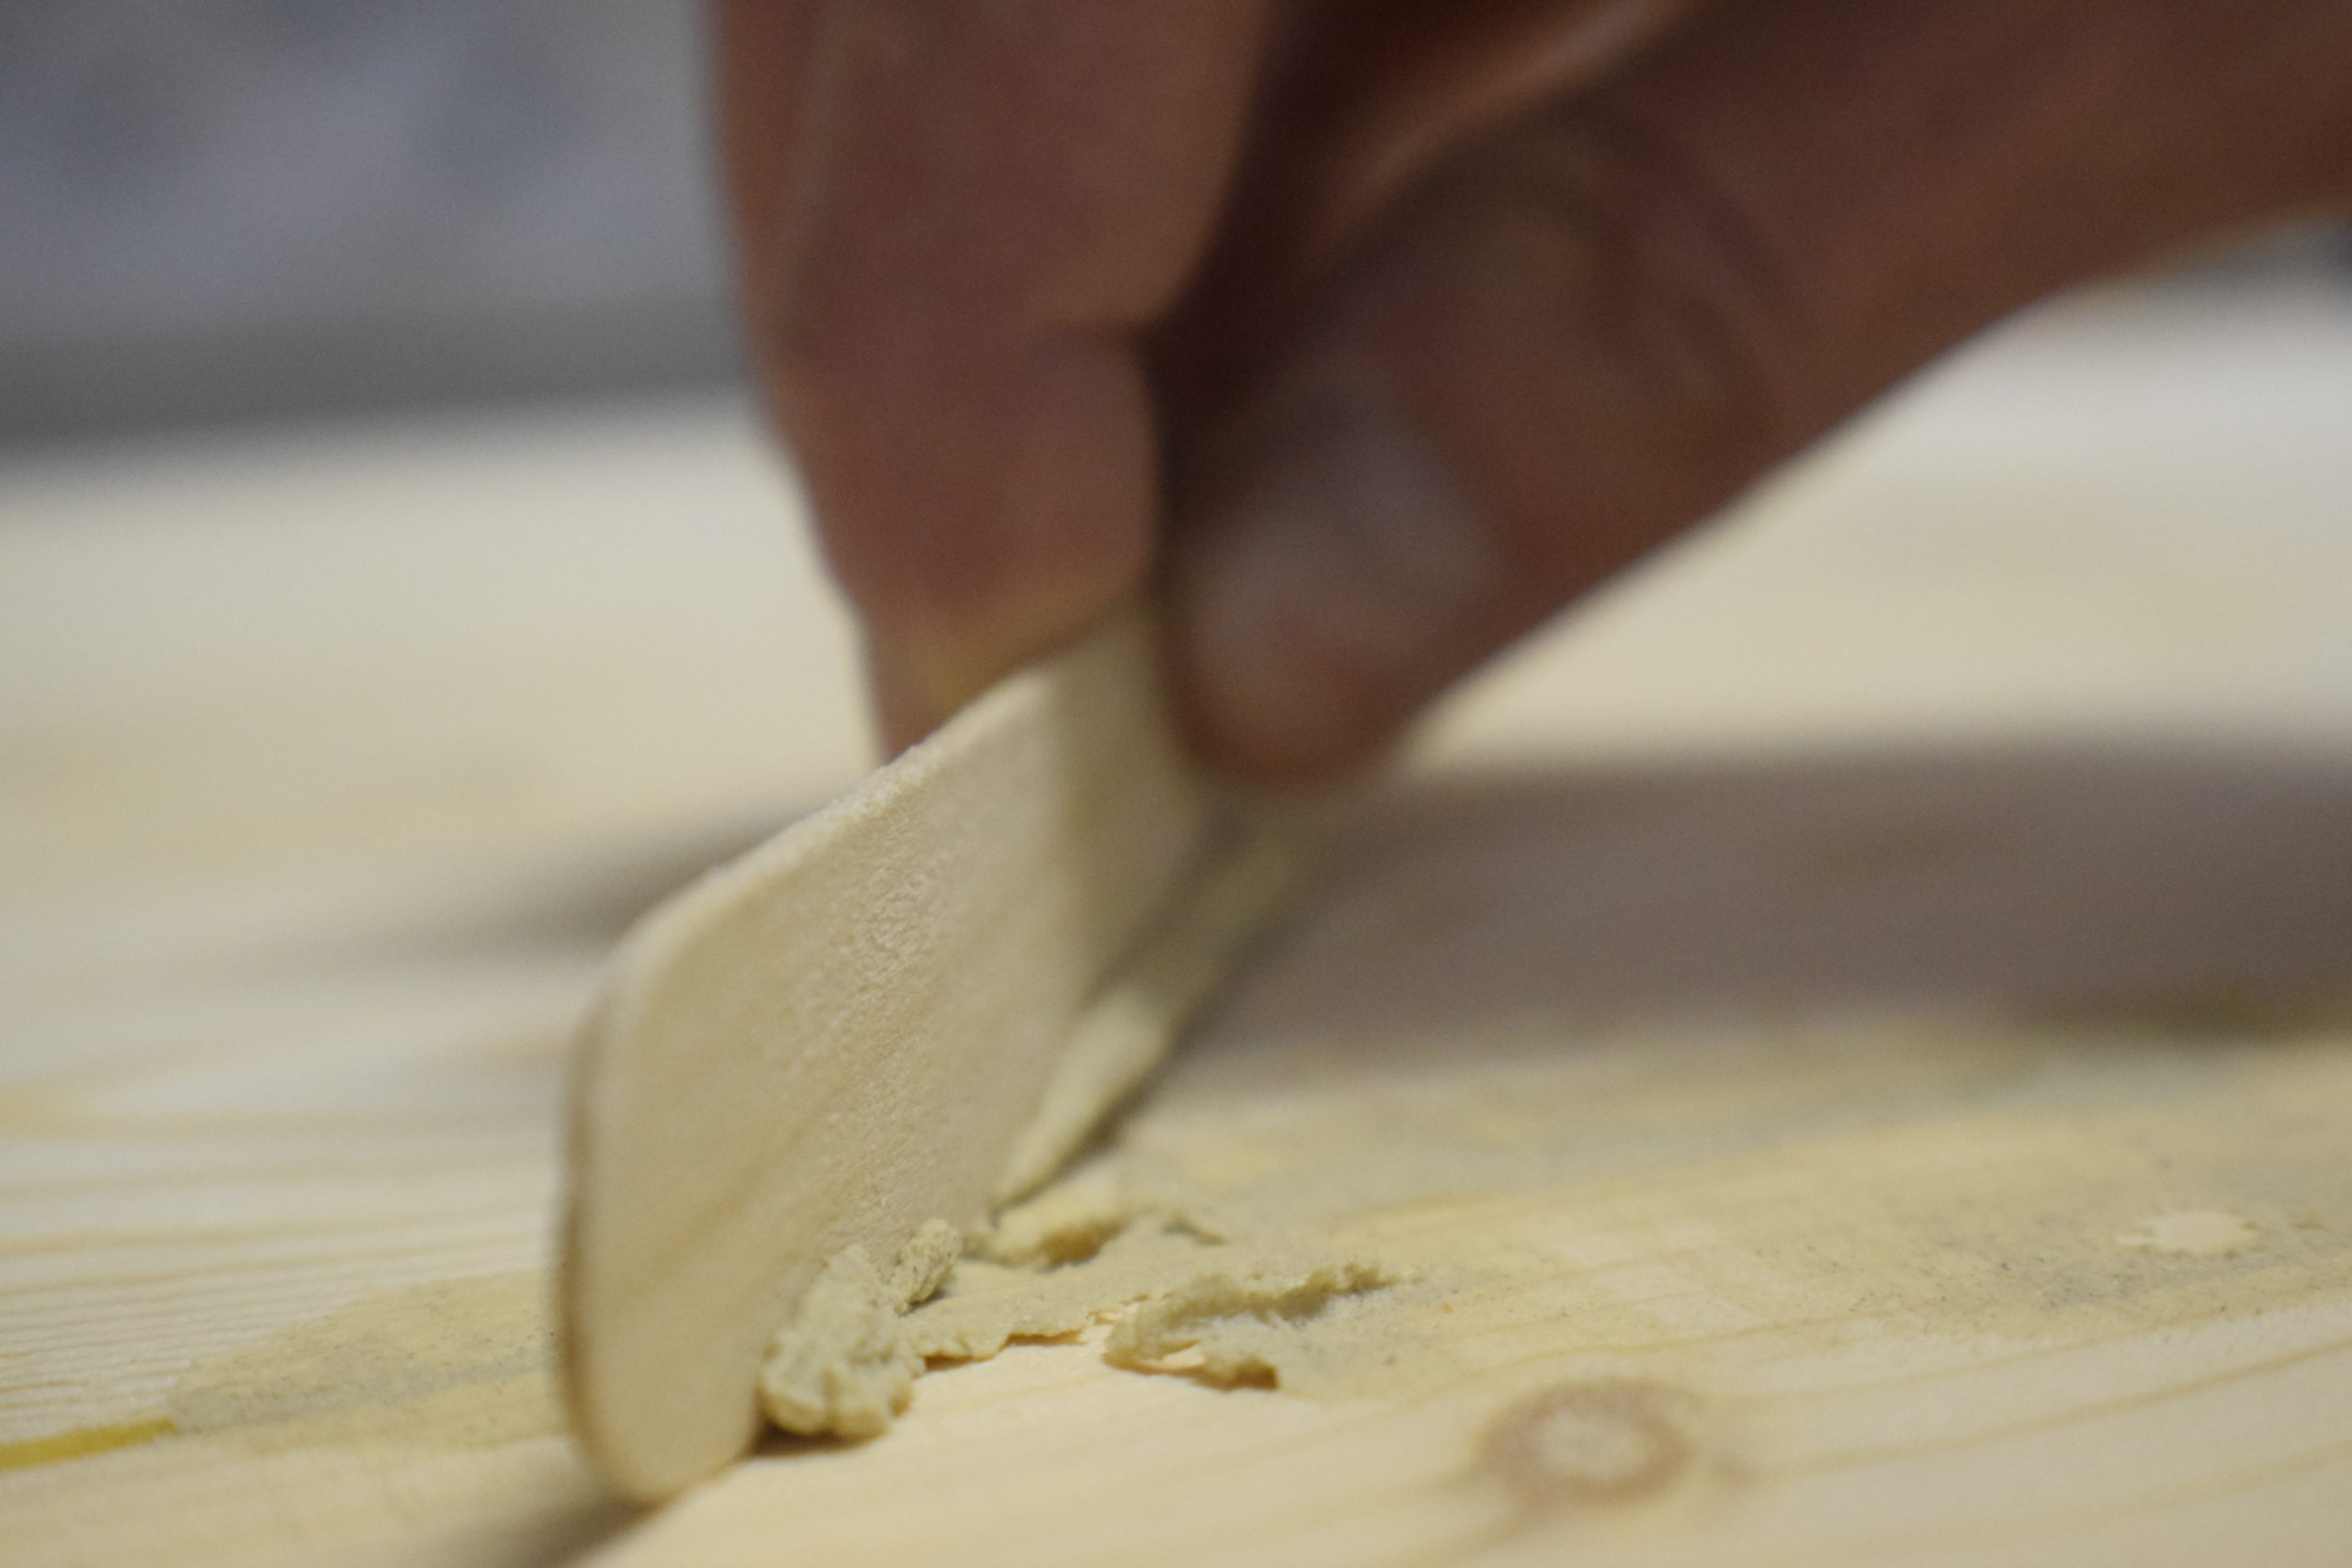
Let dry and sand. Let this dry for at least 30 minutes before you move onto sanding. If you’ve filled some deeper gaps, wait a full 24 hours.
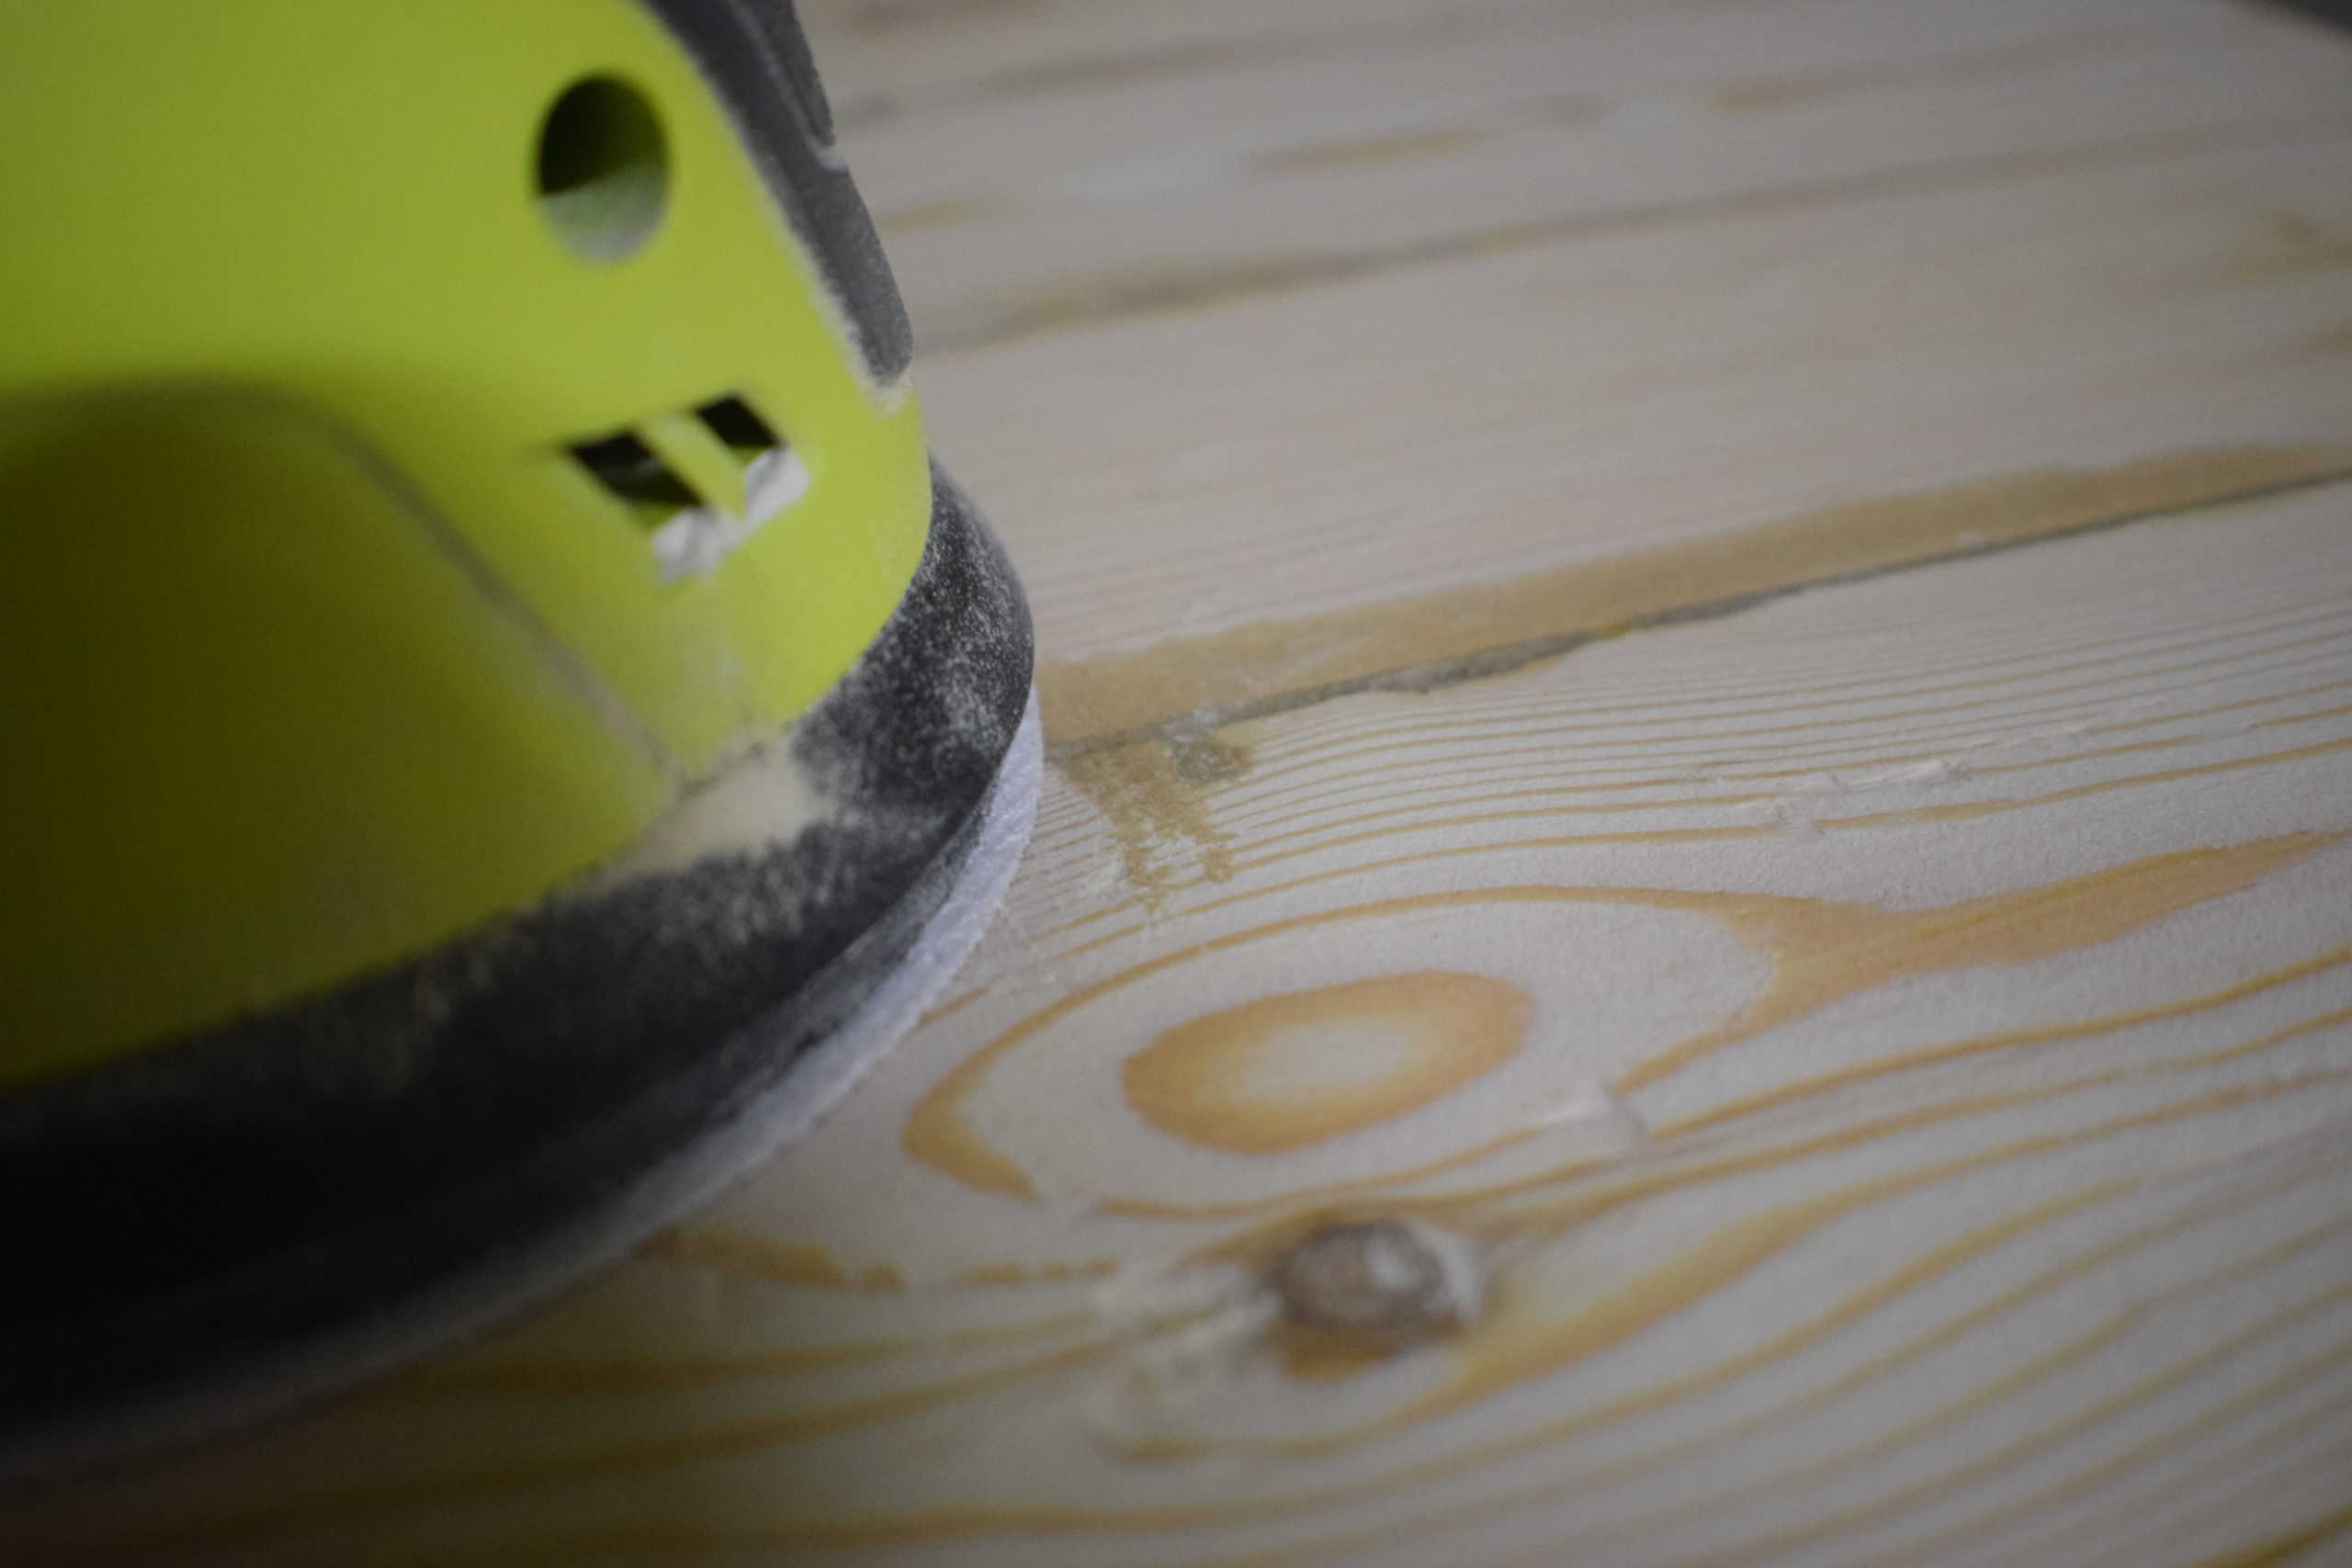
Once you’ve sanded your project, you’re ready for stain! I recommend checking out the Varathane line of wood finishes to complete your DIY. This stuff is fantastic. Show off your DIY wood filler by sharing it with the ManMade community on Facebook or Pinterest.

