Say Goodbye to Doorbell Problems with This Easy DIY Repair Hack
Doorbell problems can be surprisingly annoying. Whether your doorbell stops ringing, buzzes faintly, or doesn’t work at all, it can leave you frustrated and your visitors confused. But don’t worry as you don’t need to call in an electrician or buy a whole new system. With this easy DIY repair hack, you can say goodbye to doorbell problems and get your chime ringing loud and clear again. Let’s dive into how you can fix your doorbell in no time!
Why Do Doorbells Stop Working?
Before jumping into the fix, it helps to know what might be causing the issue. The most common culprits are a dead doorbell button, loose wiring, or a faulty chime unit. Sometimes, it’s as simple as dirt and grime building up over time, interfering with the connection.
Identifying the root cause is the first step. Don’t worry if you’re not super tech-savvy; this guide will walk you through troubleshooting and repairing your doorbell.
The Simple DIY Repair Hack
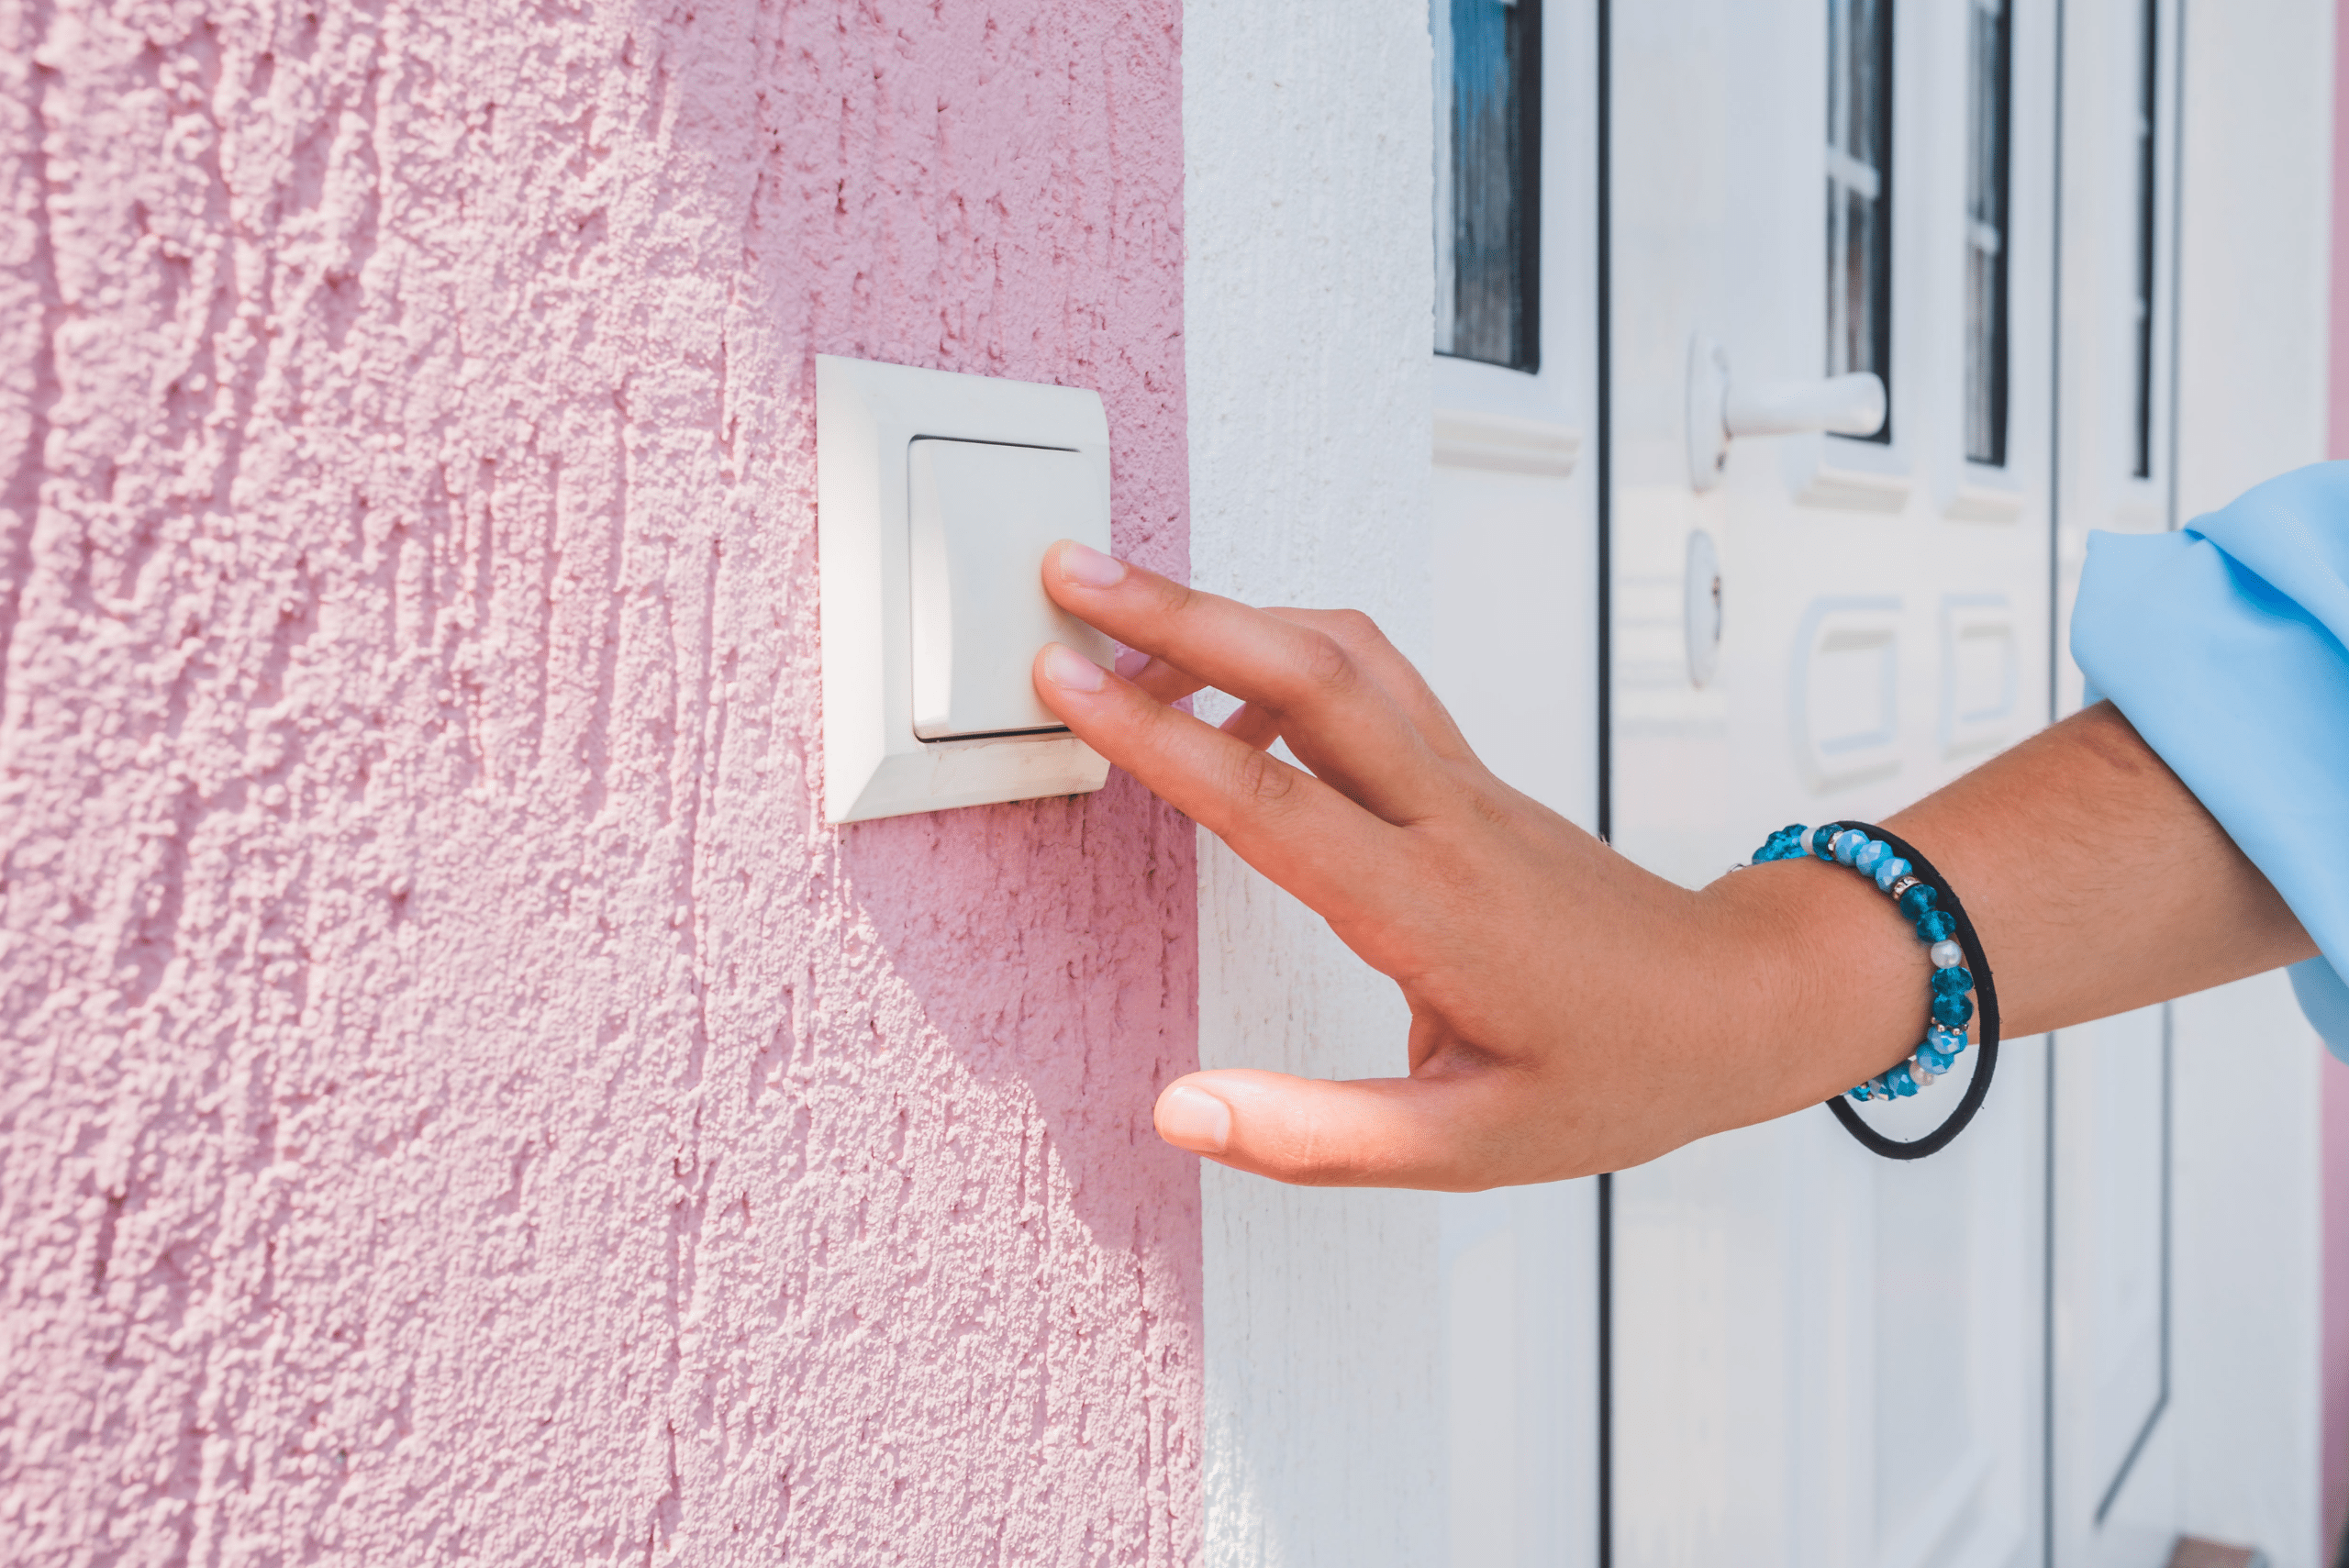
Here’s the secret to fixing most doorbell problems: start with the button. Doorbell buttons are often the weakest link, and fixing or replacing one is easier than you might think.
Step 1: Inspect and Clean the Button
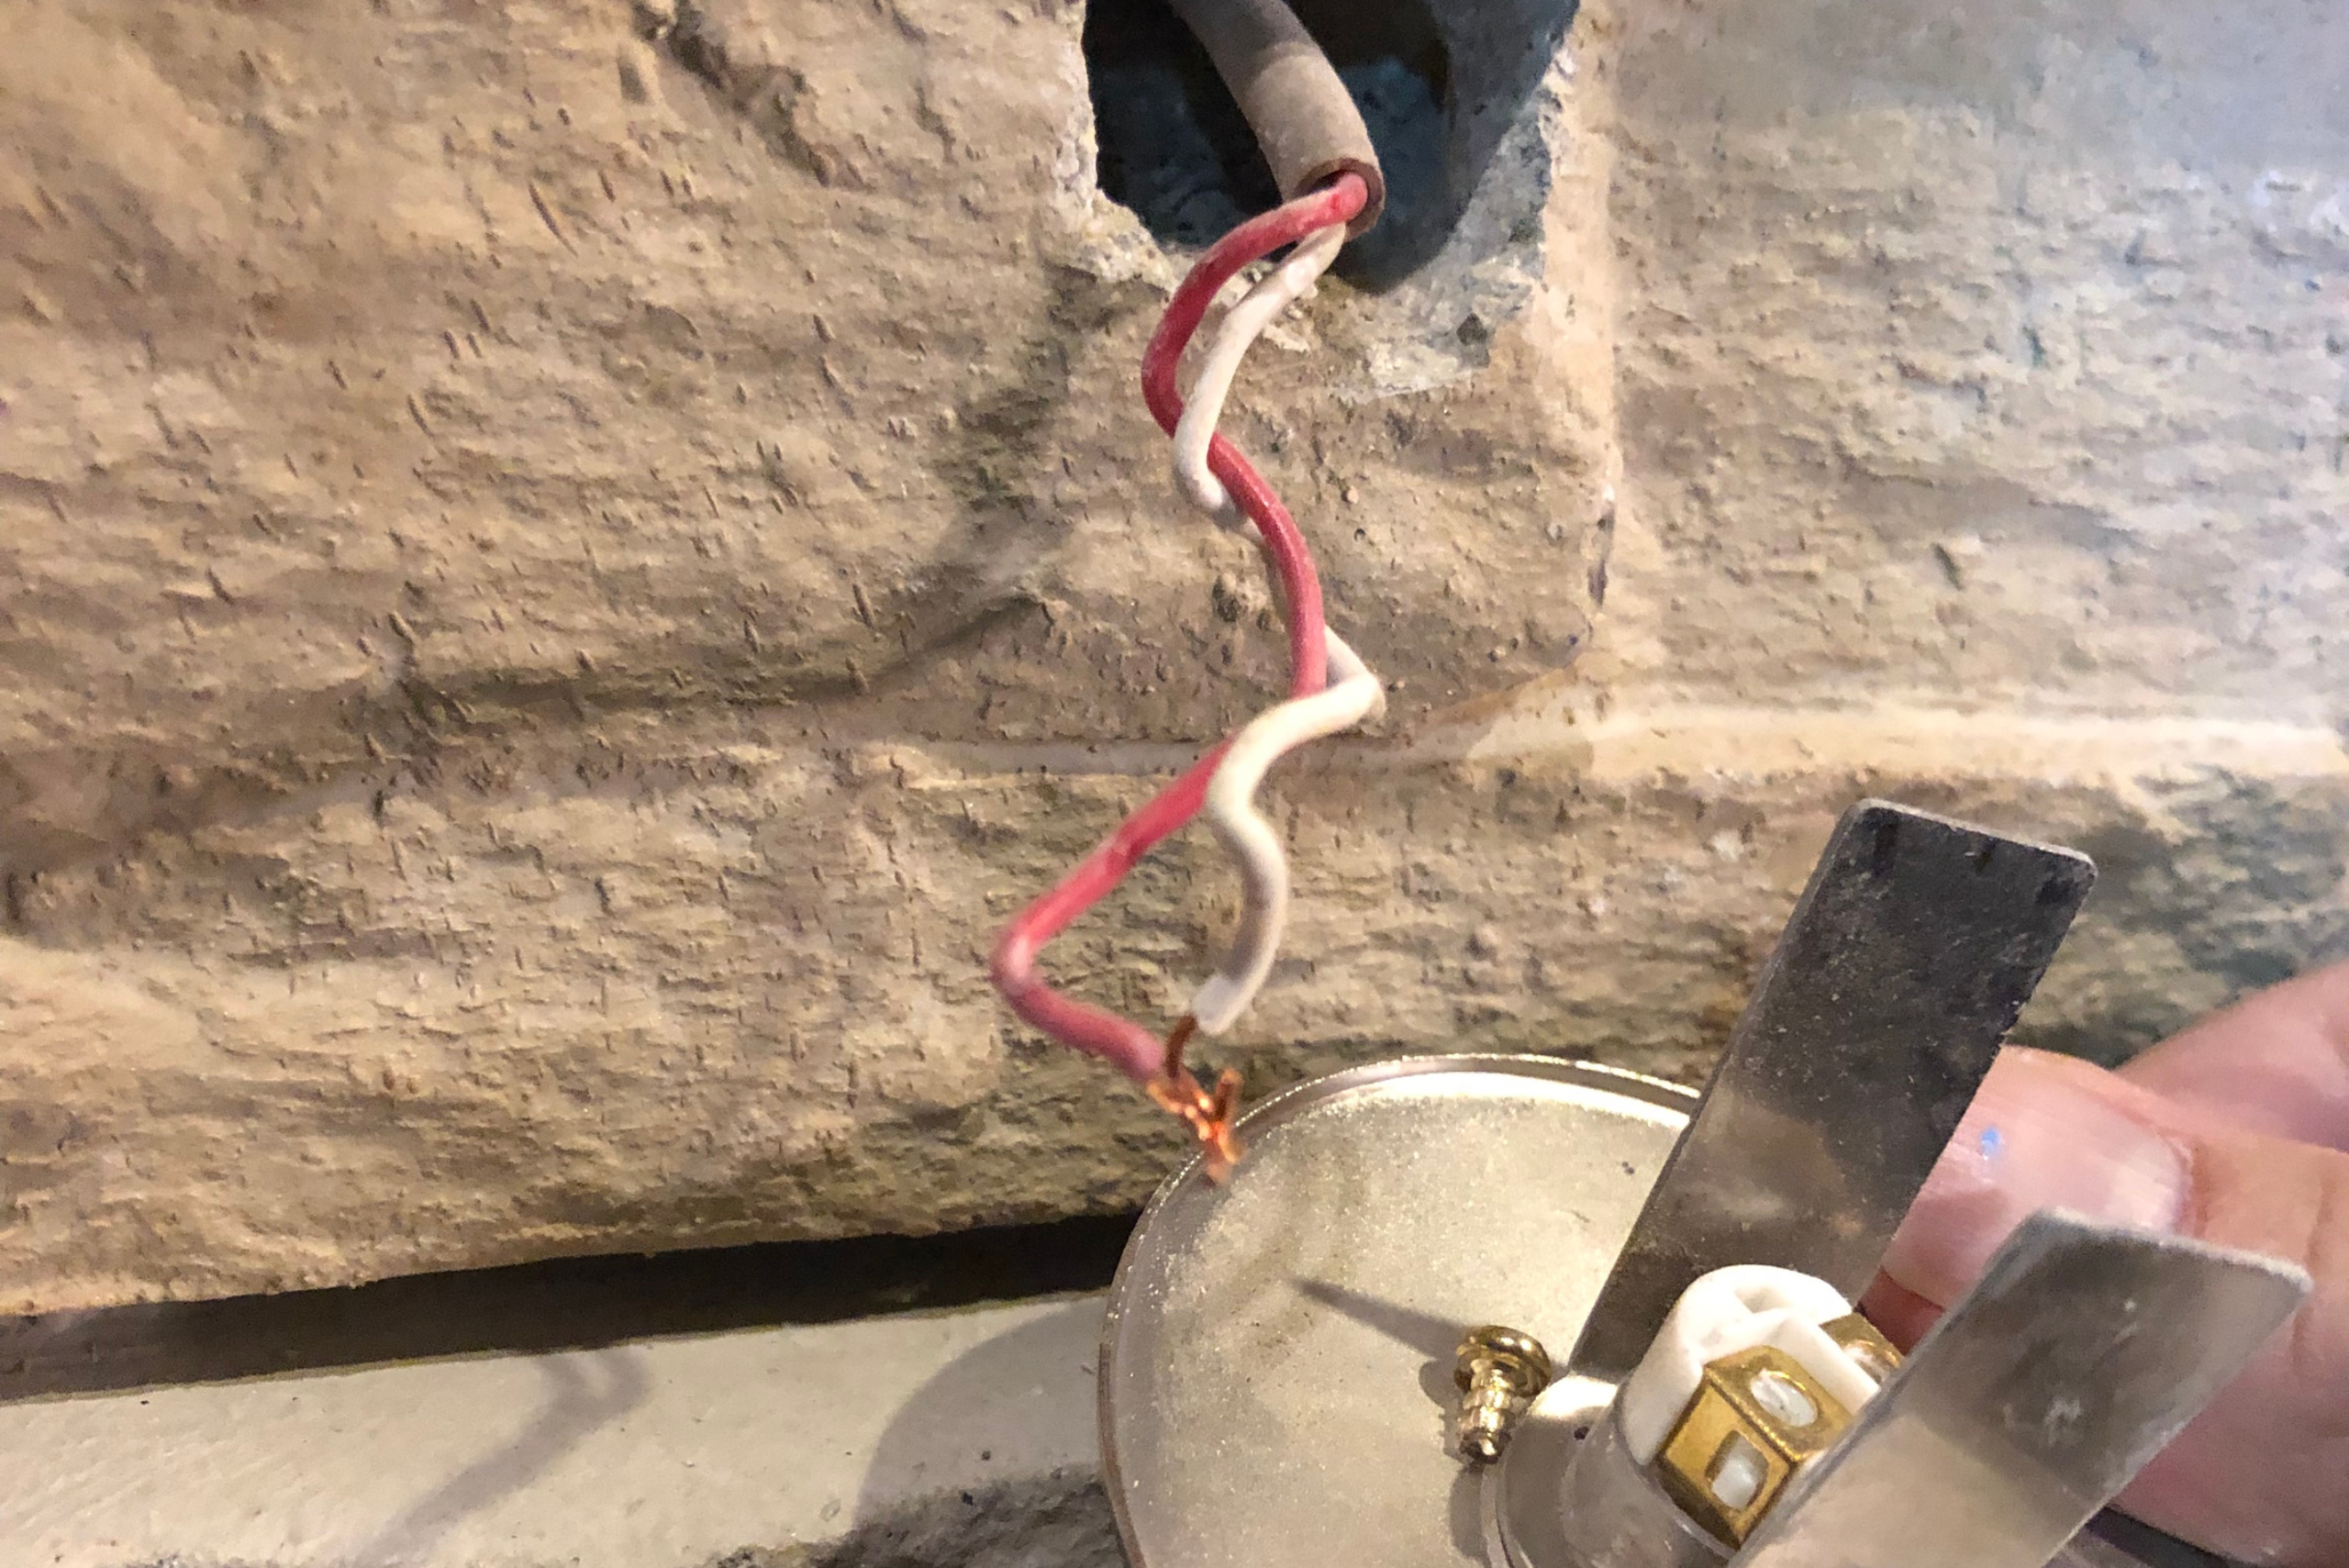
Unscrew the doorbell button and check for dirt, corrosion, or loose wires. If it’s dirty, clean it gently with a cotton swab and rubbing alcohol. This simple step can often restore proper function.
Step 2: Replace the Button if Necessary
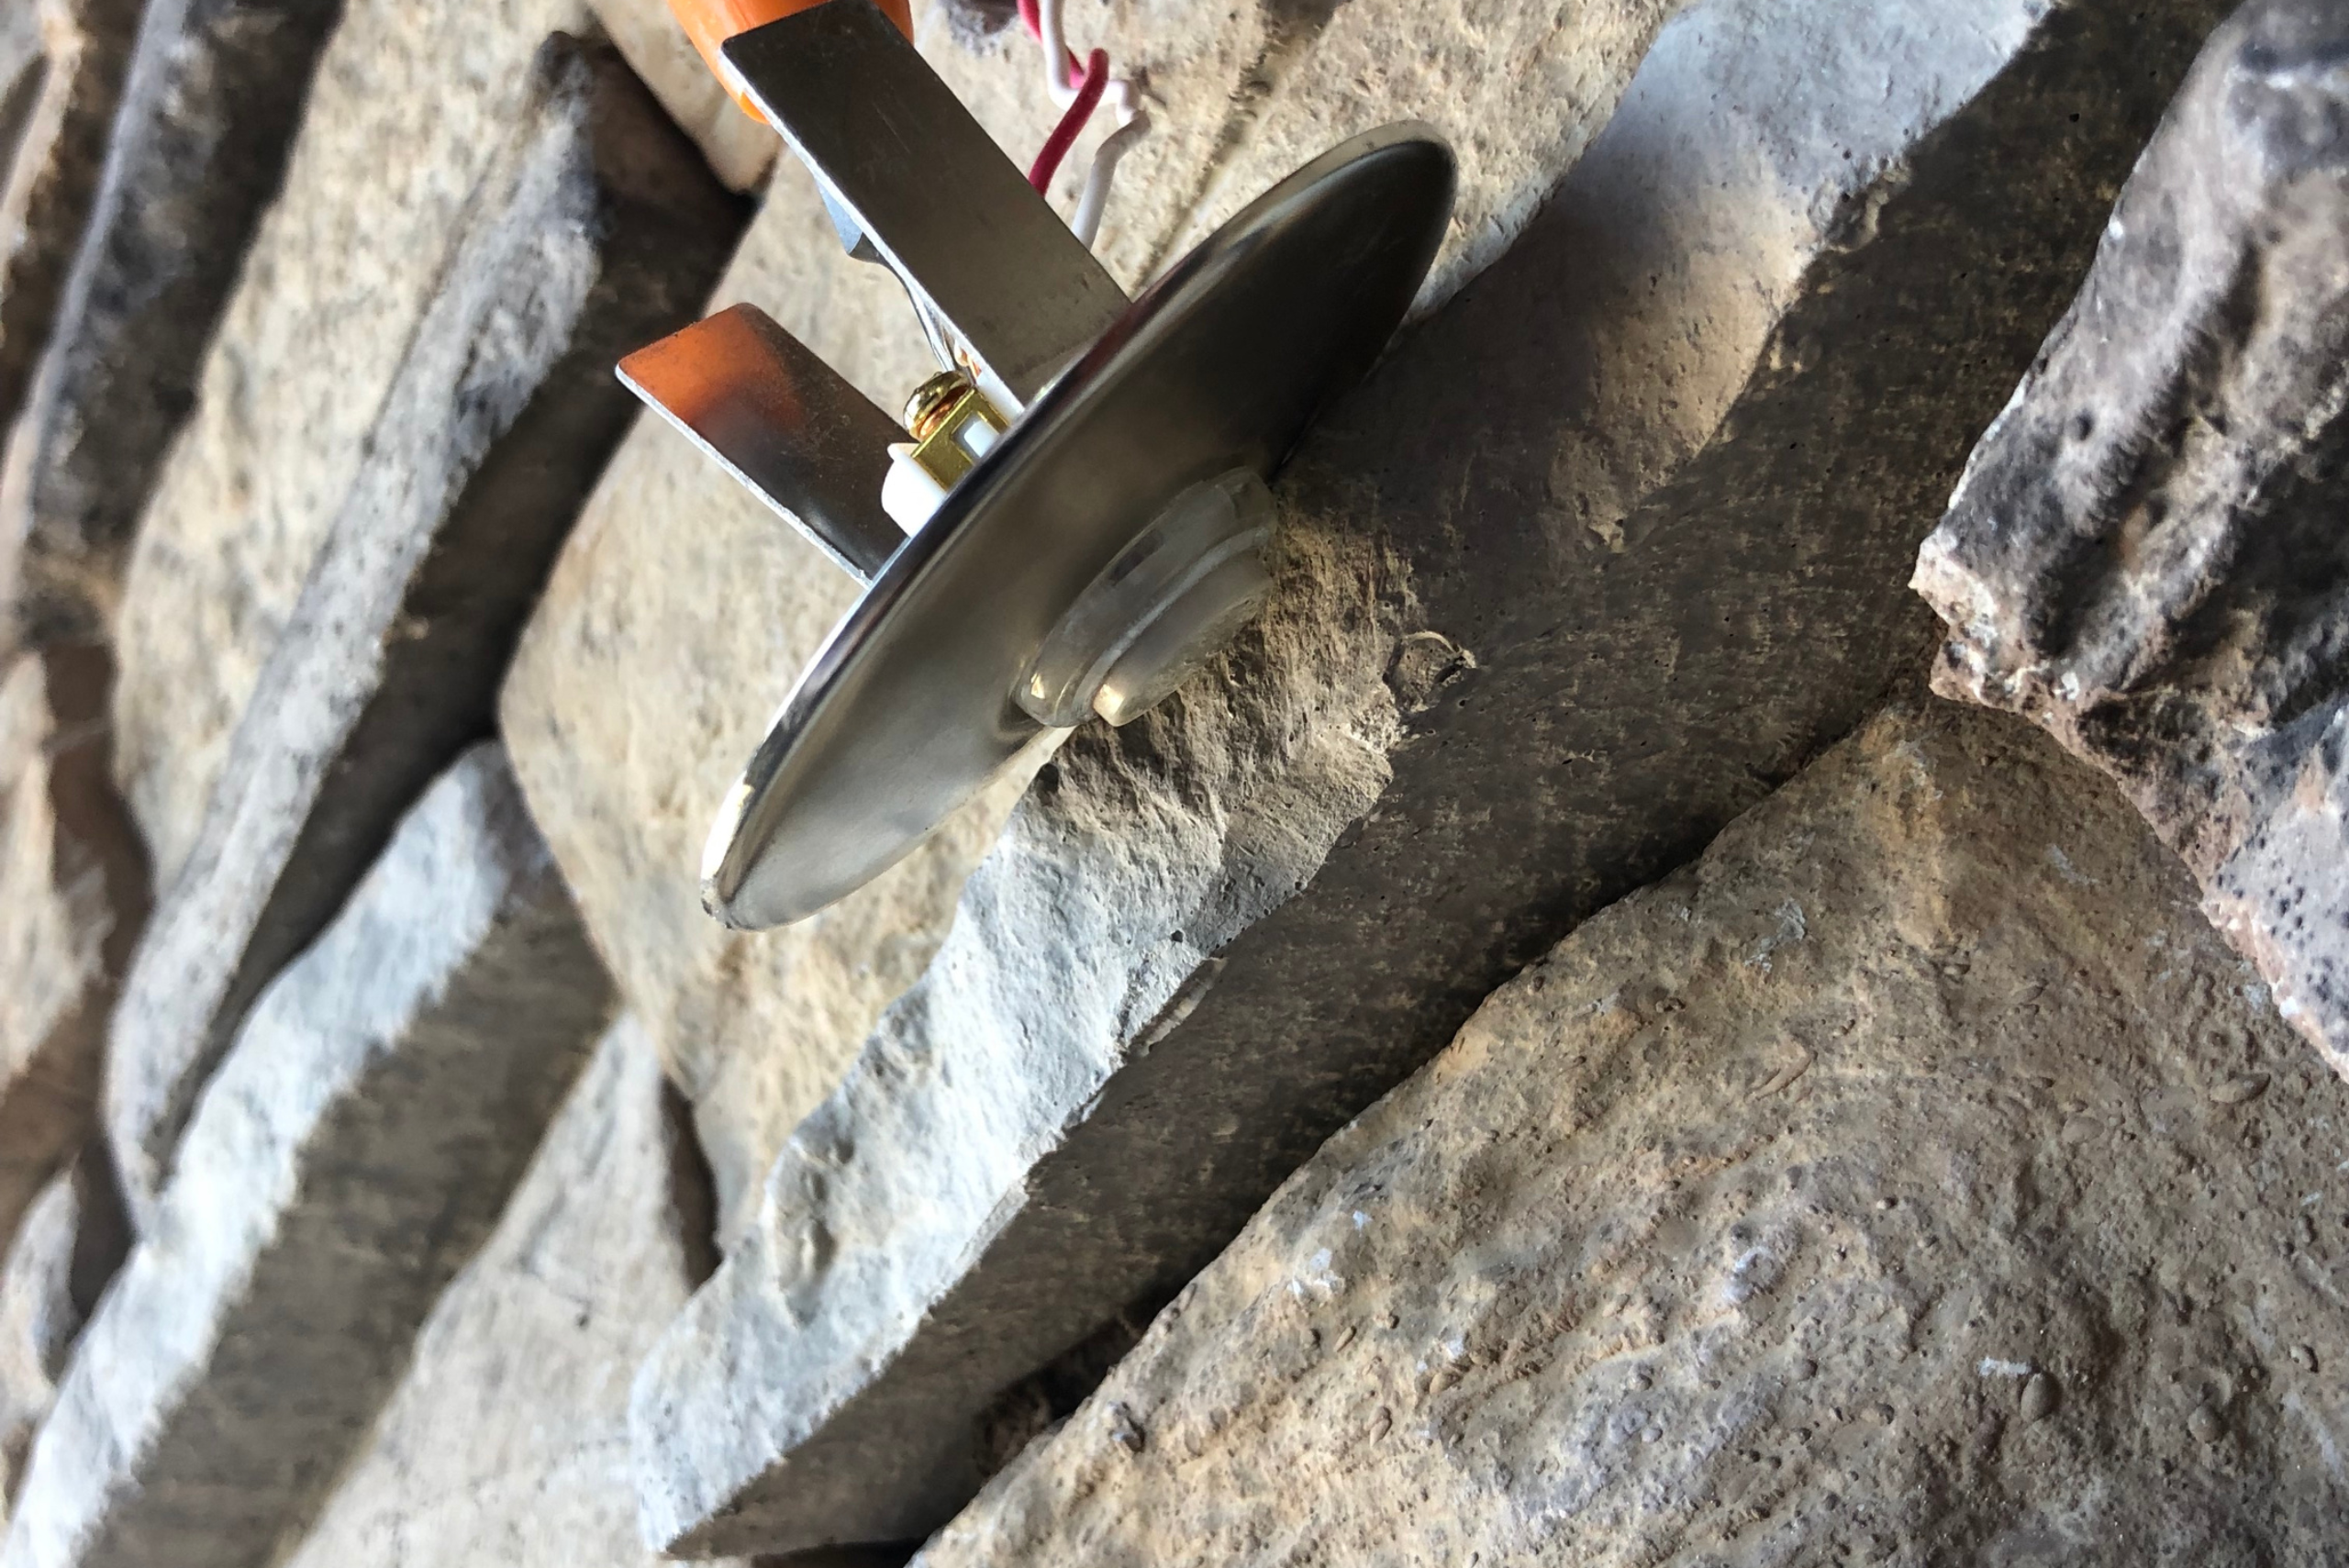
If cleaning doesn’t work, you may need a new button. Replacement buttons are inexpensive and easy to install. Disconnect the old wires, attach them to the new button, and screw it back in place. Voilà! Your doorbell might be as good as new.
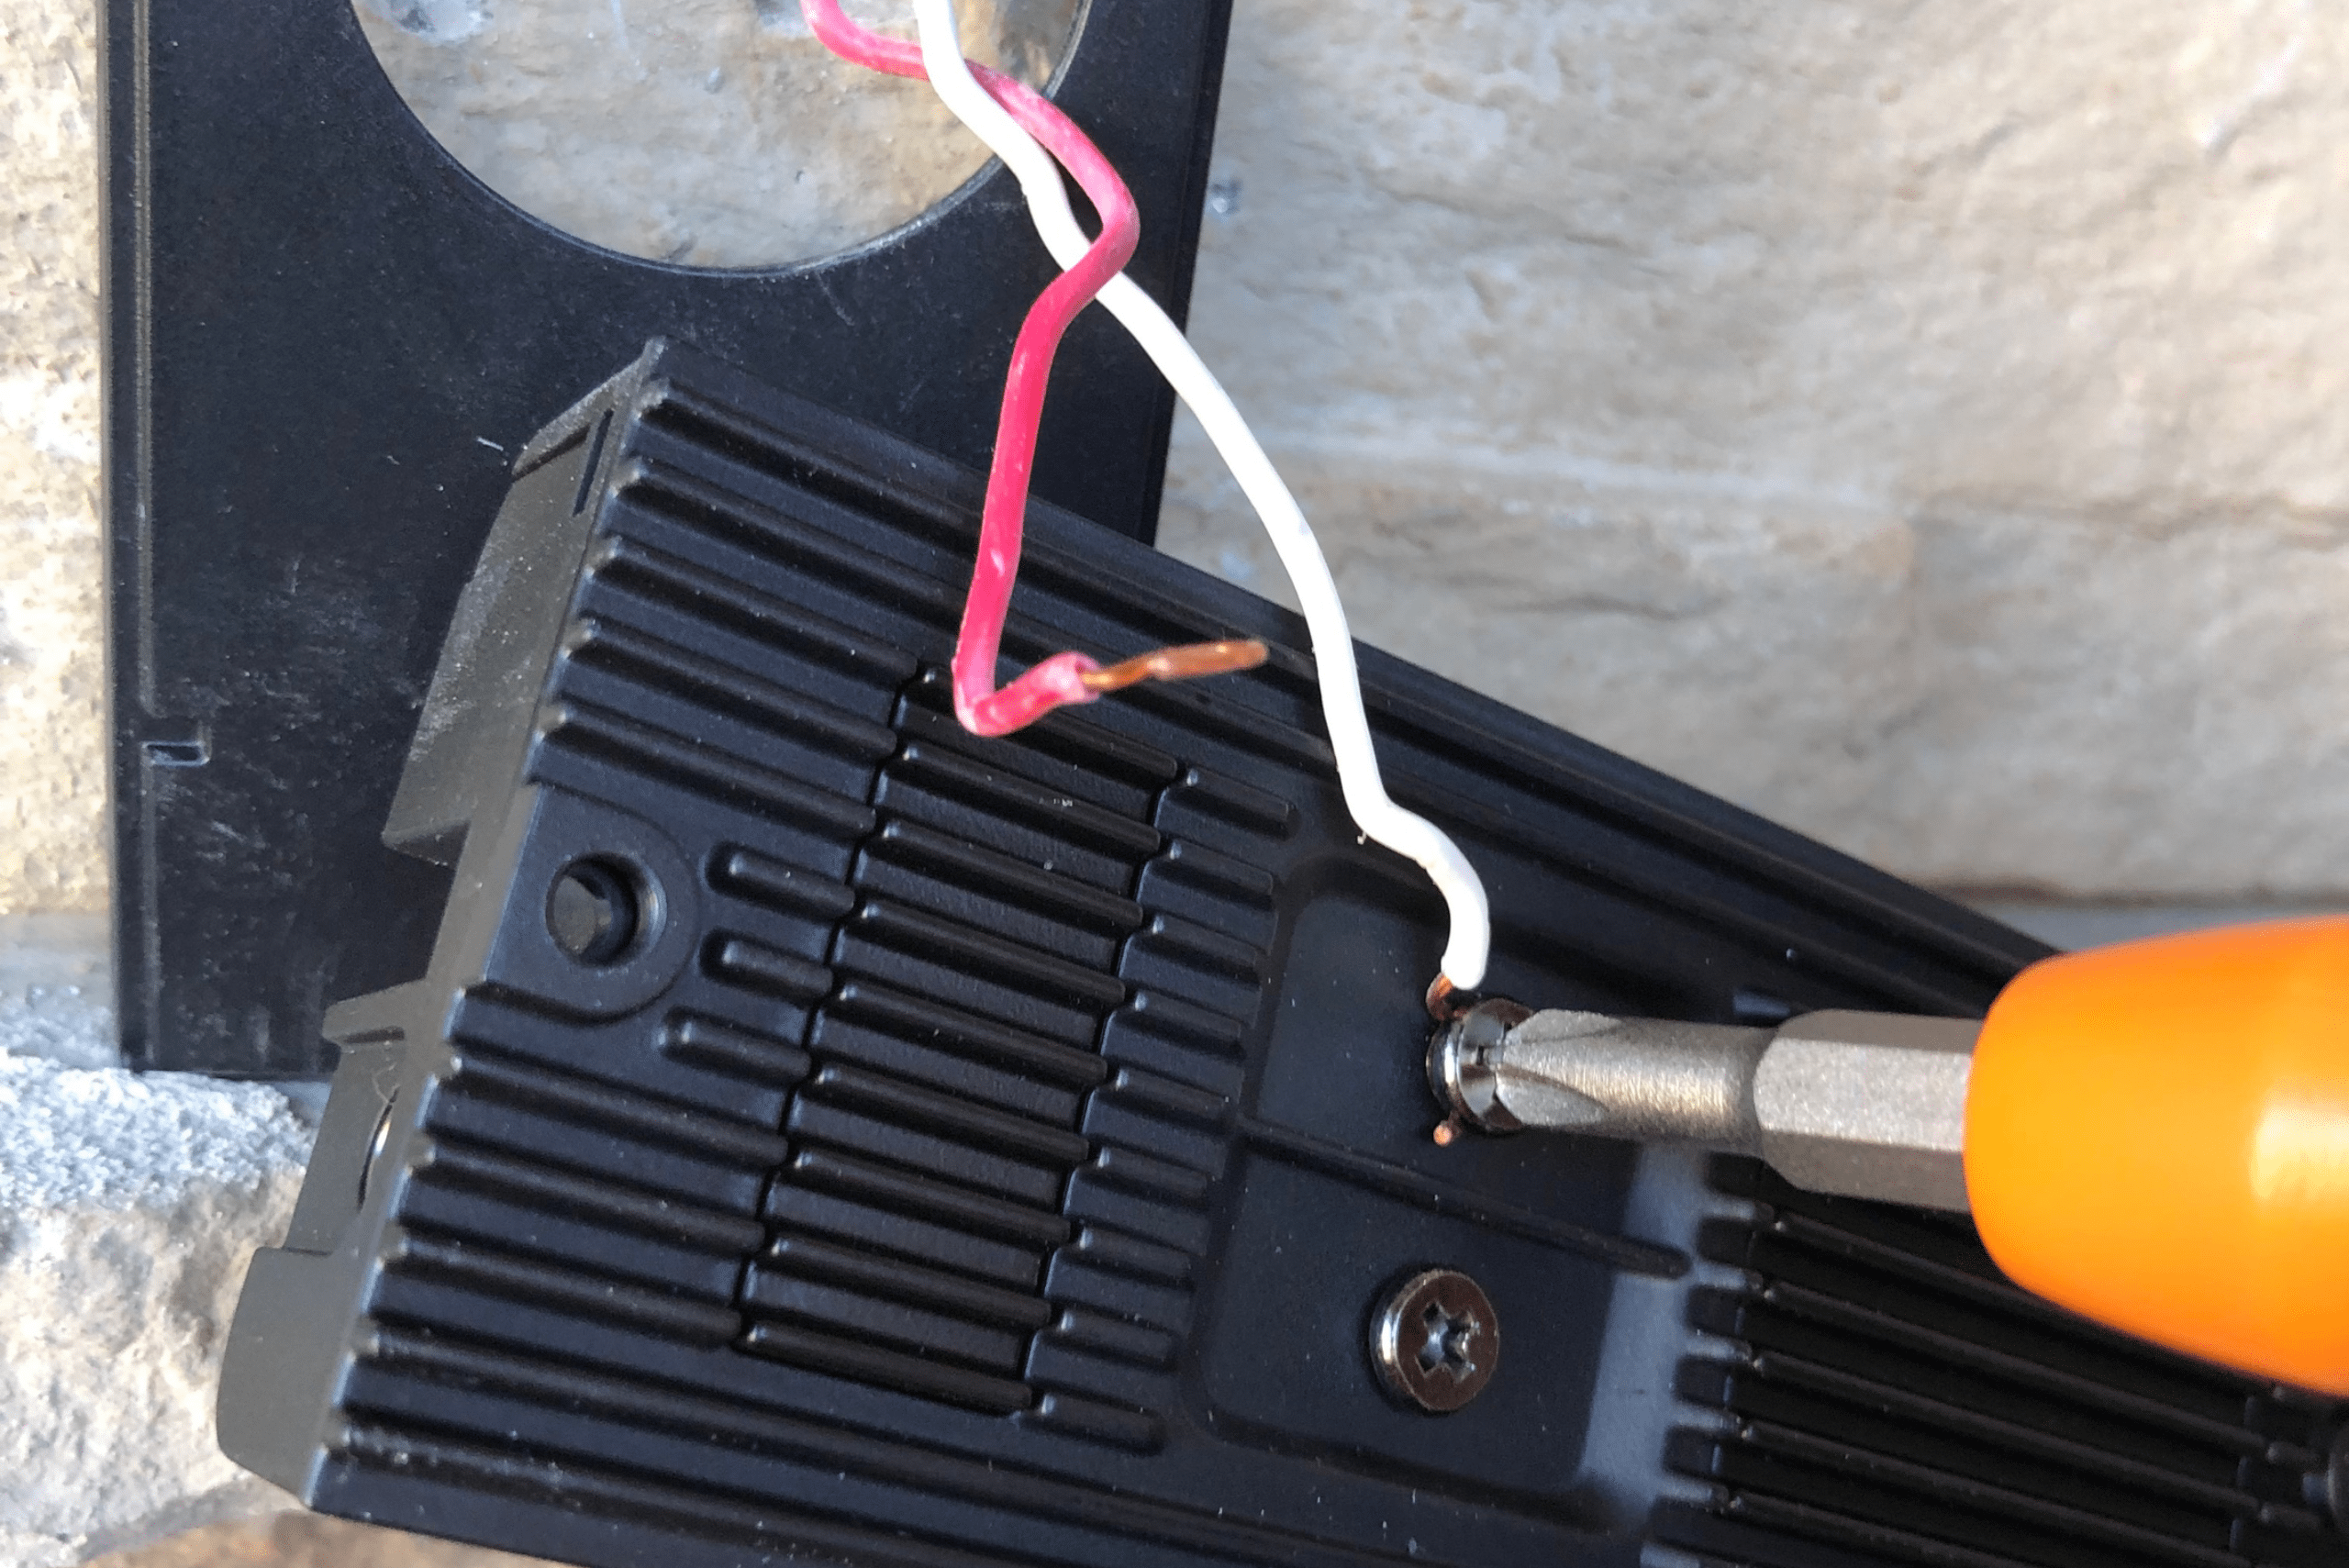
What If It’s Not the Button?
If the button isn’t the problem, it’s time to check the wiring and chime unit. Loose or damaged wires can disrupt the signal between the button, transformer, and chime.
Step 1: Check the Wiring
Turn off the power at your circuit breaker and carefully inspect the wires behind the button and at the chime unit. Tighten any loose connections and replace frayed wires if needed.
Step 2: Test the Chime Unit
If the wiring is intact, the issue might be with the chime unit itself. Remove the cover and look for any obvious signs of damage, like broken components or burnt-out connections. In some cases, you might need to replace the chime unit altogether.
Preventing Future Doorbell Problems
Once you’ve fixed your doorbell, a little maintenance can go a long way in preventing future issues. Regularly clean the button and inspect the wiring to catch problems early. Avoid yanking on the doorbell button or wires to keep them intact.
If you’re using a wired doorbell, ensure your transformer is working correctly. For wireless systems, check and replace the batteries periodically.
Related Articles
- Foolproof Methods to Secure Your Garage
- How to Rough In Electrical Wiring For Your Home
- 50 DIY Home Projects That Can Be Done Under An Hour
Fixing a faulty doorbell doesn’t have to be complicated or expensive. With a little troubleshooting and this straightforward DIY hack, you can have your doorbell working like a charm in no time. Say goodbye to doorbell woes and hello to a welcoming chime every time someone comes to your door.
Ready to start your next project? Join our DIY community to receive tool tips, how-to guides, and exclusive creative insights. Subscribe to the ManMadeDIY newsletter now! Click here to unlock a world of hands-on inspiration.


