Achieve Smooth Drywall with These Expert Sanding Tips
Have you ever admired the smooth, flawless walls in a professionally finished home? The secret to achieving that perfect surface lies in mastering the art of sanding drywall. While it may seem like a daunting task, with the right tools and techniques, you can transform your rough walls into a work of art. In this comprehensive guide, we’ll walk you through the essential steps to achieve professional-grade results in your DIY drywall project.
Start your next woodworking adventure with TedsWoodworking! Dive into 16,000+ projects and bring your ideas to life. Build unique furniture and master new skills with Ted’s detailed, step-by-step plans guiding you every step of the way.
Sanding drywall is a crucial step in the finishing process, as it helps to create a seamless surface for painting or wallpapering. By following our expert tips and techniques, you’ll be able to tackle this task with confidence and achieve results that will make your walls the envy of the neighborhood. So, let’s dive in and explore the world of drywall sanding!
Essential Tools for the Job
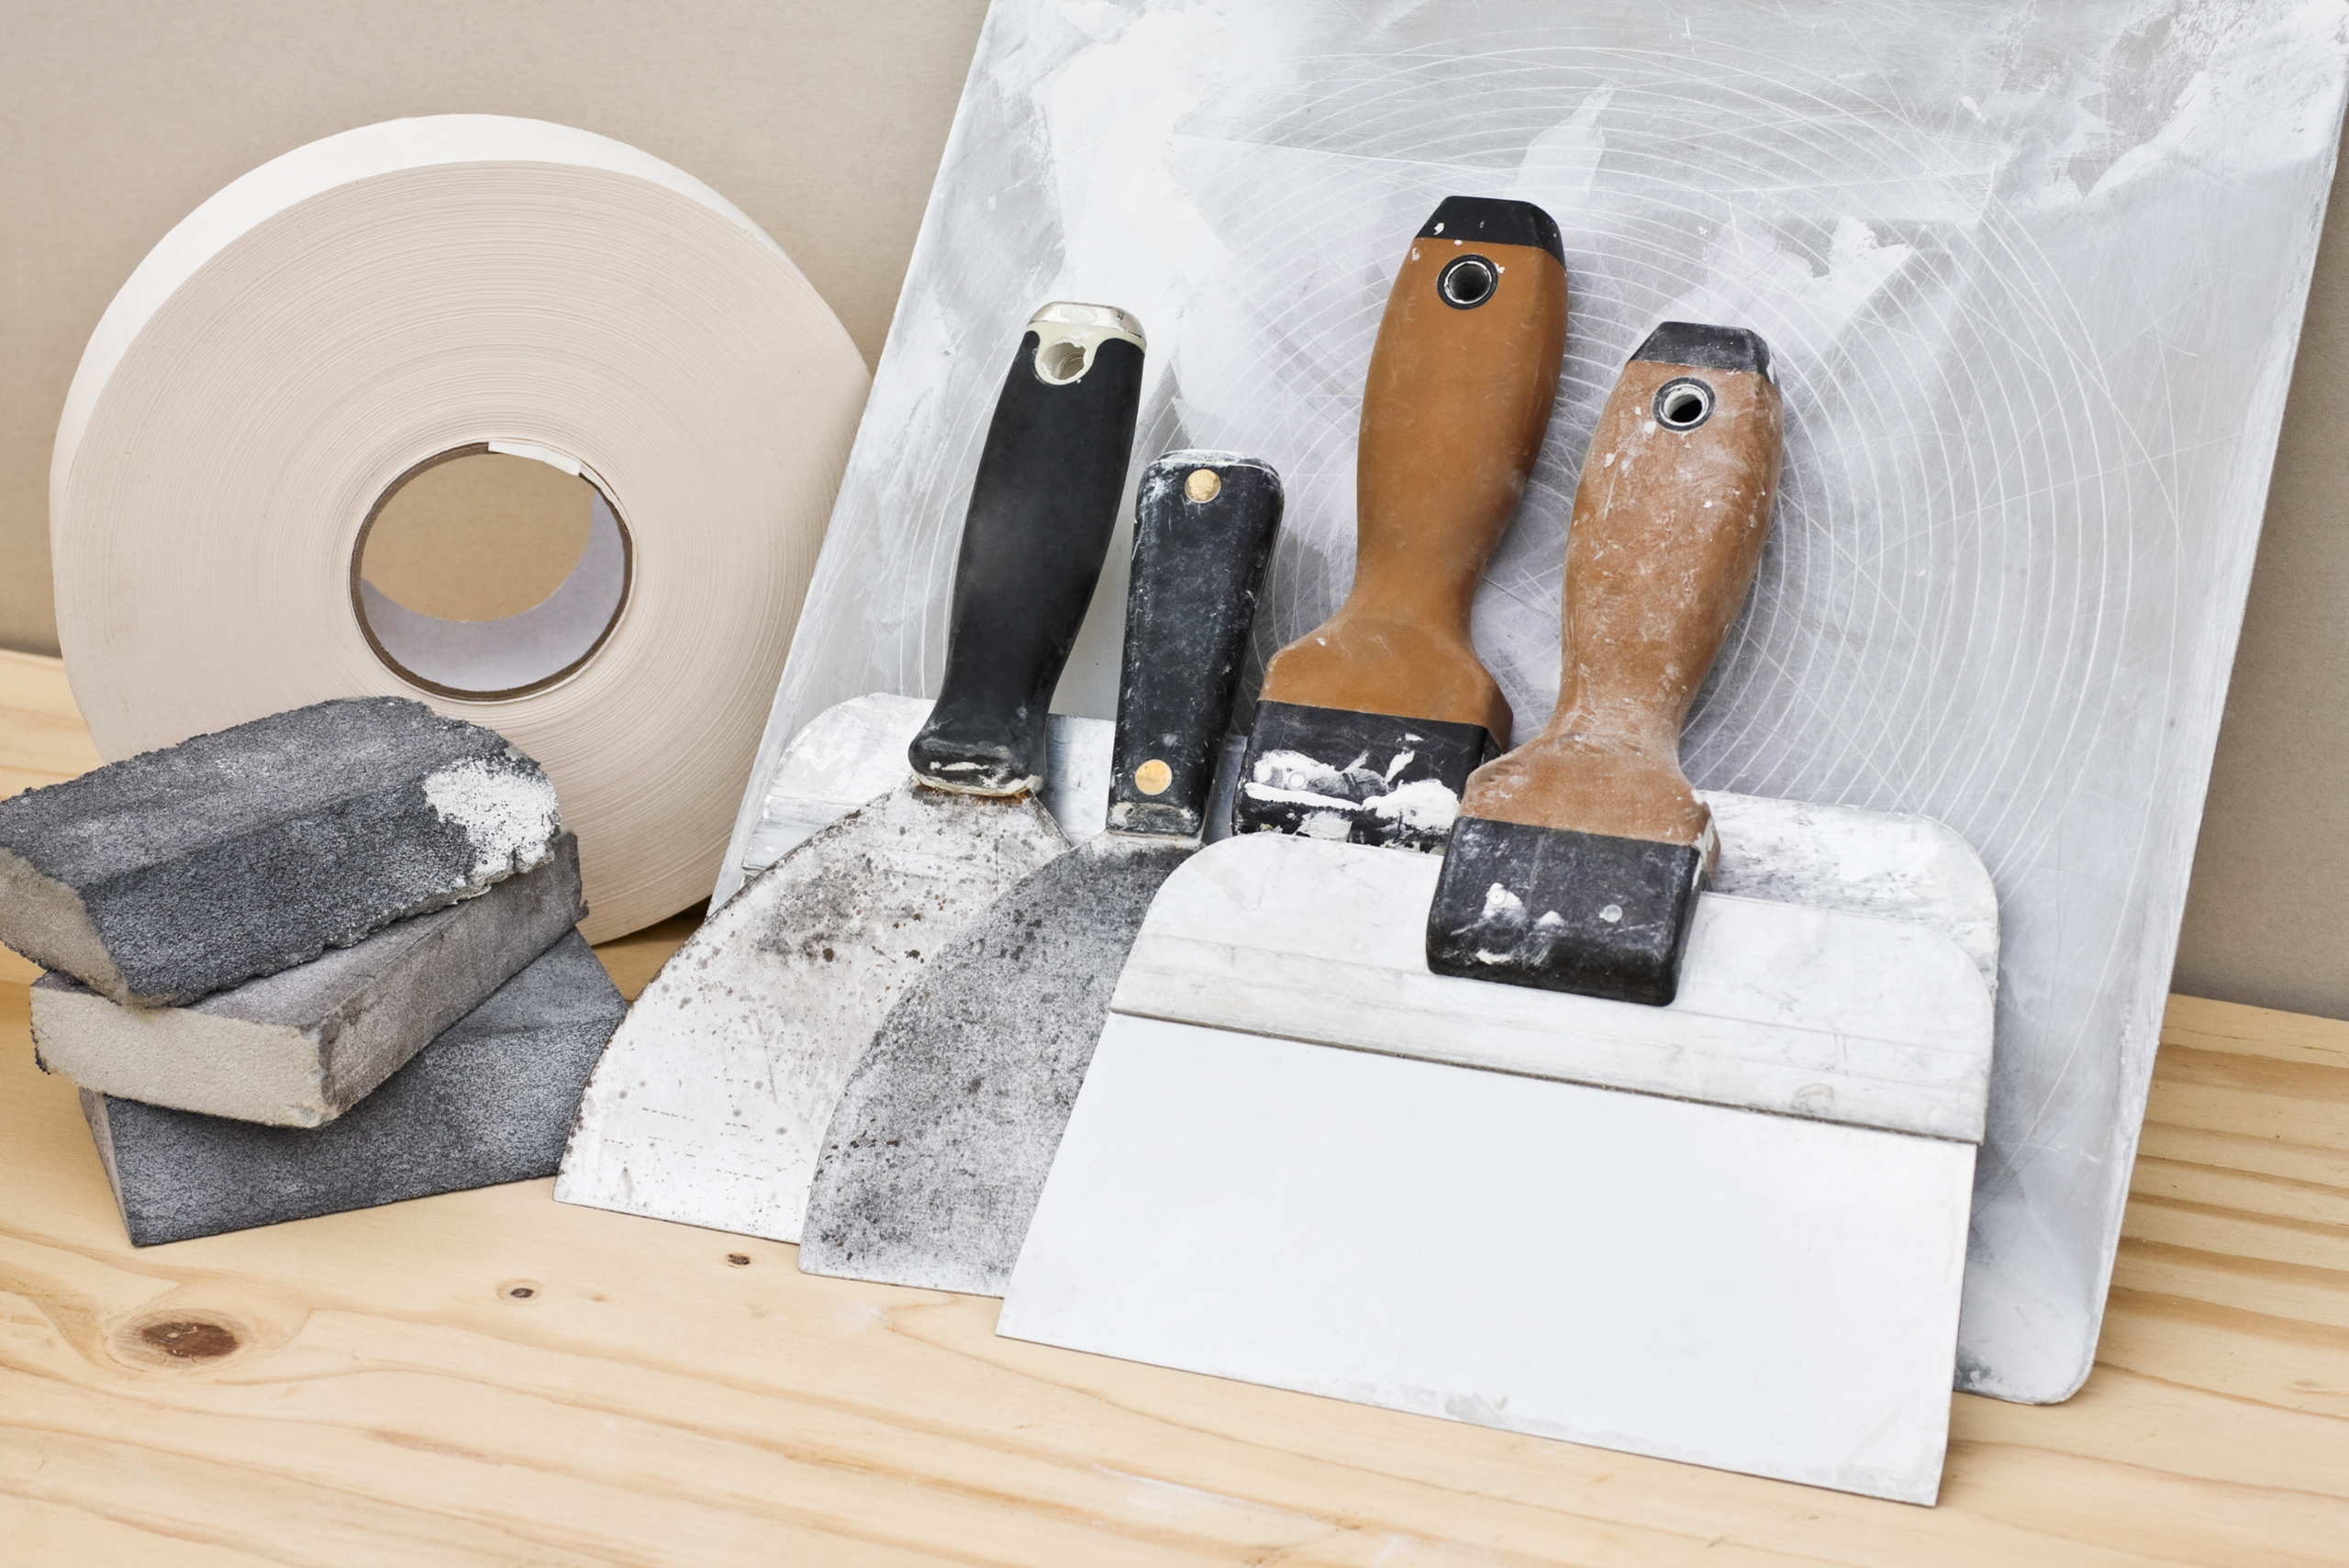
Before you begin your drywall sanding adventure, it’s crucial to gather the right tools for the job. A quality sanding pole is essential for reaching high areas and maintaining consistent pressure across the surface. Look for a pole with an adjustable length and a comfortable grip to reduce fatigue during long sanding sessions. Additionally, invest in a variety of sanding screens or sandpaper grits to tackle different stages of the sanding process.
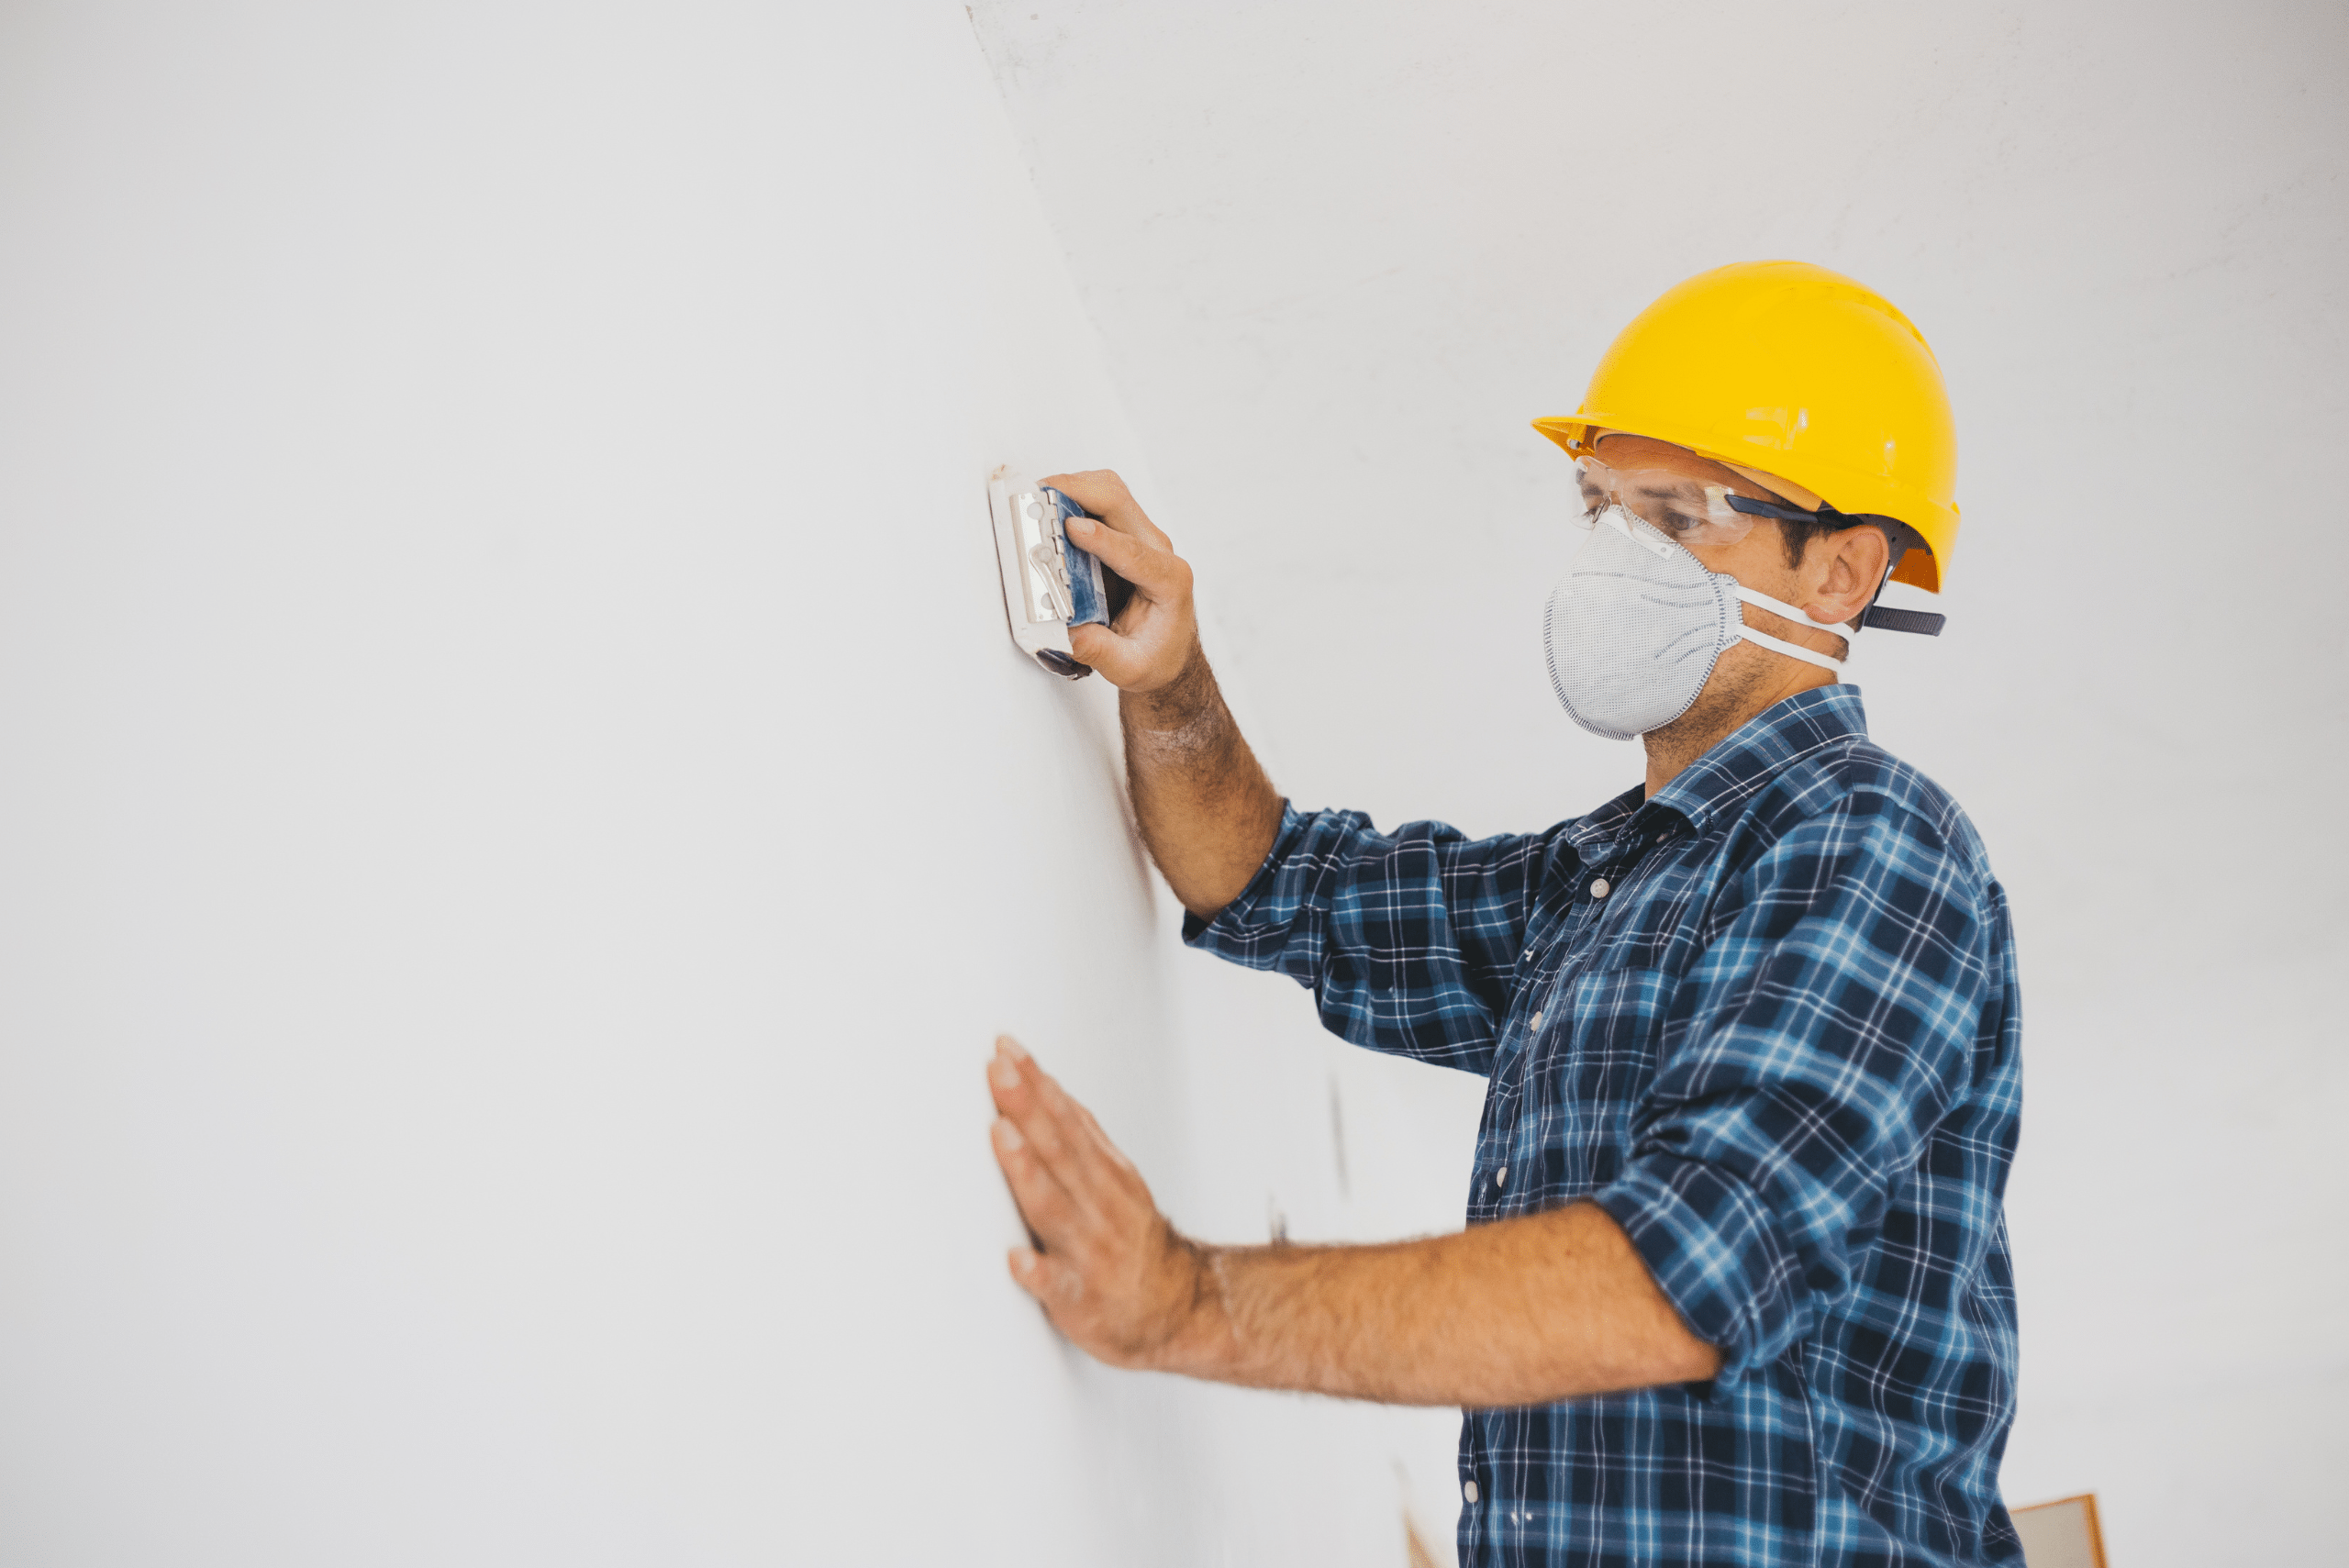
Don’t forget to prioritize safety equipment as well. A good dust mask or respirator is crucial for protecting your lungs from fine drywall dust particles. Safety goggles will shield your eyes from debris, while work gloves can help prevent blisters and protect your hands. With these tools at your disposal, you’ll be well-equipped to tackle any drywall sanding project with confidence and efficiency.
Preparation for Sanding
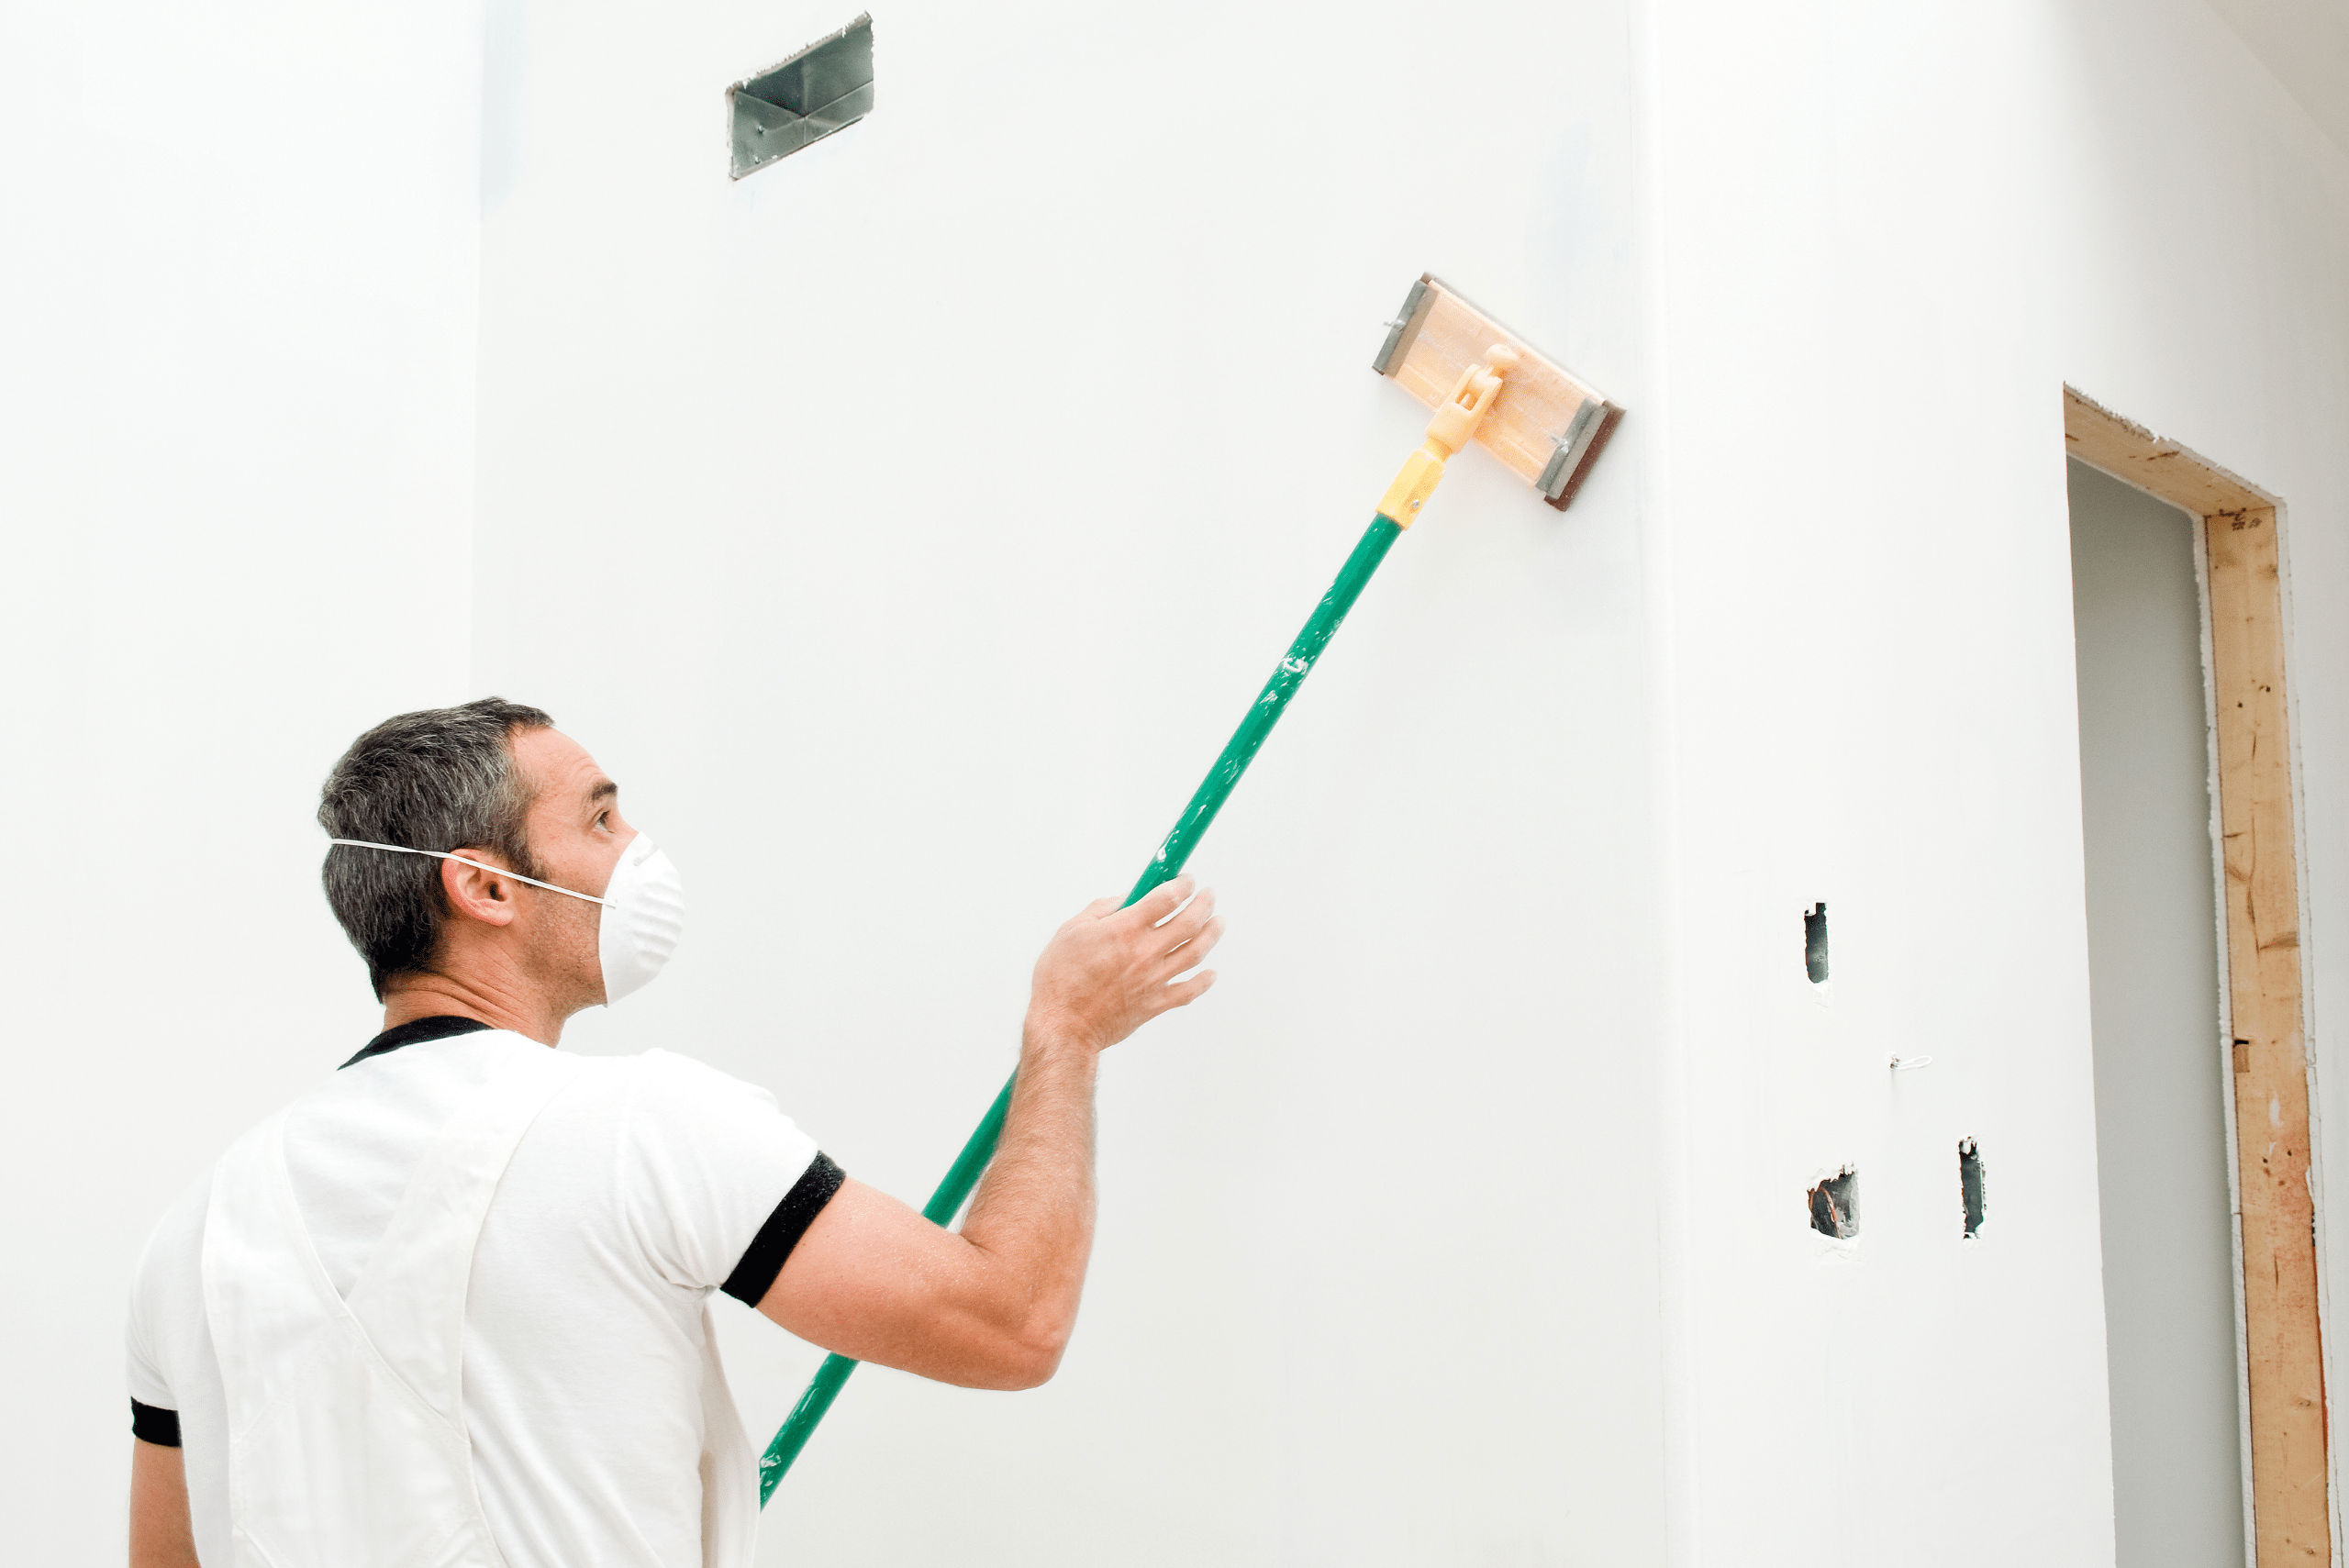
Before you start sanding, take the time to prepare your workspace properly. Begin by removing all furniture and covering the floor with drop cloths or plastic sheeting to protect them from dust. Use painter’s tape to mask off any areas you don’t want to be sanded, such as electrical outlets, switches, and trim. This extra step will save you time and headaches in the long run.
Next, inspect the drywall surface for any protruding nails or screws. Use a hammer or screwdriver to ensure they’re slightly recessed below the surface. Fill any visible holes or dents with joint compound and allow it to dry completely before sanding. By taking these preparatory steps, you’ll create a clean slate for your sanding efforts and ensure a smoother, more professional-looking finish.
Sanding Techniques for Smooth, Even Surfaces
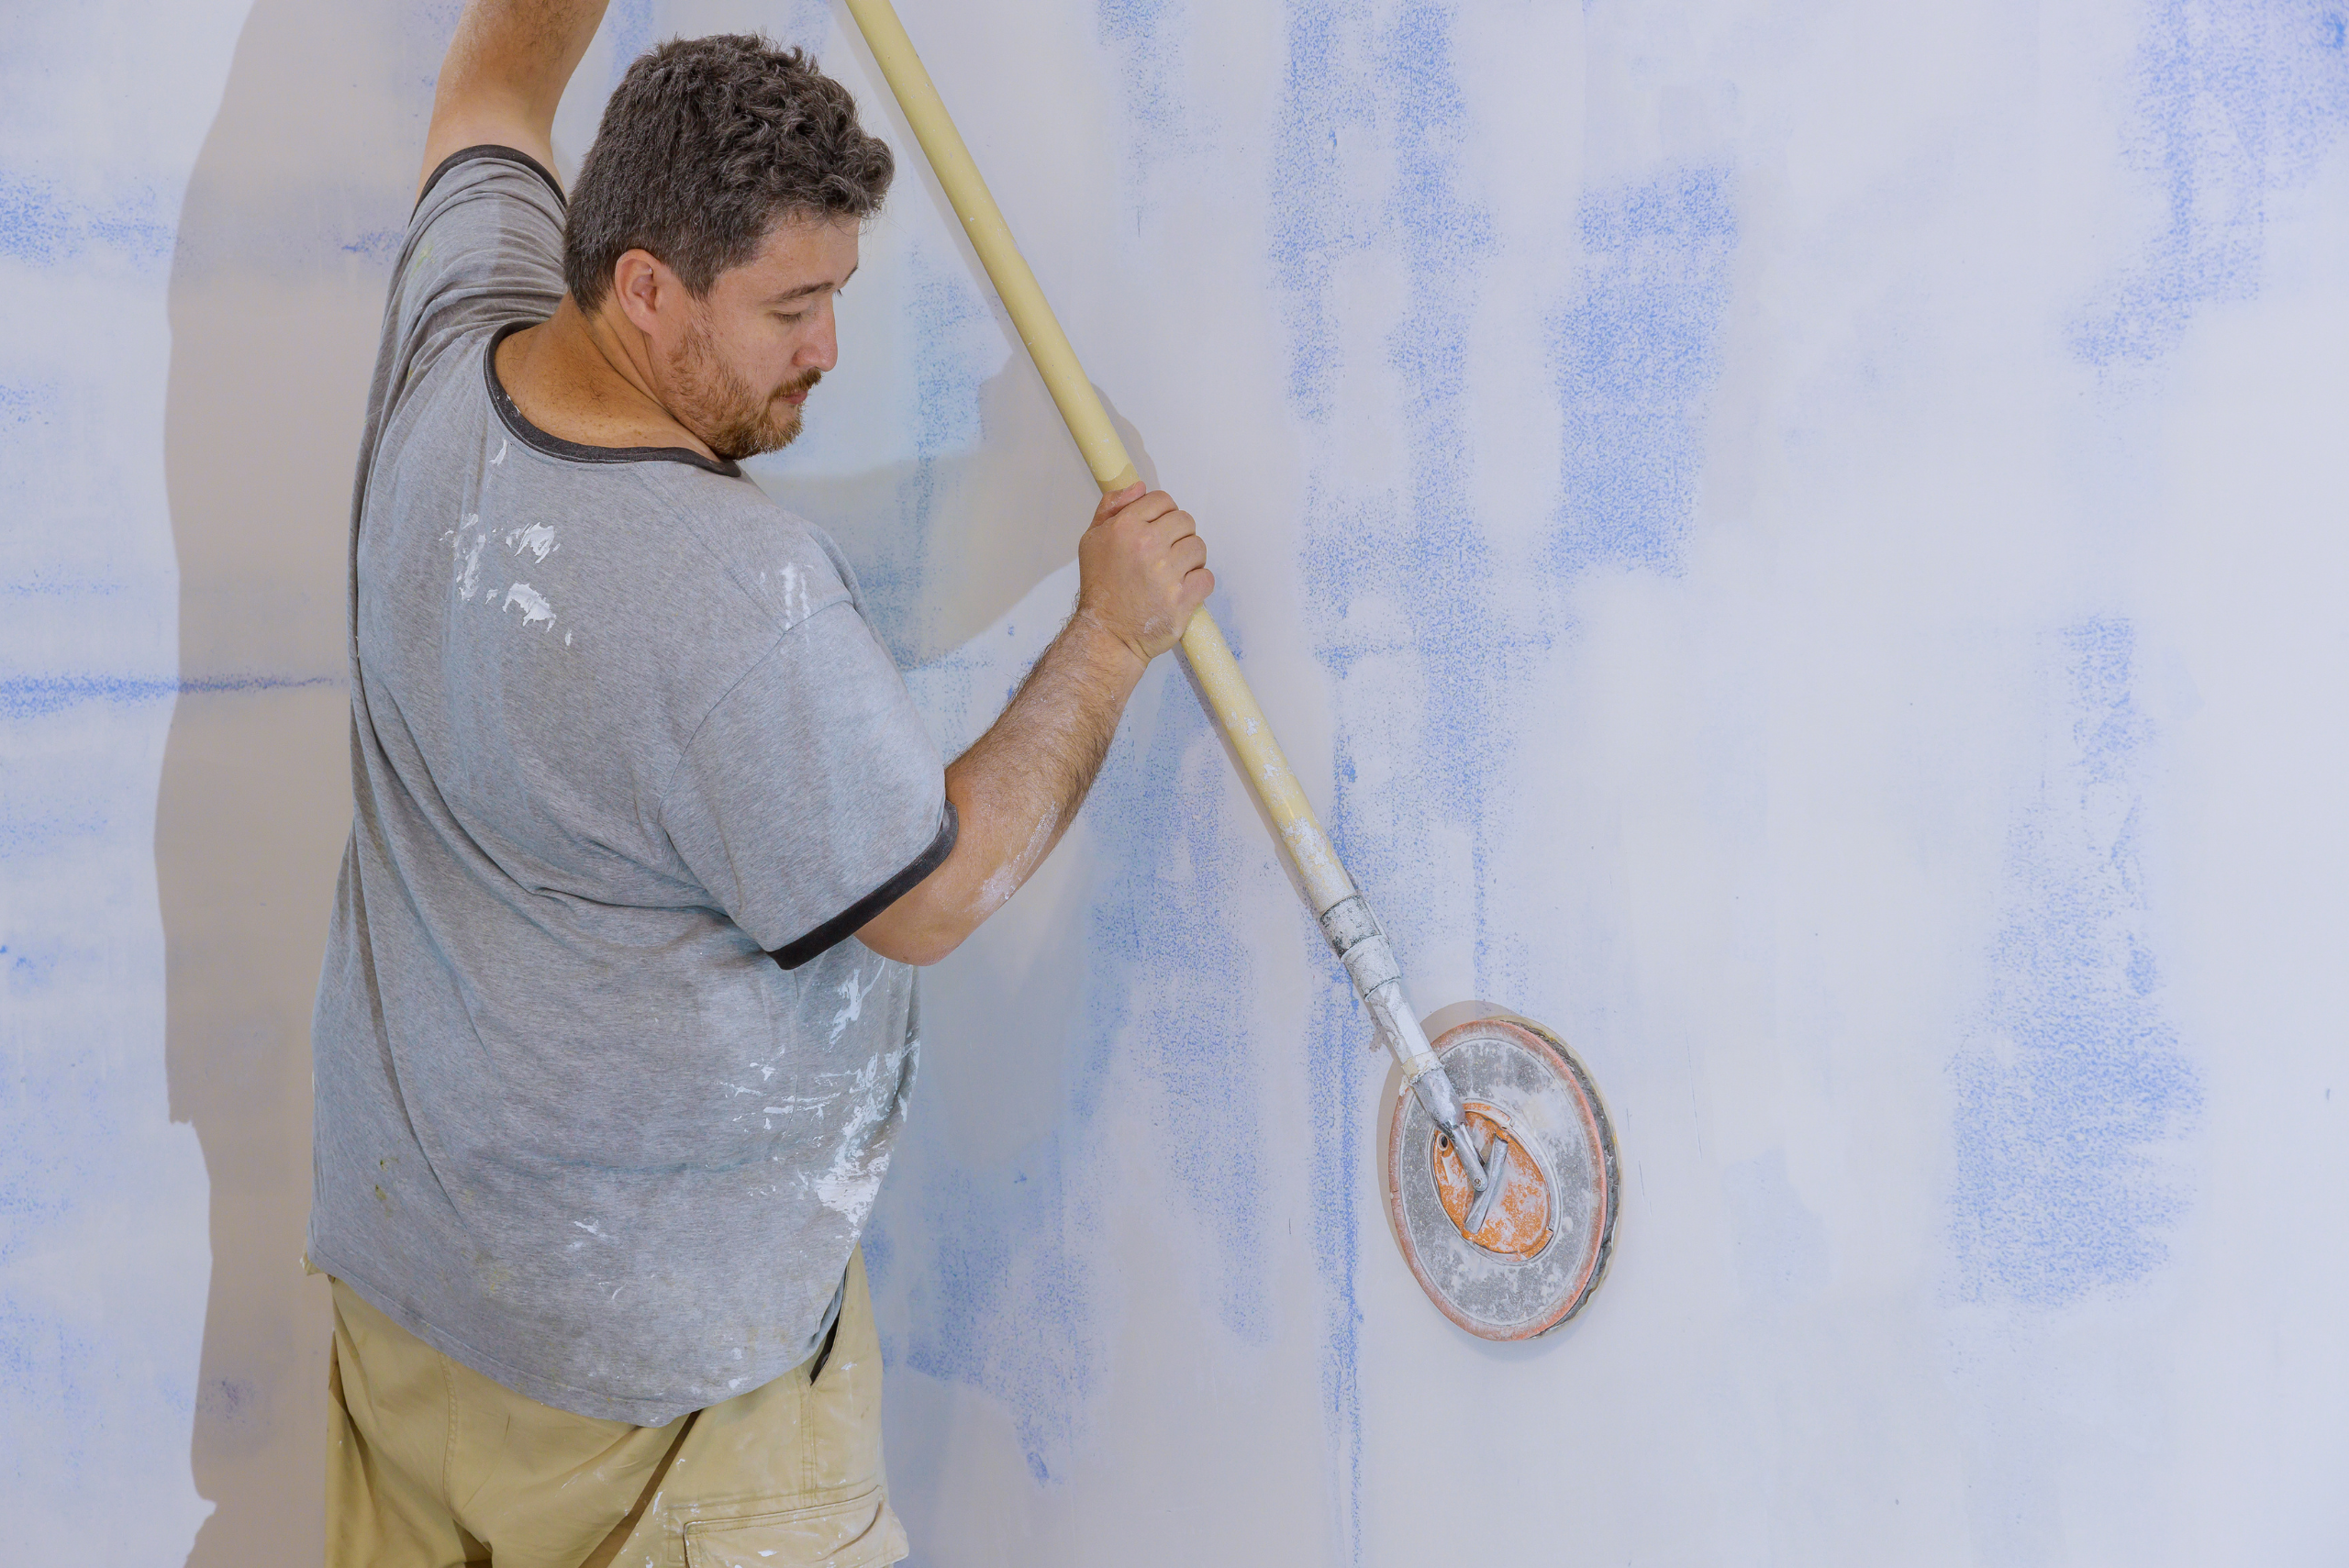
When it comes to sanding drywall, the technique is everything. Start with a light touch, using long, sweeping motions to cover large areas. Apply even pressure as you move the sander across the surface, being careful not to linger in one spot for too long. This will help prevent over-sanding and create a more uniform finish.
For best results, sand in a circular motion when working on flat surfaces, and use up-and-down strokes for corners and edges. As you progress, periodically step back and examine your work from different angles to identify any missed spots or uneven areas. Remember to sand not only the joint compound but also the surrounding drywall to create a seamless transition between the two surfaces.
Dust Control for Maintaining a Clean Work Environment
One of the biggest challenges in drywall sanding is managing the dust it produces. To keep your workspace clean and breathable, consider using a sanding pole with a built-in vacuum attachment. This will help capture a significant amount of dust at the source, reducing the amount that becomes airborne.
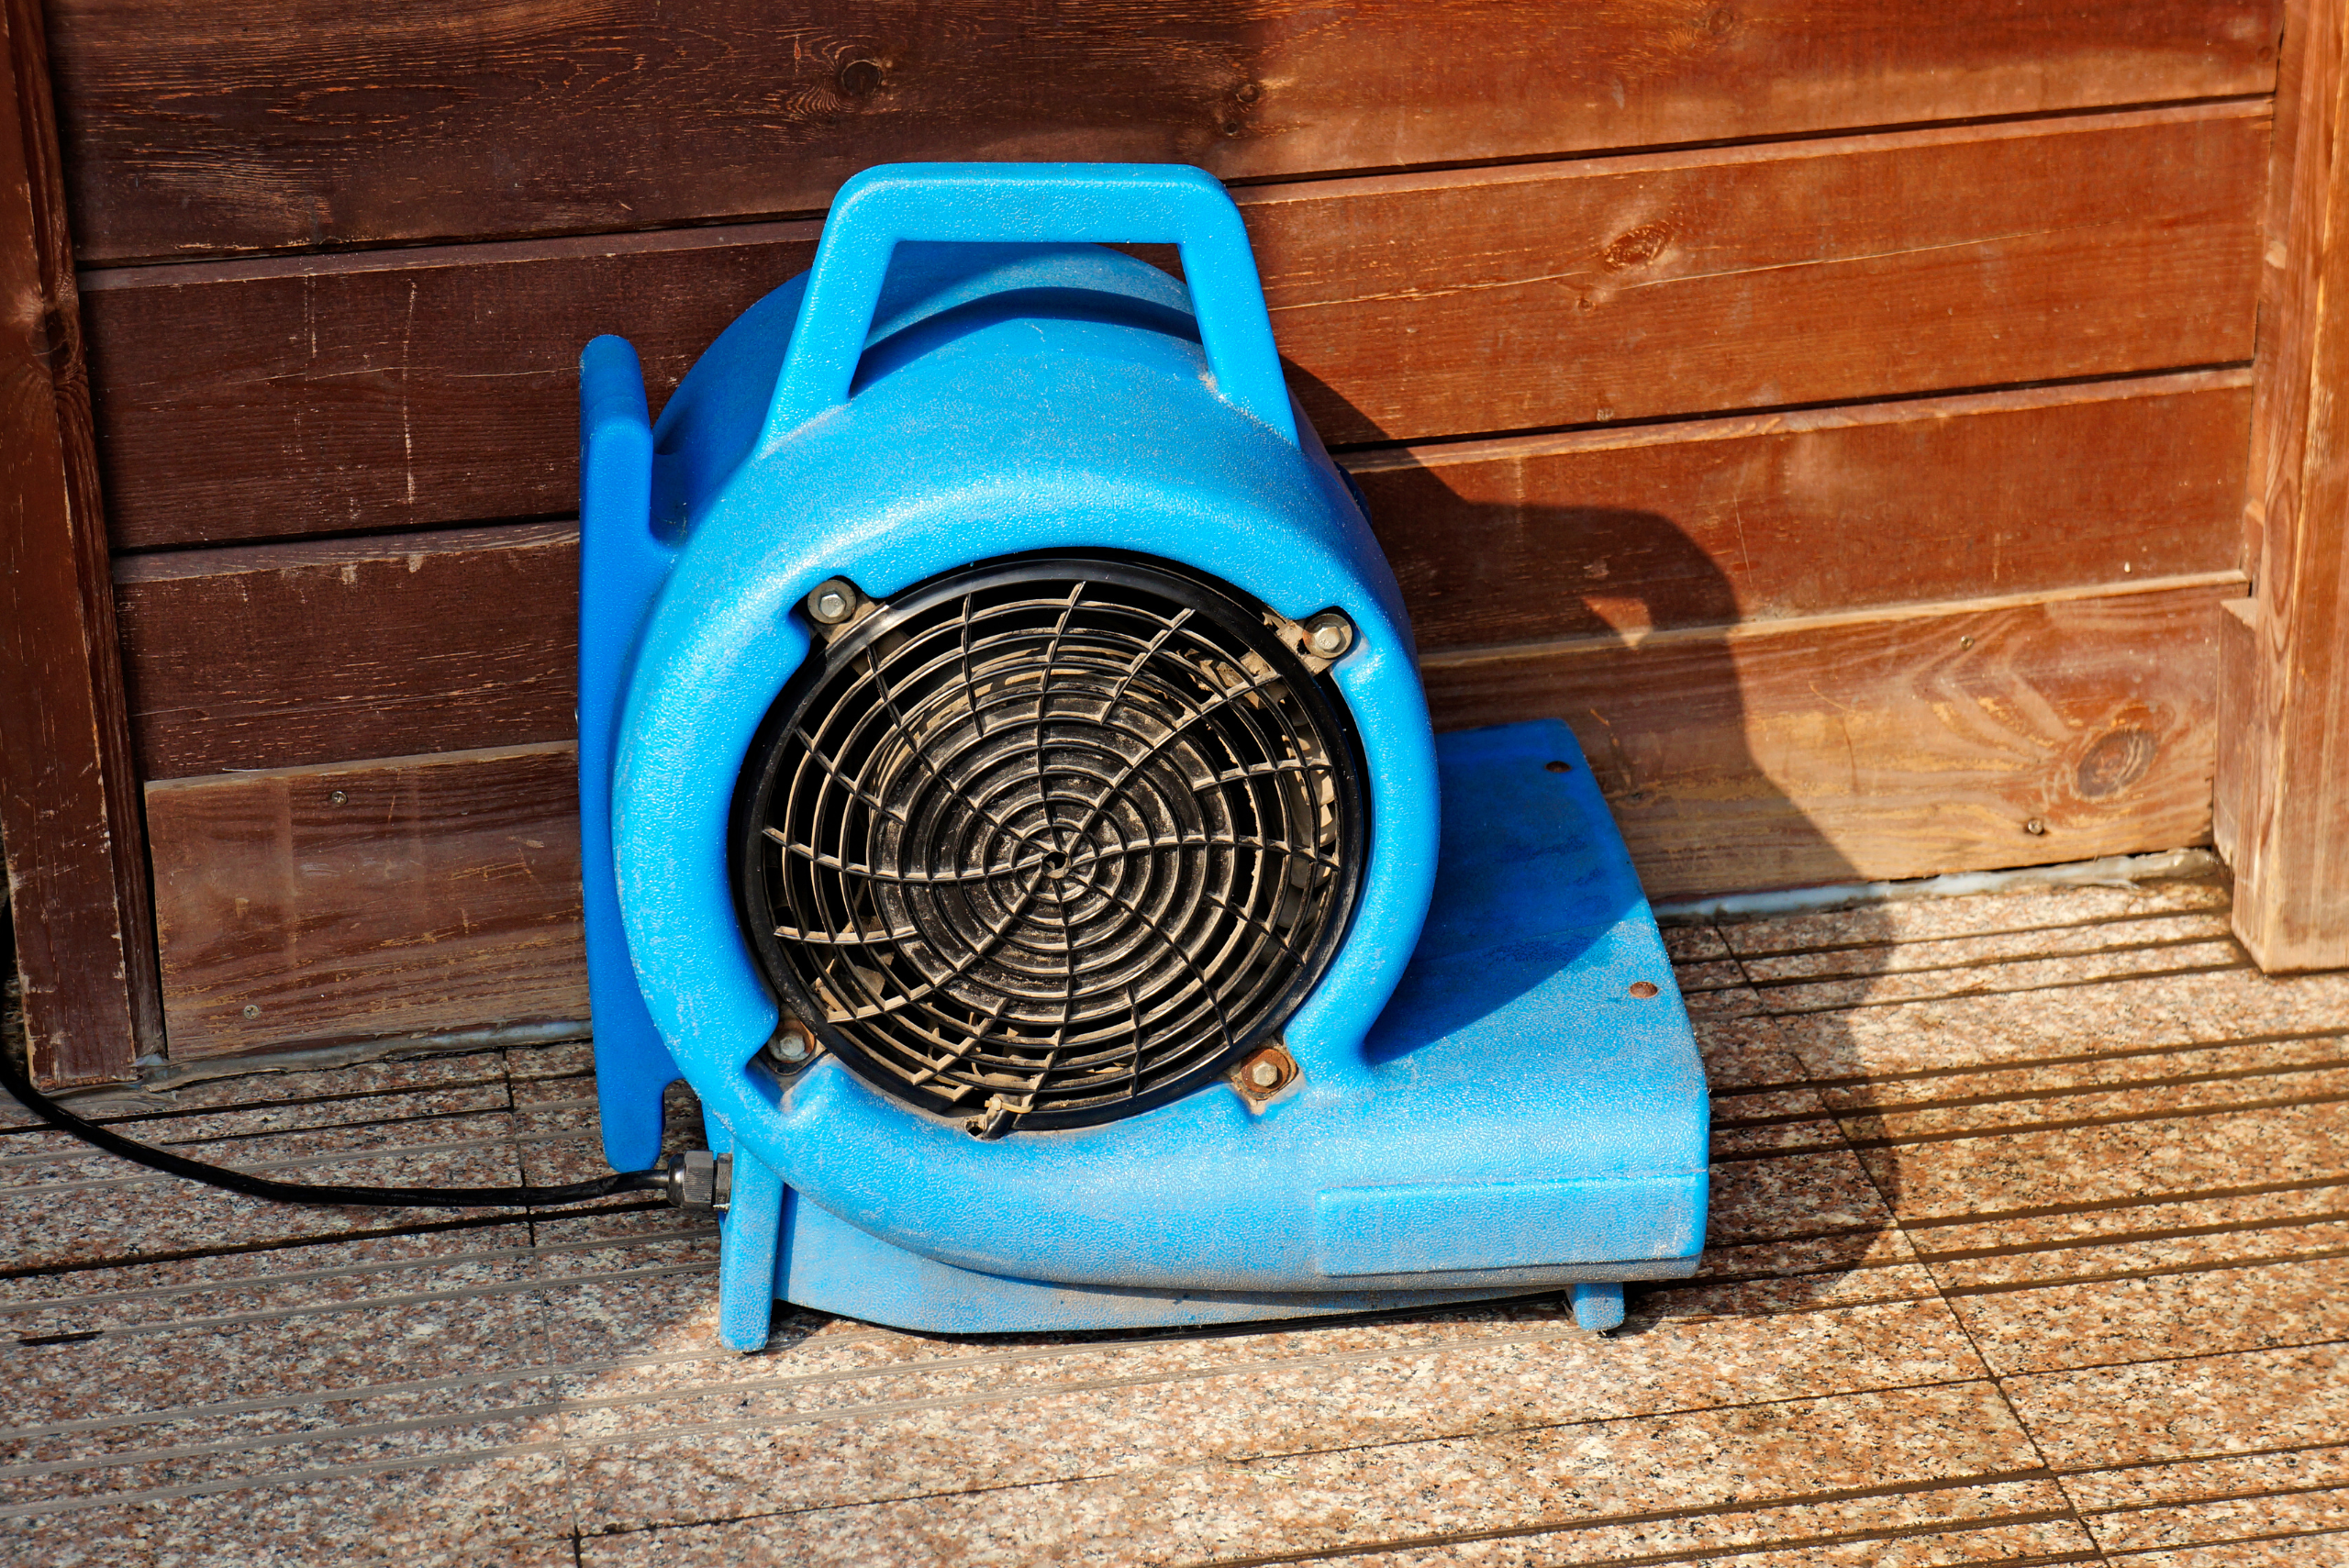
If a vacuum-equipped sander isn’t available, try misting the drywall surface lightly with water before sanding. This will help weigh down the dust particles and prevent them from becoming airborne. Additionally, set up a fan near an open window to create airflow that directs dust out of the room. Regular cleaning during the sanding process will also help keep dust levels under control and make the final cleanup much easier.
Progressing Through Grits for a Flawless Finish
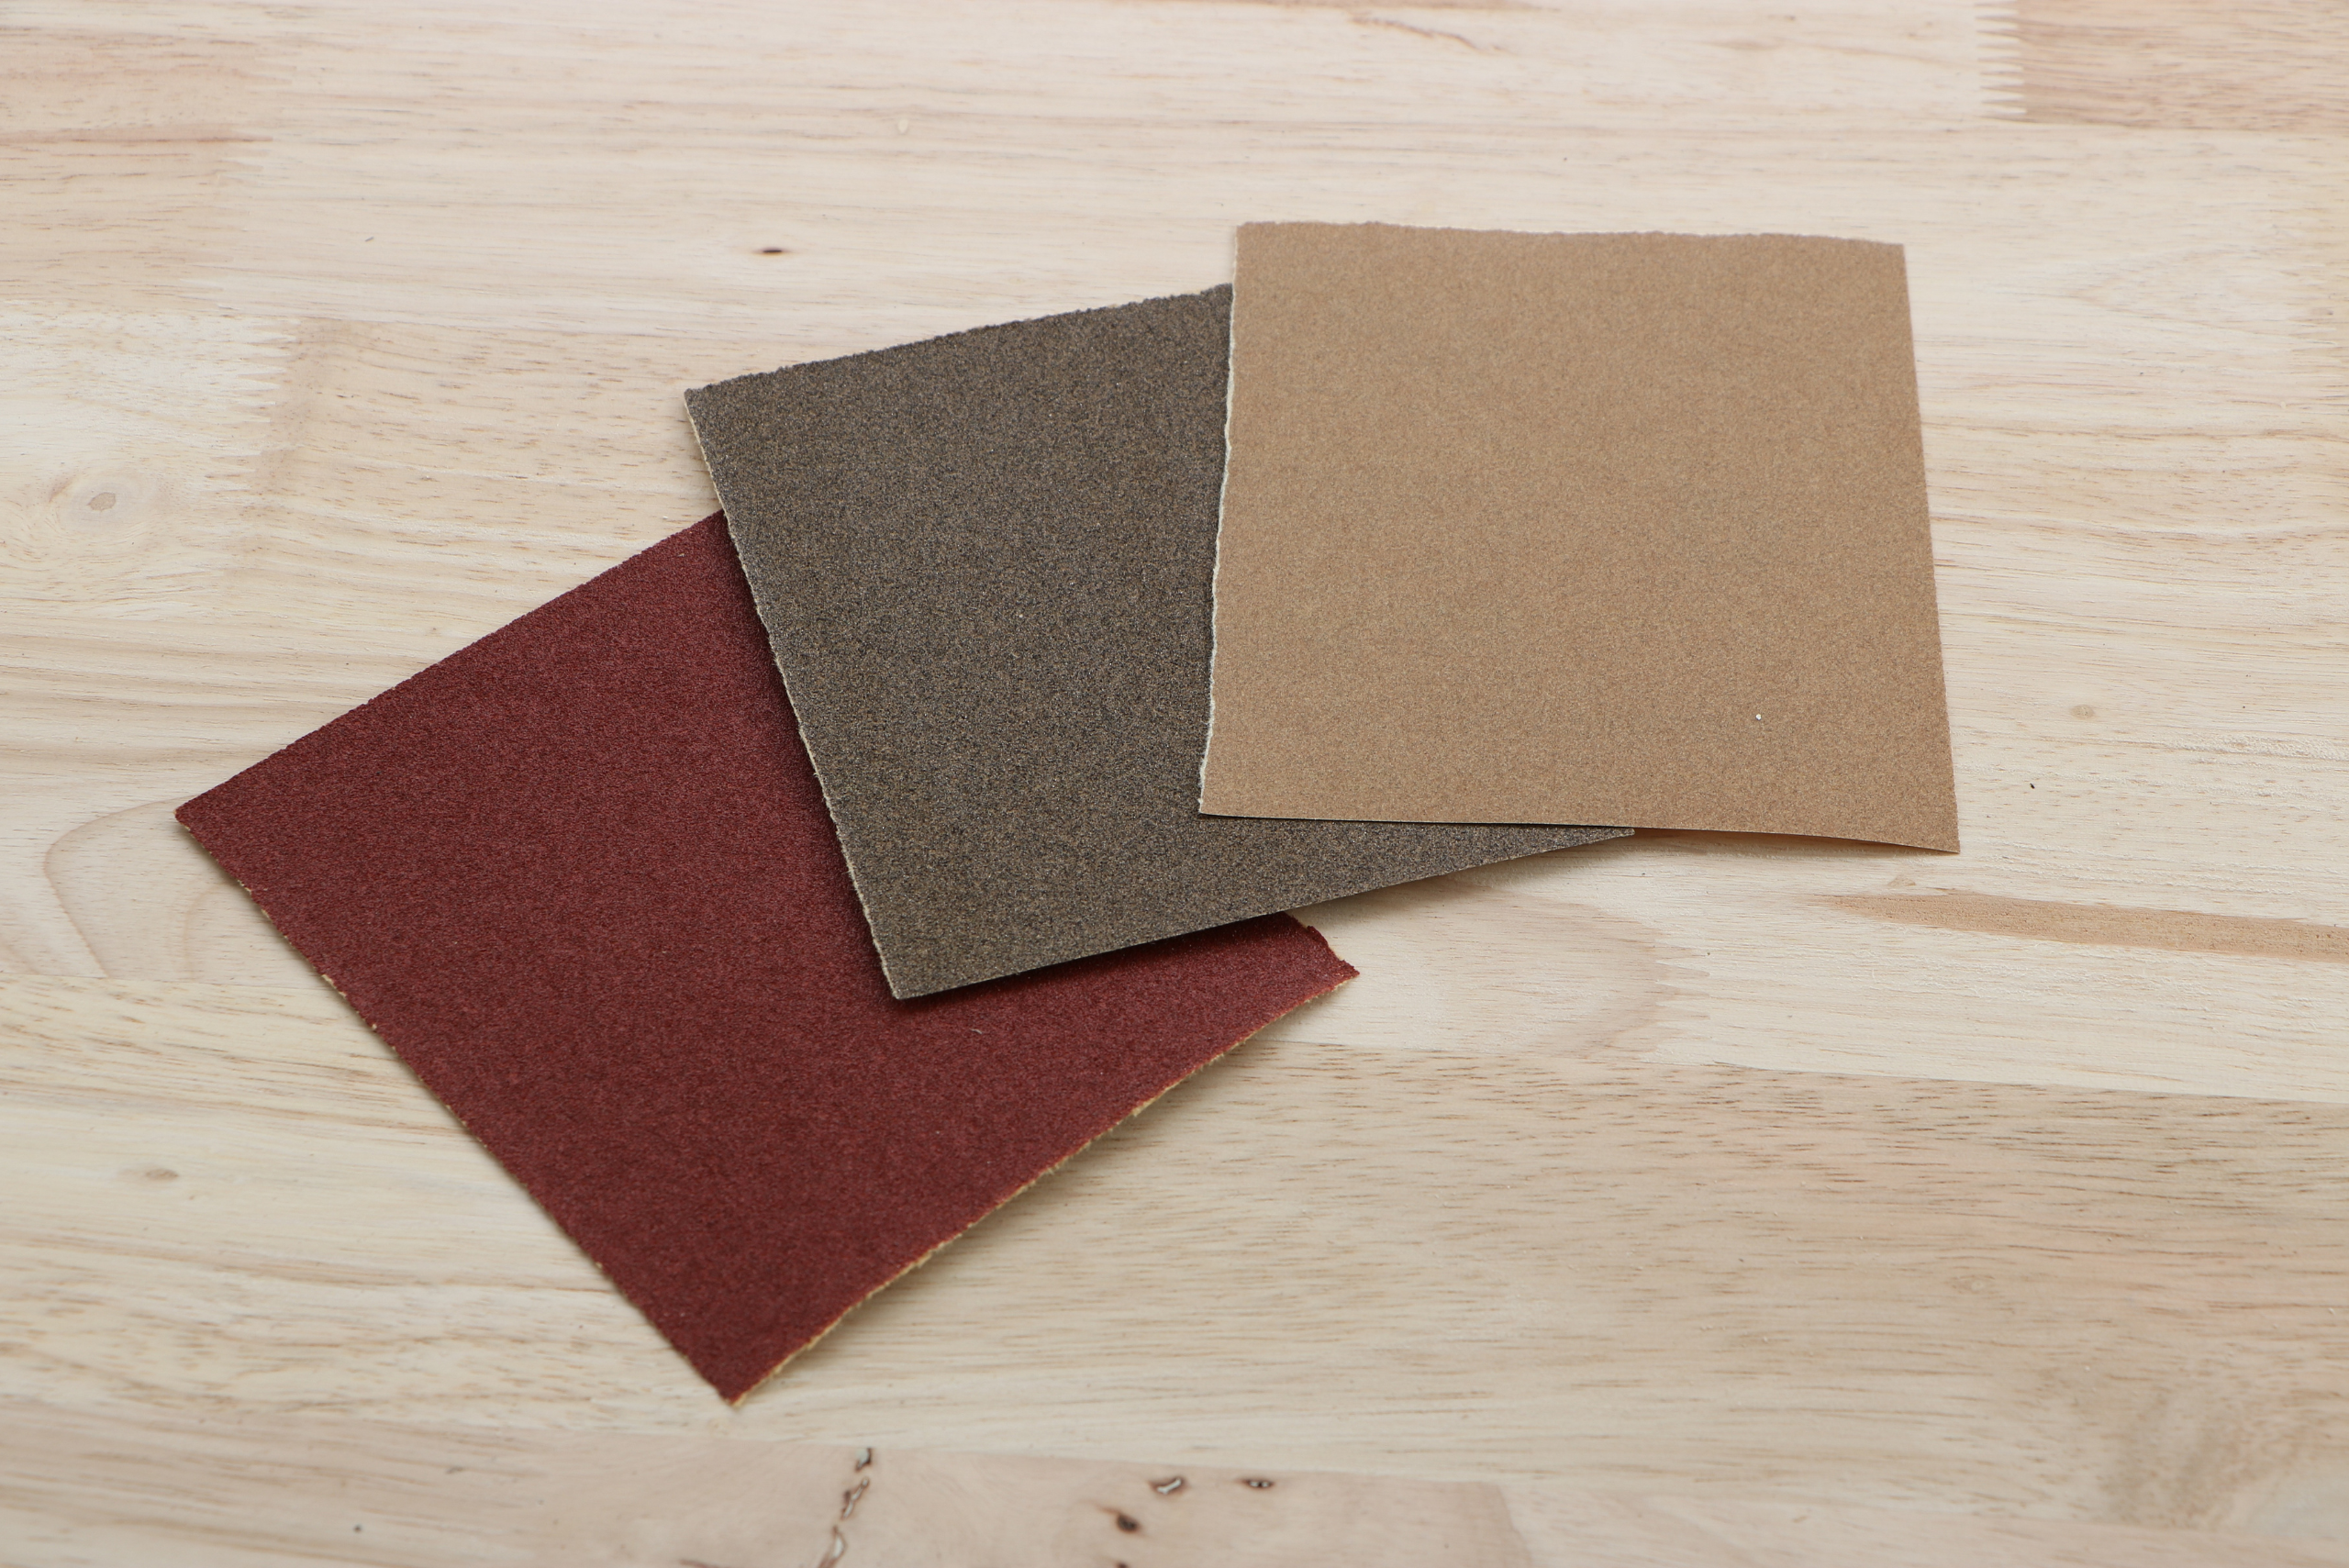
To achieve a truly smooth surface, it’s important to progress through different sandpaper grits. Start with a coarser grit, such as 120, to remove any major imperfections and level out the joint compound. This initial pass will do the bulk of the work in smoothing out the surface.
Once you’ve achieved a relatively even surface with the coarse grit, switch to medium grit, like 150 or 180. This will help refine the surface and remove any scratches left by the coarser paper. Finally, finish with a fine grit, such as 220, to achieve a silky-smooth surface ready for primer and paint. Remember to clean the surface between each grit change to ensure the best results.
Navigating Tricky Areas with Precision and Care
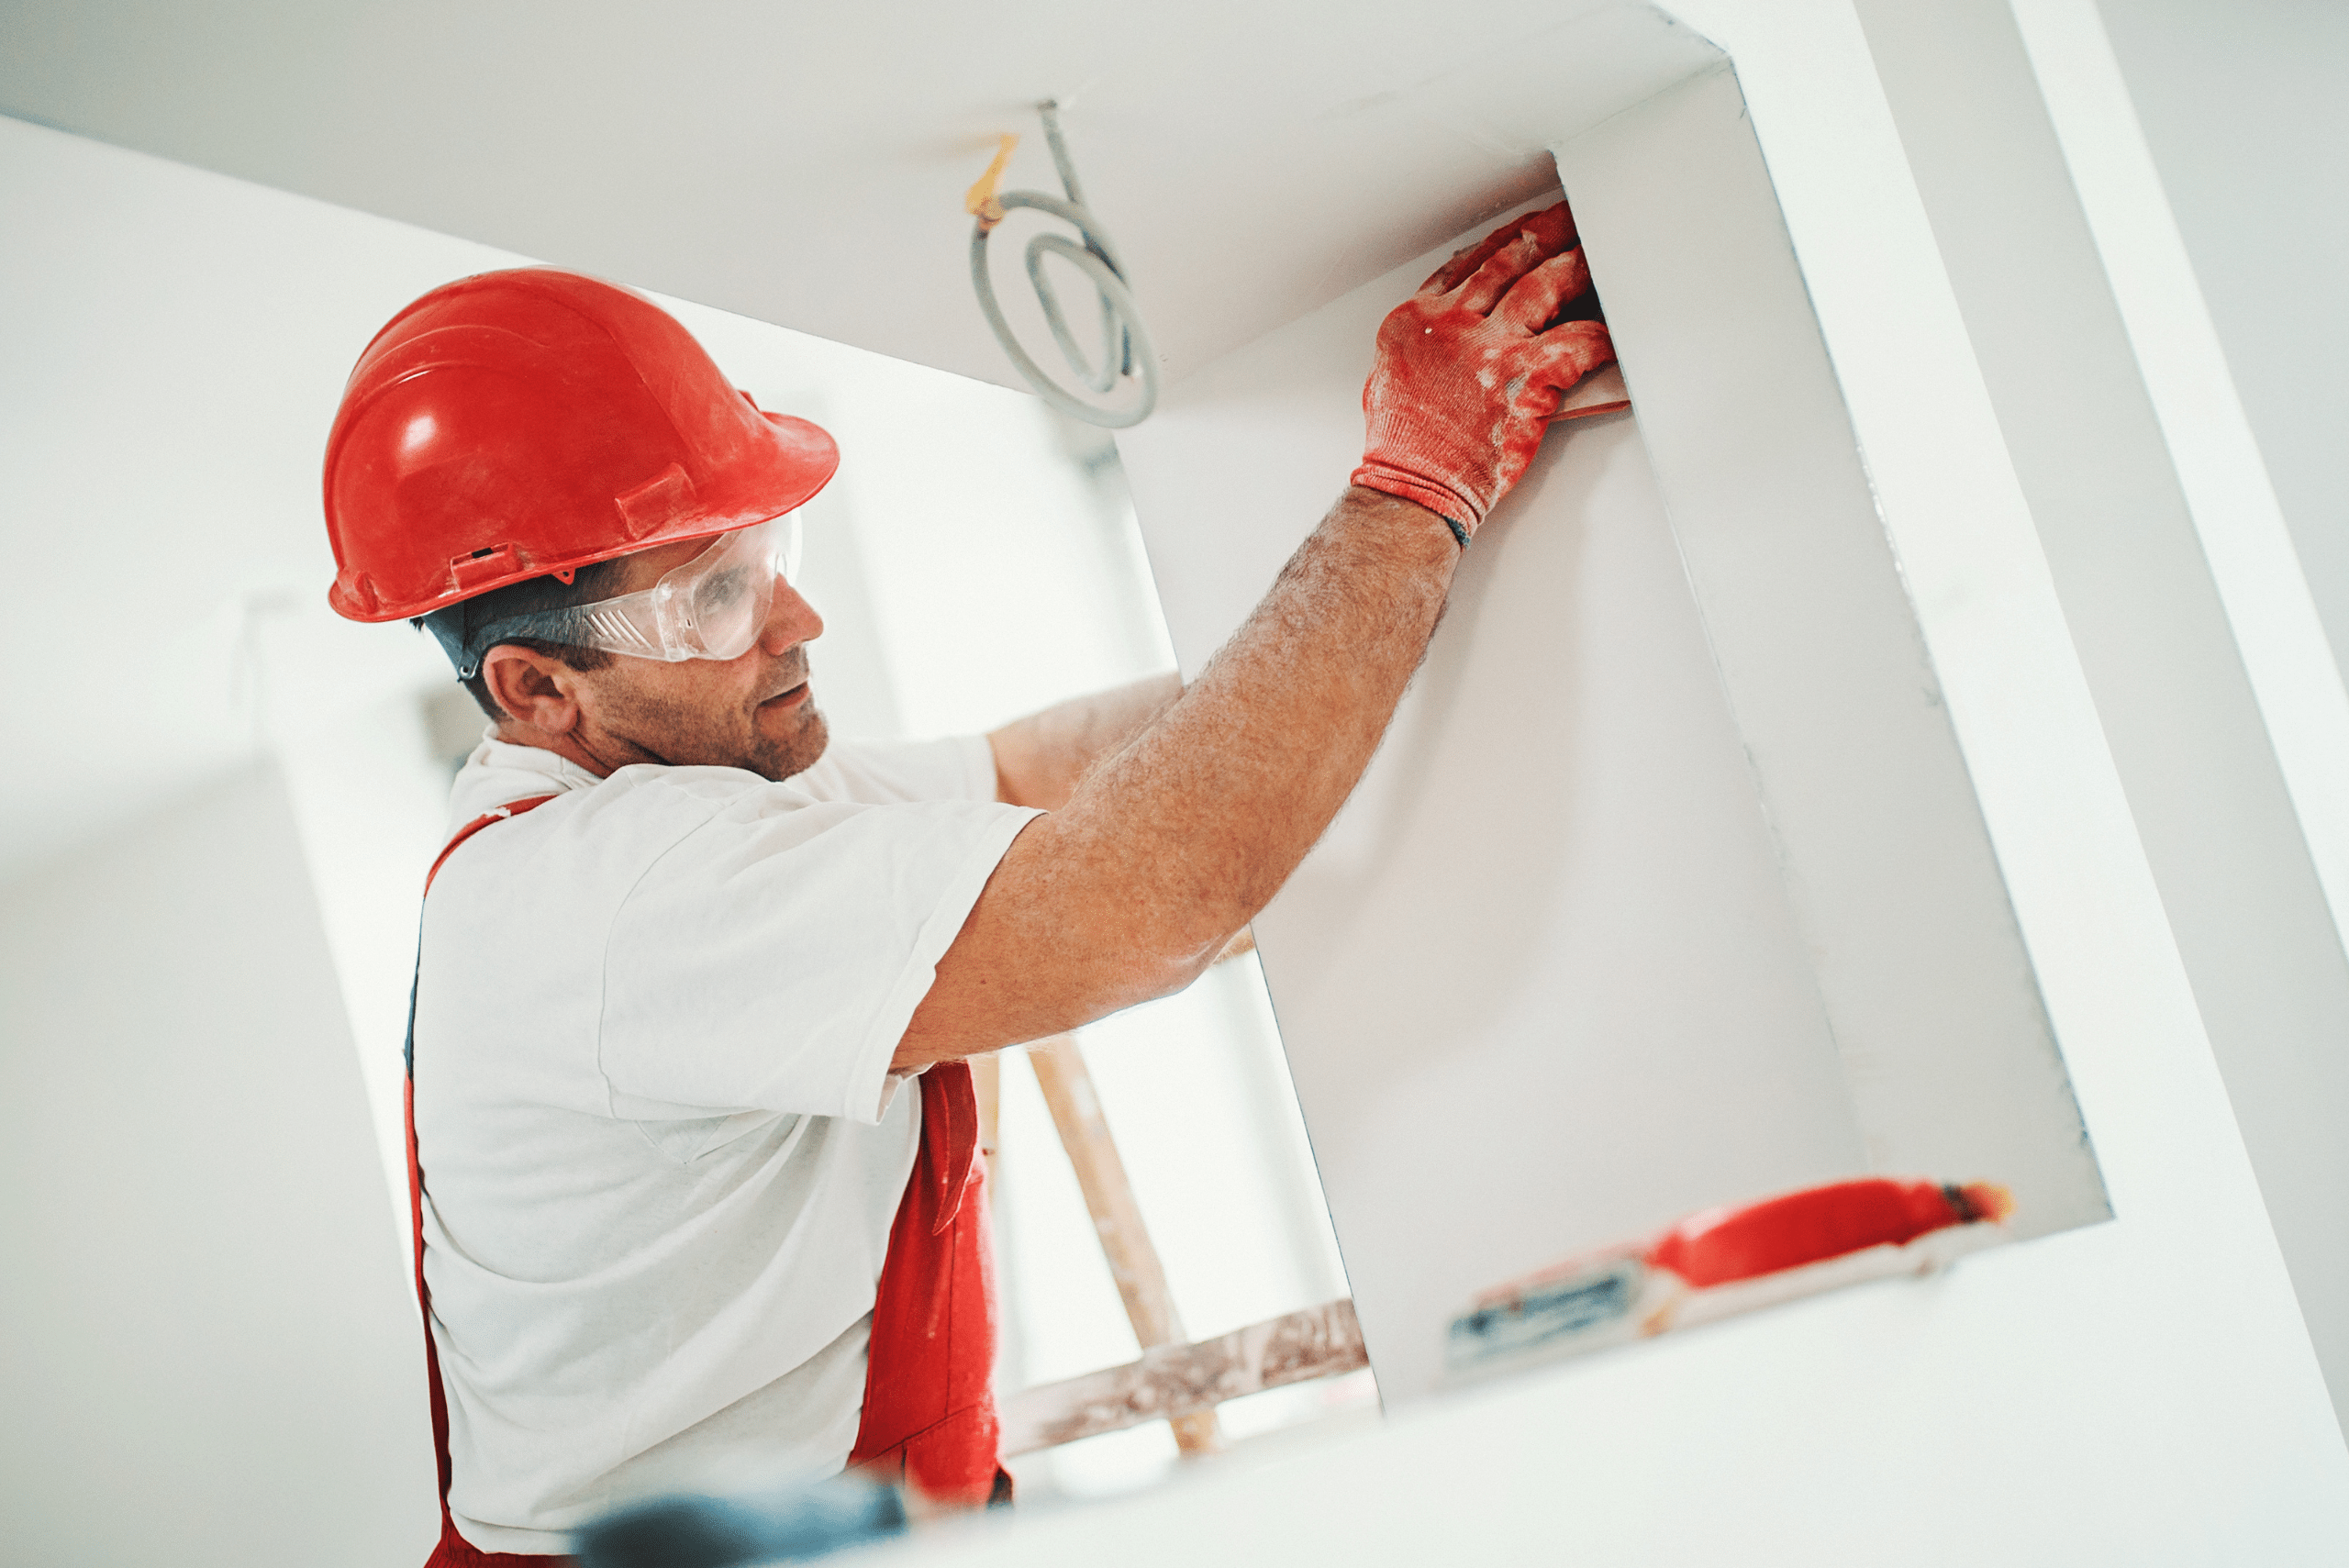
Corners and other detailed areas require special attention when sanding drywall. For inside corners, use a corner sanding tool or fold a piece of sandpaper to fit the angle. Work carefully to avoid over-sanding and creating an uneven surface. For outside corners, use a sanding block or pole sander with light pressure to maintain the crisp edge.
When sanding around electrical outlets, light fixtures, or other obstacles, take extra care to avoid damaging these elements. Use a hand sanding block or sponge for more control in these tight spaces. Don’t forget to sand the edges of any cutouts to ensure a smooth transition between the drywall and the fixture.
Ensuring Flawless Finish Before Painting or Wallpapering
Once you’ve completed the sanding process, it’s crucial to perform a thorough inspection of your work. Start by turning off any overhead lights and using a bright, handheld work light to examine the surface at different angles. This will help you spot any remaining imperfections, such as small bumps, depressions, or areas that need additional sanding.
Run your hand over the surface to feel for any rough spots or inconsistencies that might not be visible to the eye. If you find any issues, address them immediately with spot sanding or additional joint compound as needed. Taking the time to ensure a truly smooth surface will pay off in the final appearance of your painted or wallpapered walls.
Related Articles
- How to Choose the Right Sandpaper Grit
- 9 Clever Ways to Utilize Sandpaper That You’ll Regret Not Knowing Earlier
- How to Sand and Stain Wood Floors For Best Results
As you admire your newly smoothed walls, take pride in the knowledge that you’ve tackled one of the most challenging aspects of drywall finishing. Your efforts will pay off in the form of beautiful, professional-looking walls that will impress friends, family, and potential home buyers alike. So go ahead, give yourself a pat on the back, and enjoy the fruits of your labor – you’ve earned it!
Ready to start your next project? Join our DIY community to receive tool tips, how-to guides, and exclusive creative insights. Subscribe to the ManMadeDIY newsletter now! Click here to unlock a world of hands-on inspiration.

