Easy to Follow Steps for How to Build a Wooden Ramp
Building a wooden ramp can be a rewarding and practical project, whether it’s for a deck, a shed, or another structure. A well-constructed ramp provides a safe, accessible way for people and items to move up and down. This guide will walk you through the process of designing, planning, and constructing a wooden ramp that suits your specific needs. From gathering materials to the final touches, we’ve got you covered.
Ready to take on life with unshakable confidence? Whether you’re aiming to excel in your career, improve your relationships, or conquer DIY projects, NLP Hero’s Confidence Course is your key to success. Click here to start transforming your confidence and be better at everything you do!
Importance of Proper Planning and Design for Building a Wooden Ramp
Before you start cutting wood or hammering nails, it’s crucial to plan and design your ramp carefully. Consider the purpose and location of the ramp. Will it be used for foot traffic, wheelchairs, or heavy equipment? The slope and length of the ramp need to be calculated to ensure it’s functional and meets any relevant building codes. Typically, a slope of 1:12 is recommended, meaning for every inch of rise, the ramp should be 12 inches long.

Start by measuring the height from the ground to the entrance where the ramp will begin. This will help you determine the length and angle of the ramp. Sketch out your design on paper, including all dimensions and materials needed. This step is essential to avoid mistakes and ensure that you have a clear blueprint to follow.
Gathering the Right Materials and Tools for Your Wooden Ramp Construction
Once you have a solid plan, the next step is gathering all the necessary materials and tools. For a typical wooden ramp, you’ll need pressure-treated lumber, which is resistant to moisture and insect damage. The sizes will vary based on your design, but common dimensions include 2x4s for framing and 1x6s or 2x6s for the decking.

In addition to lumber, you’ll need galvanized screws or nails, concrete for the footings, and possibly metal brackets for added support. Tools required include a saw, drill, level, tape measure, and a post-hole digger. Having all your materials and tools ready before you start will make the process smoother and more efficient.
Step-by-Step Instructions for Building the Frame and Support Structure
- Begin by marking the area where the ramp will be installed.
- Dig holes for the support posts at regular intervals along the length of the ramp. (These posts will provide the necessary support and stability.)
- Pour concrete into the holes and set the posts, making sure they are level and plumb.
- Next, construct the frame of the ramp by attaching the horizontal beams to the support posts.
- Ensure that the frame is level and securely fastened. (This frame will serve as the backbone of your ramp, so take your time to make sure it is well-constructed and strong.)
Installing the Decking Material and Ensuring the Ramp Surface is Safe and Durable
With the frame in place, it’s time to install the decking. Lay the decking boards across the frame, starting at one end and working your way to the other. Leave a small gap between each board to allow for drainage and expansion. Secure the boards with galvanized screws or nails, ensuring they are flush and even.
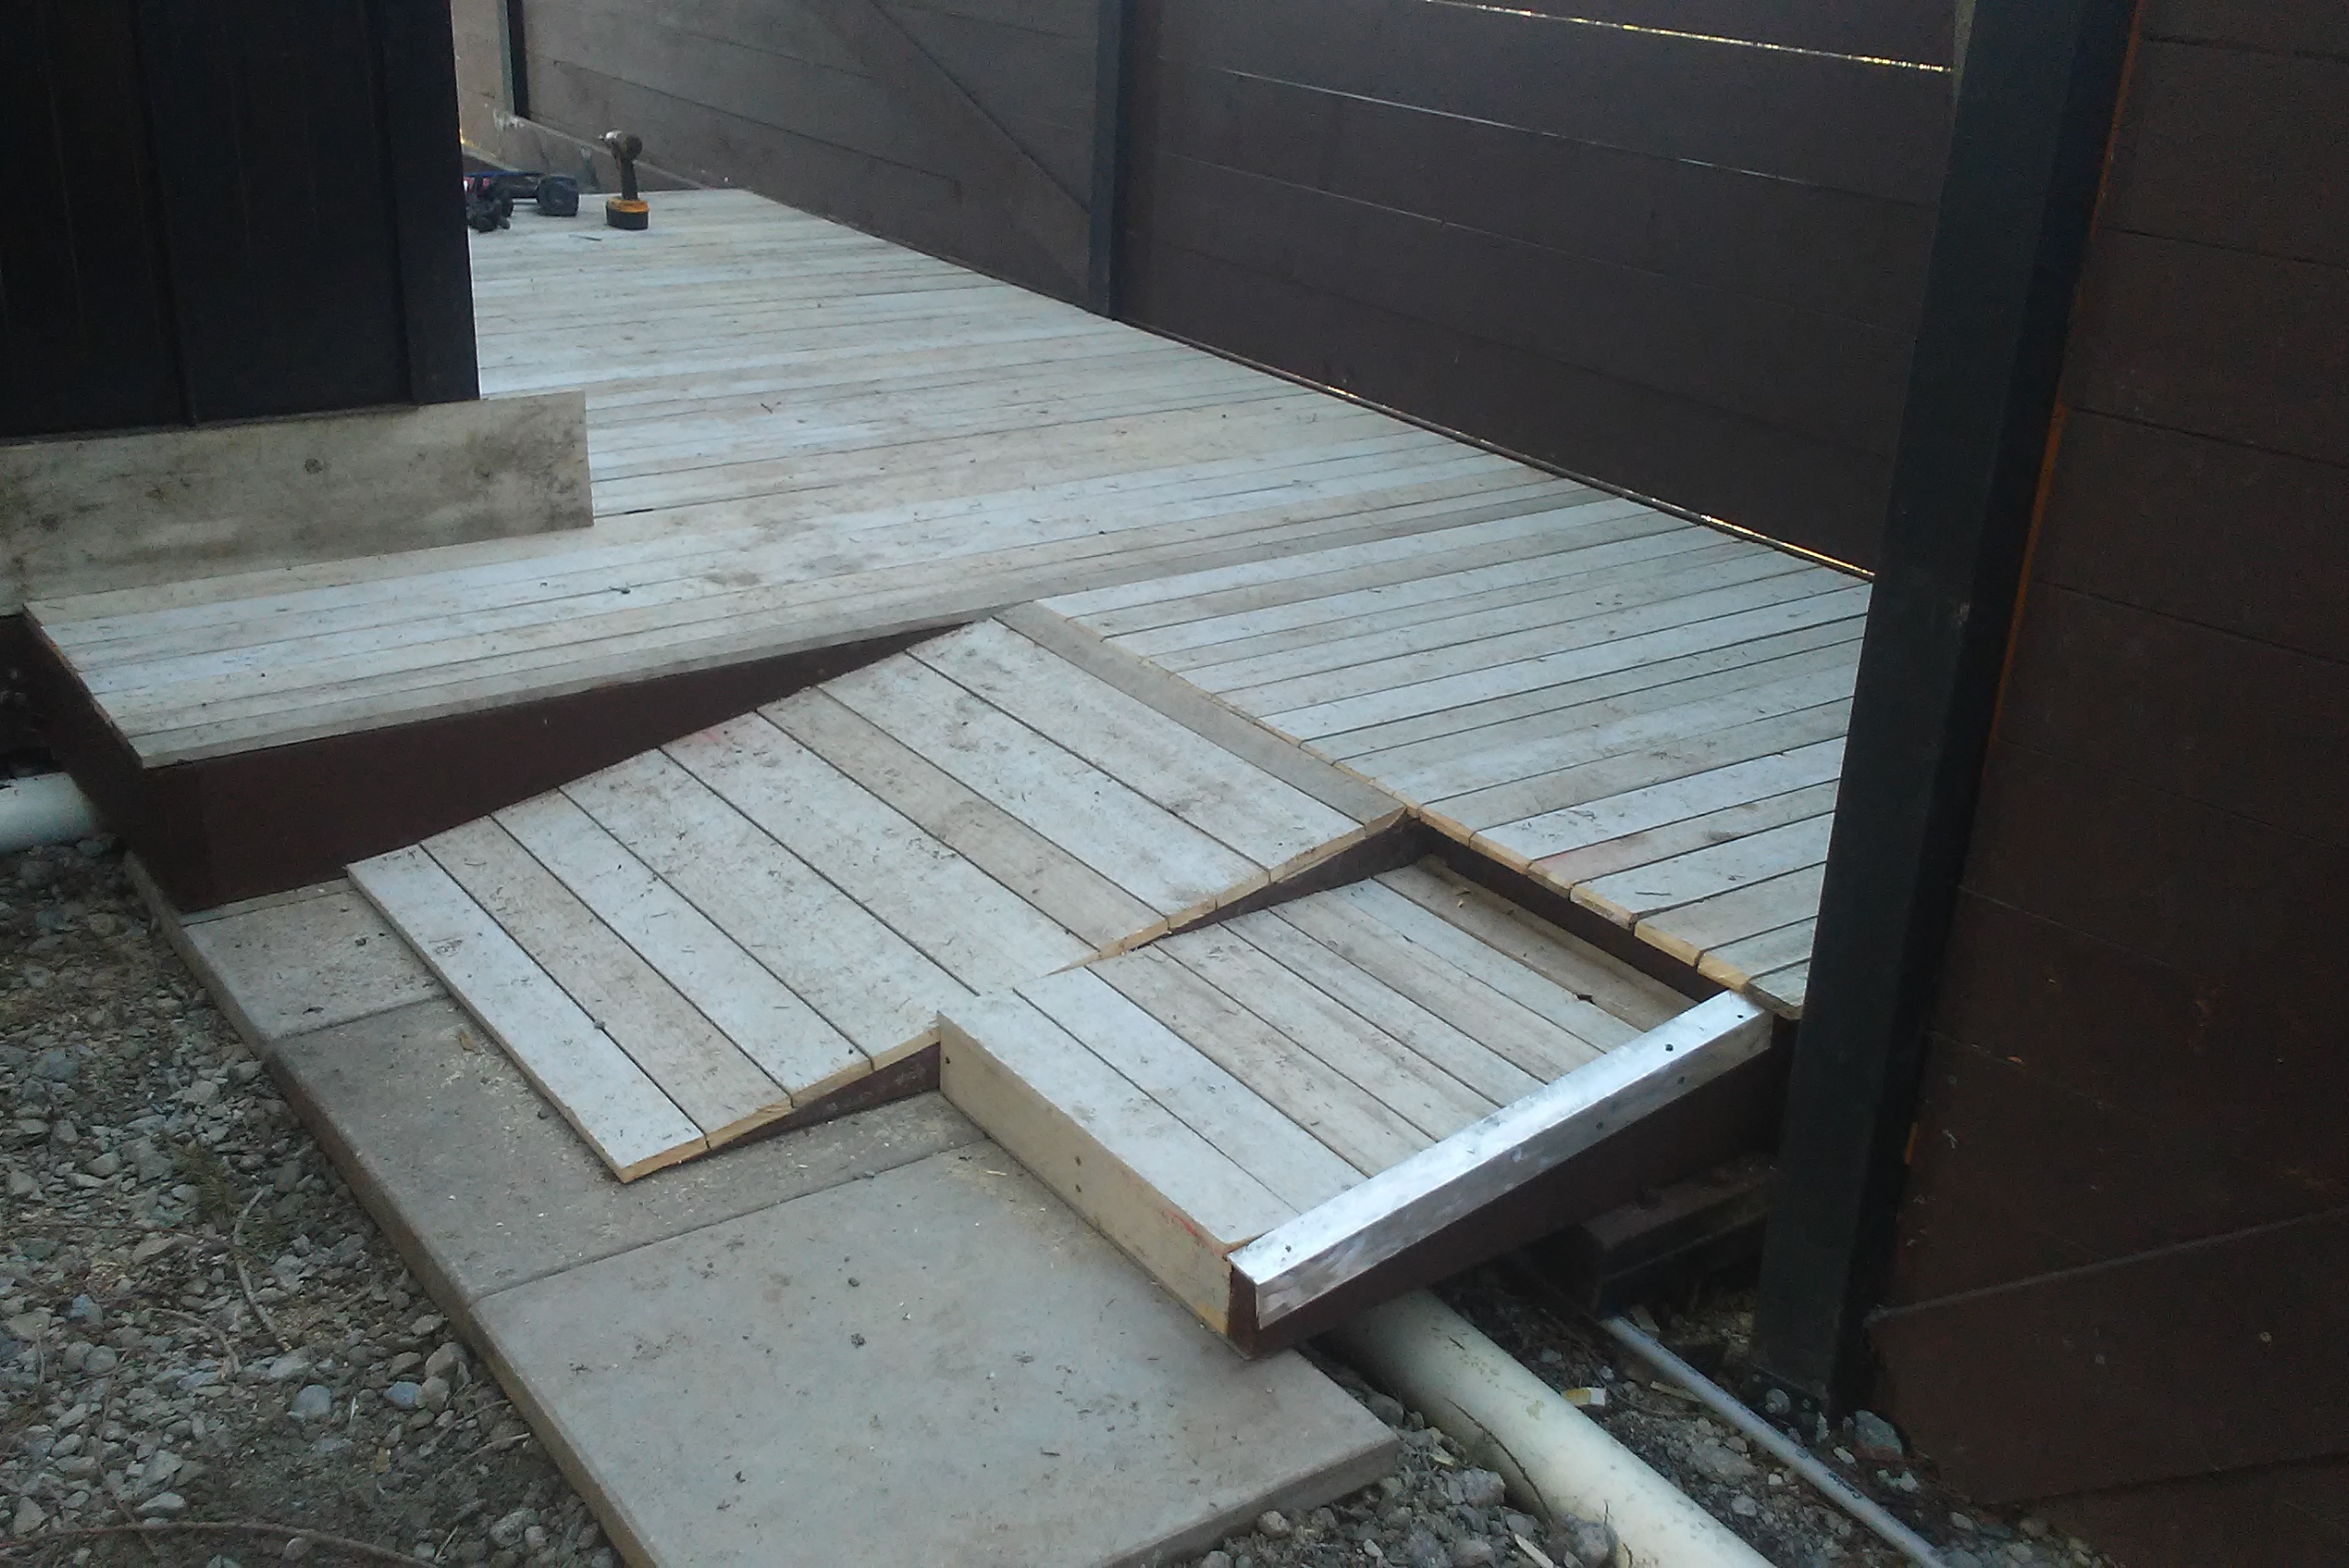
To make the ramp surface safe, consider adding a non-slip coating or traction strips, especially if the ramp will be exposed to wet conditions. This will help prevent slips and falls, making the ramp safer for everyone who uses it.
Adding Handrails and Finishing Touches to Your Wooden Ramp
Handrails are an essential safety feature for any ramp, especially if it will be used by individuals with mobility issues. Install the handrails on both sides of the ramp, securing them to the support posts and ensuring they are at a comfortable height. Handrails should be sturdy and smooth, without any sharp edges or splinters.
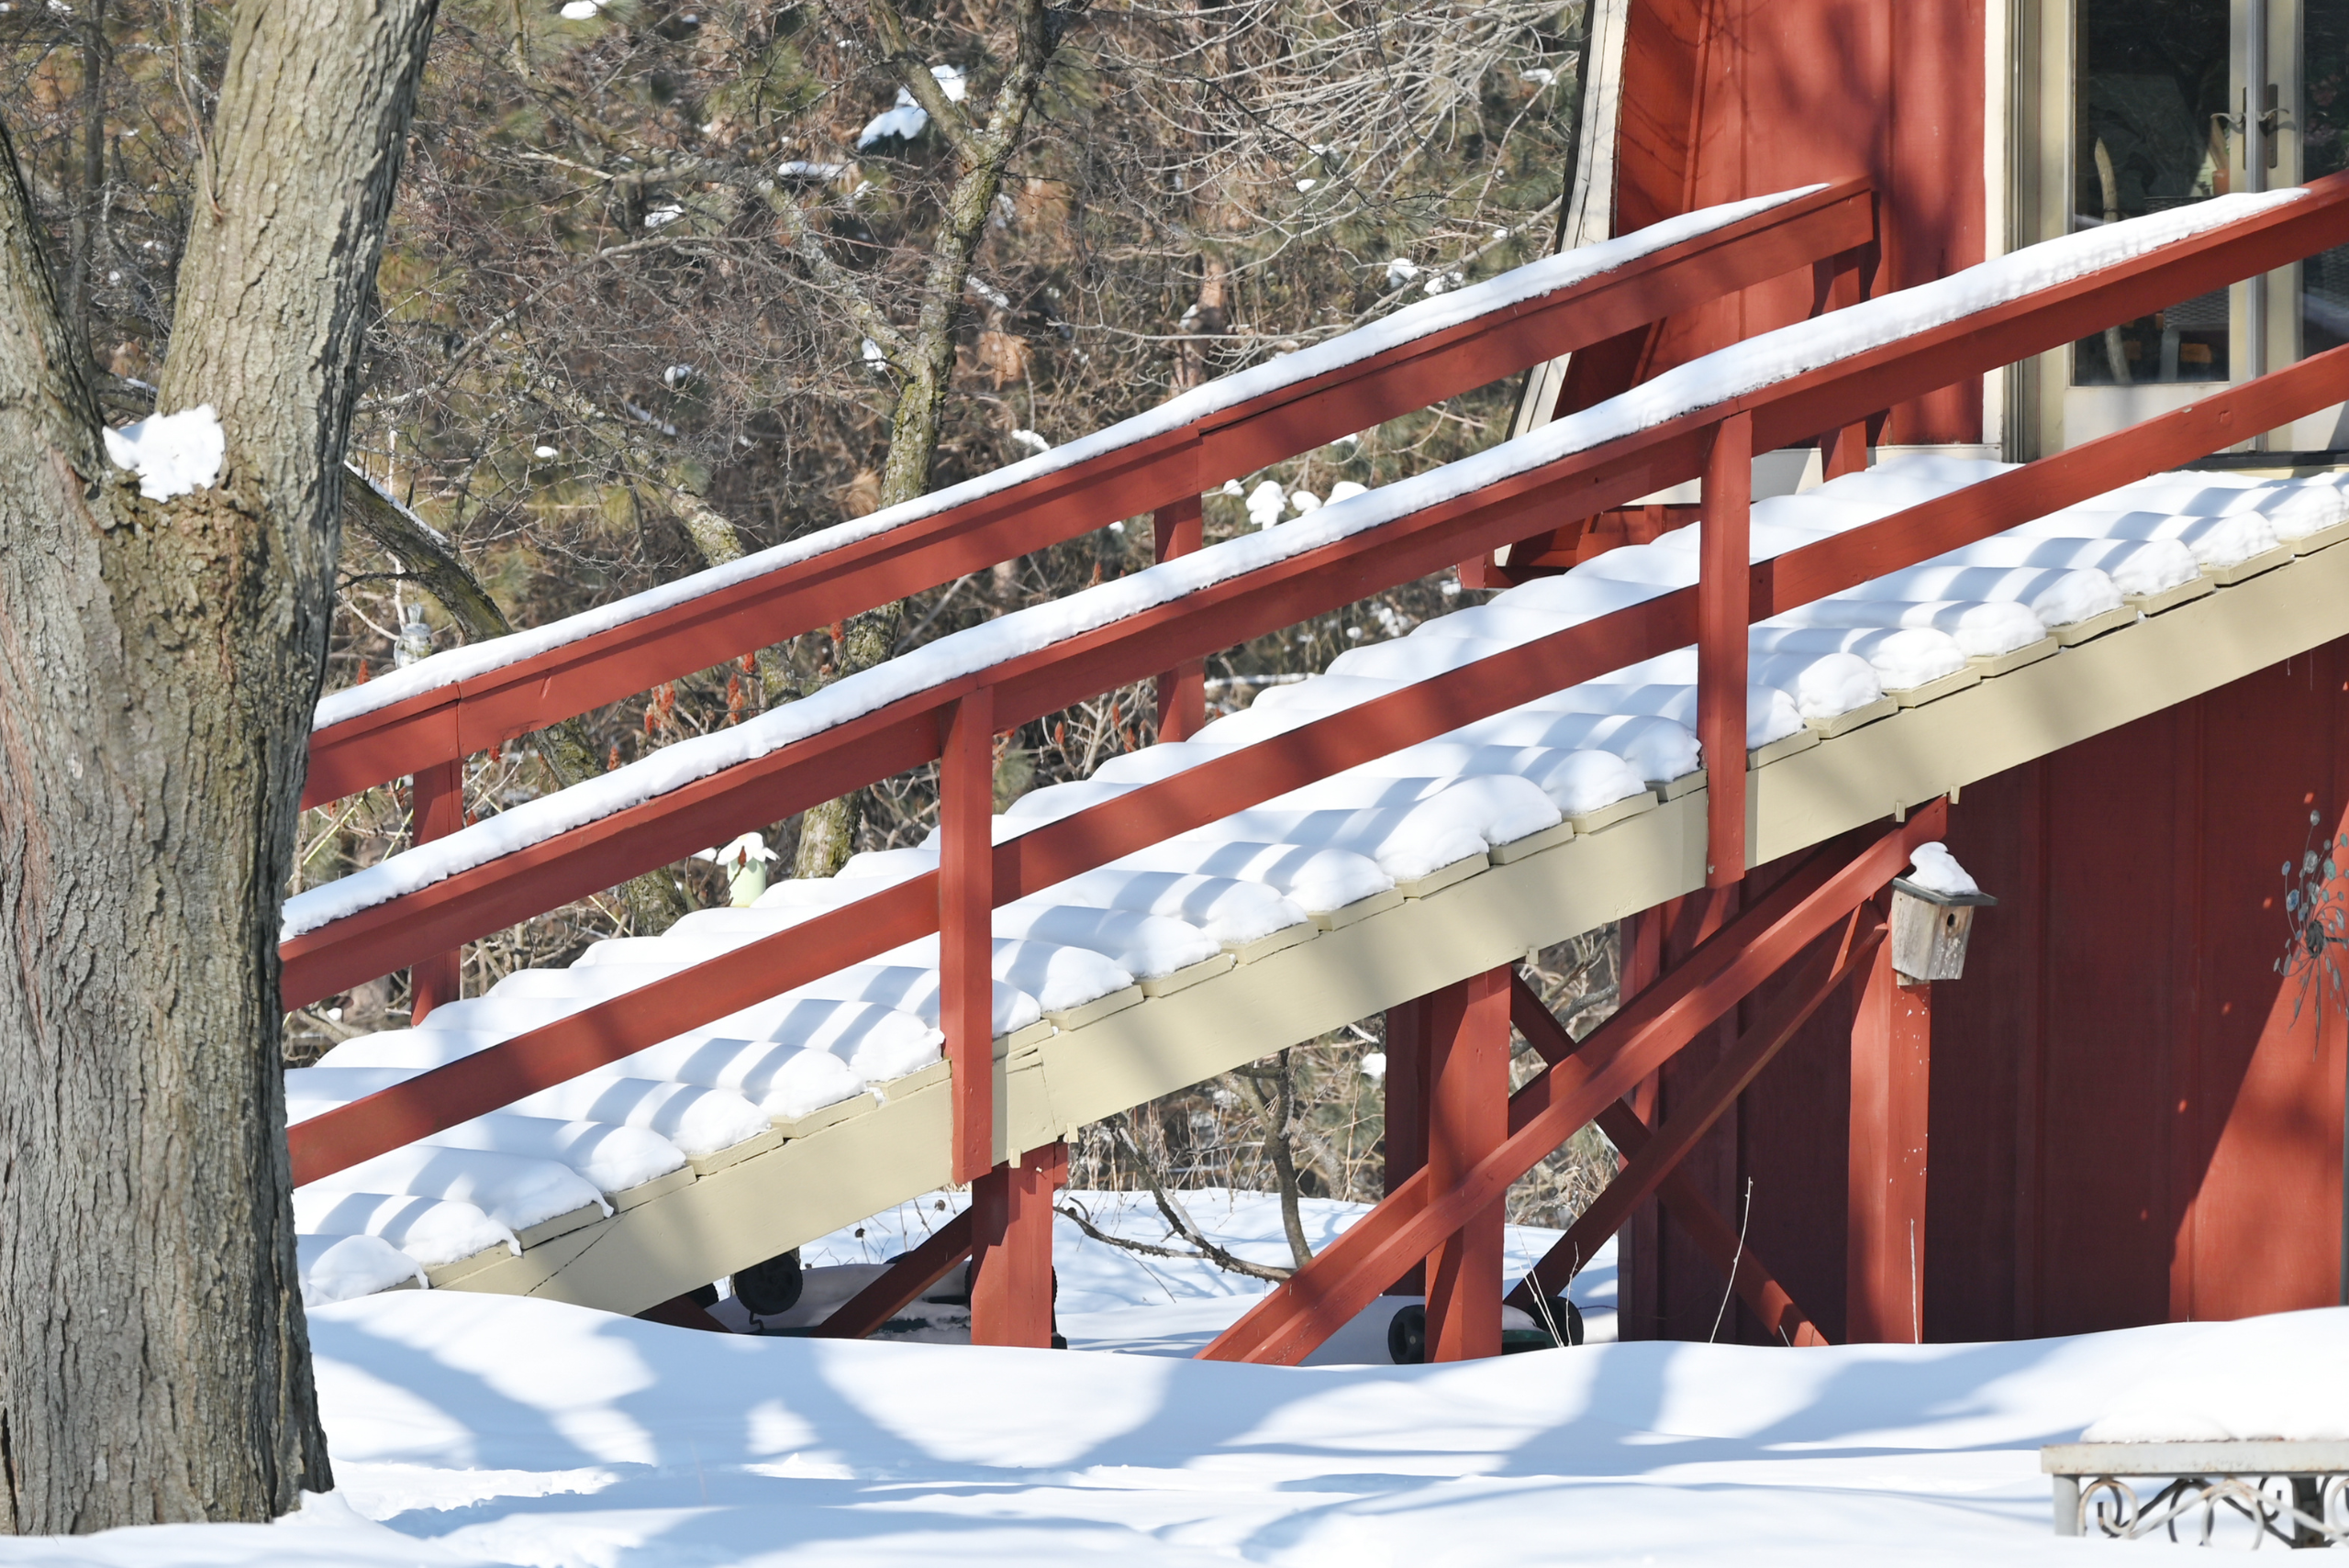
Finally, give your ramp a thorough inspection. Sand any rough spots, tighten any loose screws, and apply a sealant or paint to protect the wood from the elements. These finishing touches will not only enhance the appearance of your ramp but also extend its lifespan.
Maintaining and Inspecting Your Wooden Ramp for Longevity and Safety
Once your ramp is built, regular maintenance is key to keeping it in good condition. Inspect the ramp periodically for signs of wear and tear, such as loose boards, splinters, or rusted screws. Make any necessary repairs promptly to prevent further damage.
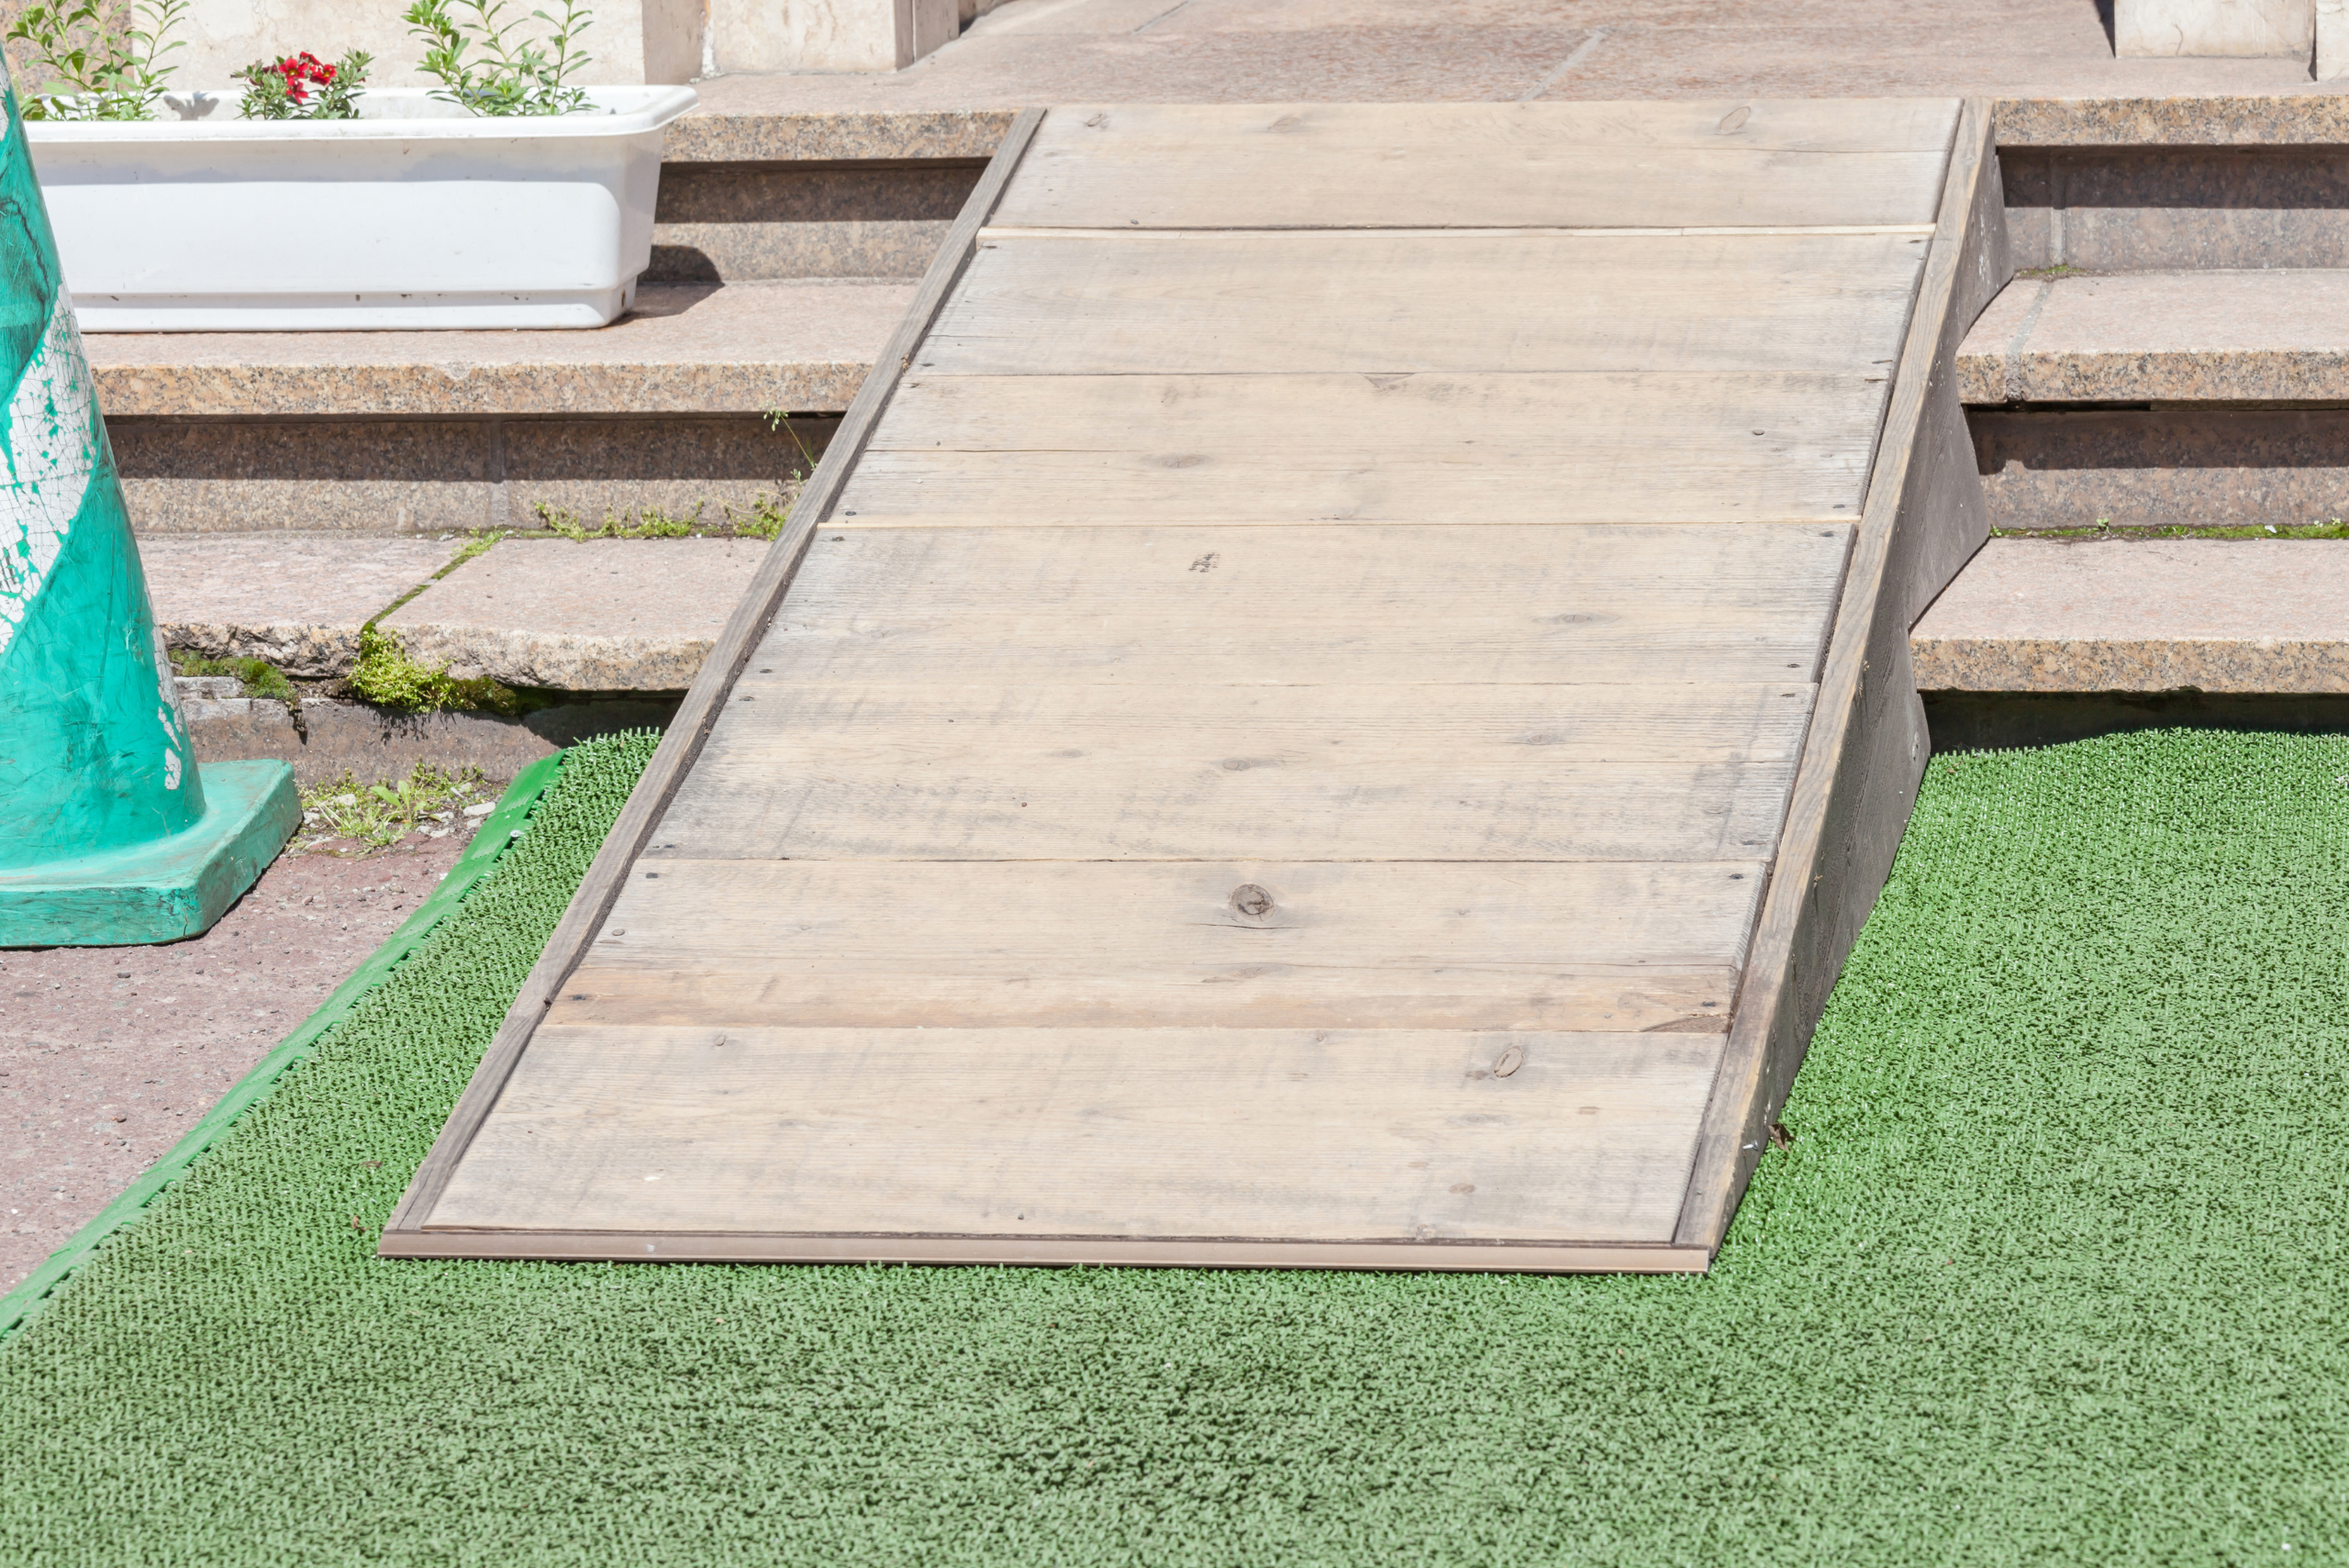
Clean the ramp regularly to remove dirt and debris, which can cause the surface to become slippery. If you have applied a sealant or paint, reapply it as needed to maintain the protective barrier. With proper care, your wooden ramp can provide safe and reliable access for many years to come.
Related Articles
- Plain Sawn vs Quarter Sawn vs Rift Sawn Wood – Differences and Benefits
- Simple Methods for How to Tell if Wood is Pressure Treated
- Plywood vs. Particleboard: Understanding Their Uses and Differences
Building a wooden ramp is a project that requires careful planning, the right materials, and attention to detail. By following these steps, you can create a sturdy, functional, and safe ramp that meets your needs. Whether it’s for personal use or to improve accessibility for others, a well-built ramp is a valuable addition to any property.
Ready to start your next project? Join our DIY community to receive tool tips, how-to guides, and exclusive creative insights. Subscribe to the ManMadeDIY newsletter now!


![DIY Auto Detailing [10 Must-Haves for your Garage]](https://www.manmadediy.com/wp-content/uploads/sites/52/2021/03/car-sponge-81861-269x170.jpg)
