How to Enlarge a Hole in Wood – Tips for Making Holes Bigger With a Drill and Other Tools
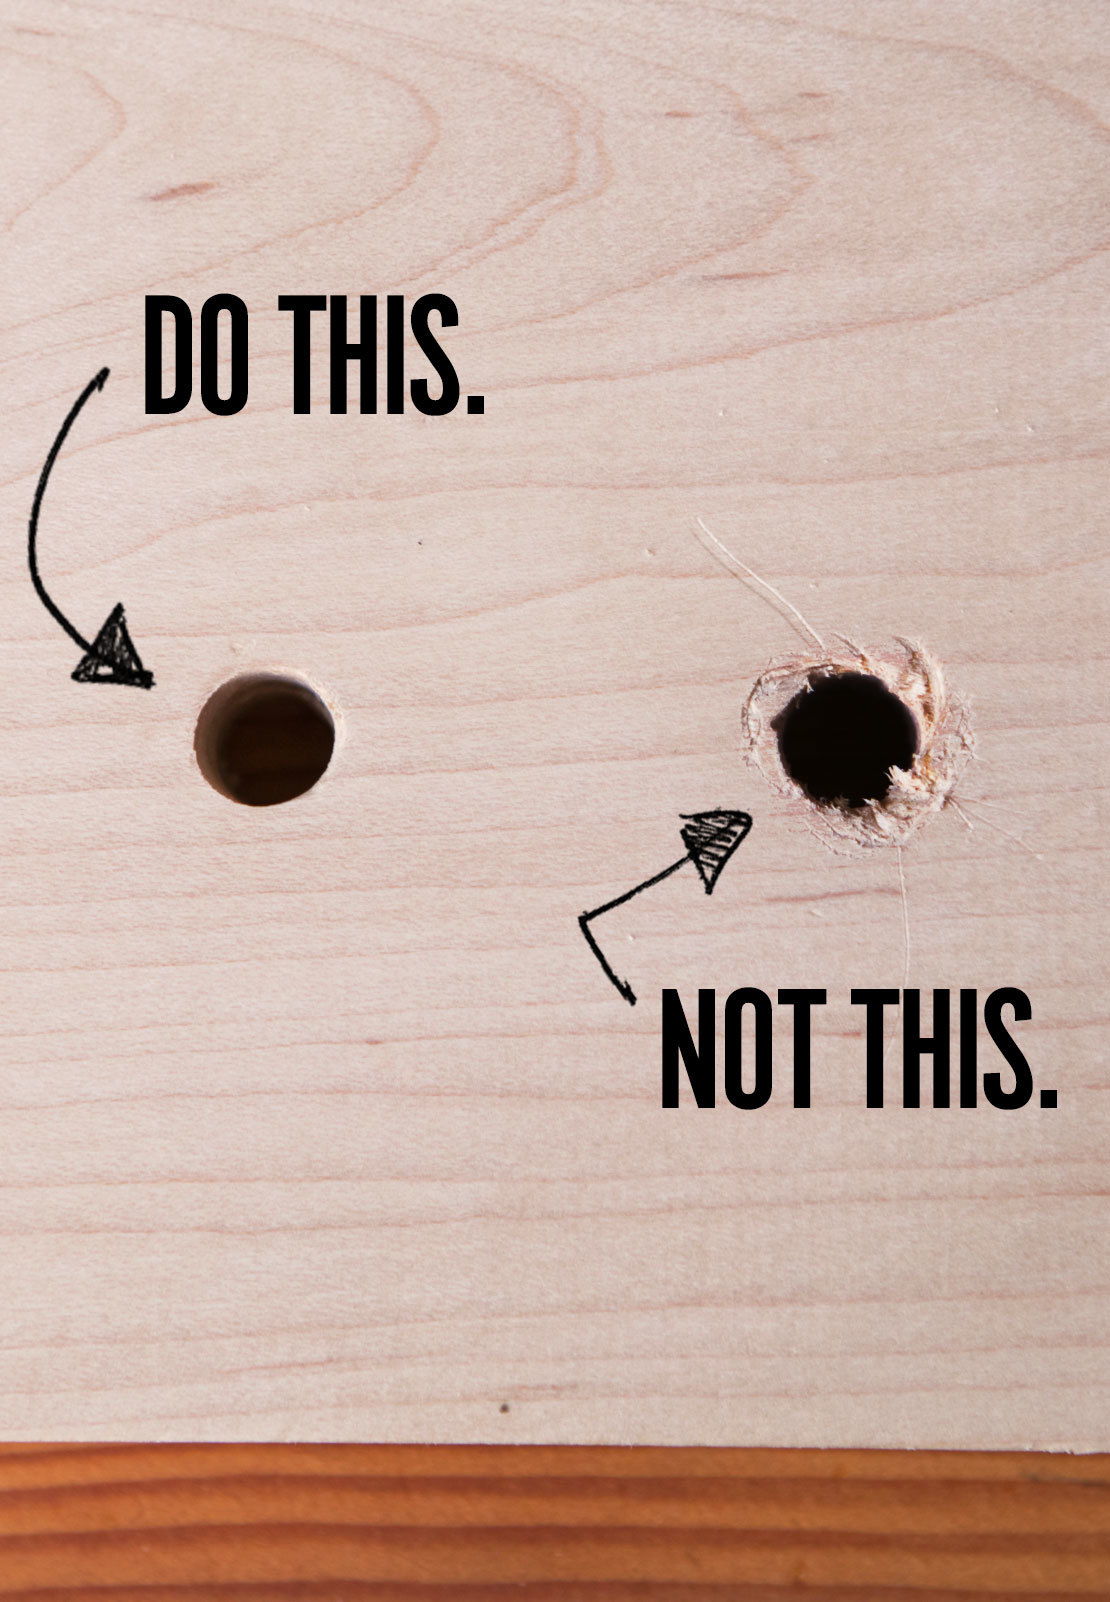
To the non-DIYer, dedicating an entire blog post to this process may seem like overkill. But anyone who wields their cordless drill on the regular can attest: the issue of making an existing hole larger comes up all. the. time. Whether repairing something around the house, replacing a part or piece of hardware, or just because you didn’t quite get it right the first time, any maker, woodworker, or generally handy person knows how frequently one needs to enlarge a hole, and how surprisingly difficult it can be to pull off.
The problem is: a drill bit cuts by rotation. And in order to make a nice round hole, the center of the bit requires a place to register, so it can spin evenly. When there’s already a hole, there’s nowhere for the center of the bit to bite into.
And, you can imagine what happens: the spinning bit will wander around, looking for a place to land. This can, at minimum, provide a raggedy edge, and at worse, tear up the surround surface of your workpiece.
So what to do to enlarge a hole? They actually make tools designed to do this called step drill bits. They work fairly well for certain applications, though not all, and if you have one, you probably already know this. But if you’re in the midst of a project and the store is closed and you don’t want to wait two days to order one online, there are several other ways to go.
Here are several approaches on how to enlarge a hole without messing up the surrounding surface. And while the photos here are of some simple unattached boards, the good news is: several of these approaches will work with an assembled project, structure, cabinet, and the like.
Use a Drilling Guide
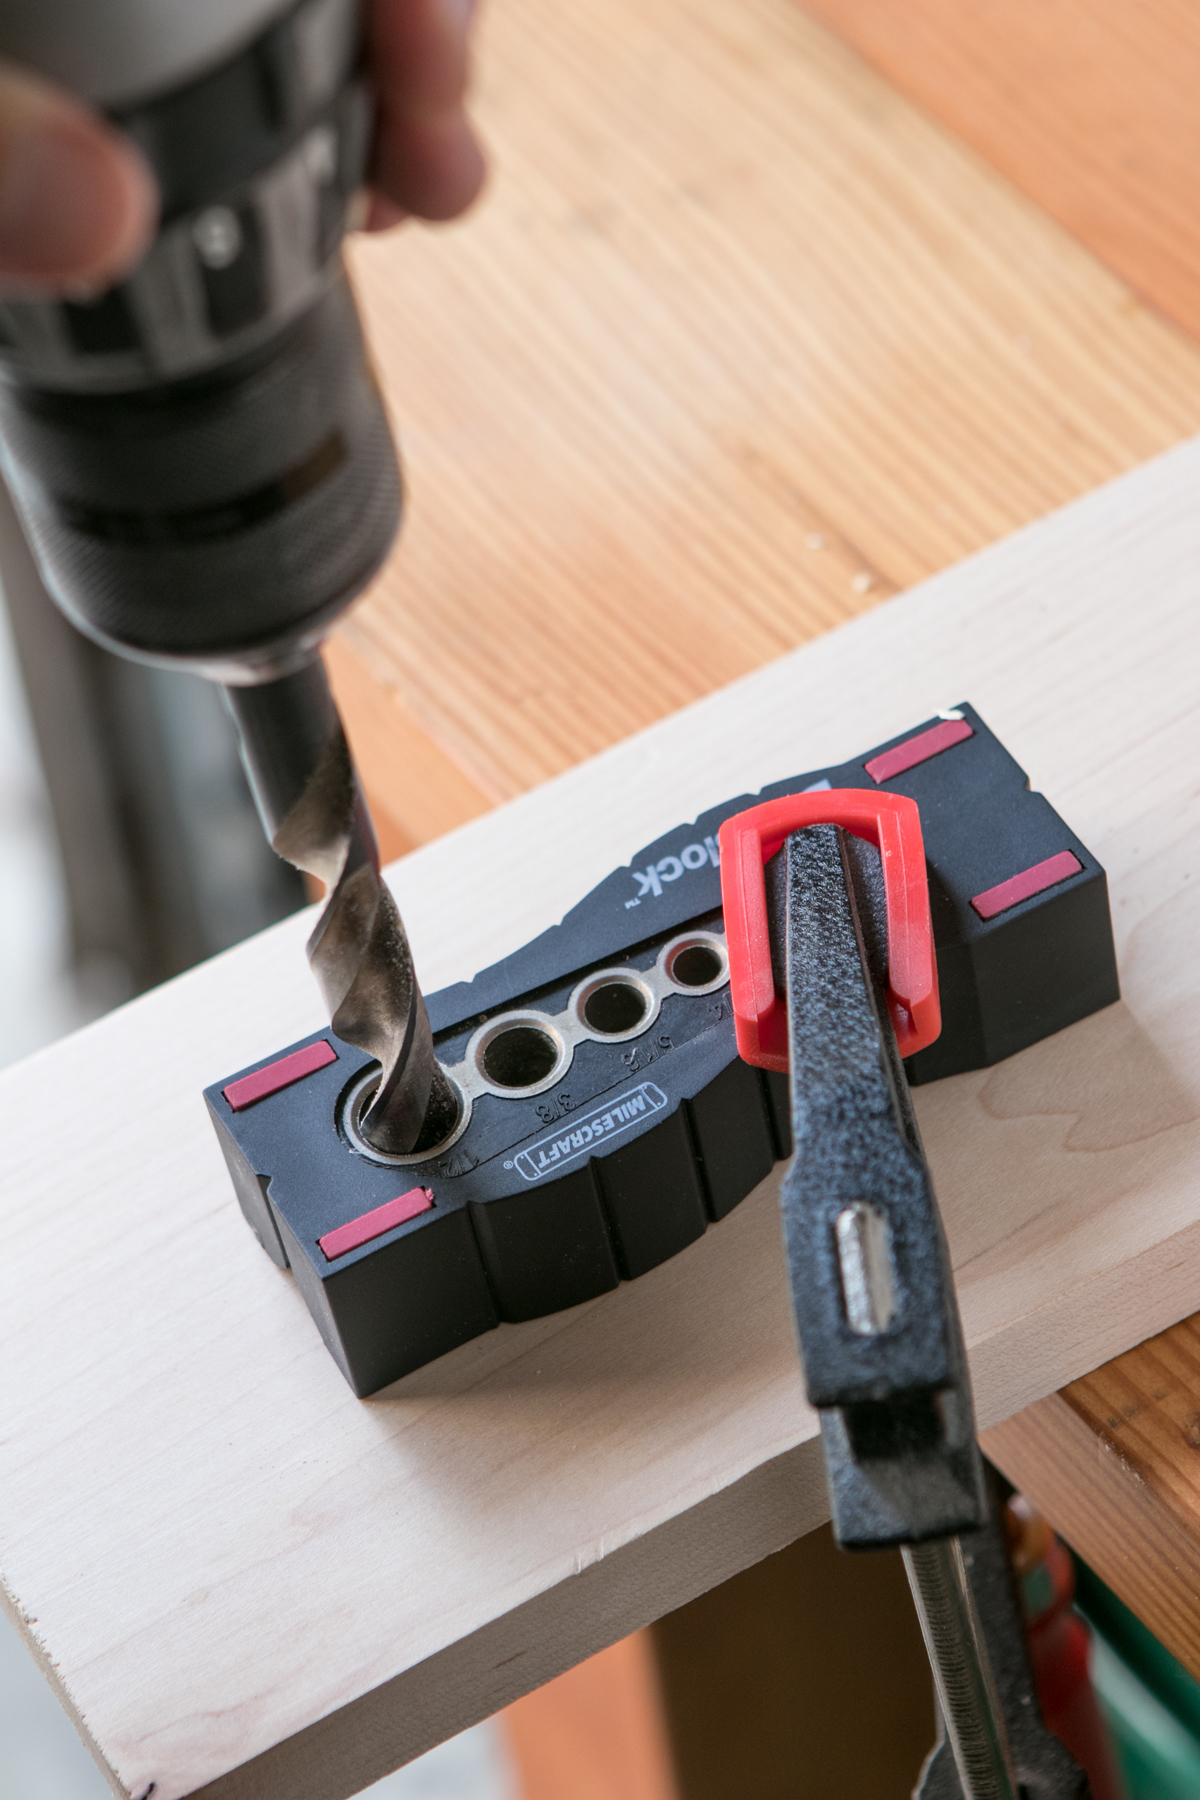
If you have one, a drilling guide will help keep the bit from spinning out. A guide like Milescraft Drill Block only costs around $8, and has countless uses. The solid edges prevent the bit from wandering, allowing you to bite into the surrounding material. You’ll want to clamp both the work and block securely to keep everything aligned.
Potential Drawback: Of course you’ll only be able to size your hole to 1/16″ or even 1/8″ increments, so this won’t work when you need just a bit more space.
Ream It Out
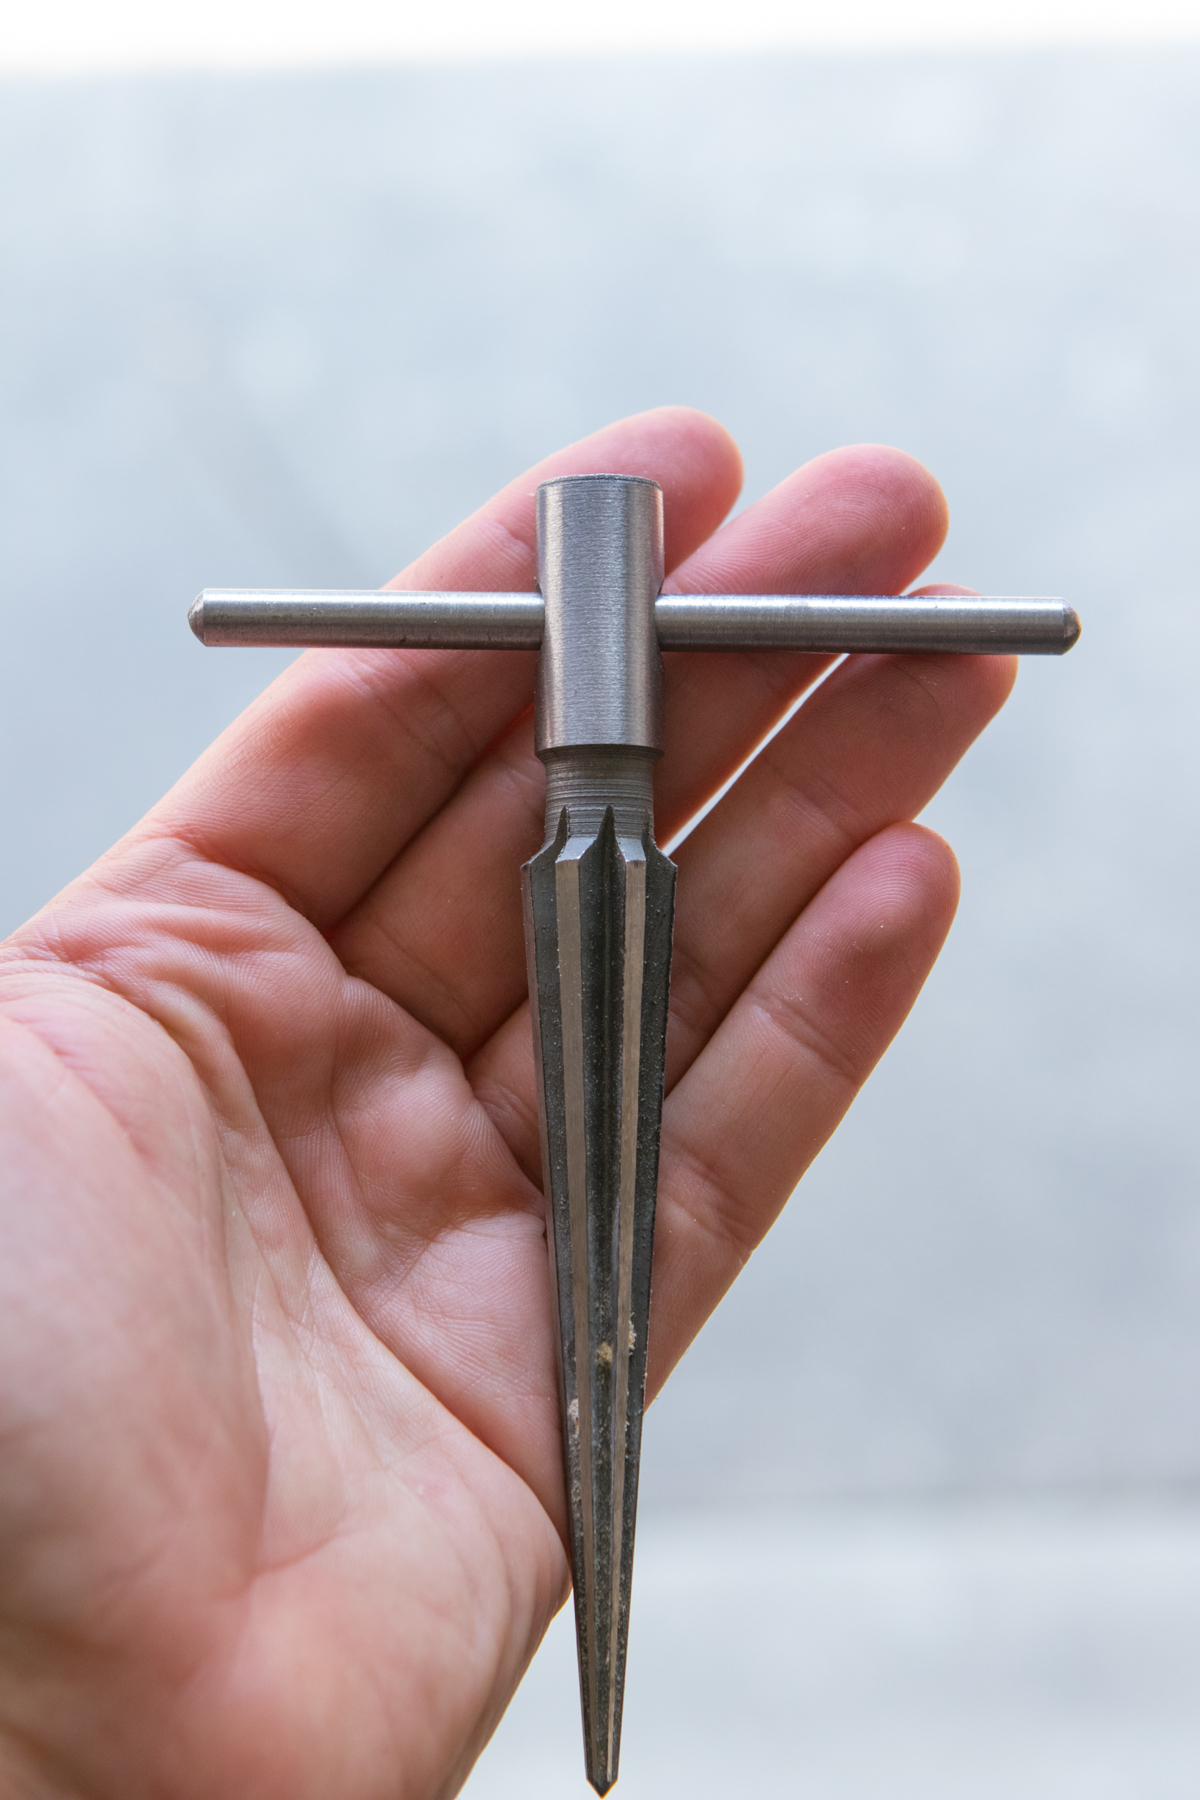
A tapered reamer can help you easily enlarge a hole in wood, metal, or plastic. Designed to help de-burr metal, this is conical tool with several cutting edges, and can be had anywhere for well under $10. You simply insert and twist, and it will cleanly and easily remove material.
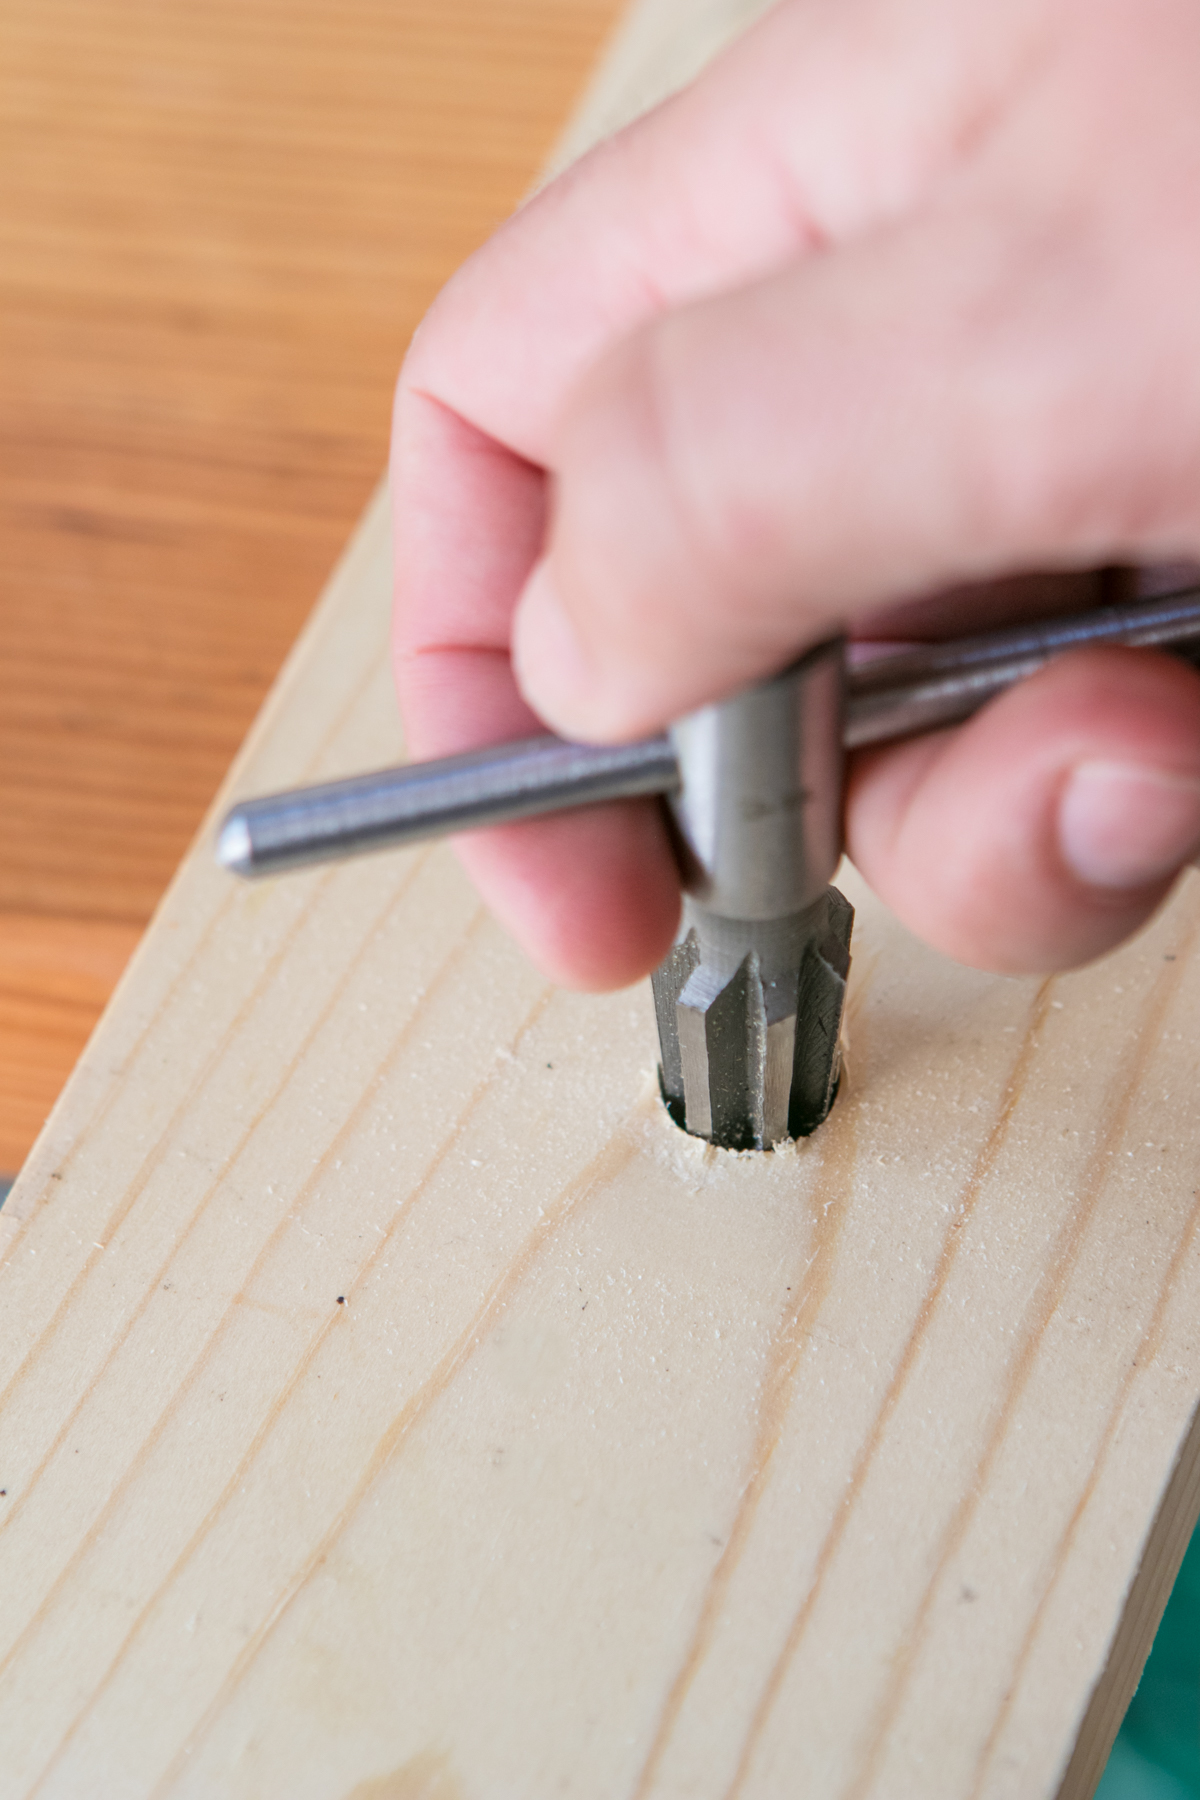
Potential Drawback: Of course, a tapered tool will produce a tapered hole. If you simply need a clearance hole for a bolt or a screw, this is totally fine — you just need to make space for the hardware to pass through. But know that your holes won’t have straight sides, and this will be increased with the material’s thickness. But it works great.
Rasp Away
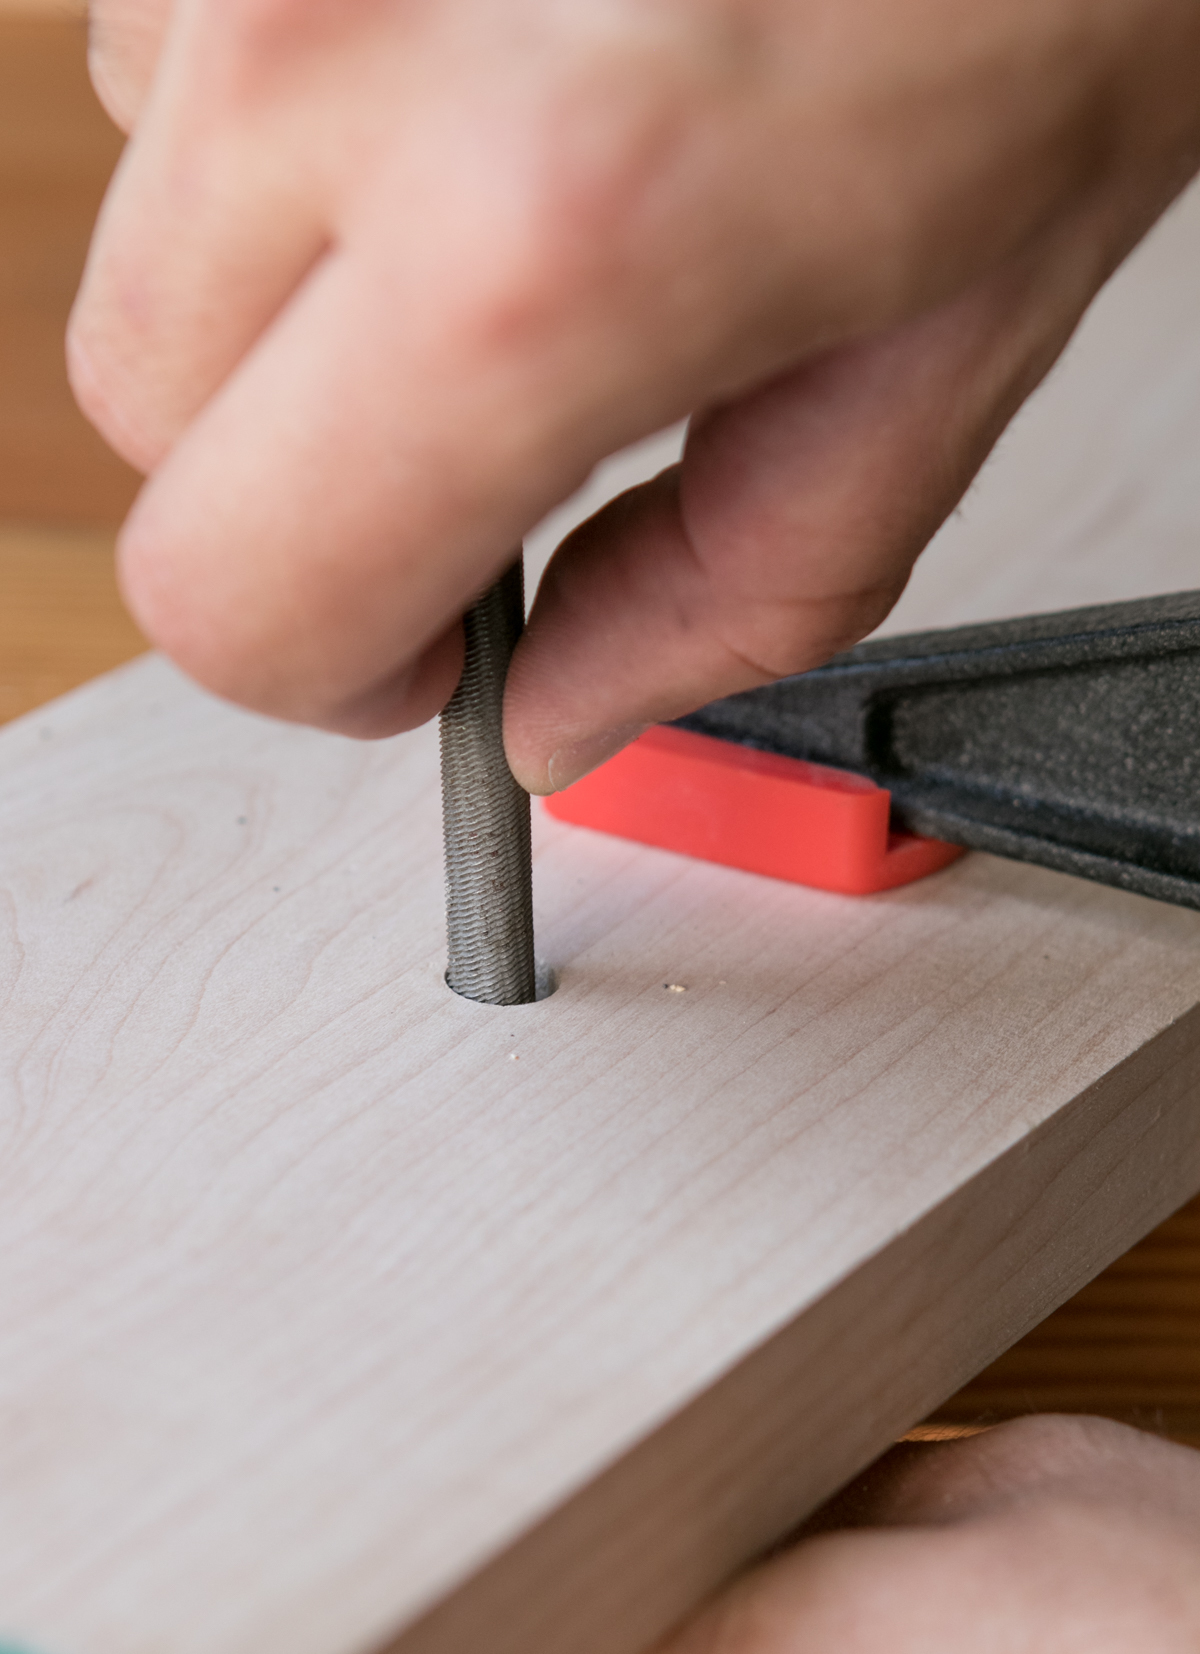
Similar to the reamer, a round rasp will help you remove material from the inside. You’ll have a hard time making the new hole perfectly round, but if its covered with a washer or the head of a bolt or screw, this wont really matter. If you dont have a round rasp, a length of threaded rod works great in a pinch.
Potential Drawback: Using a rasp will require access to both sides, or at least clearance behind. The new hole will not be even all the way around.
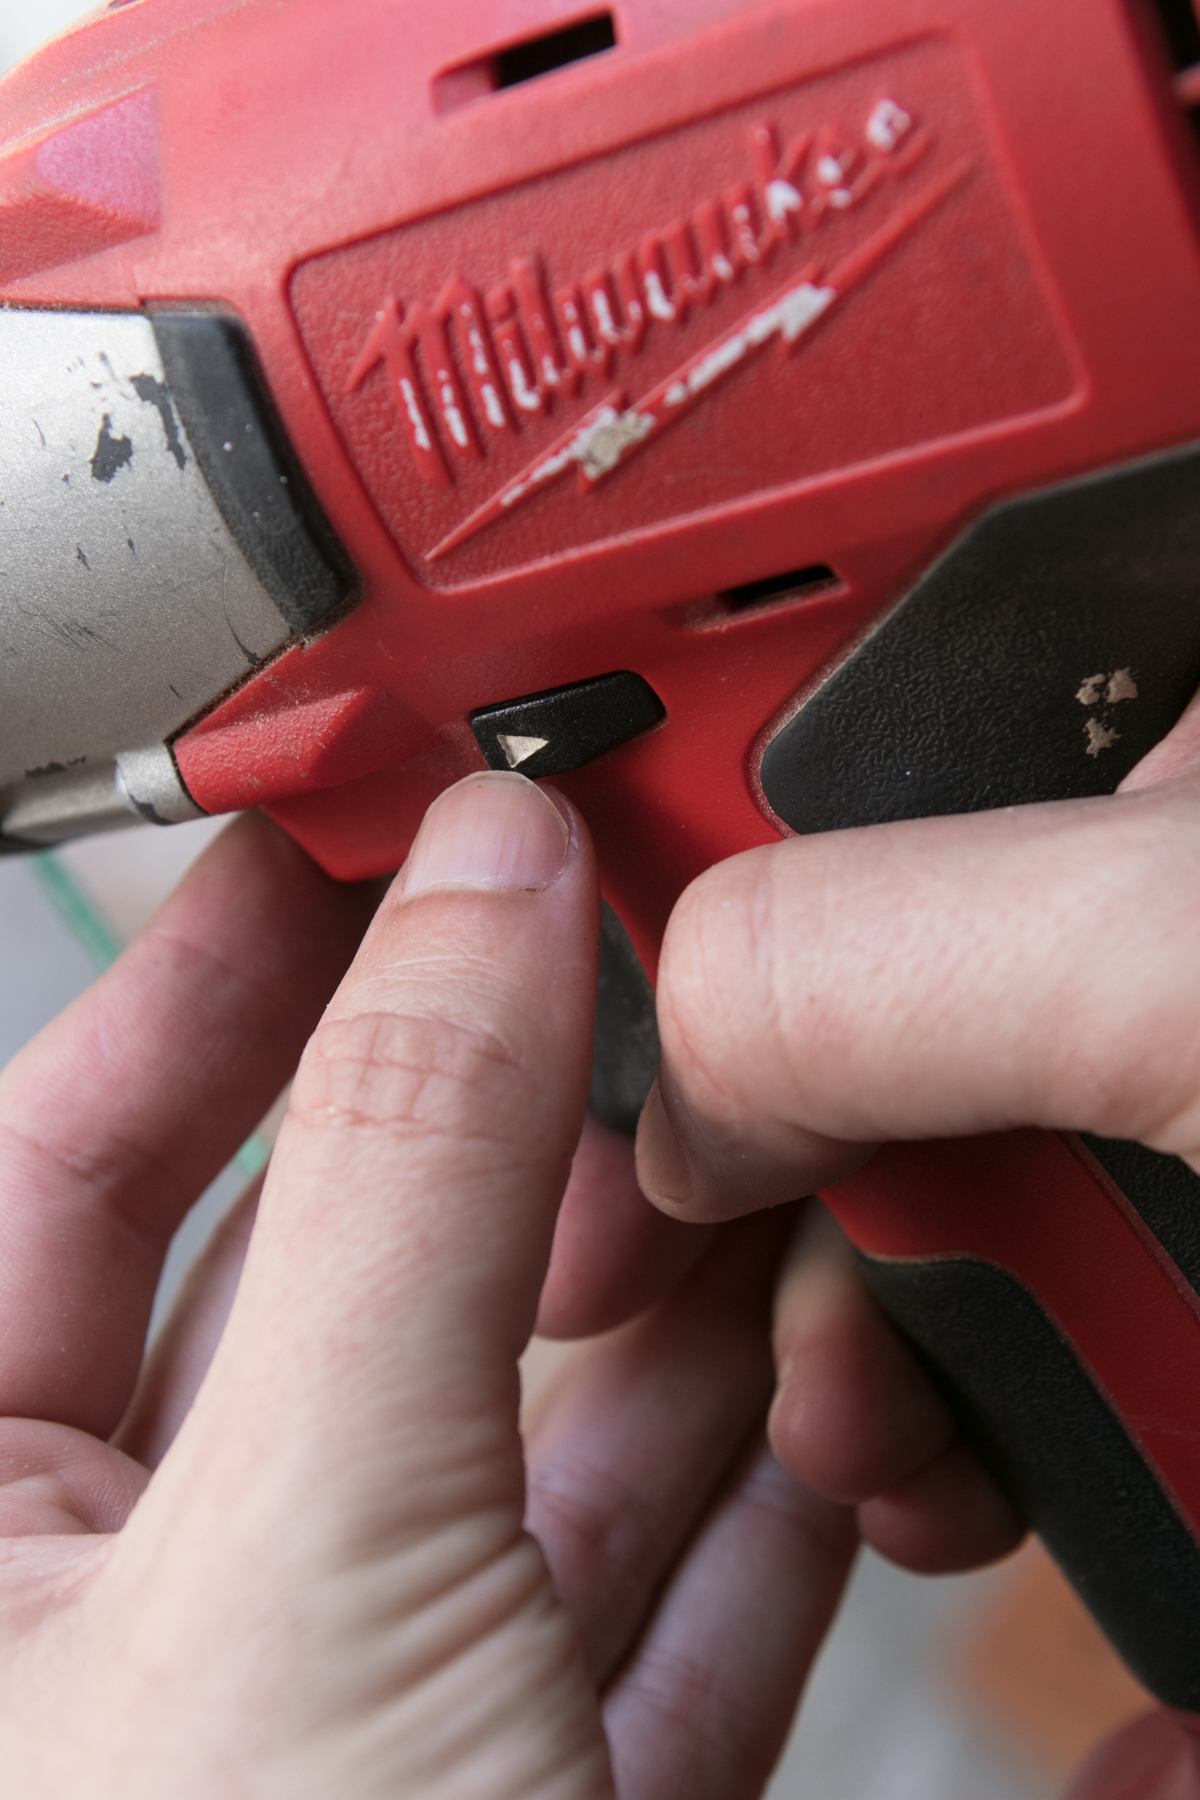
Reverse Drilling (My Favorite Way)
I find this to be the most versatile solution and my go-to approach to enlarge a hole. It works like this:
Chuck in the next larger bit into your drill. Then, flip the drill into reverse mode using the button above the trigger. With the drill turning counterclockwise, it greatly reduces the chance that the cutting edges of the bit will bite into the wood and cause tearout or scarring.
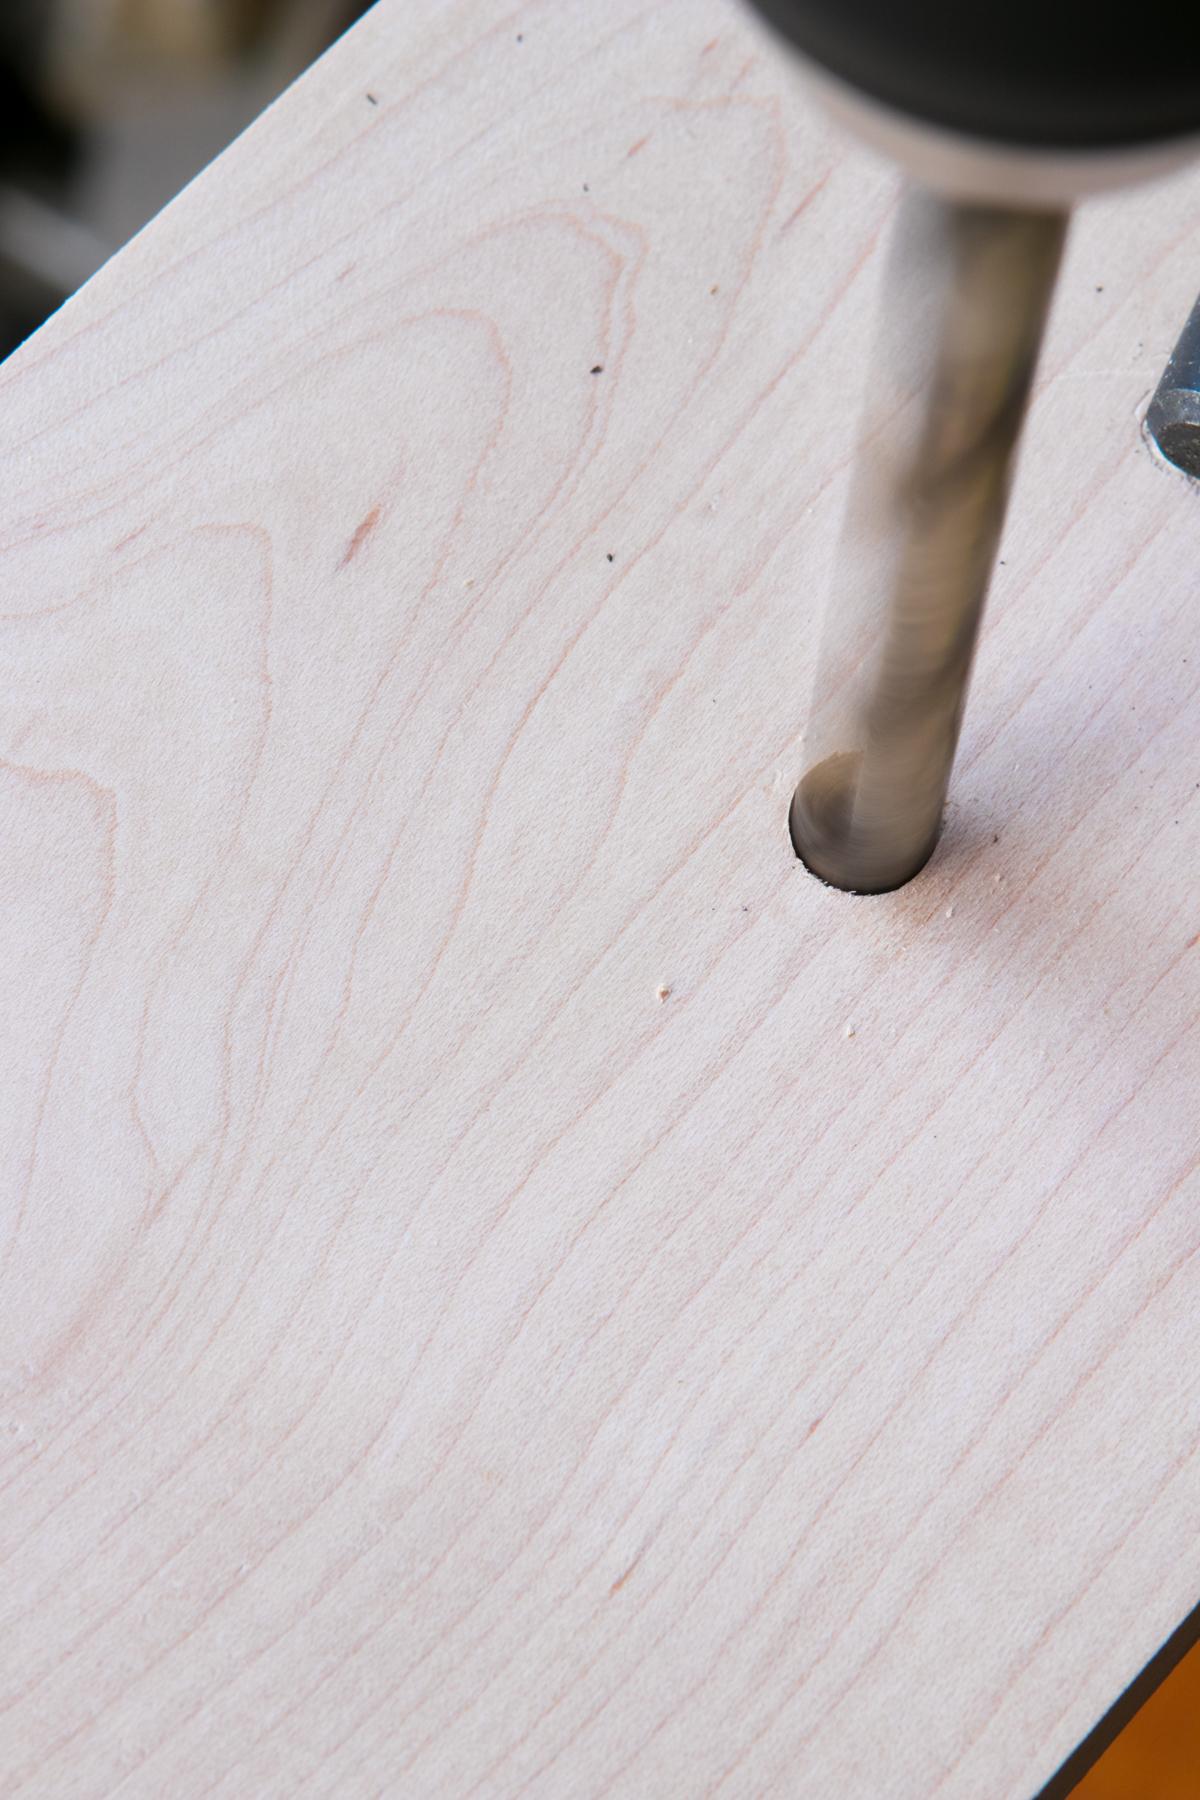 Essentially, you’re actually using the flutes of a drill bit like a rasp, slowing removing wood to make an exact sized hole.
This is a great solution when the area will be visible. I use this all the time when I work on upgrading parts in my electric guitars. Reverse drilling allows me to increase the existing hole for new pots or tuners, without damaging the finished surface of the instrument.
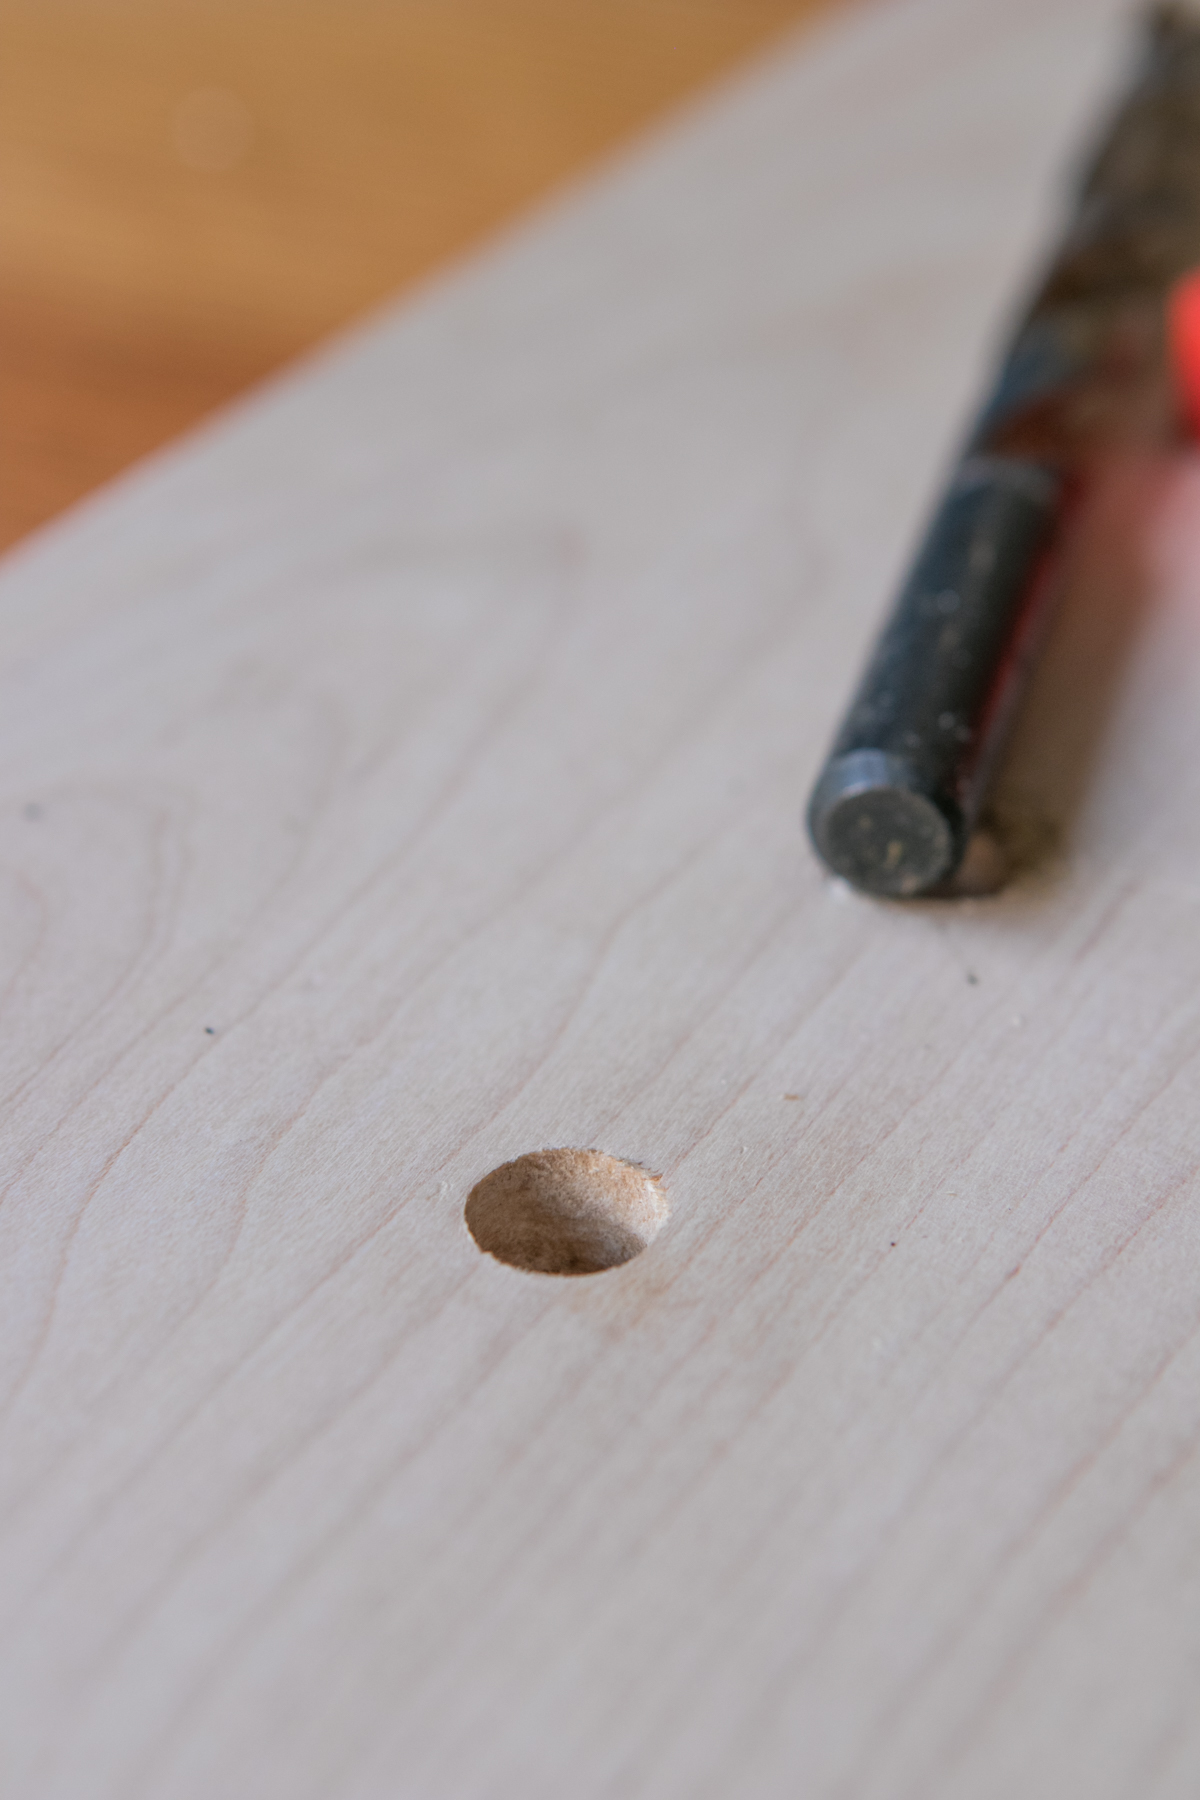
The results look about as good as you can hope for when widening an existing hole. Give it a shot.
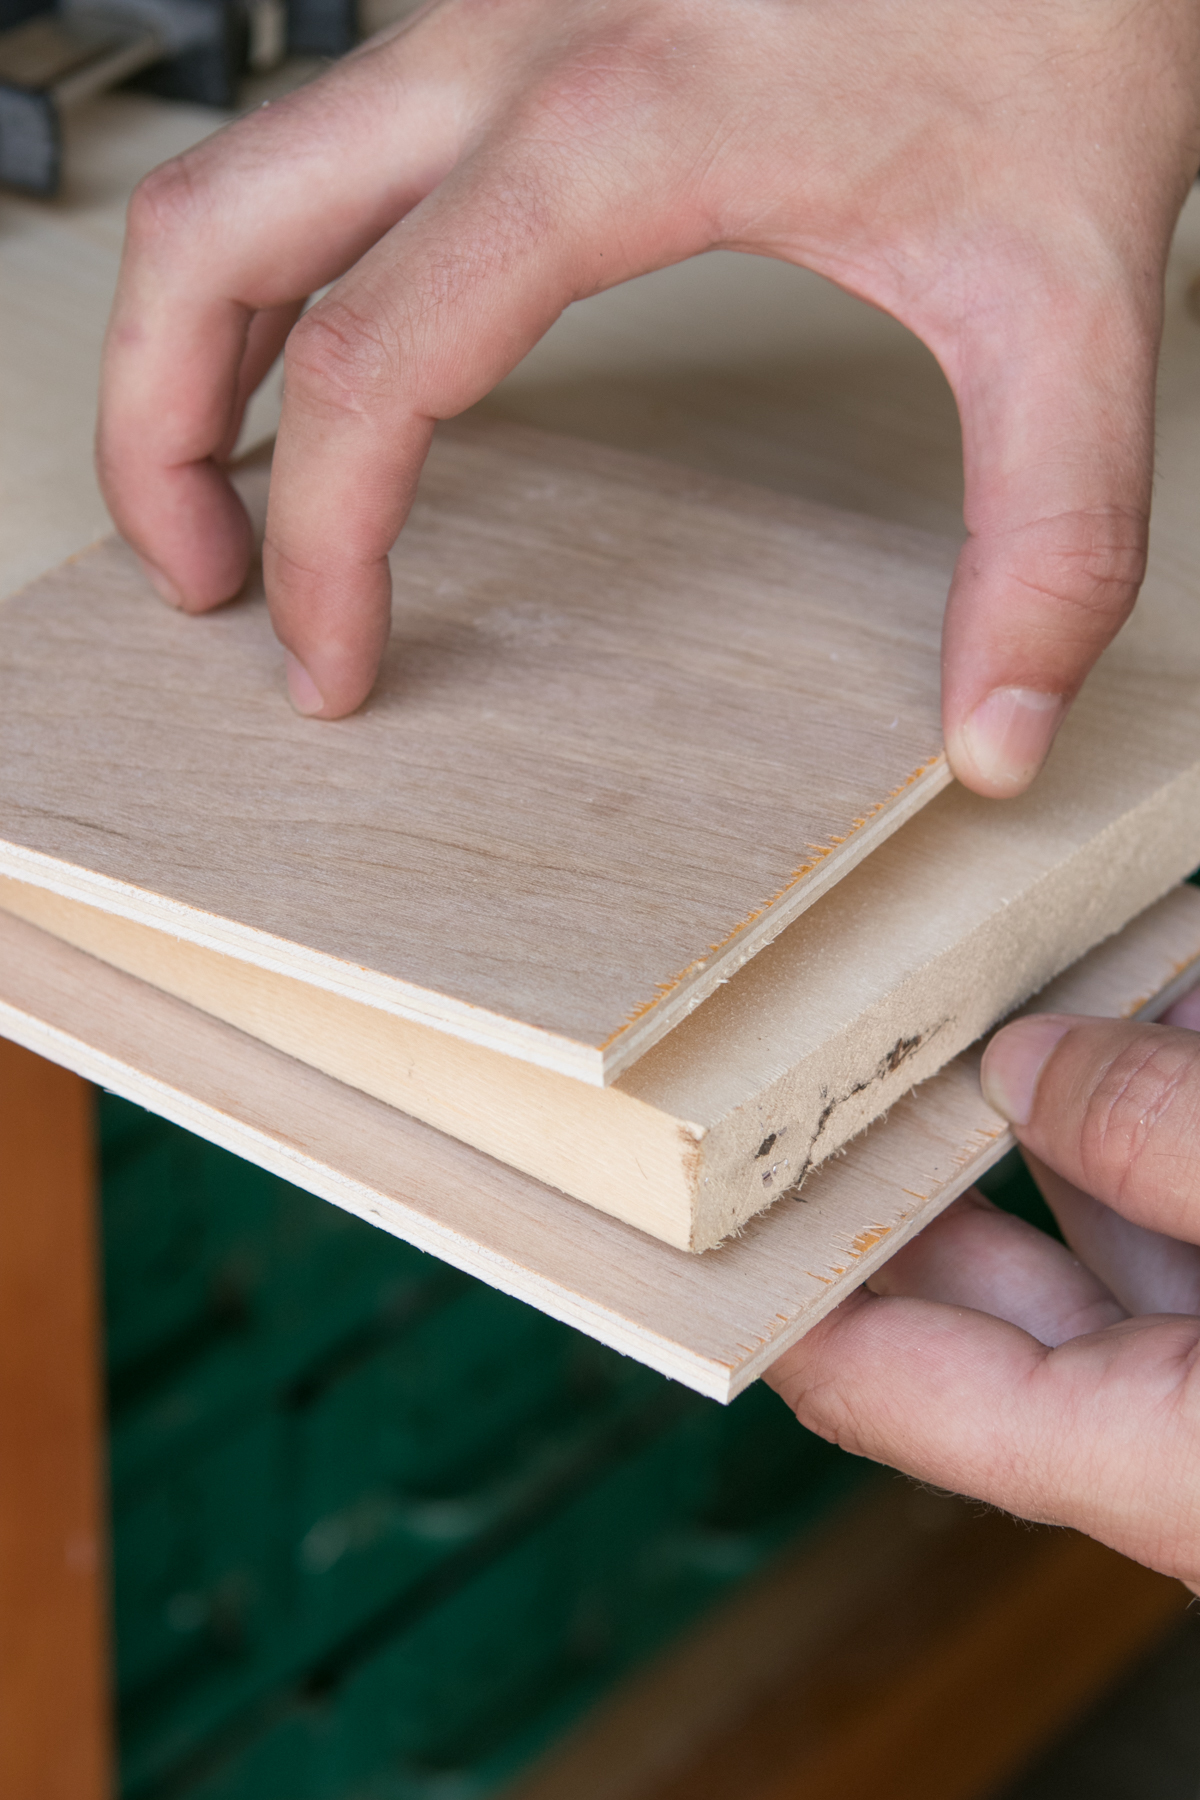
Make a Wood Sandwich
Here’s one final solution that works well when making large holes. It’s a great approach if you, say, need to use a hole saw to make a space for a new knob and a handle.
A hole saw uses a pilot bit to register itself. When there’s an existing hole, there’s nowhere for that to cut into. So, give it somewhere to attach by adding wood to each side of your work surface. A thin piece of plywood or luan is fine. Really, any scrap will work, but you’ll have to cut through it entirely, so choose something thin but sturdy.
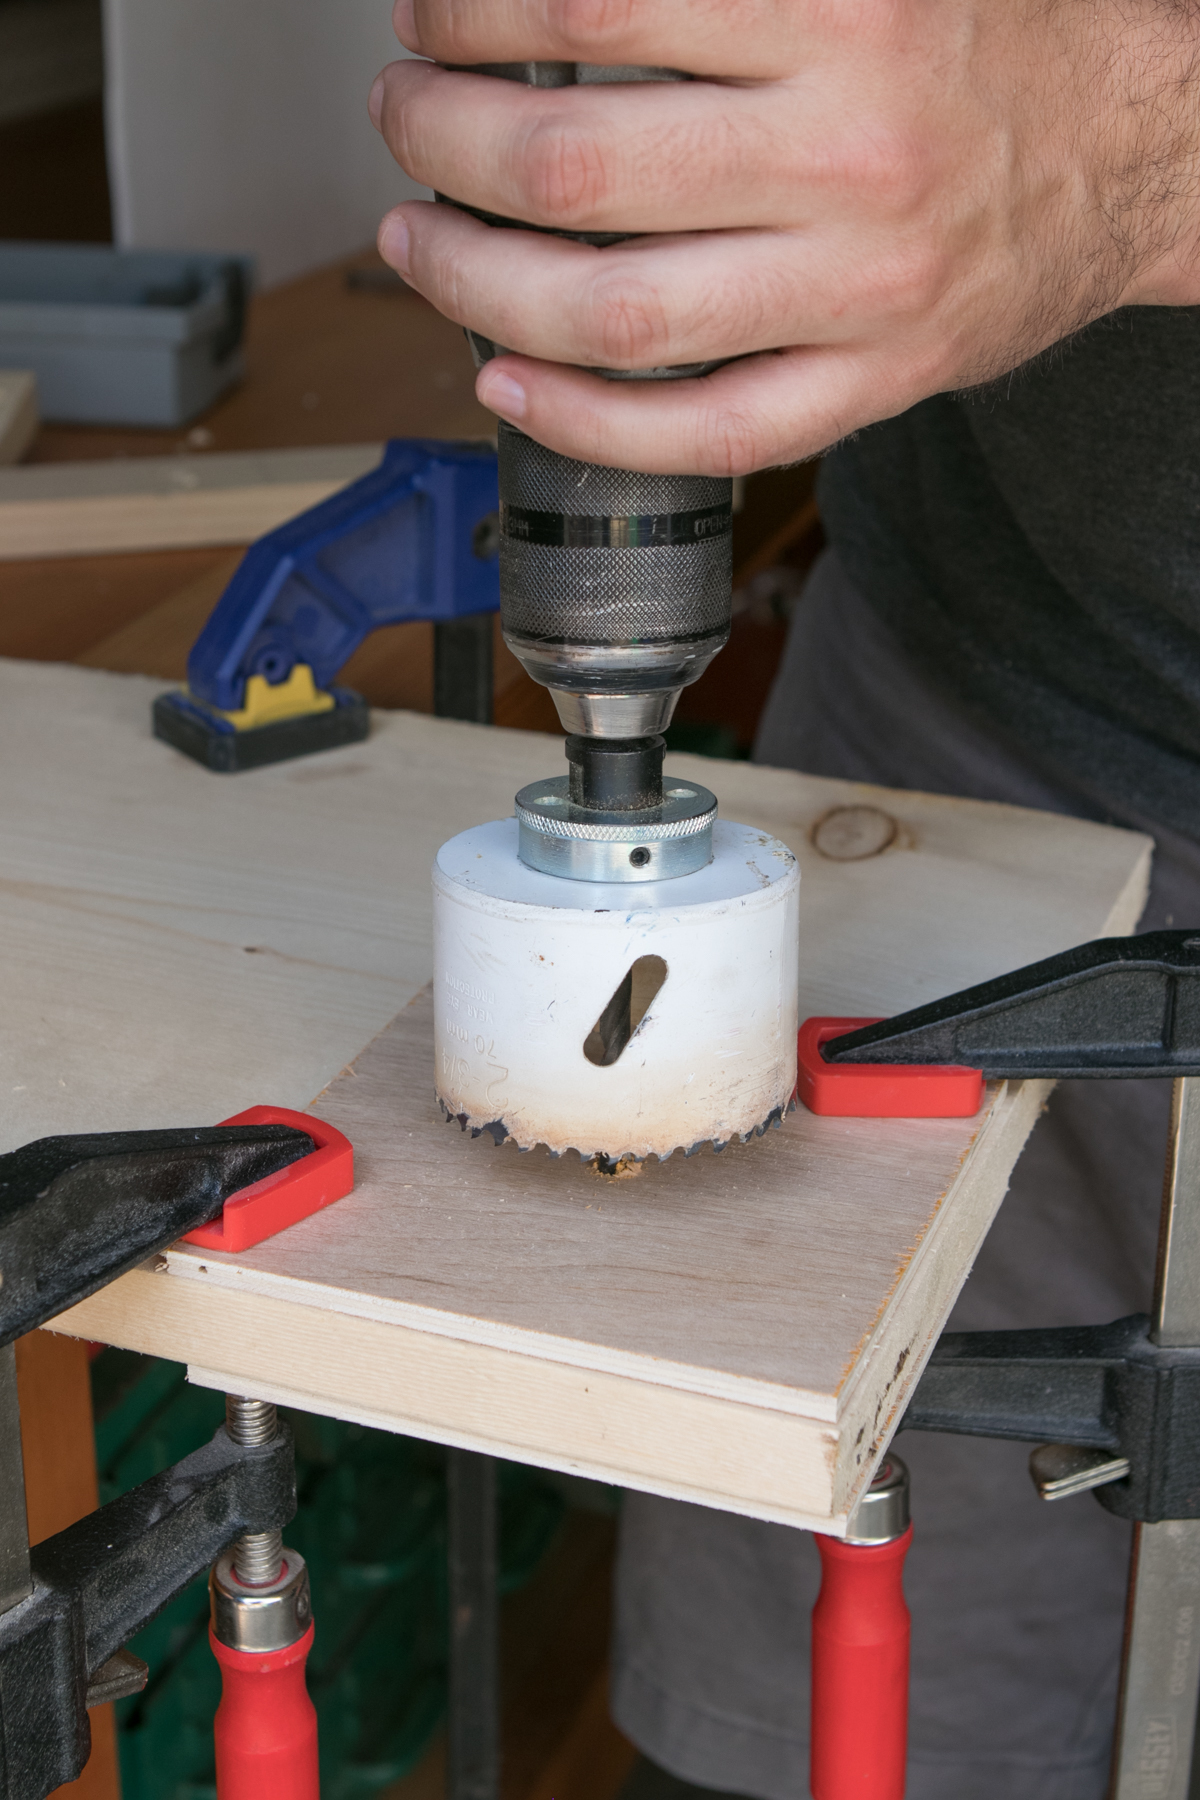
Clamp everything securely, and then insert the pilot bit on your mark. As you drill, the pilot bit is captured by both outer pieces of wood, so when it starts to score the workpiece, it’s stable. It also helps to protect the surface in case the saw does skitter a bit, and helps to prevent tearout on the back side. For best results, you can also use the pilot bit hole to drill in from the other side.


