Essential Woodworking Techniques Every DIYer Should Master
Woodworking is an incredibly satisfying hobby that combines creativity and craftsmanship. Mastering the fundamentals will set the stage for your success. Here are ten essential woodworking skills every enthusiast should know, along with some expanded insights to help you on your journey.
Ready to take on life with unshakable confidence? Whether you’re aiming to excel in your career, improve your relationships, or conquer DIY projects, NLP Hero’s Confidence Course is your key to success. Click here to start transforming your confidence and be better at everything you do!
Understanding Wood Movement and Its Effects
Wood is a living material that responds to its environment. When humidity levels change, wood absorbs or releases moisture, causing it to swell or shrink. This can lead to issues like warping, cracking, and misalignment in your projects.
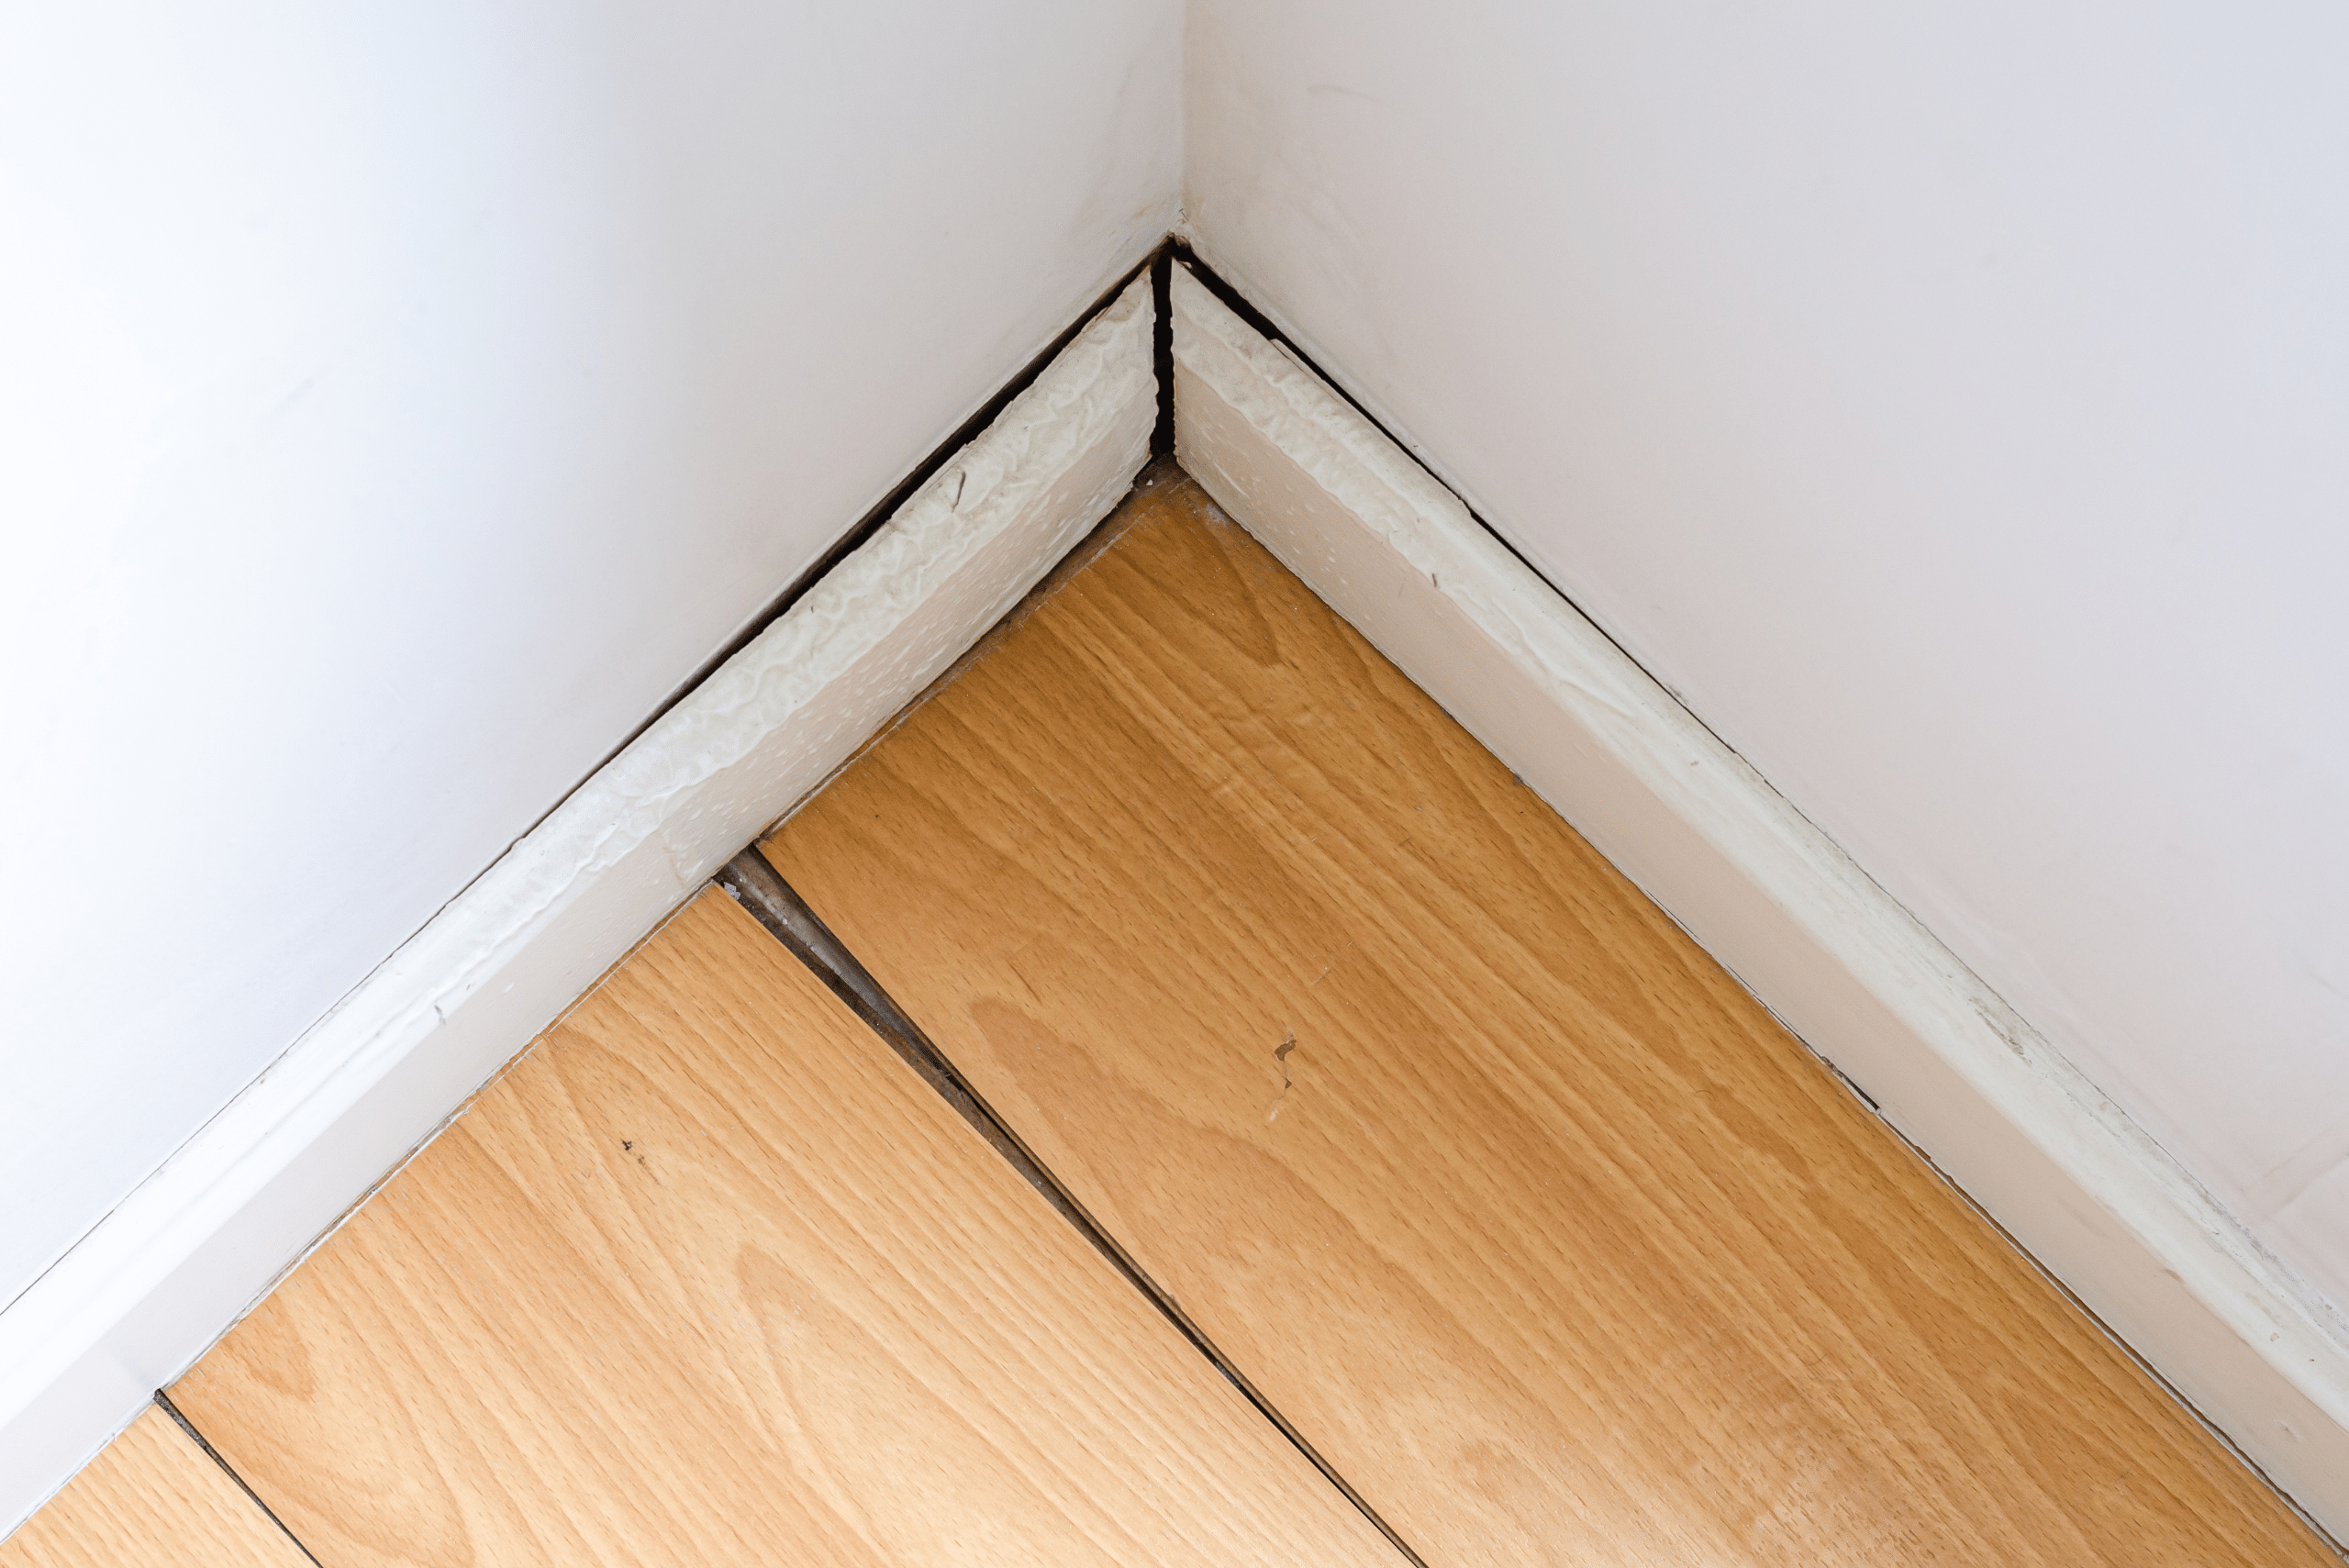
To mitigate these effects, allow the wood to acclimate to your workshop environment before starting a project, and consider using joinery techniques that accommodate movement, such as floating panels in frame-and-panel construction.
Precision in Measuring and Marking: The Backbone of Woodworking
Accurate measurements and precise markings are the foundation of any successful woodworking project. Use high-quality measuring tools like combination squares, tape measures, and marking gauges.
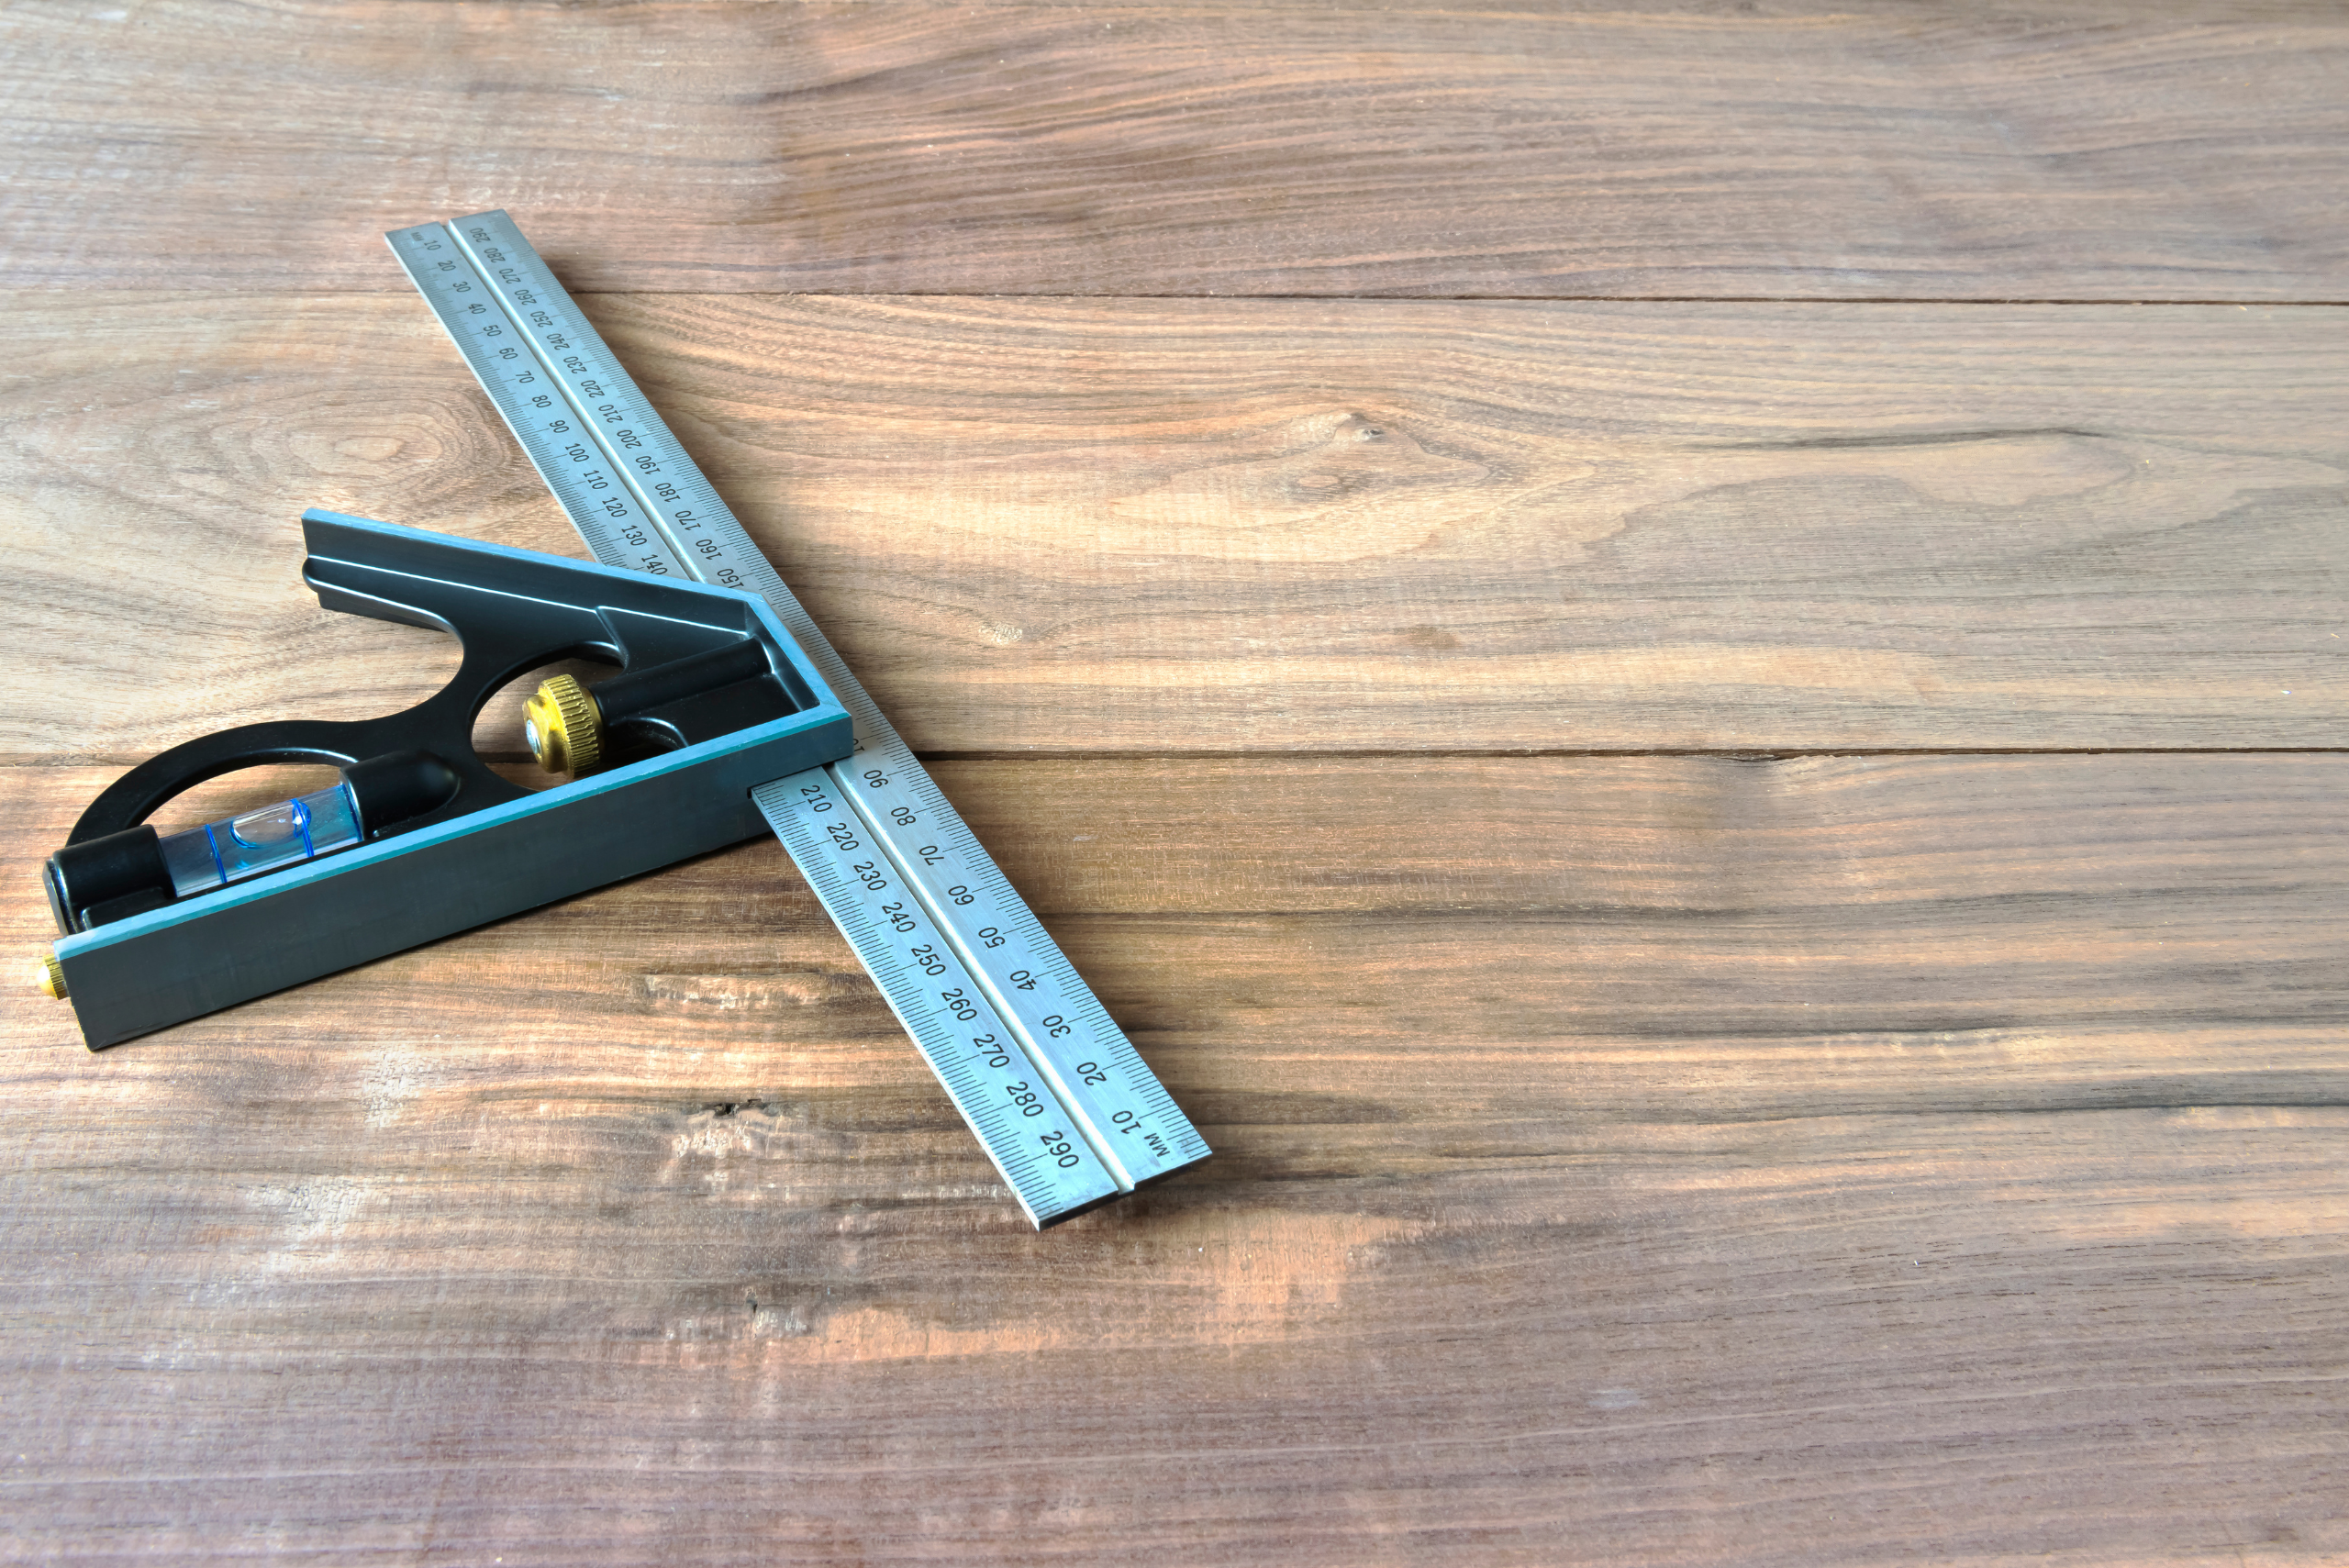
Double-check your measurements and mark your cut lines clearly. This precision will save you time and frustration by ensuring all your pieces fit together as intended.
Sharpening Your Tools to Keep a Sharp Edge
Sharp tools make woodworking safer and more efficient by making every move effortless. Dull tools require more force, increasing the risk of slips and accidents, increasing the likely of accidents.
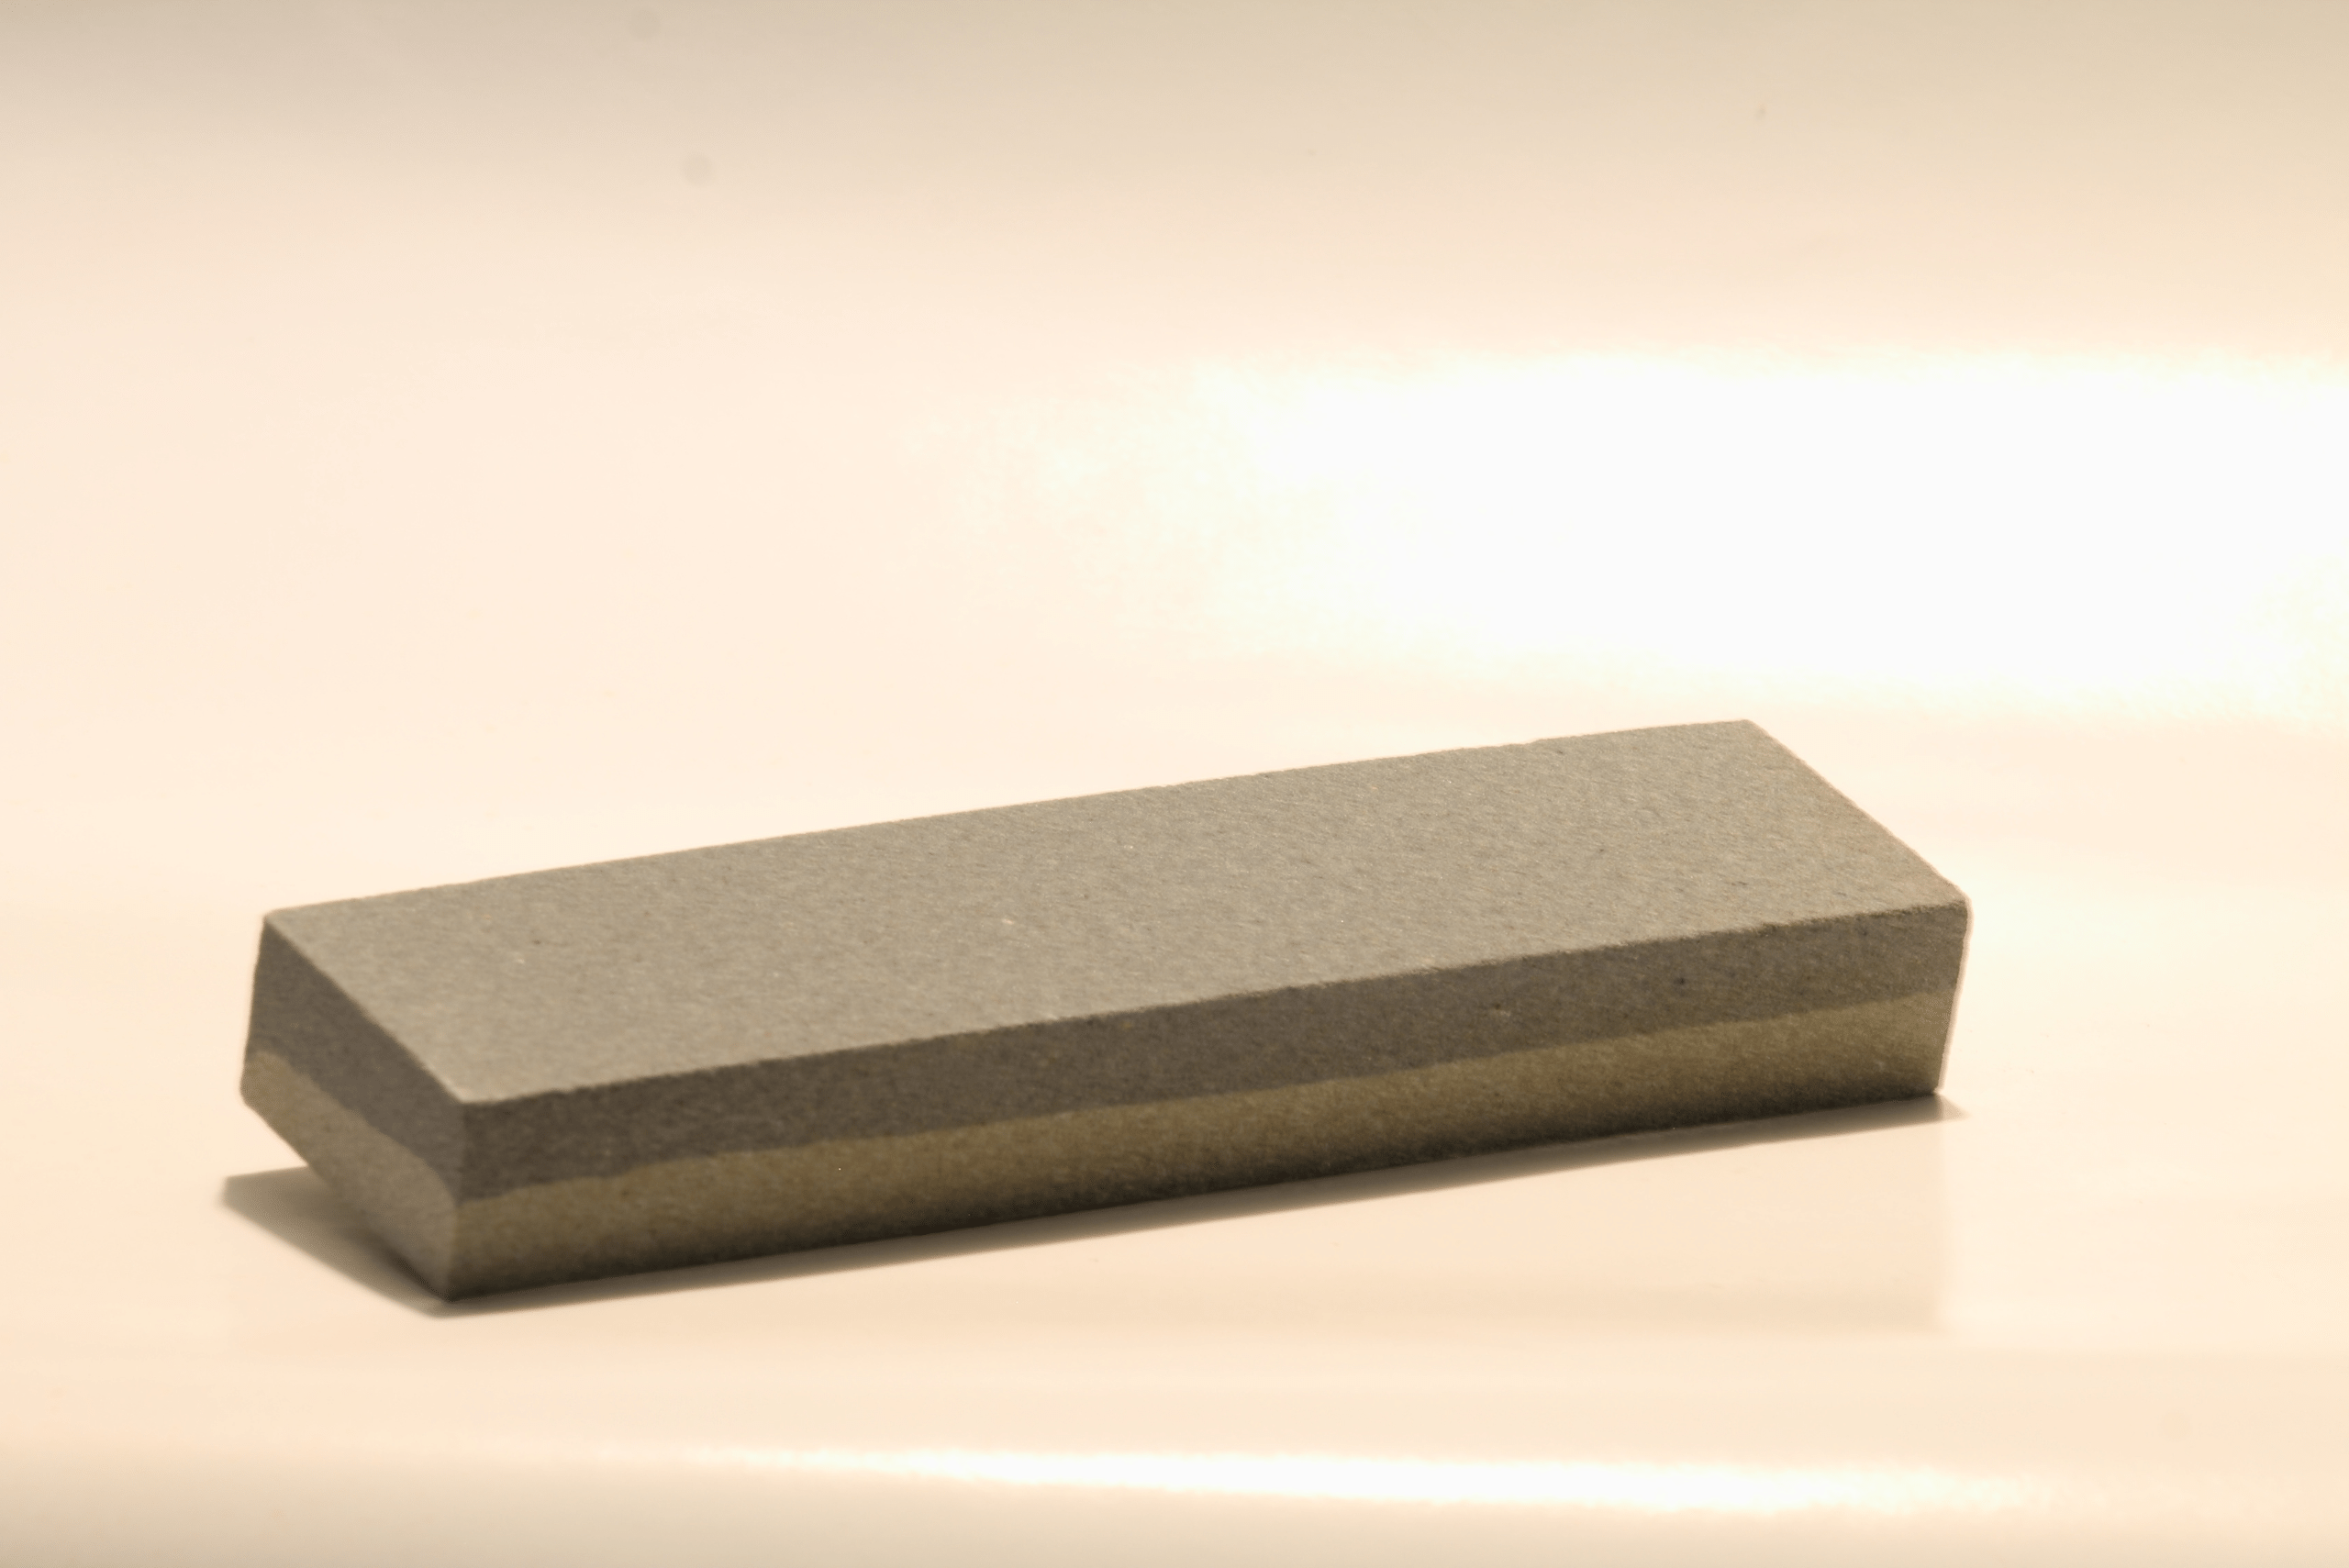
Regularly sharpen your chisels, plane blades, and saws using sharpening stones or honing guides. A well-sharpened tool will produce cleaner cuts, making your work look more professional.
Mastering the Hand Plane: A Tool for All Trades
Hand planes are indispensable for smoothing and shaping wood, and they are often the go-to choice for woodworkers, even when power tools are readily available. To use a hand plane effectively, hold it at a slight angle to the wood and work with the grain to prevent tearing.
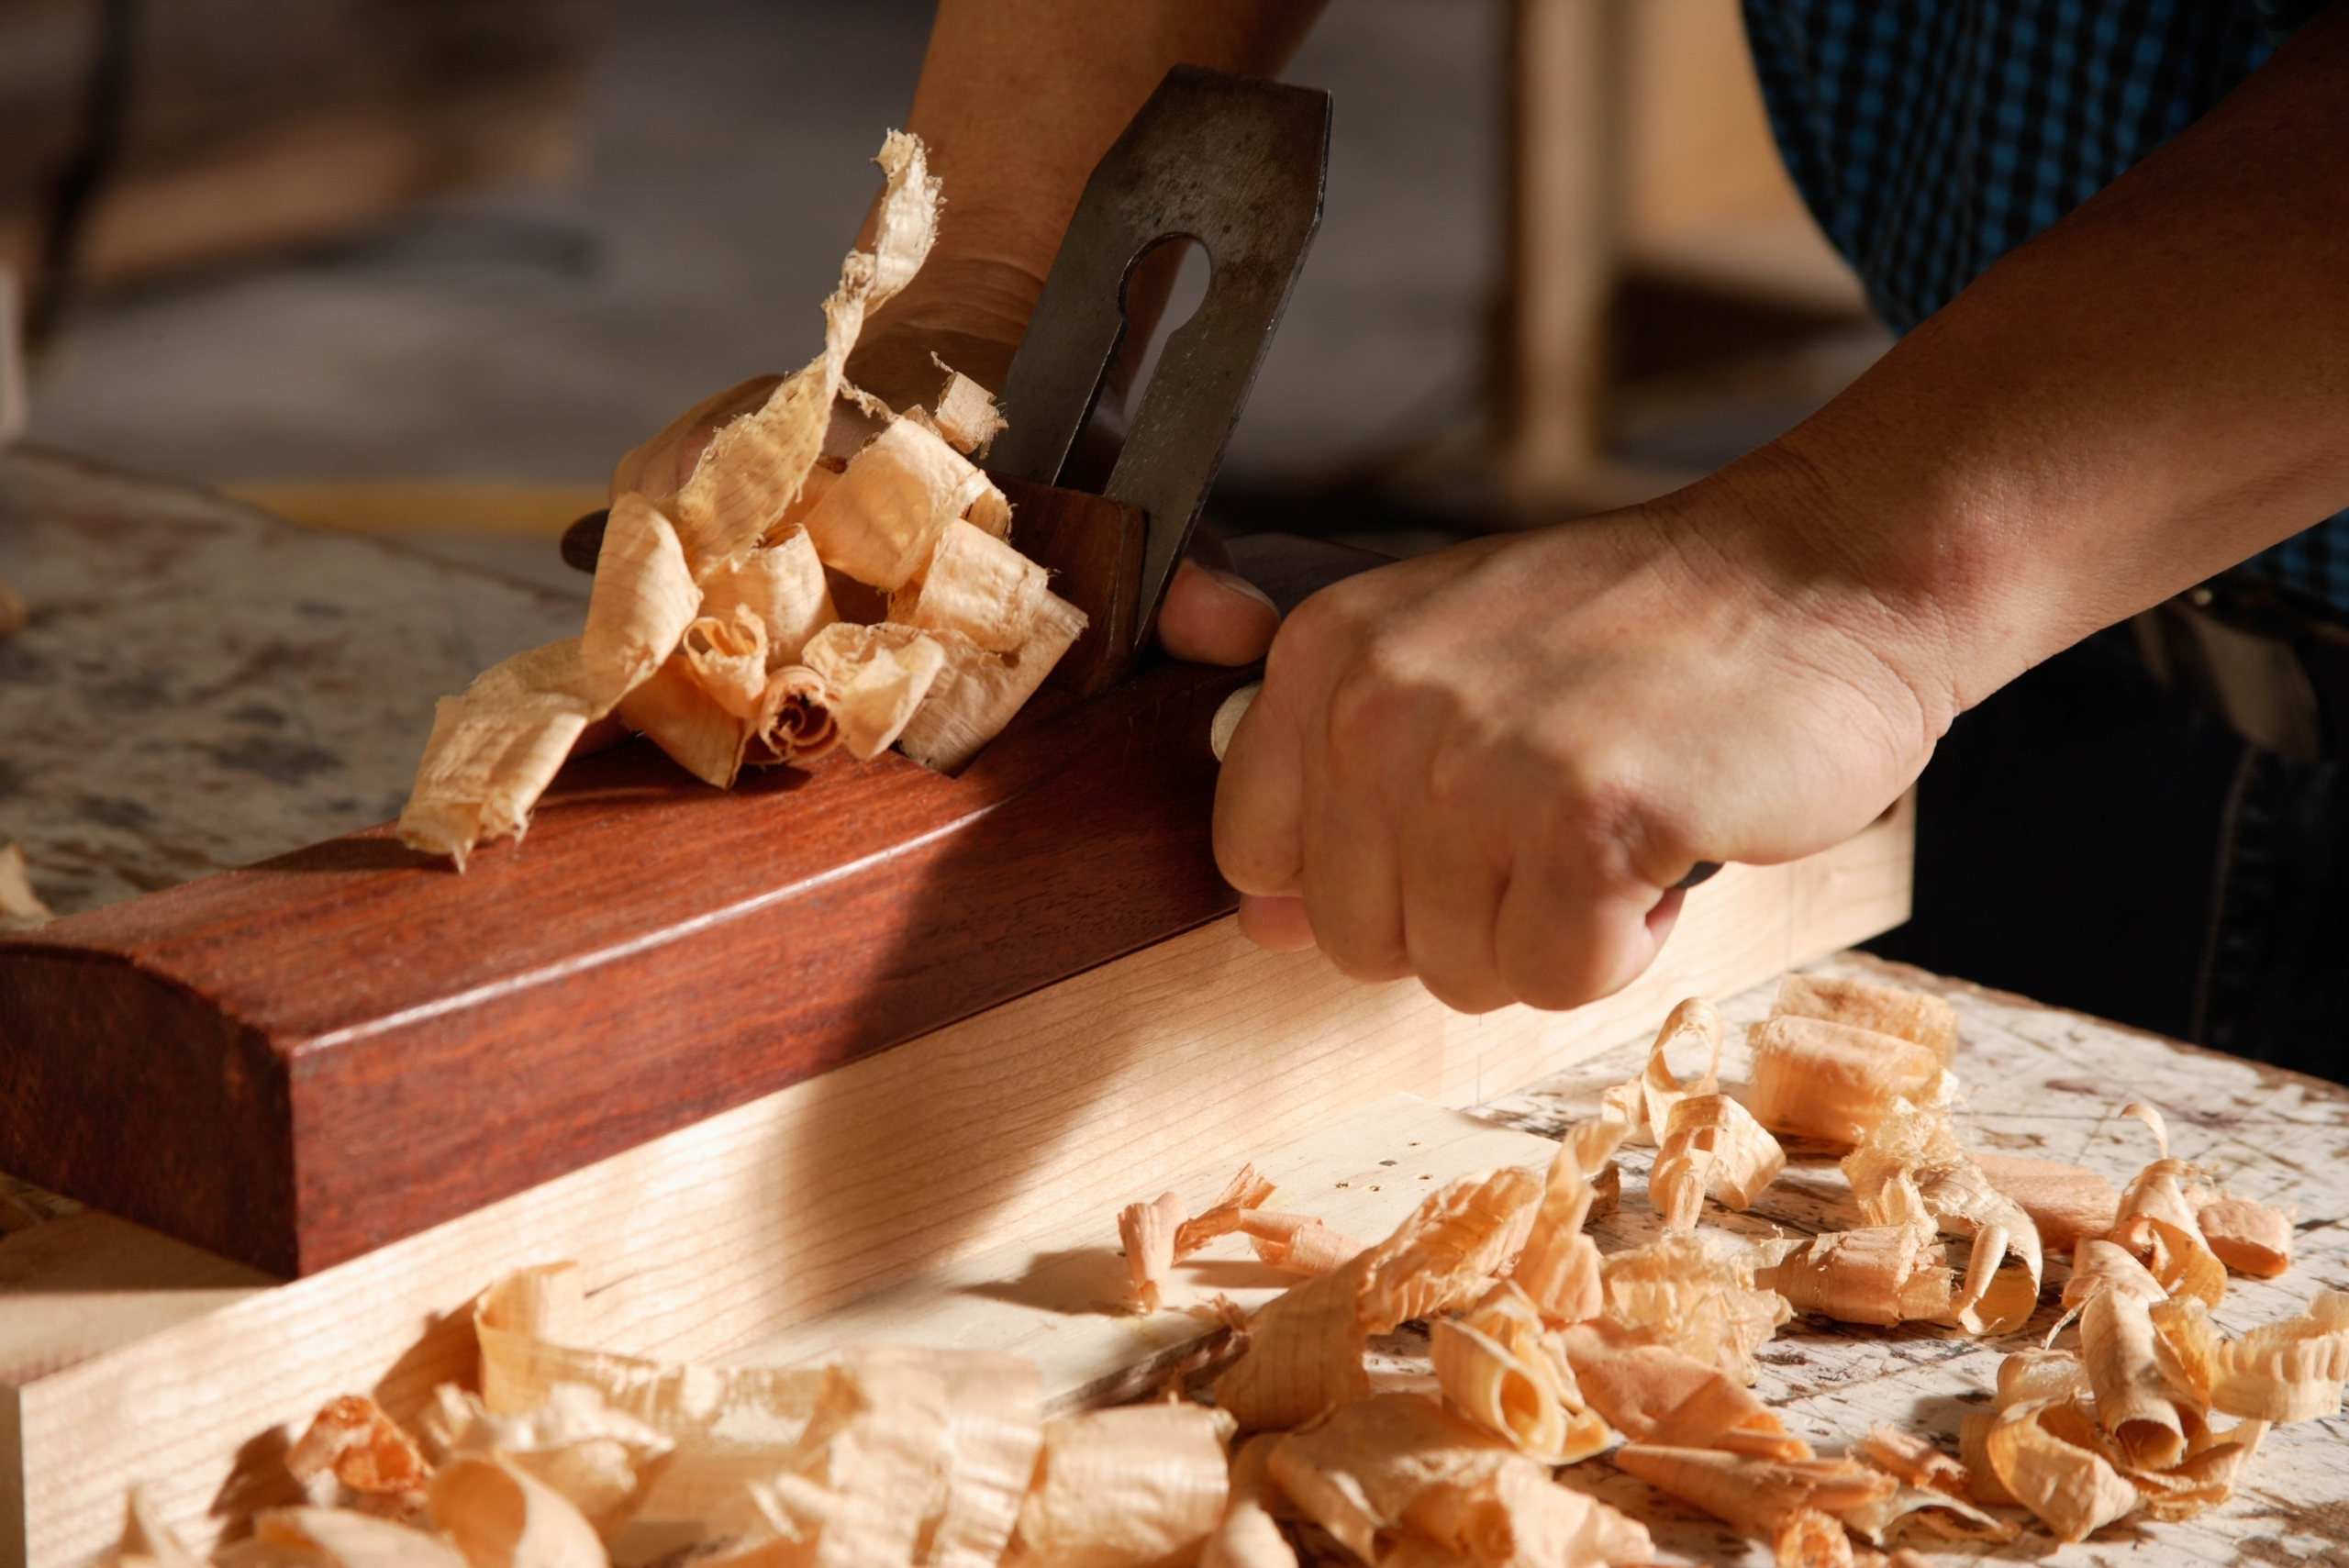
Regularly adjust the blade for the depth of cut and keep it sharp. Practicing with a hand plane will improve your control and the quality of your finished surfaces. You can also take your woodworking skills to the next level by learning more advanced wood planing techniques.
Navigating Nominal vs. Actual Dimensions in Lumber
Lumber is often sold by nominal dimensions, which differ from actual sizes. For instance, a 2×4 board measures 1.5 inches by 3.5 inches. There are also other cuts with popular names that don’t reflect the actual dimensions of the wood that you are going to be using.
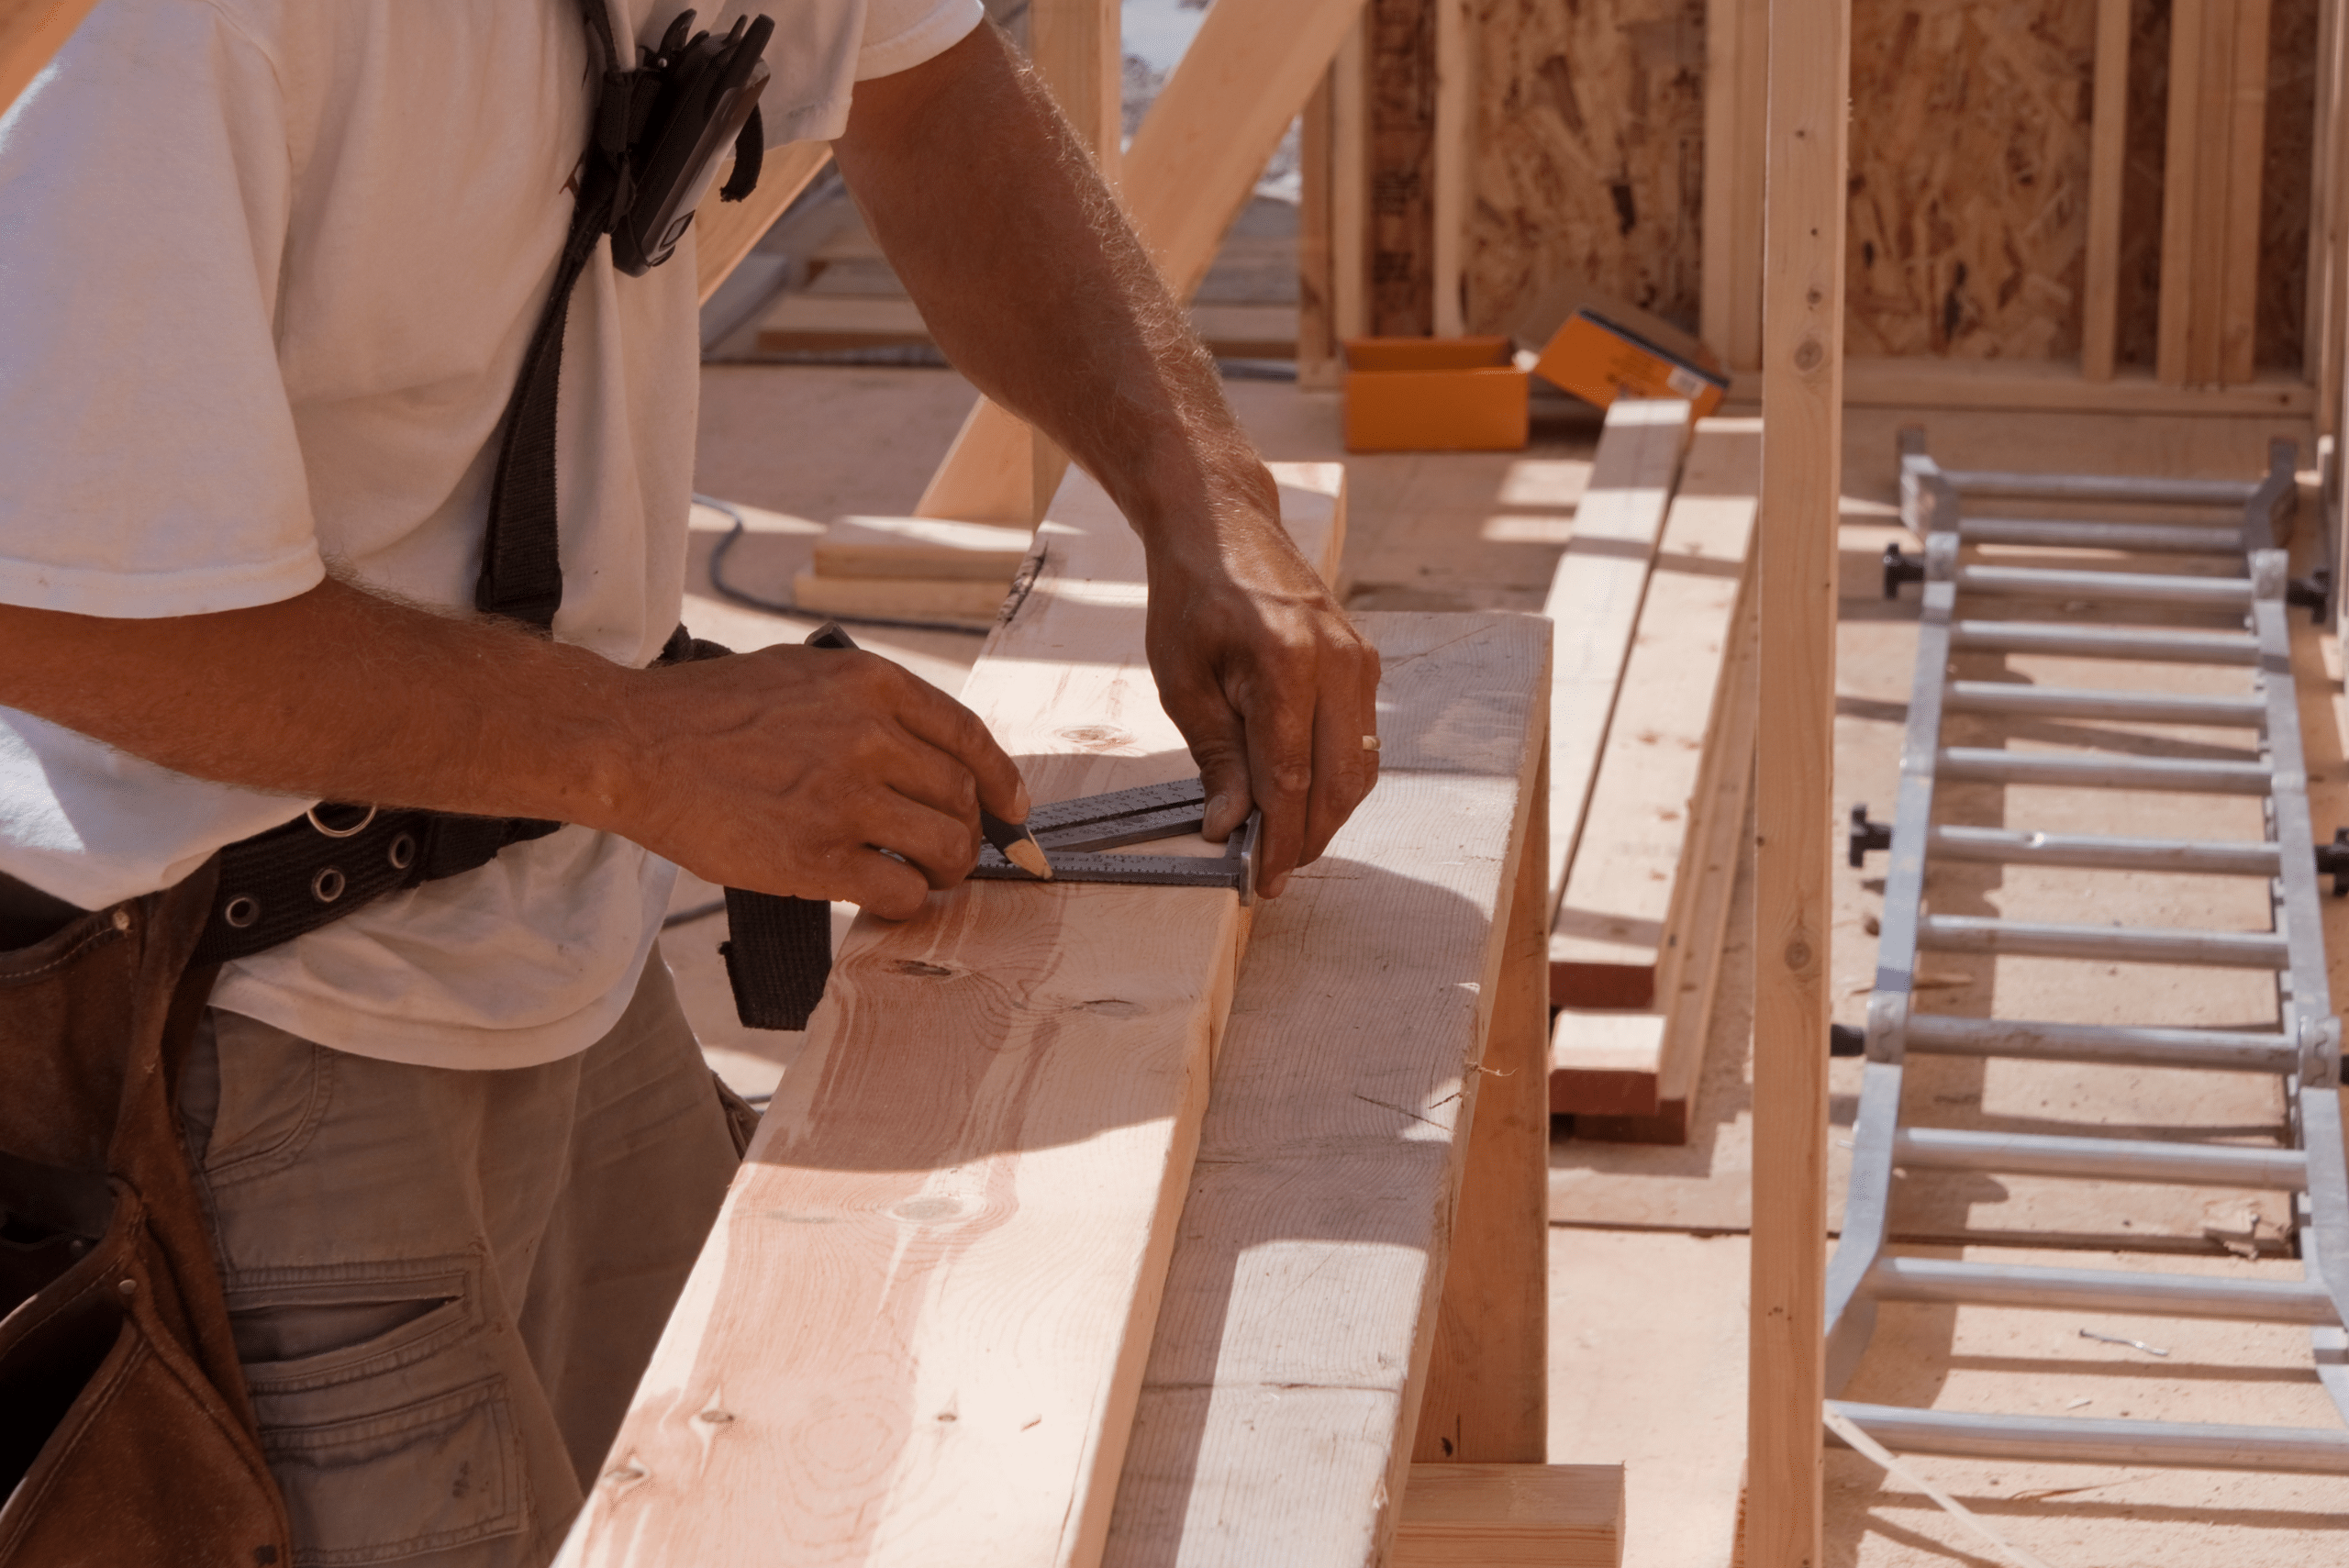
Understanding this discrepancy is crucial for planning and building projects accurately. Always account for these differences when designing your projects to ensure you purchase the correct amount of material.
Perfecting Miter Joints: Tricks for Tight Corners
Miter joints create clean, professional-looking corners but can be challenging to perfect. If your miter joint is slightly open, use the shank of a screwdriver to burnish the edges closed. This technique helps create a seamless appearance, even if the initial cut isn’t perfect.
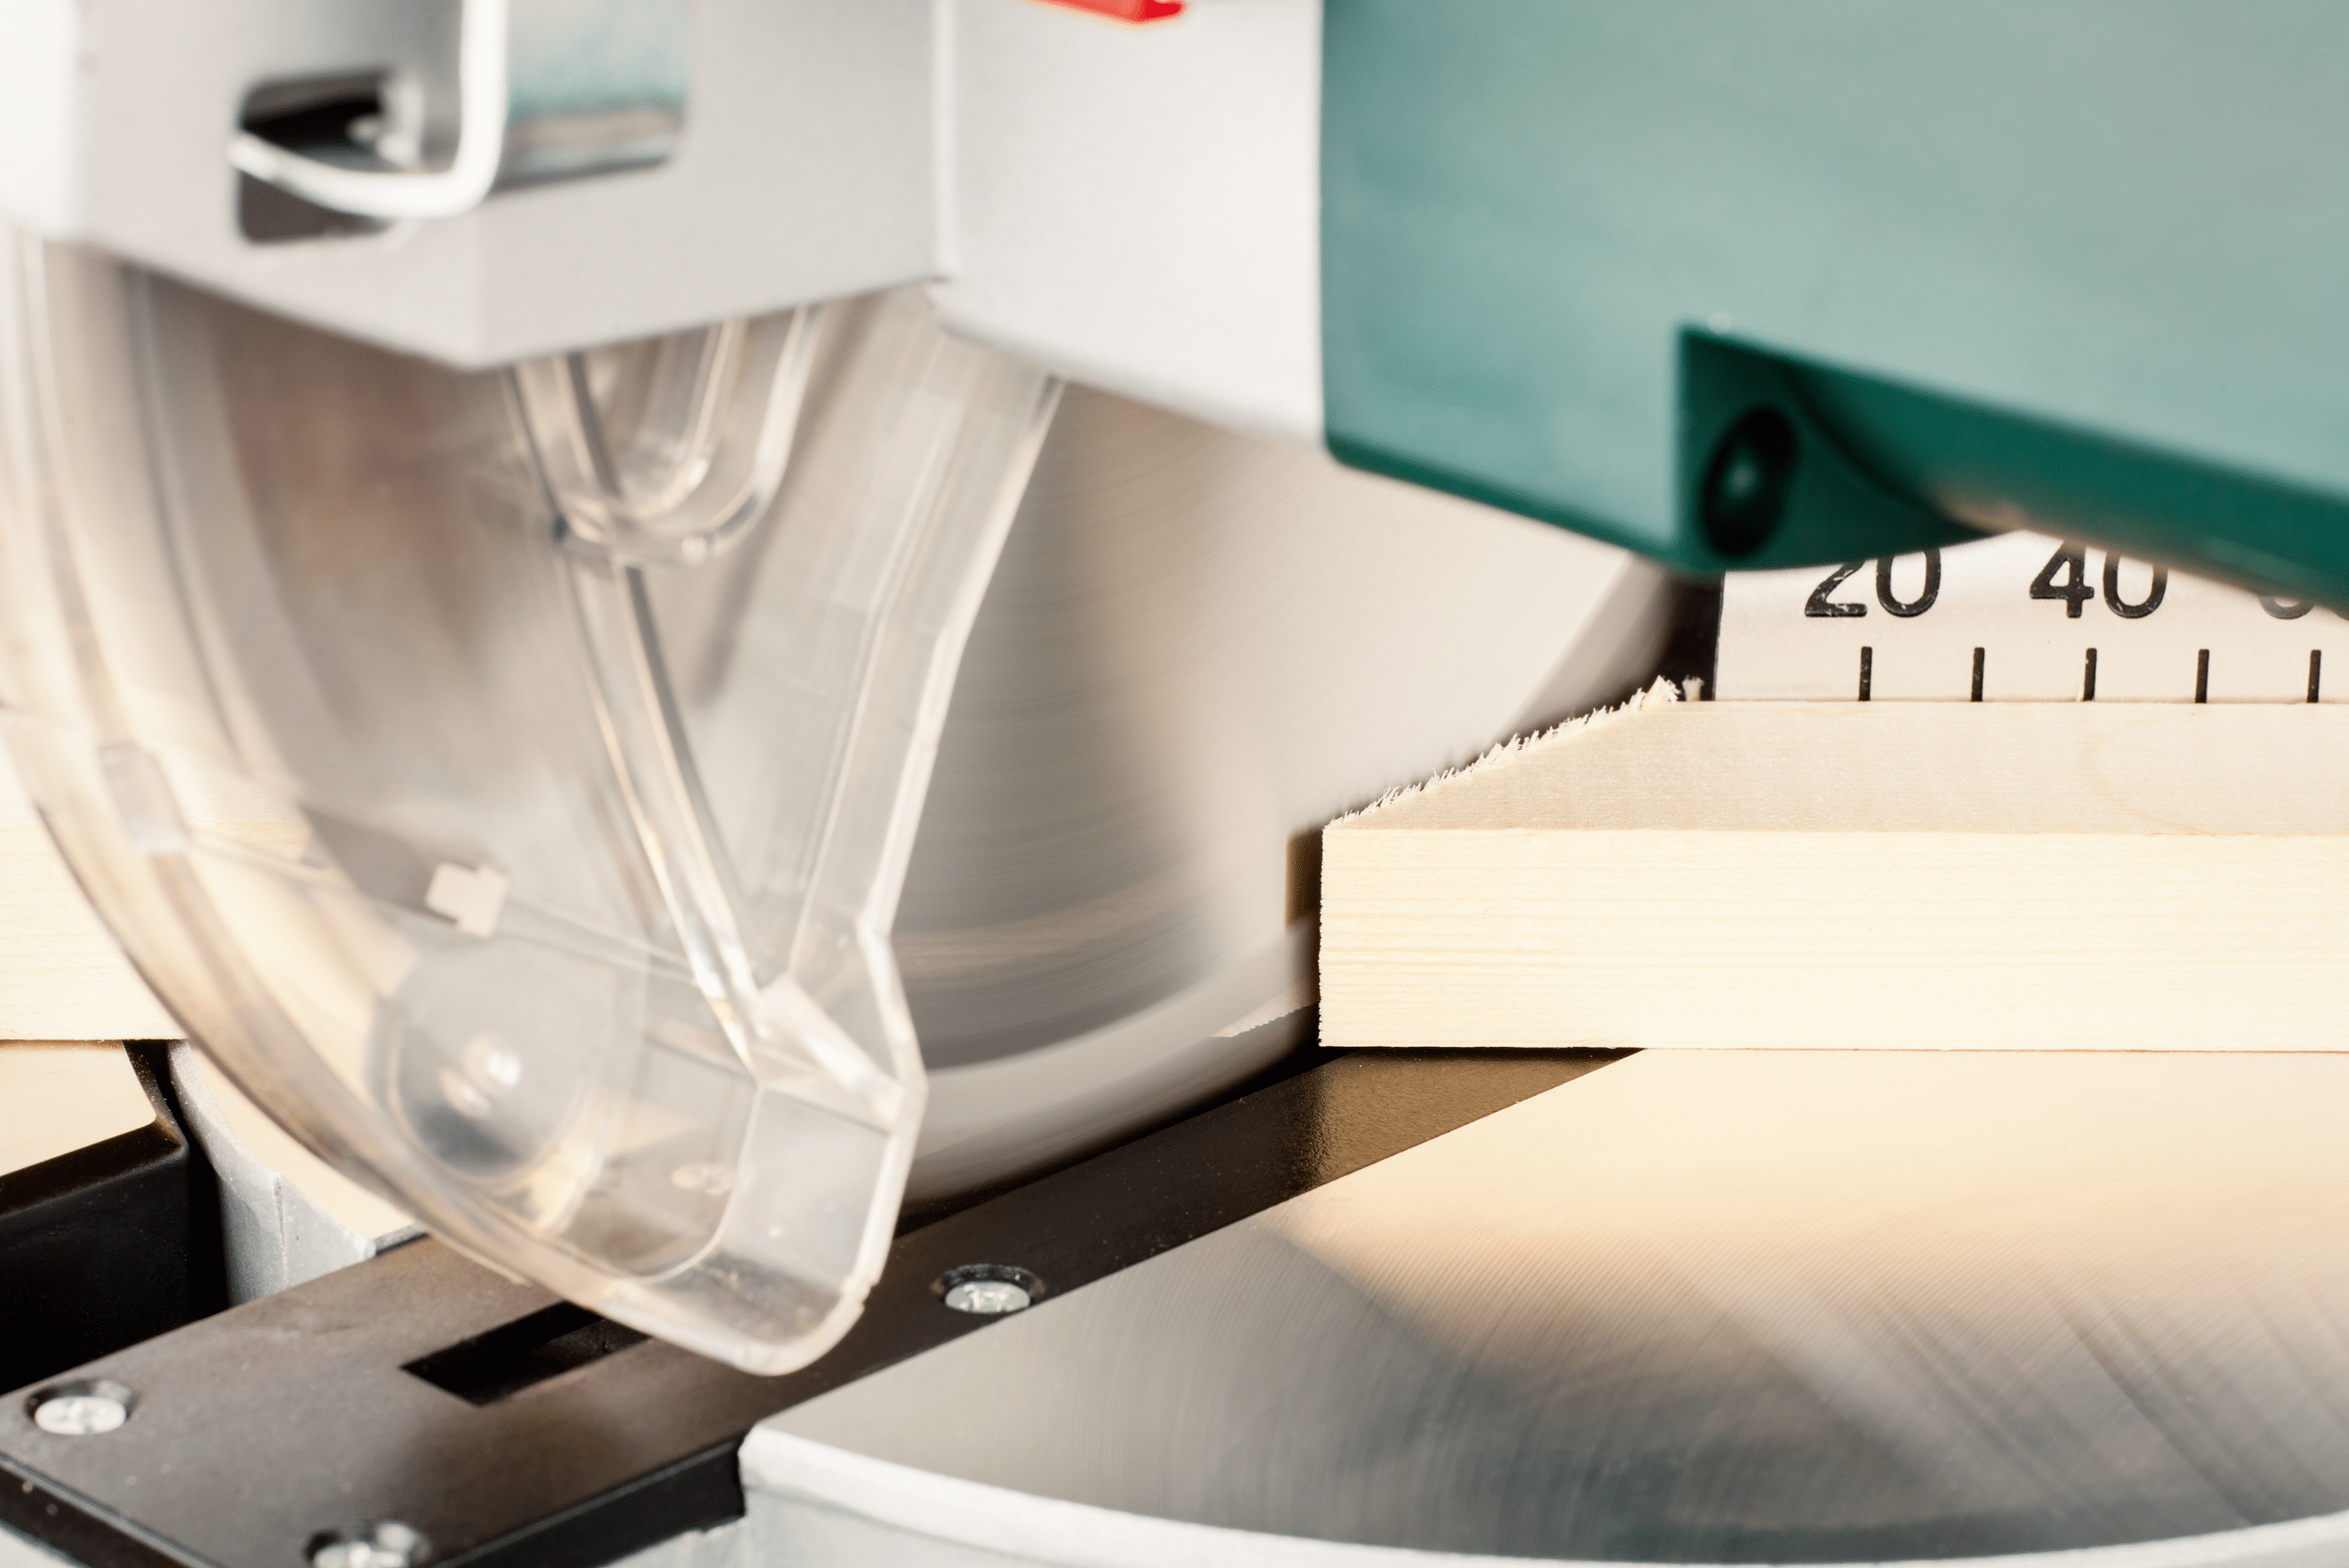
Additionally, use a miter saw and a miter gauge to achieve precise angles. A miter saw offers great flexibility to accommodate all types of cuts needed for precise projects, such as building supports for stairs and much more.
Creating Pilot Holes Without Breaking Bits
Drilling pilot holes is essential for preventing wood from splitting when driving nails or screws. Instead of using fragile small drill bits, clip the head off a nail and use it in your drill. You can also use a drill bit slightly smaller than the screw you intended to use to achieve the same results.
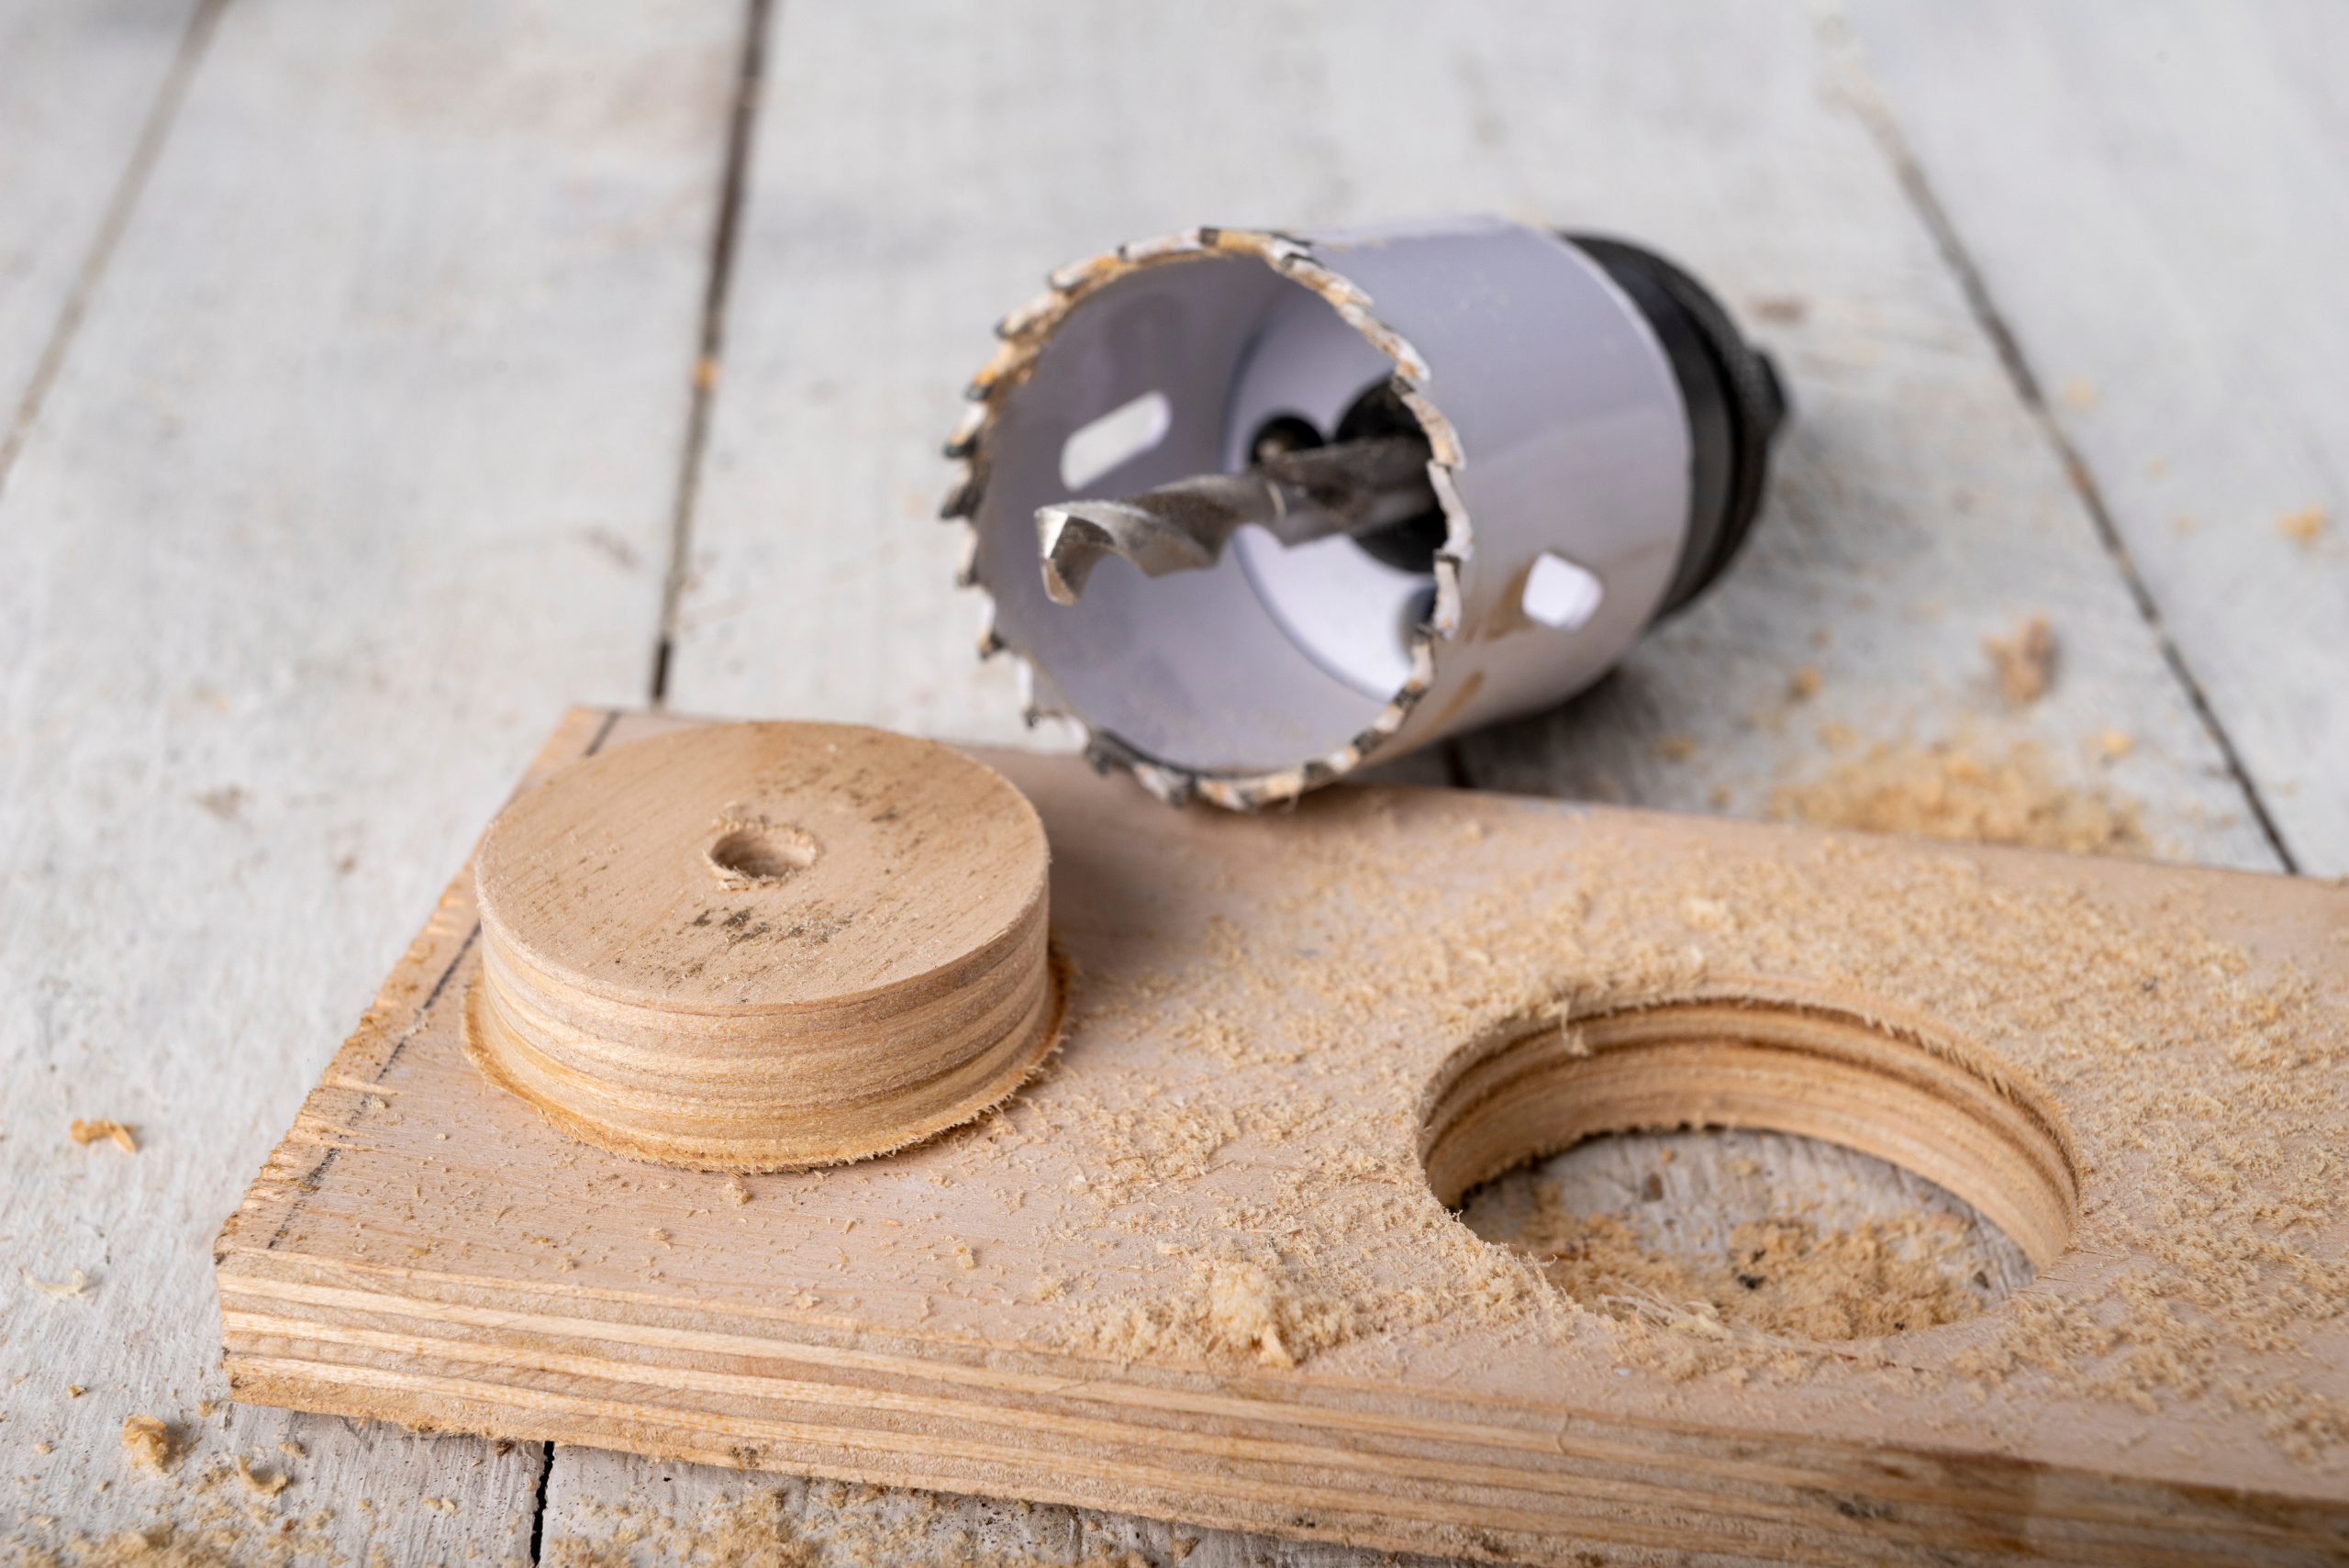
This method creates a perfect-sized pilot hole and extends the life of your drill bits, ensuring smoother assembly. Not to mention, drilling the initial pilot hole will reduce the likelihood of slippage while also making it a breeze to drive fasteners into the wood.
Tips for Making Precise Straight Cuts with a Circular Saw
Achieving straight, clean cuts with a circular saw requires using a guide. Clamp a straightedge to your workpiece and use it to guide the saw. However, once you have enough experience, you might be able to free-hand cut with a circular saw.
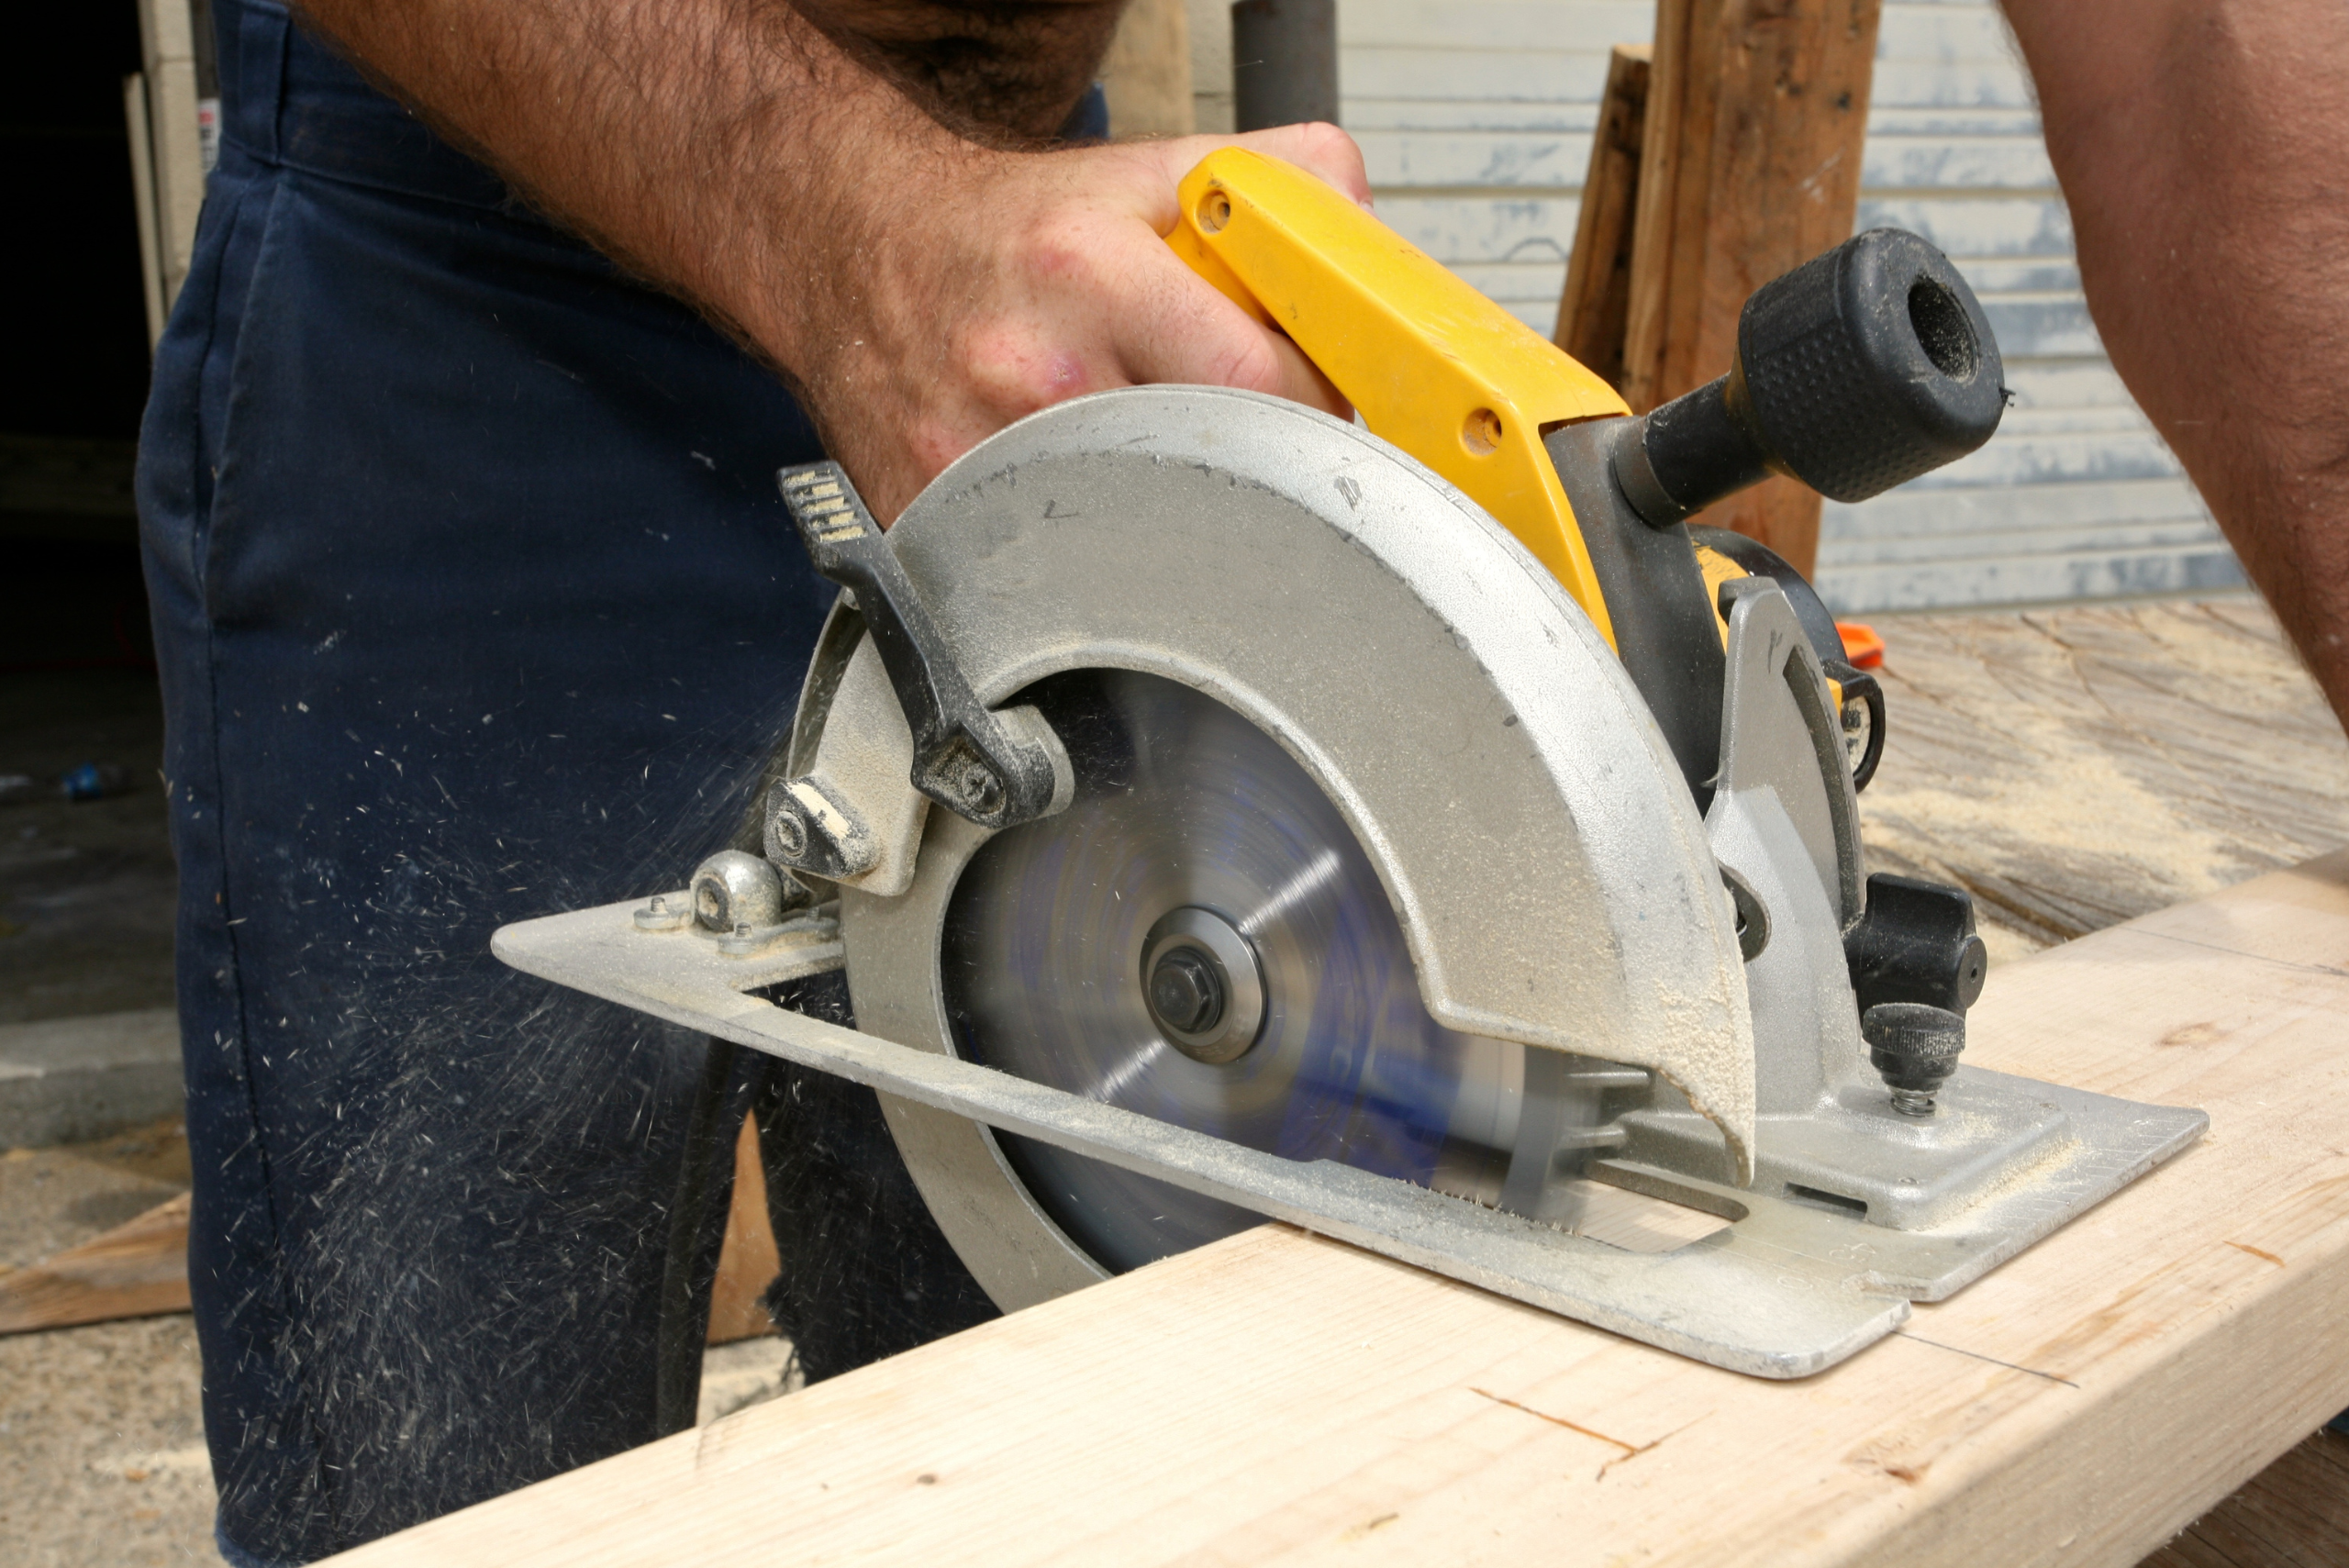
However, you will want to start easy by measuring the distance from the saw blade to the edge of the base to ensure accurate cuts. This technique is particularly useful for cutting large sheets of plywood or other sheet goods.
Choosing the Right Circular Saw Blade: Teeth Matter
The number of teeth on a circular saw blade affects the quality of the cut. Blades with more teeth produce smoother cuts but dull faster. As you gain more experience working with wood, you will have a good idea of which saw blades to use, ensuring you have the right amount of teeth to give you the cuts you need during your project.
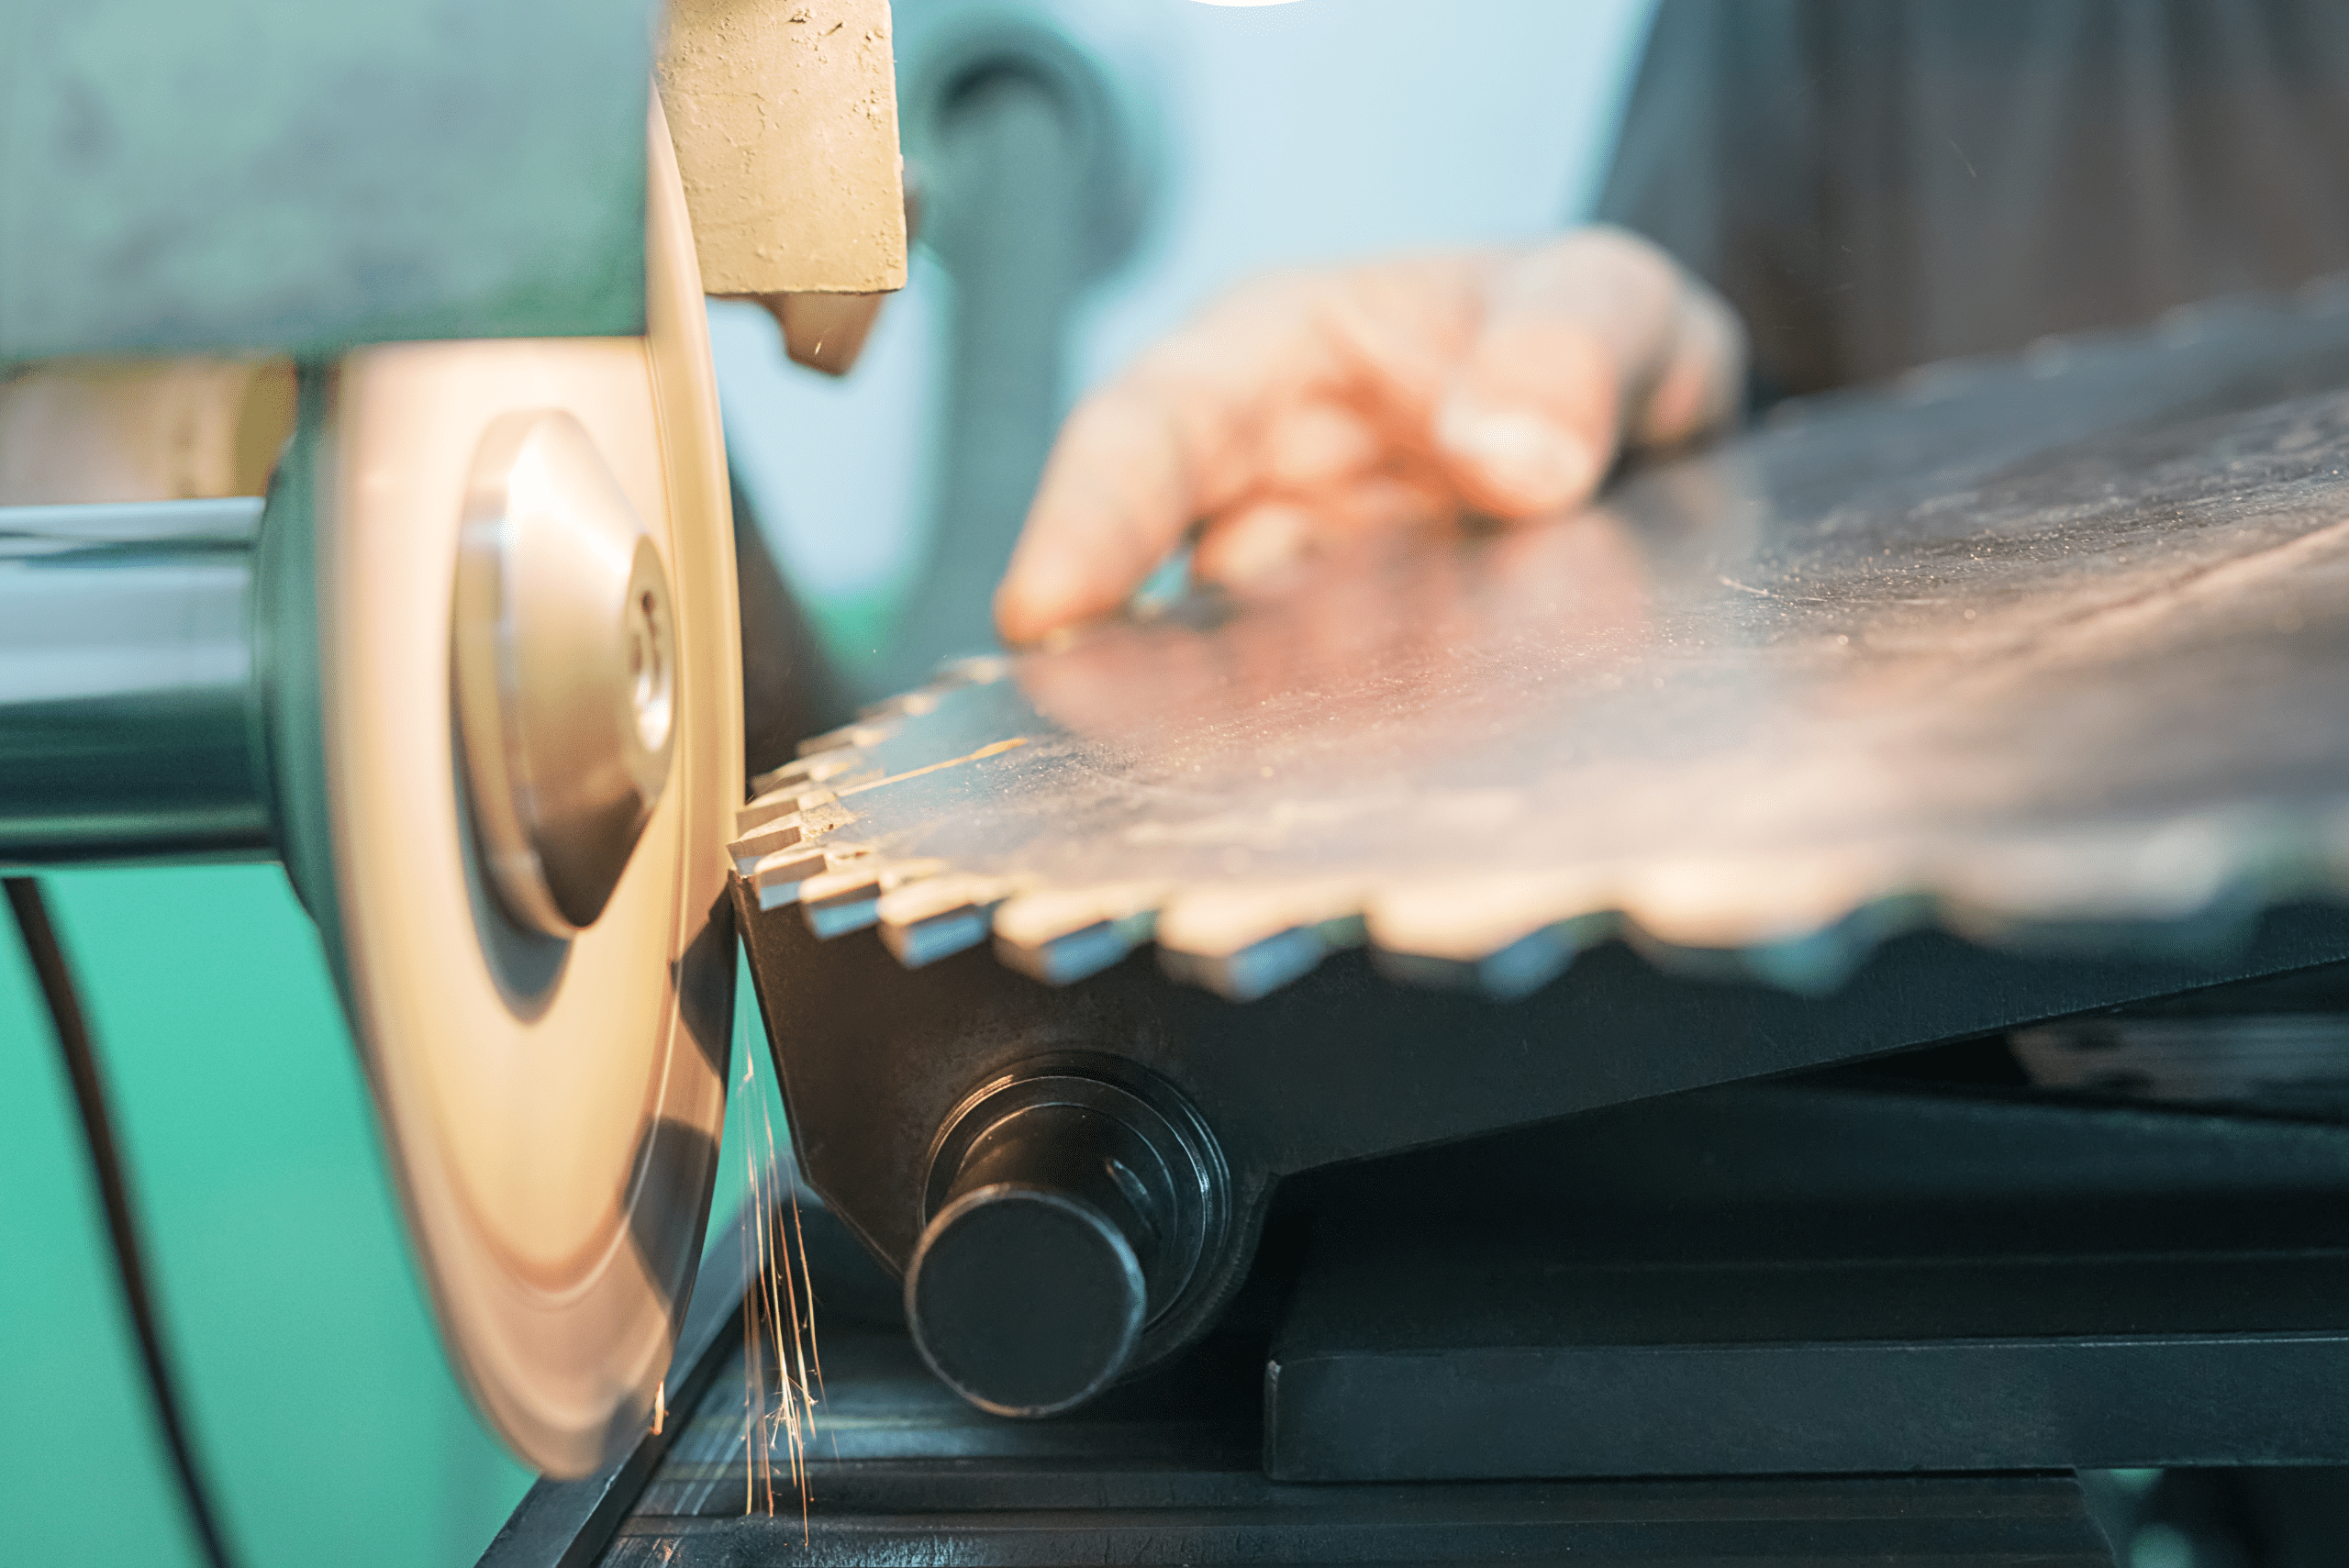
A 40-tooth carbide blade is versatile for general use and a must-have for anyone who owns a circular saw. For fine cuts in expensive materials, a 56-tooth blade offers superior performance and delivers the cleanest cuts without leaving unpleasant marks.
Gluing and Clamping Techniques for Building Strong Joints
Proper gluing and clamping are critical for strong, durable joints. Apply glue evenly and use clamps to hold pieces together while the glue dries. Use enough clamps to apply even pressure across the joint, but avoid over-tightening, which can squeeze out too much glue and weaken the bond.
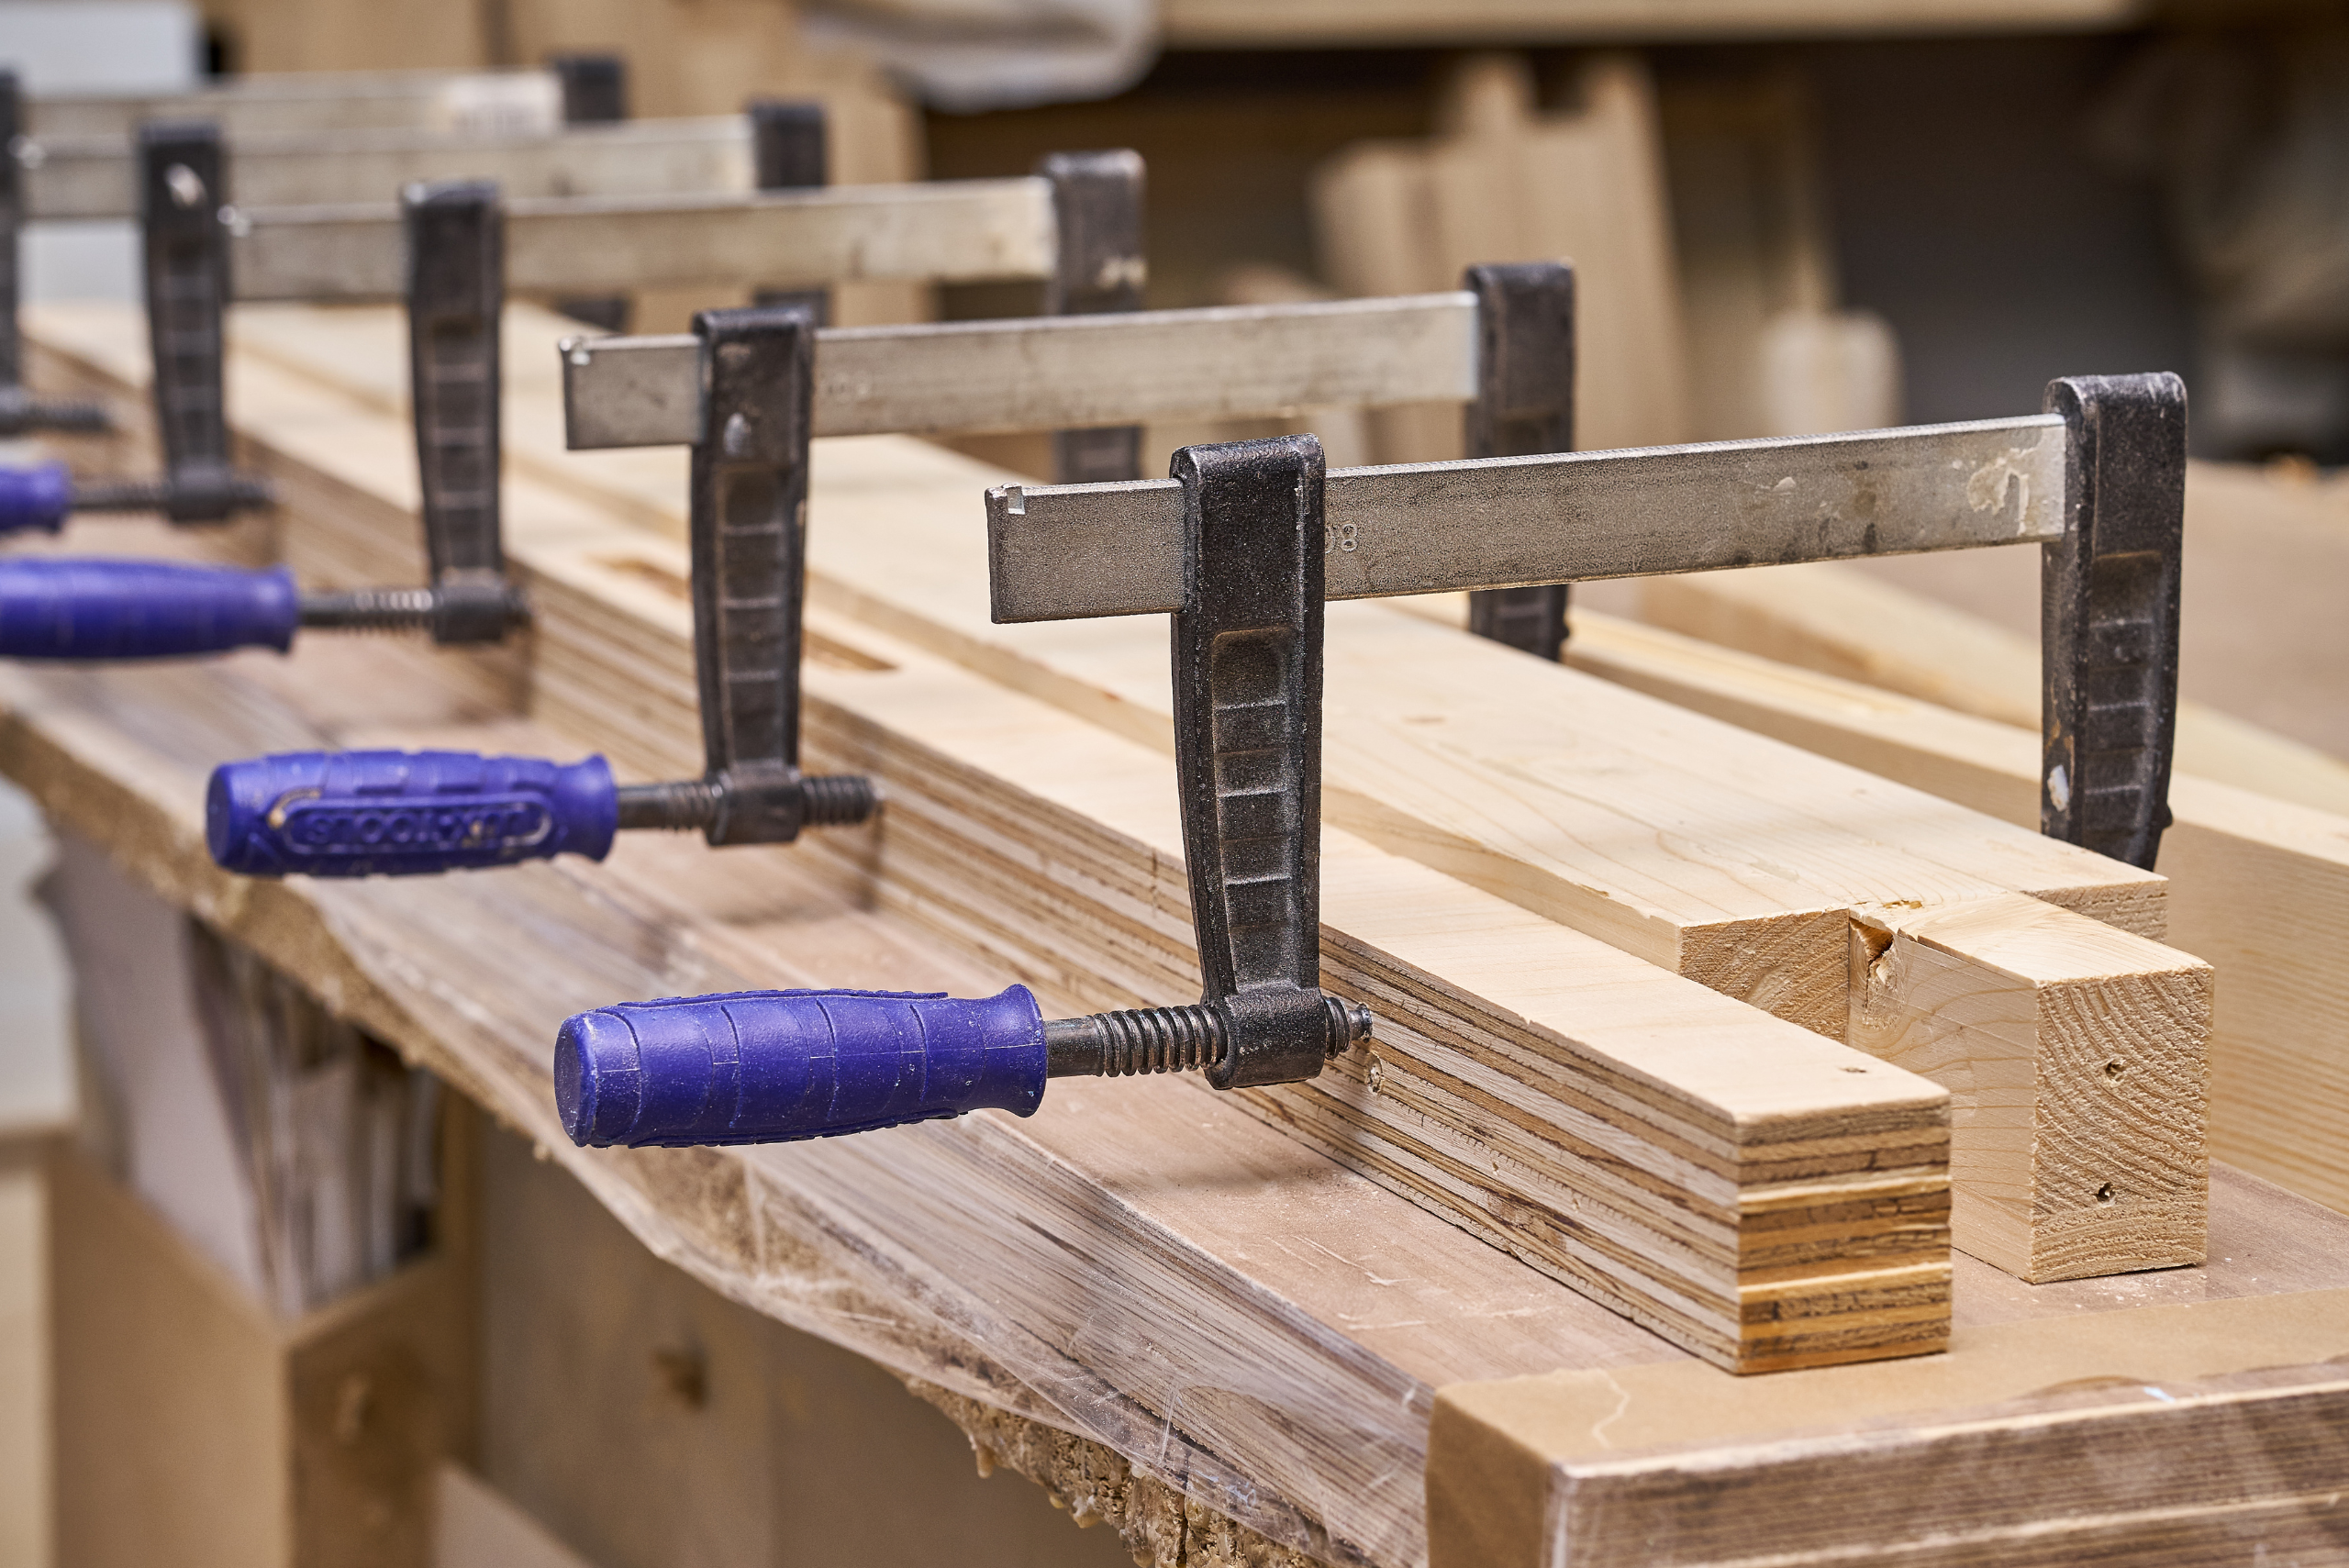
Understanding these techniques ensures your projects are sturdy and long-lasting. Nothing is worse than spending a good amount of time and effort on a project that ends up ruined because of improper gluing or clamping.
Related Articles
- Must-Have Jigs You Can Build or Buy to Ensure Woodworking Precision
- The Purpose and Proper Use of Winding Sticks in Woodworking
- 5 Must-Have Power Tools For Your Woodworking Projects
By mastering these essential woodworking skills, you’ll be well-equipped to create beautiful and functional projects. Whether you’re a novice or looking to refine your techniques, these fundamentals will serve as a strong foundation for your woodworking journey. Happy DIYing!
Ready to start your next project? Join our DIY community to receive tool tips, how-to guides, and exclusive creative insights. Subscribe to the ManMadeDIY newsletter now! Click here to unlock a world of hands-on inspiration.


