How to Fix Minor Car Wheel Curb Rash
Curb rash can be an irritating blemish on your car’s otherwise sleek appearance. Whether you’re a perfectionist about your vehicle’s look or simply want to preserve its value, addressing minor curb rash promptly can save you money and maintain the integrity of your wheels. Fortunately, fixing curb rash is a straightforward process that can be done at home with the right tools and techniques. This guide walks you through the steps to restore your wheels to their former glory.
Understanding Curb Rash and Assessing the Damage
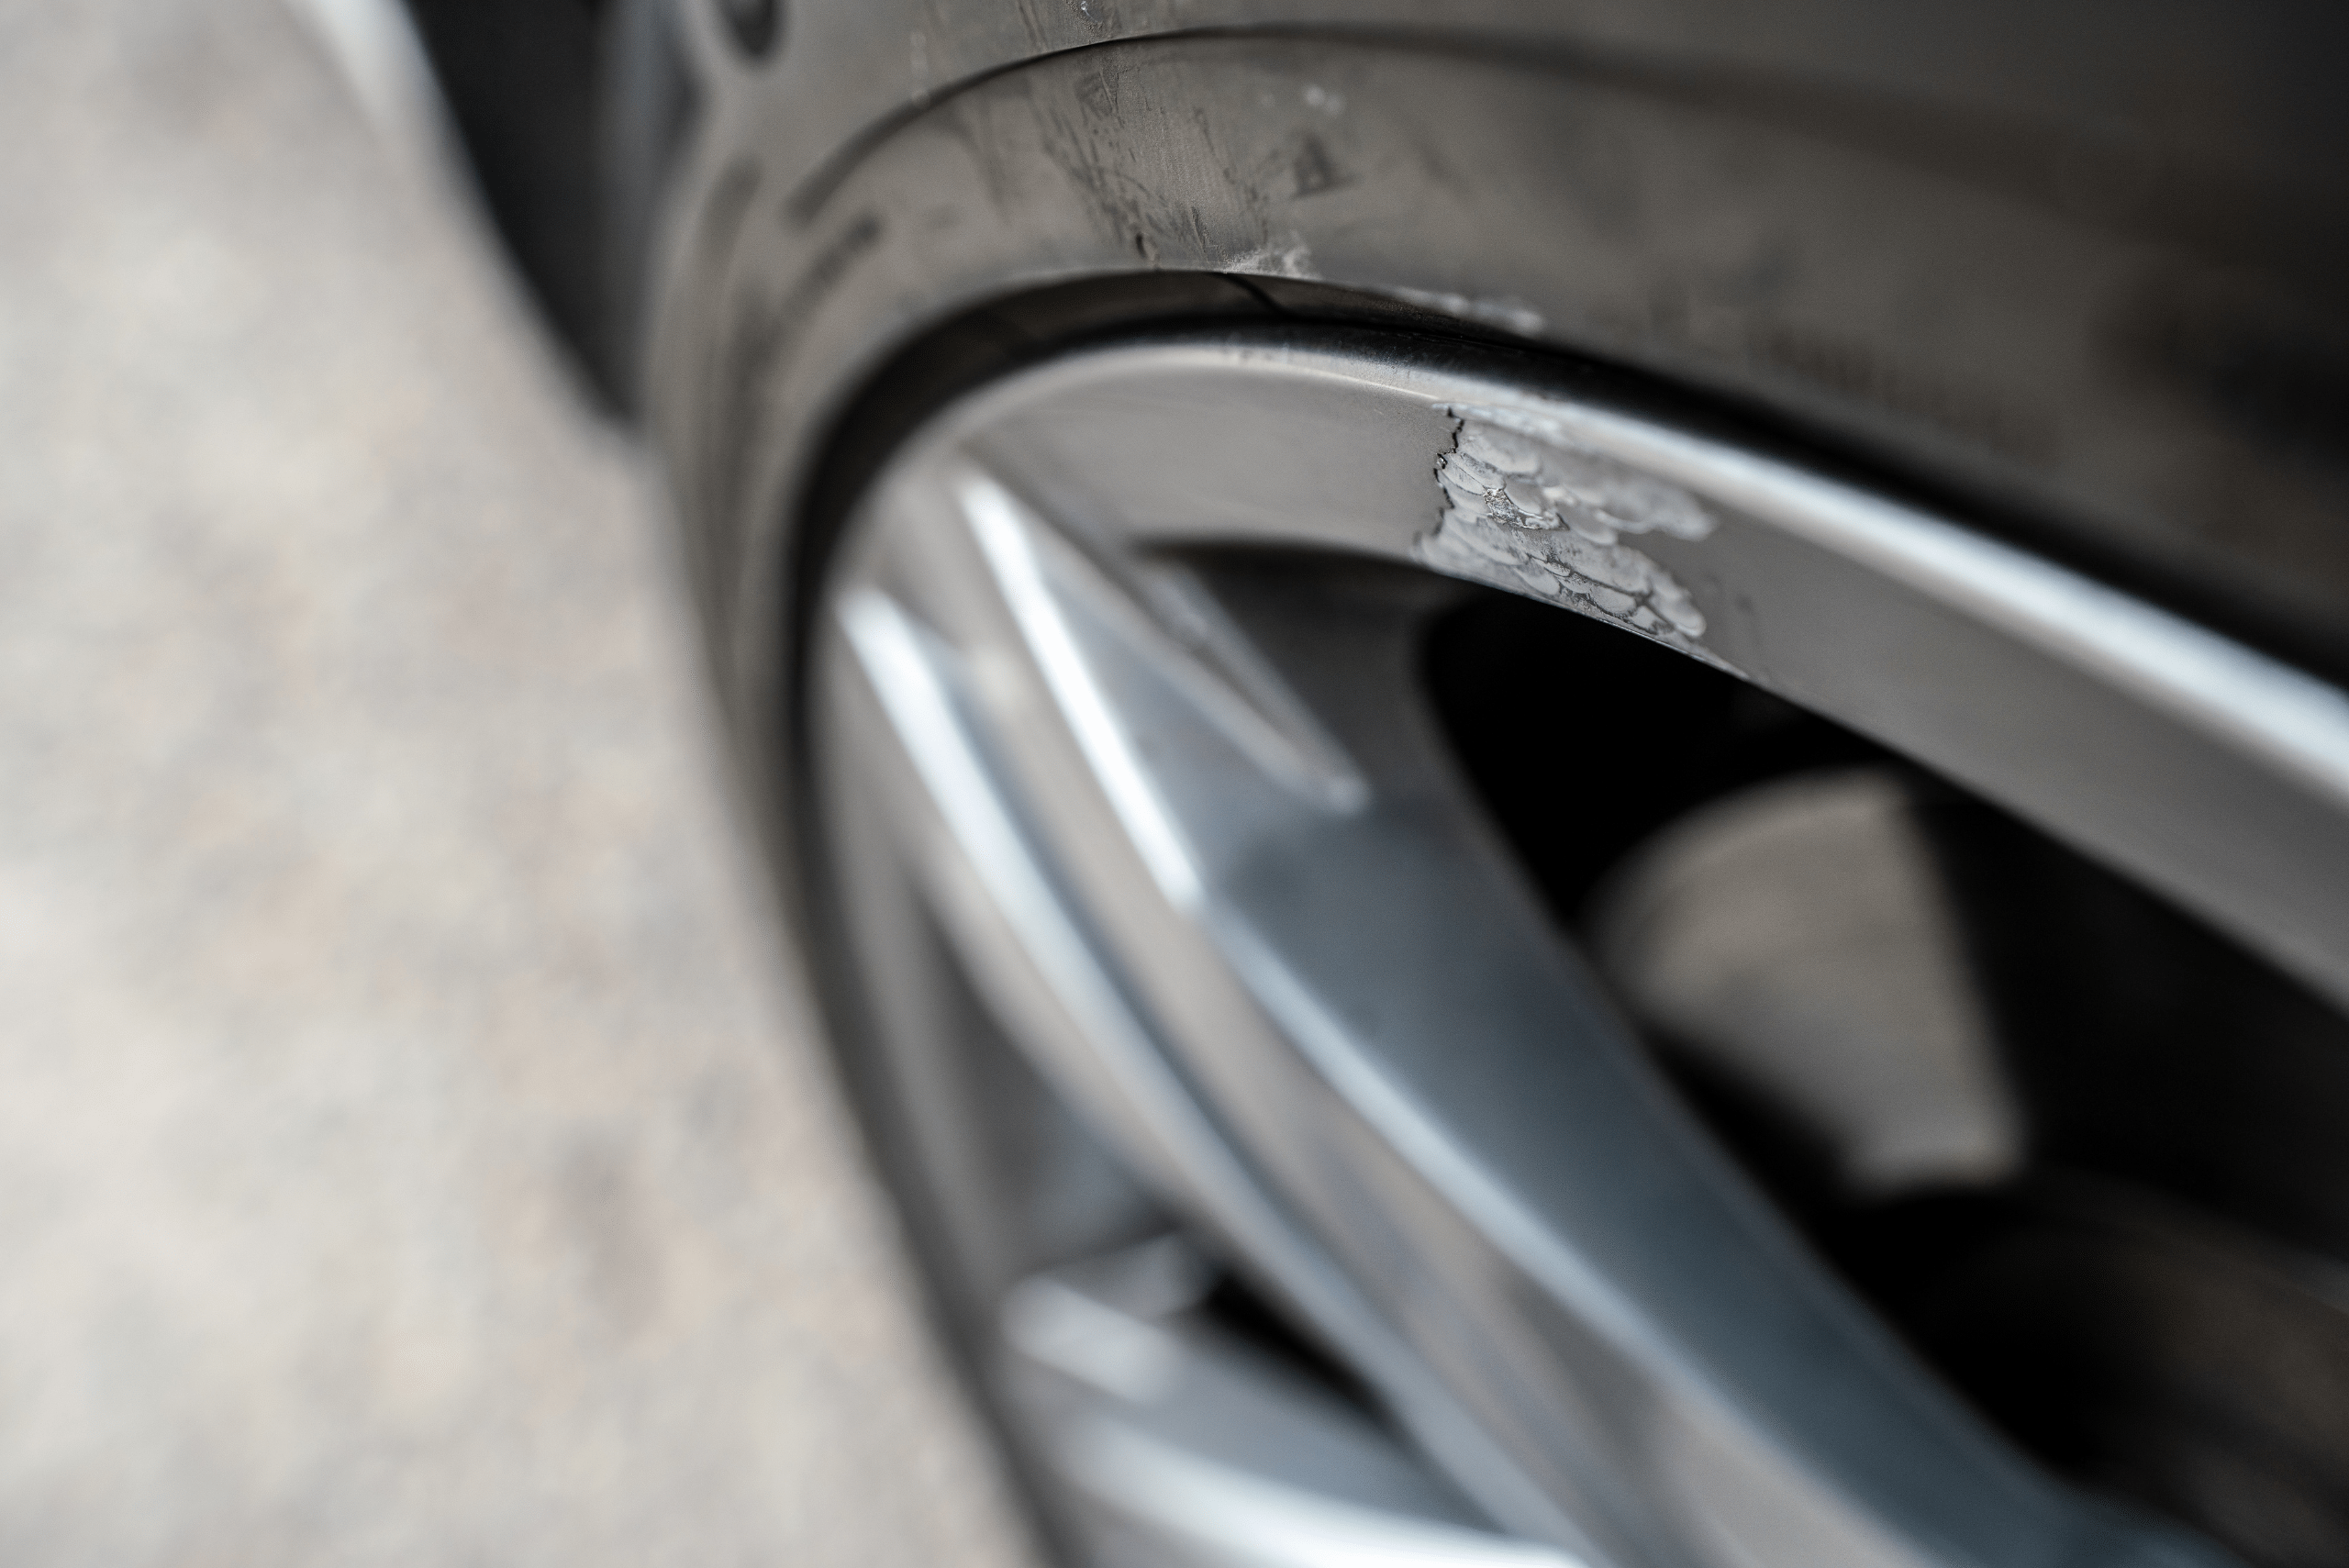
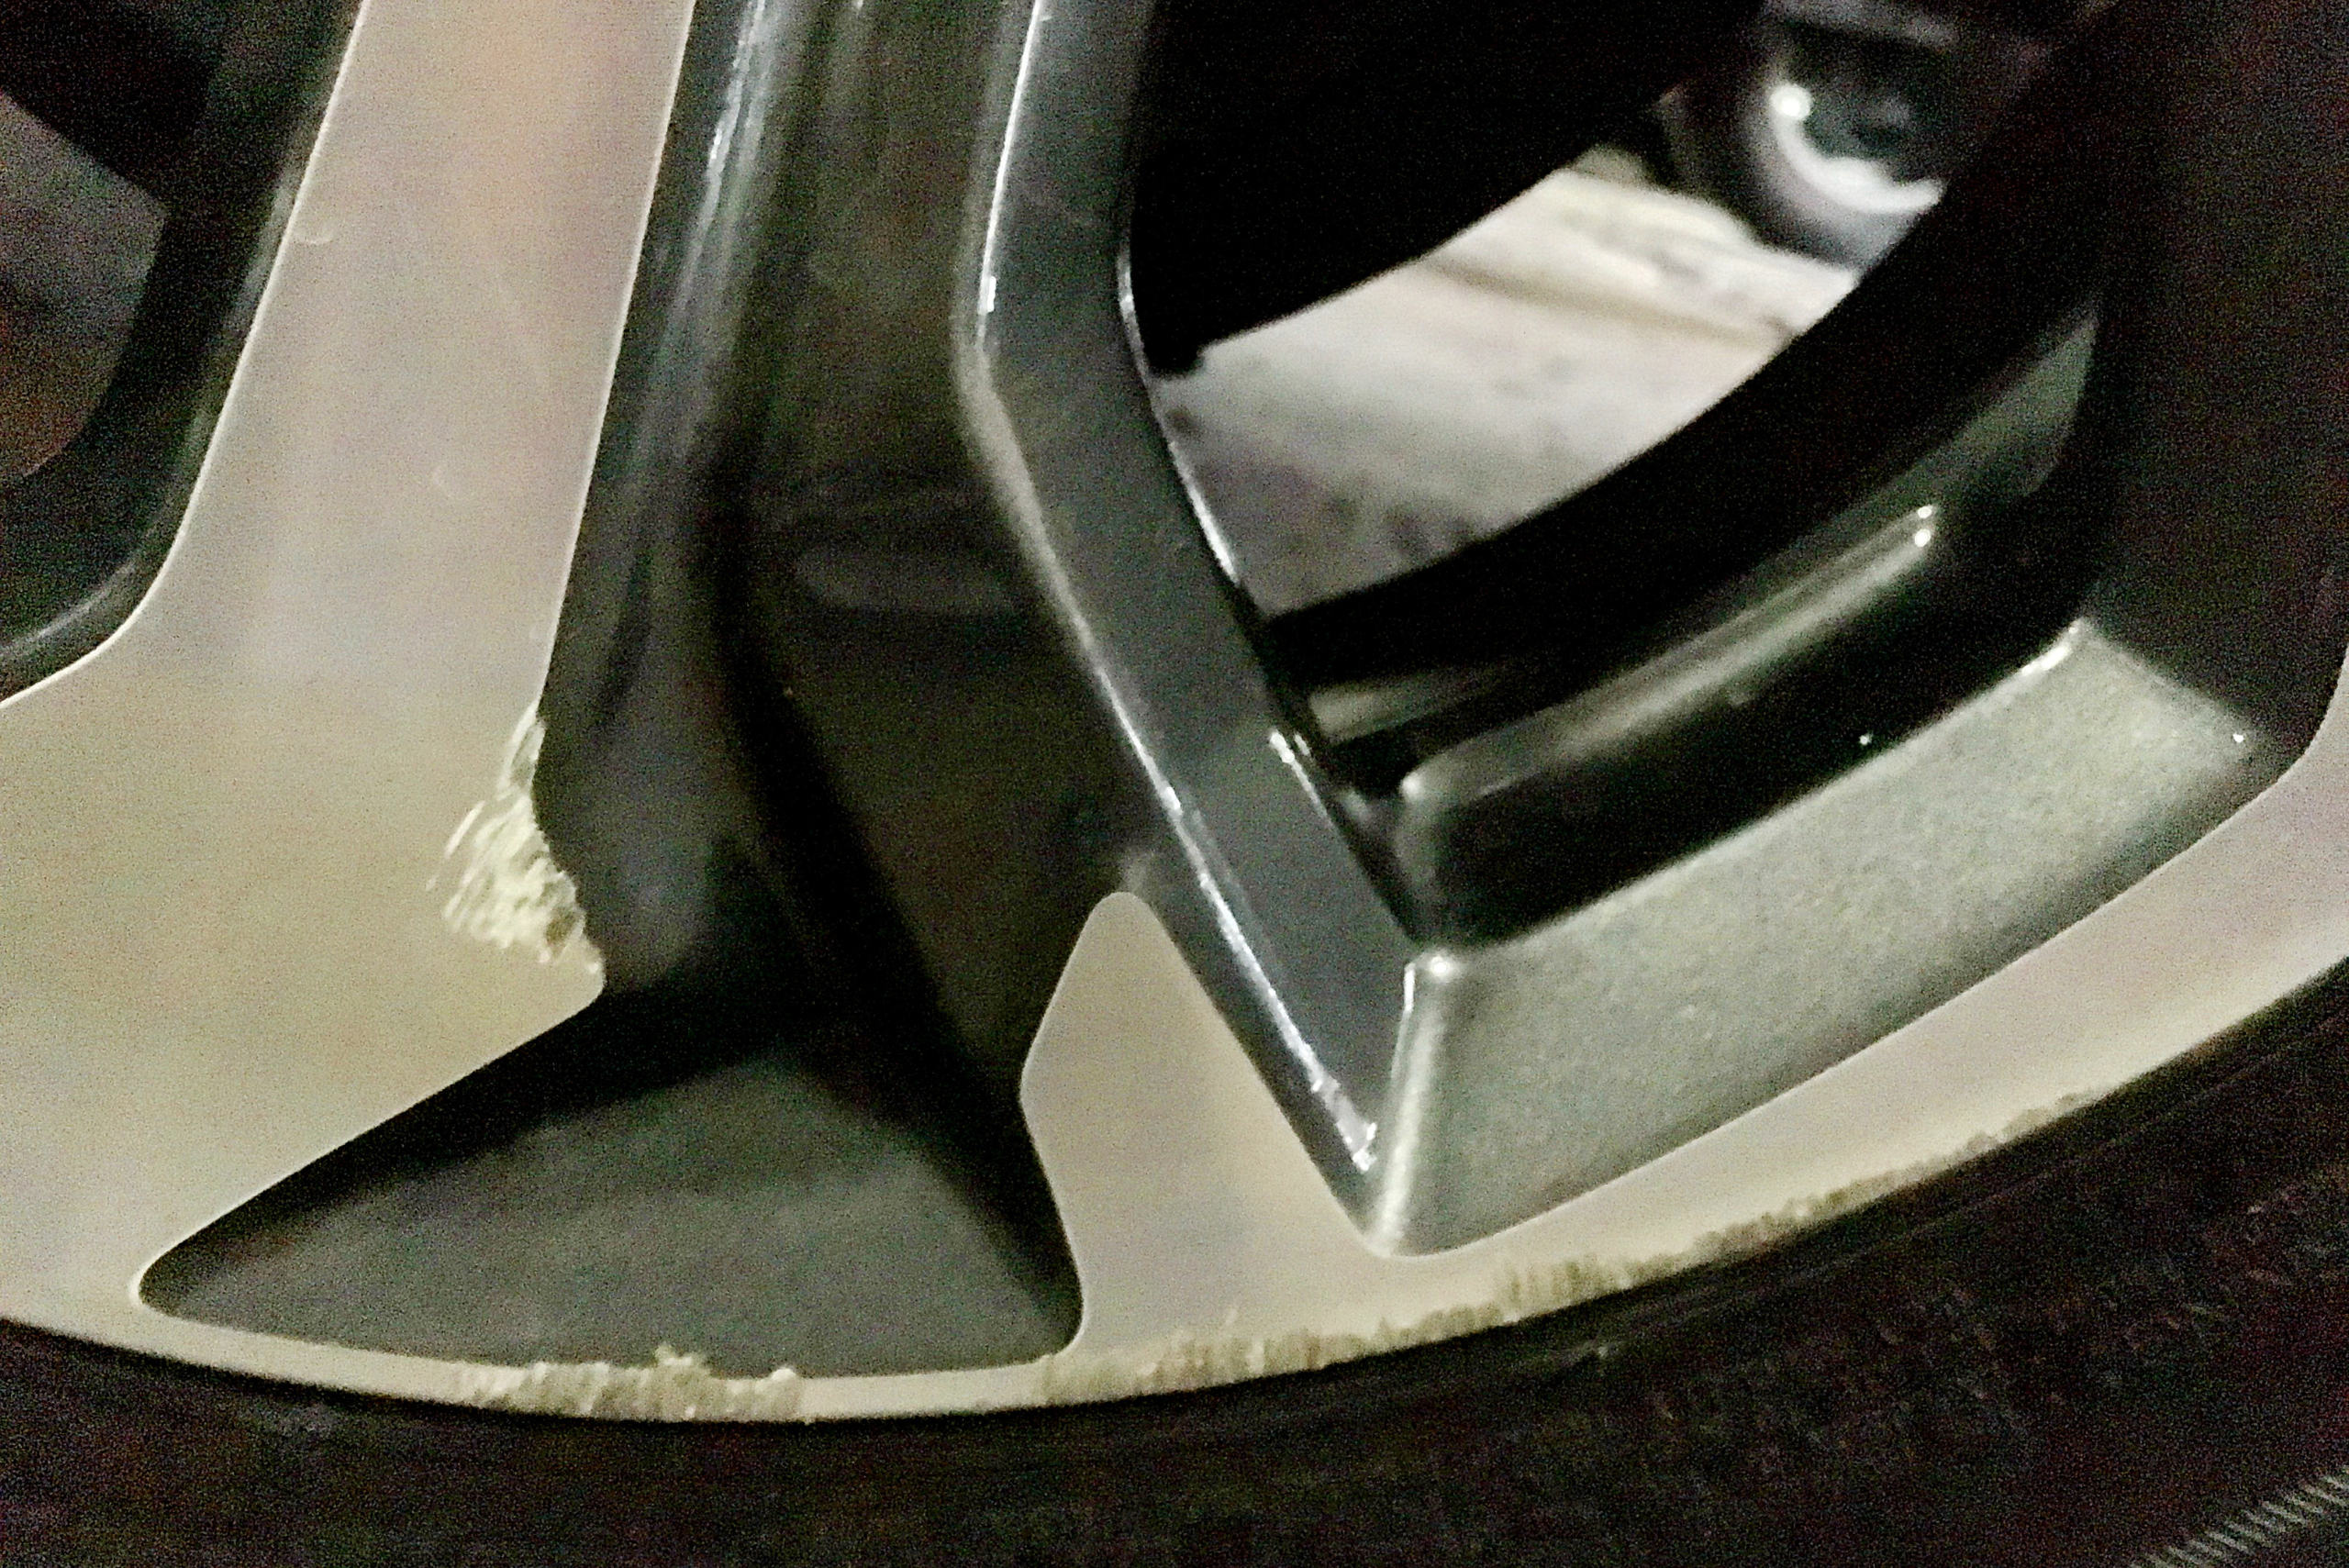
Before diving into repairs, it’s essential to understand what curb rash is and assess the severity of the damage. Curb rash typically involves scuffs, scratches, or minor gouges on the wheel’s surface caused by contact with a curb or rough surface. Light scratches and scuffs are usually straightforward to address, requiring minimal effort, while deeper gouges may need filling and additional sanding to achieve a smooth finish.
It’s also crucial to inspect the wheel for cracks or structural damage. If you detect cracks or significant deformation, these issues can compromise the wheel’s safety and should be handled by a professional. Ensuring the wheel’s structural integrity before beginning cosmetic repairs is a key step in maintaining your vehicle’s safety and performance.
Gathering the Necessary Tools and Materials
To achieve the best results, having the right tools and materials is crucial. For most minor curb rash repairs, you’ll need:
- Sandpaper (ranging from 240 to 600 grit)
- A sanding block
- Wheel cleaner and degreaser
- Microfiber cloths
- Aluminum putty or wheel filler
- Primer spray (compatible with your wheel material)
- Paint matched to your wheel’s finish
- Clear coat spray
- Masking tape and plastic sheeting
Investing in quality materials ensures a smoother process and a longer-lasting repair.
Step-by-Step Guide to Fixing Curb Rash
Step 1: Clean the Wheel Thoroughly
Start by washing the affected wheel with wheel cleaner and degreaser. Remove all dirt, grease, and brake dust to expose the extent of the damage. Dry the area completely using a clean microfiber cloth.
Step 2: Sand the Damaged Area
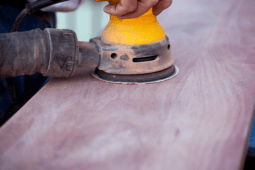
Use 240-grit sandpaper to gently sand the damaged area. Focus on smoothing out the scratches and blending the edges of the rash into the surrounding surface. Gradually move to finer grits (400, then 600) to achieve a smooth finish. Be careful not to remove too much material, especially on lightweight alloy wheels.
Step 3: Apply Filler for Deeper Gouges
For deeper damage, mix and apply aluminum putty or wheel filler as instructed by the manufacturer. Use a plastic applicator to fill in the gouges evenly. Let it cure fully, then sand it down with 400-grit sandpaper until it’s flush with the wheel’s surface.
Step 4: Mask and Prime the Wheel
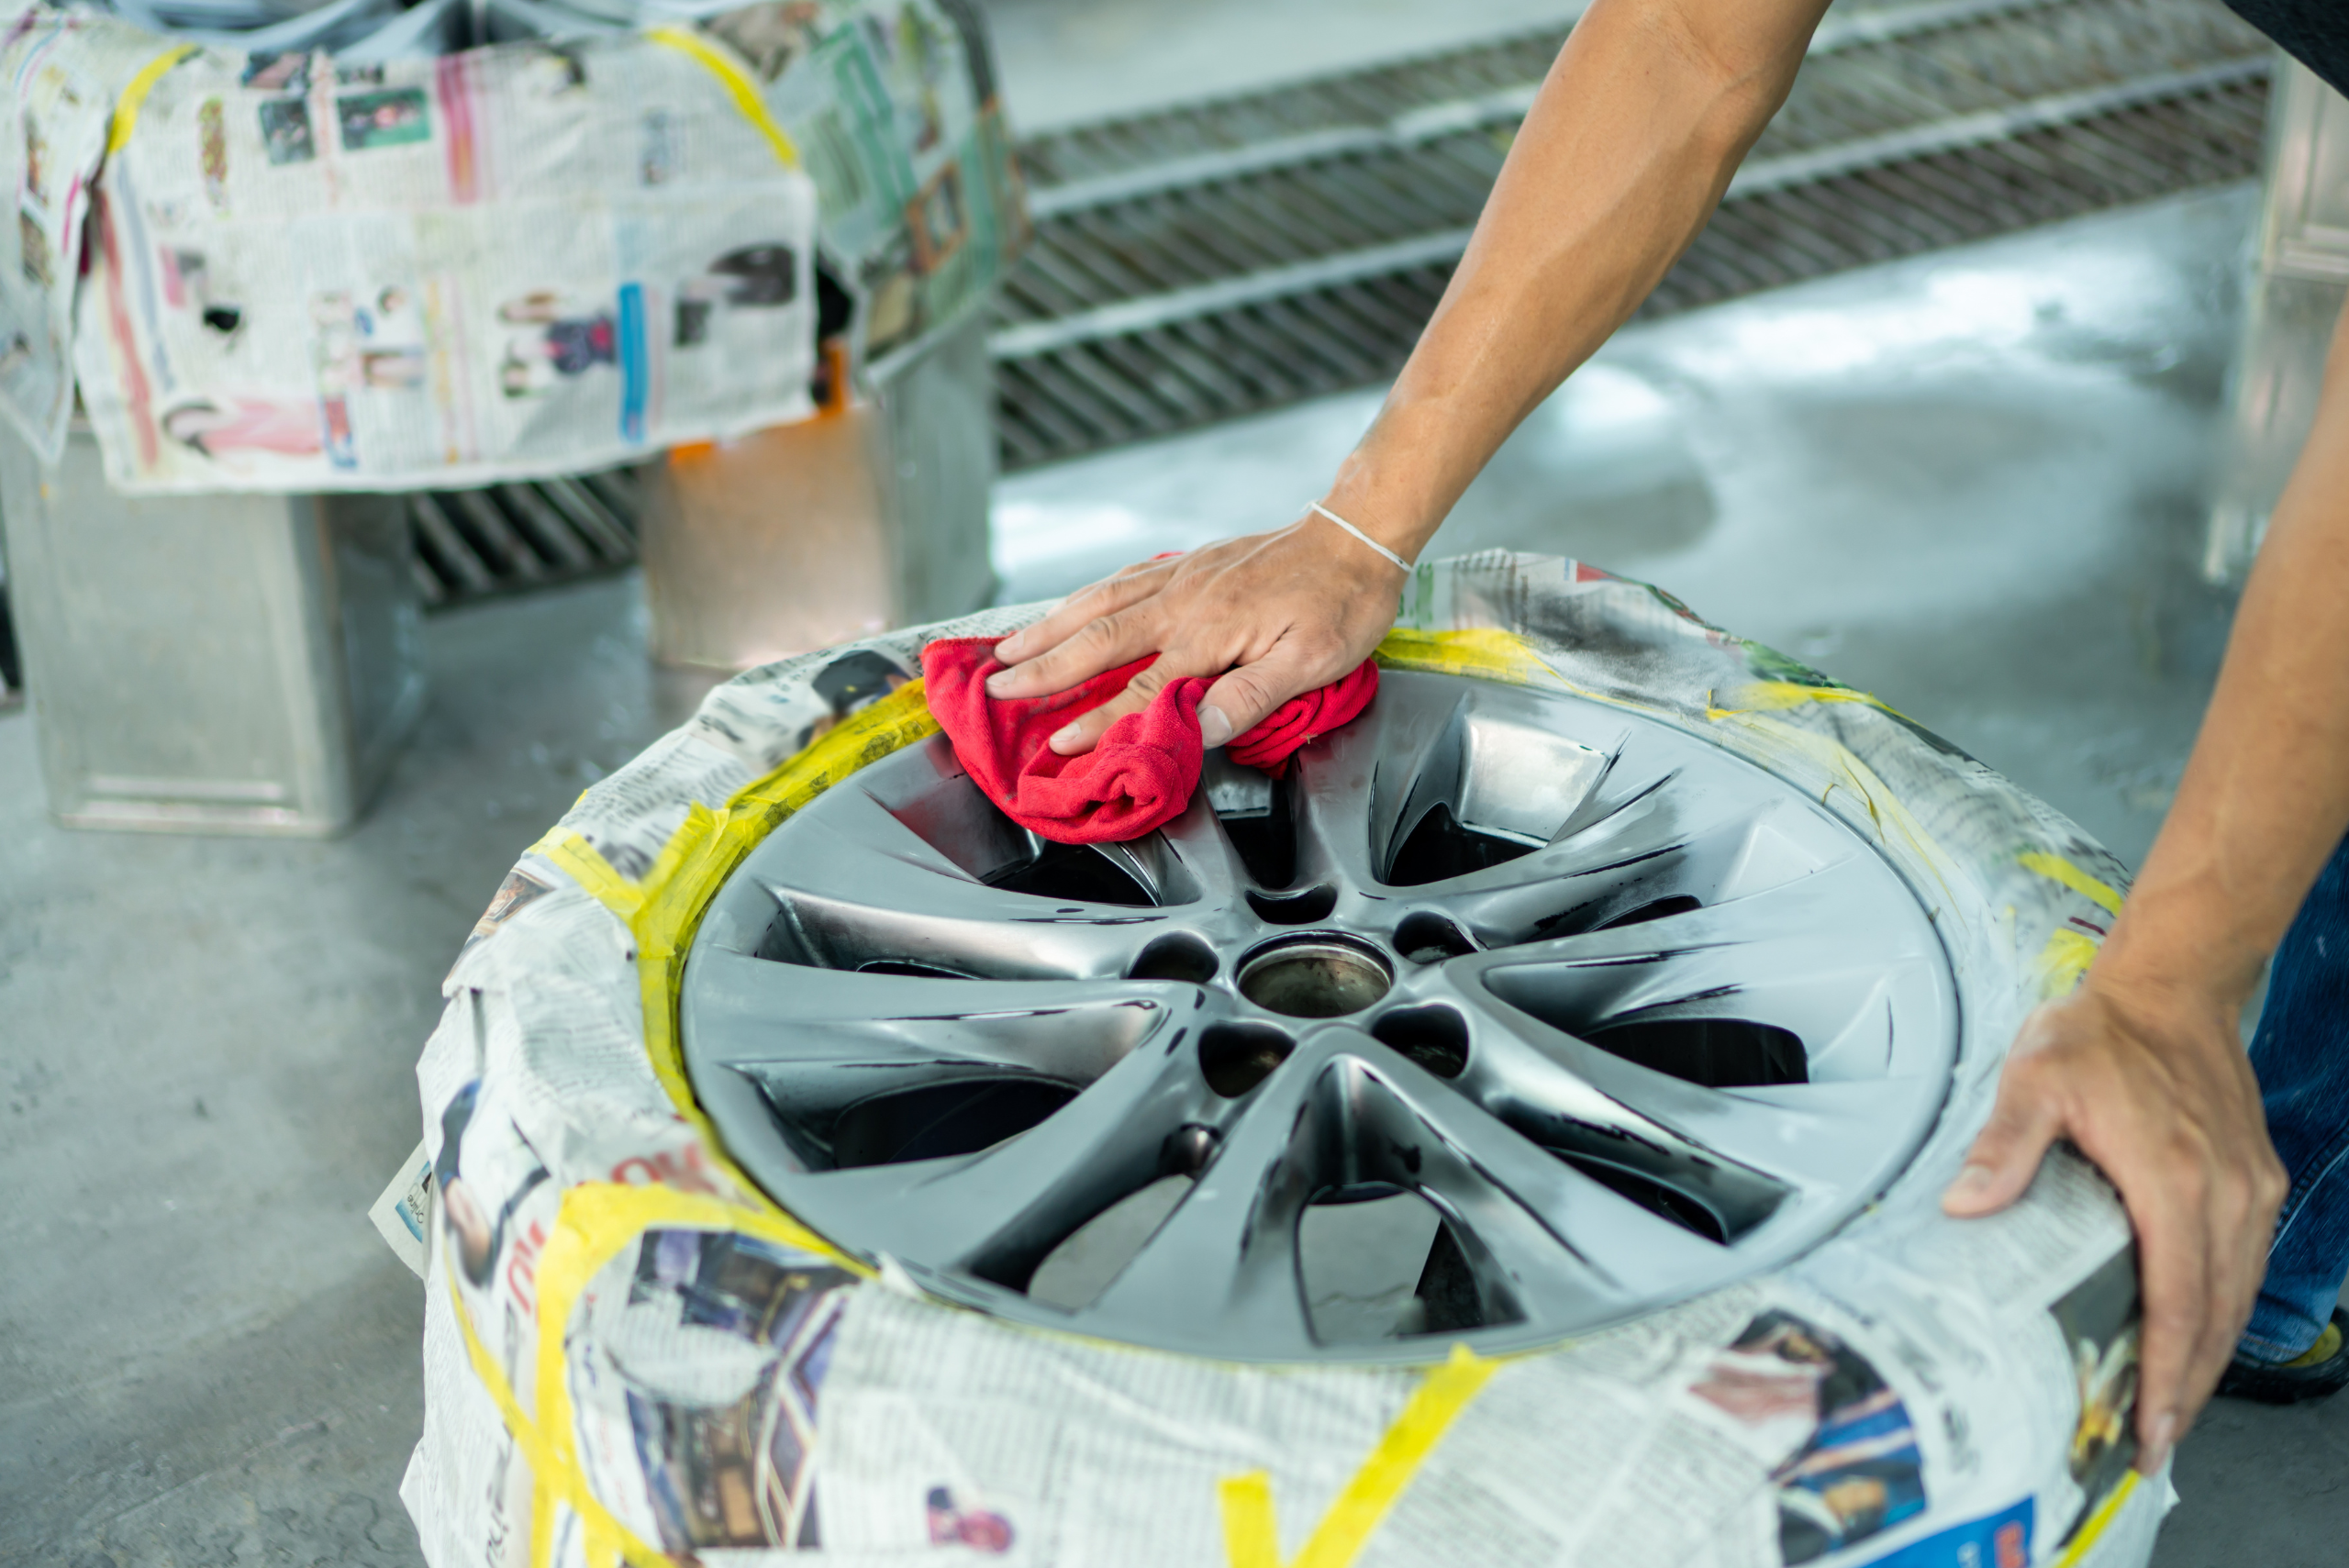
Use masking tape and plastic sheeting to protect the tire and surrounding areas. Apply a primer spray to the repaired area to promote paint adhesion and prevent corrosion. Allow the primer to dry completely before proceeding.
Step 5: Paint and Seal the Repair
Match your wheel paint carefully for a seamless look. Spray the paint in light, even coats, allowing each coat to dry before applying the next. Finish with a clear coat to seal the repair and restore the wheel’s glossy appearance. Let the wheel cure for at least 24 hours before exposing it to heavy use.
Tips for Achieving Professional Results
Rushing through the process can lead to uneven results, so it is essential to take your time. Allow ample drying and curing time between steps to ensure a strong bond and a flawless finish. Working patiently also ensures that each layer of sanding, filling, and painting adheres properly and blends seamlessly with the rest of the wheel, giving it a professional appearance.
Additionally, the repair should be performed in a clean, dust-free environment with good ventilation to avoid imperfections in the paint. Matching the paint accurately is crucial—bringing a sample or the wheel itself to an auto parts store can help ensure a perfect match. Apply the paint in light, consistent coats to prevent drips, and inspect your wheels regularly to address any new damage promptly, maintaining their overall look and durability.
Maintaining Your Wheels After Repair
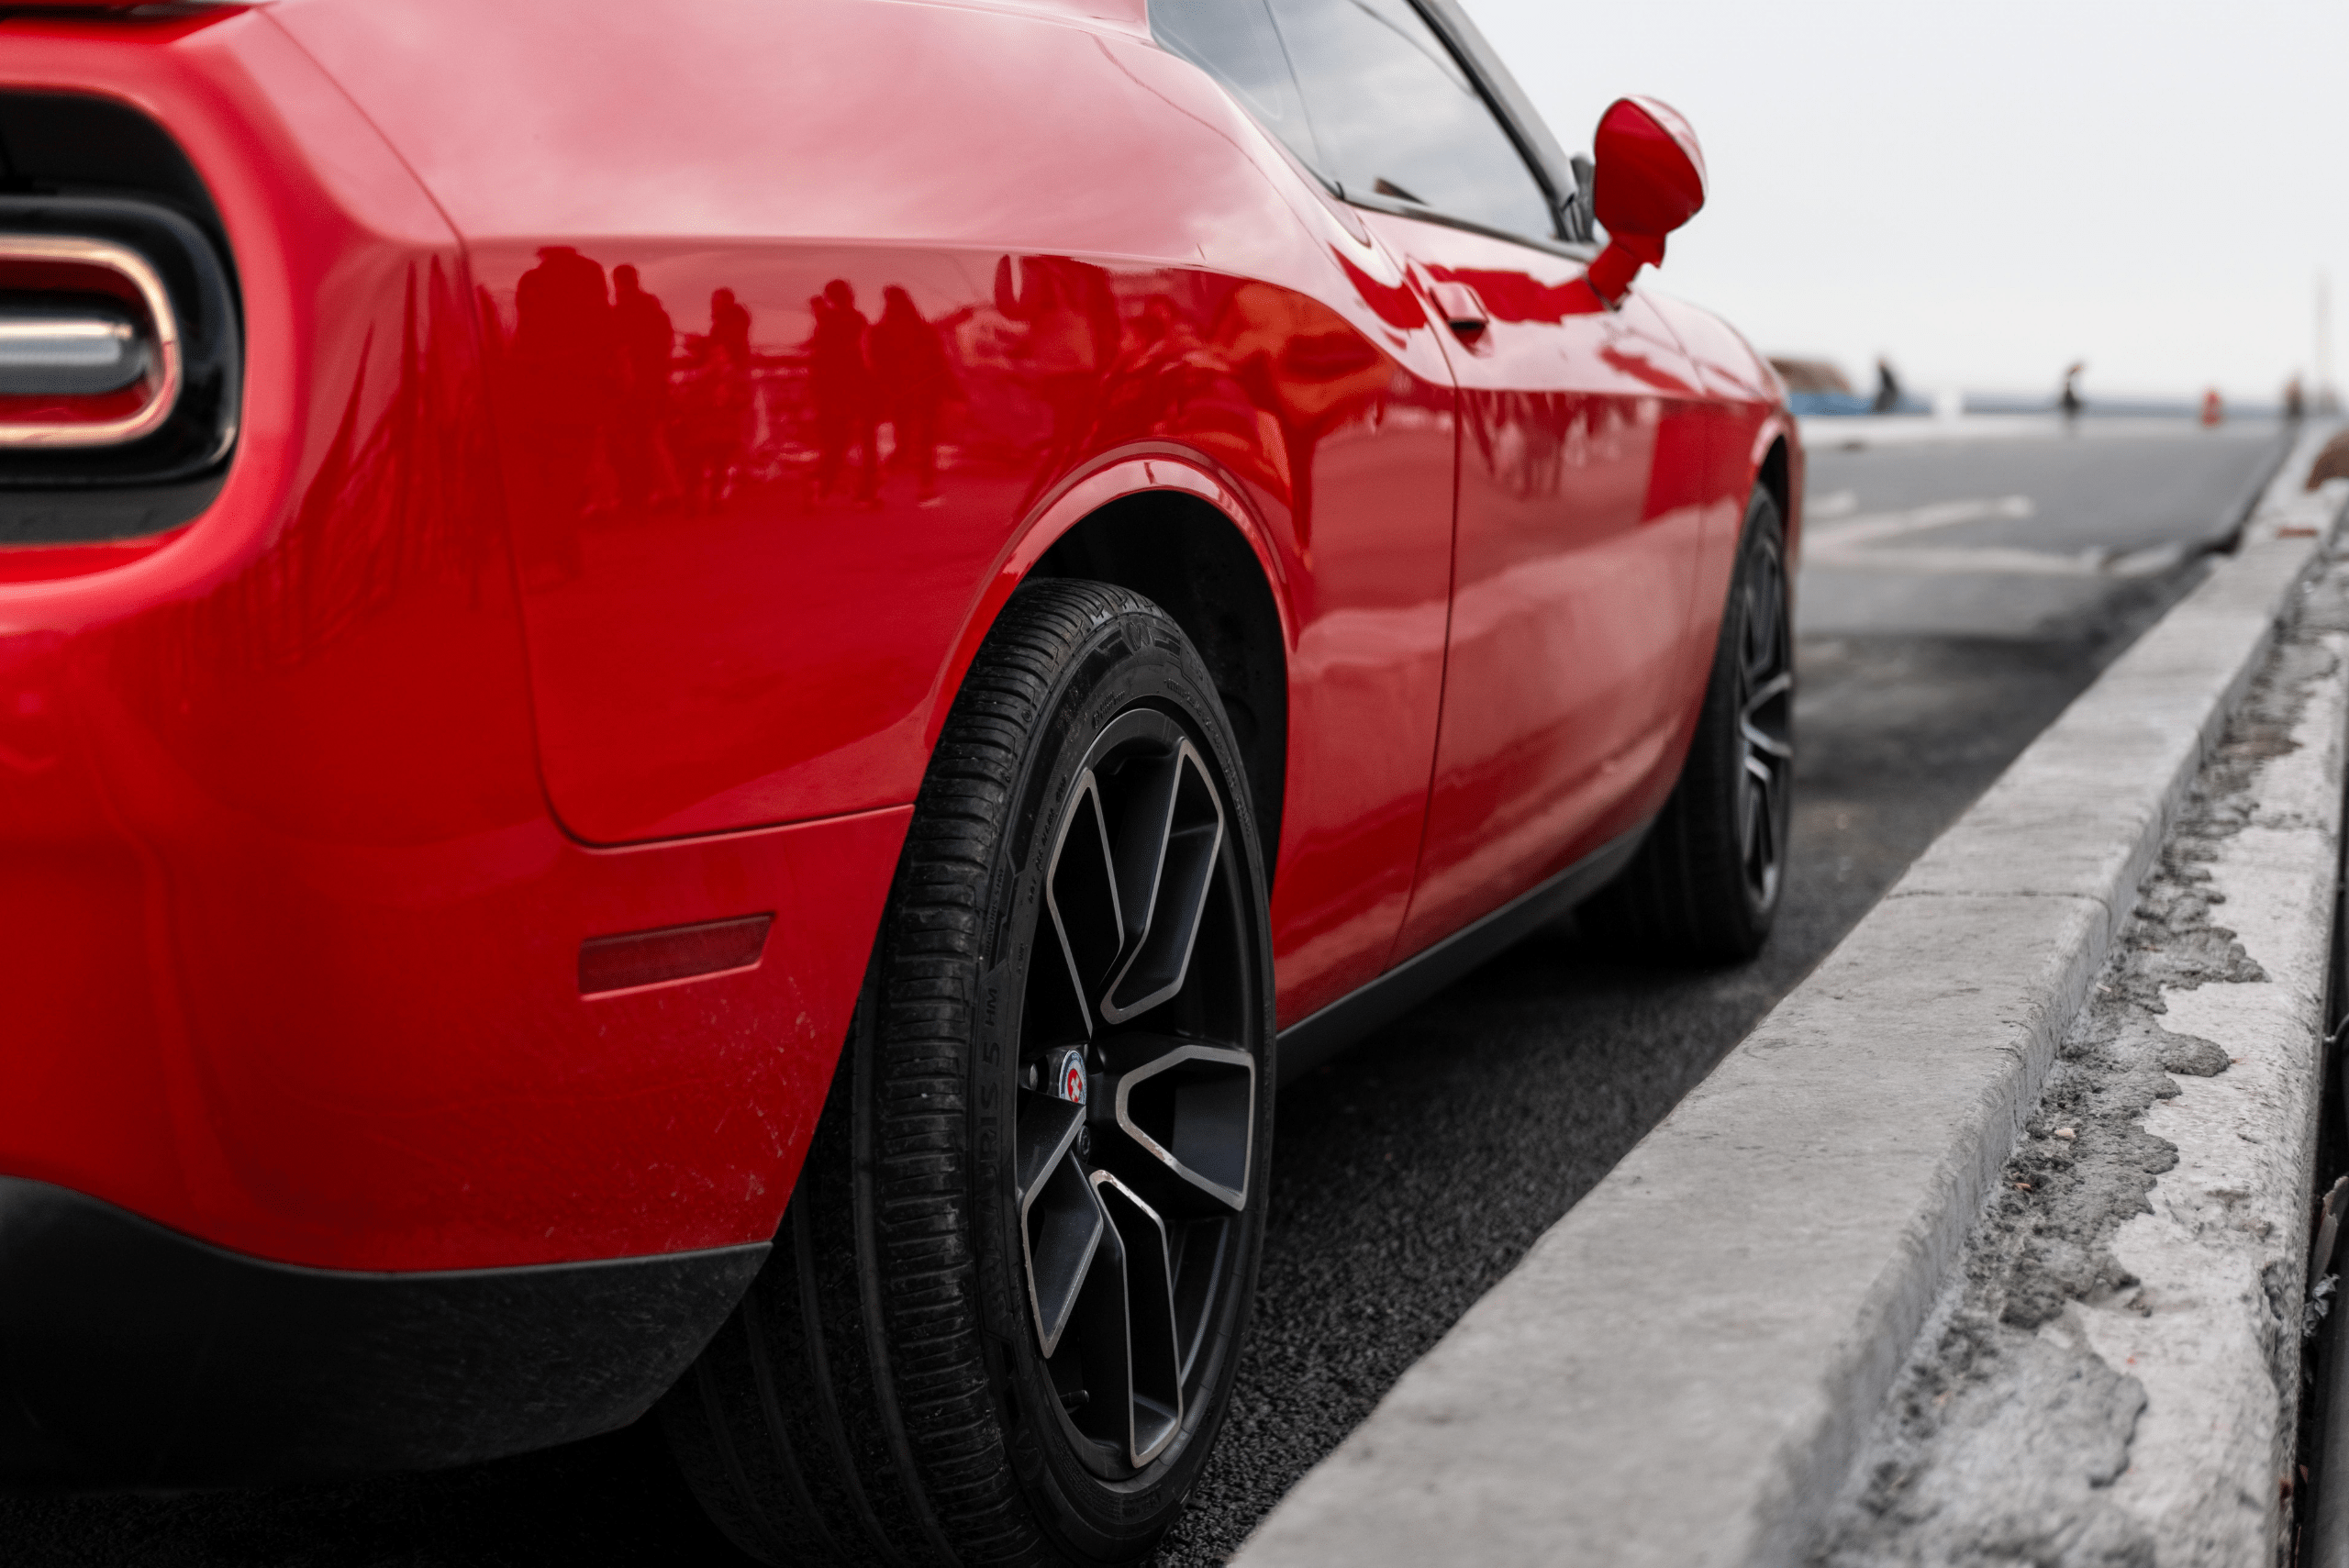
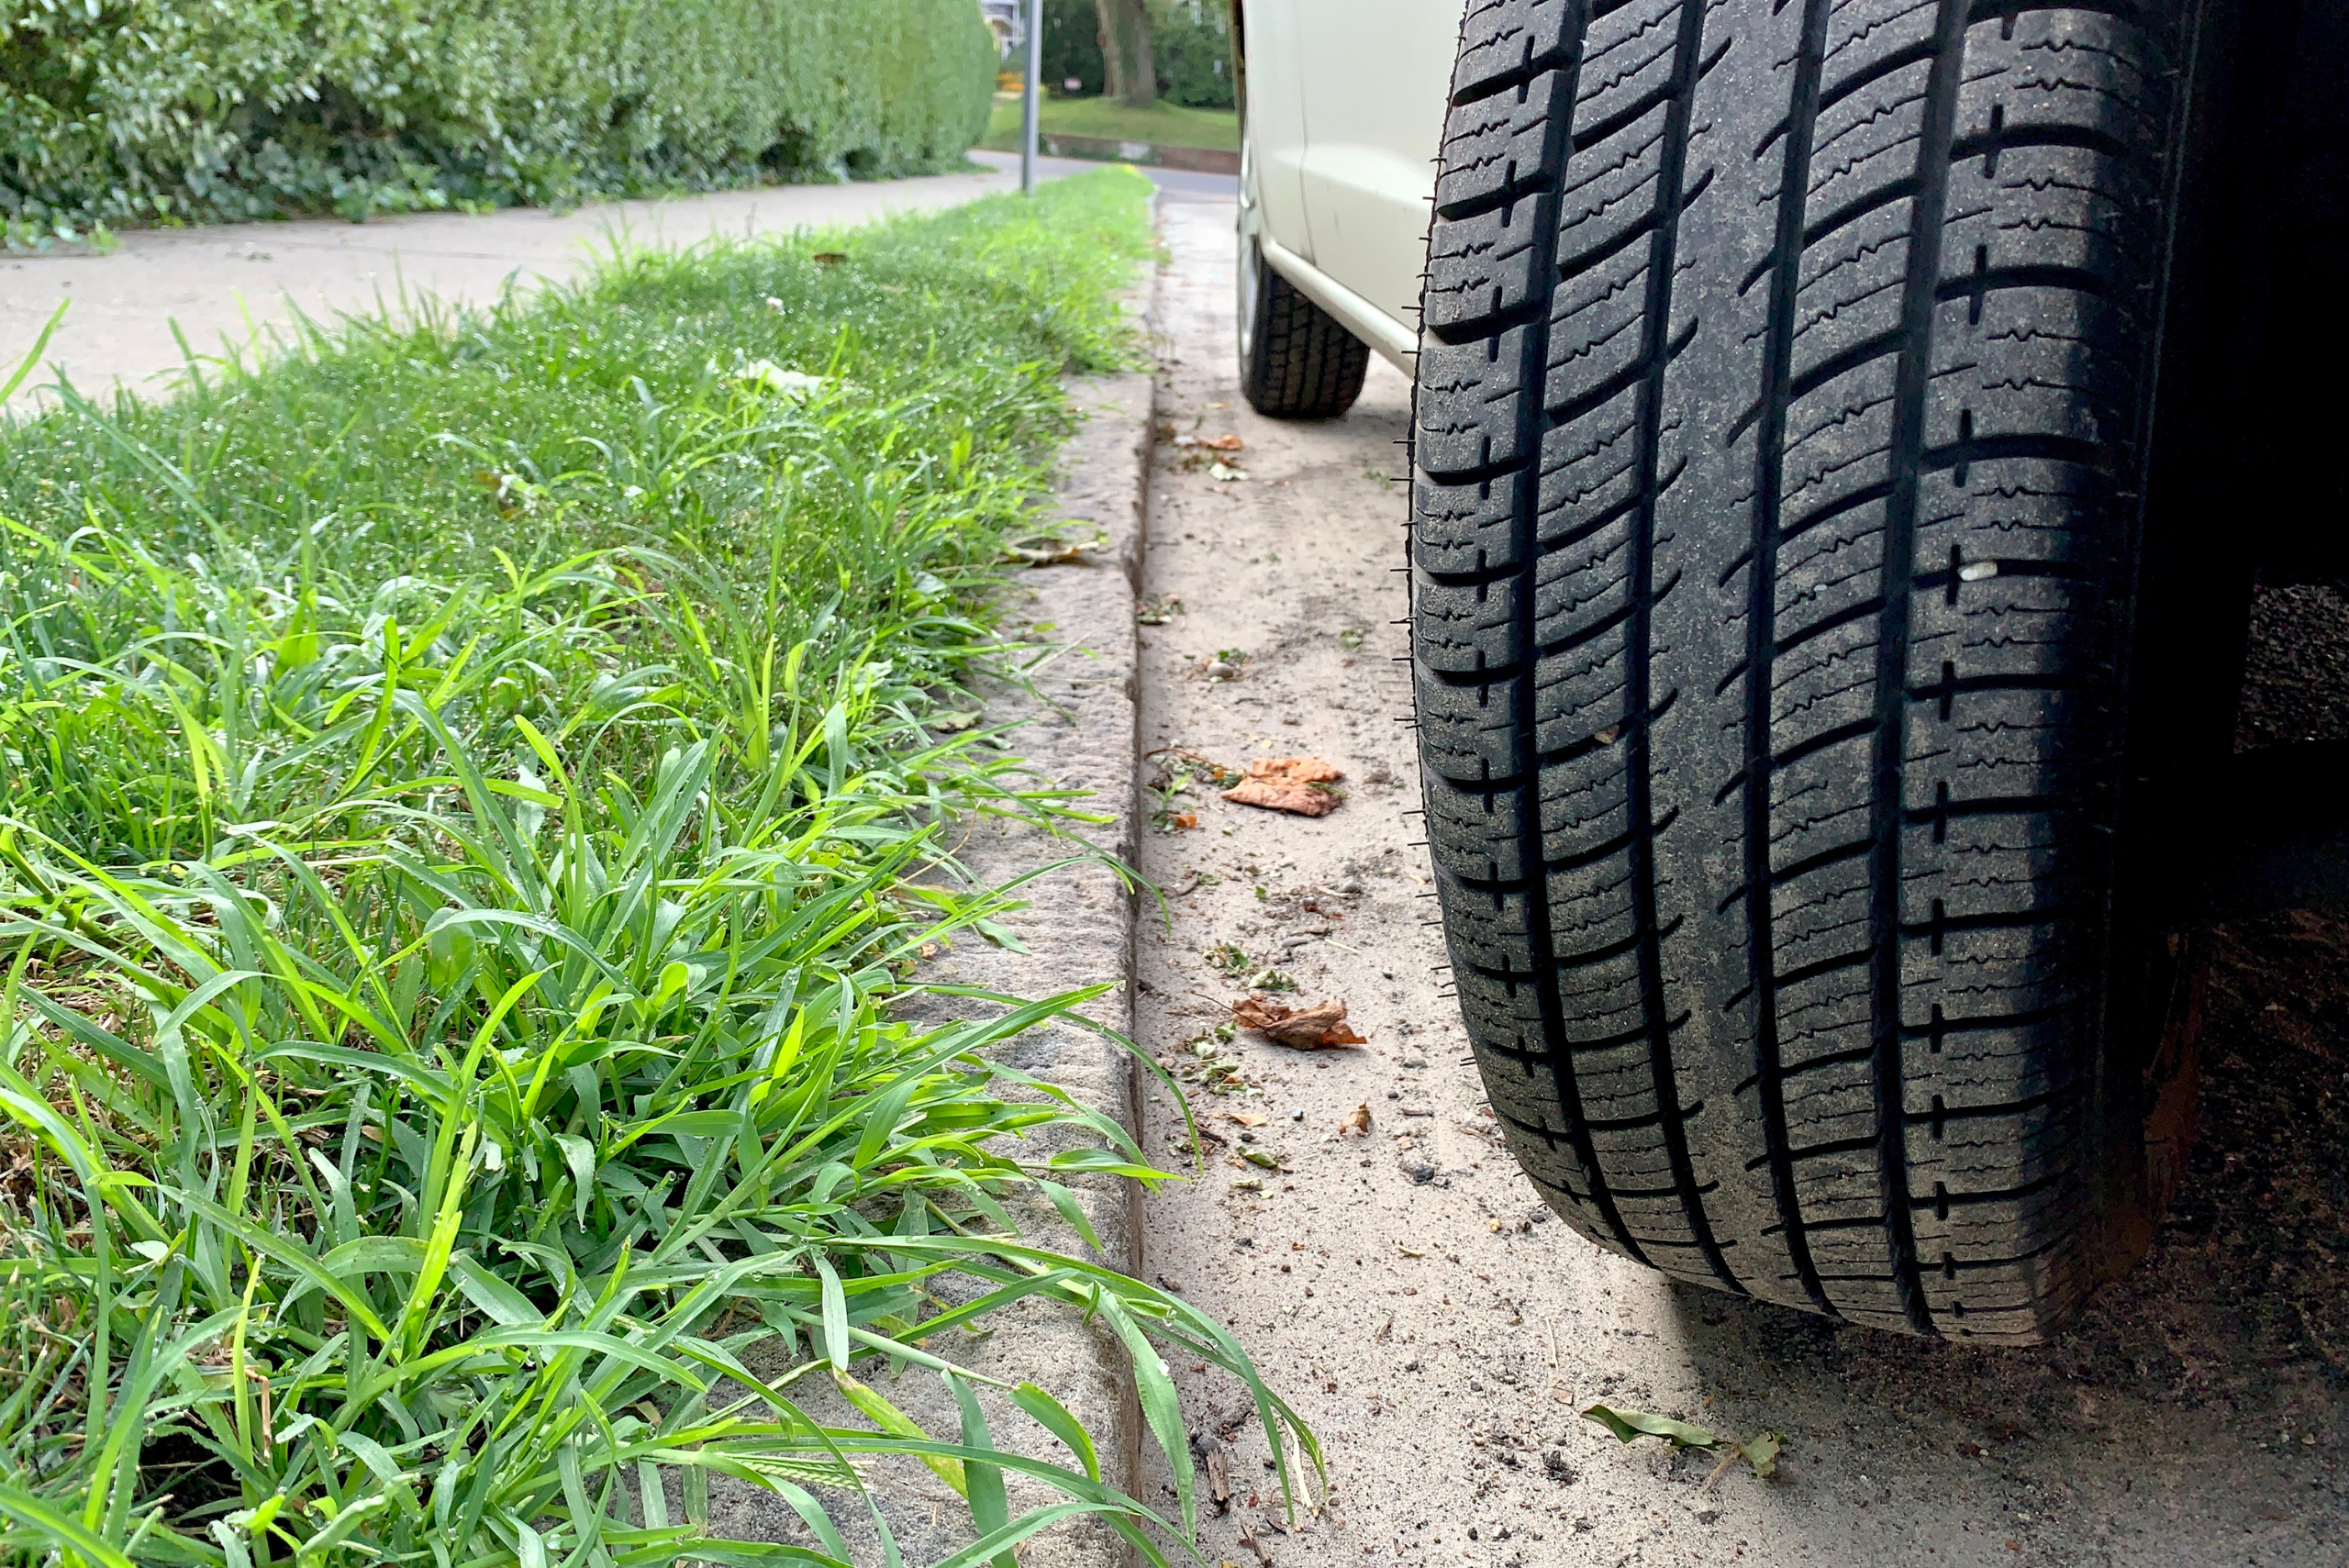
Once your wheels are repaired, it’s crucial to maintain their appearance with proper care. Start by washing them regularly with non-abrasive cleaners to remove dirt and grime without causing additional scratches. Avoid aggressive driving, especially near curbs or rough terrain, as these can quickly undo your hard work.
For added protection, consider investing in wheel protectors or rim guards. These simple additions provide a buffer against potential damage, preserving the integrity of your wheels. By combining consistent cleaning with mindful driving habits, you can ensure your repaired wheels remain in excellent condition for years to come.
Related Articles
- 5 Car Repairs You’re Overpaying For (And How to DIY Them for Less)
- DIY Method to Stop Rust from Spreading on Your Car
- Easy Hacks for Loosening a Rusted Car Battery Terminal
Fixing minor curb rash on your car wheels is a rewarding DIY project that can save you the expense of professional repairs. By following these detailed steps and taking care of your wheels, you can restore their appearance and protect your vehicle’s value. With patience and attention to detail, your wheels will look as good as new, leaving you proud of the effort you’ve invested in their upkeep.

