How to Fix Faded or Cracked Caulk Around Windows and Doors
Faded, cracked, or peeling caulk around windows and doors is more than just an eyesore. Over time, damaged caulk can lead to air drafts, water leaks, and even mold growth, compromising your home’s energy efficiency and comfort. Thankfully, restoring caulk around windows and doors is a straightforward project you can tackle in just a few steps. This guide will walk you through everything you need to know about fixing faded or cracked caulk, helping to protect your home from the elements while enhancing its overall appearance.
Identifying Signs of Faded or Cracked Caulk
When it comes to maintaining caulk, the first step is knowing what to look for. Faded caulk often appears discolored or chalky, while cracked caulk can show visible gaps or splits. If you notice moisture inside window sills or doors, drafts, or increased energy bills, it might be a sign that the caulk around your windows and doors is failing. Damaged caulk also allows for small pests to enter, potentially causing even more issues.
Assessing the damage can help you determine the severity of the problem. In cases where caulk is only slightly faded, a simple touch-up may suffice. However, if you see deep cracks, peeling, or mold, it’s likely time to remove the old caulk and start fresh to ensure a long-lasting seal.
Removing Old Caulk Safely and Effectively
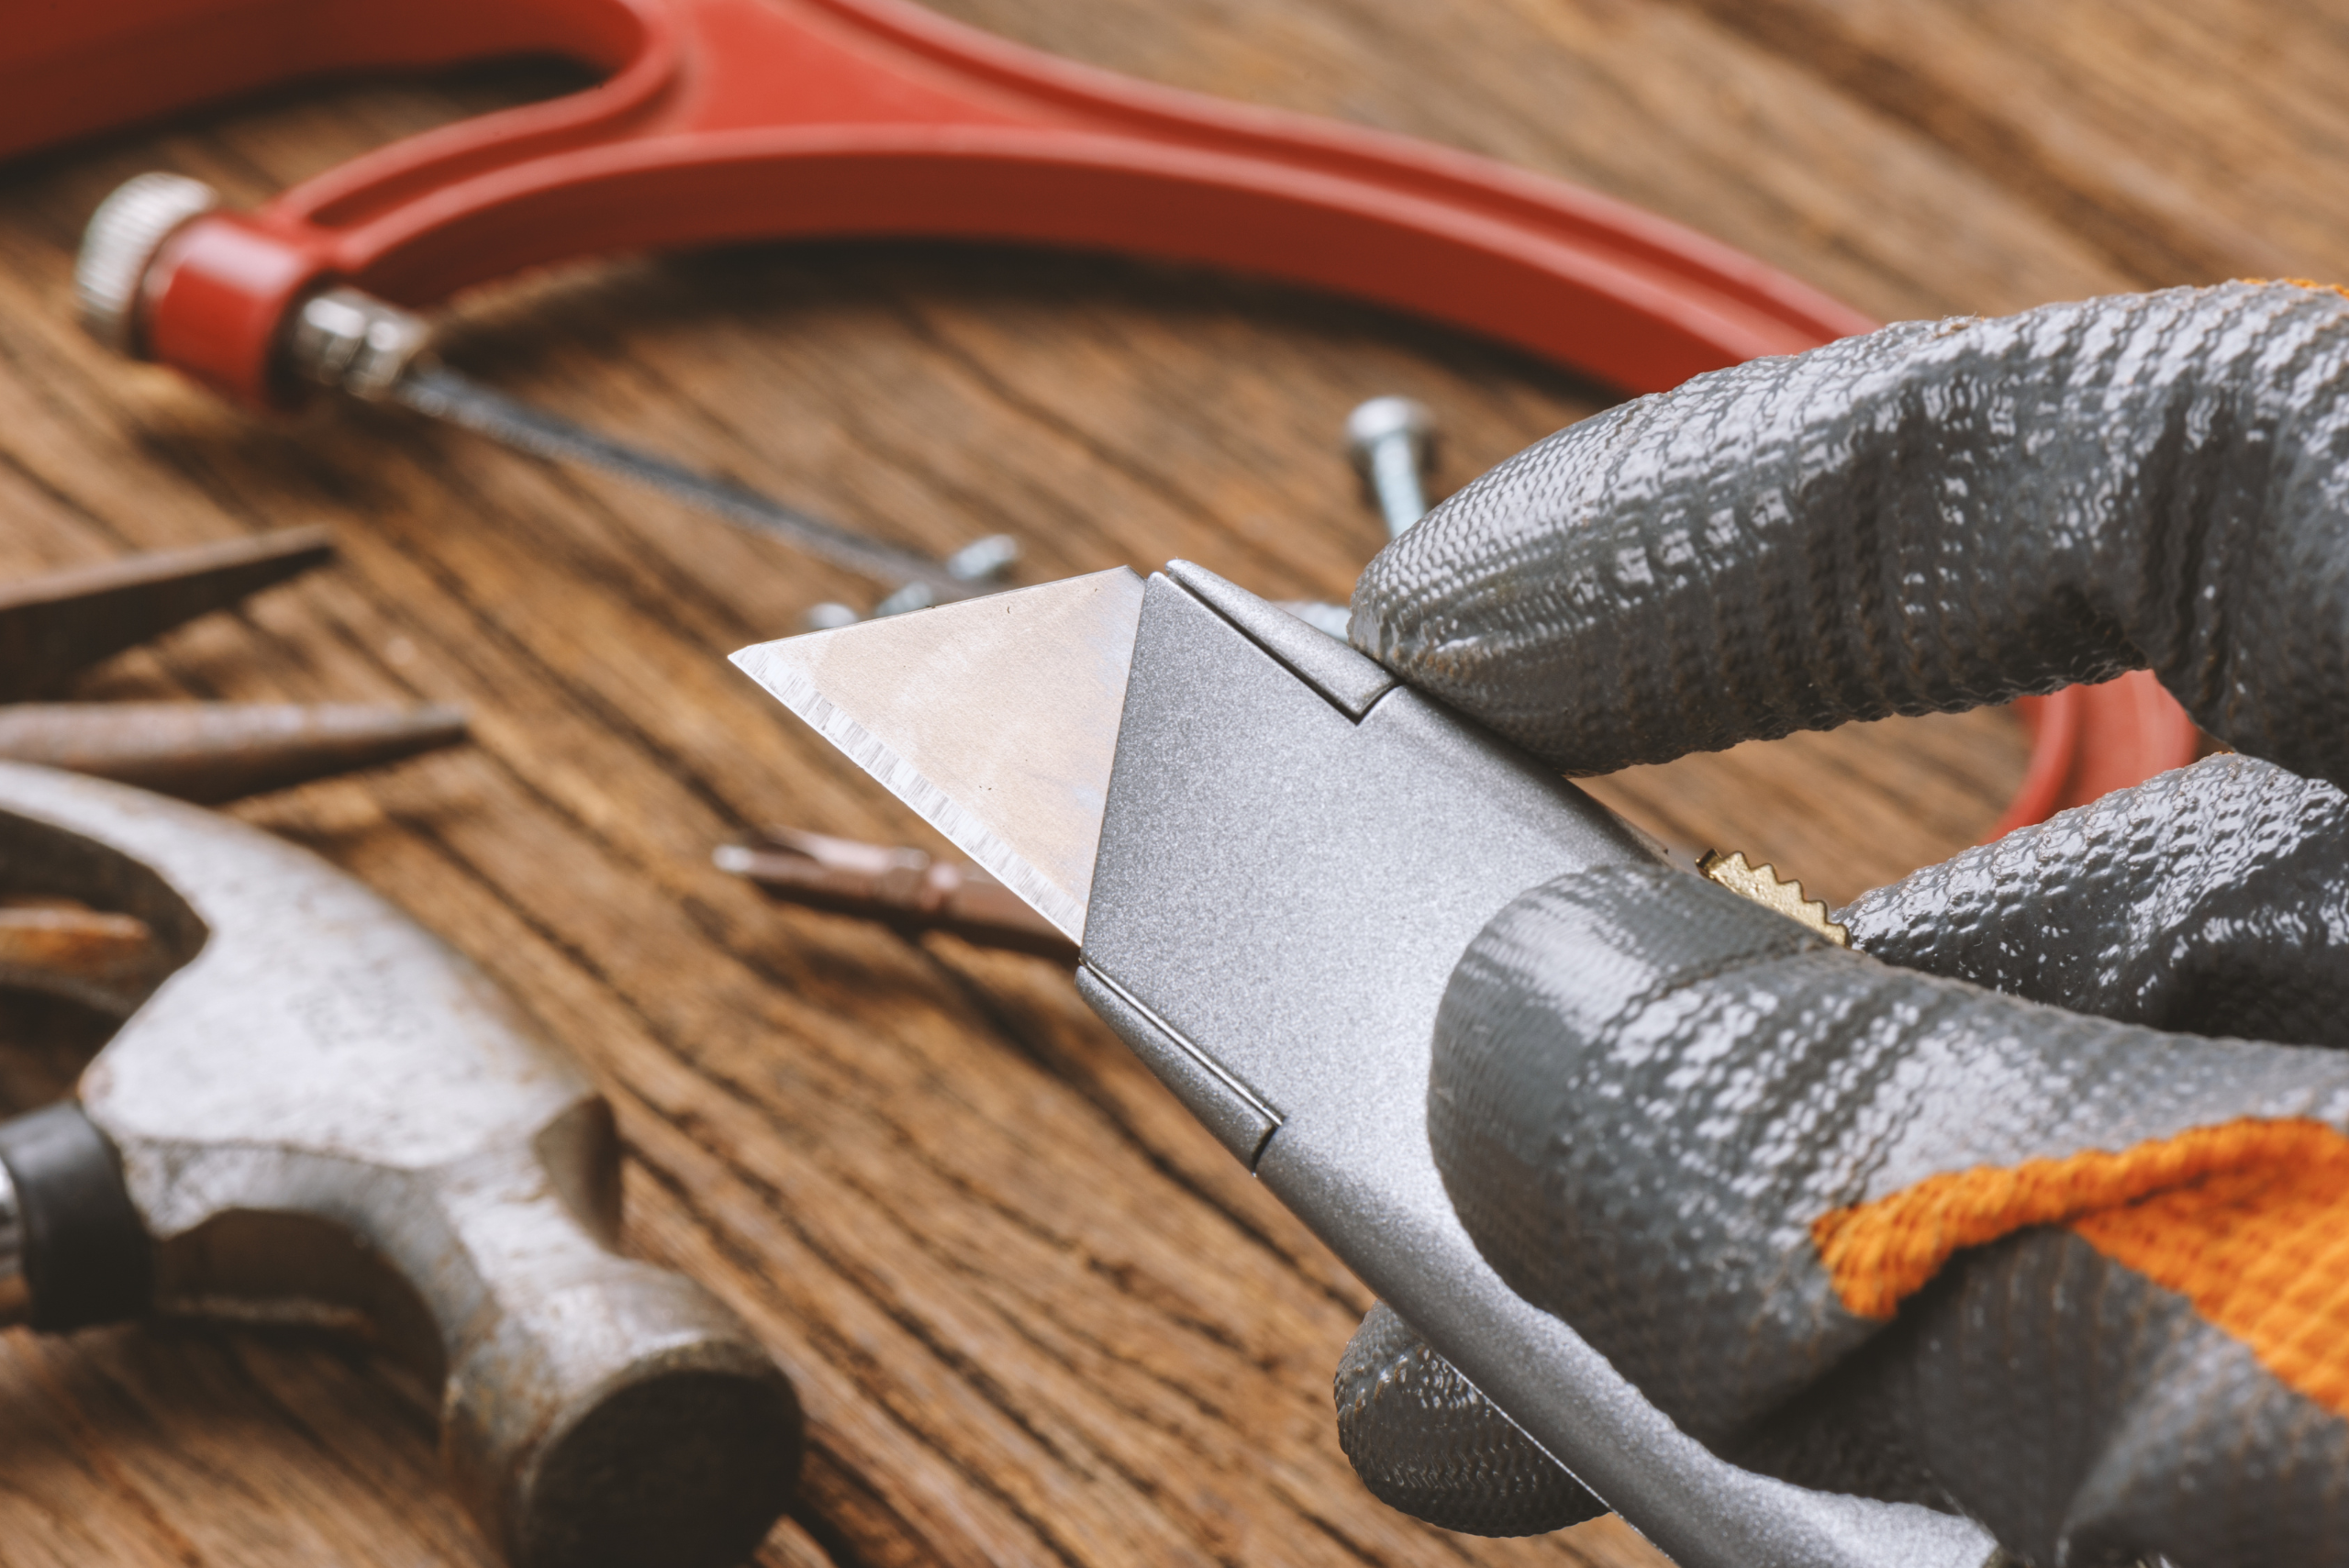
Removing old, deteriorated caulk is a critical step before applying new sealant. To start, use a utility knife or a specialized caulk removal tool to carefully cut and scrape away the old caulk, being cautious not to damage surrounding surfaces. Applying a caulk softener can make the removal process easier and reduce the risk of scratching windows or door frames.
After scraping off the old caulk, thoroughly clean the area to remove any leftover residue. Rubbing alcohol or a mild detergent works well to eliminate any remaining oils or particles, ensuring the new caulk will adhere properly. A clean, dry surface is essential for the new application to bond effectively.
Choosing the Right Type of Caulk for Windows and Doors
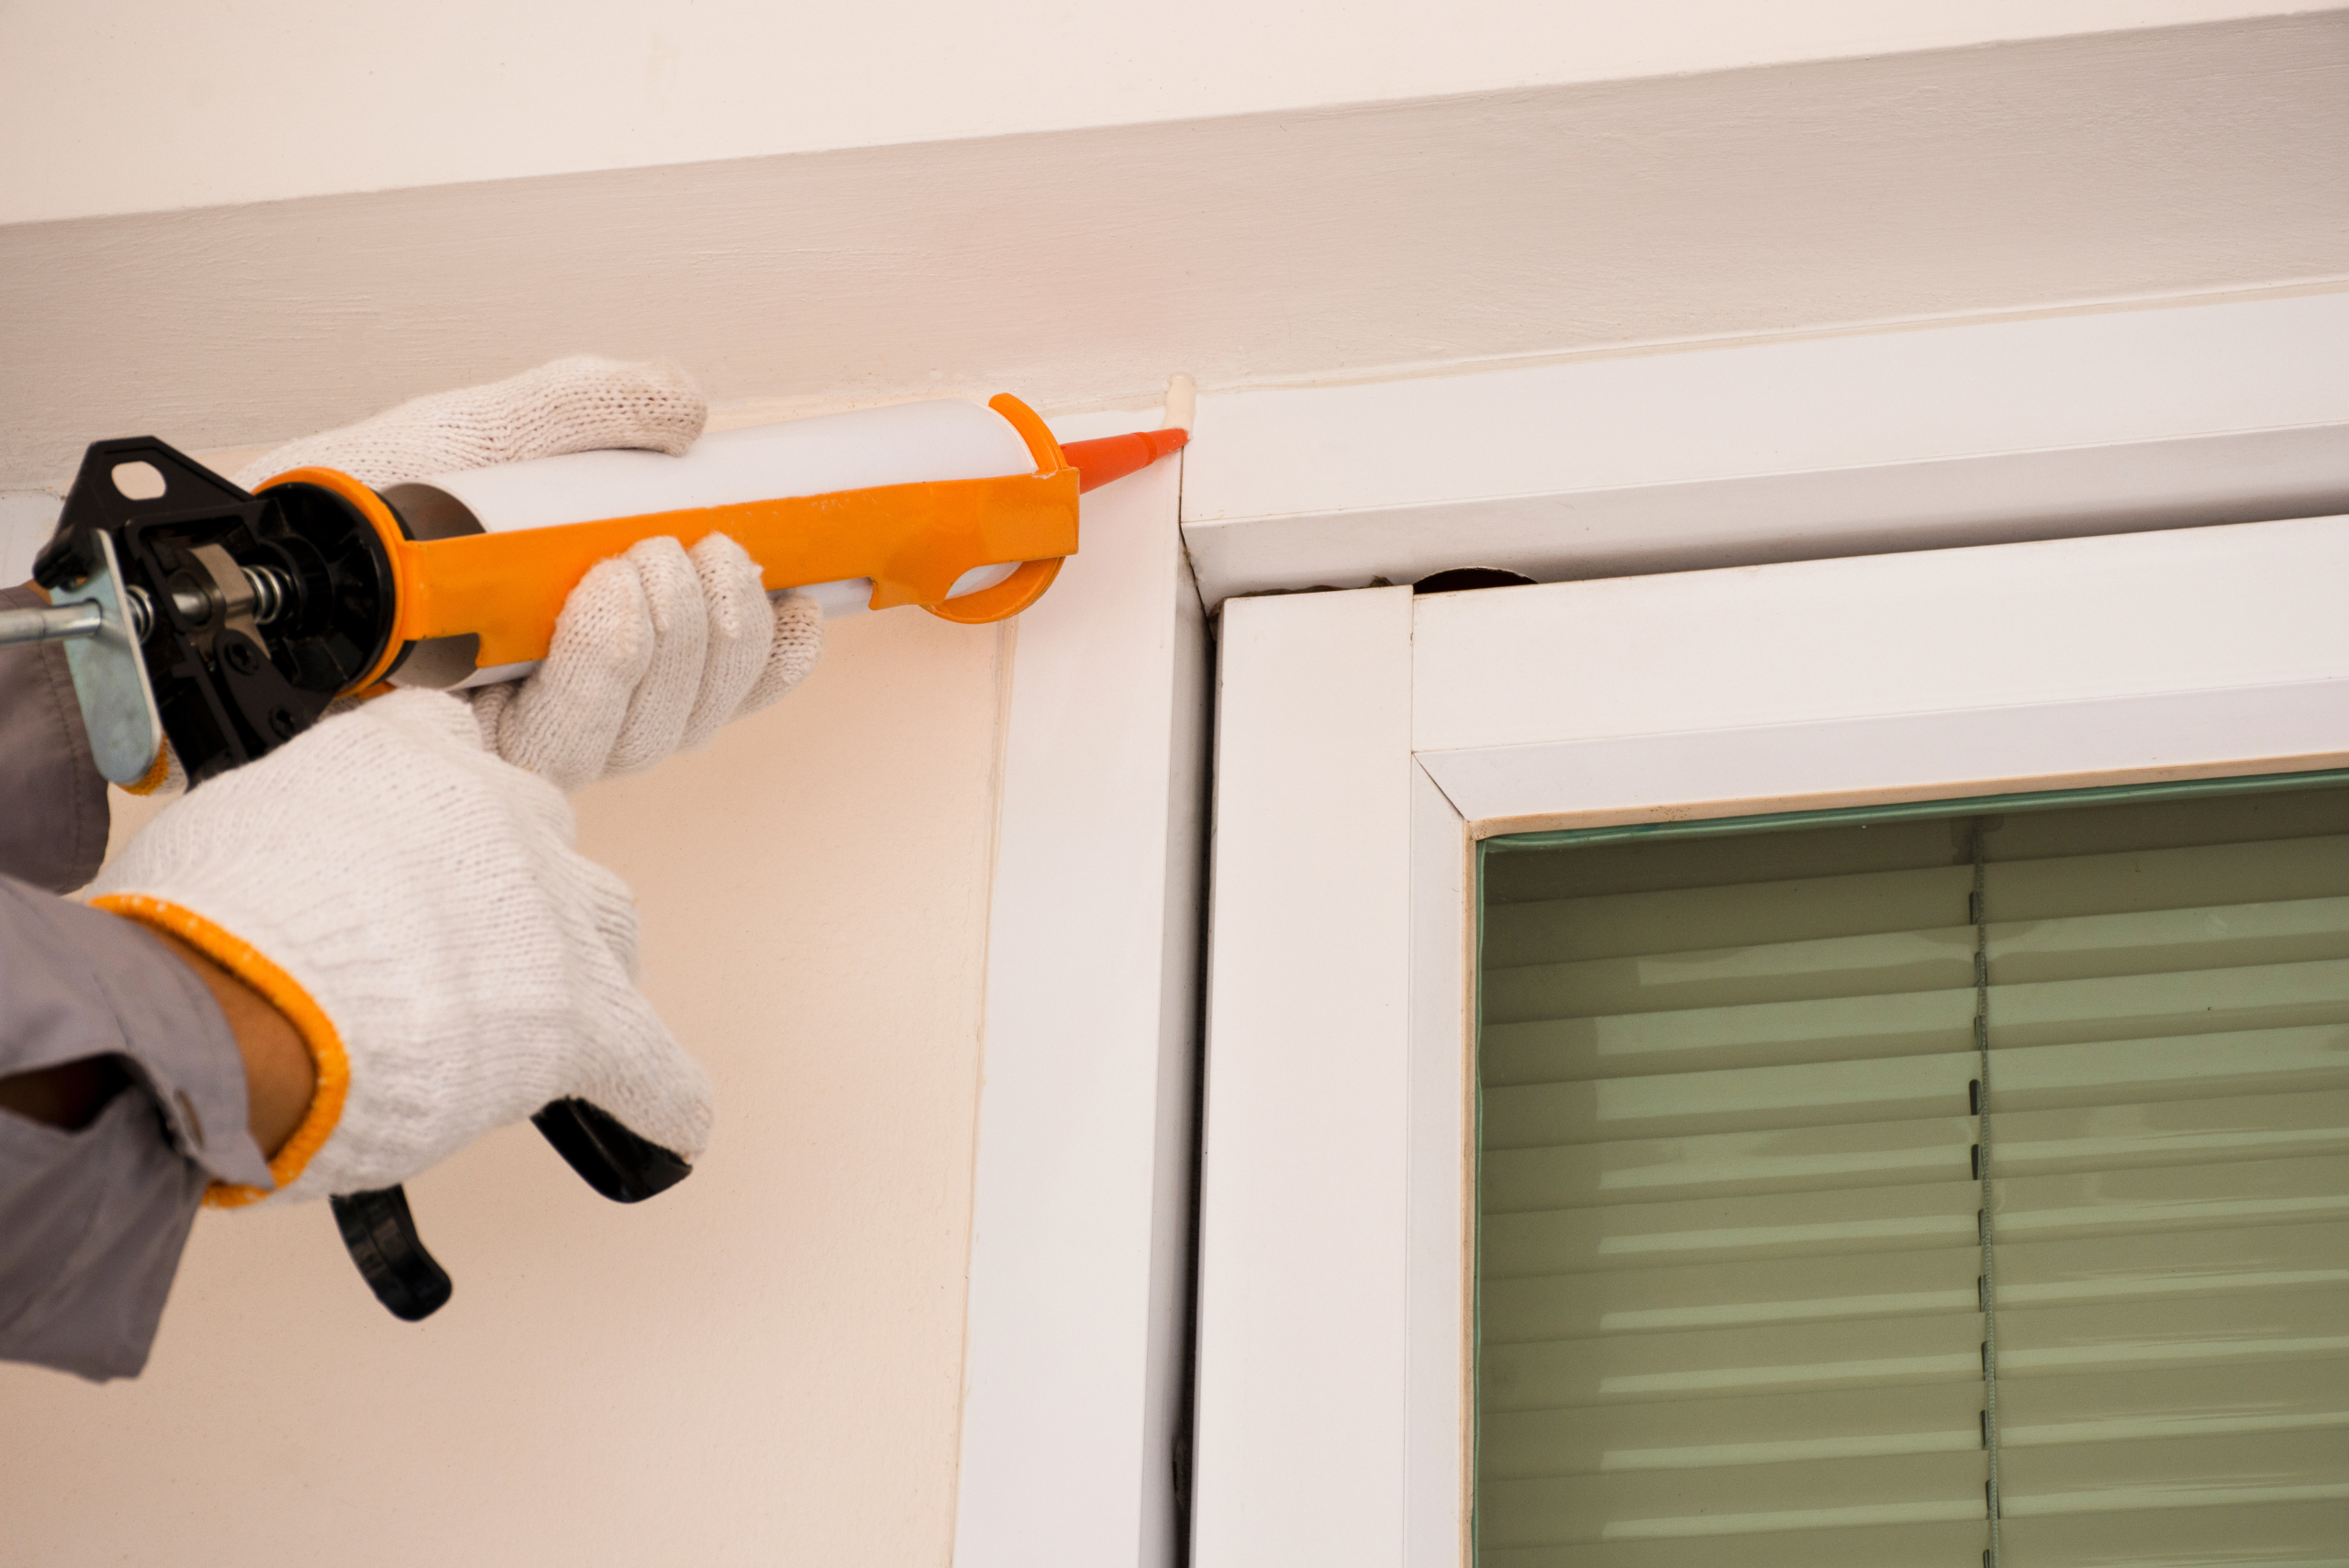
Not all caulk is created equal, and selecting the right type is key to ensuring a long-lasting seal. For exterior windows and doors, silicone-based caulks are often preferred due to their durability and resistance to extreme temperatures and moisture. However, if you’re working on interior windows and doors, latex or acrylic caulks may be a better fit, as they are easier to clean up and paint over.
Consider caulk specifically designed for window and door use, as it typically has enhanced flexibility to accommodate minor shifting and settling. Weatherproof and mold-resistant caulk are also ideal for high-humidity areas, such as bathroom windows or doors near outdoor elements, as they add an extra layer of protection.
Applying New Caulk for a Strong, Seamless Seal
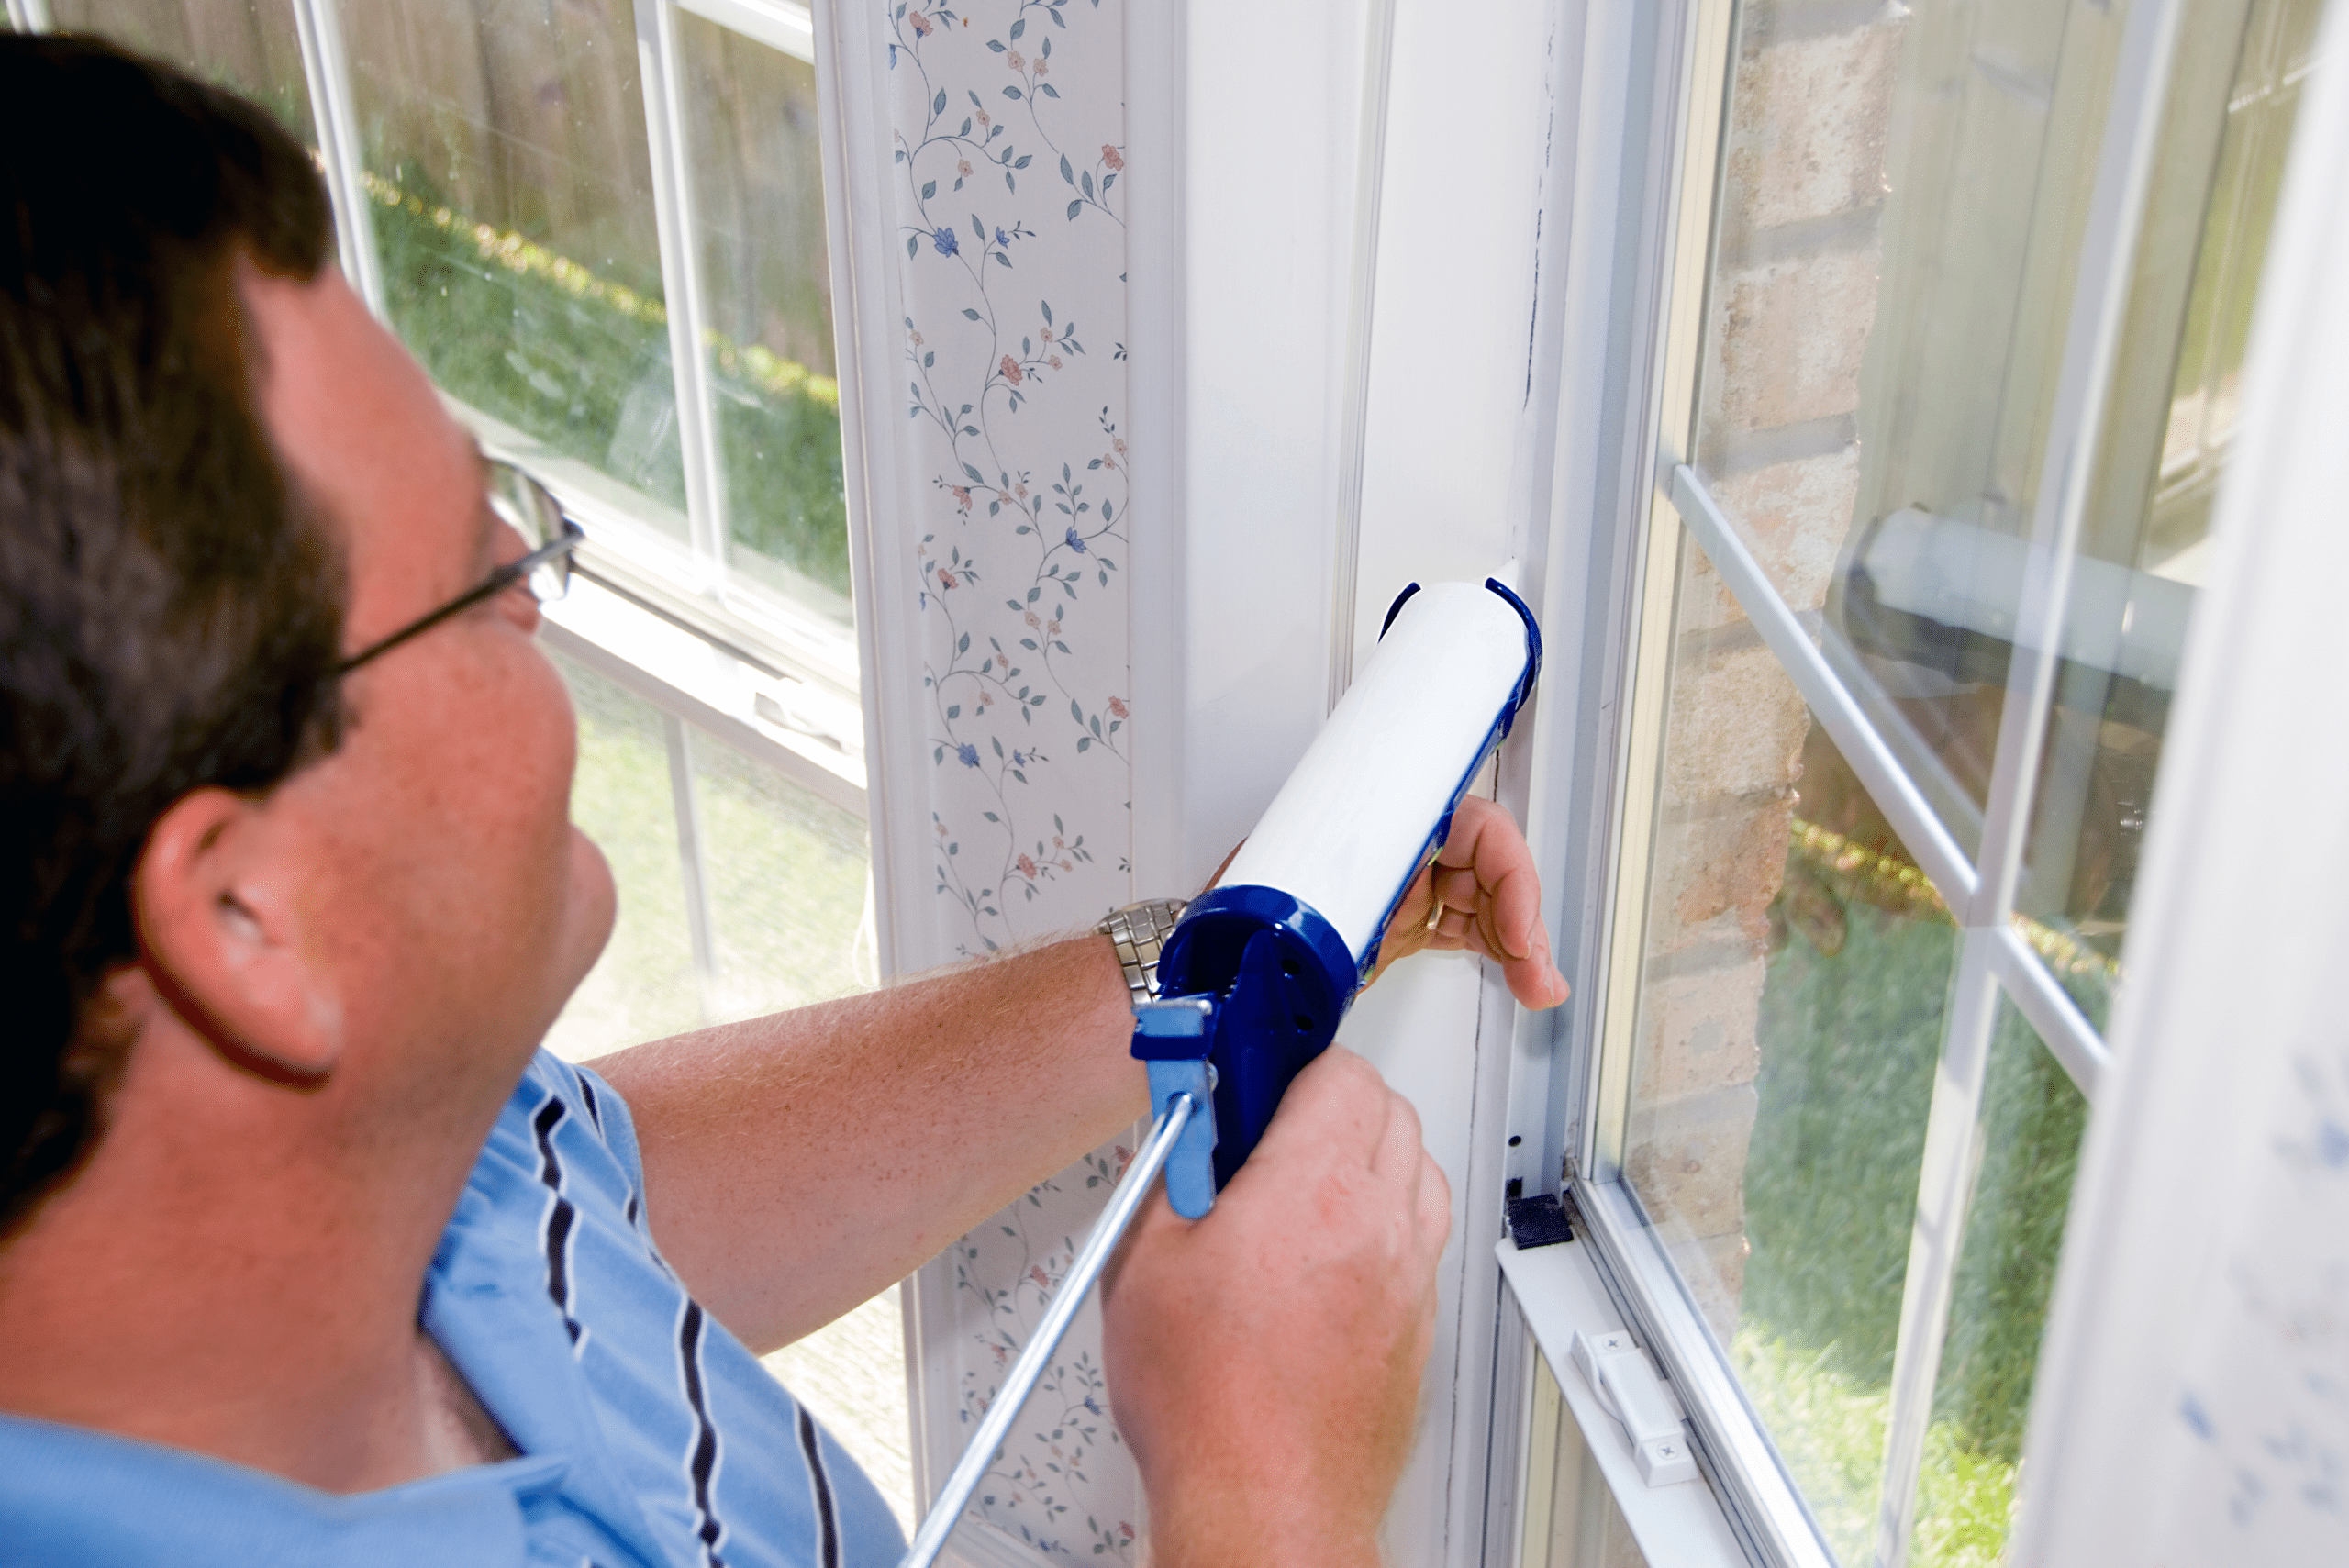
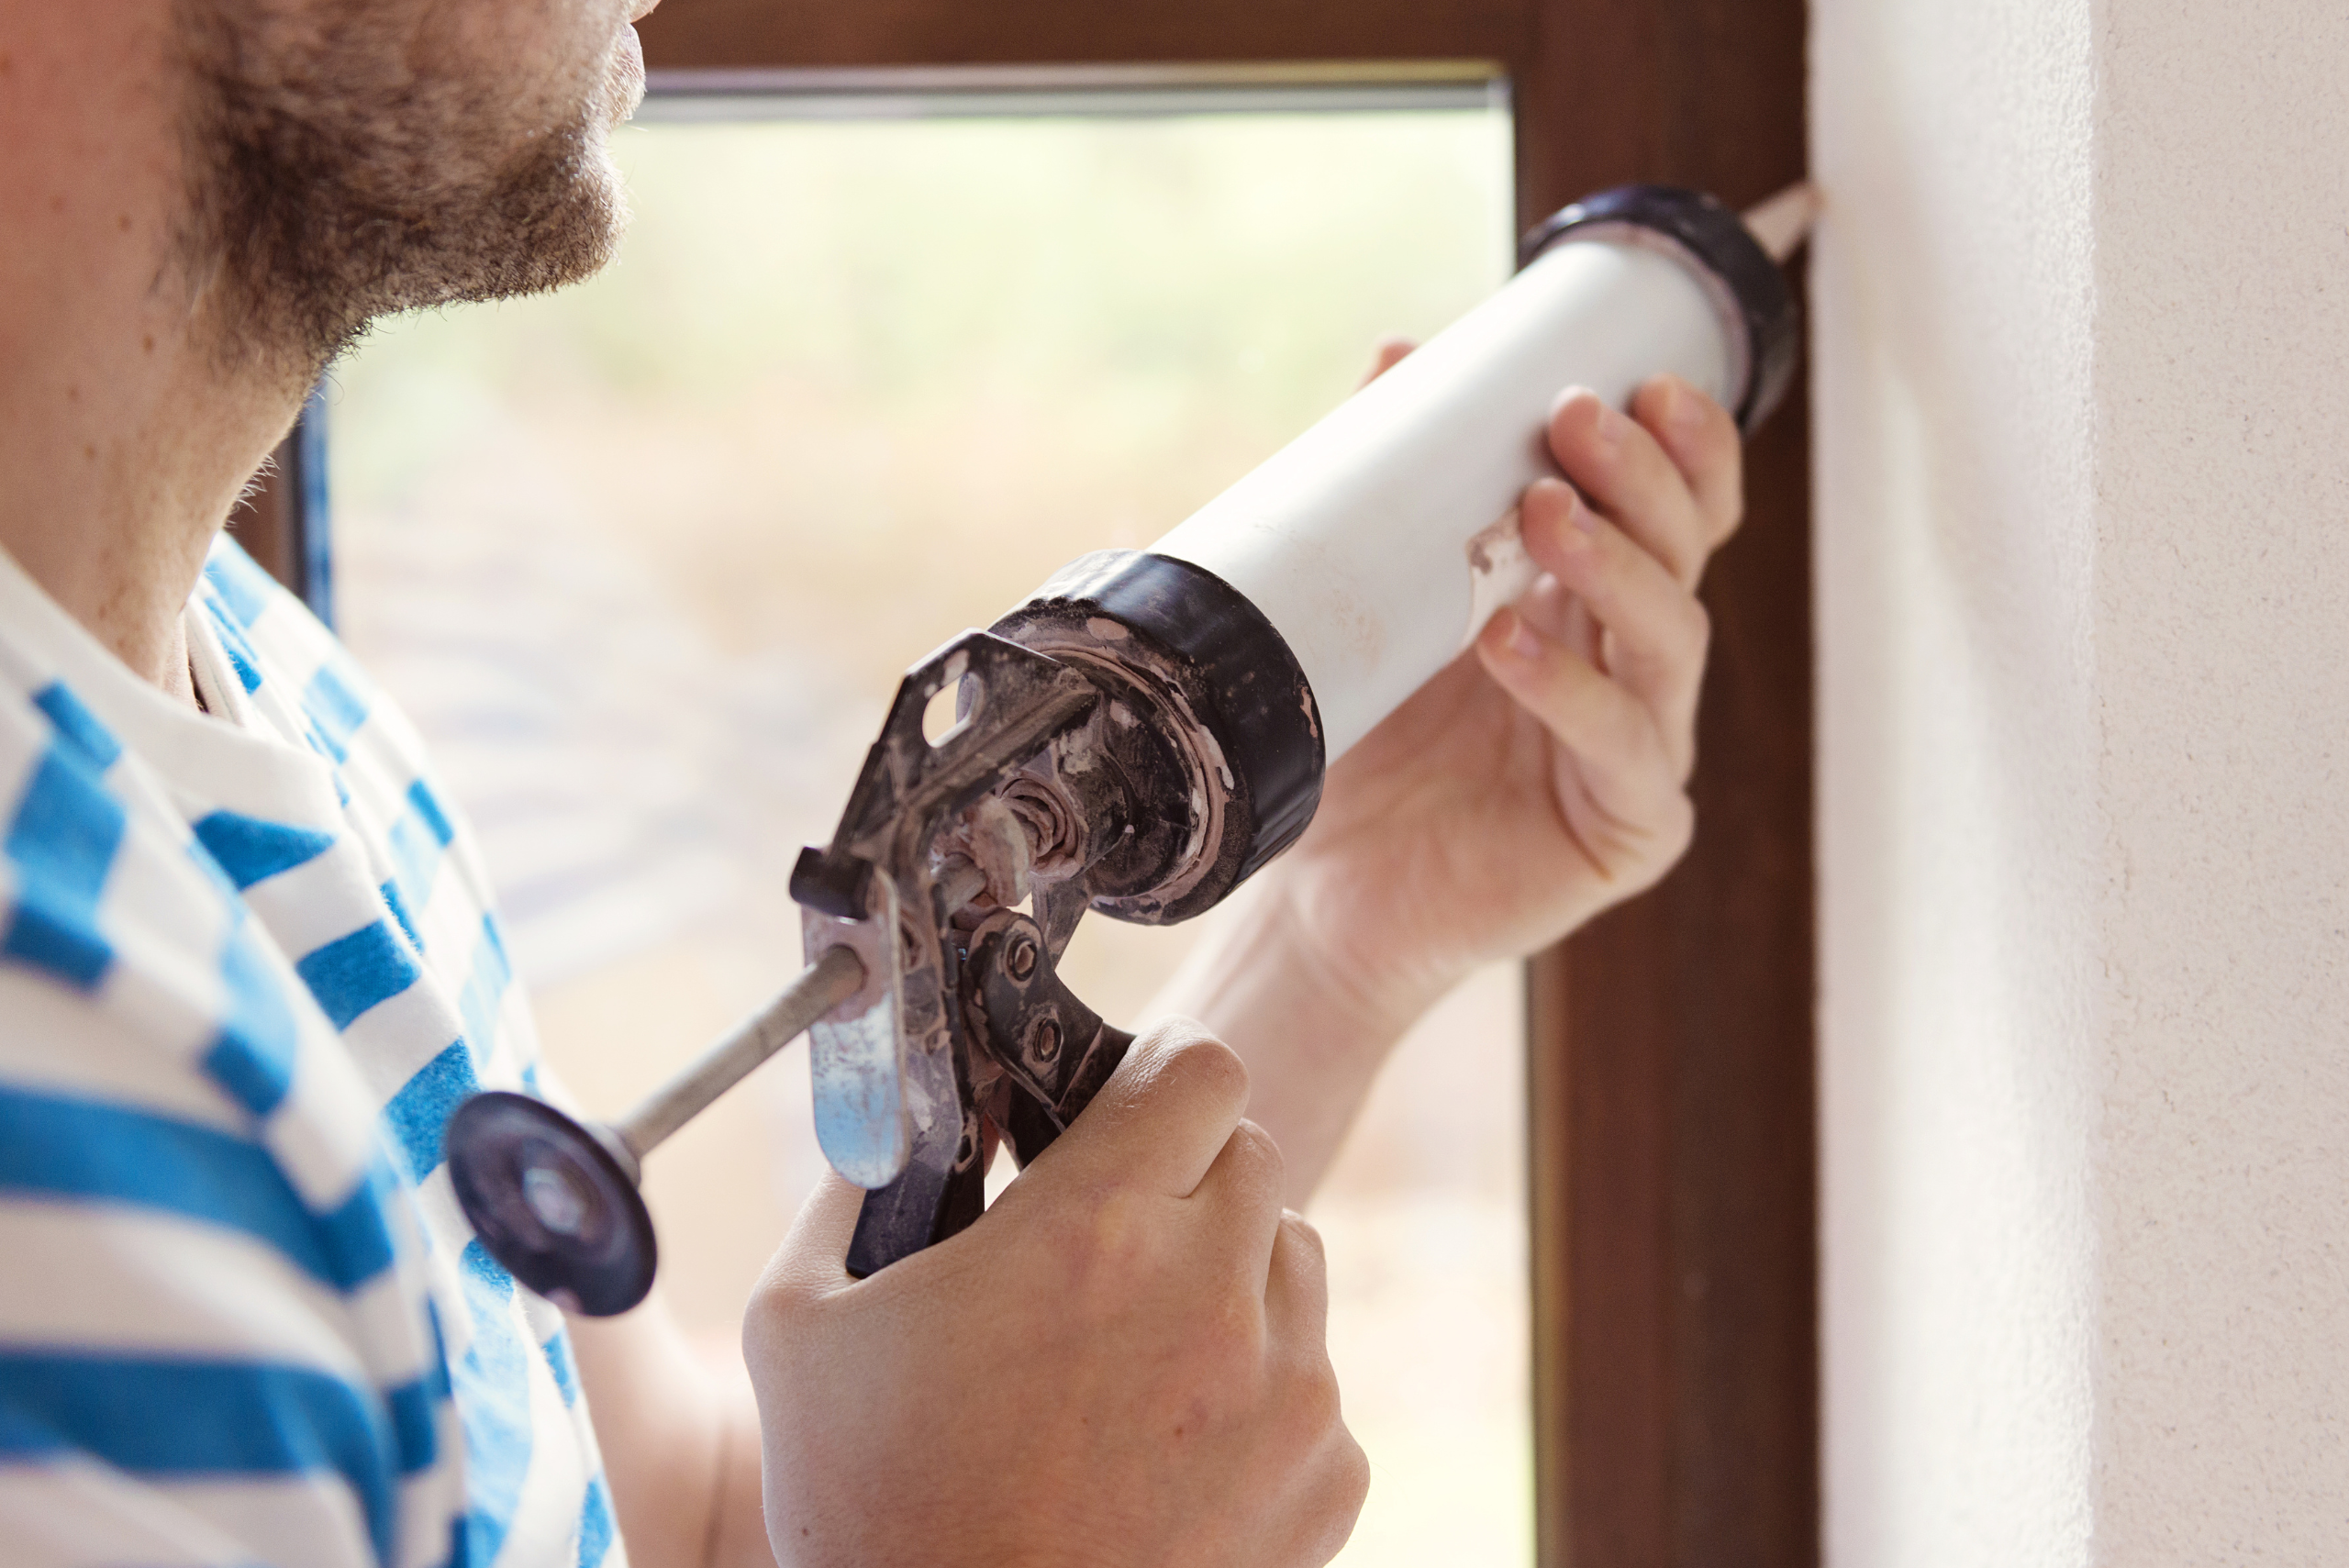
With the surface prepped and the right caulk on hand, it’s time to apply the new sealant. Cut the tip of the caulk tube at a 45-degree angle to allow for a smooth, controlled application. Begin at one corner, squeezing the tube steadily while moving along the joint. Aim to apply an even bead of caulk along the entire seam.
After laying the bead, use a caulk smoothing tool or your finger to press the caulk into the gap, ensuring a seamless, watertight seal. Be sure to clean up any excess caulk right away for a professional-looking finish. Allow the caulk to dry for the recommended time, usually 24 hours, to ensure it forms a durable bond.
Tips for Maintaining Caulk Around Windows and Doors
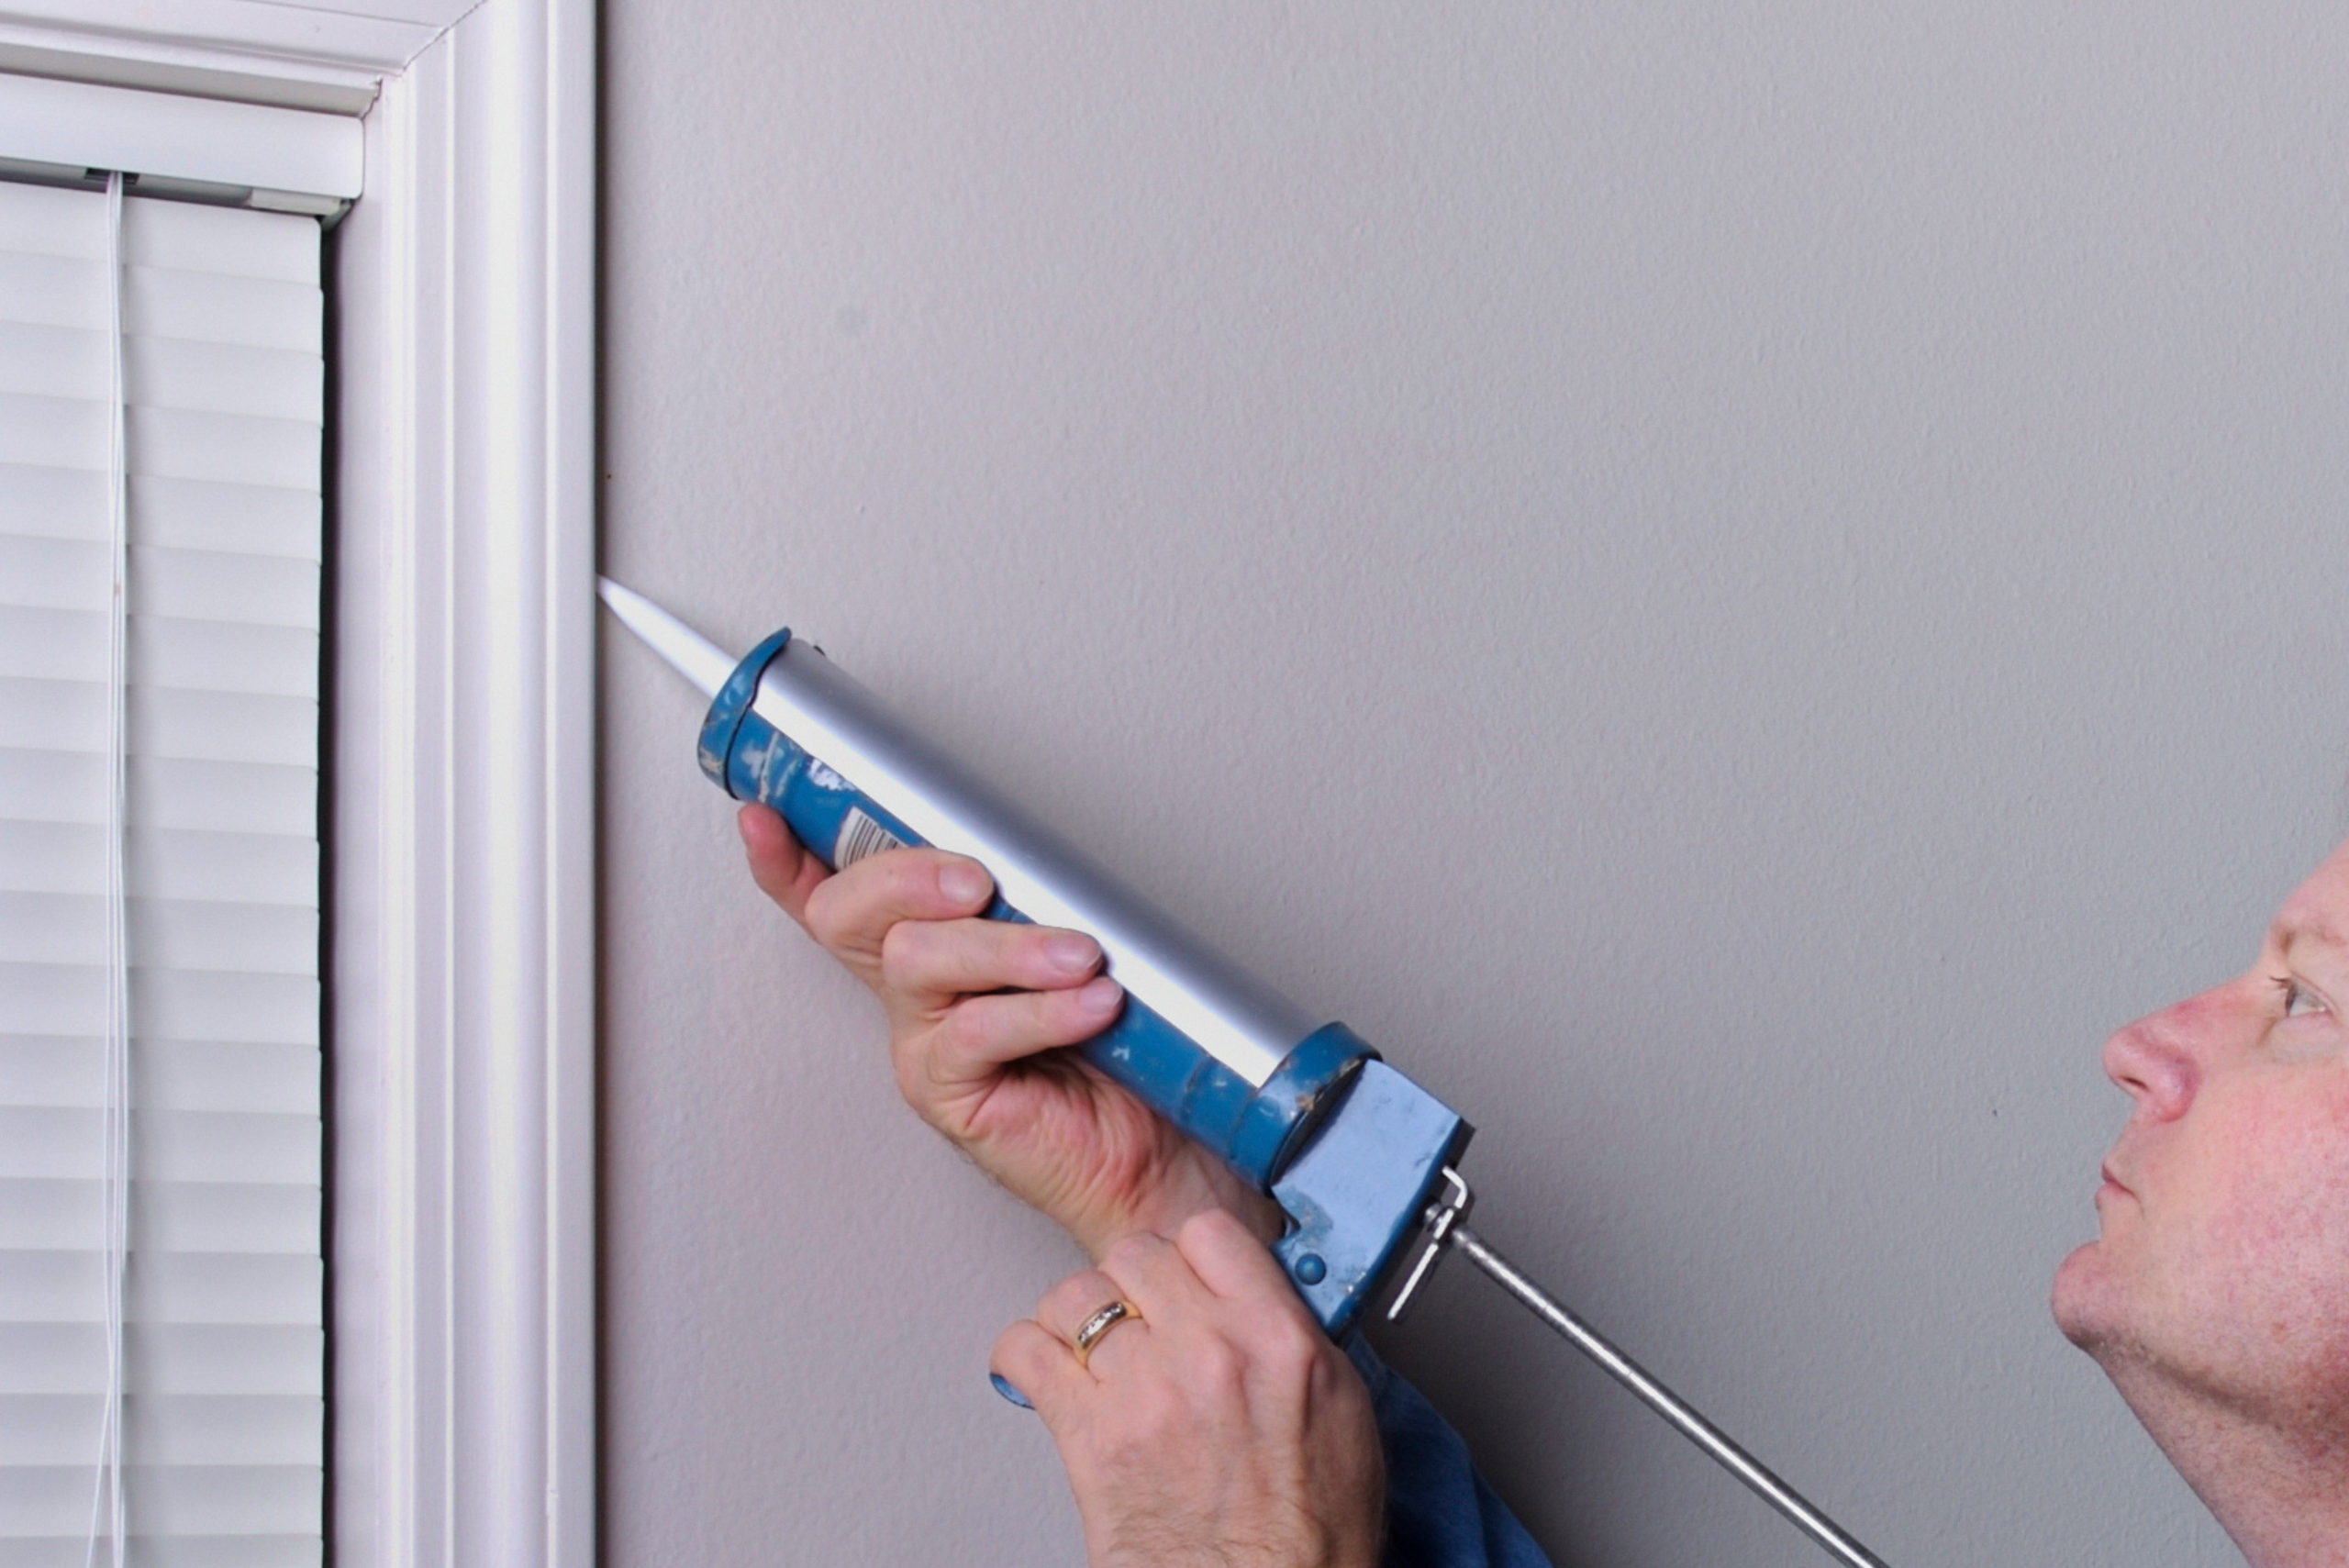
Regular maintenance can help extend the life of the caulk around your windows and doors. A few times a year, inspect the caulk for any signs of cracking, fading, or peeling, particularly before seasonal changes. Addressing minor damage early can save you from more extensive repairs in the future.
In addition, avoid using harsh chemicals or abrasive tools near caulked areas, as these can wear down the seal. Simple adjustments like placing weatherstripping around doors can reduce strain on caulked seams, adding another layer of energy efficiency to your home. By keeping up with these small maintenance habits, you can keep your caulk looking fresh and functional for years to come.
Related Articles
- How to Temporarily Patch a Roof Leak with Household Items
- Essential DIY Home Repairs For Every Homeowner
- How to Reattach Loose Baseboards
Fixing faded or cracked caulk around windows and doors is a quick and effective way to enhance your home’s appearance, comfort, and energy efficiency. By following these steps—removing old caulk, choosing the right type, applying it correctly, and maintaining it regularly—you’ll ensure a durable, weather-tight seal that lasts. With just a bit of effort, you’ll keep drafts, leaks, and pests out, helping your home stay protected and comfortable year-round.
Ready to start your next project? Join our DIY community to receive tool tips, how-to guides, and exclusive creative insights. Subscribe to the ManMadeDIY newsletter now! Click here to unlock a world of hands-on inspiration.


