How to Fix Flickering Christmas Lights for a Season-Long Glow
There’s nothing quite as festive as a beautifully lit Christmas display, but flickering or non-working lights can quickly turn holiday cheer into frustration. Whether it’s a single string of lights or your entire display, flickering bulbs are often a simple fix that can save you time and money. This guide will walk you through the common causes and solutions to keep your lights glowing brightly throughout the season.
1. Check for Loose or Damaged Bulbs
One of the most common reasons for flickering Christmas lights is a loose or damaged bulb. Start by inspecting the light string to ensure every bulb is securely twisted into its socket. A bulb that’s slightly loose can disrupt the flow of electricity, causing flickering or outages.
If you notice any bulbs that appear damaged—such as cracked glass or a missing filament—replace them immediately with the correct type. Many modern light strings come with replacement bulbs, so check your original packaging or buy spares to have on hand.
2. Inspect the Wiring for Breaks or Frays
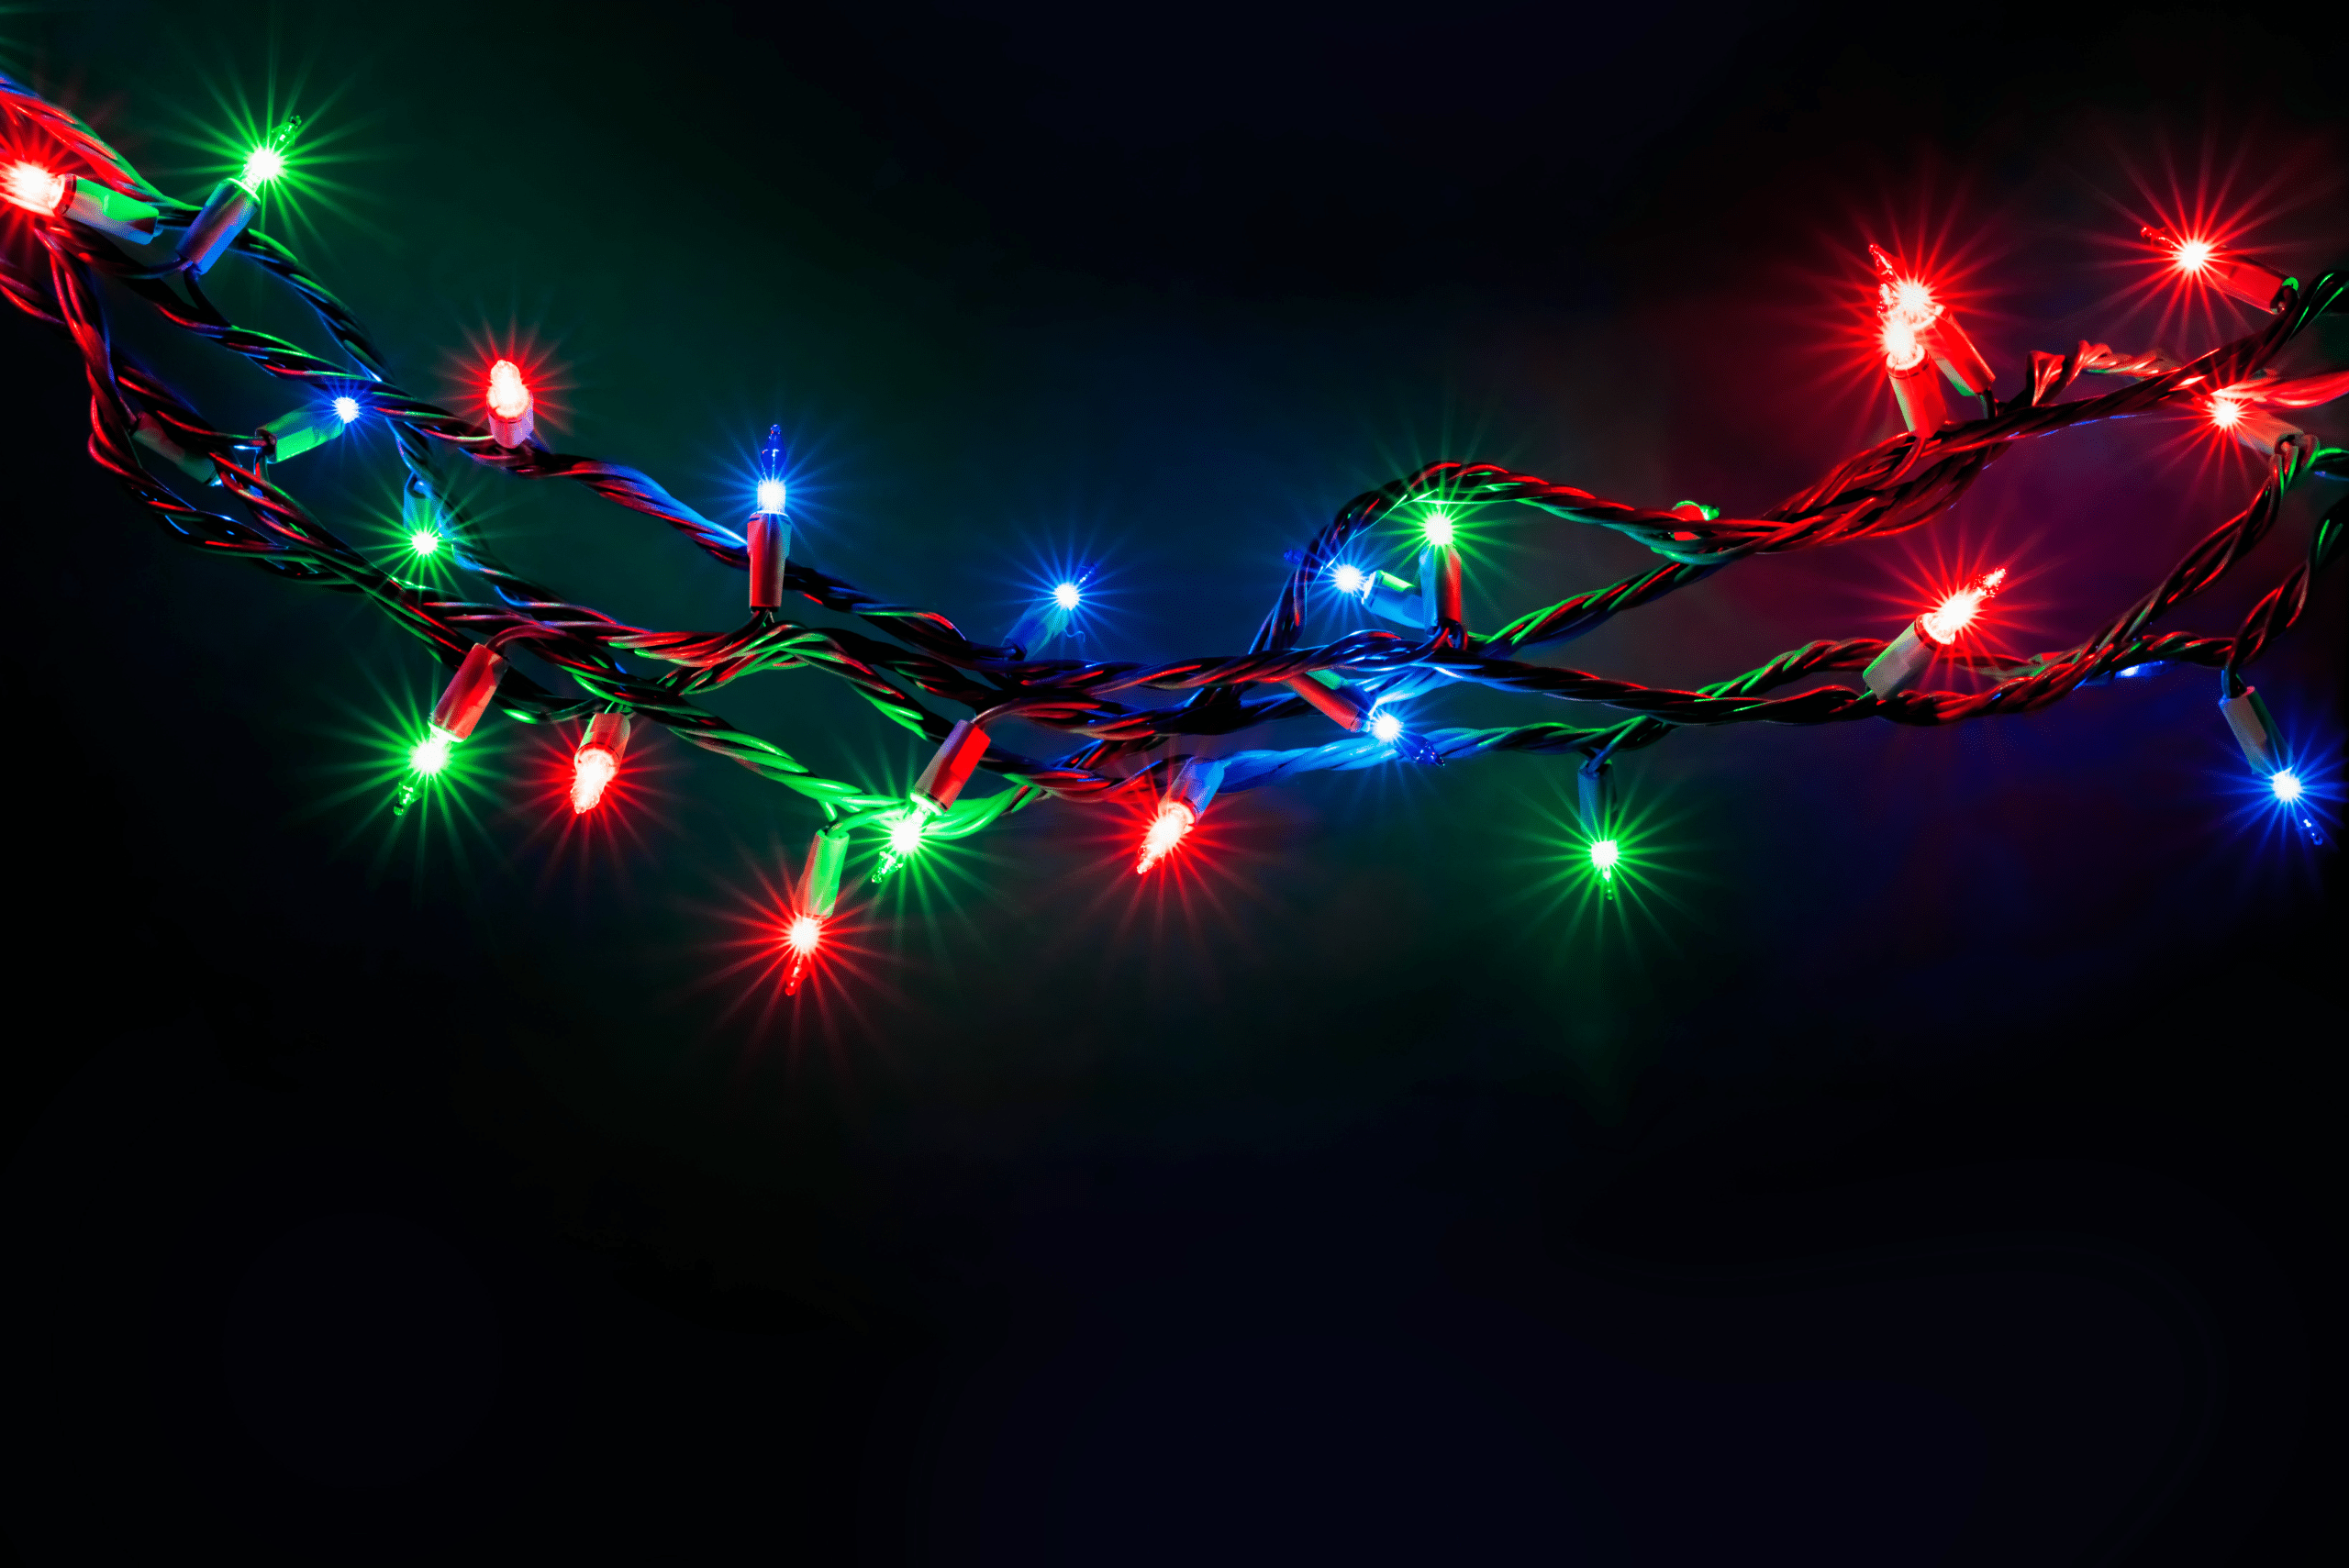
Damaged wires are another frequent culprit behind flickering lights. Carefully examine the length of the string for any visible frays, cracks, or broken insulation. These issues not only cause flickering but can also pose a fire hazard if left unattended.
If you spot damaged wiring, you can repair minor issues with electrical tape. For more severe damage, it’s best to replace the string entirely to ensure safety and performance. Always unplug lights before inspecting or repairing wiring.
3. Test the Circuit Connection
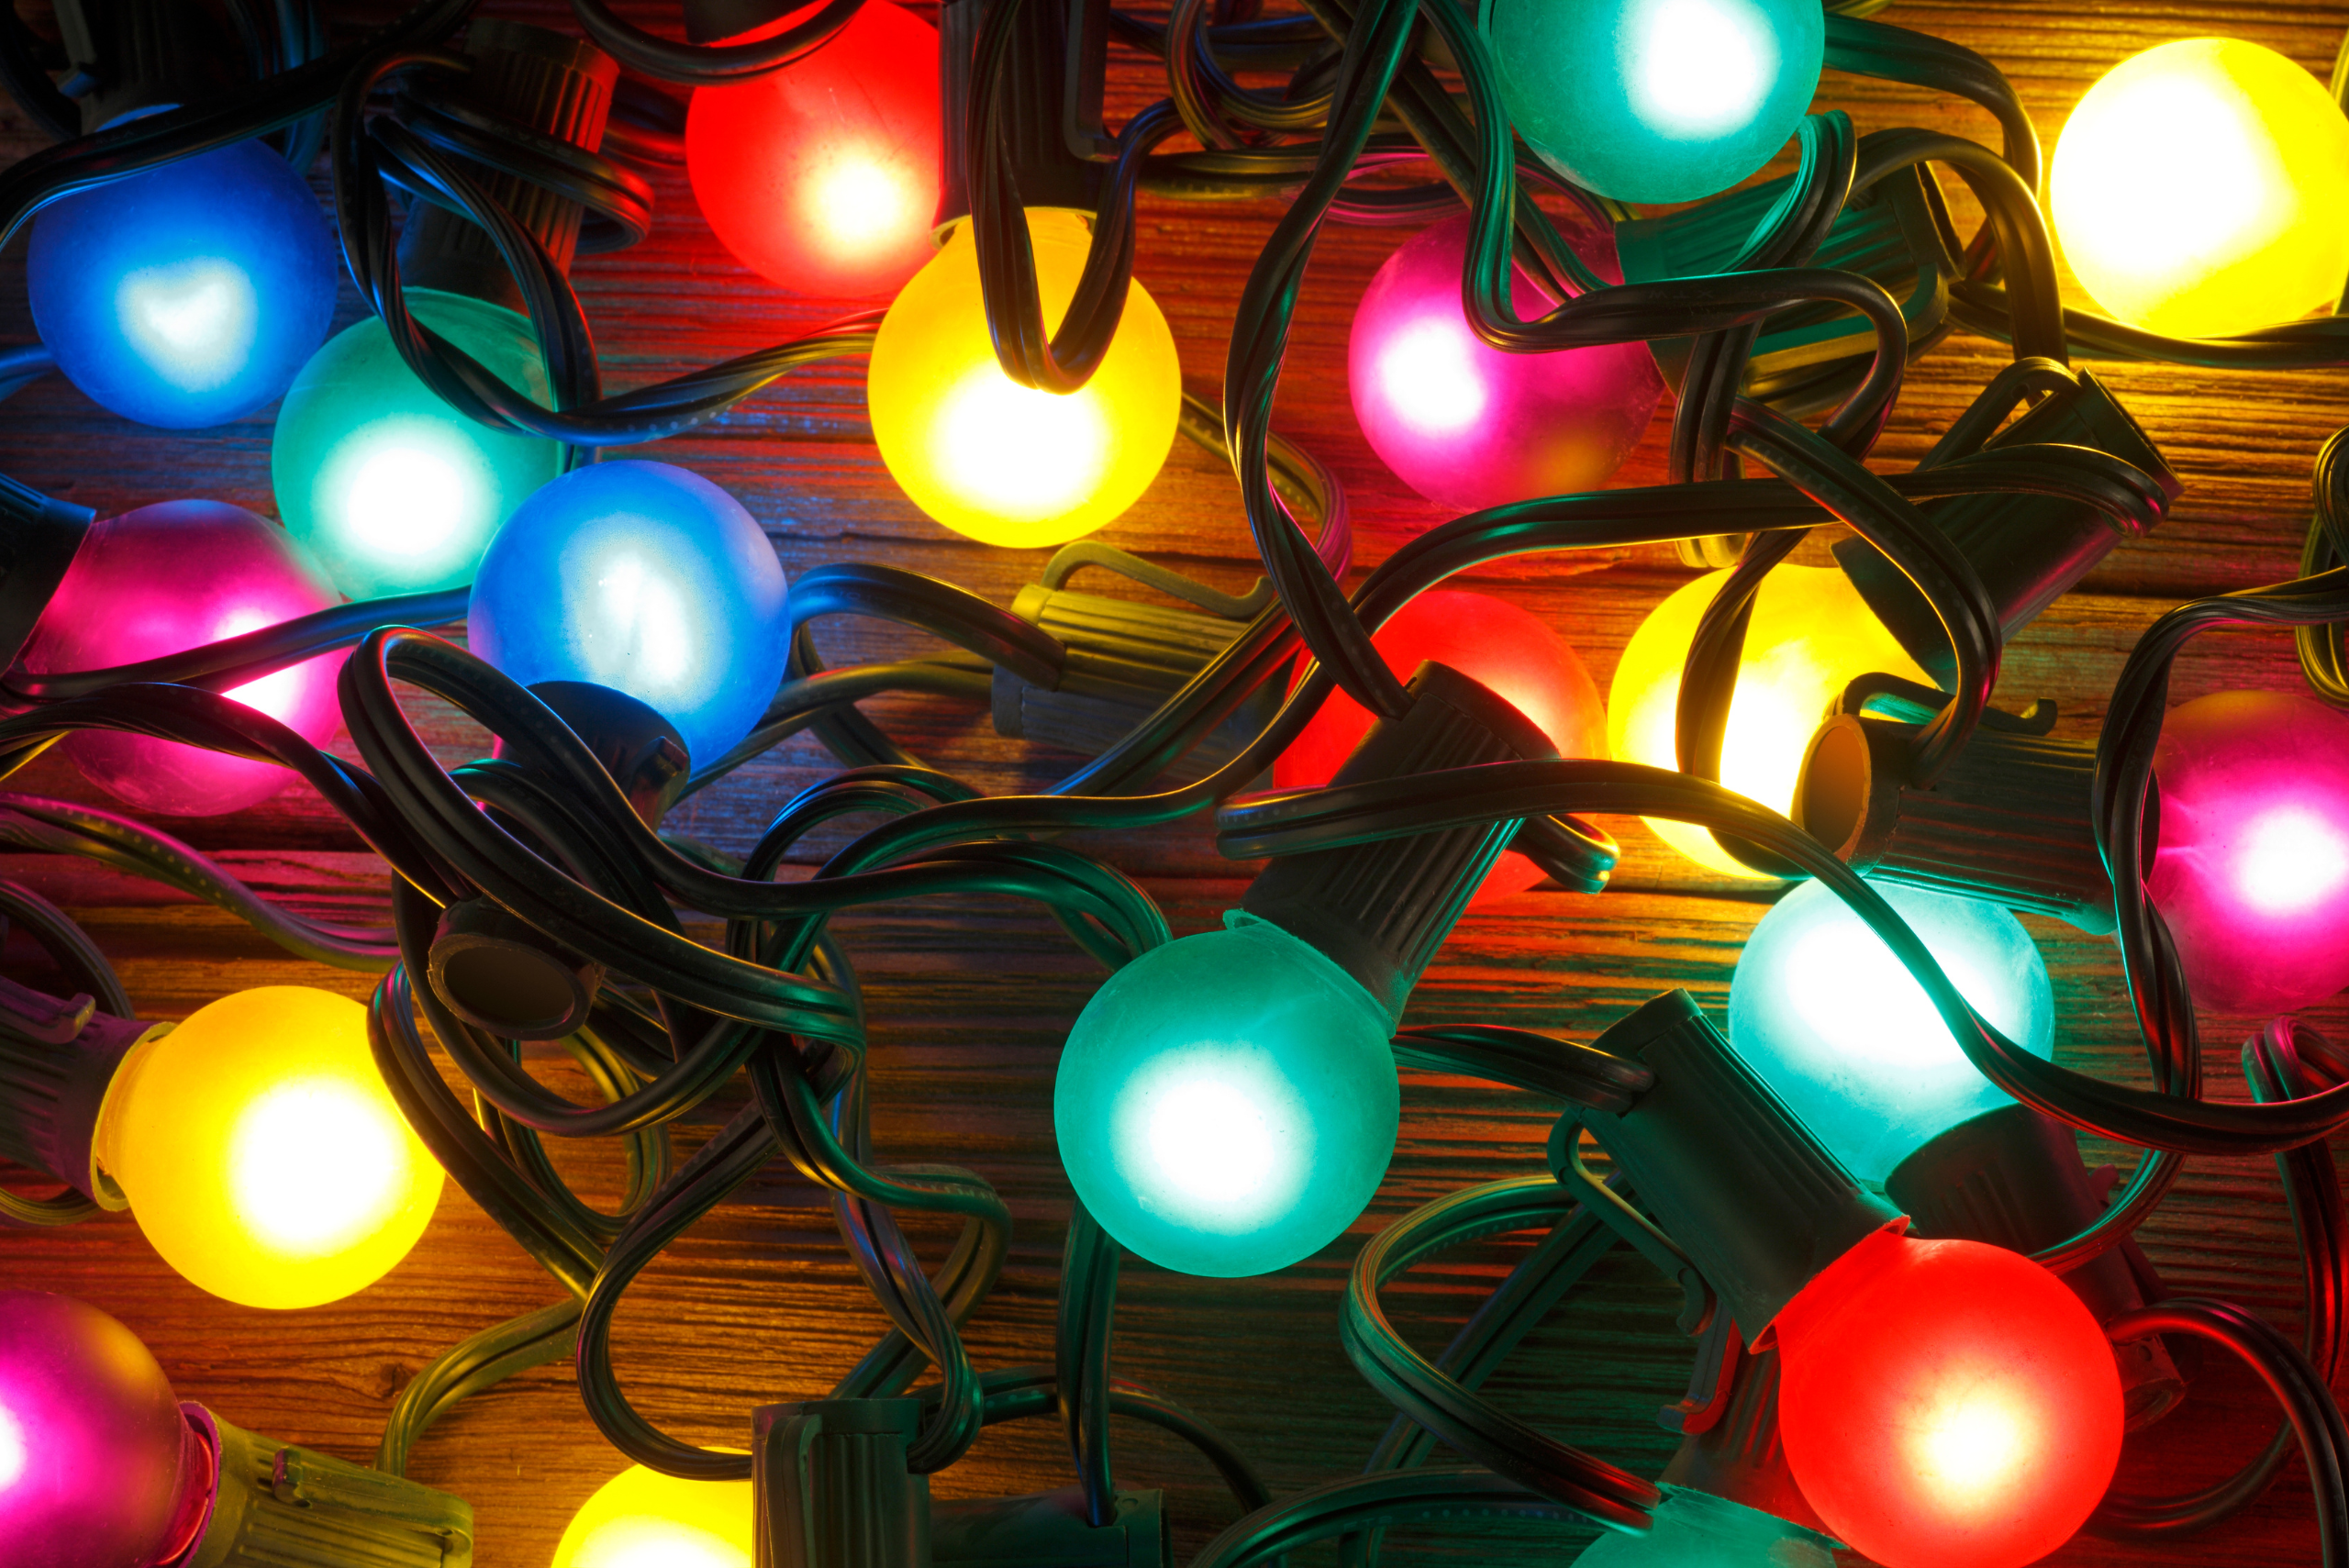
Flickering lights might also result from an unstable power source. Ensure your light strings are plugged into a secure outlet and not overloaded by too many devices. If you’re using an extension cord, make sure it’s rated for outdoor or heavy use, as needed.
Consider using a surge protector to prevent voltage fluctuations, which can cause flickering. This is especially important for larger displays that rely on multiple light strings or complex setups.
4. Replace a Faulty Fuse
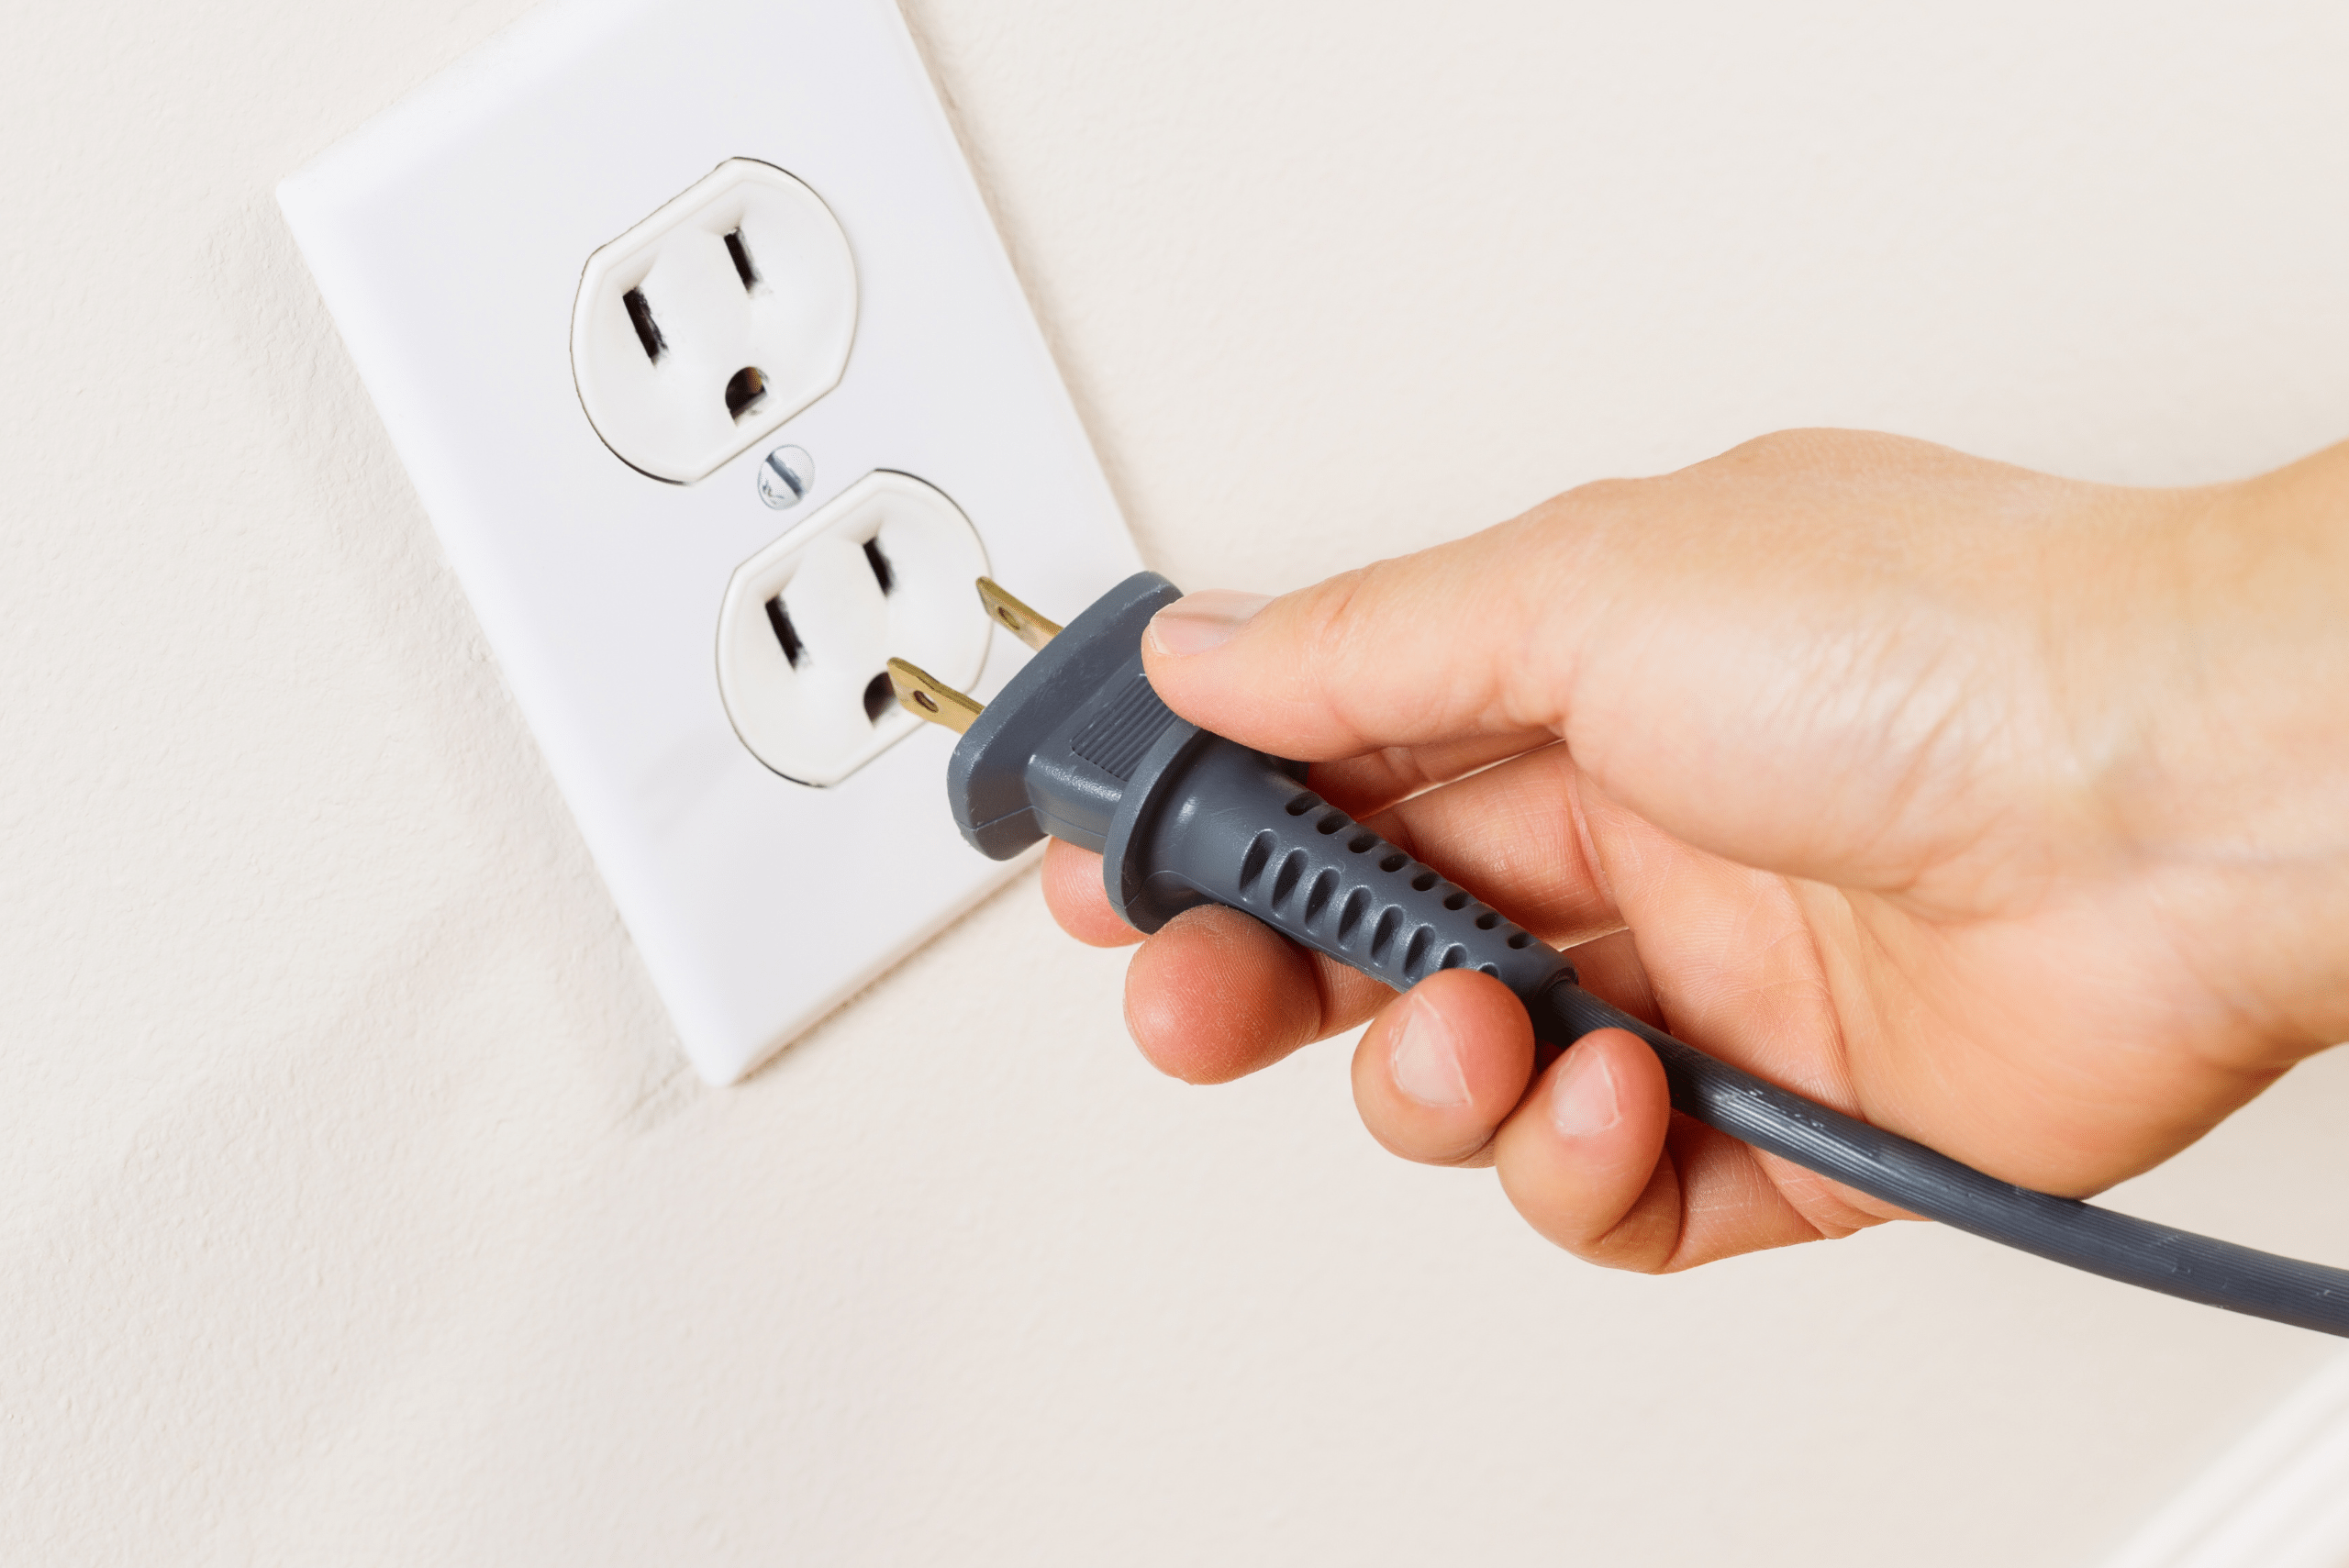
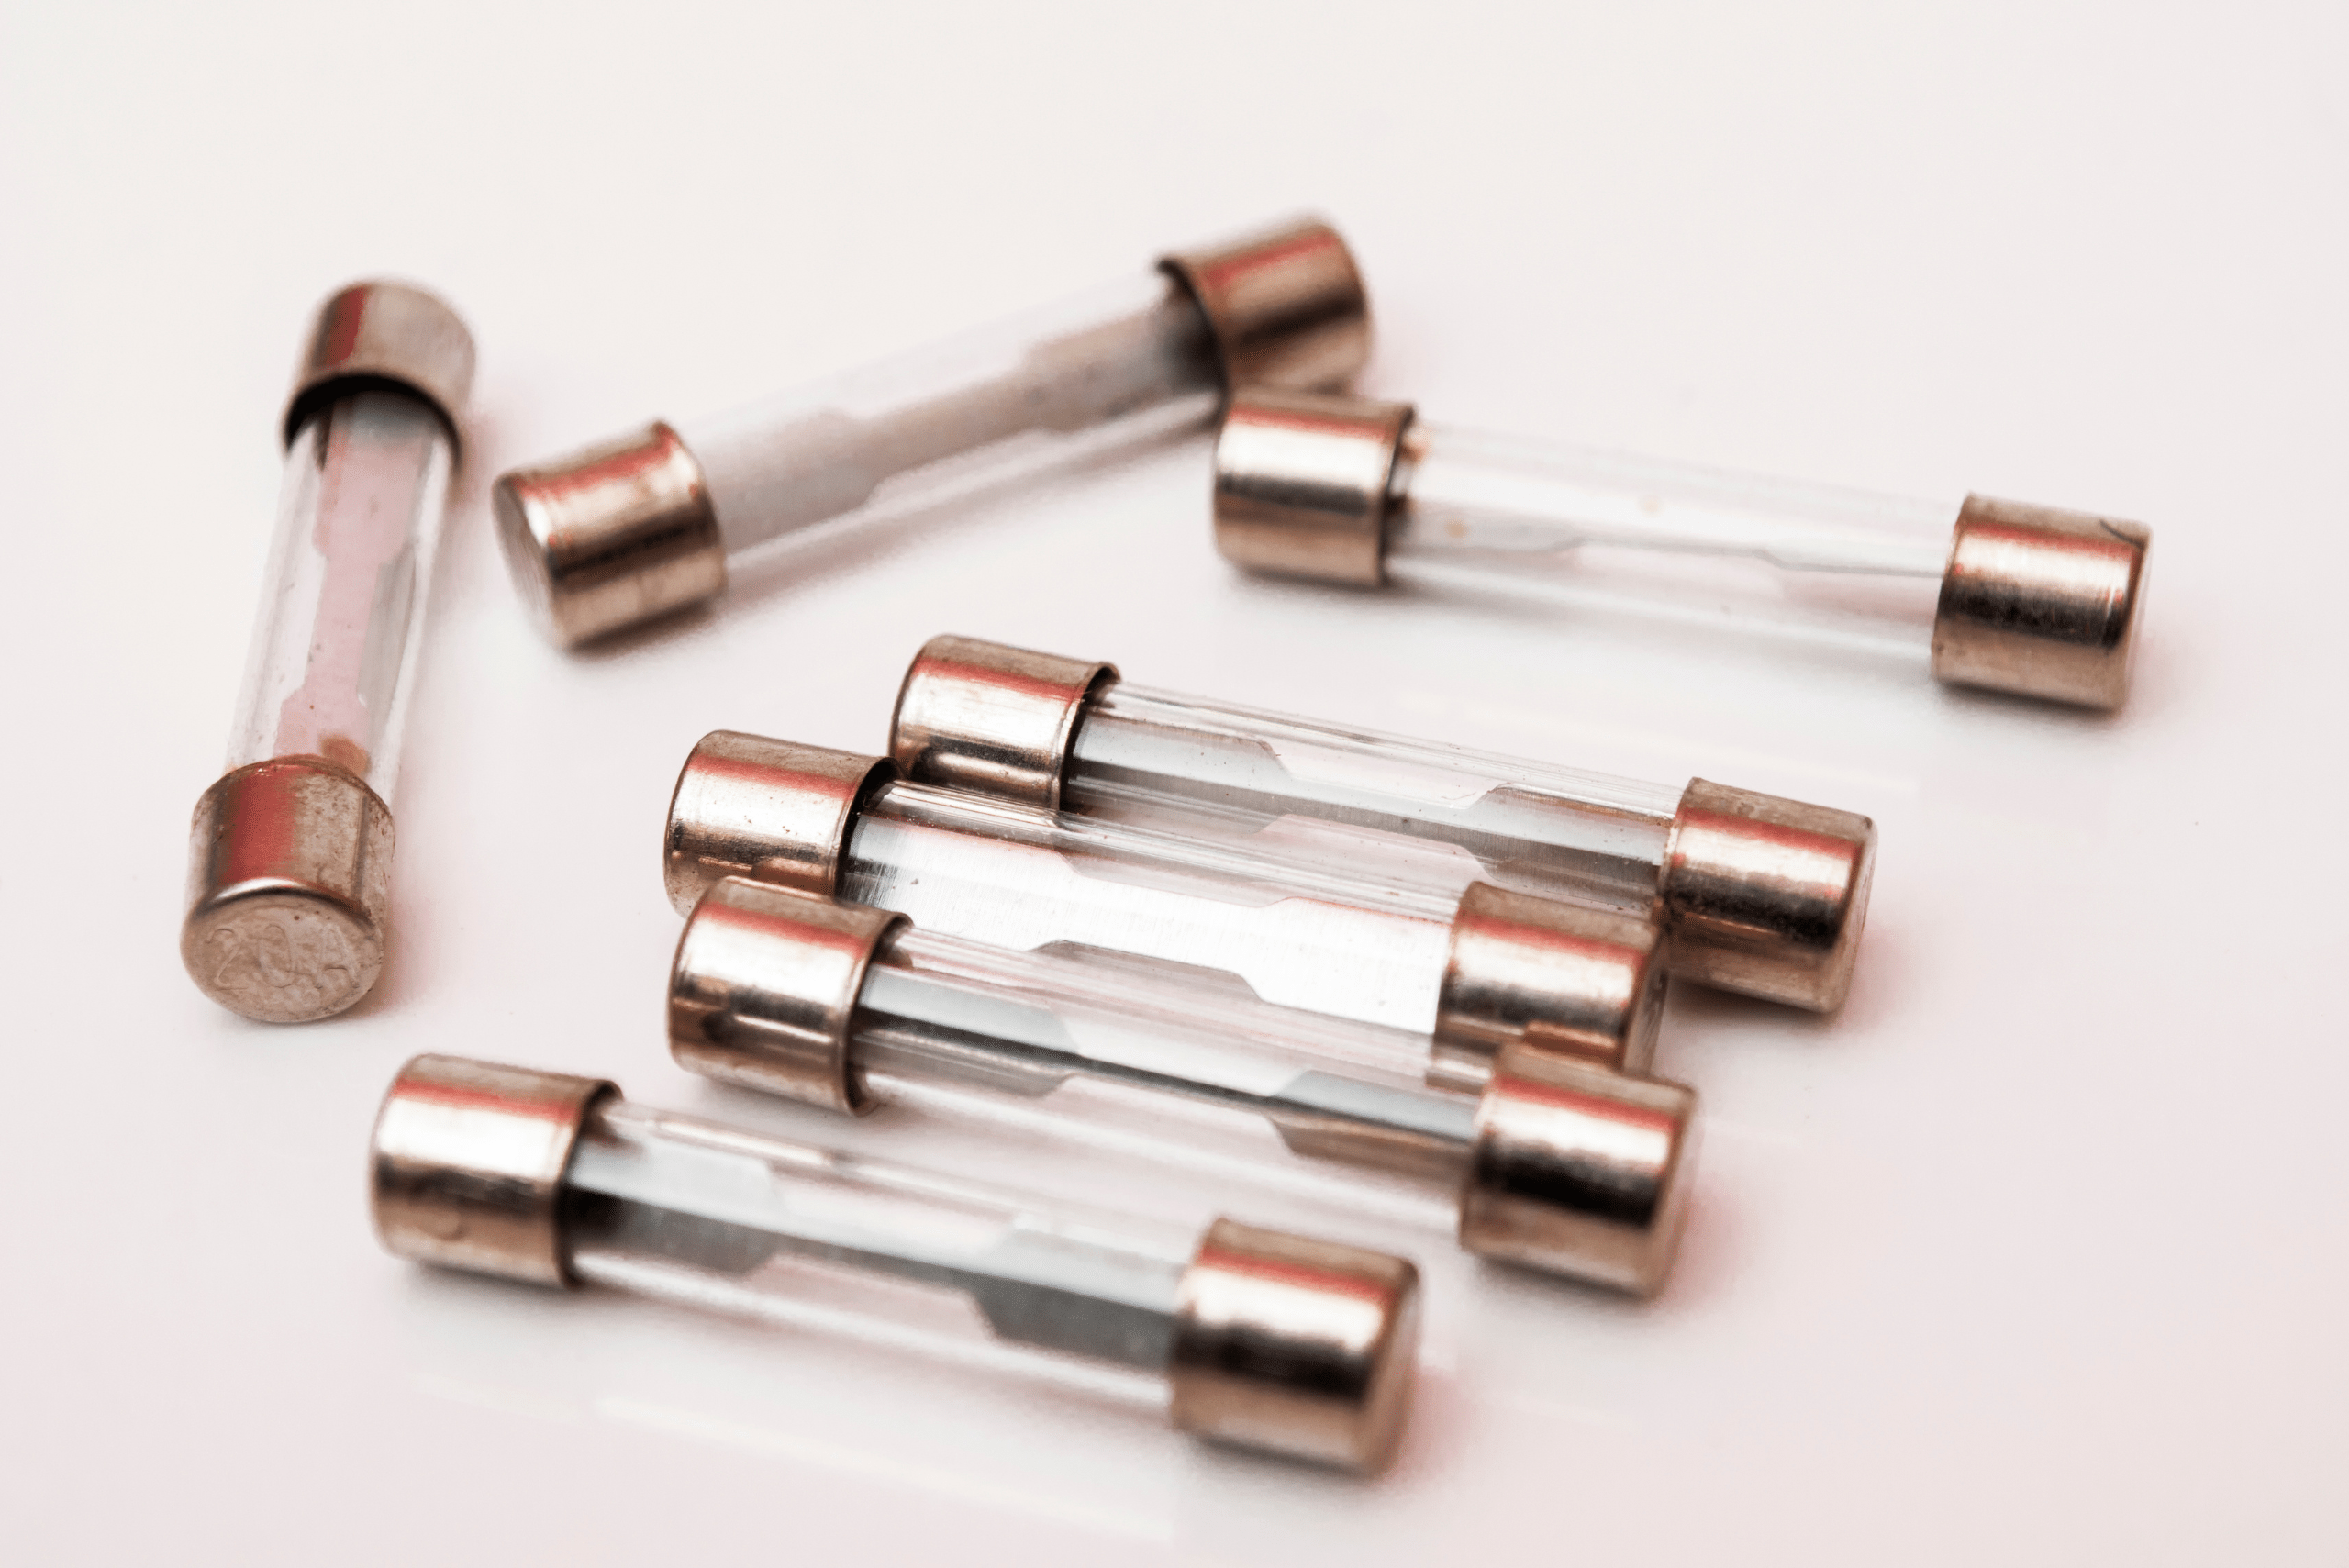
Most Christmas lights come with tiny fuses located in the plug. These fuses are designed to protect the string from power surges but can occasionally blow, leading to flickering or outages. To check the fuse, open the small door on the plug and inspect it for signs of damage.
If the fuse appears blackened or broken, replace it with a new one of the same size and rating. Replacement fuses are often included with the lights, or you can purchase them at most hardware stores. Always ensure the string is unplugged before replacing a fuse.
5. Prevent Future Flickering with Proper Storage
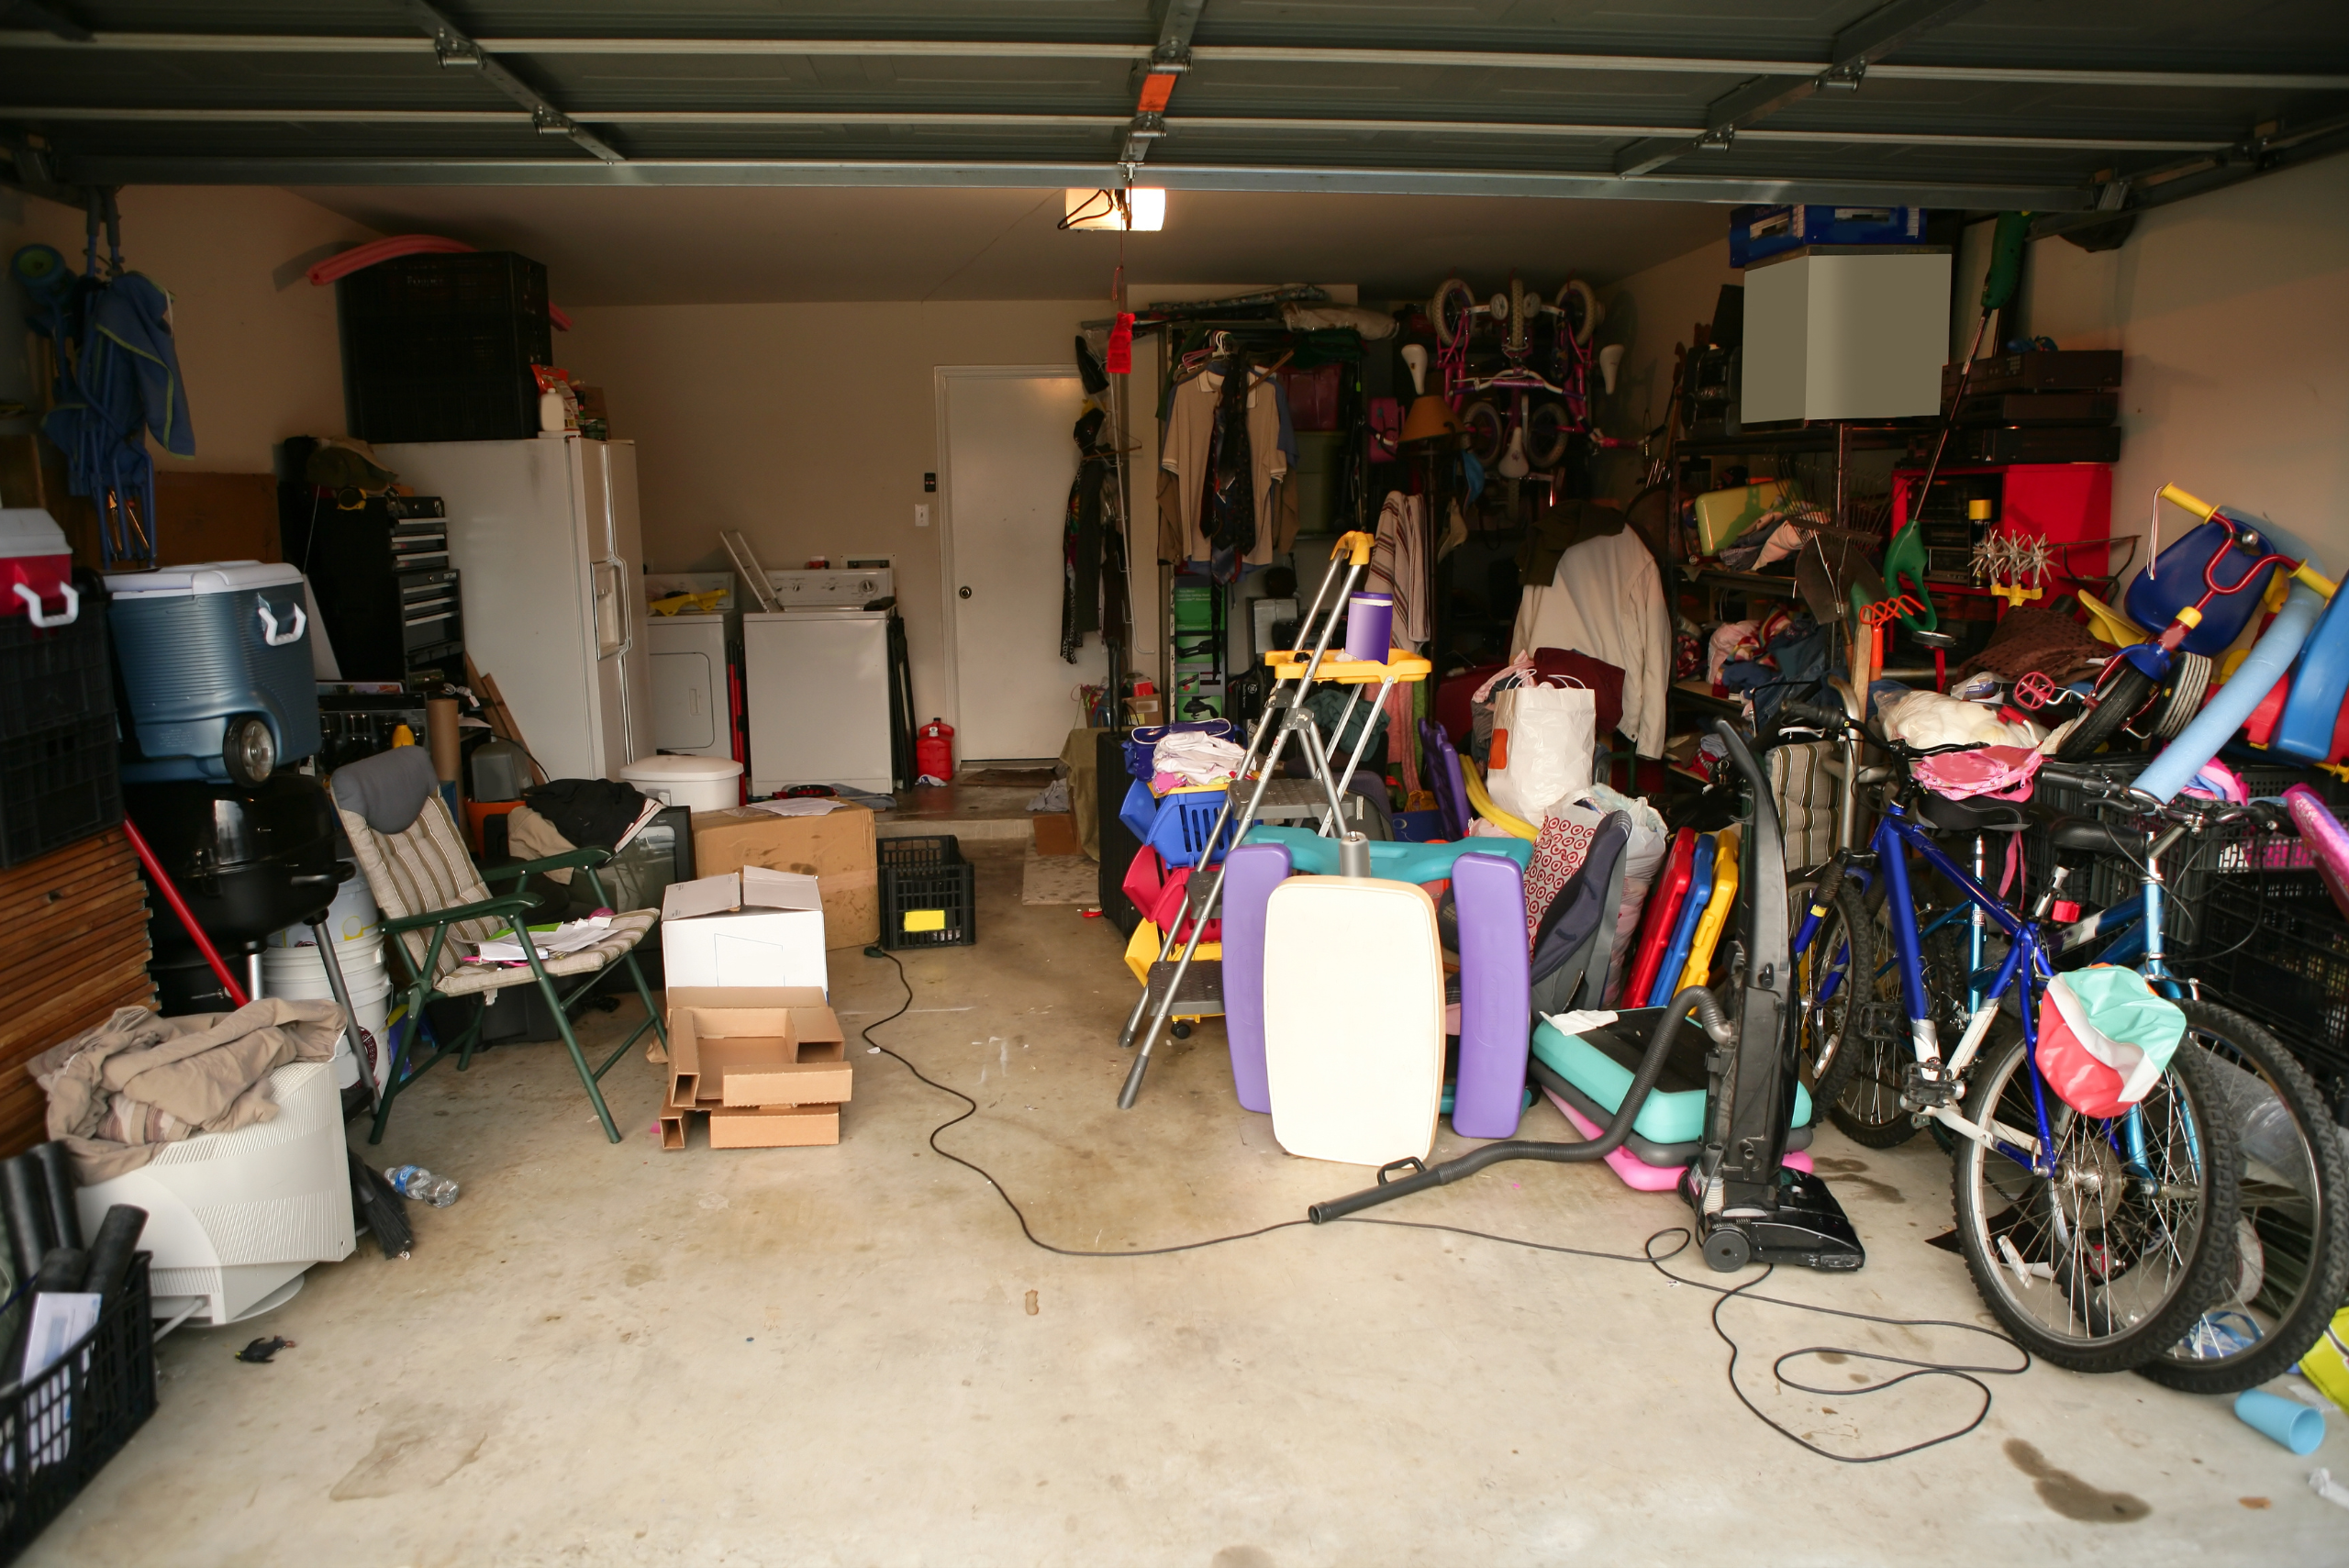
Once your lights are shining brightly again, take steps to prevent future issues. Storing lights improperly is a common reason for damaged wiring and bulbs. When the holiday season ends, coil your light strings carefully and store them in a sturdy container to prevent tangling and crushing.
Consider labeling your storage containers and separating indoor and outdoor lights to make setup easier next year. Proper storage can extend the life of your lights and ensure a hassle-free holiday season year after year.
Related Articles
- DIY Mailbox Christmas Tree That’s Unmatched
- Budget-Friendly DIY Christmas Gift Ideas
- 10 Tricks to Make Hanging Christmas Decorations Way Easier
Flickering Christmas lights can be a frustrating challenge, but with these simple steps, you can quickly diagnose and resolve the issue. From checking individual bulbs to safeguarding against voltage fluctuations, a little maintenance goes a long way in keeping your holiday display shining bright. With your lights in perfect working order, you can enjoy the season’s magic without interruption—creating a warm, festive atmosphere for everyone to enjoy.
Ready to start your next project? Join our DIY community to receive tool tips, how-to guides, and exclusive creative insights. Subscribe to the ManMadeDIY newsletter now! Click here to unlock a world of hands-on inspiration.


