How to Fix Peeling Veneer on Furniture
Veneer furniture has a timeless appeal, offering the beauty of natural wood at a more affordable price. However, over time, the thin veneer layer can start to peel, crack, or bubble, detracting from the piece’s aesthetic and structural integrity. Instead of discarding the furniture, you can restore it with a few tools and a bit of patience. In this guide, we will walk you through practical methods to fix peeling veneer and make your furniture look as good as new.
Understanding the Cause of Veneer Peeling
Before you begin repairs, it’s crucial to understand why veneer peels. The most common culprit is exposure to moisture or fluctuating humidity levels. Veneer is glued to the base material, and changes in moisture can weaken the adhesive, causing the veneer to detach.
Another common cause is general wear and tear. Over time, repeated use, scratches, and impacts can create small cracks that gradually lead to larger sections of peeling. Identifying the cause helps you prevent future damage and choose the best repair method.
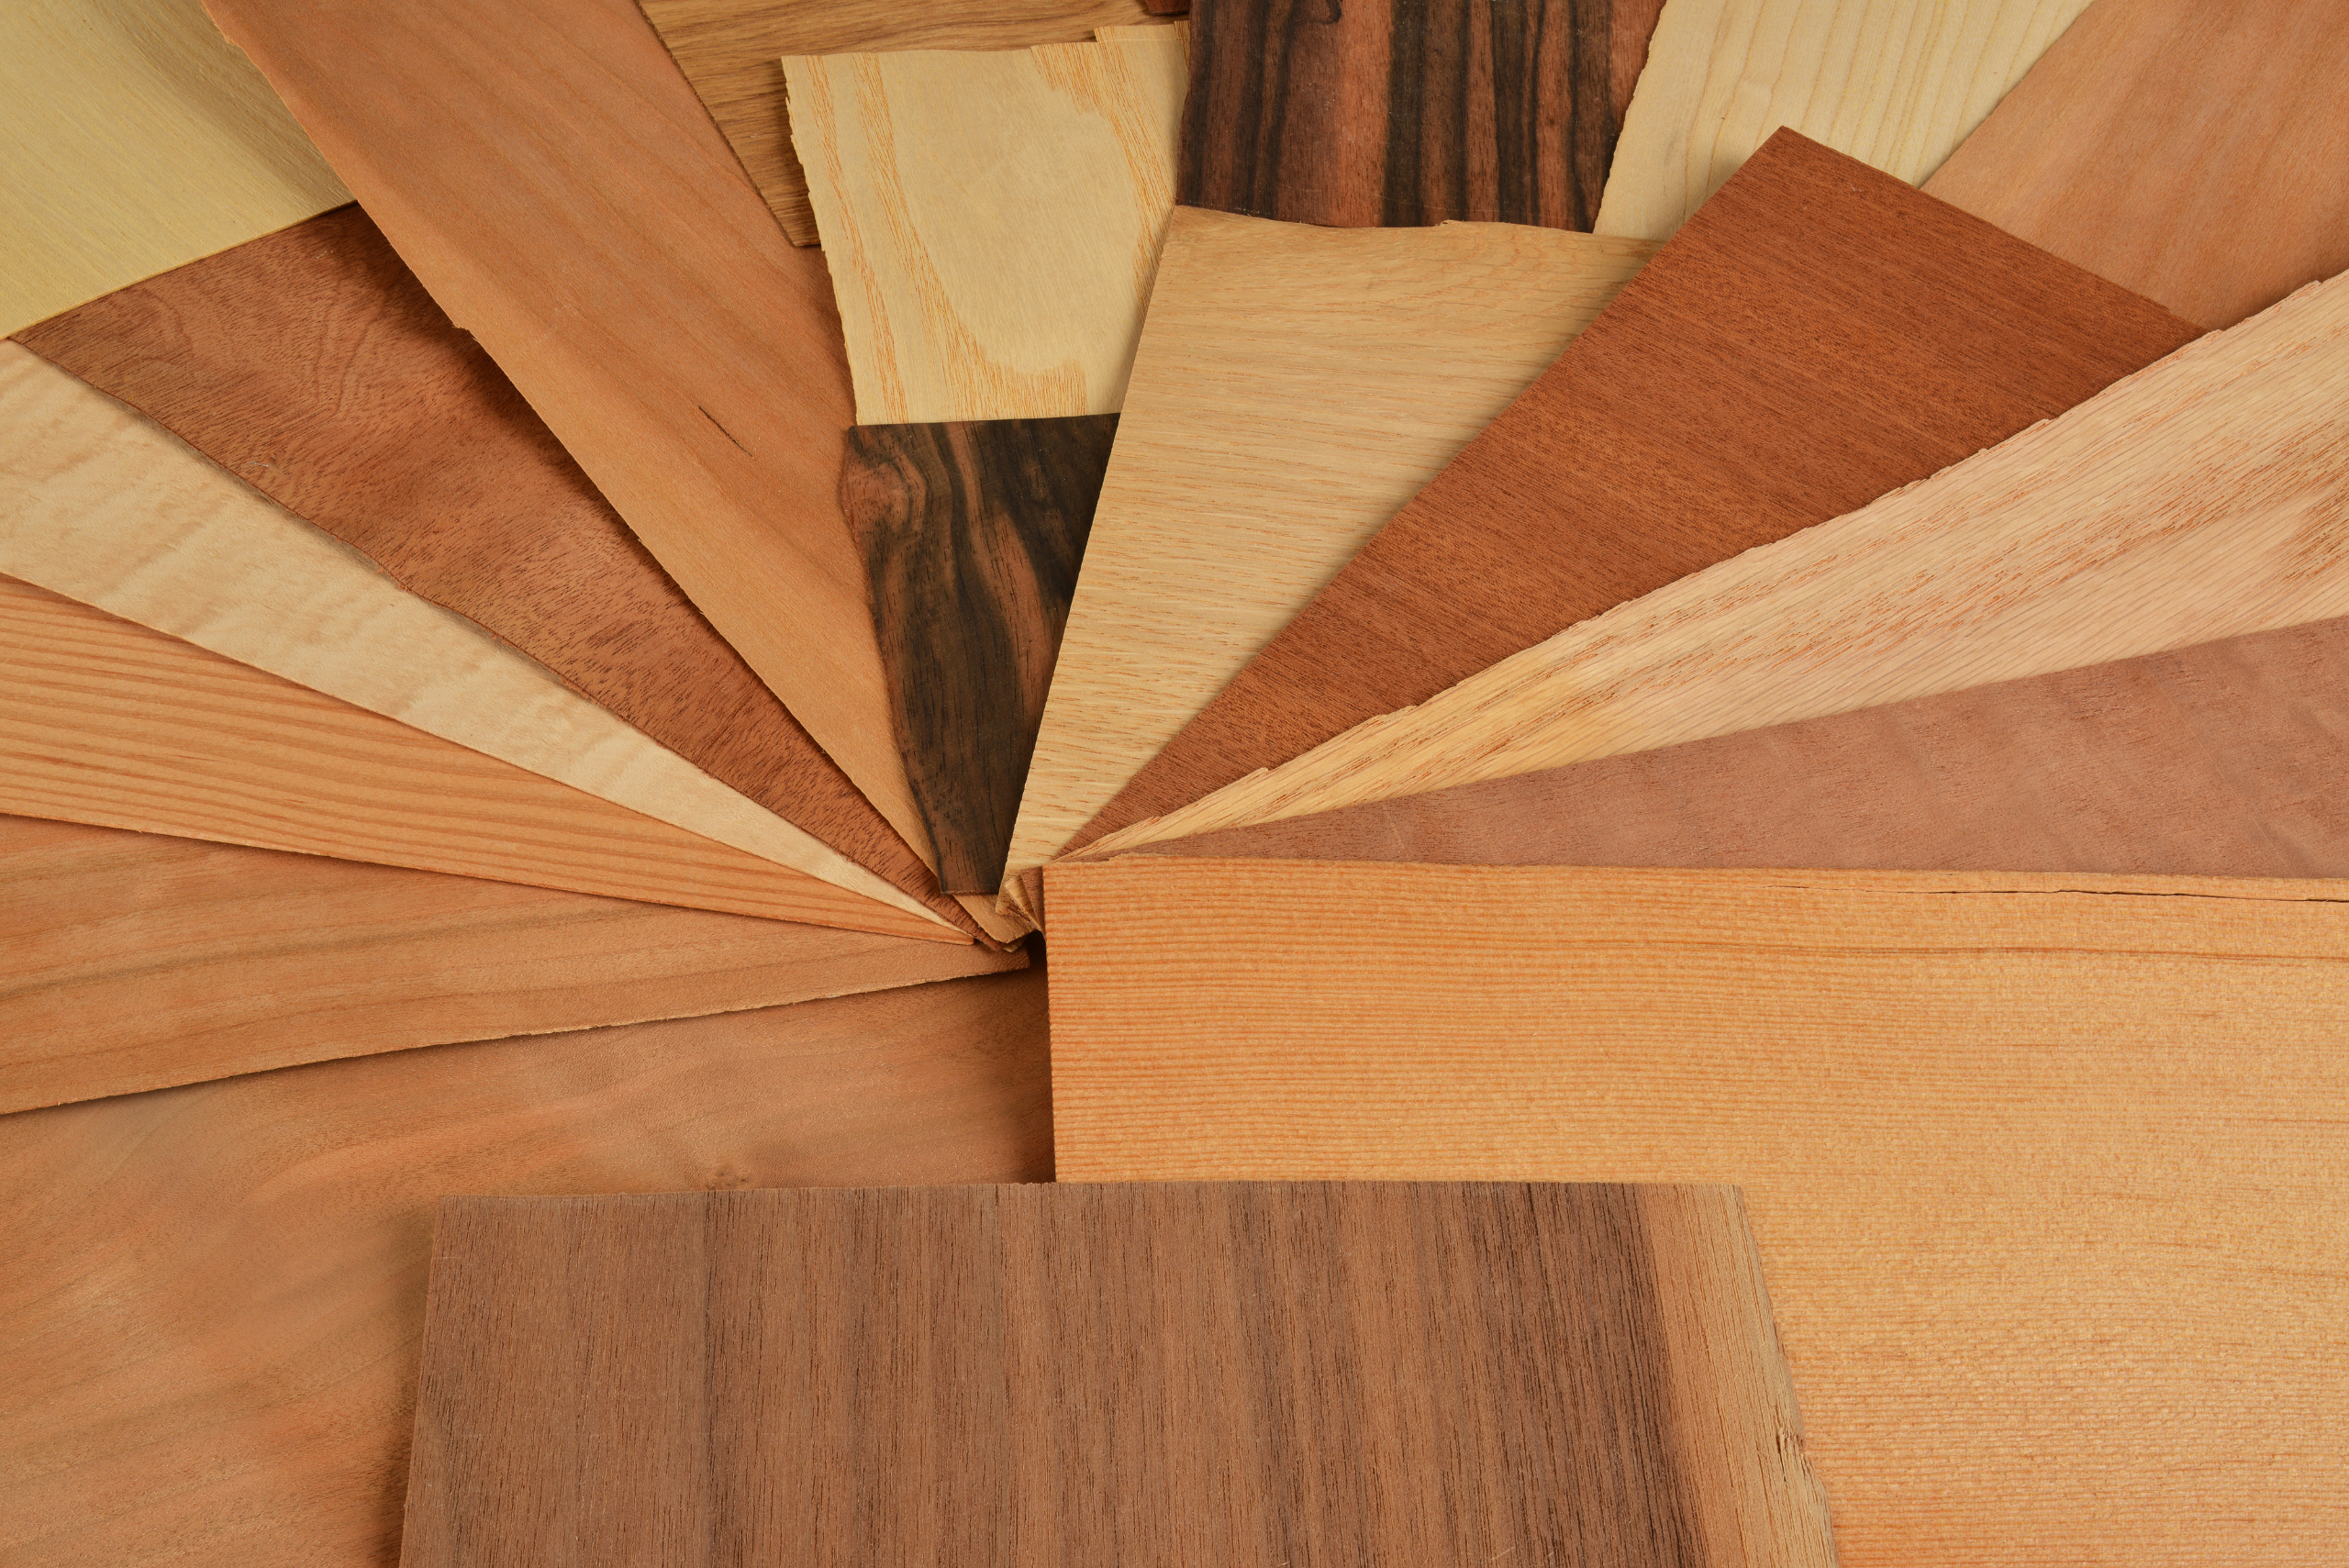
Preparing the Furniture for Repair
Start by cleaning the piece thoroughly. Use a mild soap solution and a soft cloth to remove dirt, grease, and debris. This ensures that the repair process is not hindered by surface contaminants.
Next, gather your tools. Depending on the extent of the peeling, you may need wood glue, a putty knife, clamps, sandpaper, and a veneer patch or filler. Having everything on hand will streamline the process and reduce interruptions.

Reattaching Loose Veneer
For small areas where the veneer has started to lift, wood glue is often all you need. Apply a thin layer of glue beneath the loose section using a small brush or putty knife. Press the veneer down firmly and wipe away any excess glue with a damp cloth.
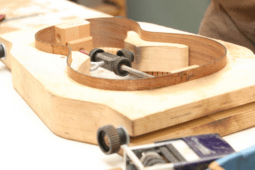
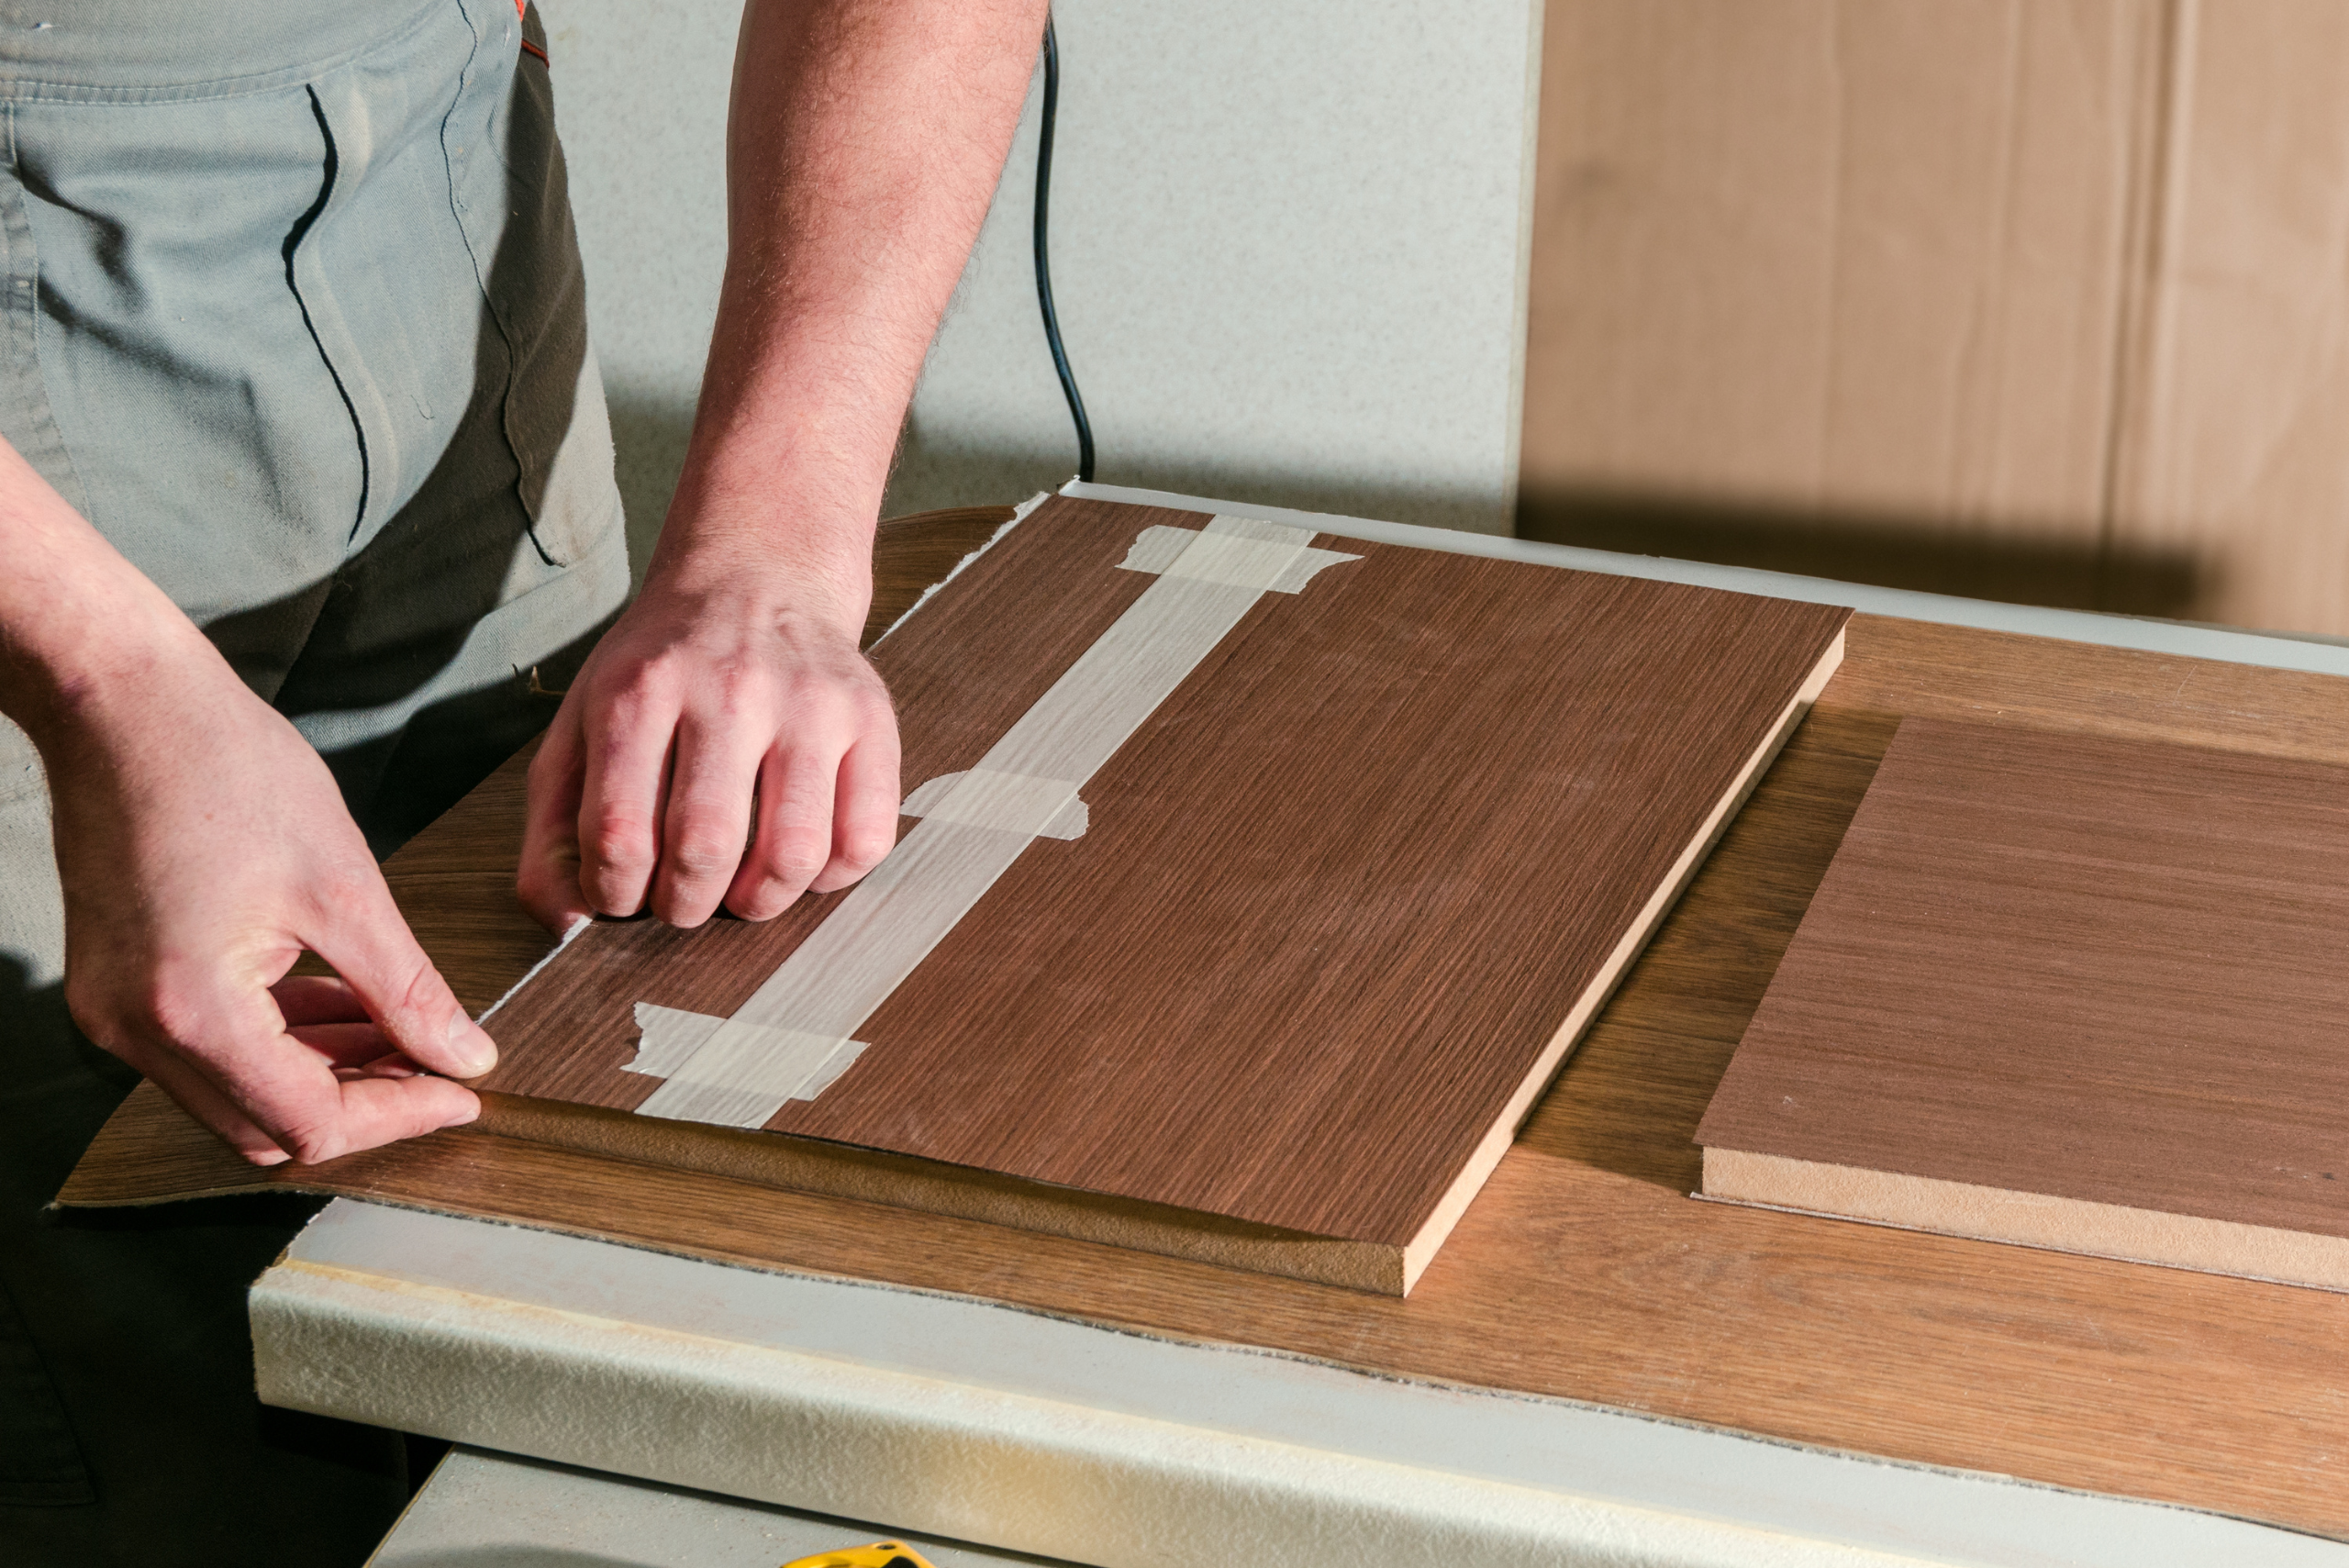
Secure the veneer in place using clamps or heavy objects to ensure even pressure while the glue dries. Allow the adhesive to cure for at least 24 hours for a strong bond. Once dry, lightly sand the edges to create a seamless finish.
Replacing Missing Veneer
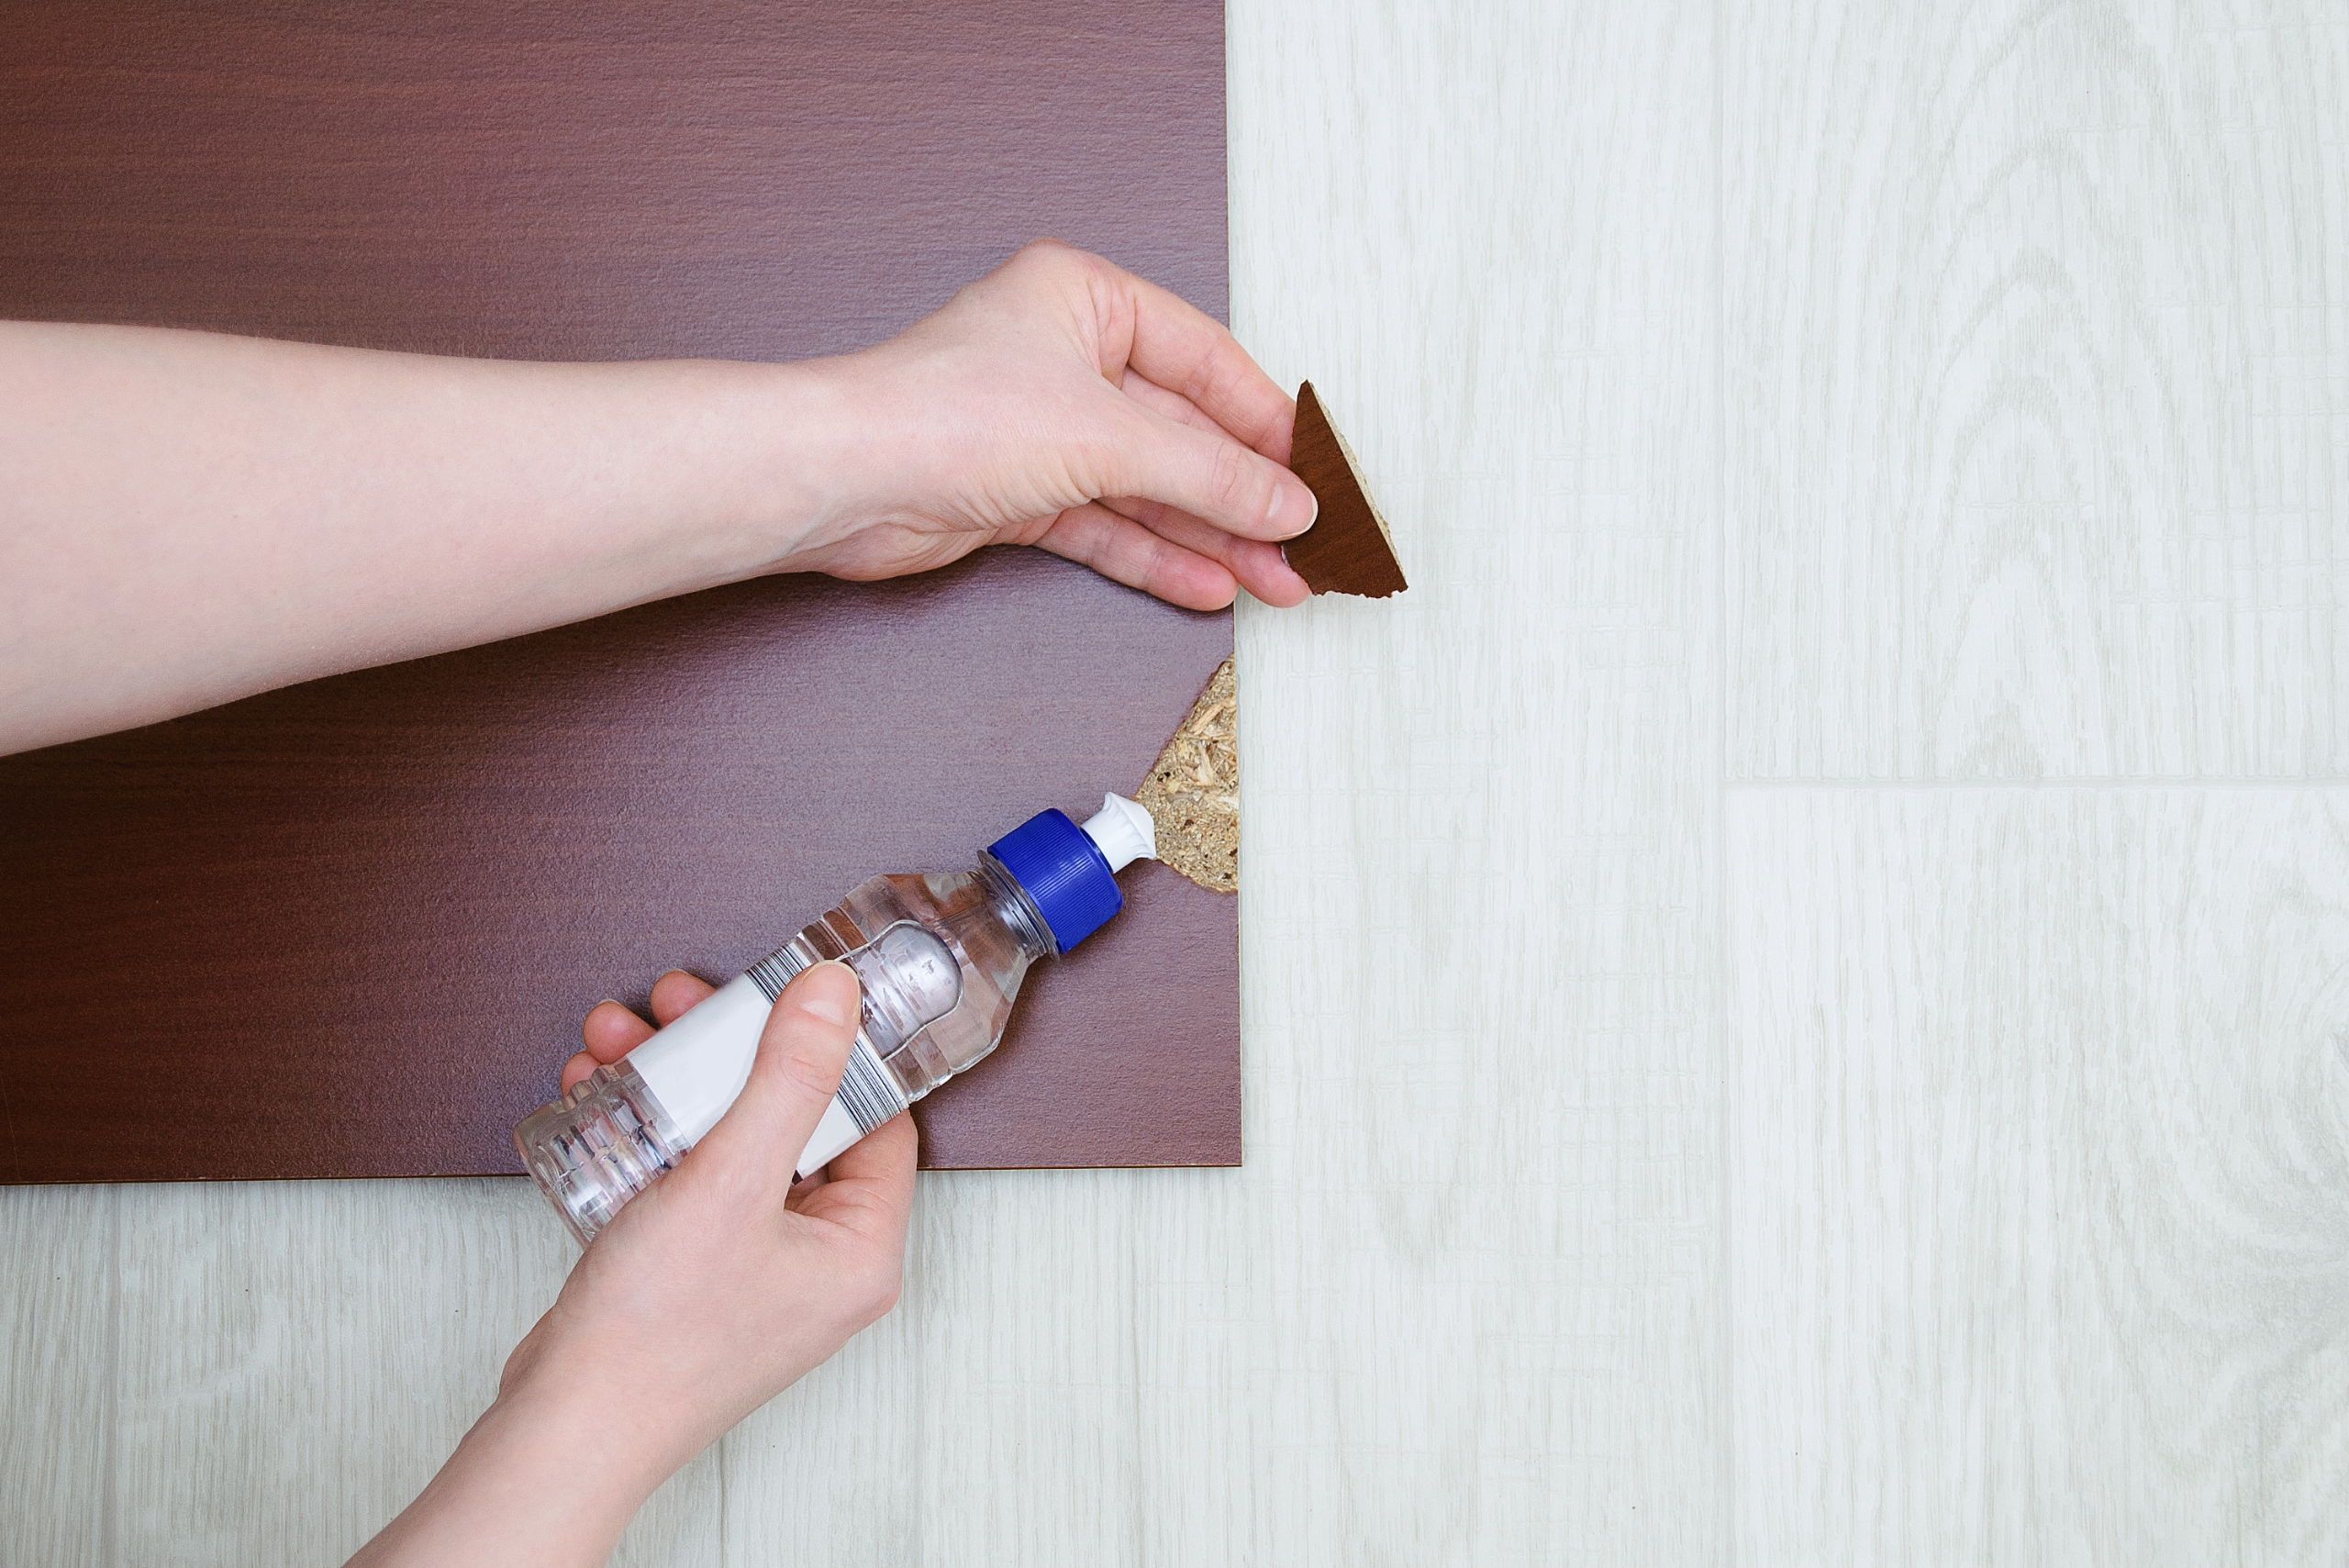
If parts of the veneer are missing, you’ll need to replace them. Start by cutting a new piece of veneer to fit the damaged area. You can purchase veneer sheets from hardware stores or repurpose leftover material from other projects.
Apply wood glue to both the new veneer and the furniture surface, then press them together. Use clamps to hold the piece in place while the glue dries. After curing, sand the edges to ensure the repair blends seamlessly with the existing veneer.
Finishing Touches
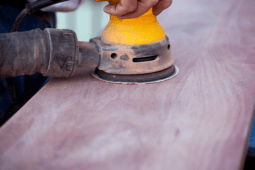
Once the veneer is reattached or replaced, it’s time to refinish the surface. Use fine-grit sandpaper to smooth out any rough edges or uneven areas. Clean the surface again to remove dust and prepare it for staining or painting.
Choose a finish that matches the rest of the piece. Apply it evenly, following the manufacturer’s instructions. Allow ample drying time before using the furniture to ensure the finish sets properly and protects your repair work.
Related Articles
- Creative DIY Wood Projects That Will Challenge Your Skills
- Polyurethane vs Polycrylic – Choosing the Right Finish for Your Wood Projects
- How to Fix Pet Scratches on Wood Doors or Furniture
Fixing peeling veneer on furniture is a manageable project that can extend the life of your beloved pieces. With careful preparation, attention to detail, and the right tools, you can restore your furniture’s beauty and functionality. By addressing the root causes of damage and performing regular maintenance, you can enjoy your repaired furniture for years to come.

