How to Fix Pet Scratches on Wood Doors or Furniture
As pet owners, we cherish the companionship and love our furry friends bring into our lives. However, along with the cuddles and playtime come the occasional mishaps, including scratches on our beloved wooden doors and furniture. These marks can be frustrating, but fear not! With a little patience and the right techniques, you can restore your wooden surfaces to their former glory. In this guide, we’ll walk you through the process of repairing pet scratches on wood, from assessing the damage to applying the finishing touches.
Identifying Types of Pet Scratches on Wood
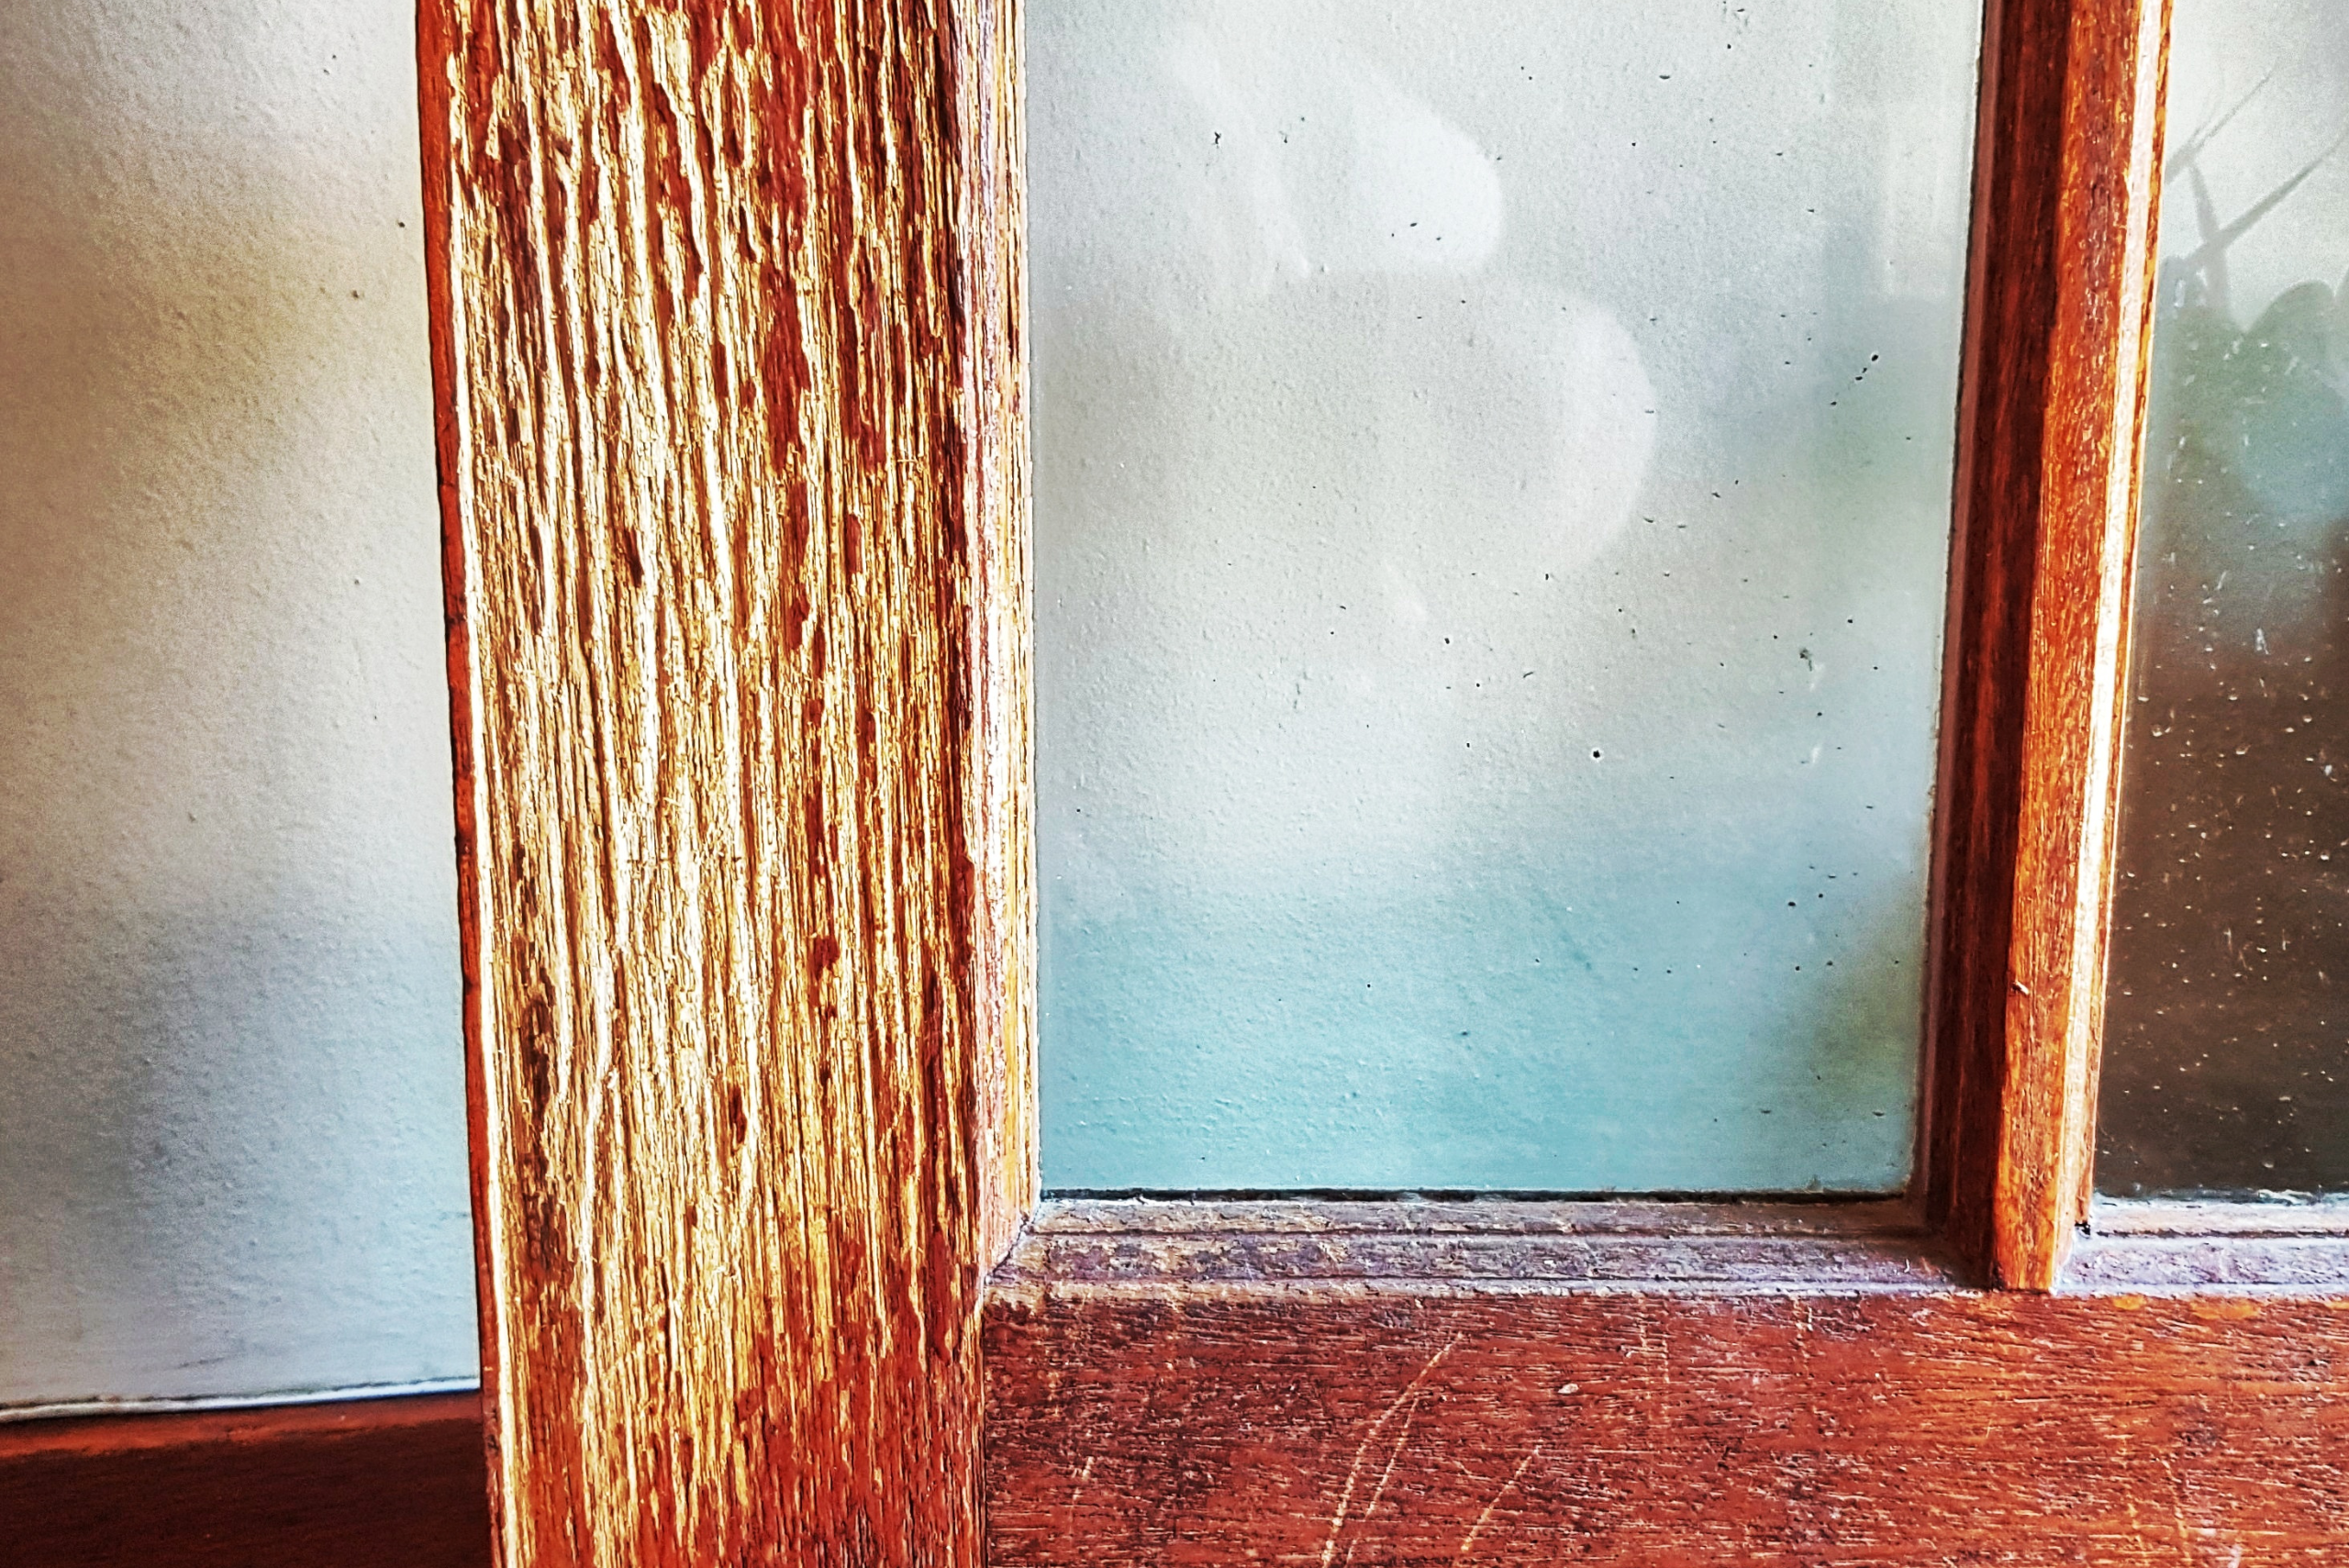
Before diving into the repair process, it’s crucial to assess the extent of the damage. Pet scratches on wood can vary in depth and severity, ranging from light surface marks to deep gouges. Take a close look at the affected area and run your fingers gently over the scratches to determine their depth. Light scratches that haven’t penetrated the wood’s finish may only require simple buffing or polishing. Moderate scratches that have broken through the finish but haven’t reached the wood itself might need filling and refinishing. Deep scratches or gouges that have damaged the wood will require more extensive repair techniques.
Understanding the type of wood and finish you’re working with is also essential. Different wood species and finishes may require specific repair methods or products. For example, hardwoods like oak or maple may be more resistant to scratches but can be trickier to repair, while softer woods like pine might show damage more easily but can be simpler to fix. Take note of the wood’s color and grain pattern, as well as the existing finish (e.g., varnish, lacquer, or oil), to ensure you choose the right repair products and techniques for a seamless result.
Essential Tools and Materials for Wood Repair
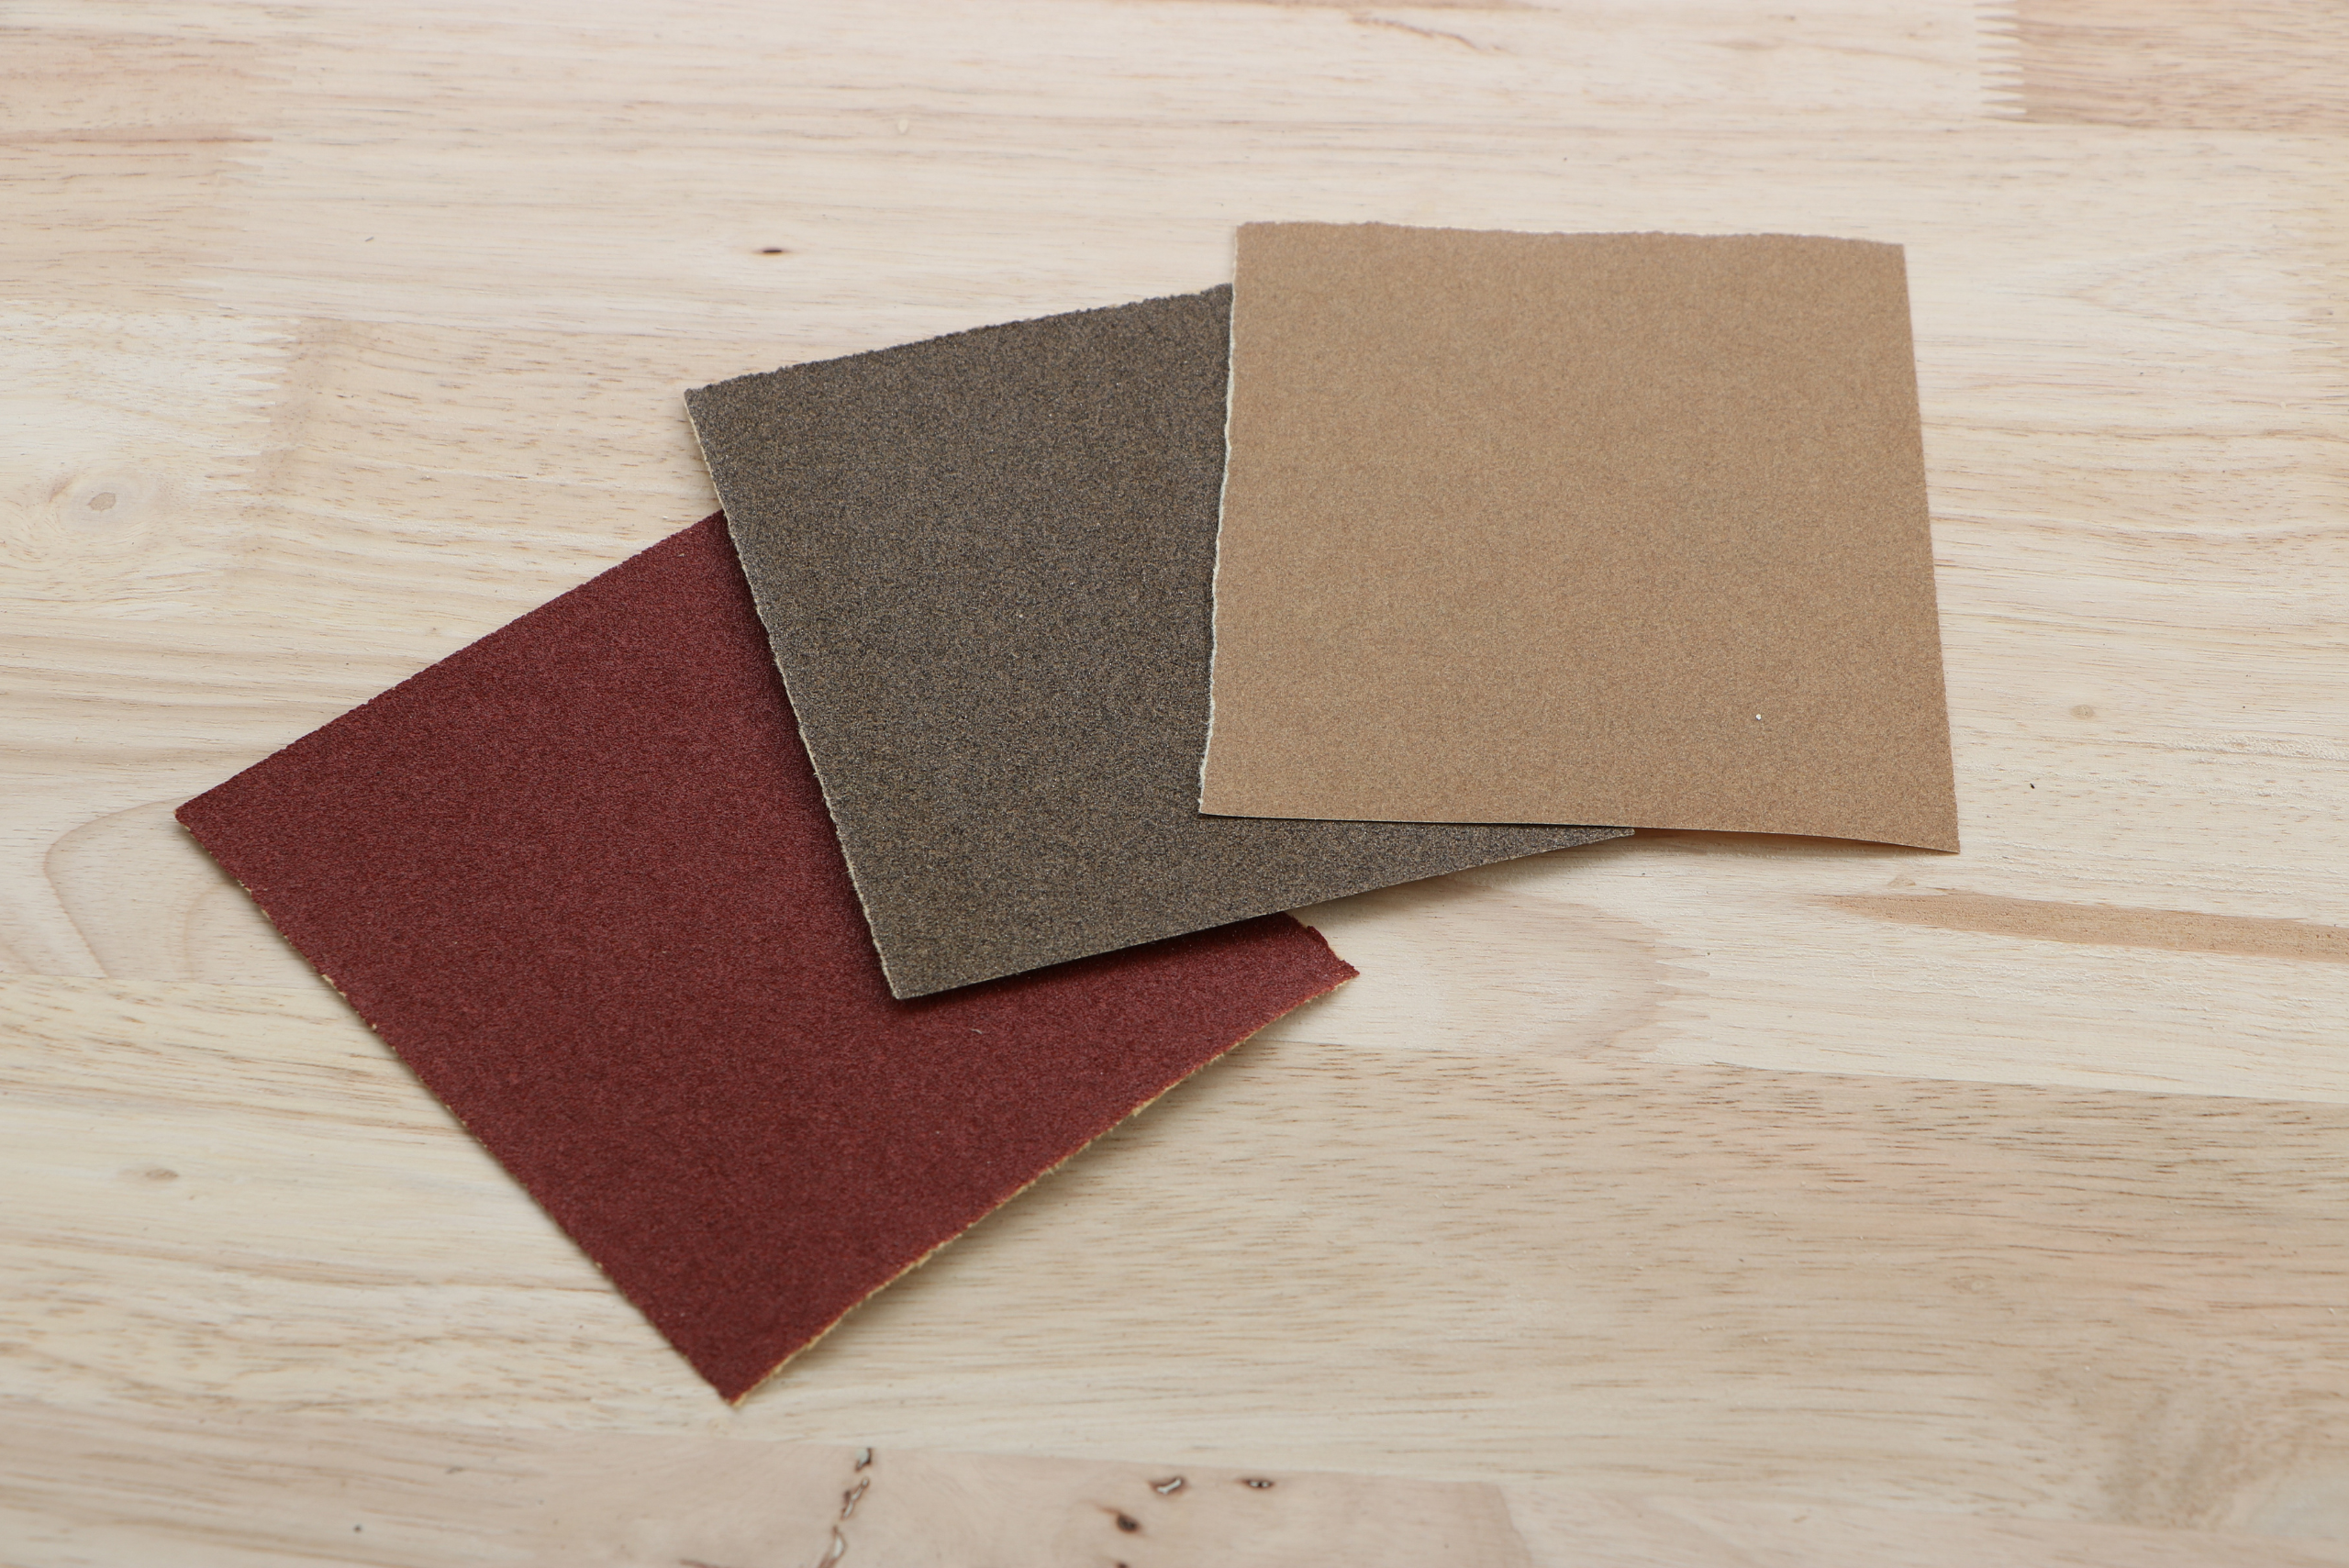
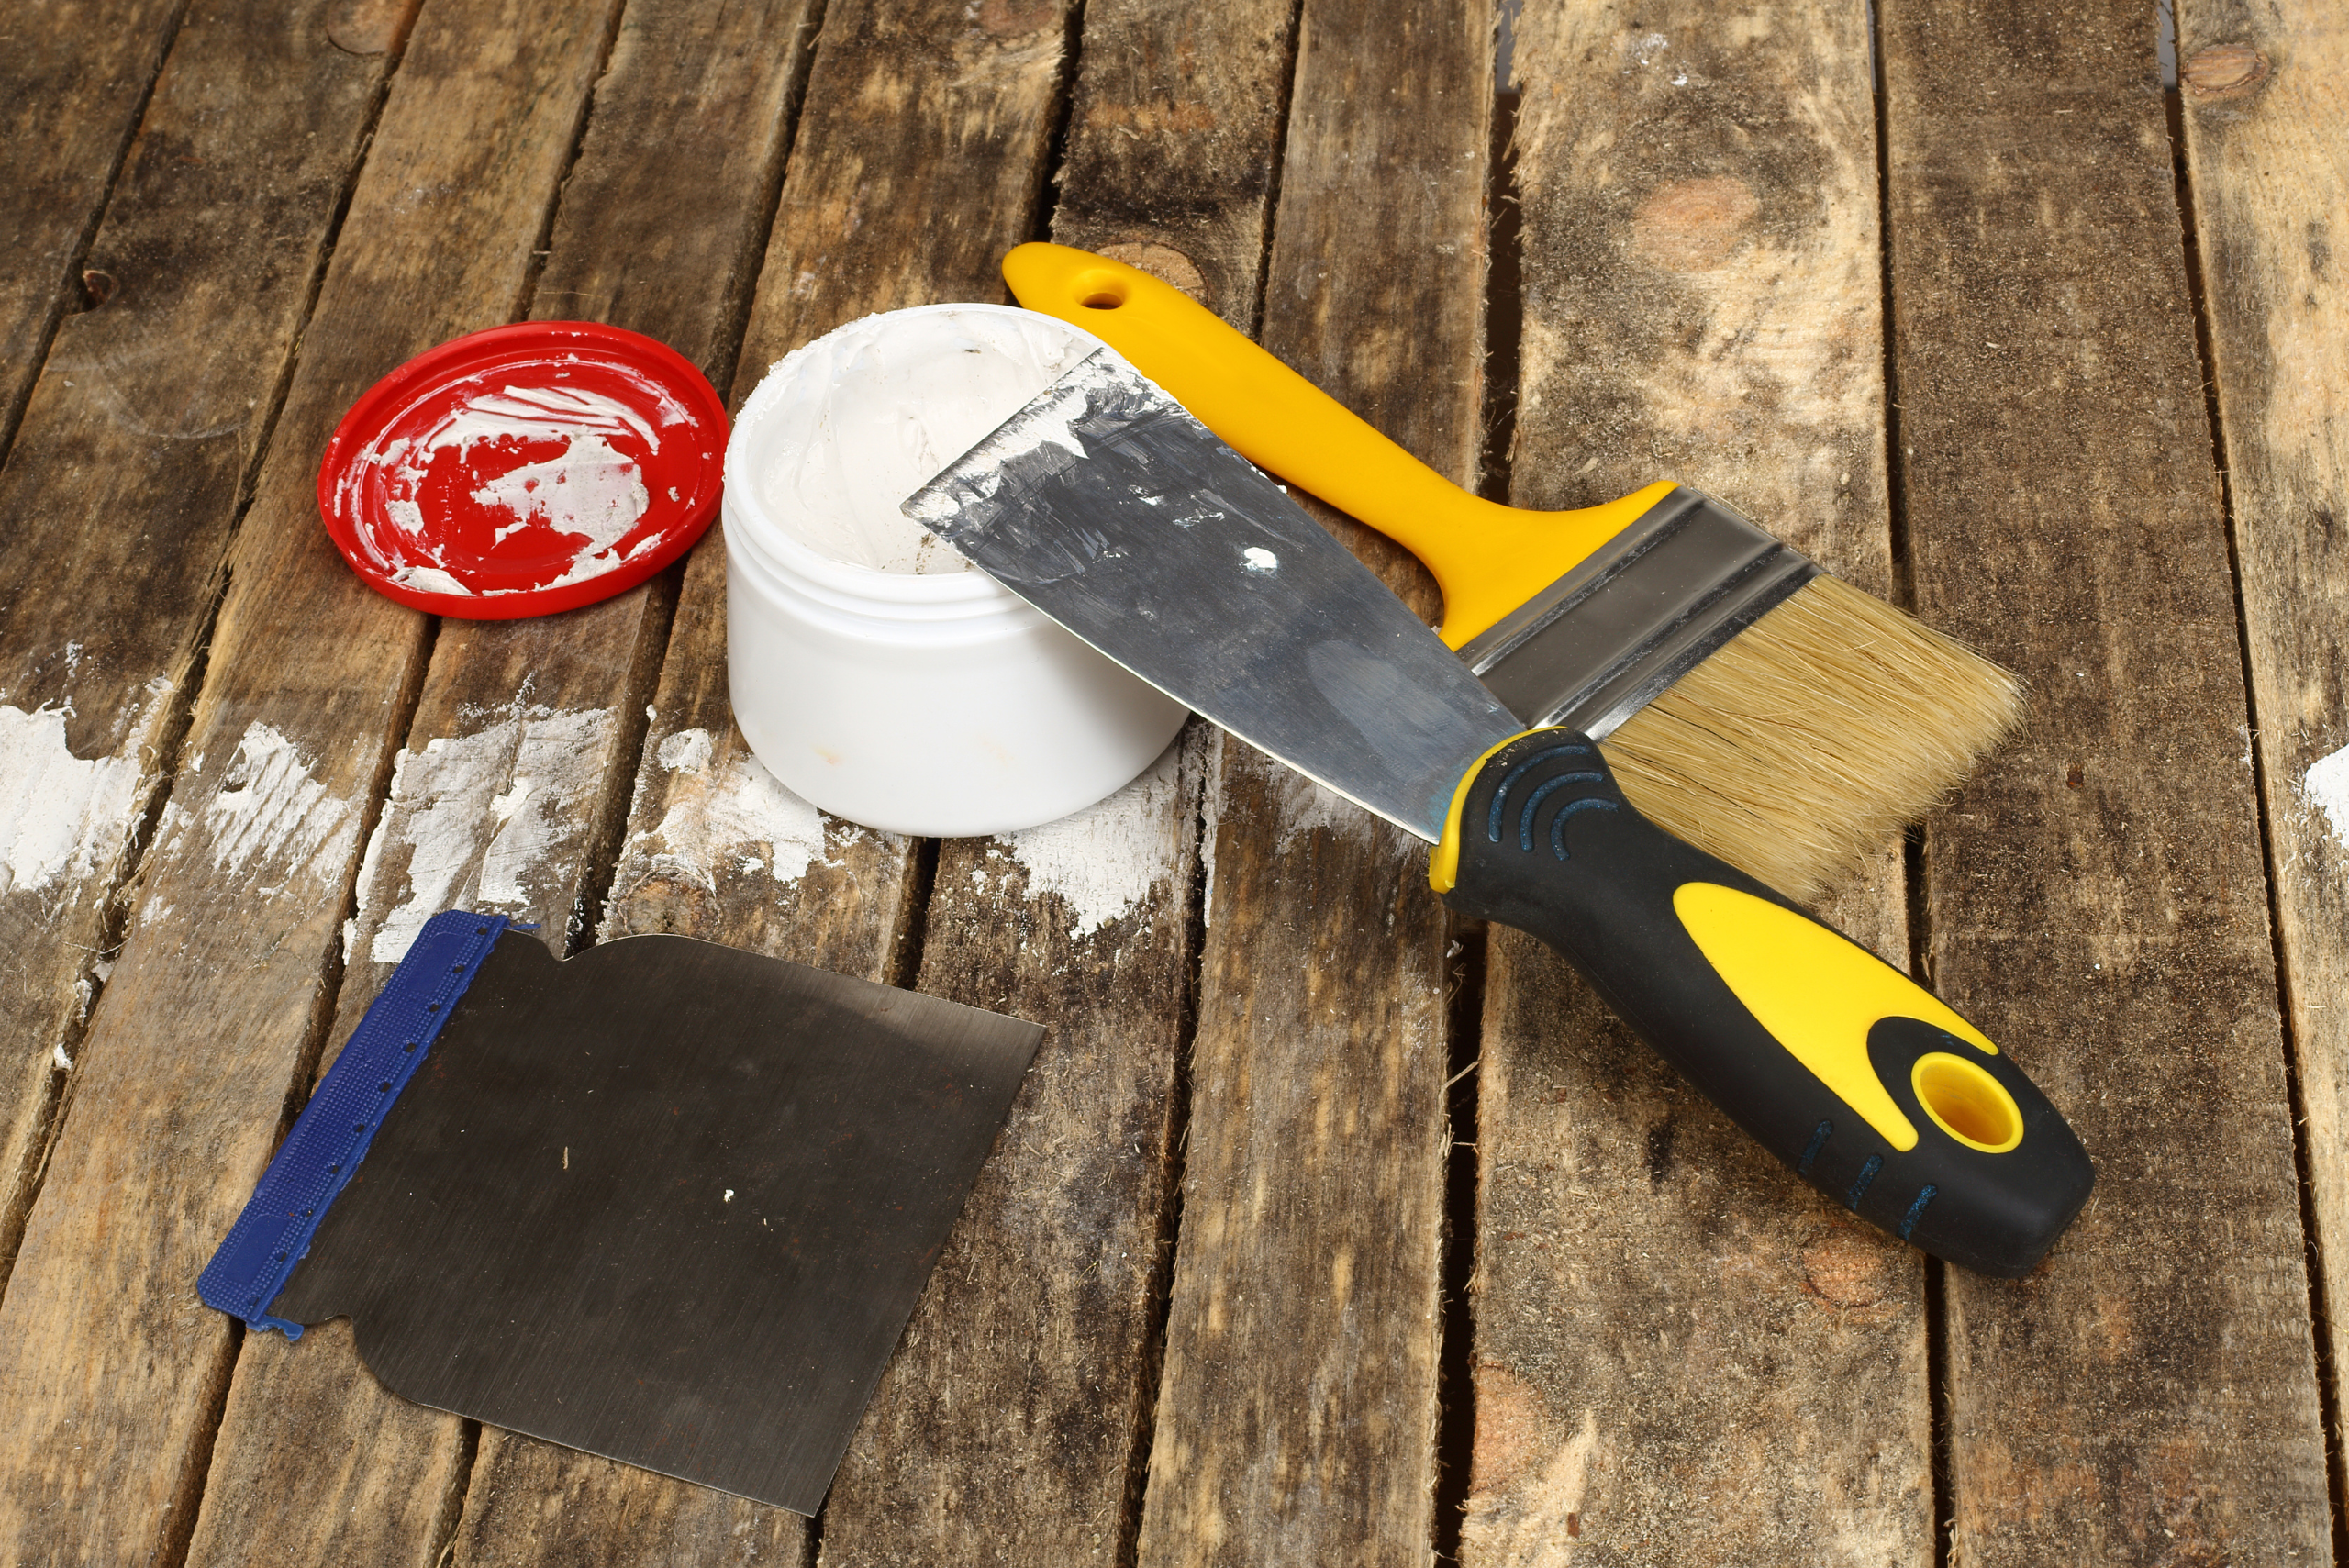
To successfully repair pet scratches on wood, you’ll need to gather the right tools and materials. Start with the basics: fine-grit sandpaper (220-grit or higher), wood filler or putty that matches your wood color, a putty knife or plastic scraper, and clean cloths. You may also want to invest in a wood repair kit, which often includes wax sticks in various wood tones for filling scratches. For deeper repairs, consider getting wood glue, wood stain markers, and a small artist’s brush for precise application.
Don’t forget about finishing materials to protect your repaired surface. Depending on your wood’s existing finish, you might need varnish, lacquer, or wood oil. A foam brush or high-quality bristle brush will help you apply these finishes smoothly. Additionally, gather some protective gear like gloves and a dust mask, especially if you’ll be doing extensive sanding. Having all these supplies on hand before you start will make the repair process much smoother and more efficient, allowing you to focus on restoring your wooden surfaces to their former beauty.
Cleaning and Sanding the Damaged Area Thoroughly
Before you can begin repairing the scratches, it’s crucial to properly prepare the surface. Start by thoroughly cleaning the damaged area to remove any dirt, dust, or pet hair that may have accumulated in and around the scratches. Use a mild soap solution and a soft cloth to gently clean the wood, being careful not to saturate the surface. Once clean, allow the area to dry completely. This step ensures that your repairs will adhere properly and that you’re not trapping any debris beneath your fix.
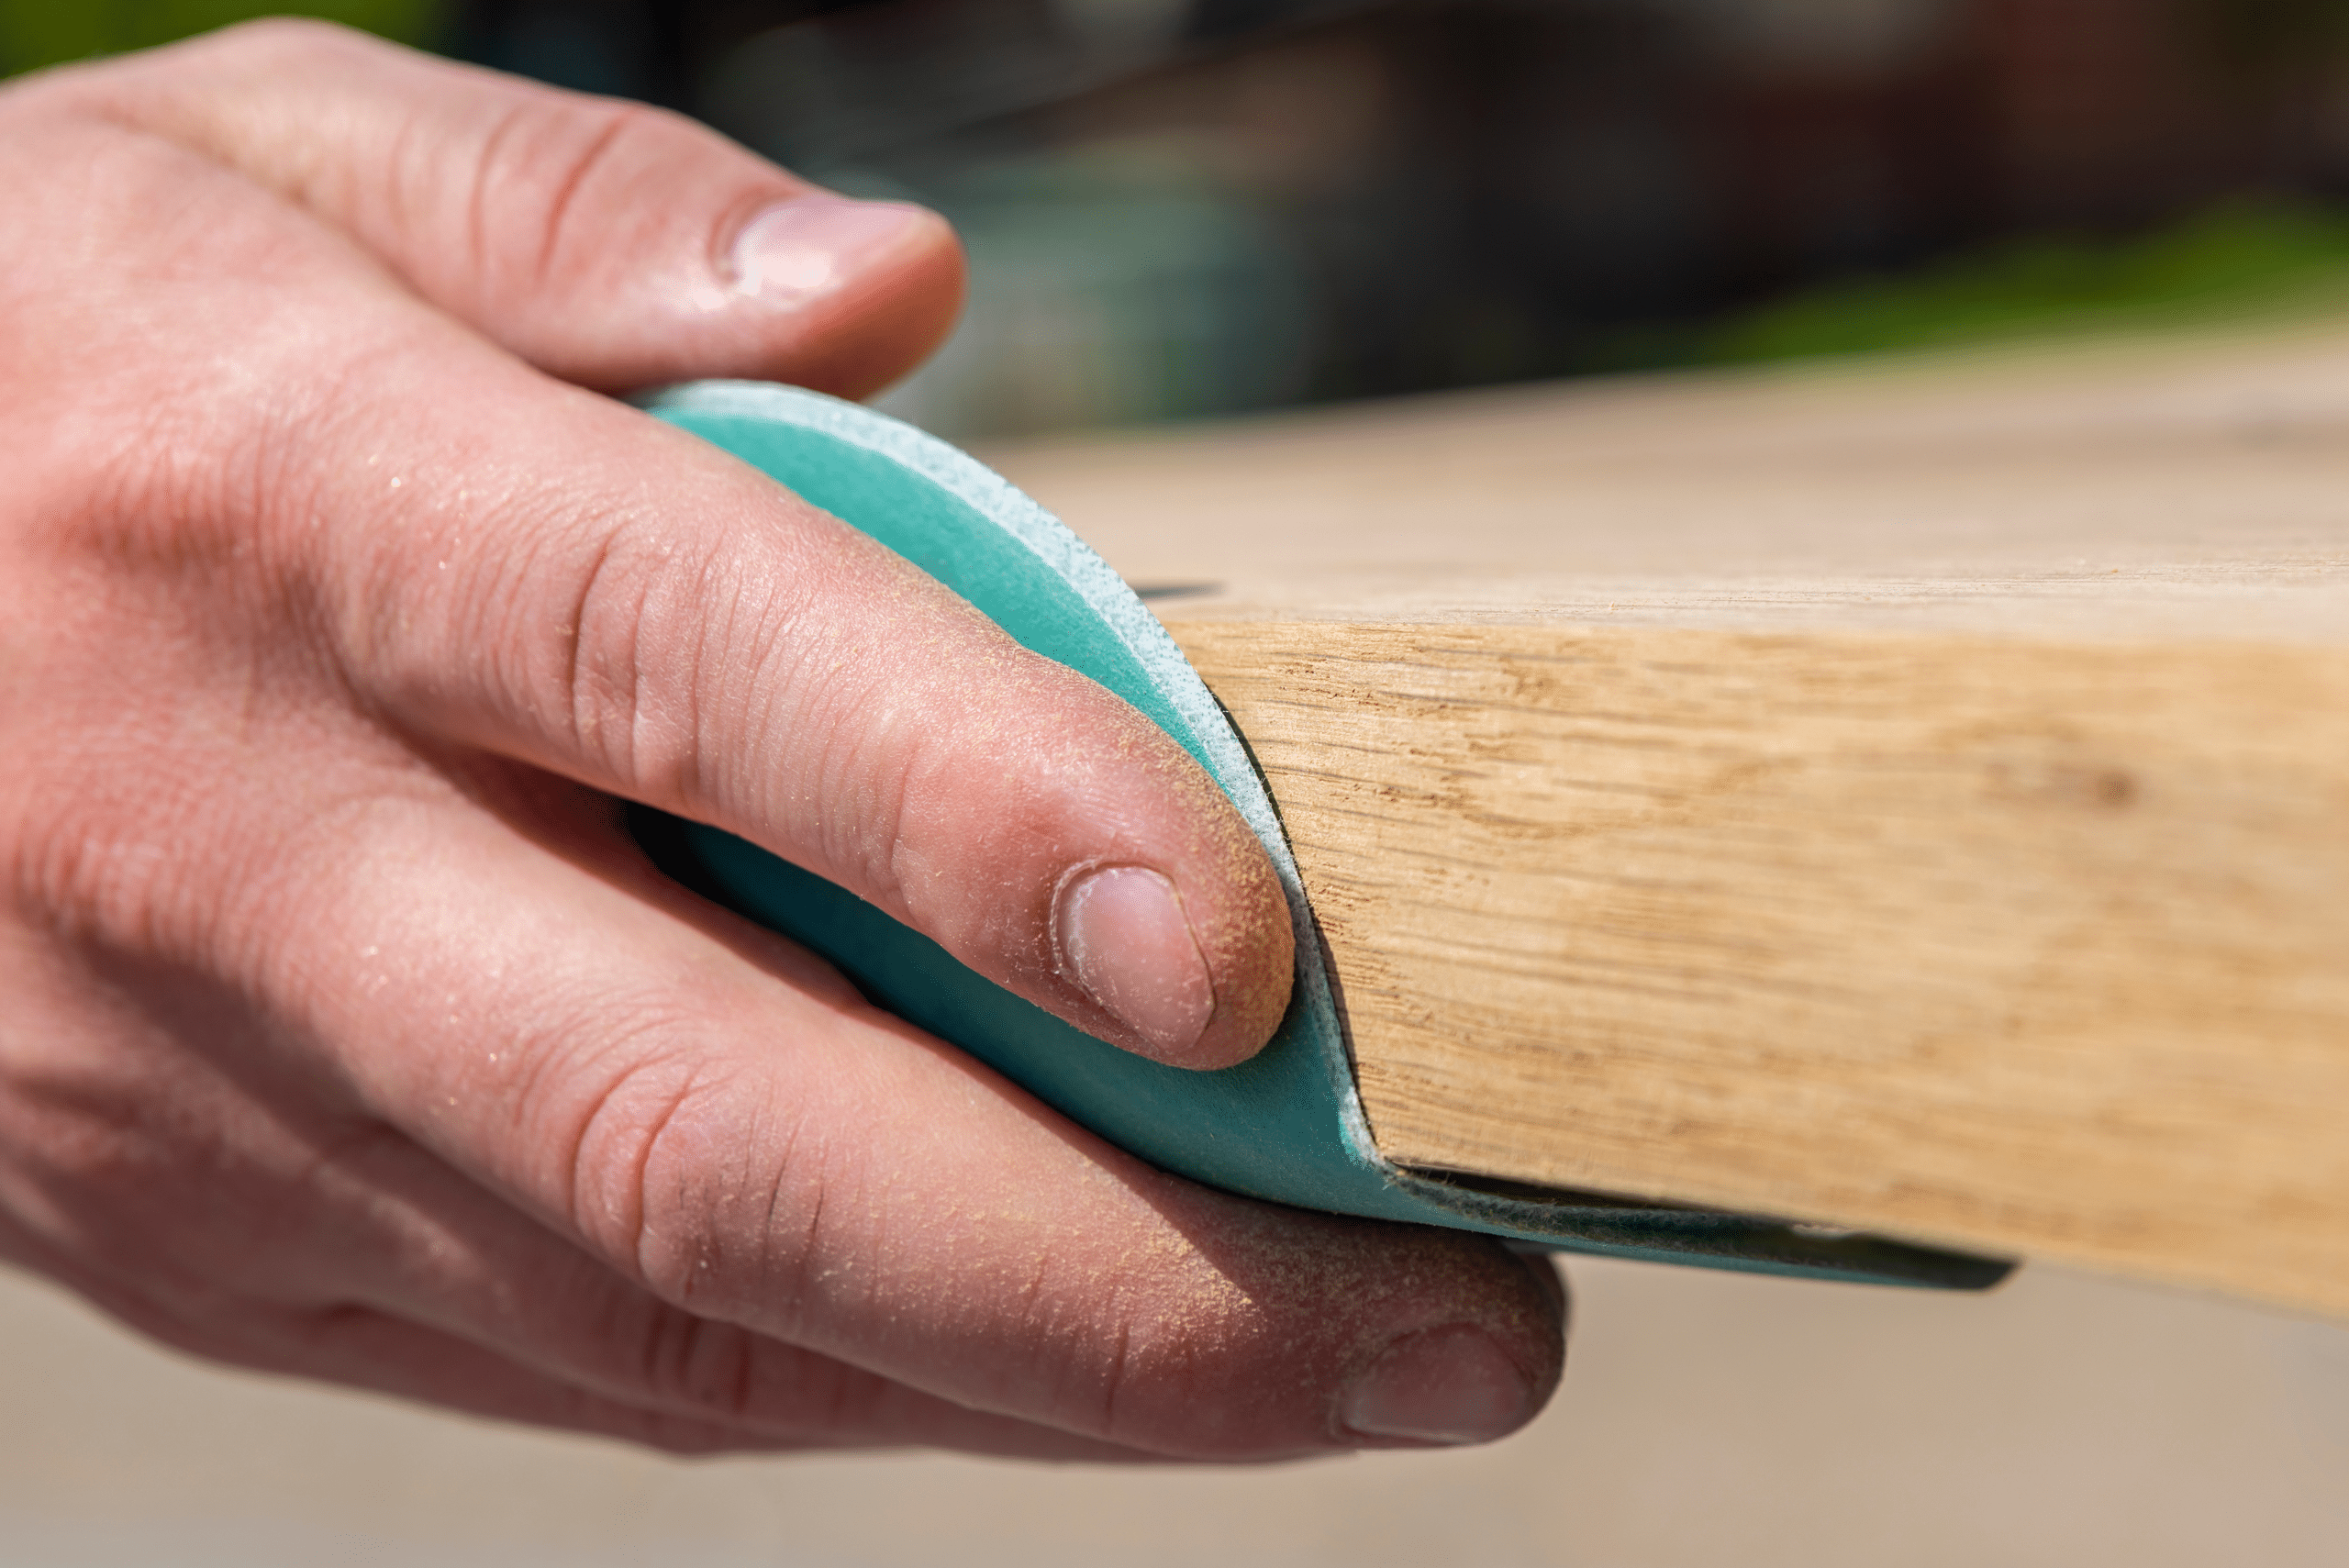
Next, lightly sand the scratched area using fine-grit sandpaper (220-grit or higher). Sand in the direction of the wood grain to avoid creating additional scratches. The goal is to smooth out any rough edges around the scratch and create a slightly abraded surface for better adhesion of your repair materials. After sanding, use a tack cloth or vacuum with a brush attachment to remove all sanding dust. This preparation step is crucial for achieving a seamless repair, as it creates a clean, smooth surface for your filler or other repair products to bond with the existing wood.
Start your next woodworking adventure with TedsWoodworking! Dive into 16,000+ projects and bring your ideas to life. Build unique furniture and master new skills with Ted’s detailed, step-by-step plans guiding you every step of the way.
Techniques for Addressing Different Scratch Depths
For light surface scratches, you may be able to simply buff them out using a mixture of equal parts vinegar and olive oil. Apply the mixture to the scratch with a soft cloth, rubbing gently in the direction of the wood grain. This can help to minimize the appearance of minor scratches and restore some luster to the wood. For slightly deeper scratches that have penetrated the finish but not the wood itself, try using a wax stick that matches your wood color. Rub the wax into the scratch, then use a plastic scraper or credit card to remove any excess, leaving the wax flush with the surrounding surface.
When dealing with deeper scratches or gouges that have damaged the wood, you’ll need to use wood filler or putty. Choose a filler that matches your wood color as closely as possible. Apply the filler to the scratch using a putty knife, slightly overfilling the damaged area. Allow it to dry completely according to the product instructions. Once dry, sand the filled area smoothly, blending it with the surrounding wood. For very deep gouges, you may need to apply multiple layers of filler, allowing each layer to dry and sand between applications. This process requires patience but will result in a much more seamless repair.
Matching Colors and Applying Protective Coatings
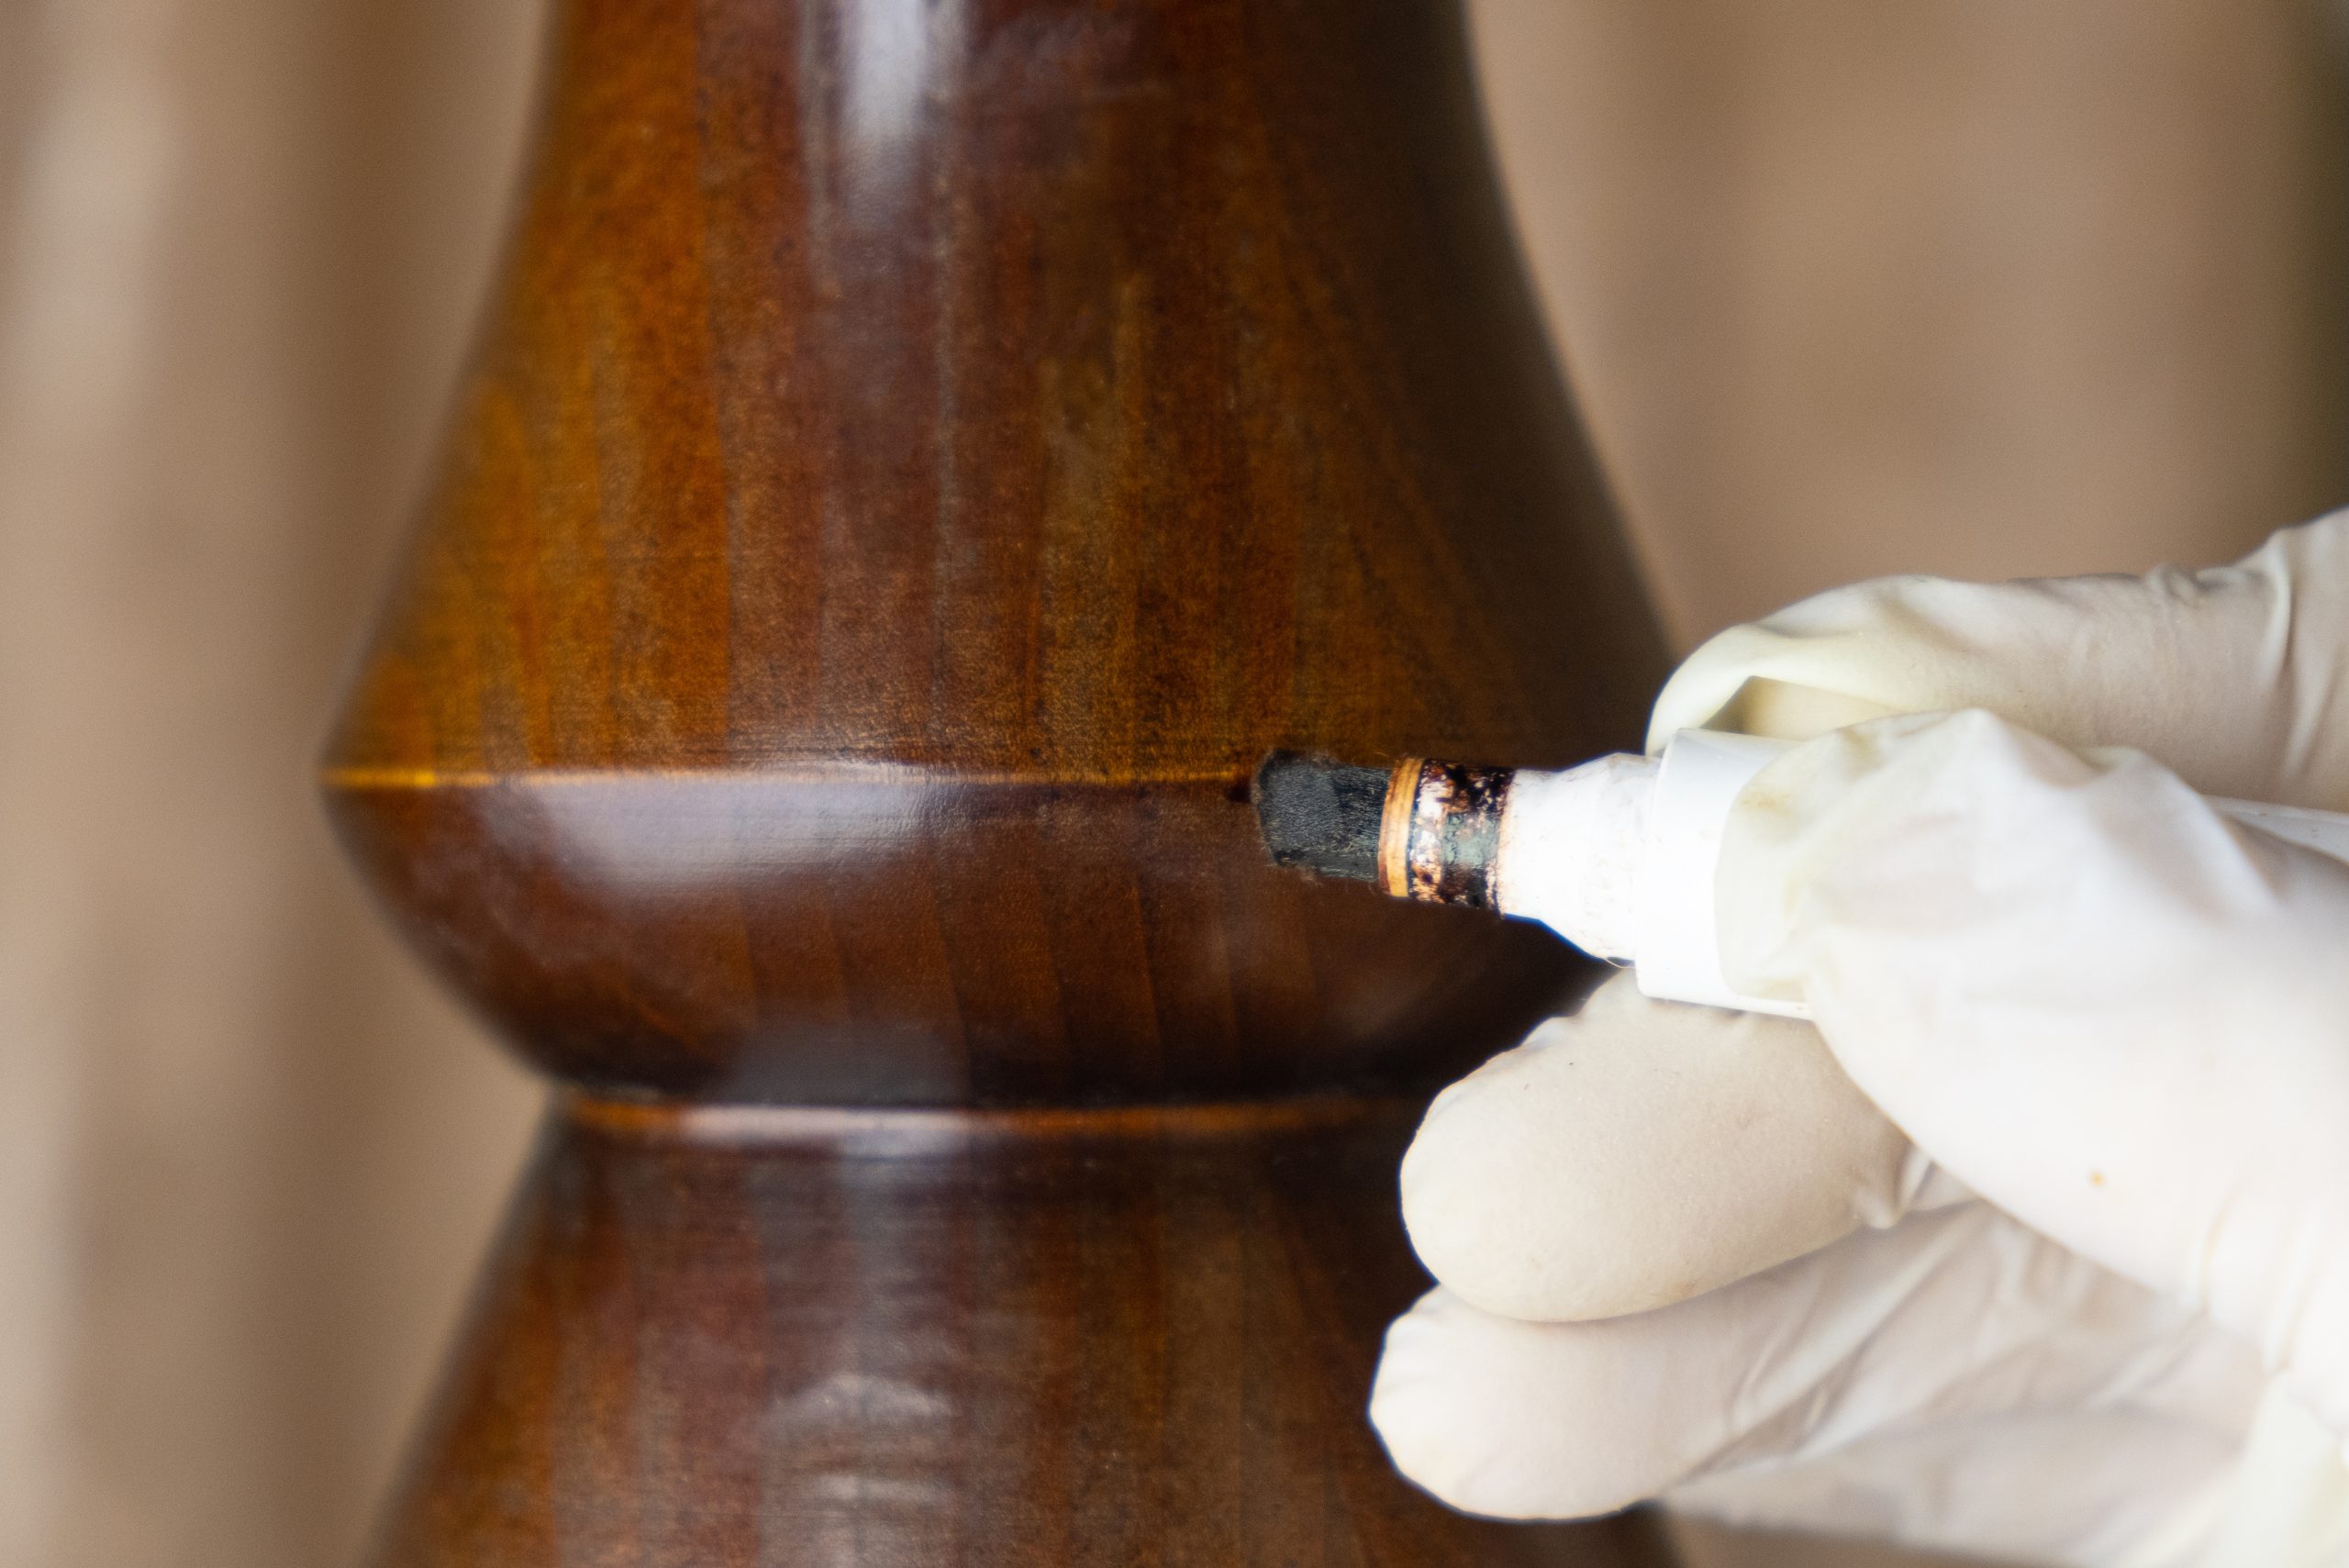
After filling and sanding the repaired area, you’ll need to match the color to the surrounding wood. If you’ve used a wood filler that doesn’t perfectly match, you can use wood stain markers or a small artist’s brush with wood stain to color the filled area. Apply the stain carefully, building up the color gradually to avoid oversaturating the repair. Wipe away any excess stain immediately with a clean cloth. For a more precise color match, you can mix different shades of wood stain to create a custom color that blends seamlessly with your existing wood tone.
Once you’re satisfied with the color match, it’s time to apply a protective finish. The type of finish you use should match the existing finish on your wood surface. For varnished or lacquered surfaces, apply a thin coat of the appropriate finish using a foam brush or high-quality bristle brush. Work in the direction of the wood grain and avoid overworking the finish to prevent bubbles or streaks. Allow the finish to dry completely, then lightly sand with very fine-grit sandpaper (320-grit or higher) and apply a second coat if needed. For oiled woods, apply a thin layer of wood oil, allowing it to penetrate before wiping away any excess.
Protecting Wood Surfaces From Future Pet Damage
While knowing how to repair pet scratches is valuable, preventing them in the first place is even better. One effective strategy is to provide your pets with appropriate scratching alternatives. For cats, invest in scratching posts or boards and place them near the furniture they’re prone to scratching. Encourage your pets to use these alternatives by applying catnip or treats to make them more appealing. For dogs, ensure they have plenty of chew toys to keep them occupied and away from wooden surfaces.
Consider using protective covers or materials on your wooden furniture and doors. Clear adhesive films designed for wood protection can be applied to areas prone to scratching, such as the lower portions of doors or table legs. These films are nearly invisible and can be easily replaced if damaged. Another option is to use furniture pads or corner protectors on table and chair legs. Regular nail trimming for both cats and dogs can also significantly reduce the likelihood of accidental scratches. By implementing these preventive measures, you can maintain the beauty of your wooden surfaces while still enjoying the company of your beloved pets.


