How to Fix a Spalling Concrete Driveway The Right Way
Spalling concrete is a common issue many homeowners face, especially in driveways that experience wear and tear from weather, traffic, and time. Spalling occurs when the surface of the concrete starts to break apart, leading to cracks, pits, and an unsightly appearance. The good news is that fixing spalling concrete is a manageable DIY project that can improve the durability and look of your driveway.
In this article, we’ll walk you through the steps of fixing spalling concrete in your driveway, from preparation to finishing touches. With the right tools and materials, you can restore your driveway and extend its lifespan.
Understanding Spalling and Its Causes
Spalling occurs when the top layer of concrete begins to chip, crack, or flake off. This damage can be caused by several factors, including freeze-thaw cycles, water infiltration, salt damage, and heavy traffic. When water seeps into the concrete and freezes during cold weather, it expands, creating pressure that causes the surface to break apart.
Other factors, such as poor-quality concrete, improper curing, or exposure to harsh chemicals, can also contribute to spalling. Identifying the cause of the damage is essential to prevent further deterioration and ensure a lasting repair.
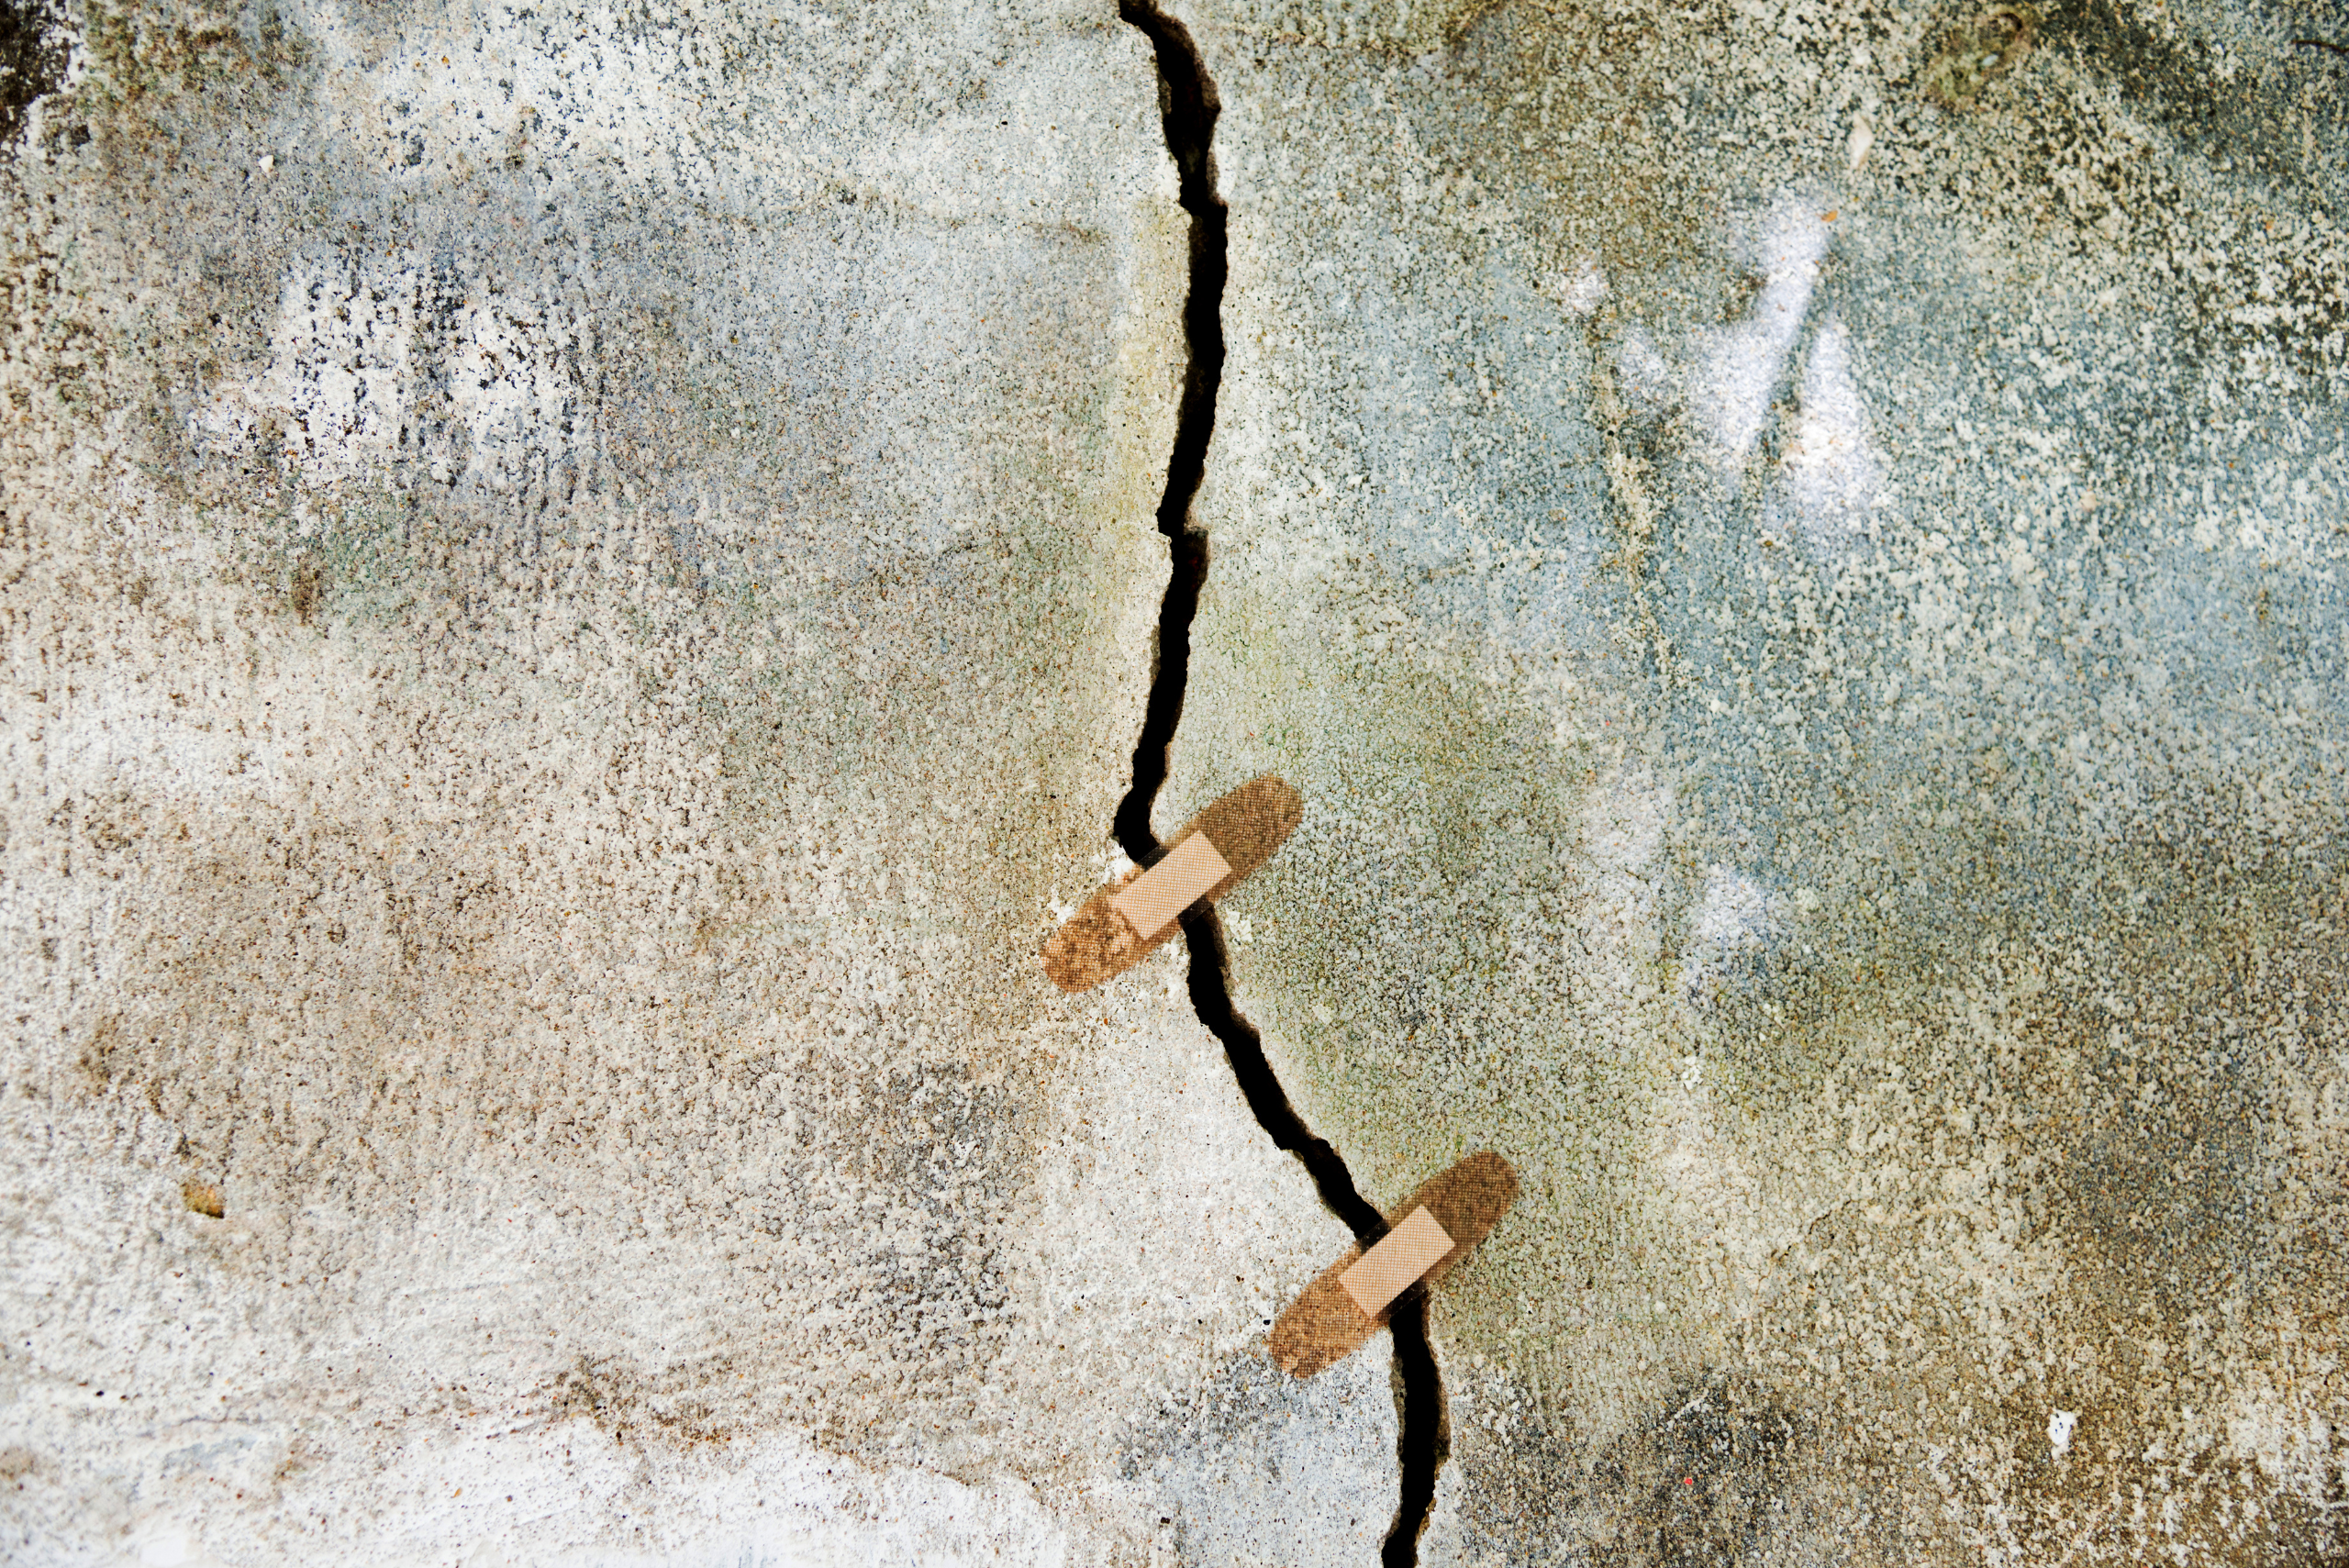
Preparing the Area for Repair
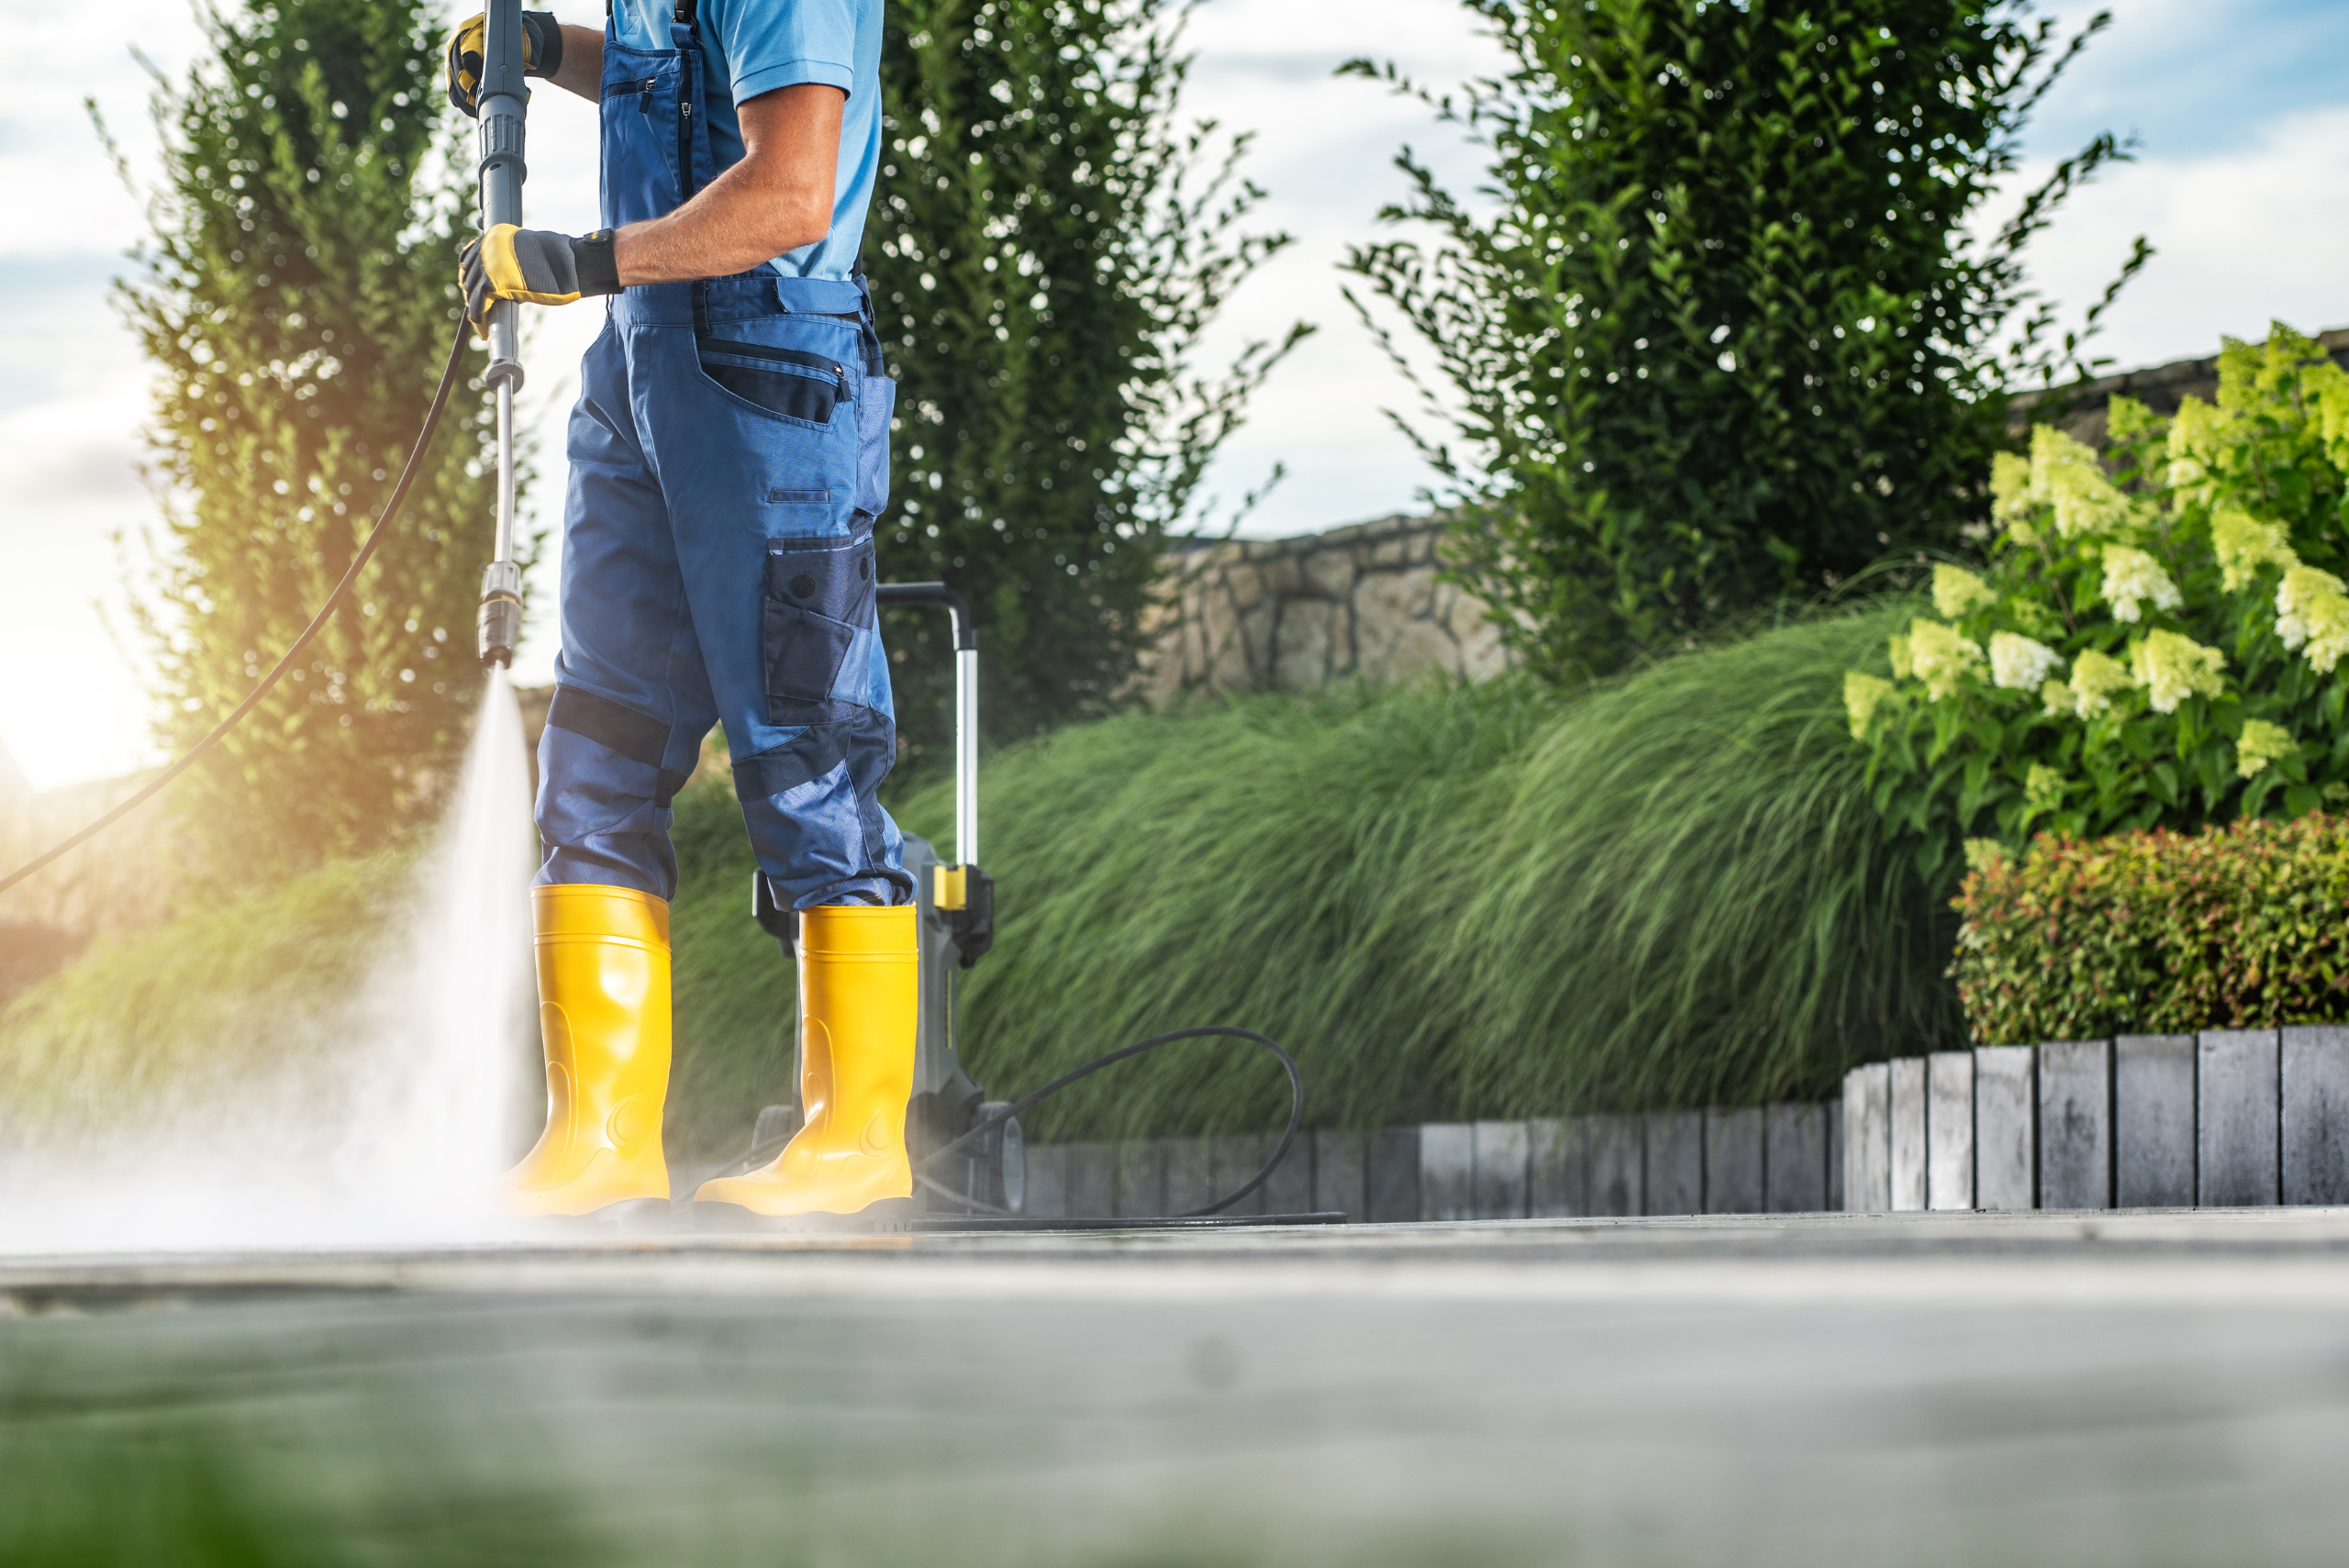
Before you start fixing the spalling concrete, it’s important to properly prepare the area. Begin by cleaning the damaged sections of your driveway. Remove any loose concrete, dirt, or debris using a wire brush or pressure washer. This will create a clean surface to which the repair materials can adhere.
If there are any large cracks or holes, widen them slightly with a chisel to ensure the repair material bonds effectively. It’s also a good idea to wet the area with water before applying the repair mixture. This helps the materials bond more securely to the concrete.
Choosing the Right Repair Materials
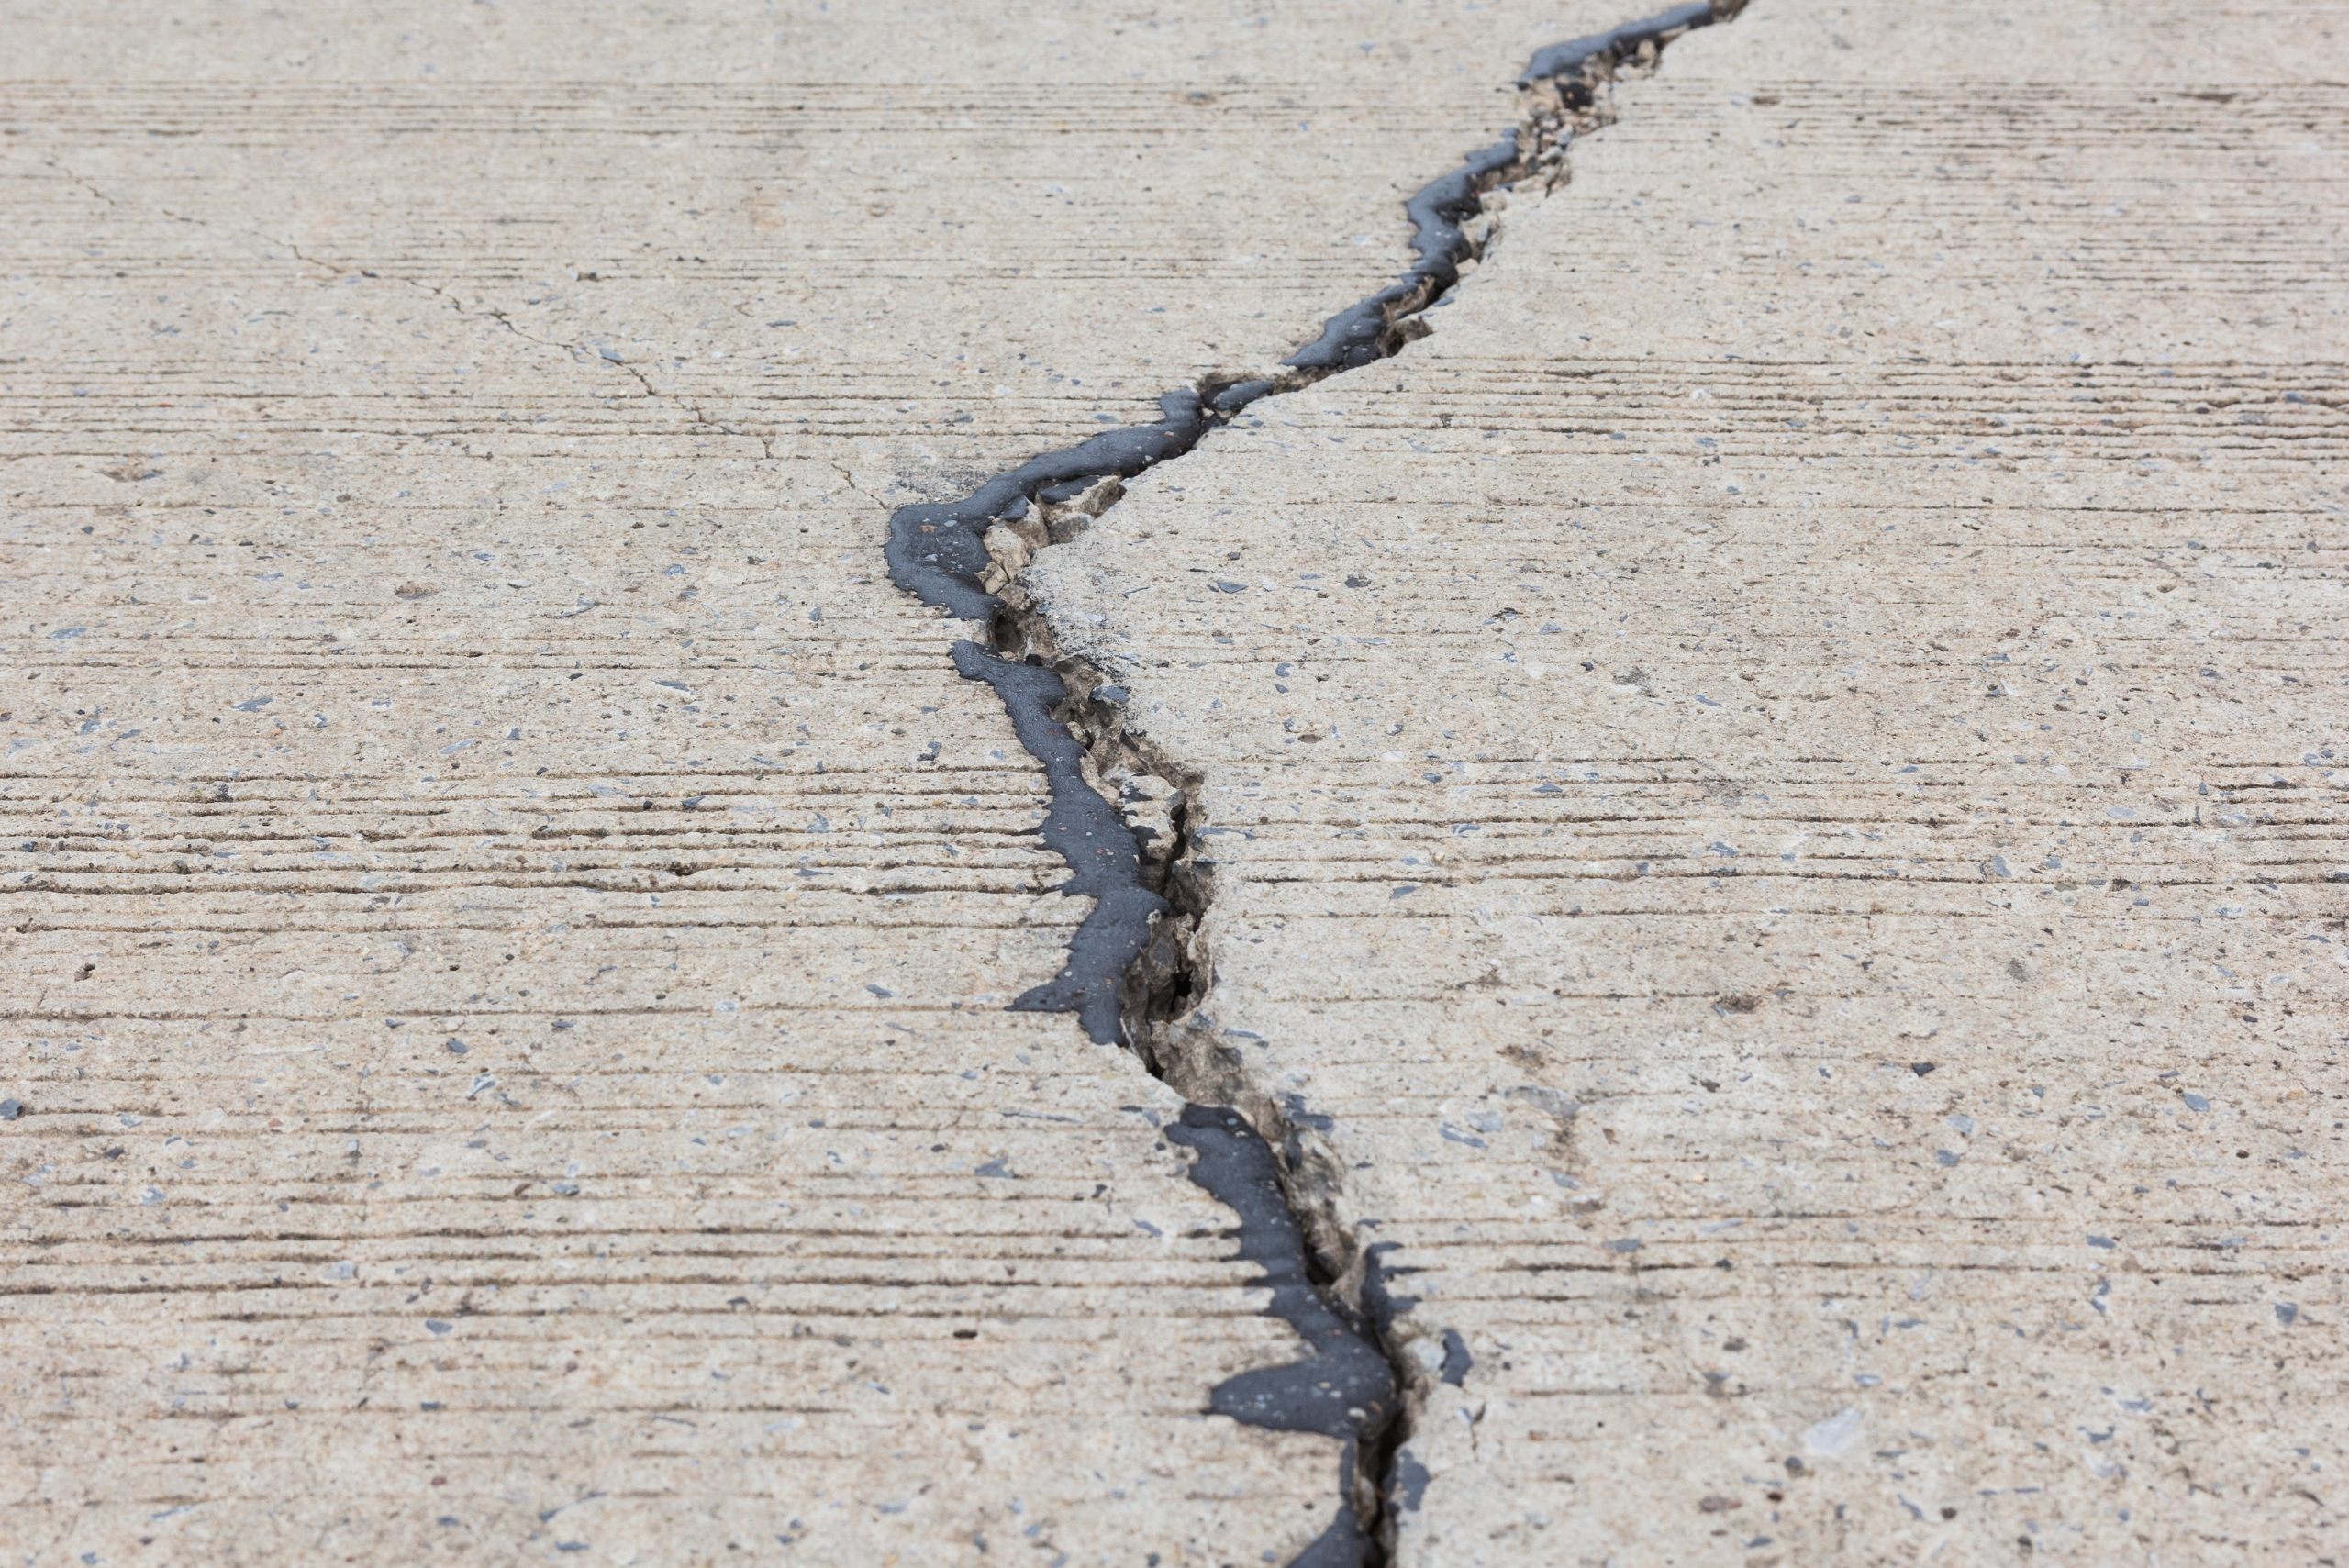
The type of repair material you use depends on the extent of the spalling and the condition of your concrete. For minor spalling, a concrete resurfacer or patching compound is often sufficient. These products are designed to fill in small cracks and level the surface.
For more extensive damage, you may need a thicker patching compound or a concrete repair kit. These kits often include everything you need for the repair, such as bonding agents, patching materials, and finishing tools. Be sure to choose a product specifically designed for driveway repairs to ensure the best results.
Applying the Repair Material
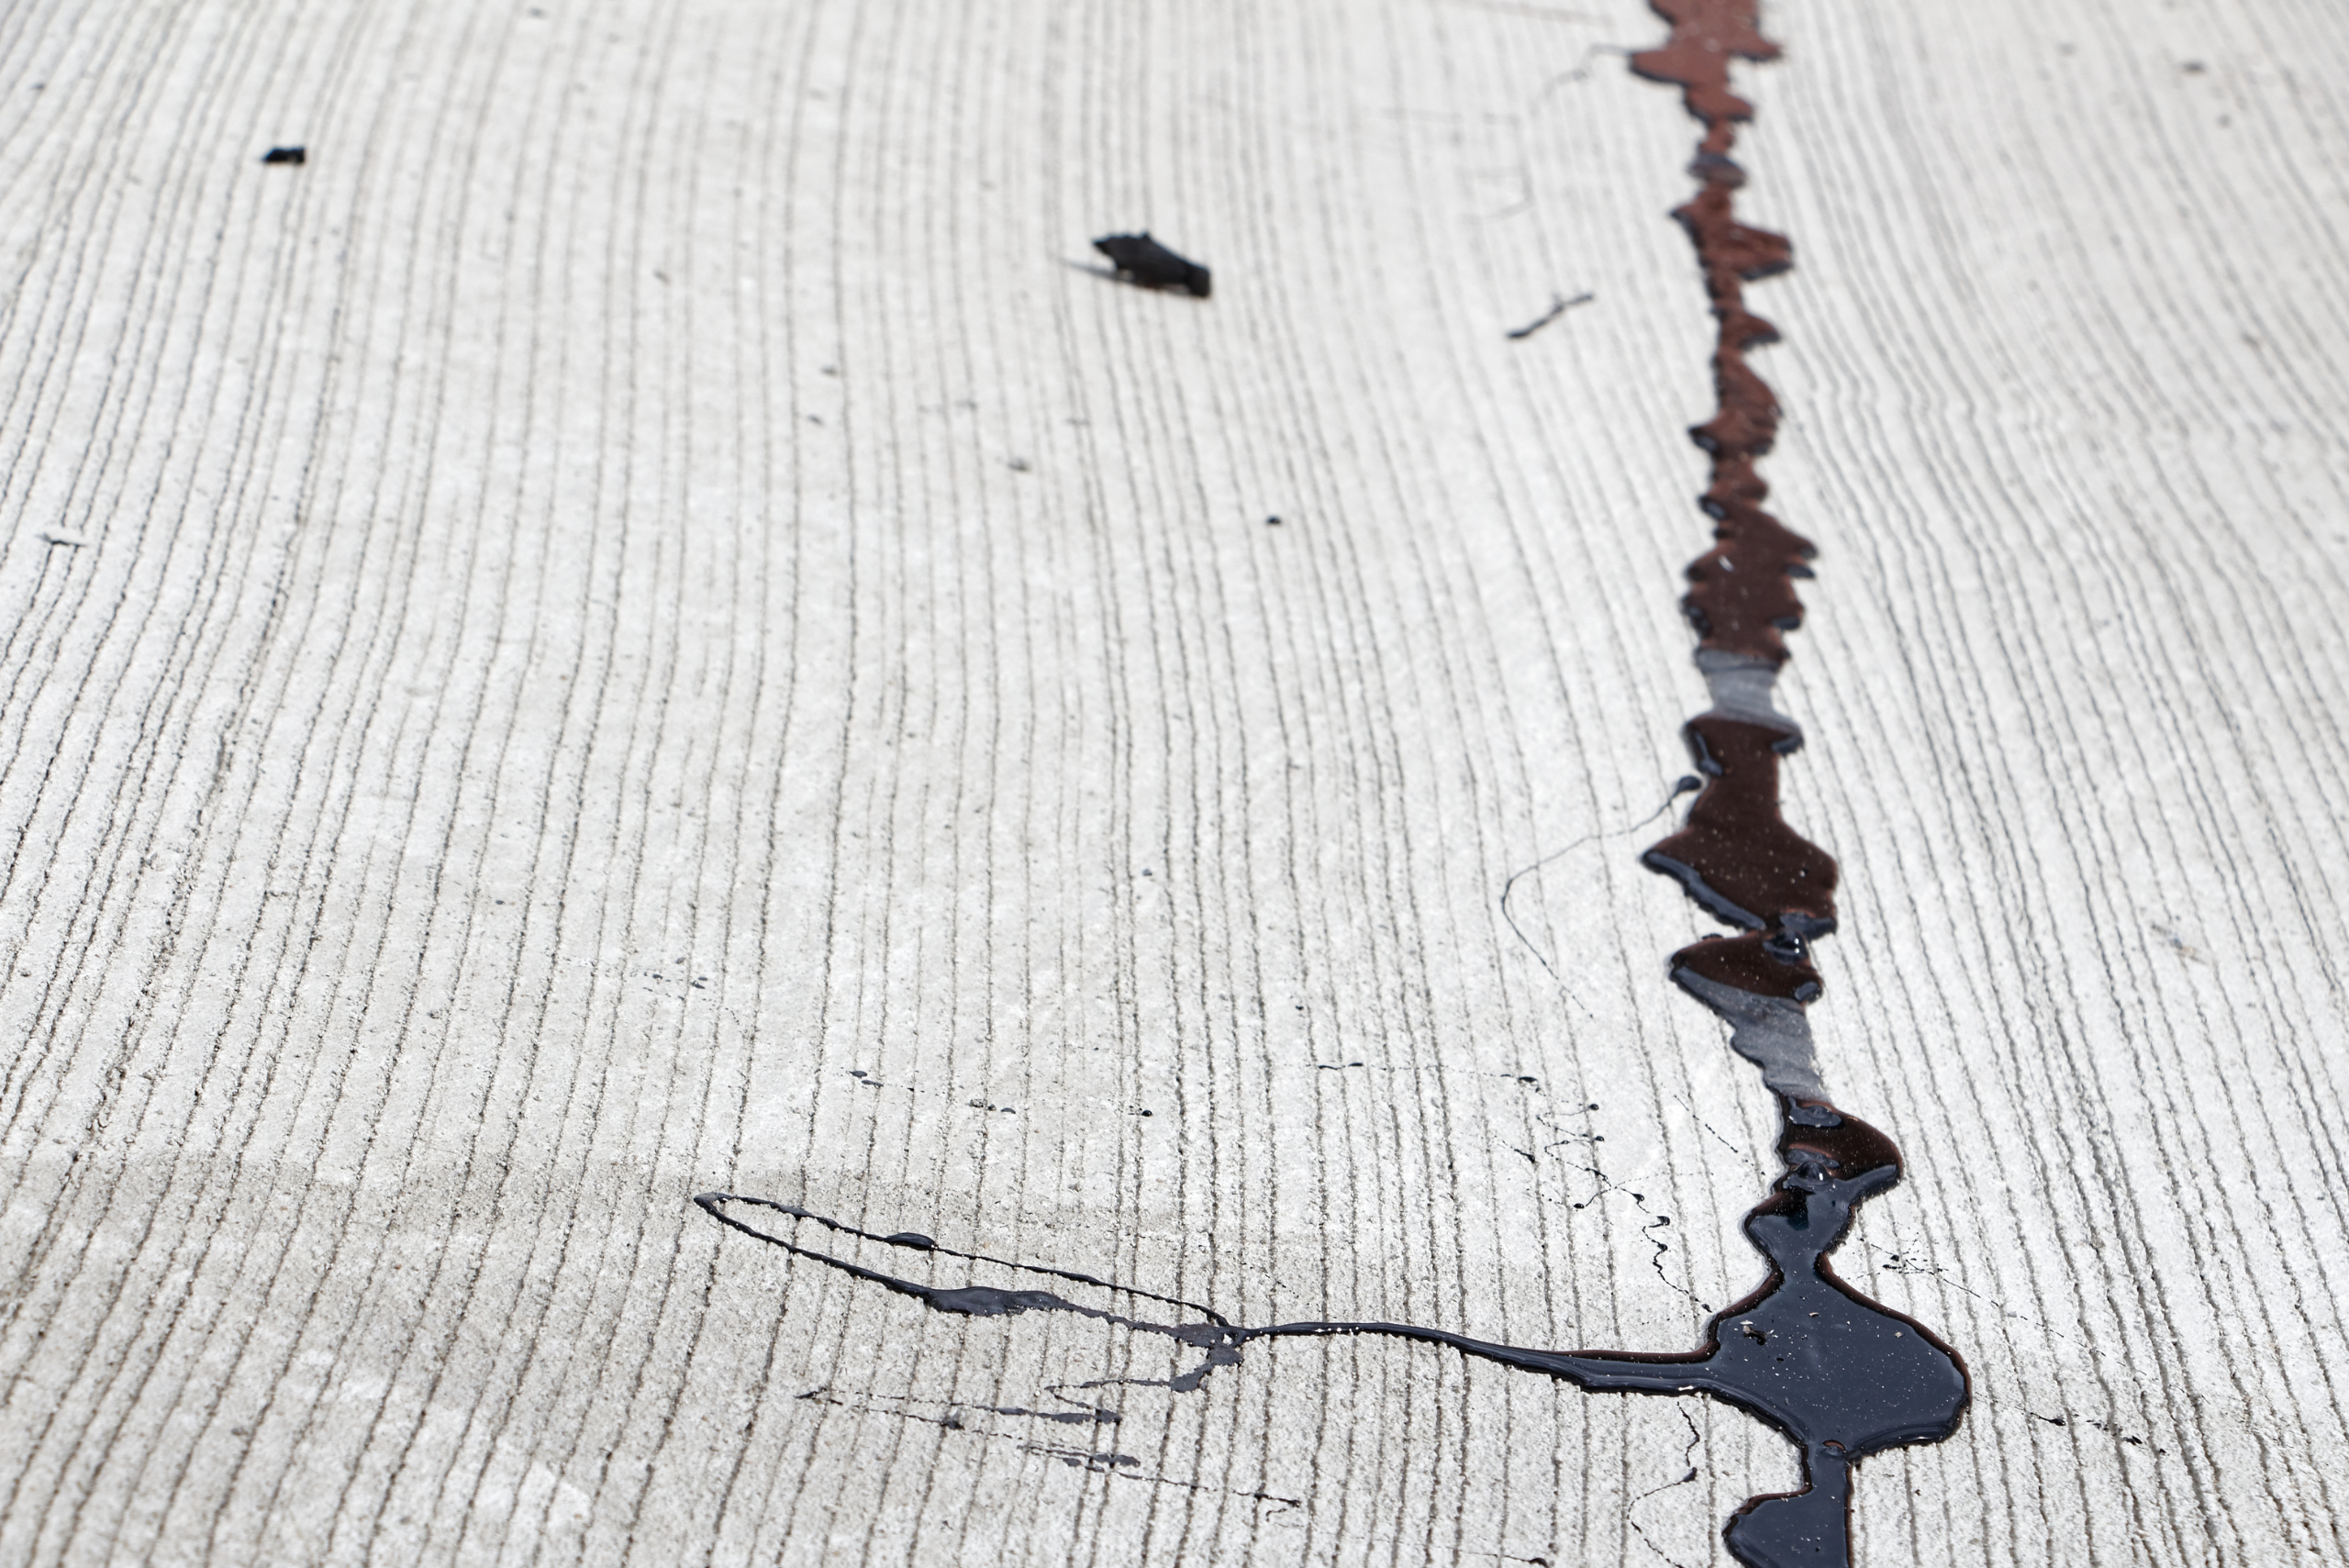
Once you have your materials ready, it’s time to apply the repair mixture. Start by mixing the patching compound according to the manufacturer’s instructions. You want to achieve a smooth, workable consistency that will easily spread over the damaged areas.
Using a trowel or putty knife, apply the mixture over the spalled areas, filling any cracks or holes completely. Be sure to smooth the surface as you go to create an even, level finish. For larger areas, you may need to work in sections to ensure the repair material doesn’t dry before you finish.
Finishing Touches and Curing
After applying the repair material, use a finishing tool or float to smooth the surface and ensure it matches the texture of the surrounding concrete. Once the surface is level and even, allow the repair to cure according to the manufacturer’s instructions. This typically involves keeping the area moist for several days to help the material bond and set properly.
Avoid driving on the repaired area until it’s fully cured. Curing time can vary depending on the type of repair material used, so be sure to follow the guidelines for the best results.

Related Articles
- Pour Concrete Right with These 11 Essential Tips for Success
- How to Remove Oil Stains from Concrete Driveways
- Cement vs Concrete: What’s the Difference and Which Should You Use?
Fixing spalling concrete in your driveway doesn’t have to be a daunting task. With the right preparation, materials, and techniques, you can restore your driveway’s appearance and prevent further damage. By addressing the issue promptly, you’ll ensure that your driveway remains functional and visually appealing for years to come. Take the time to care for your driveway, and you’ll enjoy a smooth, durable surface for all your daily needs.
Ready to start your next project? Join our DIY community to receive tool tips, how-to guides, and exclusive creative insights. Subscribe to the ManMadeDIY newsletter now! Click here to unlock a world of hands-on inspiration.

