How to Easily Free Stuck Rusty Wheel Lug Nuts on Vehicles
Rusty, stuck wheel lug nuts can turn a simple tire change or repair into a frustrating ordeal. Whether you’re dealing with corrosion from road salt, moisture, or just time-worn hardware, getting those stubborn nuts off your vehicle can feel like a daunting task. The good news is that with the right tools and techniques, you can safely loosen even the most stuck lug nuts without damaging your vehicle or hurting yourself. Here’s a step-by-step guide to help you free those rusty lug nuts with ease.
Step 1: Gather the Right Tools
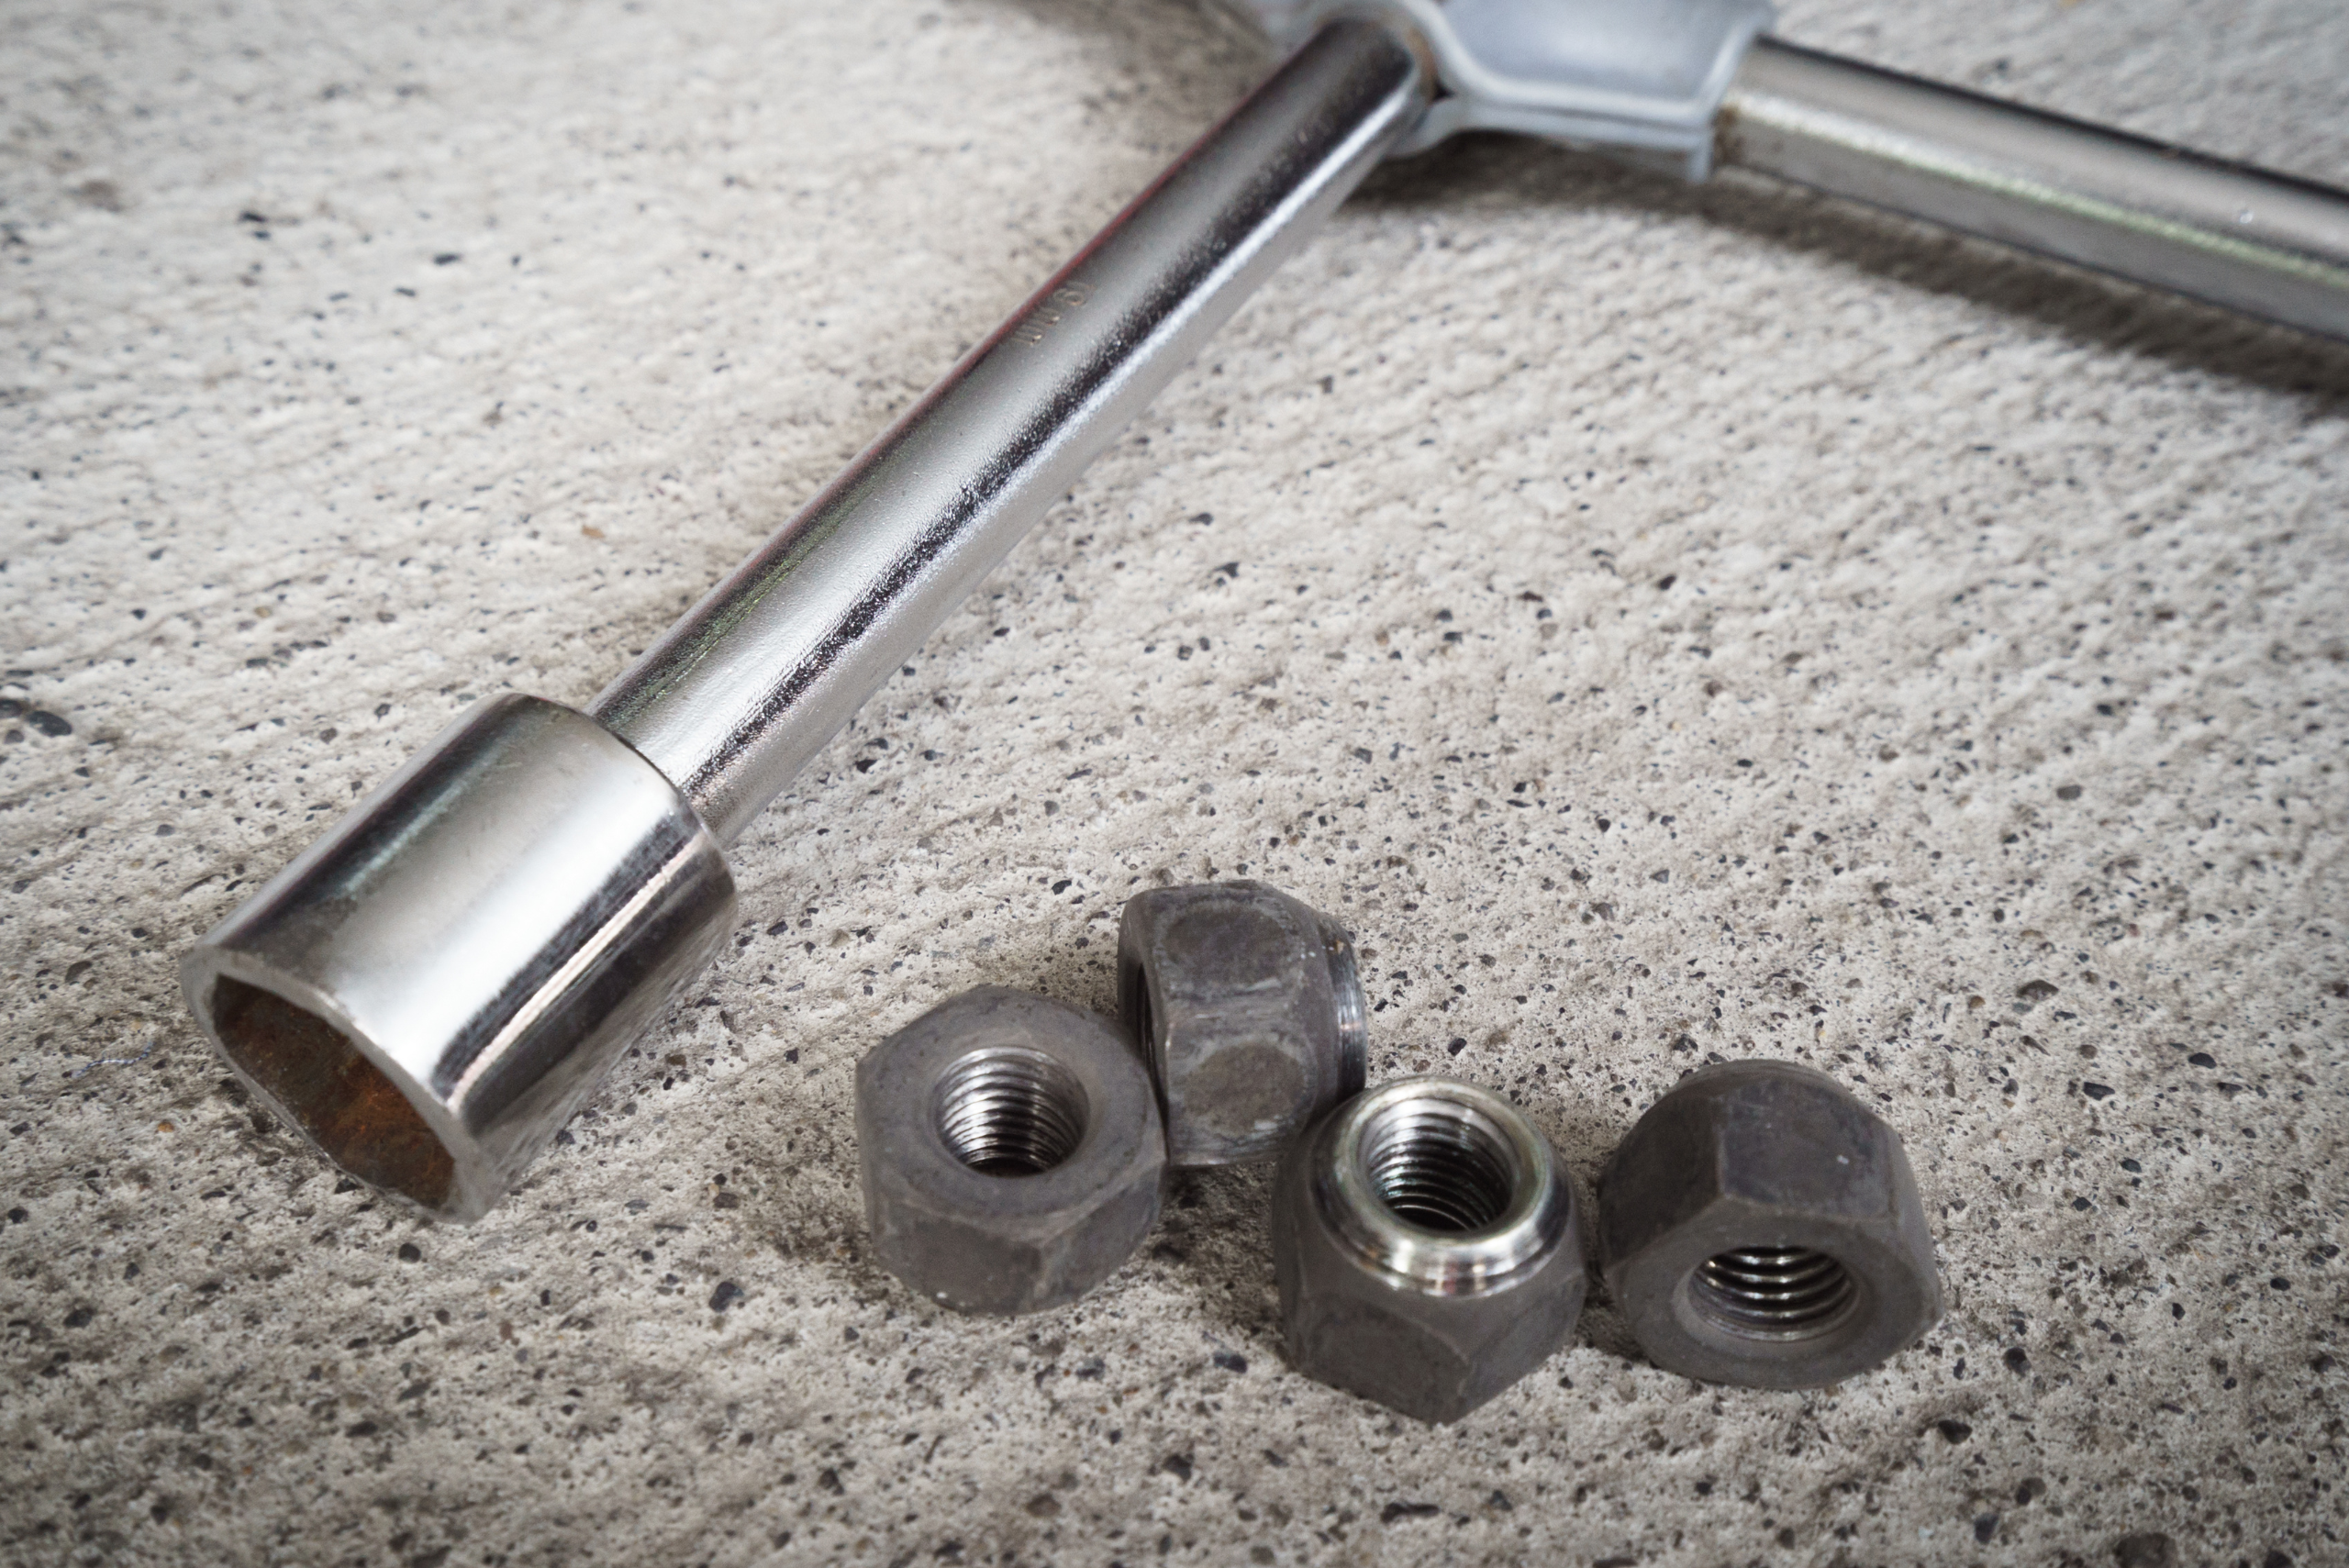
Before starting, make sure you have the proper tools: a lug wrench, penetrating oil (like WD-40), a breaker bar for added leverage, and a wire brush. These are essential for safely loosening rusted lug nuts.
Step 2: Apply Penetrating Oil to the Lug Nuts
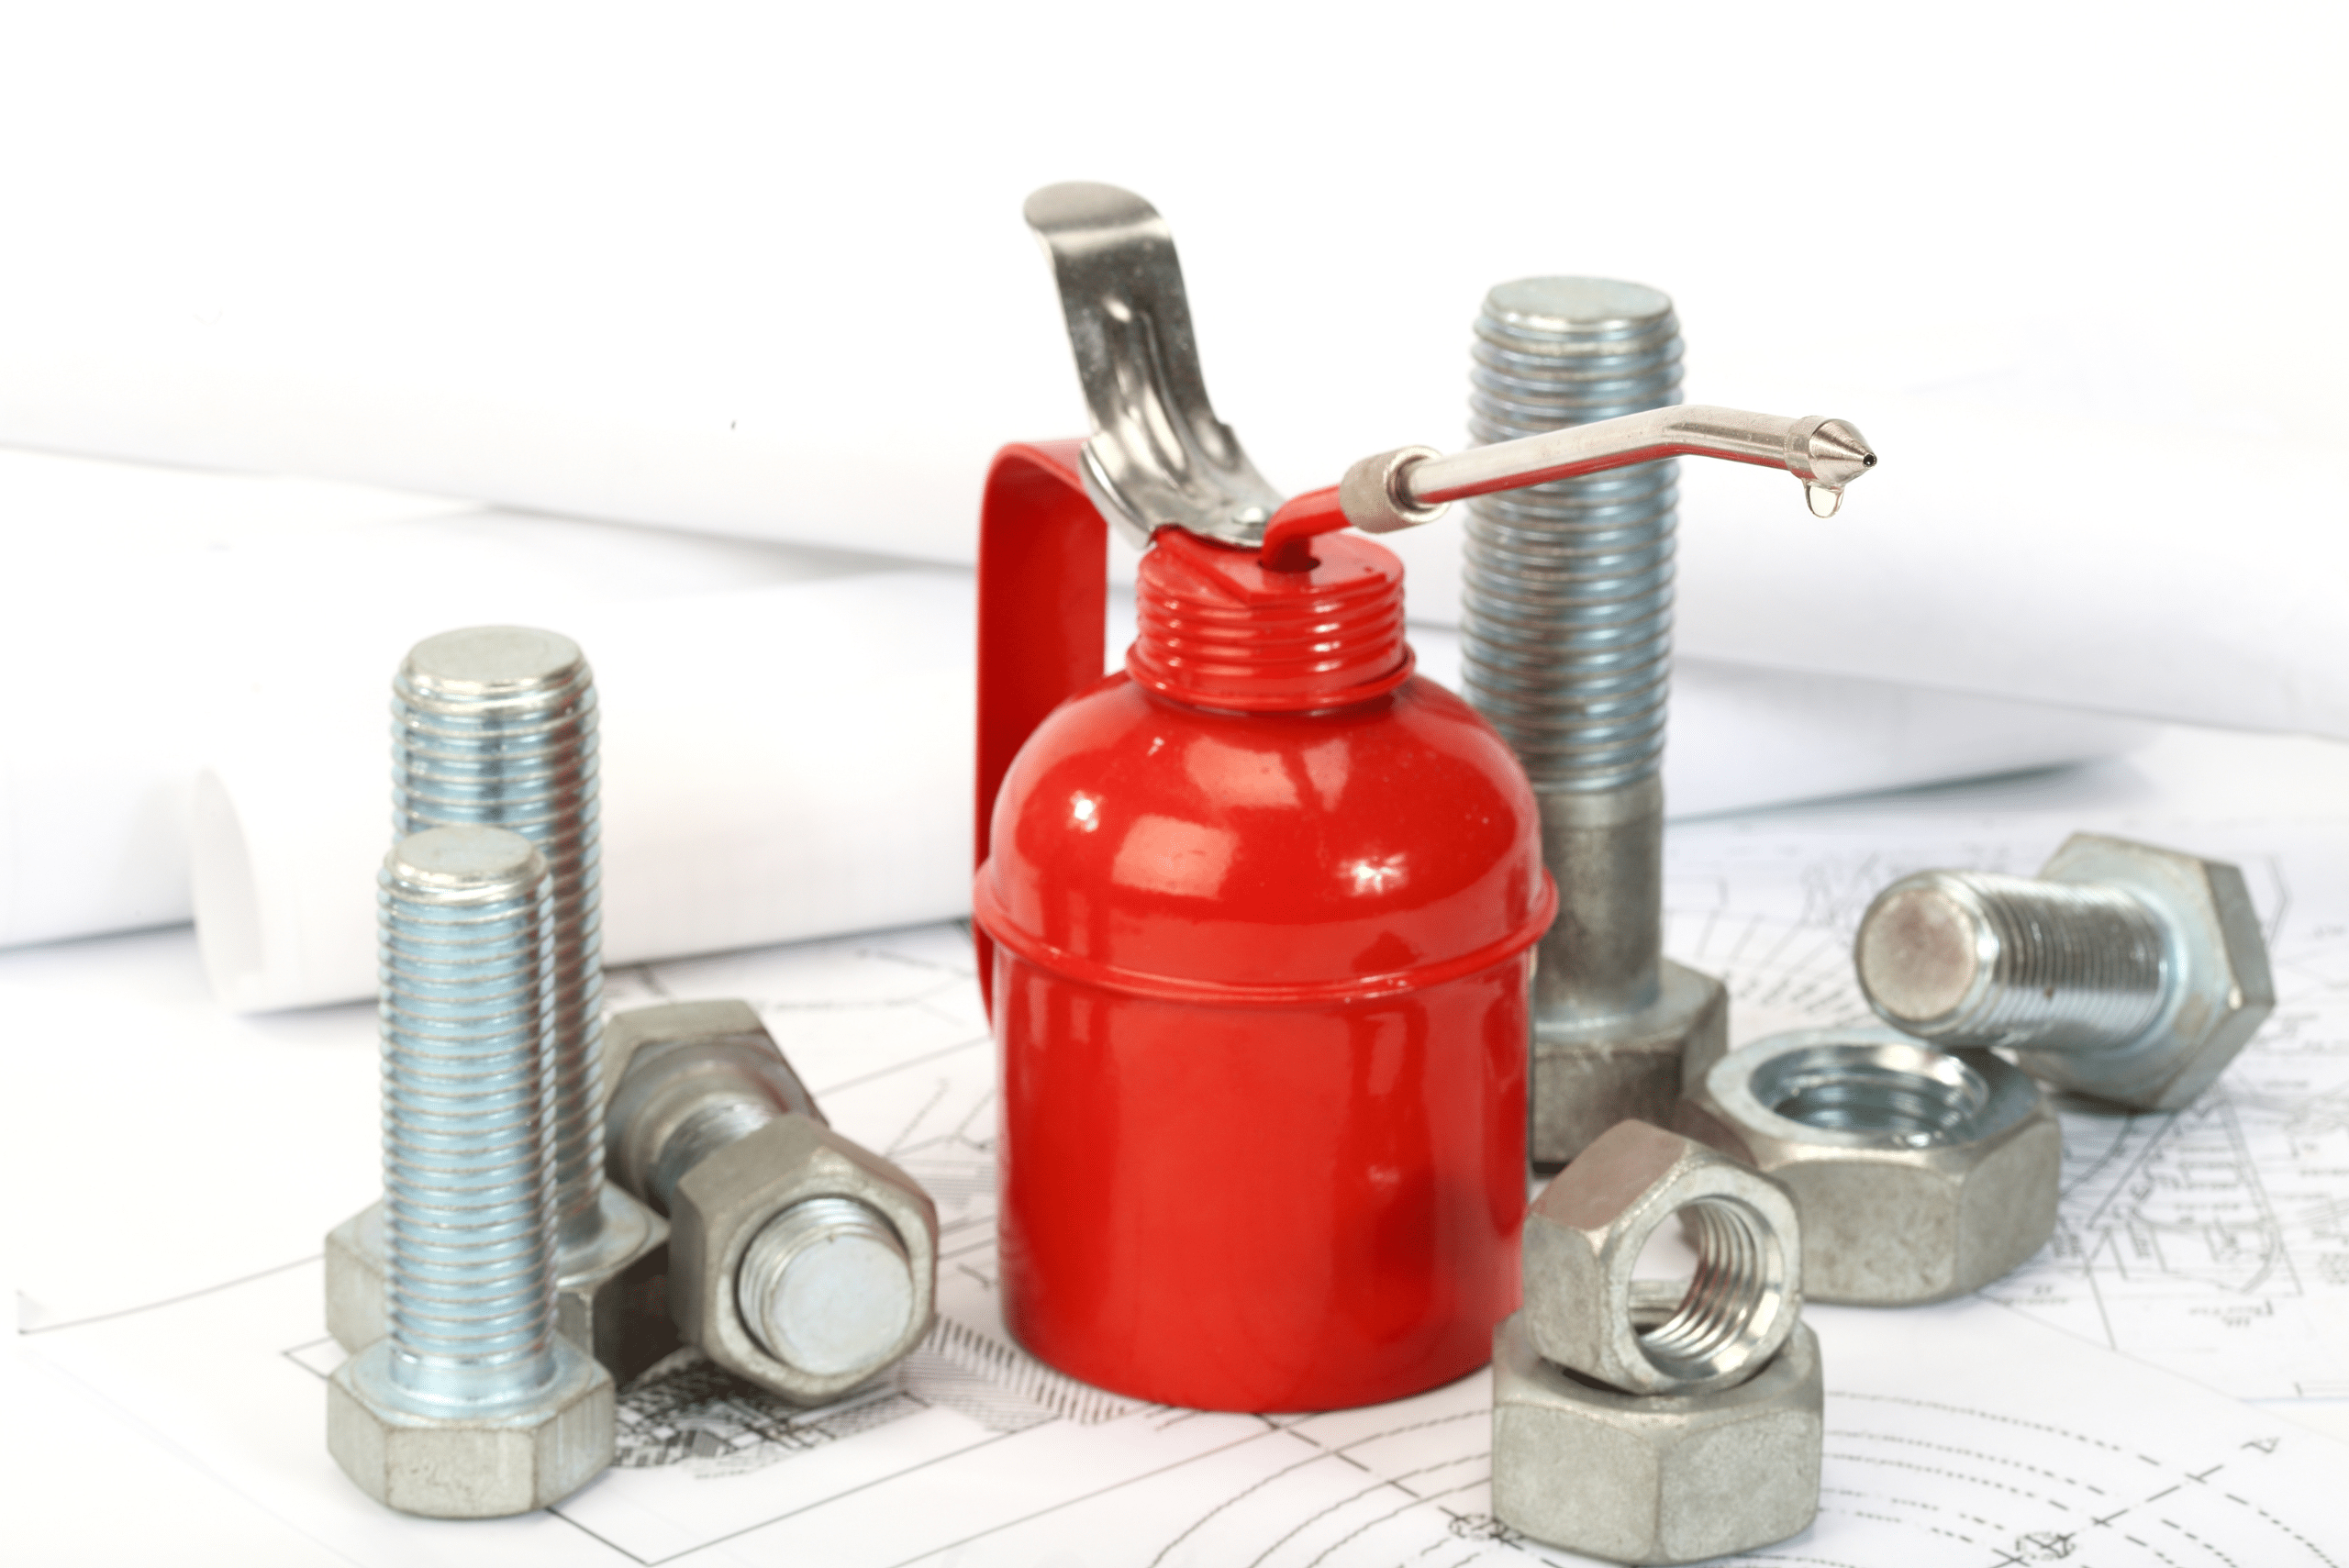
Spray a generous amount of penetrating oil onto each rusty lug nut, focusing on the area where the nut meets the wheel. Let it sit for at least 10-15 minutes to allow the oil to seep in and break up the rust.
Start your next woodworking adventure with TedsWoodworking! Dive into 16,000+ projects and bring your ideas to life. Build unique furniture and master new skills with Ted’s detailed, step-by-step plans guiding you every step of the way.
Step 3: Use a Breaker Bar for Extra Leverage

Attach a breaker bar to the lug wrench for added leverage. Slowly apply pressure in a counterclockwise direction, using your body weight if needed. This method helps prevent stripping or damaging the lug nut while providing the torque necessary to loosen it.
Step 4: Tap the Lug Wrench with a Hammer
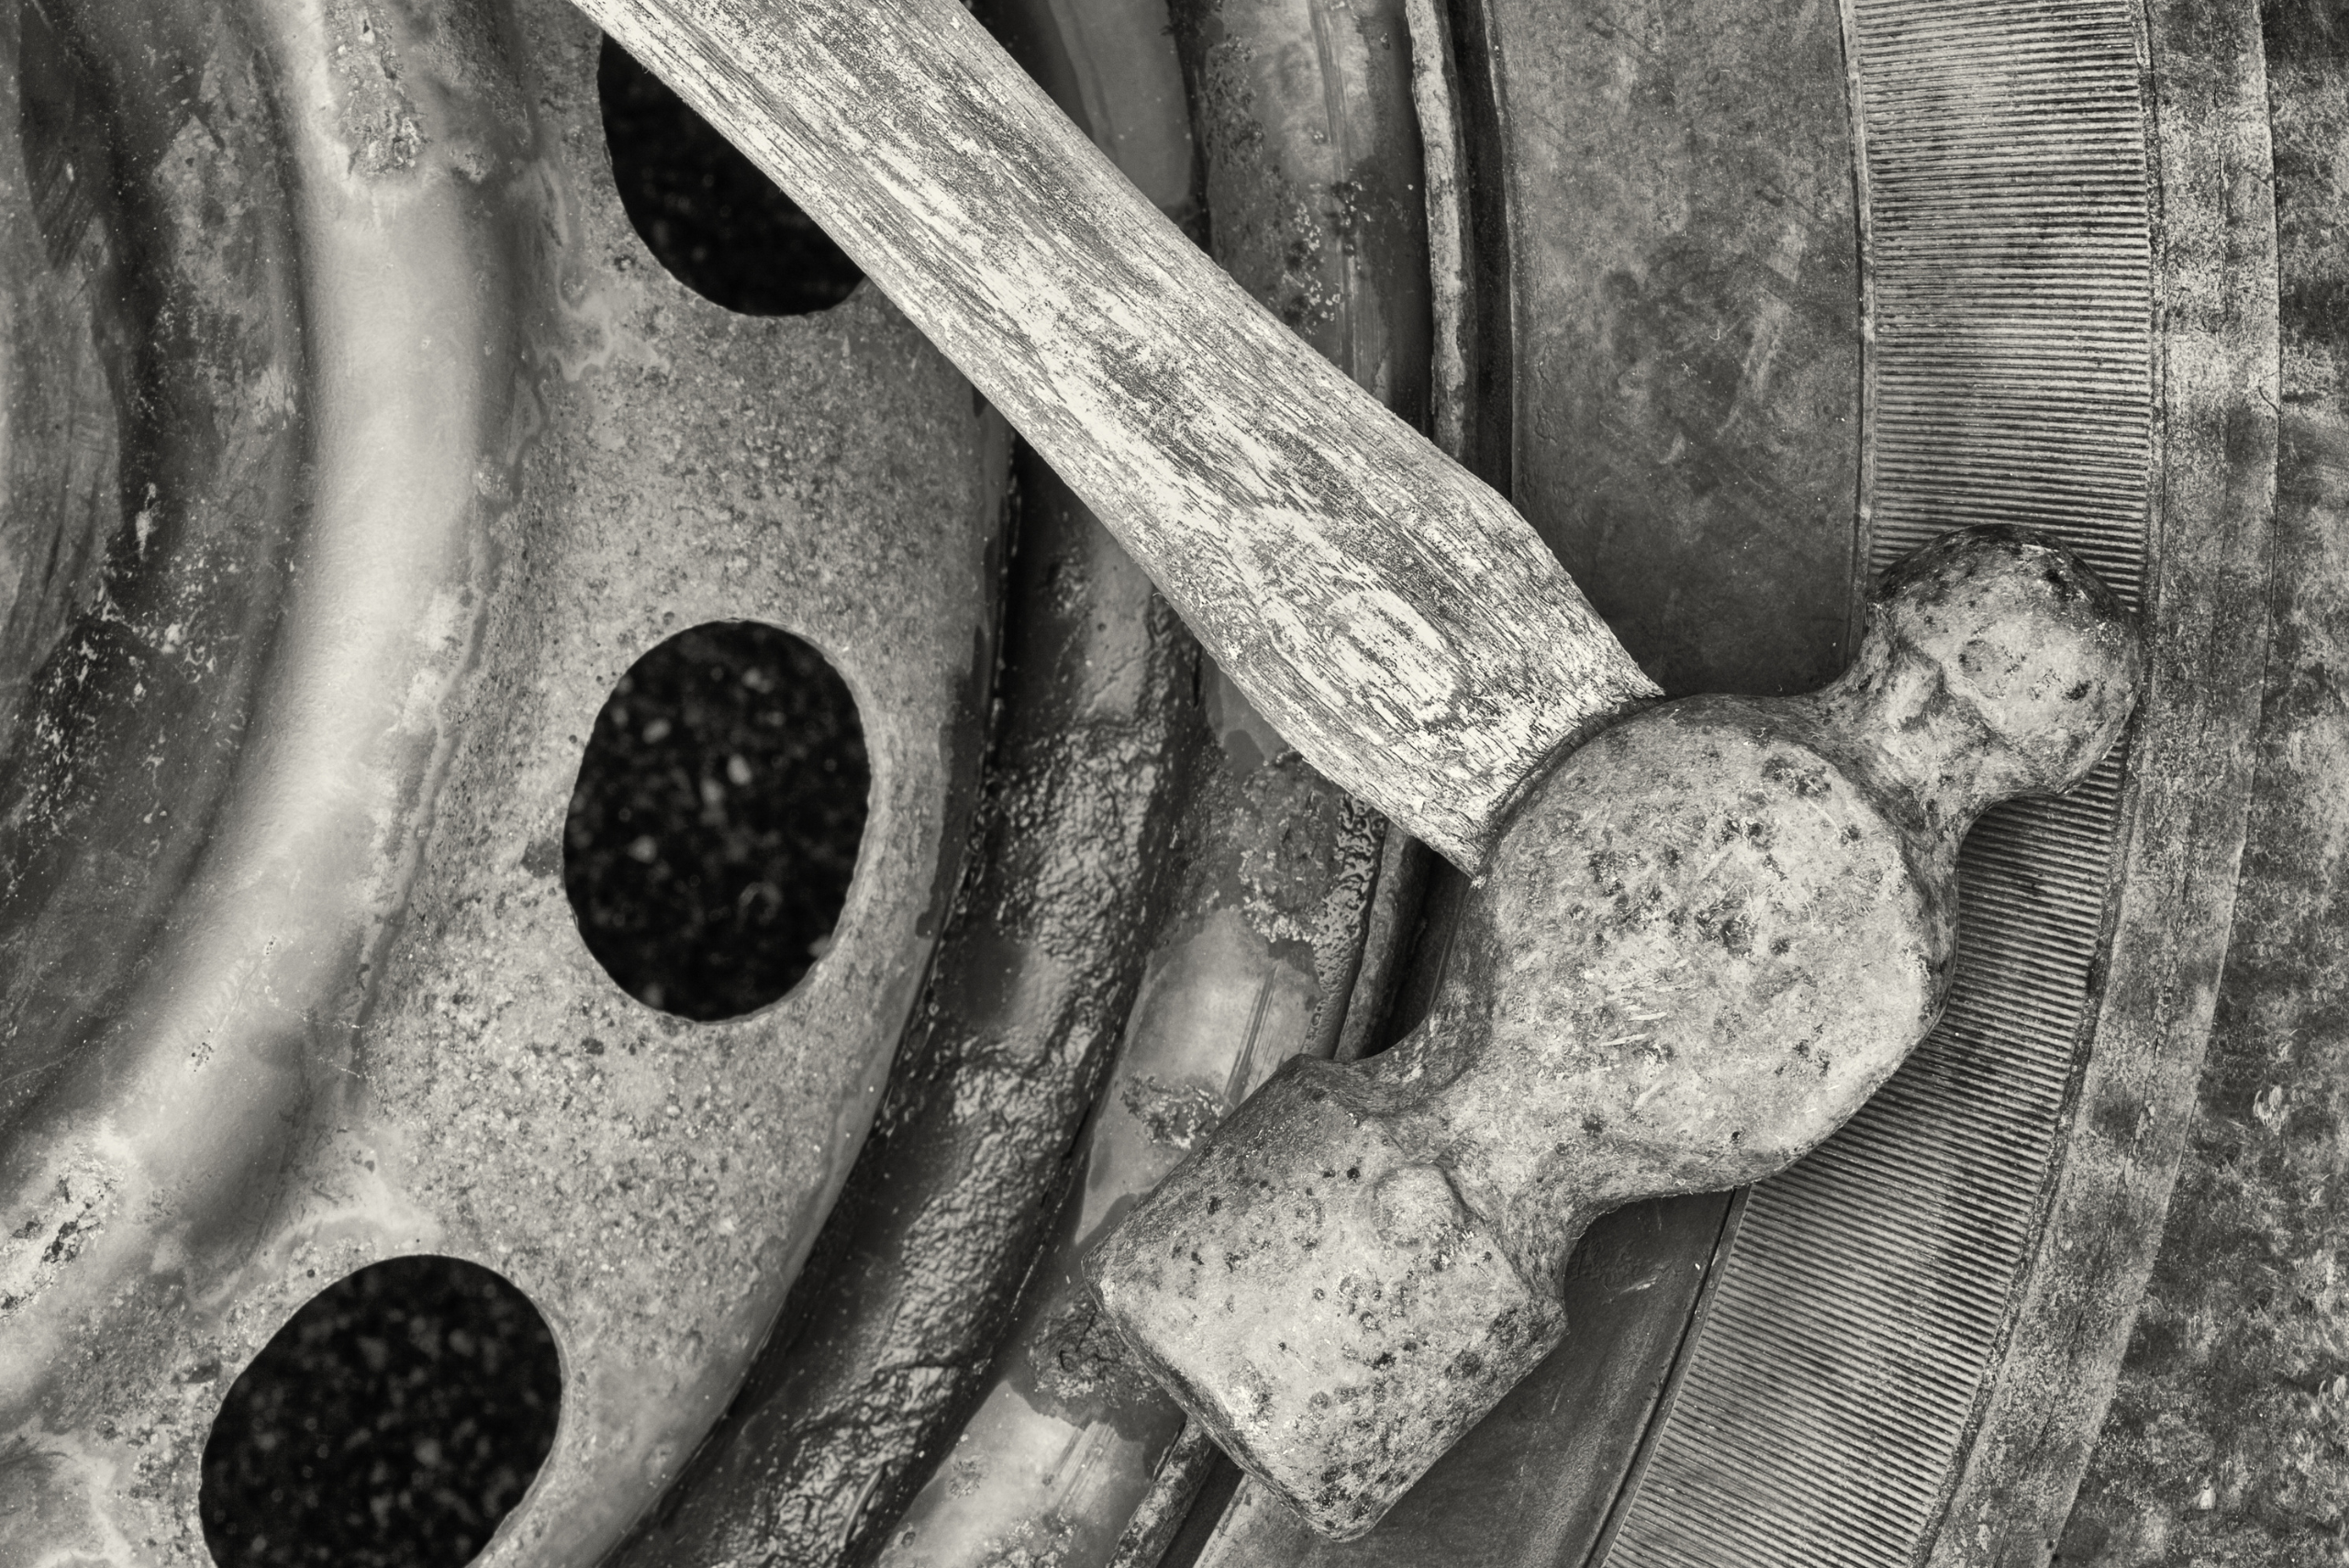
If the lug nut is still stuck, gently tap the end of the lug wrench with a hammer to create small vibrations. This can help dislodge any remaining rust or debris inside the threads and make turning easier.
Step 5: Gradually Loosen Each Lug Nut
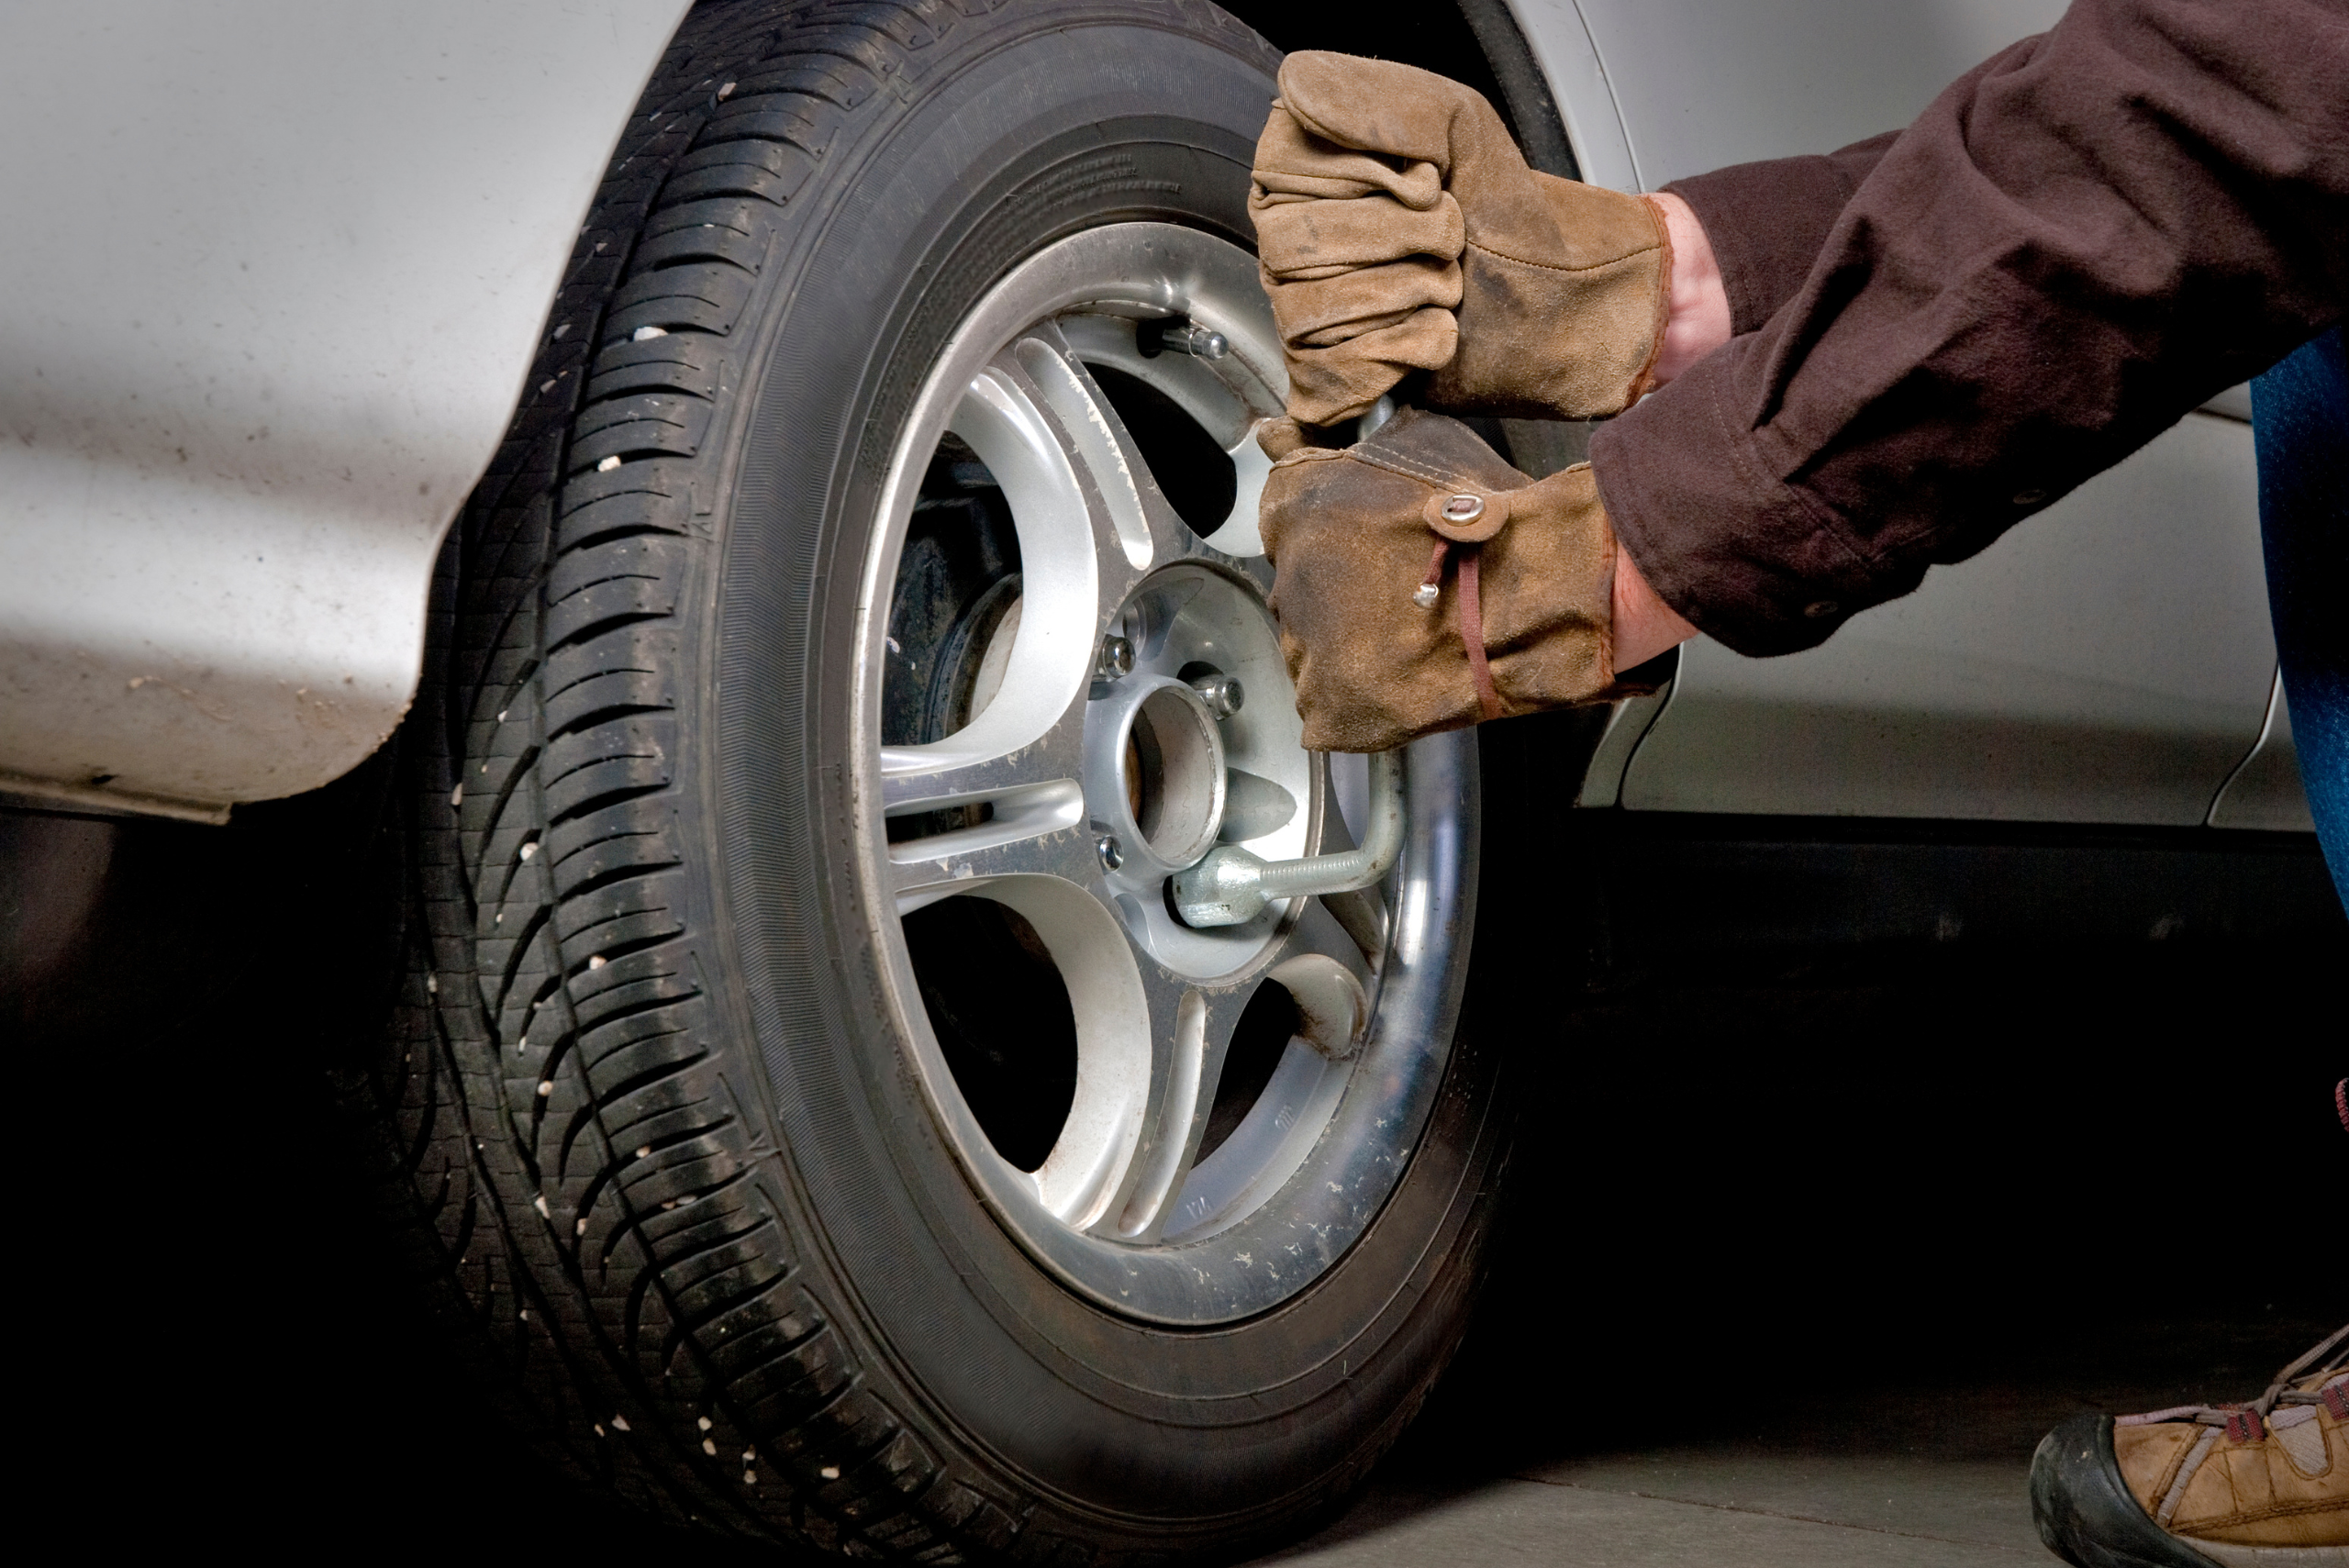
Once the lug nuts start to move, loosen them gradually, turning a little at a time to avoid applying too much force at once. This will ensure you don’t damage the threads or round off the nuts.
Step 6: Clean and Protect the Lug Nuts
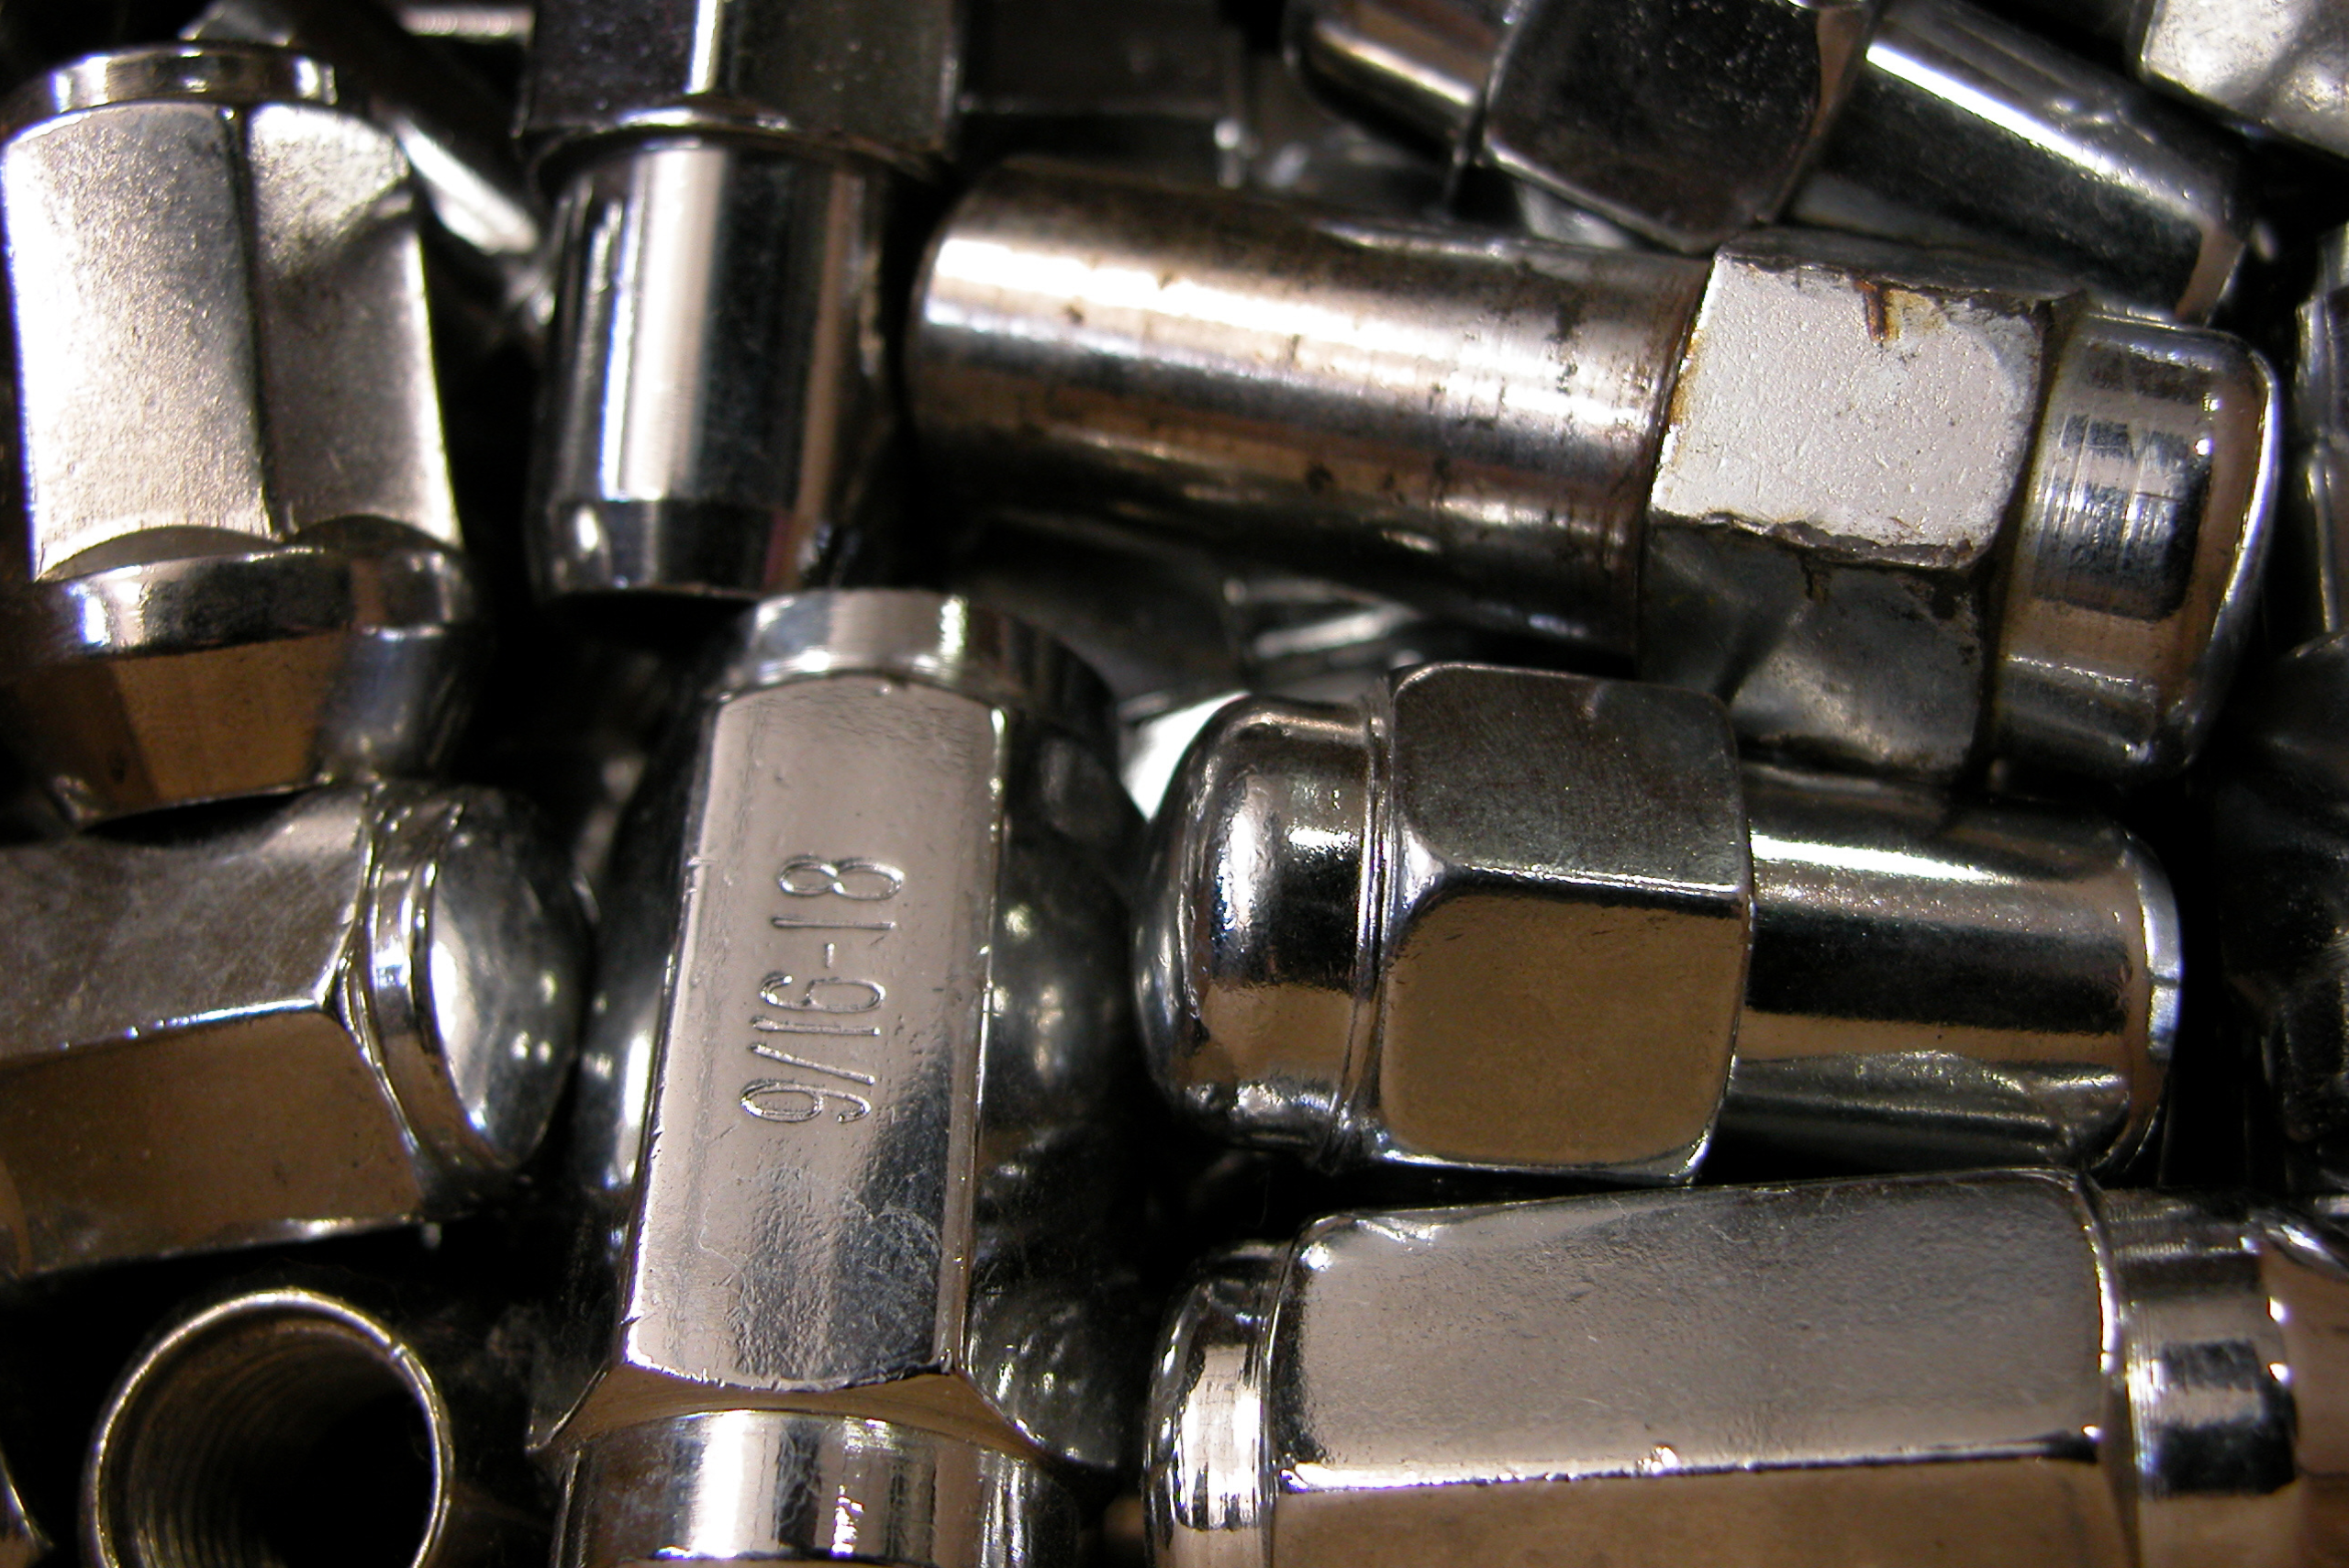
After removing the lug nuts, clean them with the wire brush to remove any remaining rust. Apply anti-seize lubricant to prevent future rusting before reinstalling them. Tighten them securely to the recommended torque settings for safety.
Related Articles
- Car Battery Replacement – Step-by-Step Guide for DIY Enthusiasts
- 5 Car Repairs You’re Overpaying For (And How to DIY Them for Less)
- How to Clean Baked-On Brake Dust Off Wheels
Dealing with stuck, rusty lug nuts doesn’t have to be a hassle. With these simple steps and the right approach, you can save time and frustration while protecting your vehicle’s wheels. To avoid future issues, consider applying anti-seize lubricant on the lug nuts whenever performing maintenance and regularly check your tires for signs of rust buildup. Staying proactive will make the next time much easier!


