Create a Stylish and Functional French Cleat Wall
Do you find yourself constantly searching for your tools or struggling to keep your workspace organized? If so, a French cleat tool storage wall may be the perfect solution for you. This innovative and versatile system offers a practical and visually appealing way to organize and display your tools. In this step-by-step guide, we will walk you through the process of building your own French cleat wall, providing tips and insights to help you create a functional and stylish storage solution for your workshop or garage.
What is a French Cleat Wall?
A French cleat wall is a storage system that utilizes interlocking beveled strips to hang tools and equipment. The cleats are mounted horizontally on the wall, with corresponding cleats attached to the back of the tool mounts. The angled design of the cleats provides excellent support and stability, allowing for easy rearrangement and customization of the storage space. Whether you’re a seasoned DIY enthusiast or a beginner looking to enhance your workspace, a French cleat wall offers a versatile and practical storage solution.
Tools and Materials Needed
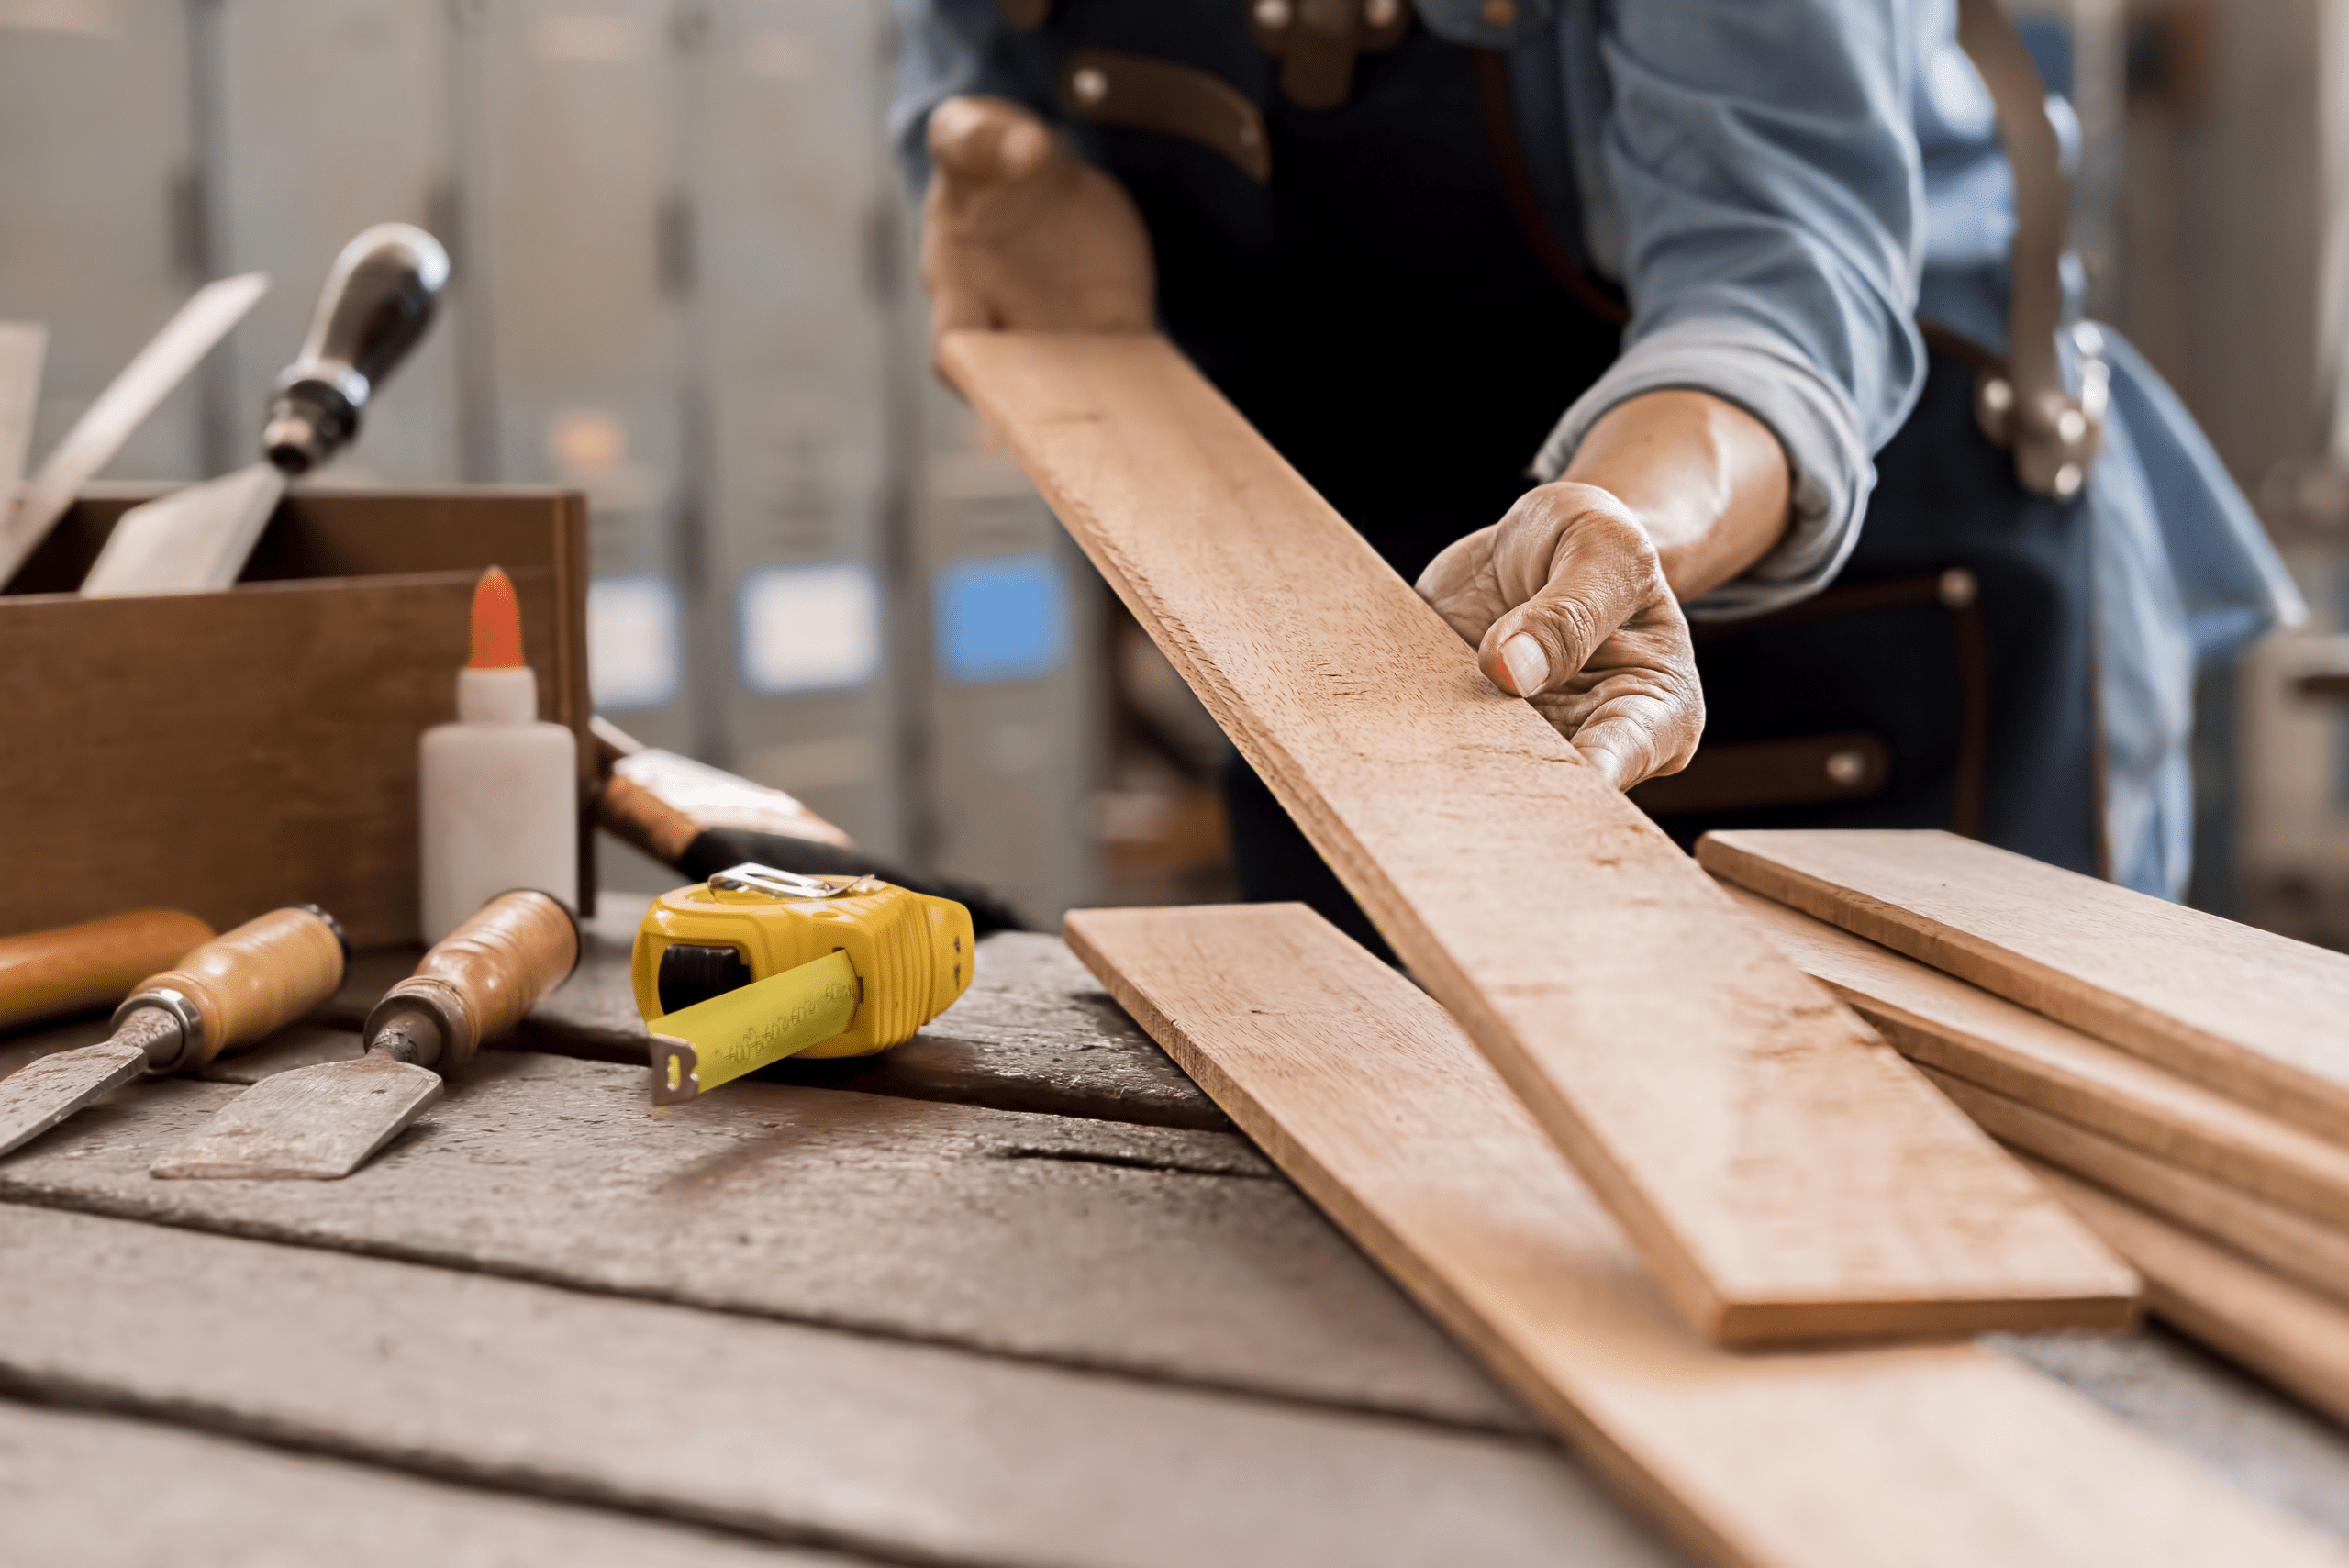
Before you begin, gather the necessary tools and materials for the project. You will need a saw, drill, level, measuring tape, and screws, along with plywood or other suitable material for constructing the cleats. Additionally, consider the types of hooks, brackets, and accessories you’ll need to hang your specific tools. It’s important to choose high-quality materials that can support the weight of your tools while withstanding the demands of a workshop environment. By investing in durable materials and tools, you’ll ensure the longevity and functionality of your French cleat wall.
Steps for Putting Together a French Cleat Wall
With everything you need on hand, including tools and materials, you can begin building your dream French cleat wall by following these instructions:
Planning and Measuring
Careful planning and precise measurements are essential for the success of your French cleat wall project. Start by assessing the available wall space and determining the layout and design of the cleats. Consider the size and weight of your tools, as well as any future additions to your collection. By taking the time to plan and measure accurately, you’ll avoid unnecessary adjustments and ensure a well-organized and efficient storage system.
Preparing the Wall
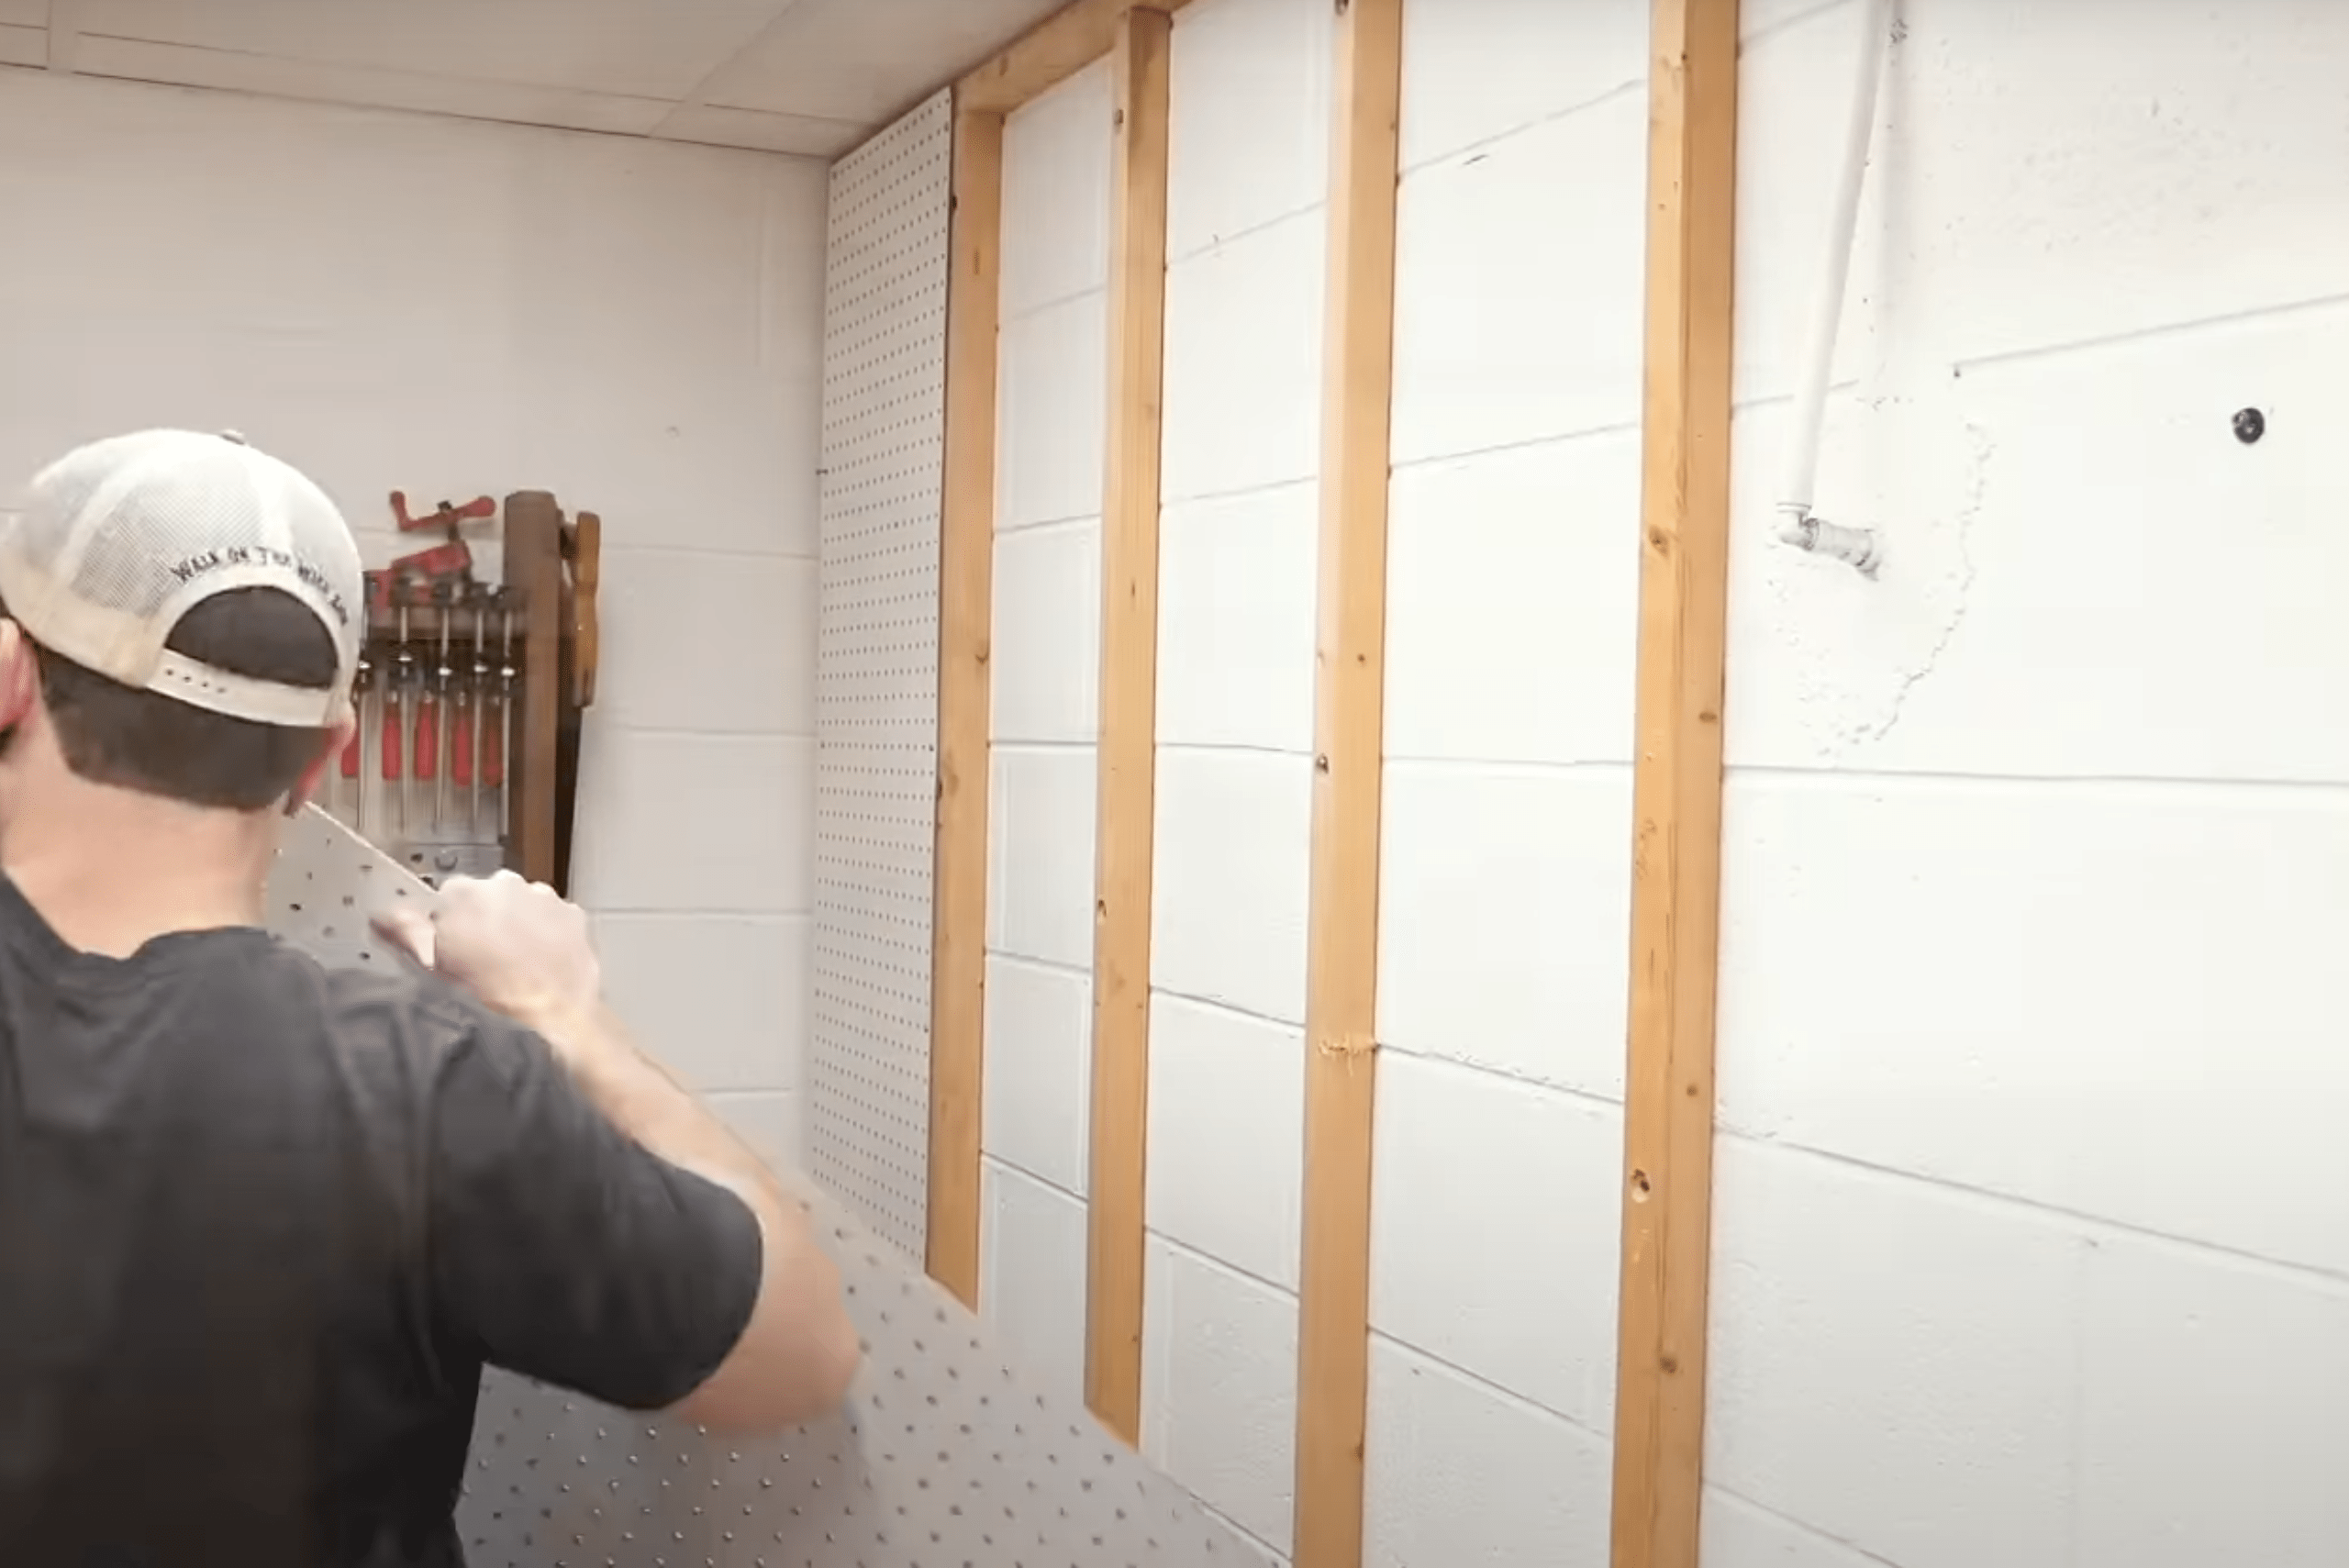
Before installing the cleats, prepare the wall surface to ensure a secure and stable foundation. Clean the wall and remove any obstacles or obstructions that may interfere with the installation process. Depending on the wall material, you may need to use anchors or additional support to ensure the cleats are firmly attached. Taking the time to prepare the wall will contribute to the overall strength and reliability of your French cleat system.
Building the French Cleats
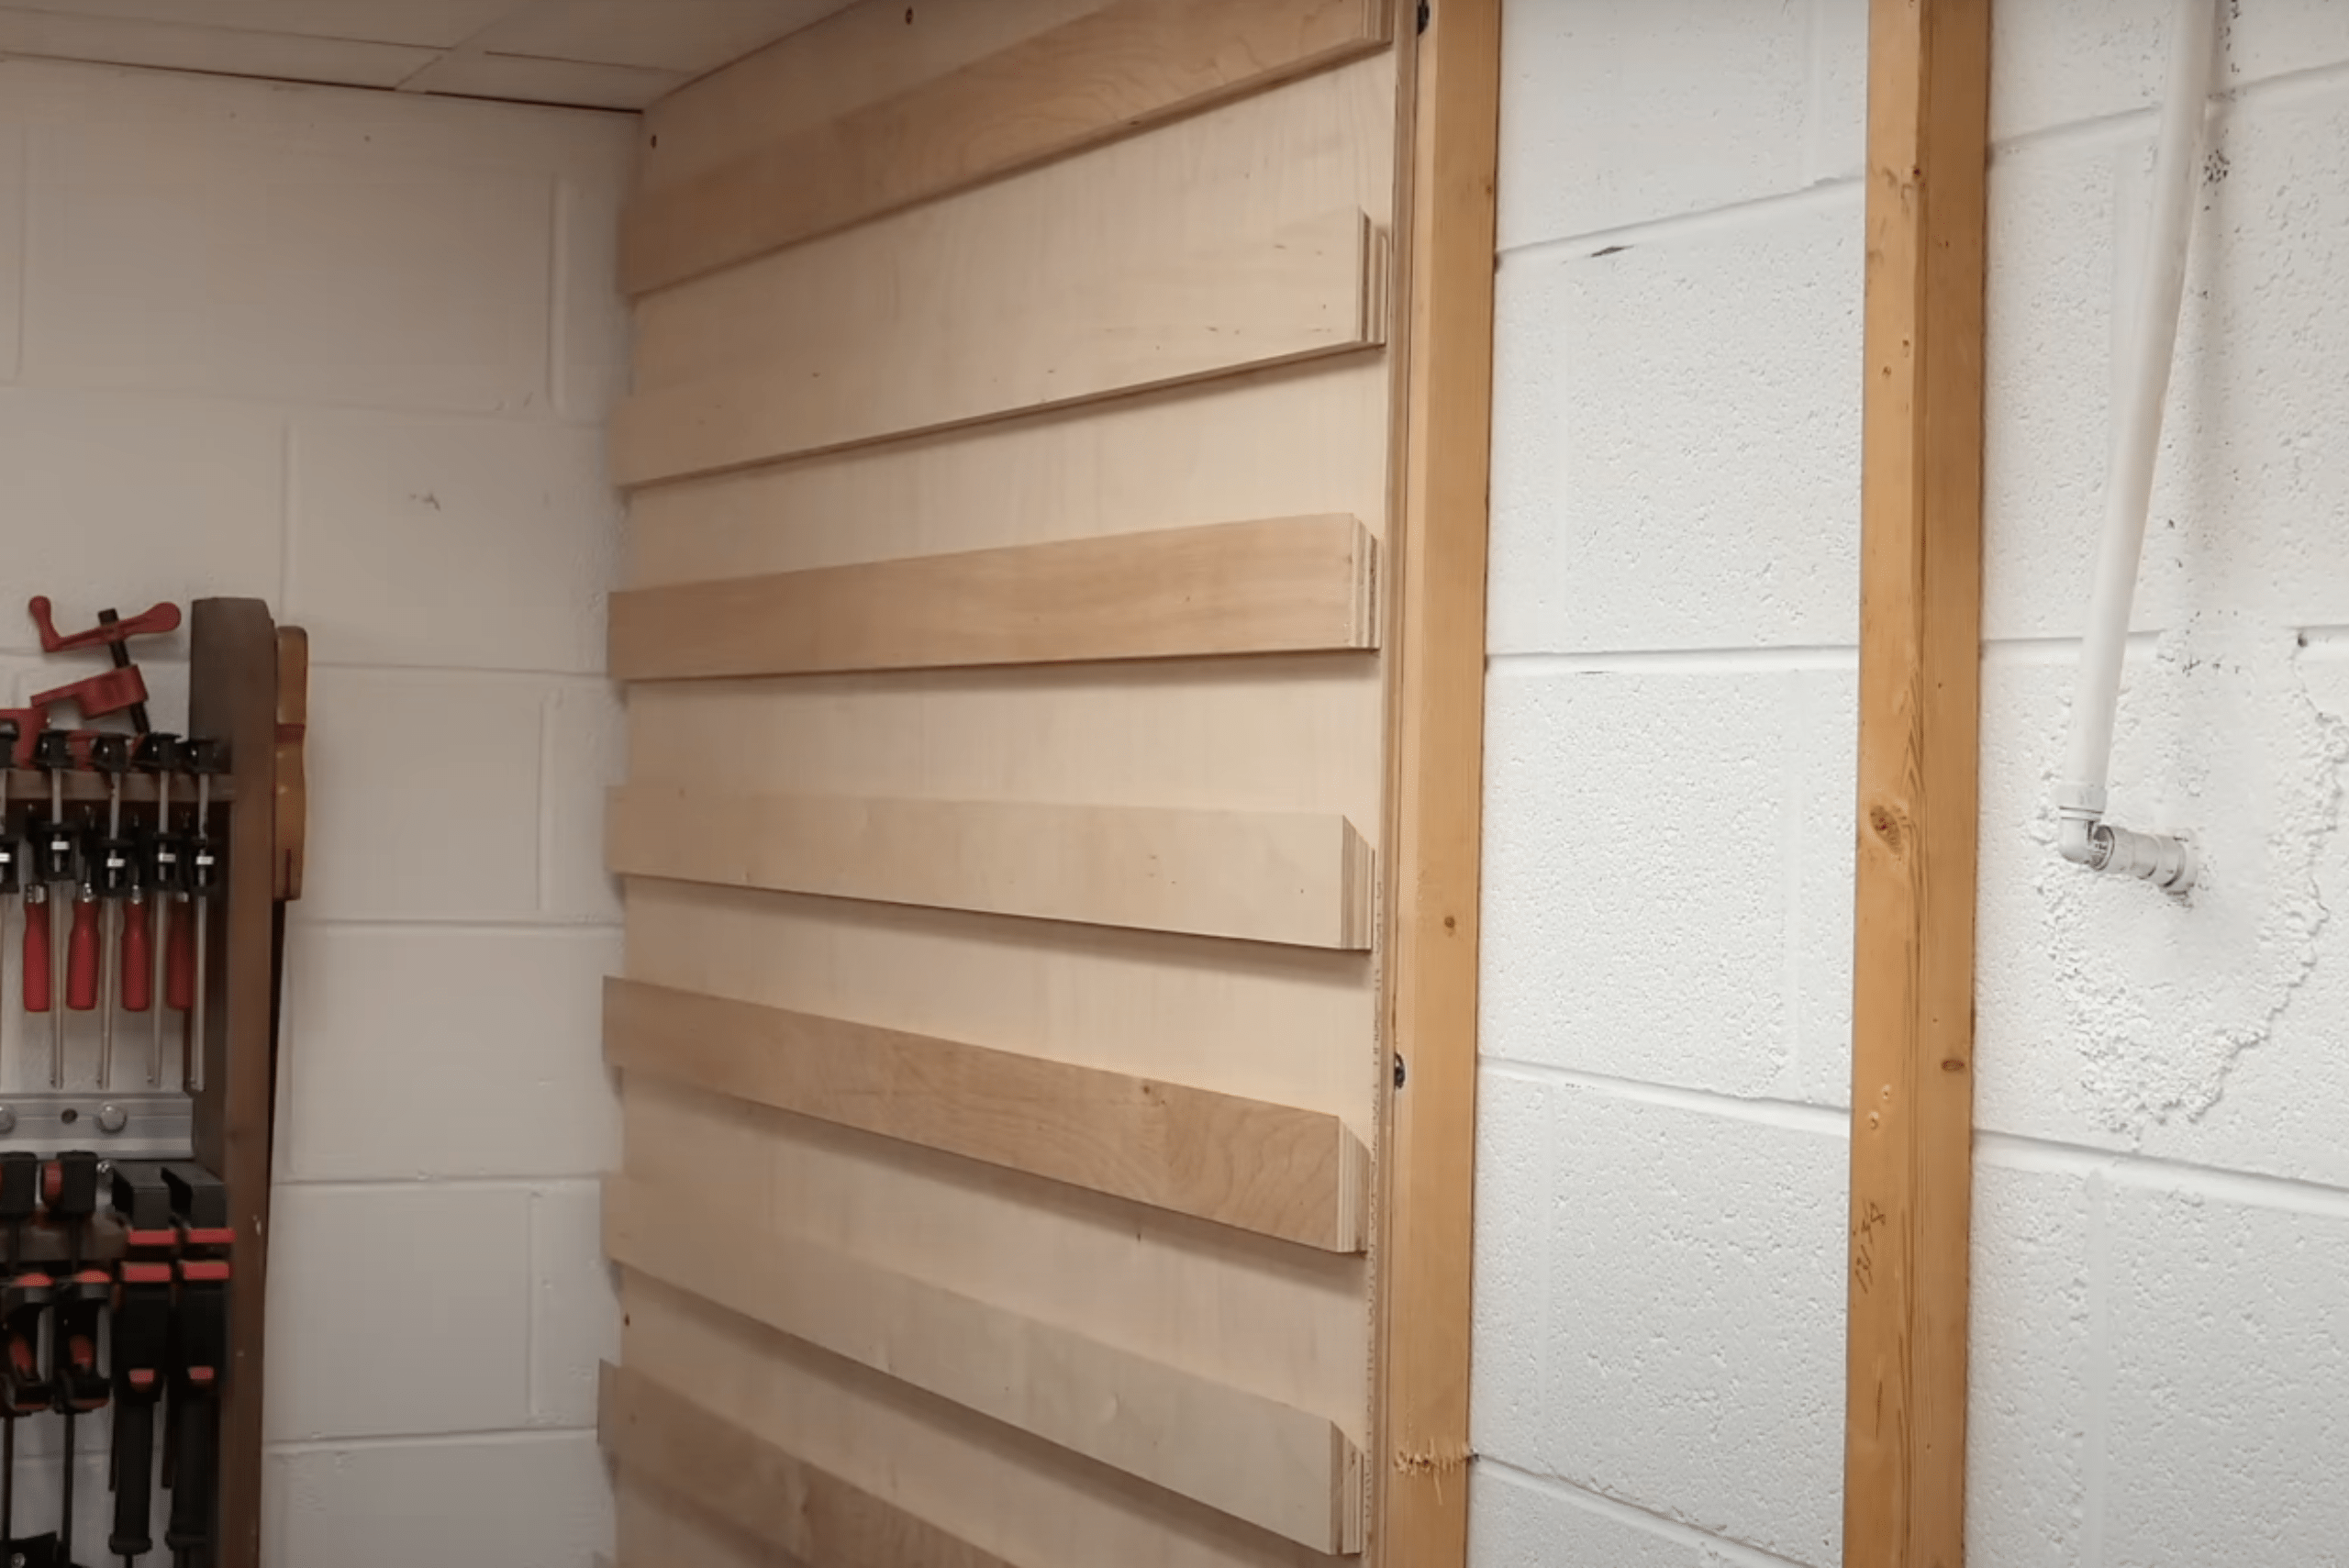
Constructing the French cleats is a straightforward process that requires basic woodworking skills. Using a saw, cut the plywood into strips with a 45-degree bevel along one edge. Sand the edges to remove any roughness and ensure a snug fit when the cleats are mounted on the wall. Pay close attention to the accuracy of your cuts and angles to guarantee a secure and level installation.
Installing the Cleats on the Wall
Once the cleats are constructed, it’s time to install them on the wall. Use a level to ensure the cleats are mounted evenly and securely. Depending on the size of your workspace, you may choose to install multiple rows of cleats to maximize storage capacity. Proper spacing and alignment are crucial for the functionality and aesthetics of your French cleat wall.
Organizing and Hanging Tools
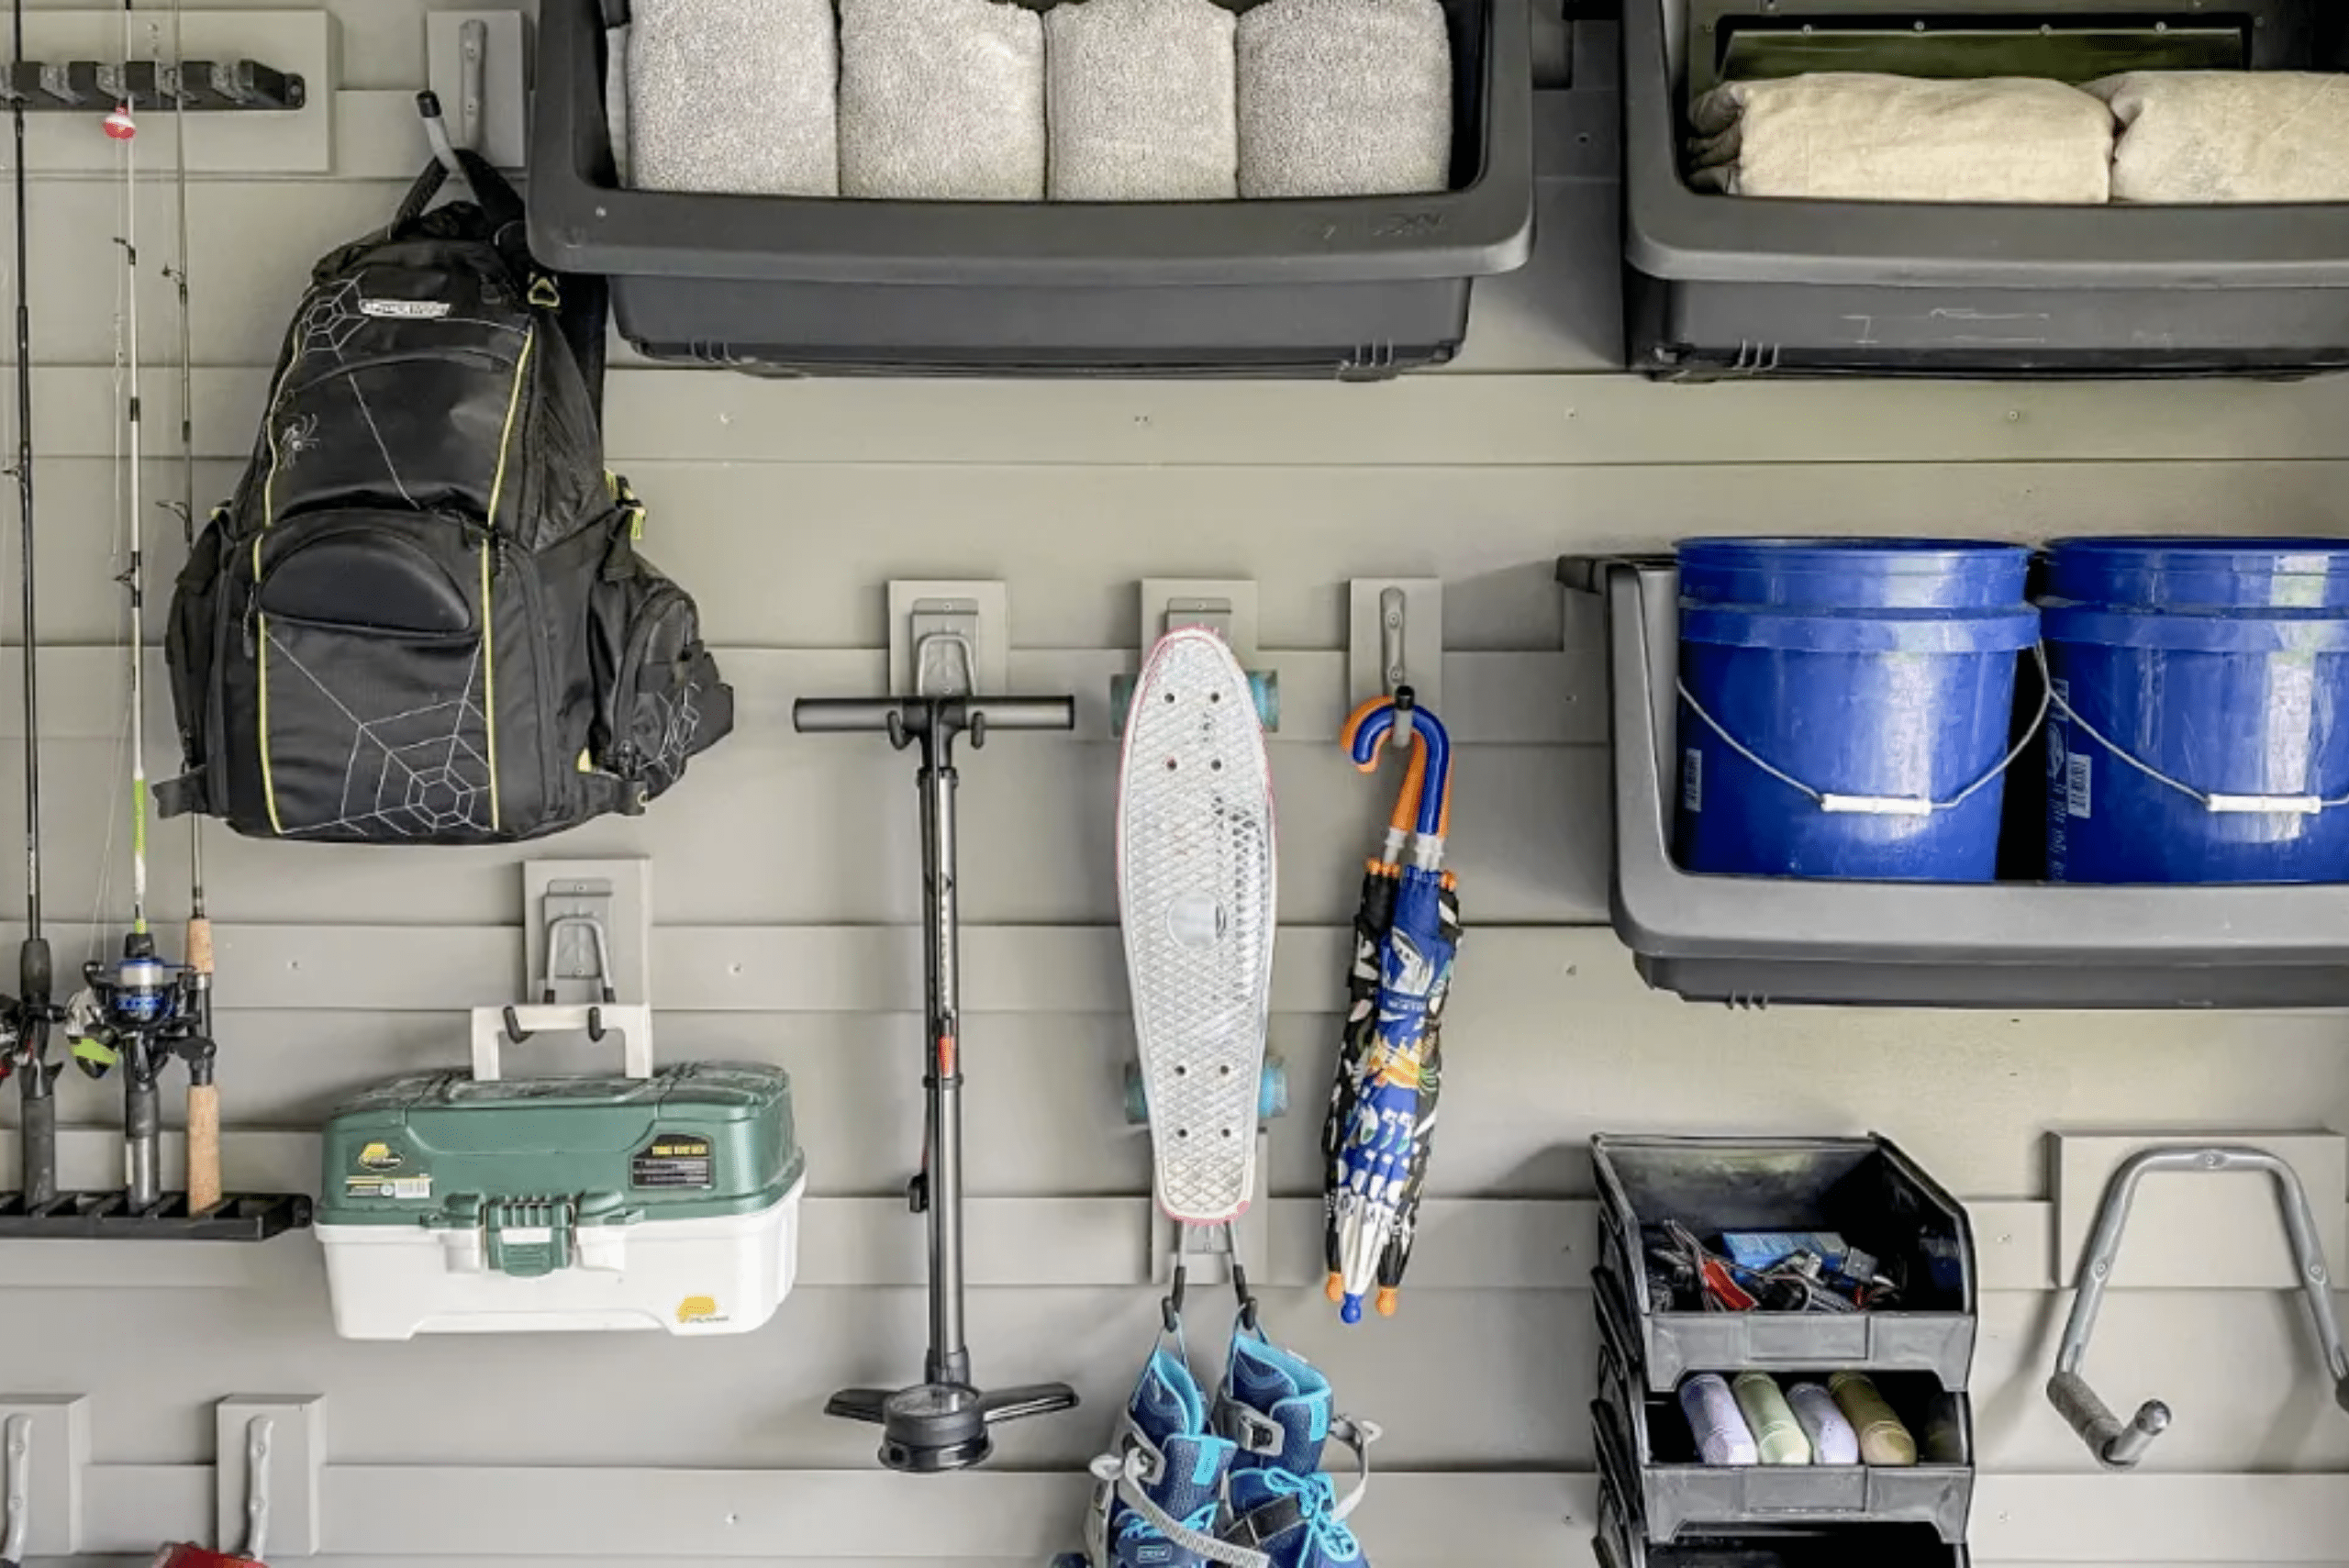
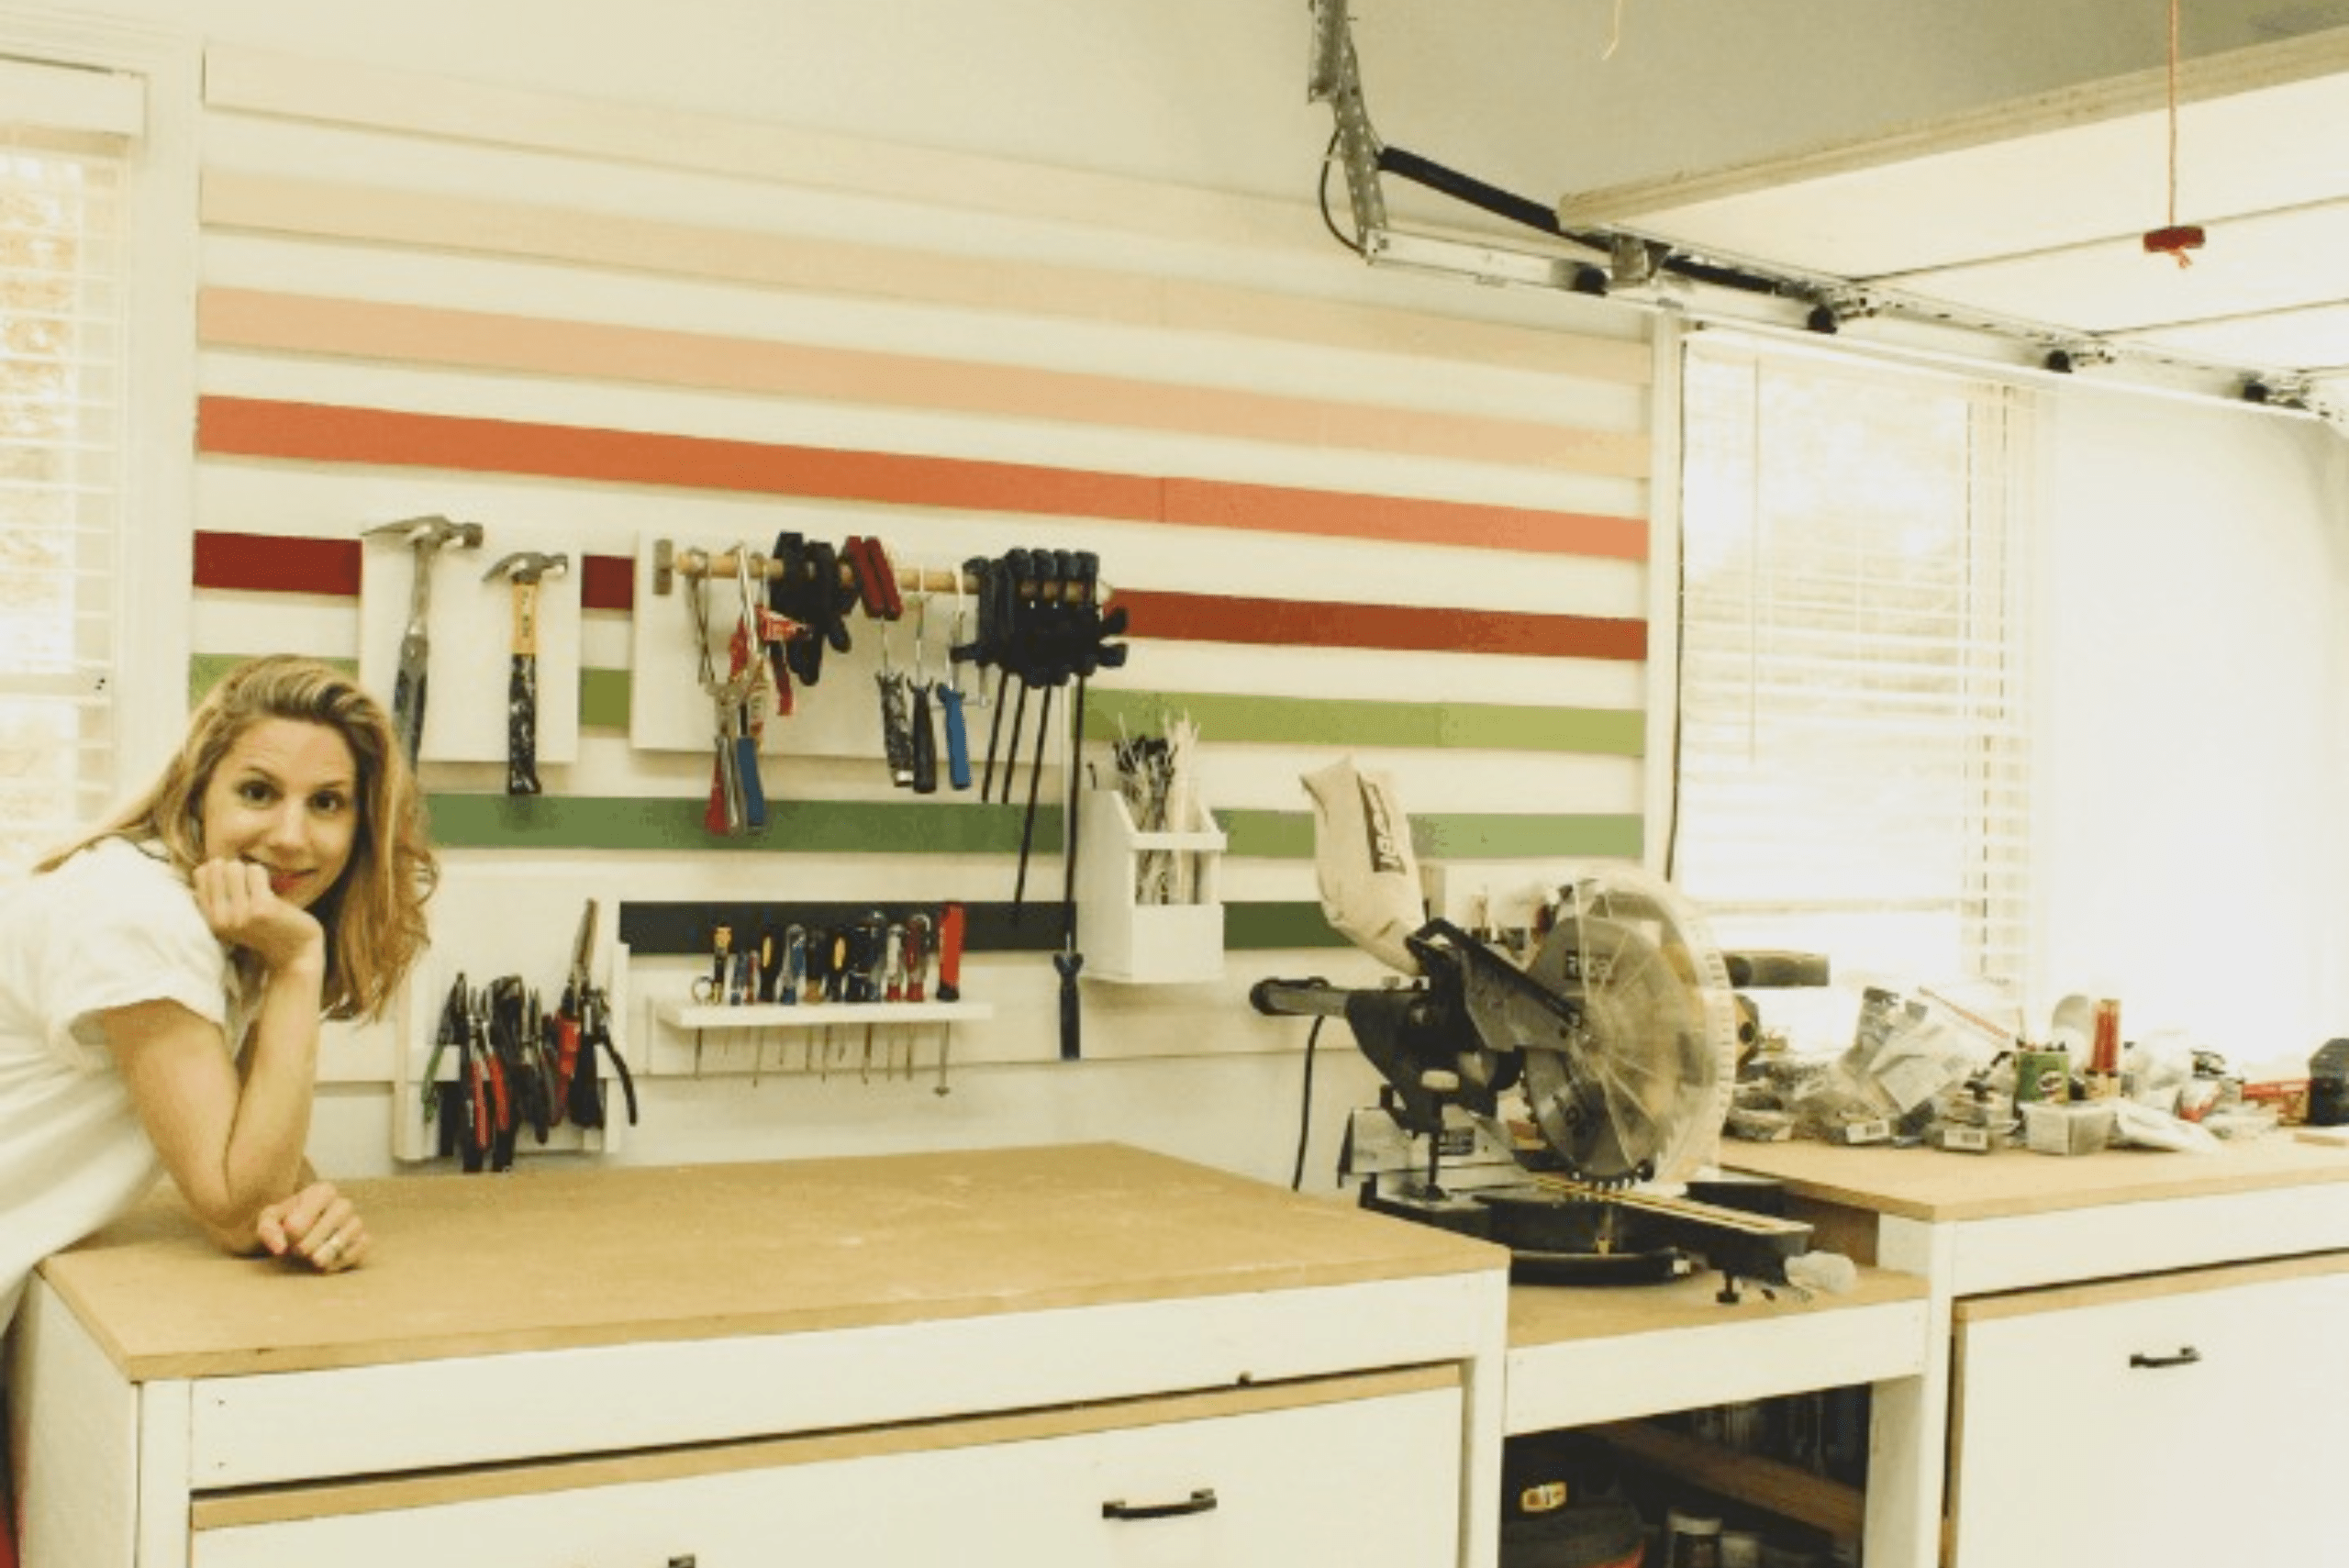
With the cleats in place, it’s time to organize and hang your tools. Utilize a variety of hooks, brackets, and accessories to accommodate different types of tools and equipment. Consider the frequency of use and accessibility of each tool when arranging them on the wall. By strategically organizing your tools, you’ll create a visually pleasing and efficient workspace that enhances productivity and workflow.
Customizing the Storage Space
One of the key advantages of a French cleat wall is its flexibility and adaptability. Customize the storage space to fit your specific tools and equipment, incorporating shelves, bins, and other storage solutions as needed. By tailoring the system to your individual needs, you’ll maximize the functionality and organization of your workspace.
Showcasing the Finished Product
Once your French cleat wall is complete, take a moment to appreciate the transformation of your workspace. Not only does a well-organized tool storage wall enhance the functionality of your workshop, but it also adds a visually appealing element to the environment. Share your creation with others and inspire fellow DIY enthusiasts to embark on their own French cleat wall projects.
Safety and Maintenance
As with any DIY project, safety should always be a top priority. Ensure that the cleats are securely mounted and can support the weight of your tools. Regularly inspect the system for any signs of wear or instability and make adjustments as necessary. By maintaining the integrity of your French cleat wall, you’ll create a safe and reliable storage solution for your tools.
Related Articles:
- Top 10 Must-Have Screws for Every Project
- How to: Build a Simple DIY Pegboard Shelf
- Your Guide to Different Types of Drywall Anchors
Building a French cleat tool storage wall is a rewarding and practical DIY project that offers numerous benefits for organizing and accessing your tools. By following the step-by-step guide and utilizing the tips provided, you can create a customized and efficient storage system that enhances your workspace. Embrace the versatility and creativity of a French cleat wall and enjoy the satisfaction of a well-organized and visually appealing workshop.

