DIY or Buy a Garage Bike Rack: Which is Best?
There are tons of things you should make yourself instead of buying from a store, but is a garage bike rack one of those items? Well, it depends primarily on your DIY skill level, budget, and specific needs. For example, if you are looking for a unique way to organize and store your bikes, you might want to go with the DIY route. However, garage bike racks nowadays are cheap and readily available, so you will want to consider your options.
Step-by-Step Guide For Building a Garage Bike Rack
Here’s a basic guide for the tools, materials, and process of building your very own garage bike rack:
Materials:
- 2×4 lumber (length will depend on the number of bikes and available space)
- Wood screws
- Wood glue
- Sandpaper
- Stain or paint (optional)
- Drill bits
- Metal screw-in hooks
Tools:
- Saw
- Drill
- Screwdriver
- Measuring tape
- Pencil
- Level

Step 1: Planning
Before you begin, carefully consider the number of bikes you want to store and measure the available space in your garage. This initial planning will help you determine the dimensions of your bike rack, ensuring it fits seamlessly into your storage area.
Step 2: Cutting the Lumber
Using a reliable saw, cut the 2×4 lumber into the desired length that will span across the garage walls.
Step 3: Sanding and Finishing
Once the bike rack pieces are cut, thoroughly sand the edges and face of the wood pieces to eliminate any rough edges or splinters. This not only enhances the aesthetic appeal but also ensures safety during use. Optionally, apply a stain or paint to achieve a polished and finished appearance that complements your garage’s decor.
Step 5: Mounting the Bike Rack
Securely mount the bike rack to the wall using appropriate screws and anchors. Take care to ensure that it is level and securely anchored to support the weight of your bikes. Consider using a stud finder to locate and attach the rack to a solid wall structure for added stability.
Step 6: Attach The Hooks
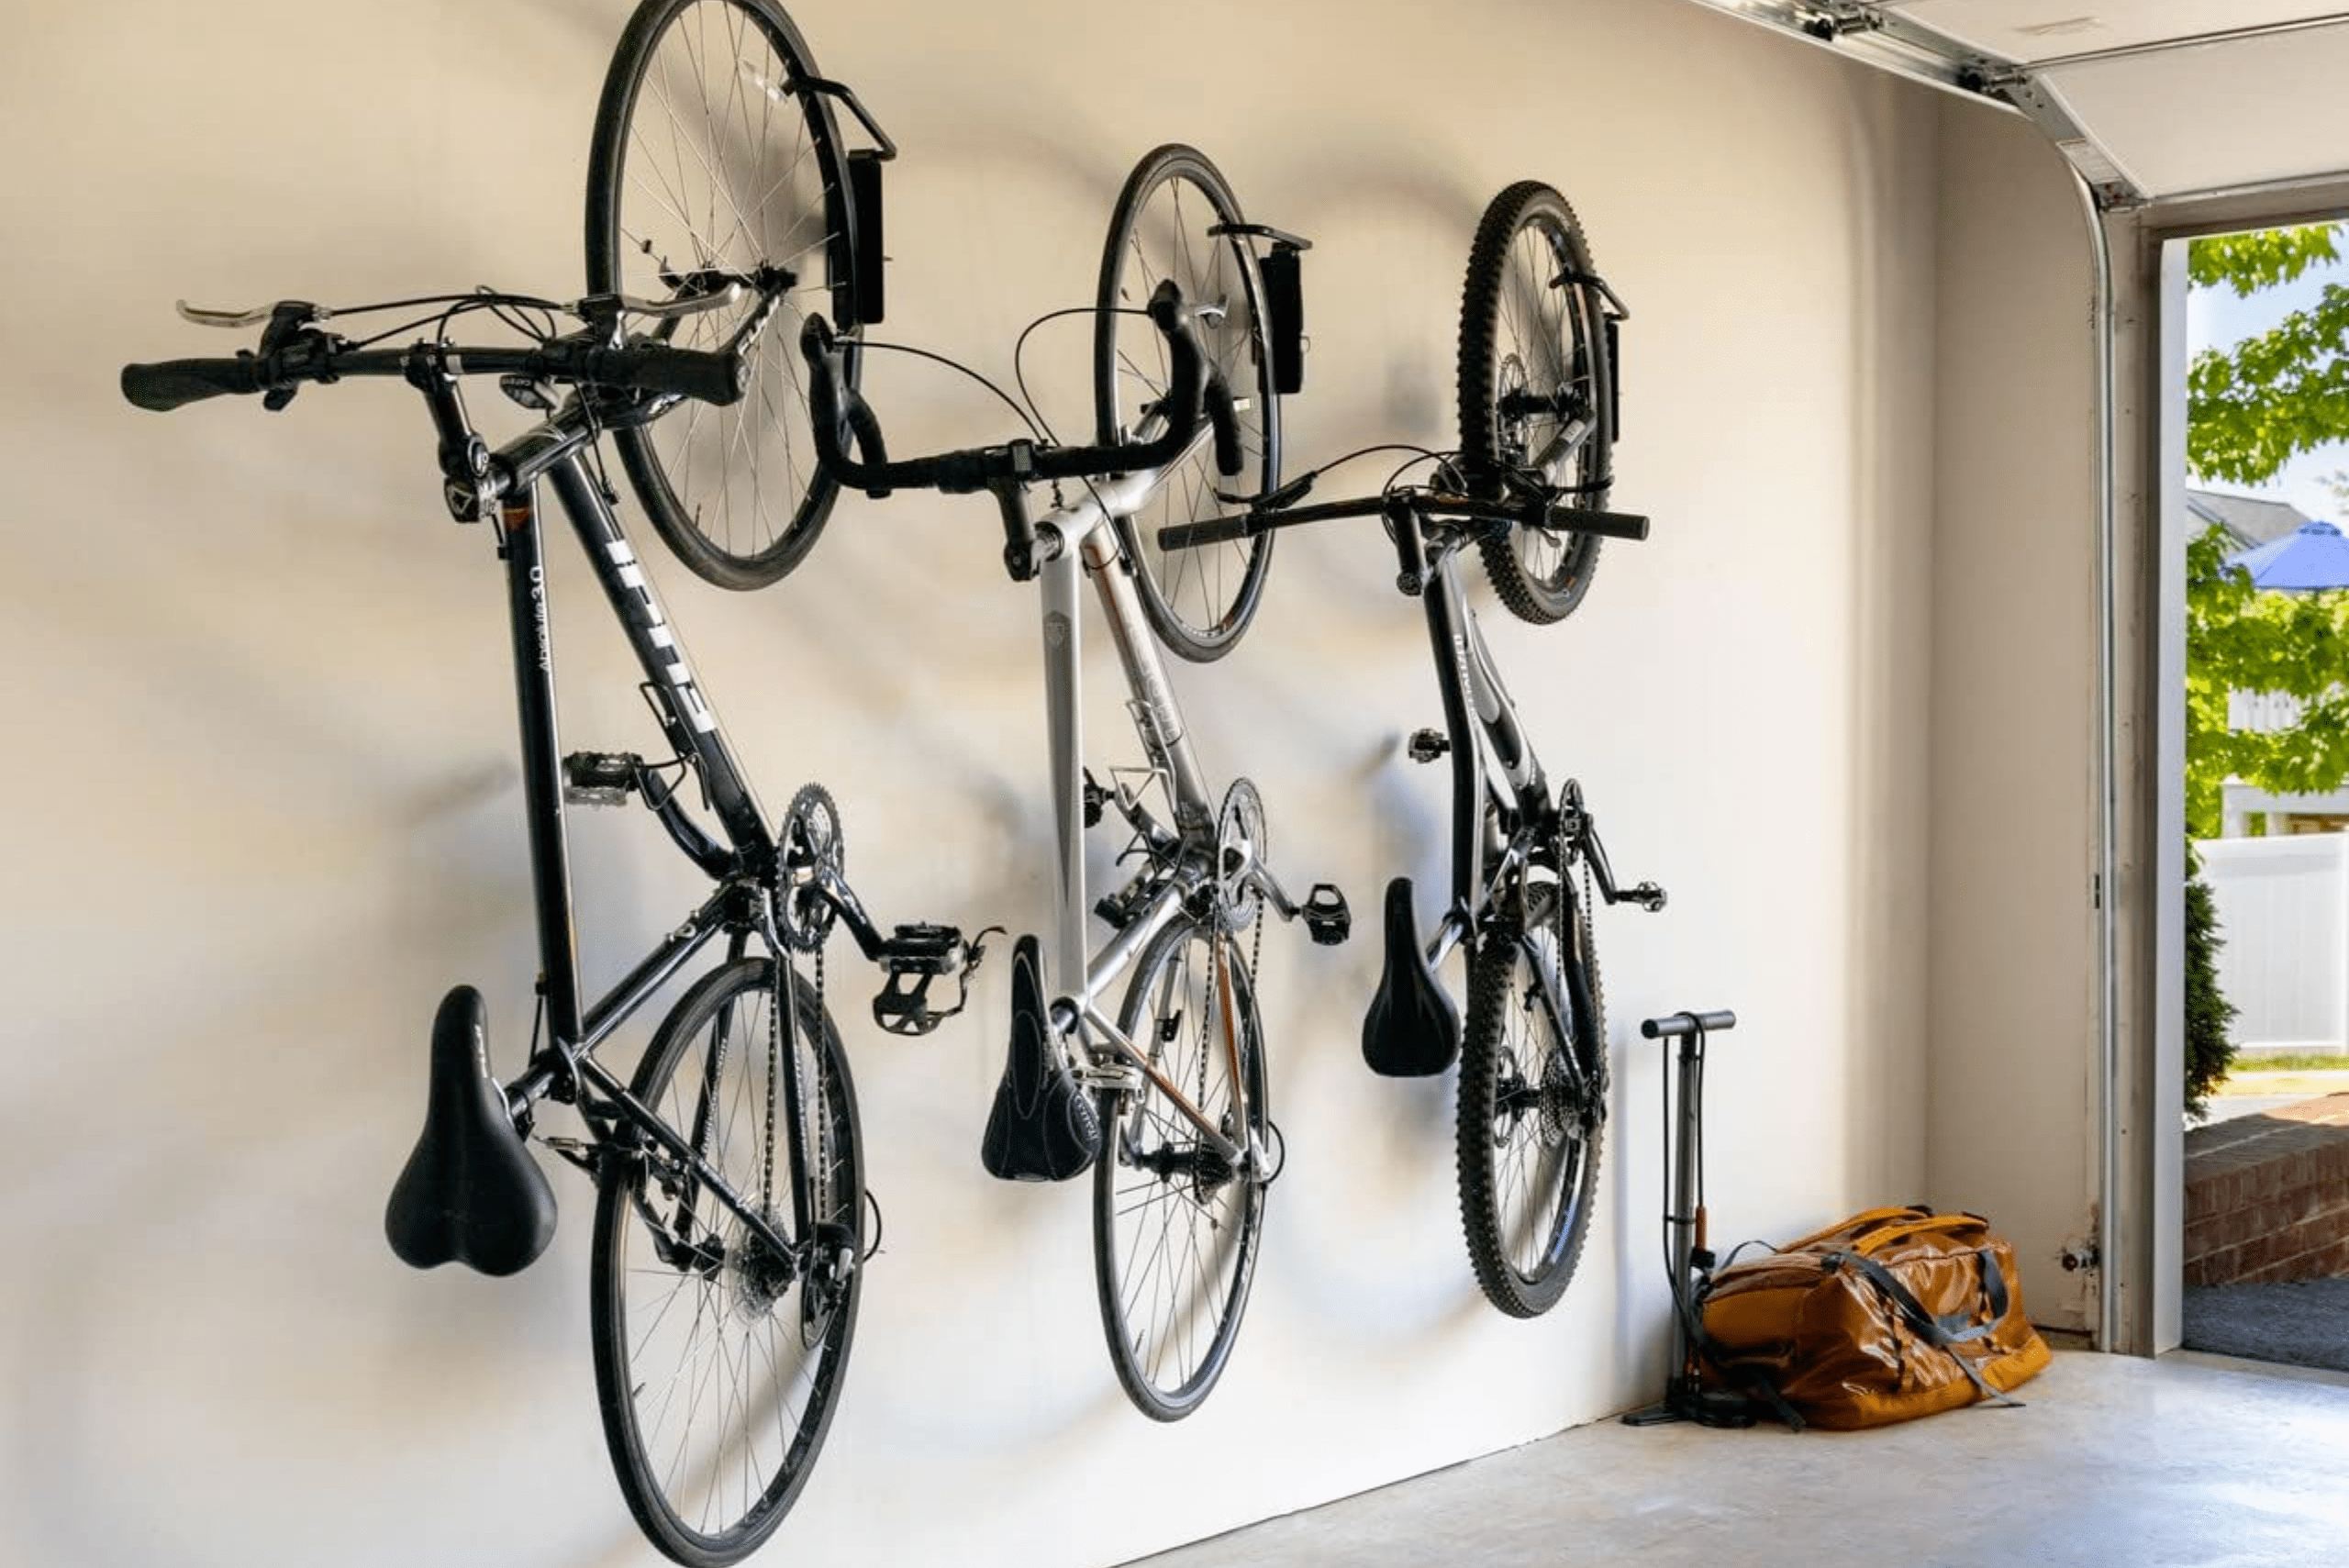
With the garage bike rack frame pieces mounted on the wall, you can measure the distance you want between the bikes and screw in the hooks. You will need two hooks per bike if mounting horizontally. For vertical mounting, you should need only one hook per bike but keep them staggered to clear the handlebars if you have multiple bikes. It’s a good idea to get hooks with rubber coating to avoid scratching your bikes.
Step 7: Testing
With the bike rack securely in place, proceed to hang your bikes on the designated arms. Test the stability and security of the rack to ensure that it can comfortably hold the weight of your bikes without any wobbling or instability. Make any necessary adjustments to achieve optimal support.
By following these detailed steps, you’ll create a sturdy and customized bike rack that serves its functional purpose and adds a touch of craftsmanship to your garage space.
Alternative Options to a DIY Bike Rack
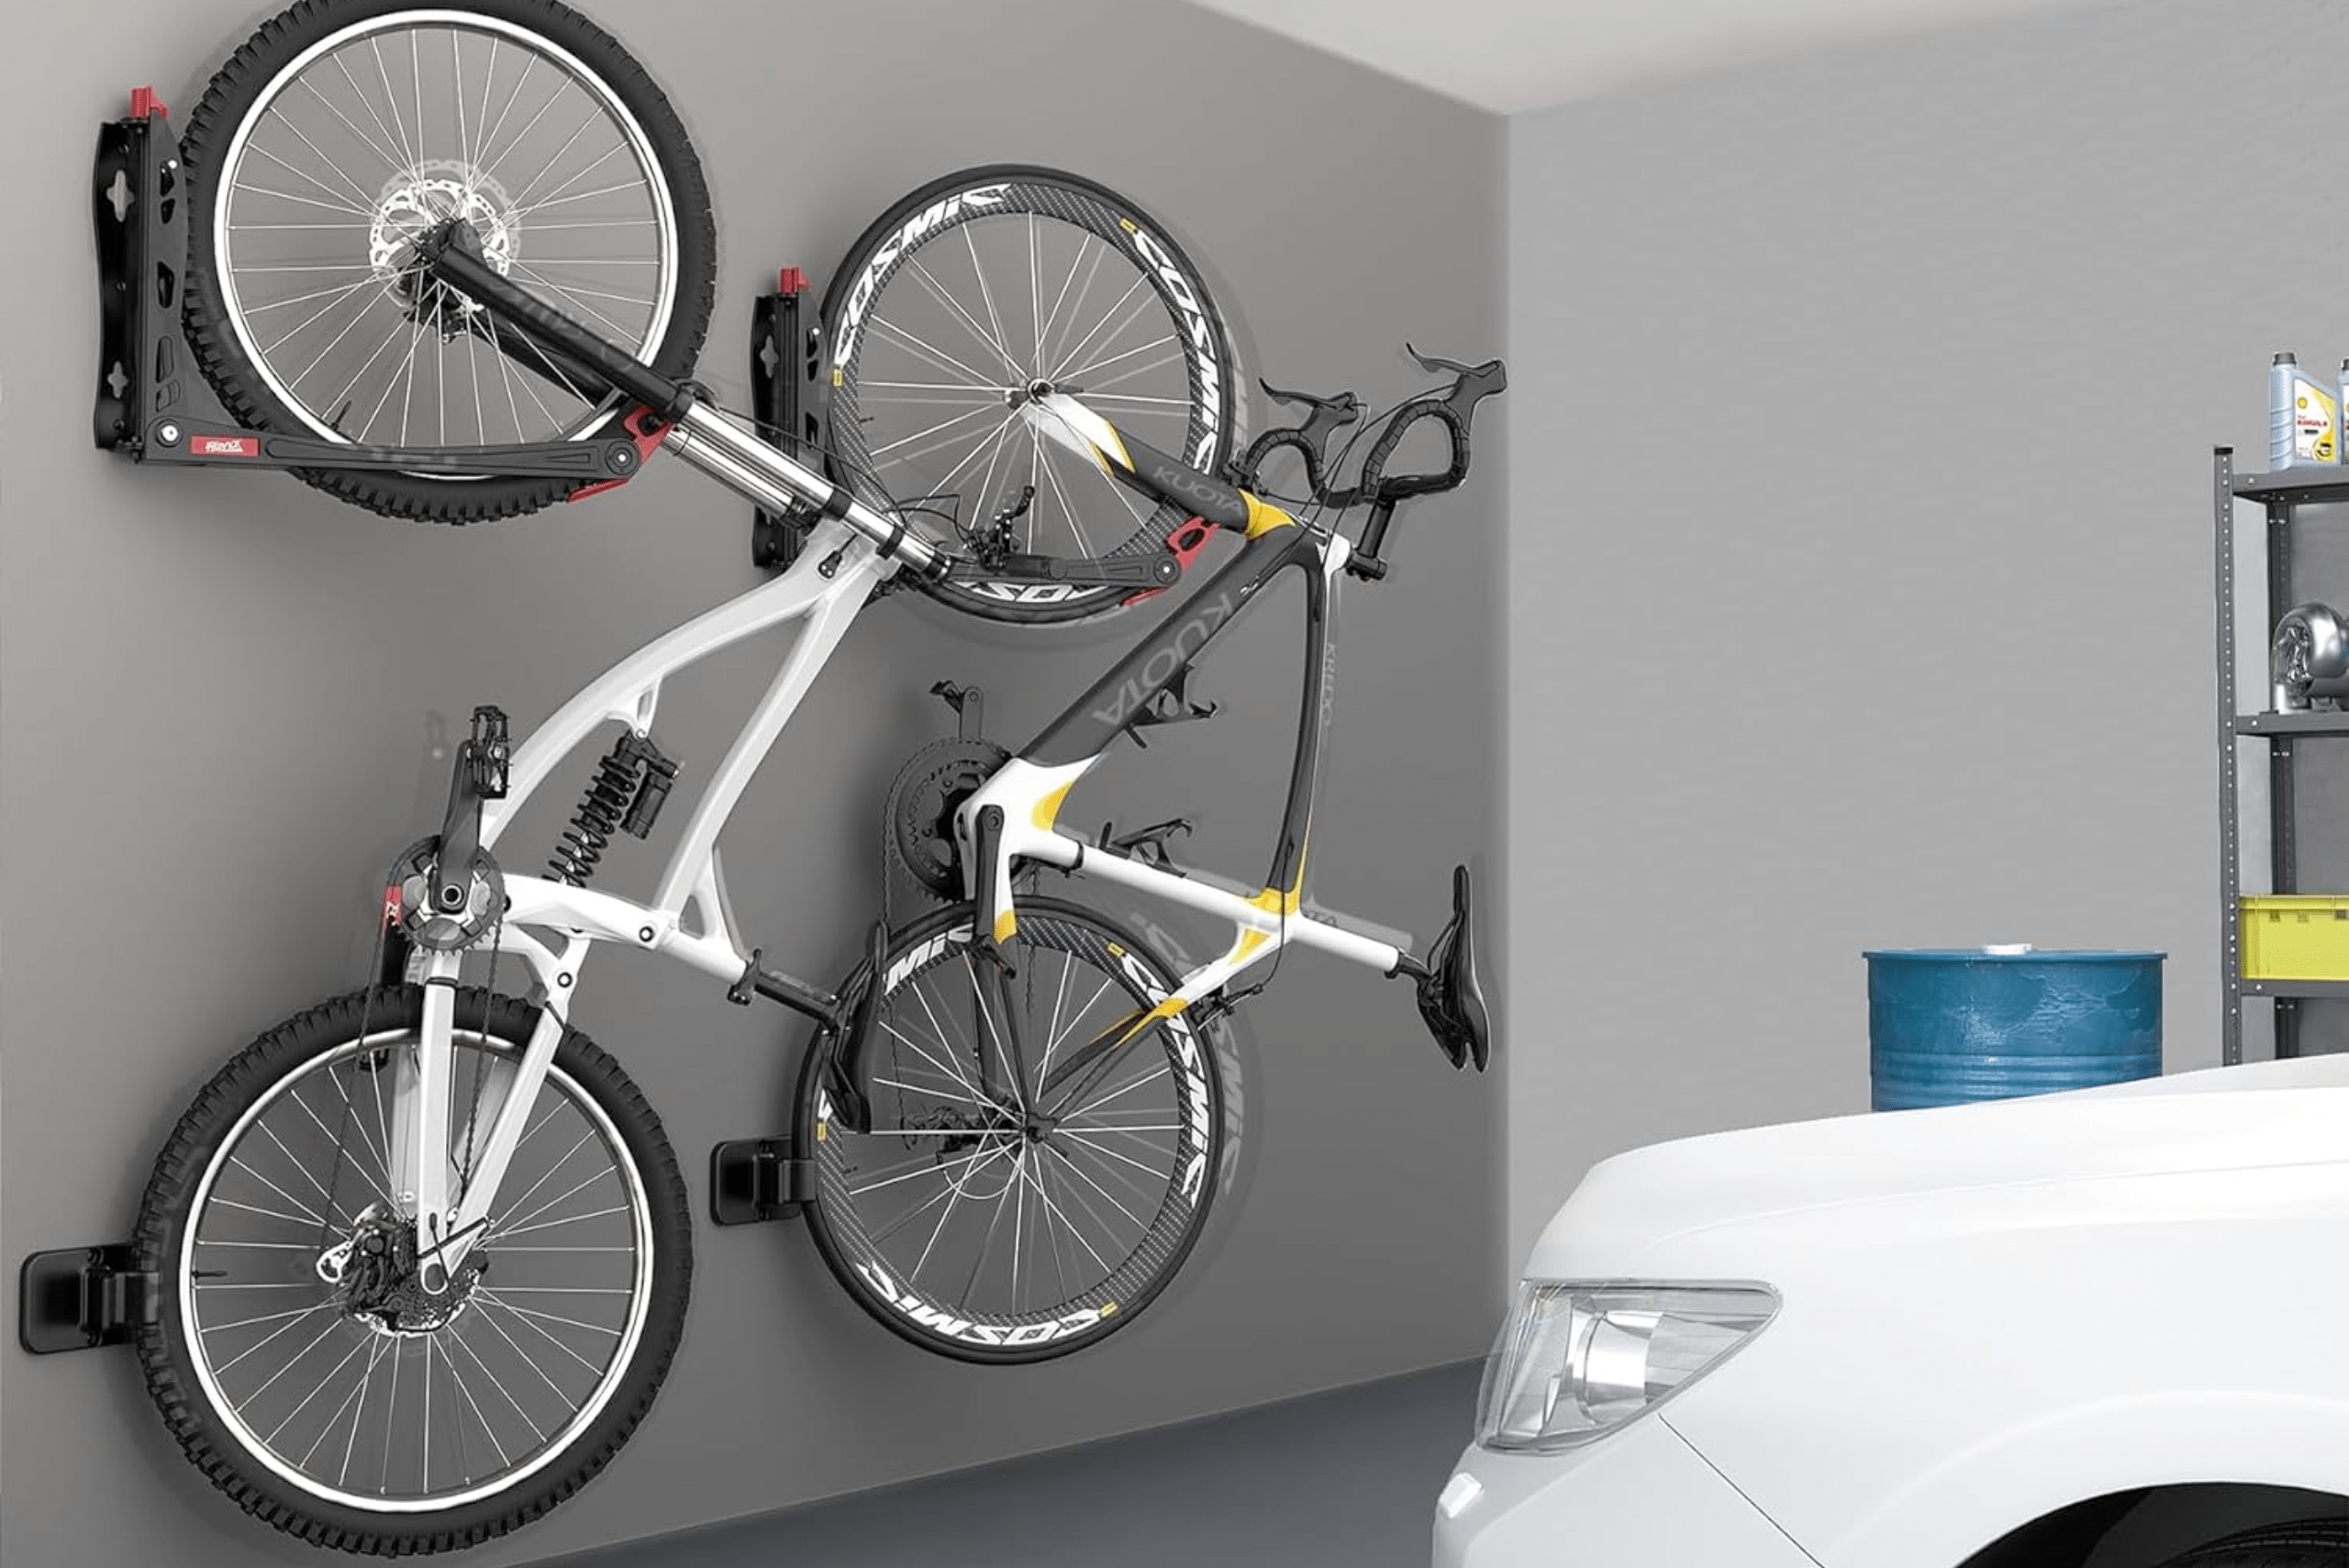
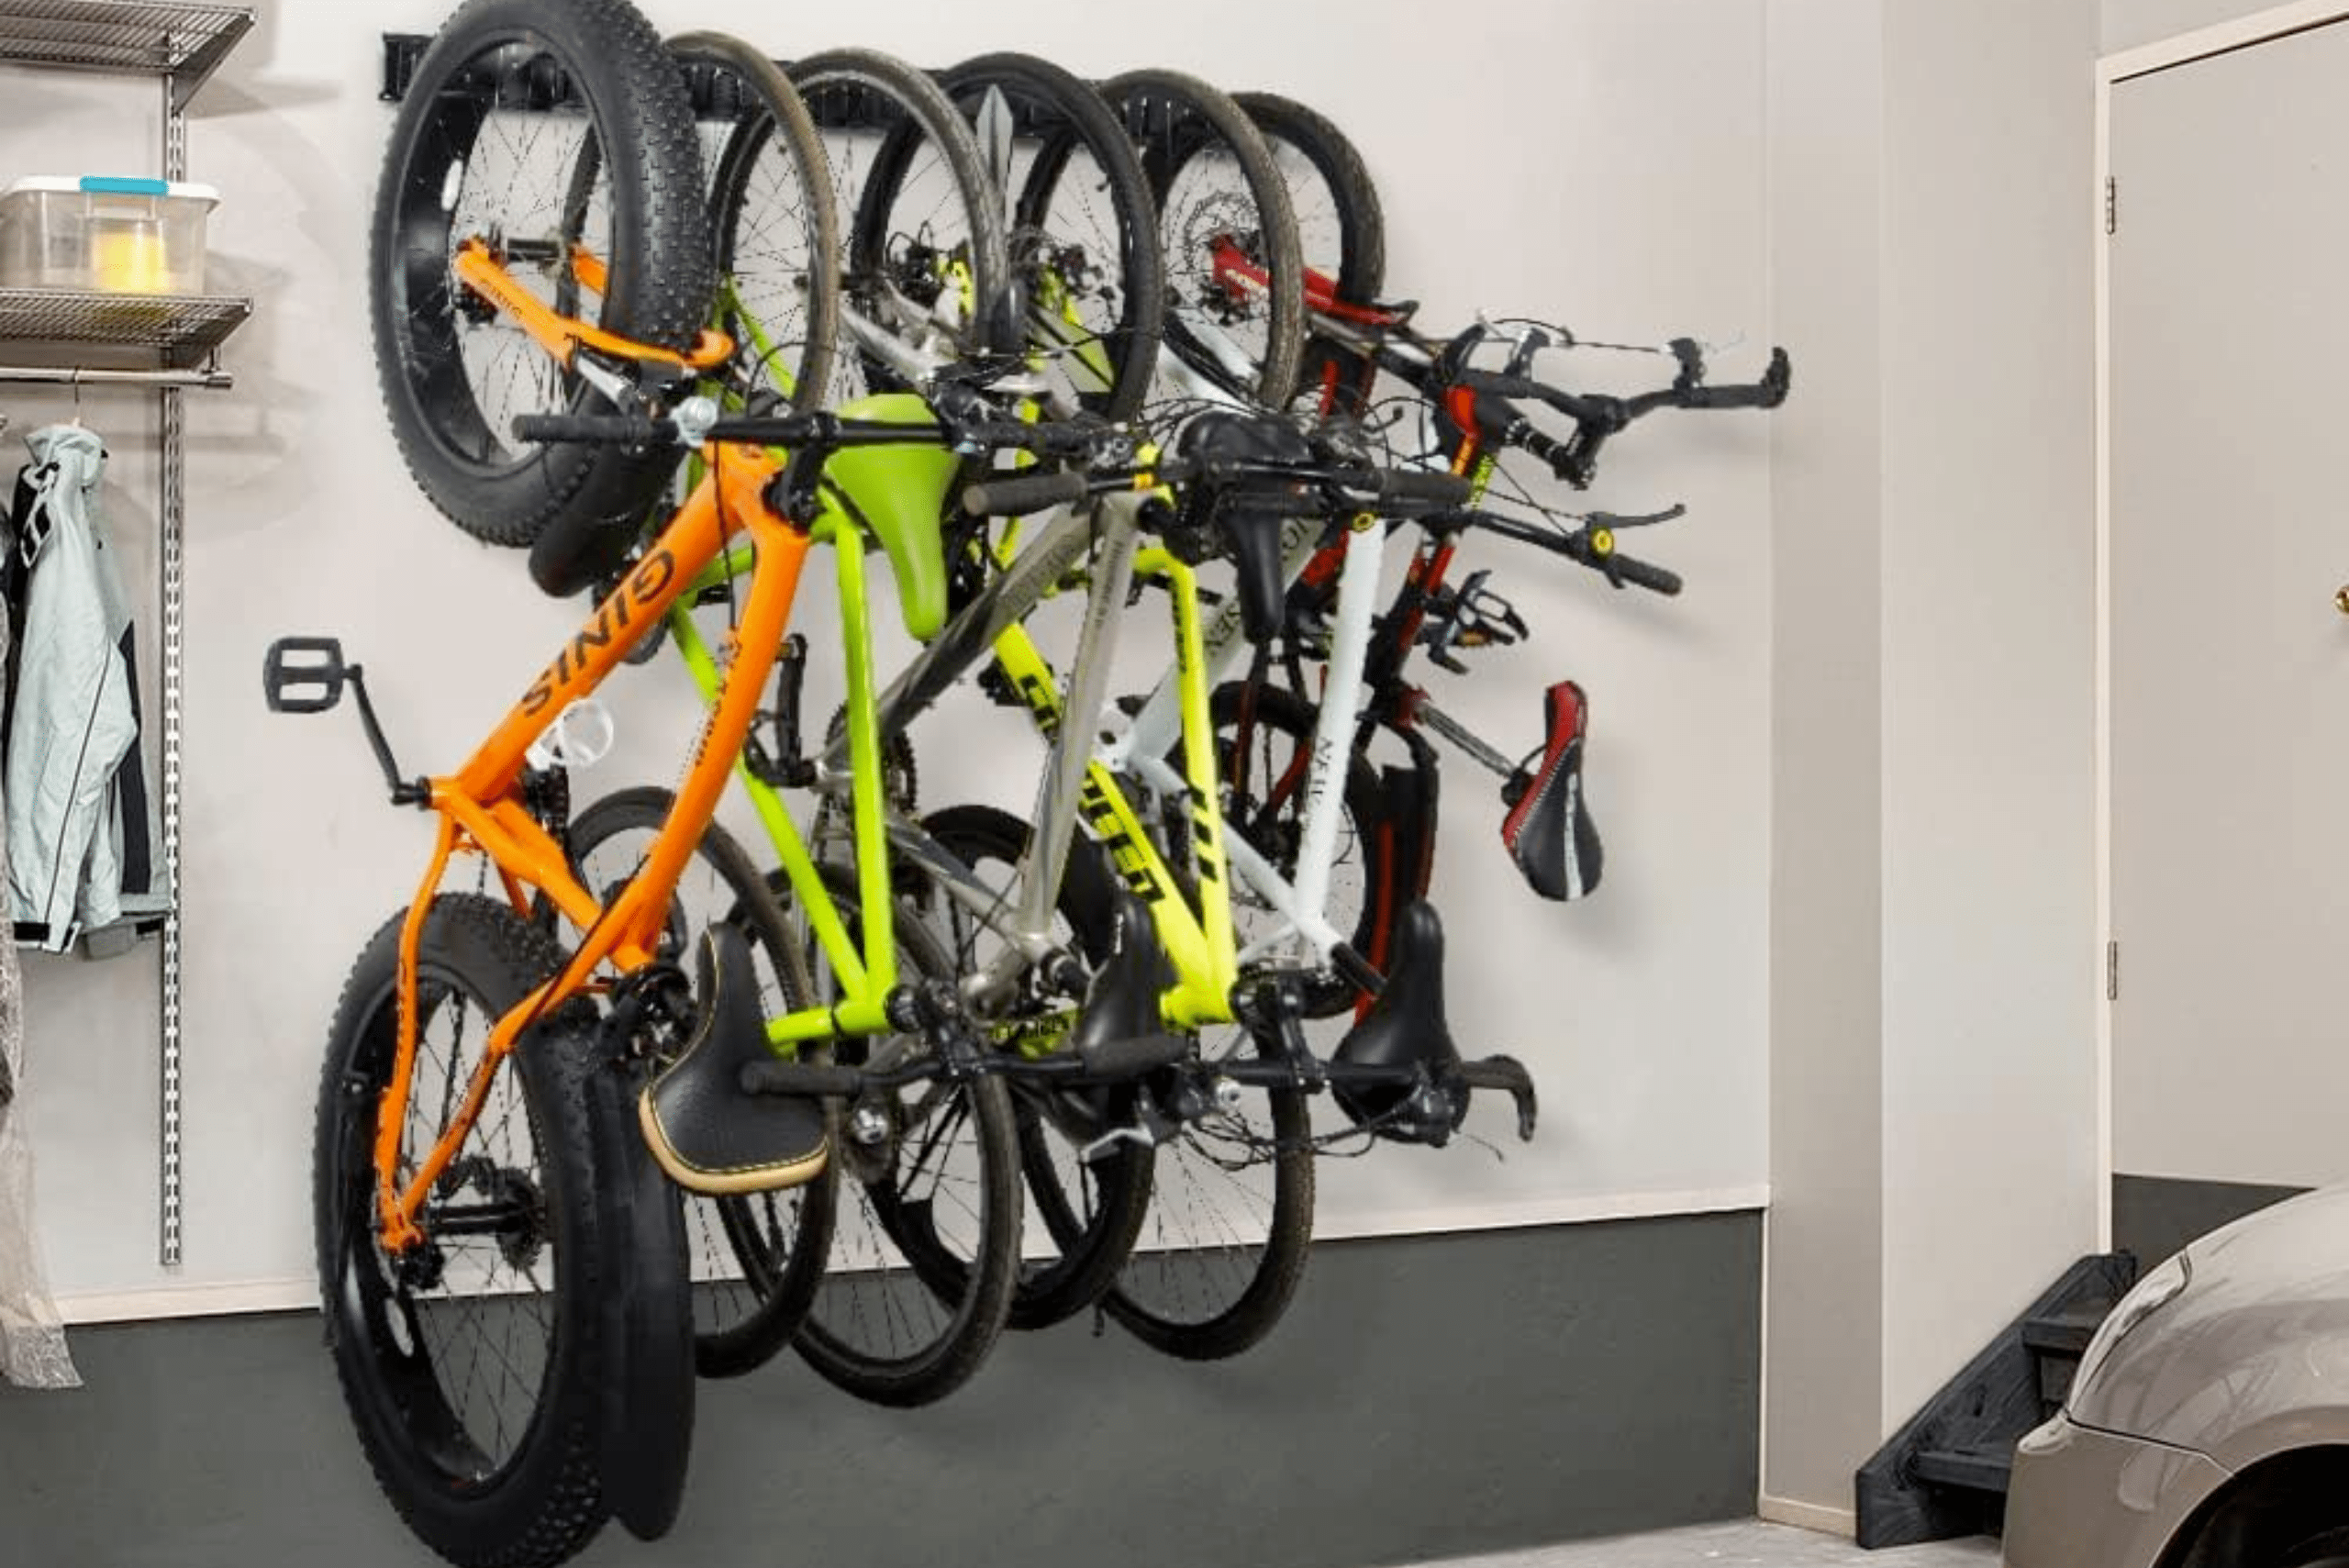
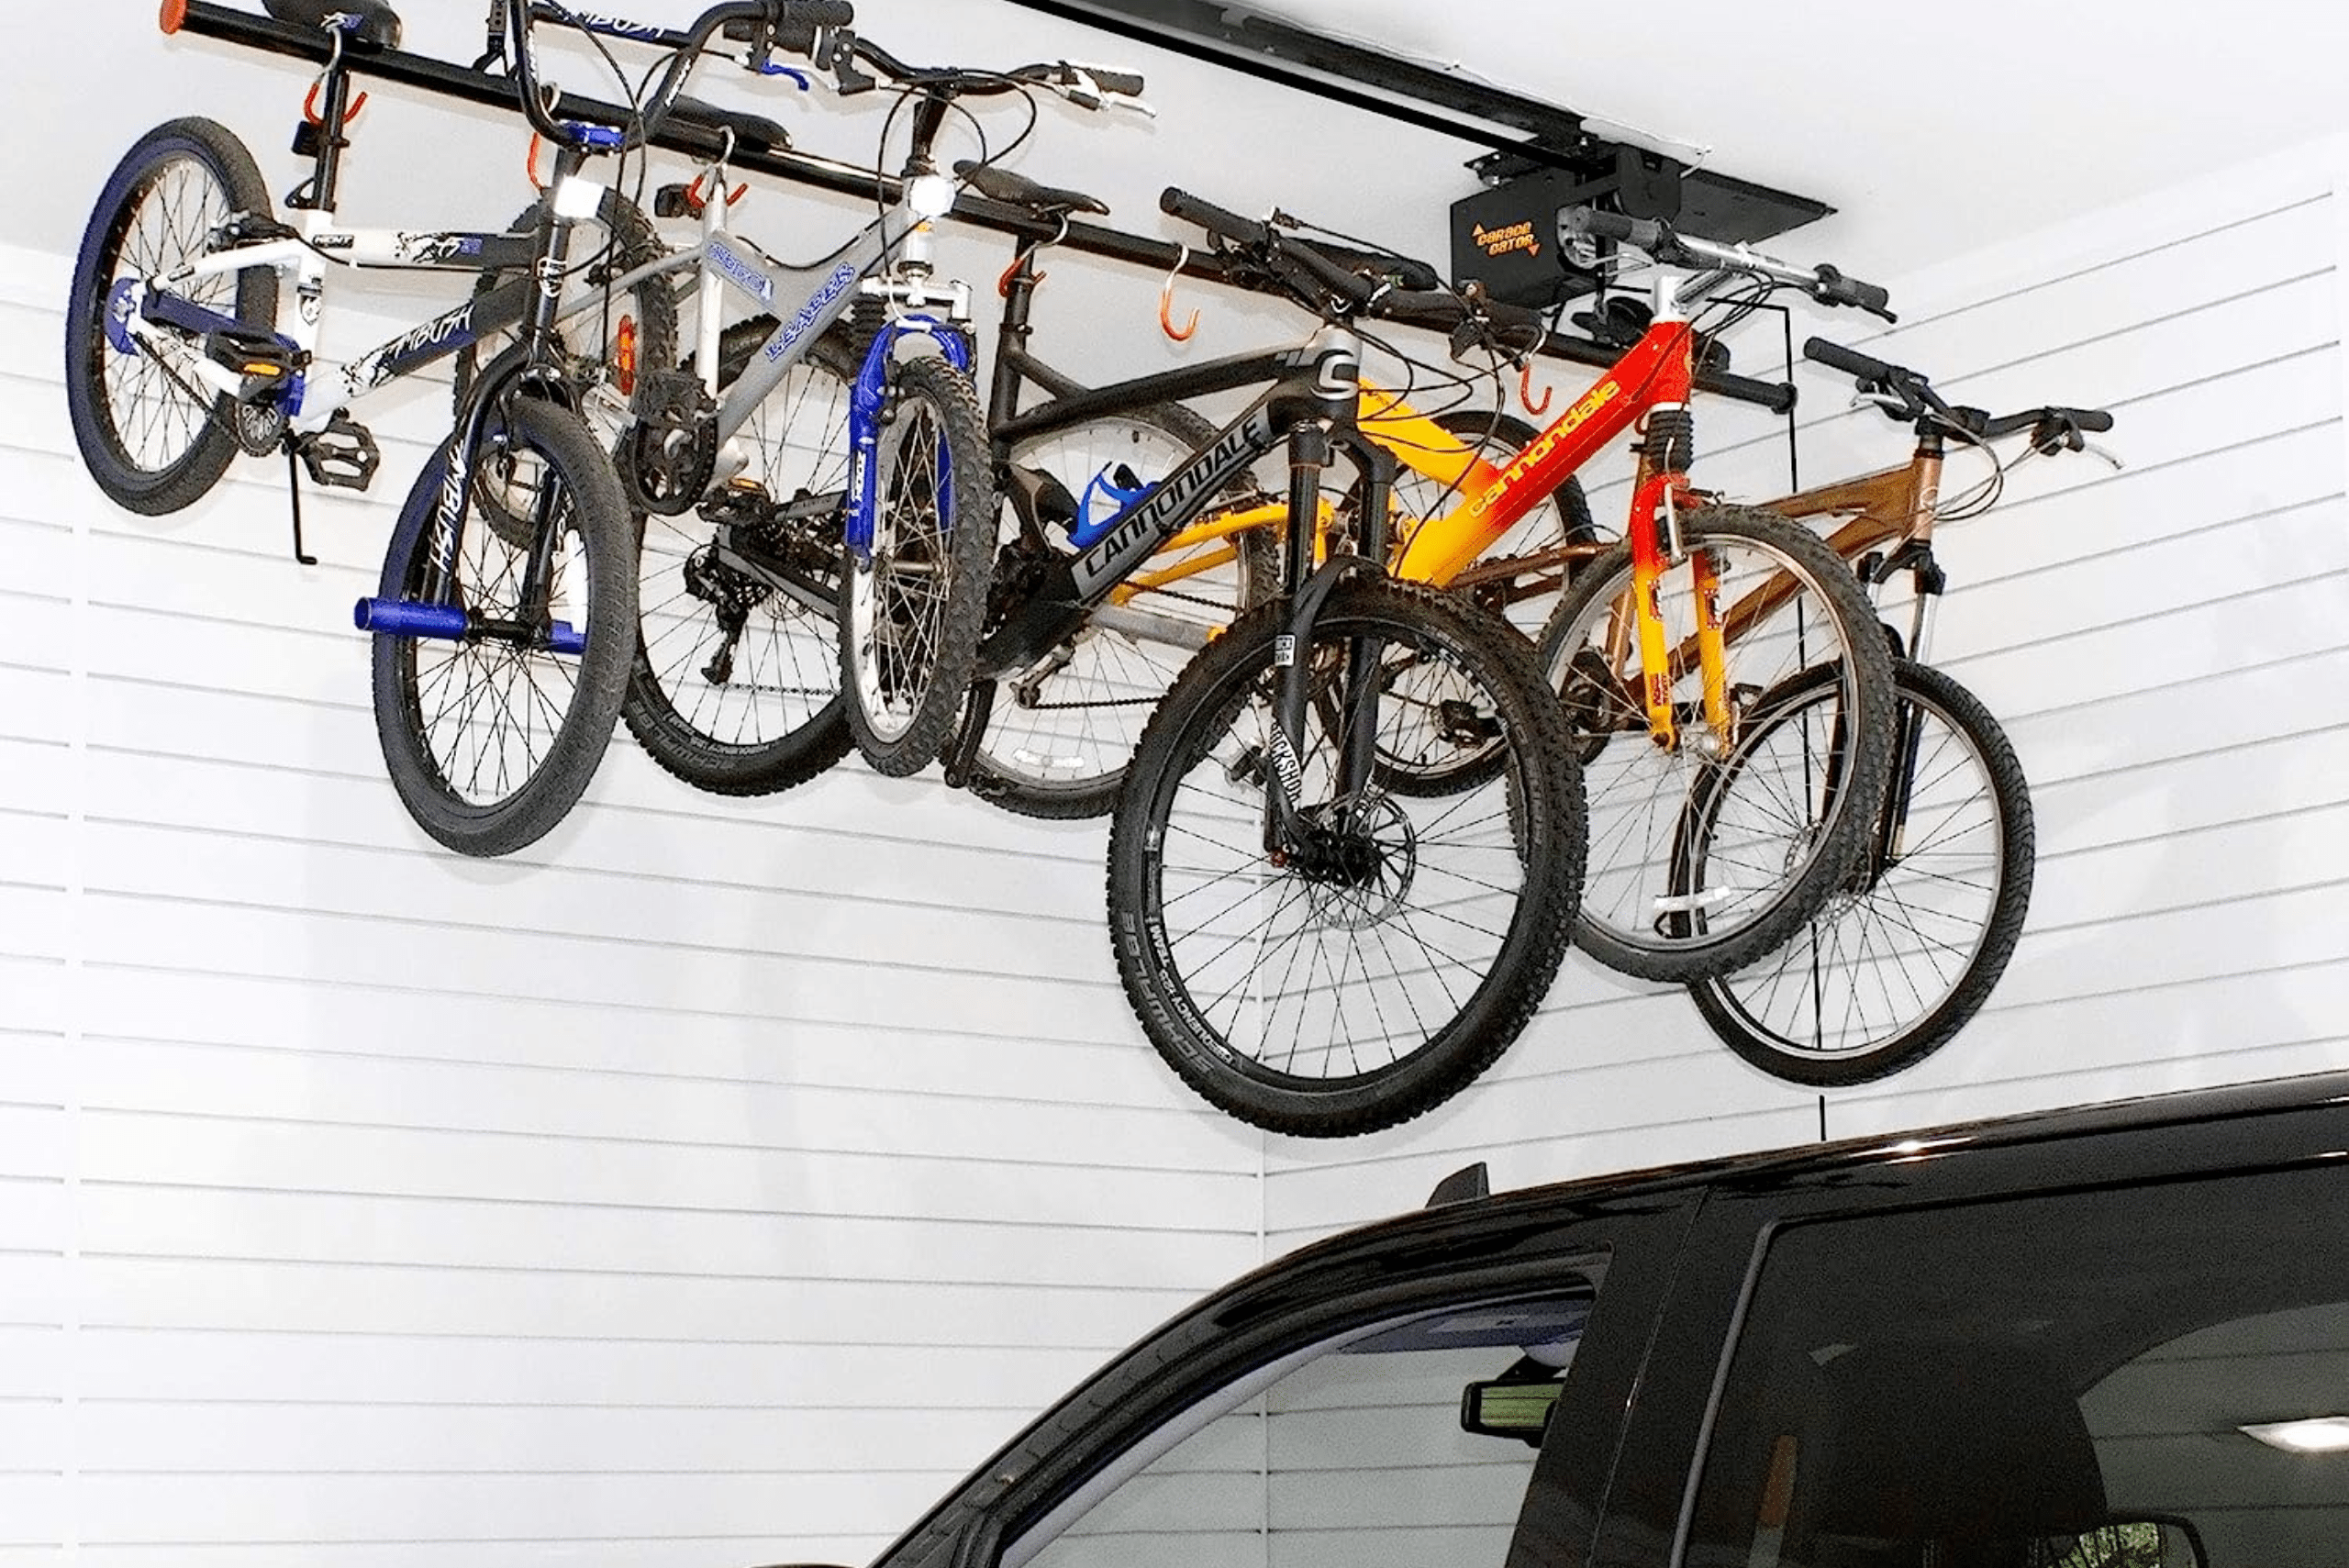
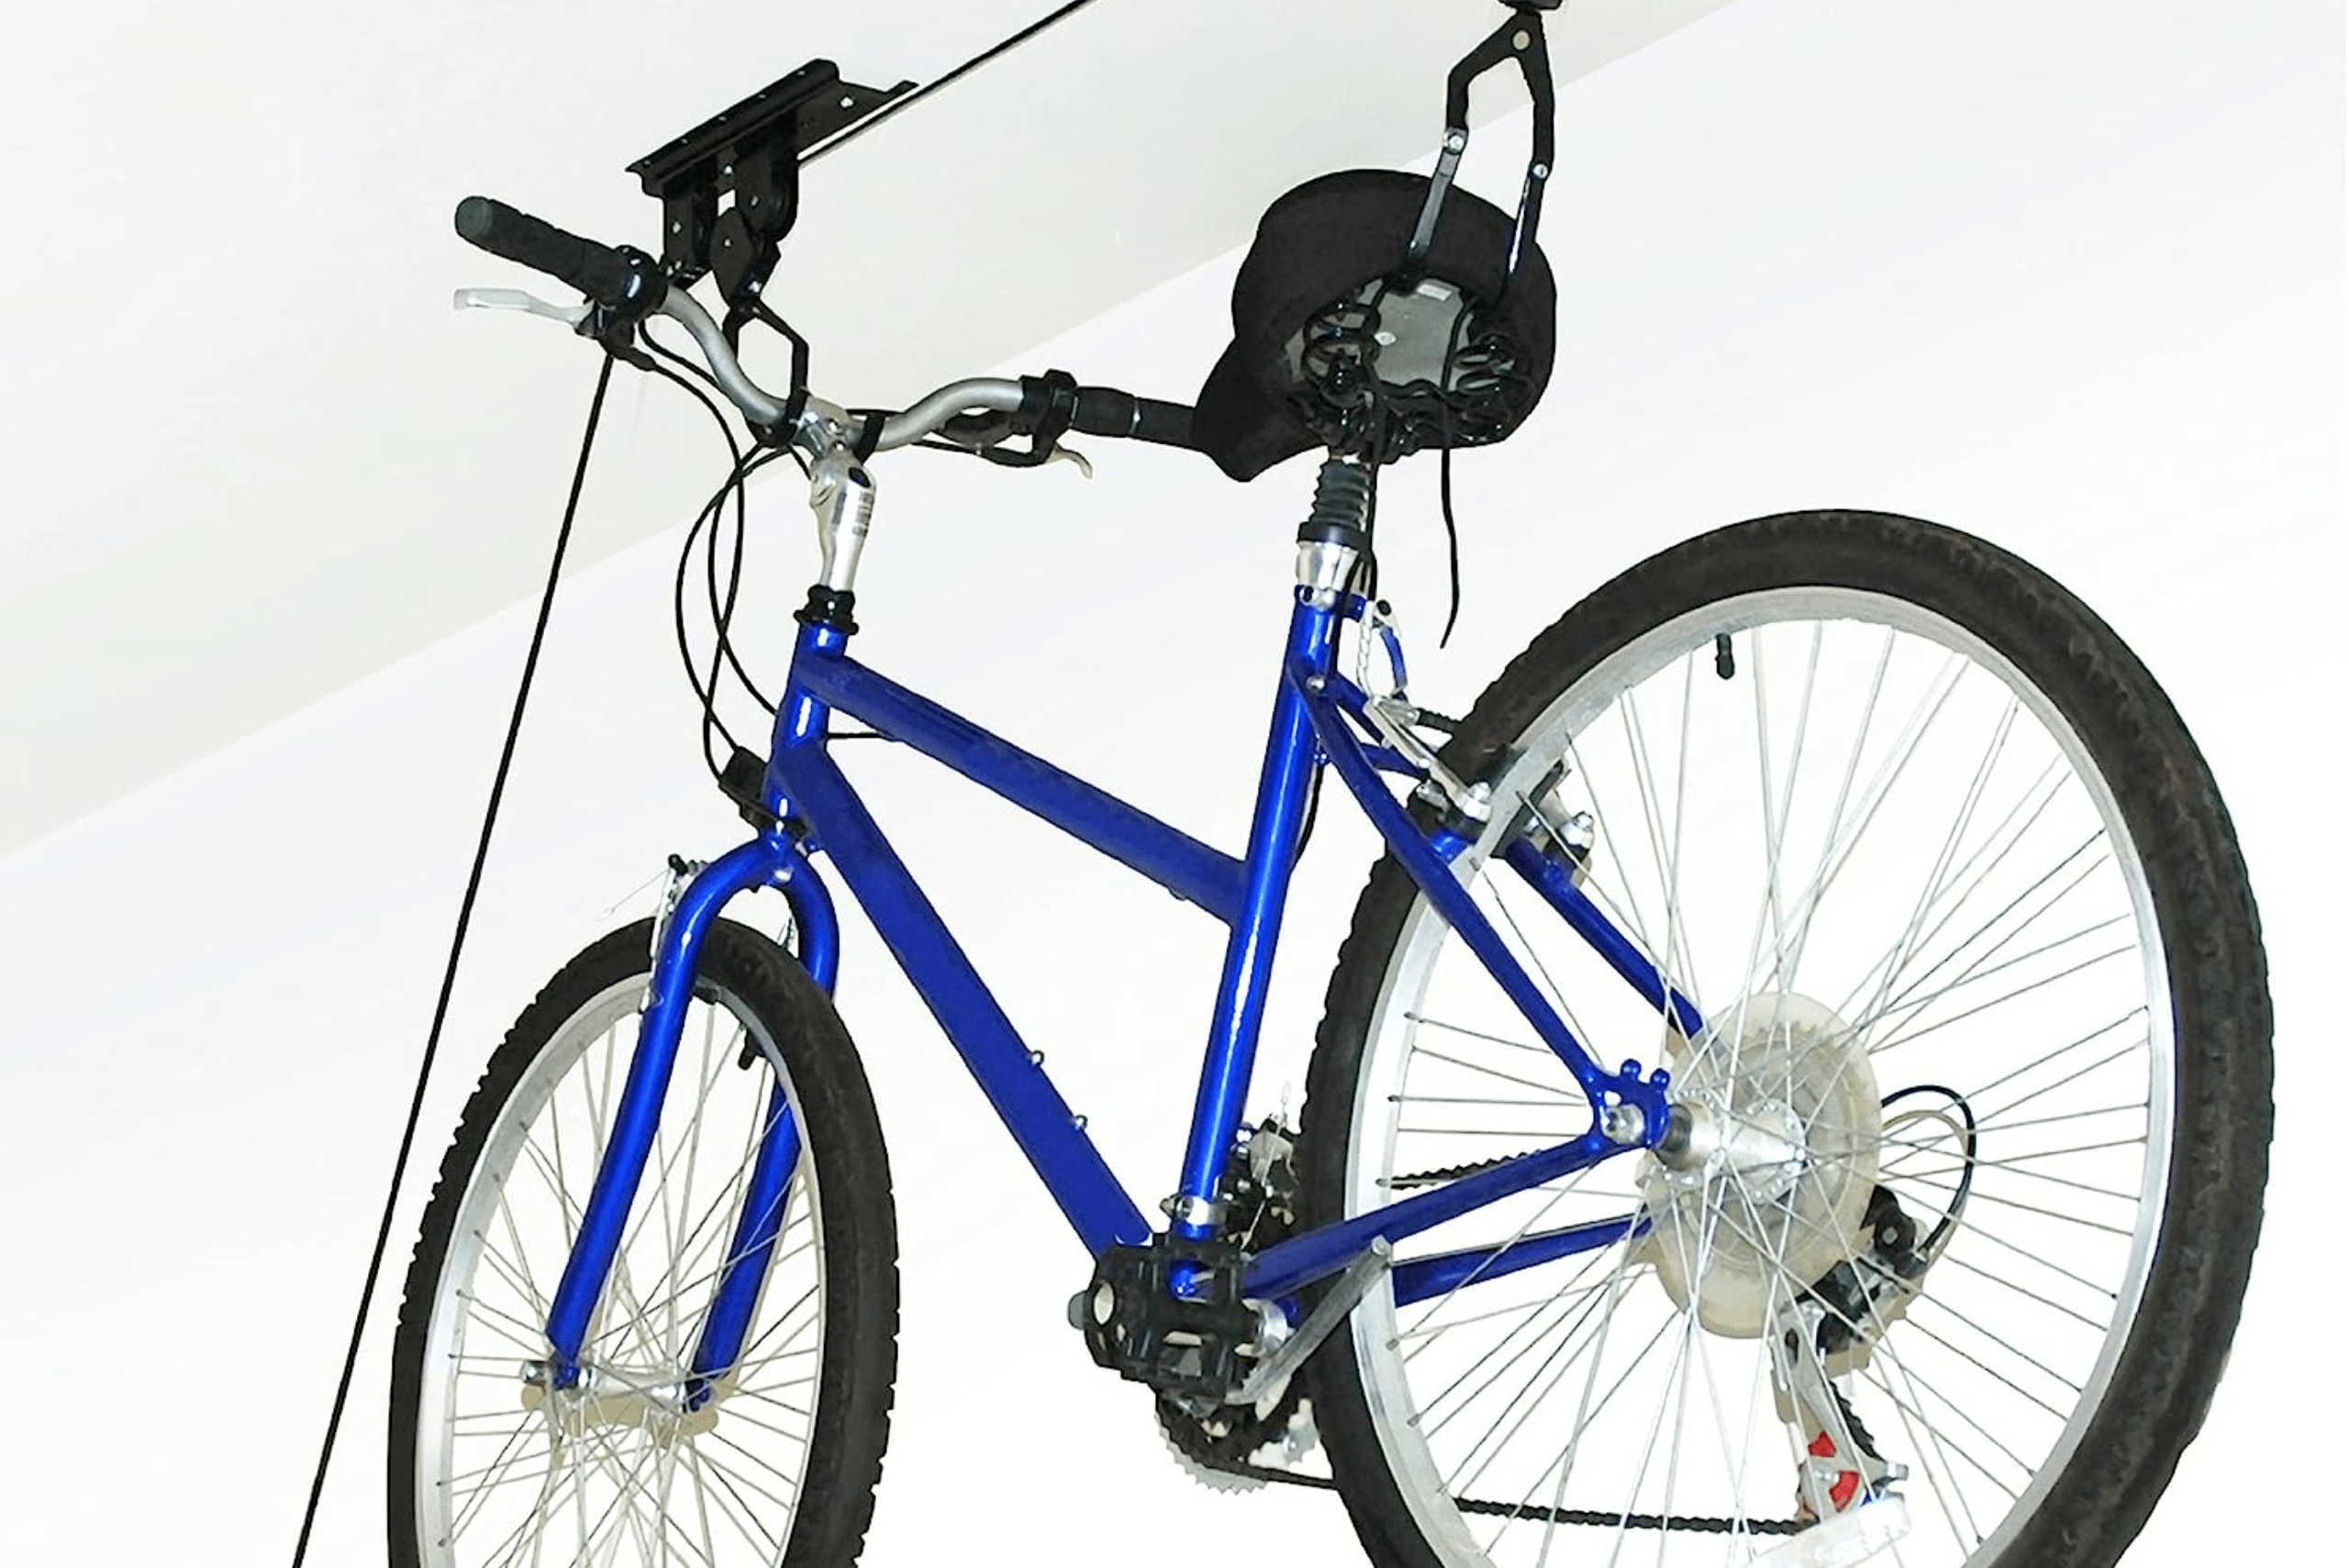
It’s totally understandable if you are not ready to tackle this DIY project as your first, as there are many beginner projects better suited for your first try. Although you might not try to DIY this project yourself, you can still find a variety of garage bike racks to explore that are readily available. Here are a few examples of some that we would recommend:
Wall-Mounted Garage Bike Rack
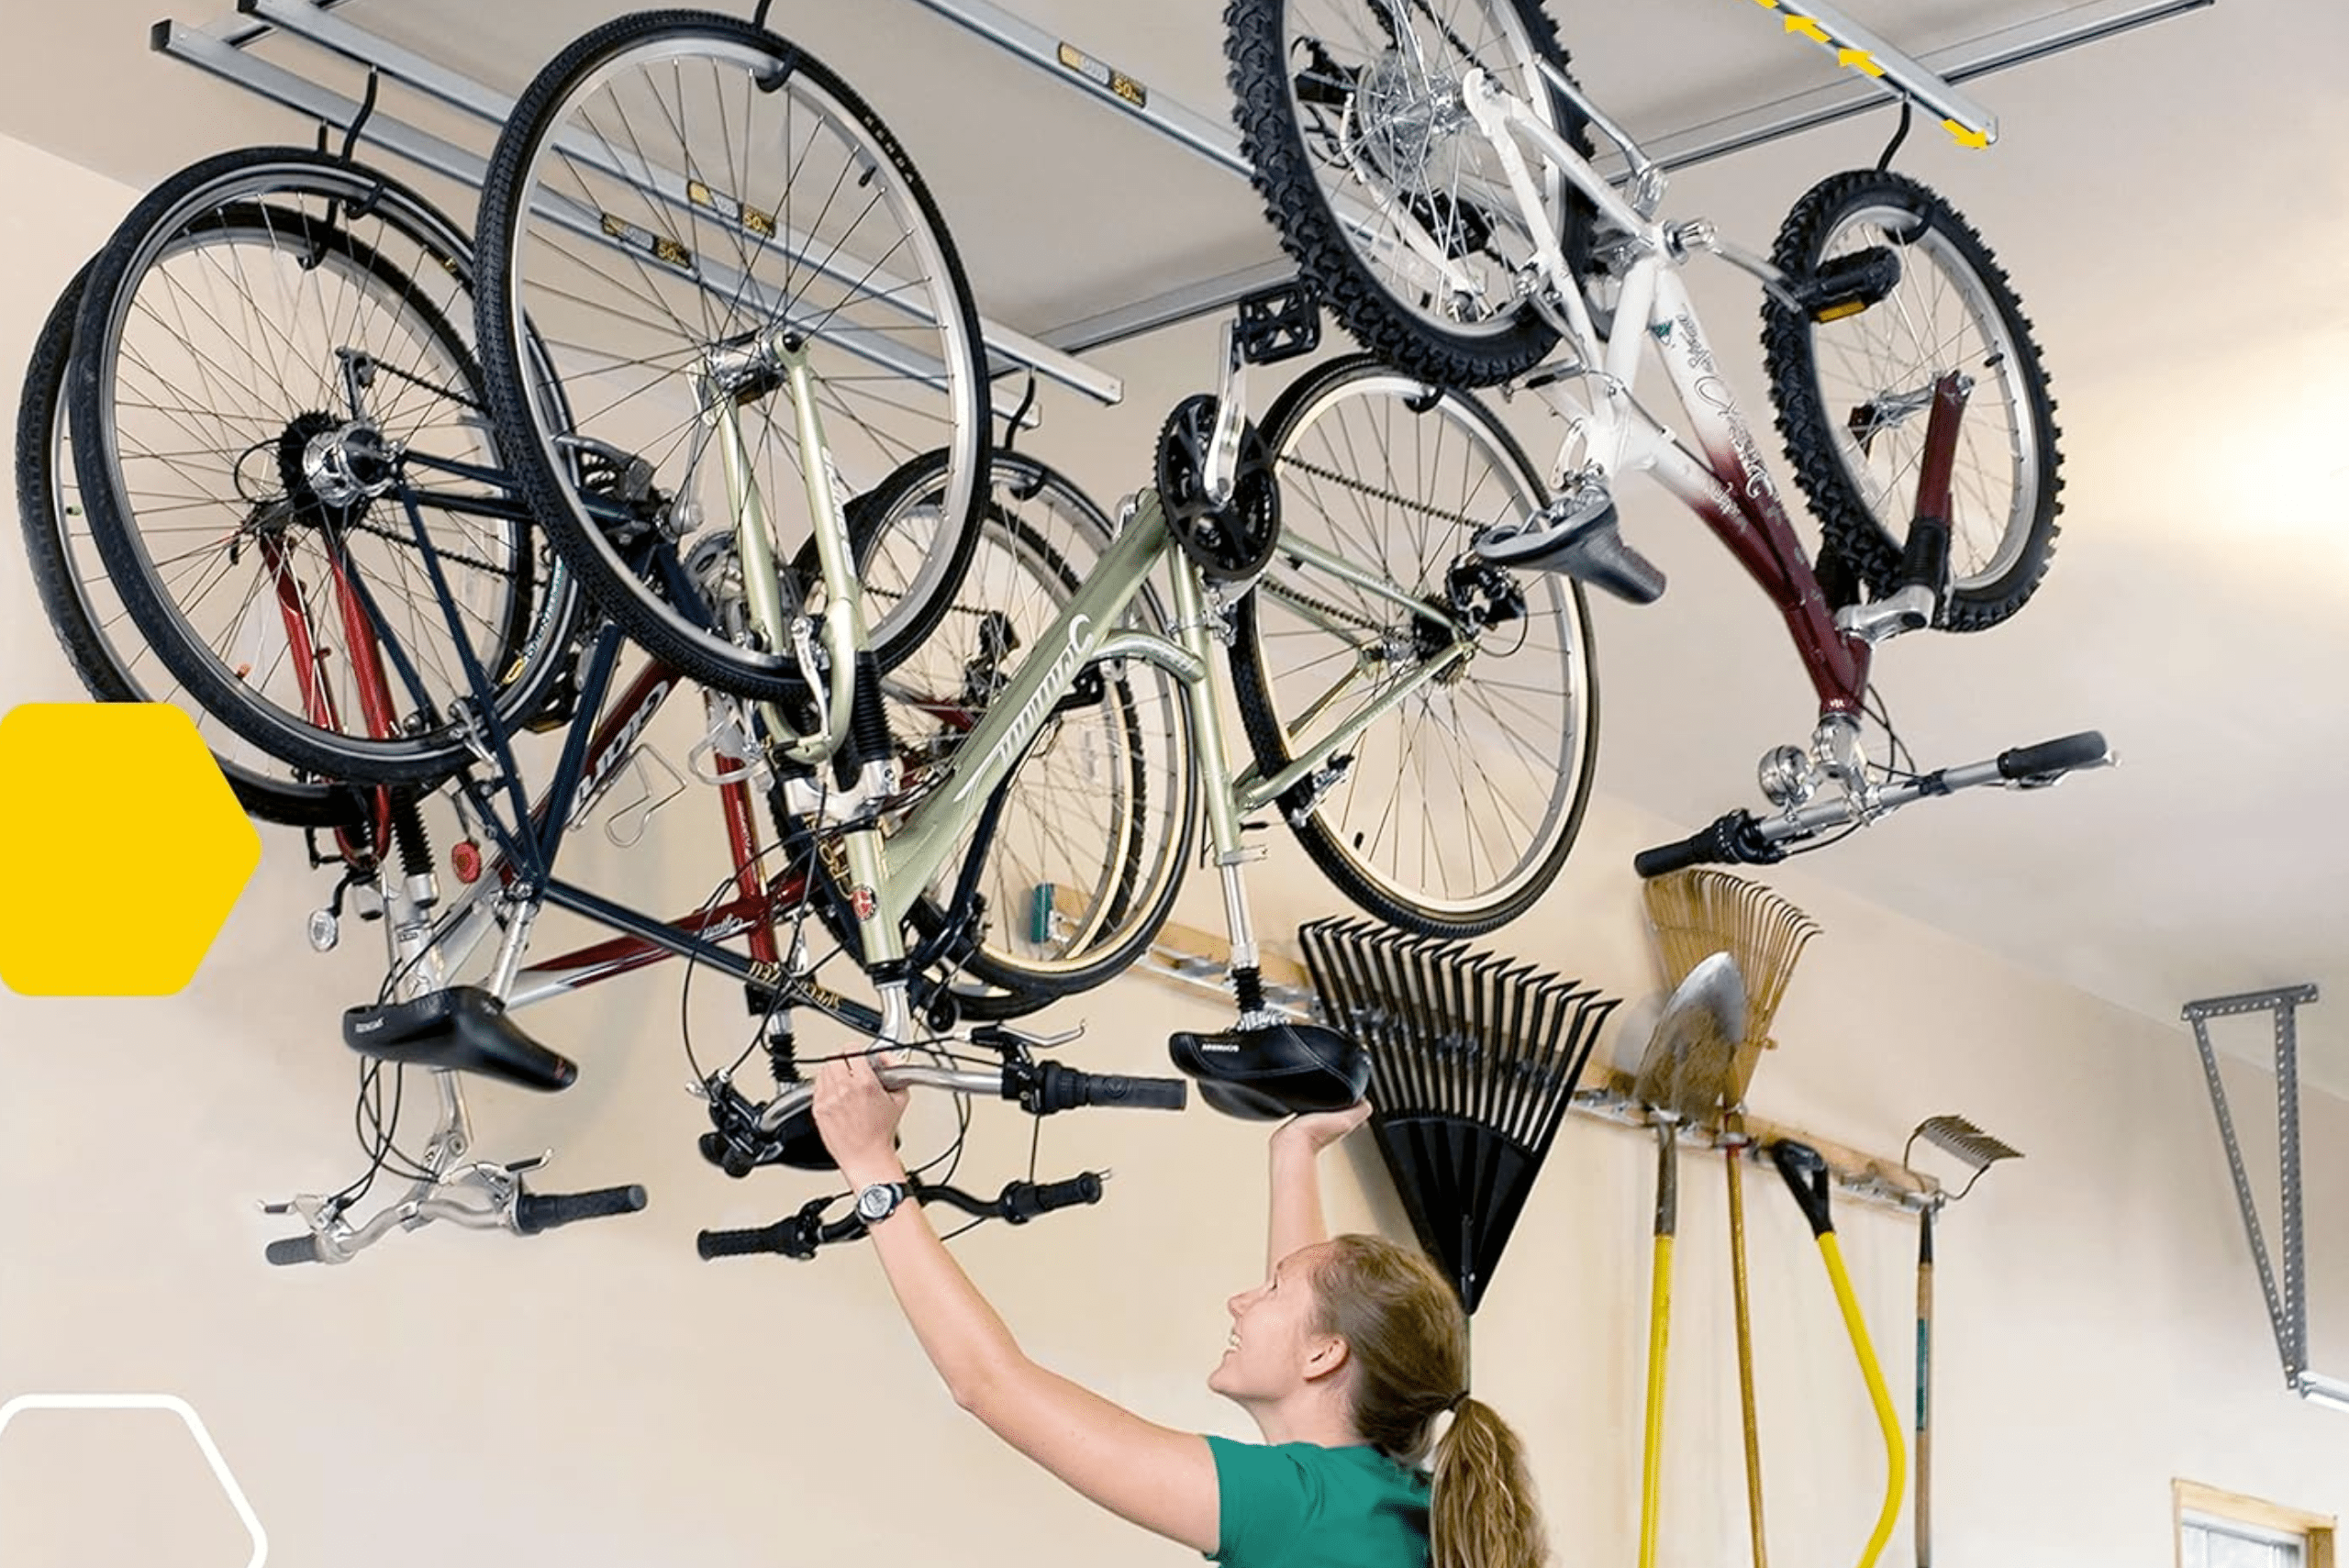
Ceiling-Mounted Garage Bike Rack
Related Articles:
- How to: Make the Ultimate Workbench for Your Basement or Garage
- This Is What Happens to Your Bike After It’s Stolen
- 60 Easy Garage Organization Ideas That Actually Work
There’s nothing more rewarding than upgrading your living space to support your hobbies and activities, making a garage bike rack a must-have on our list. Installing or creating a garage bike rack is the best way to keep your bikes safe while also accessible for all your biking trips. If you choose to make your own bike rack or buy one, we would love to see how you incorporate it into your garage so that we can showcase it to ManMadeDIY readers for inspiration.


